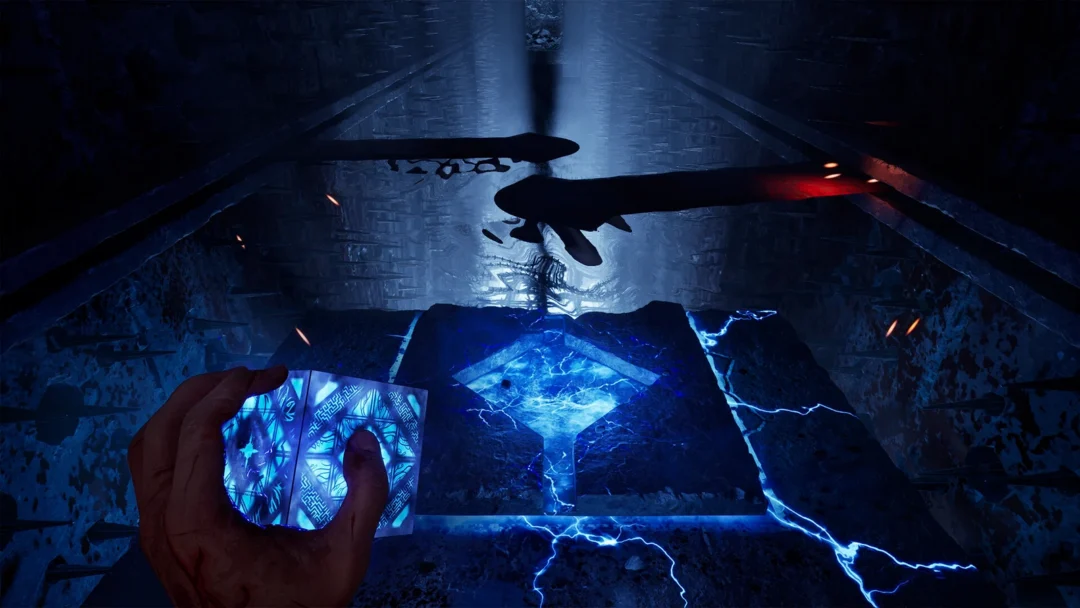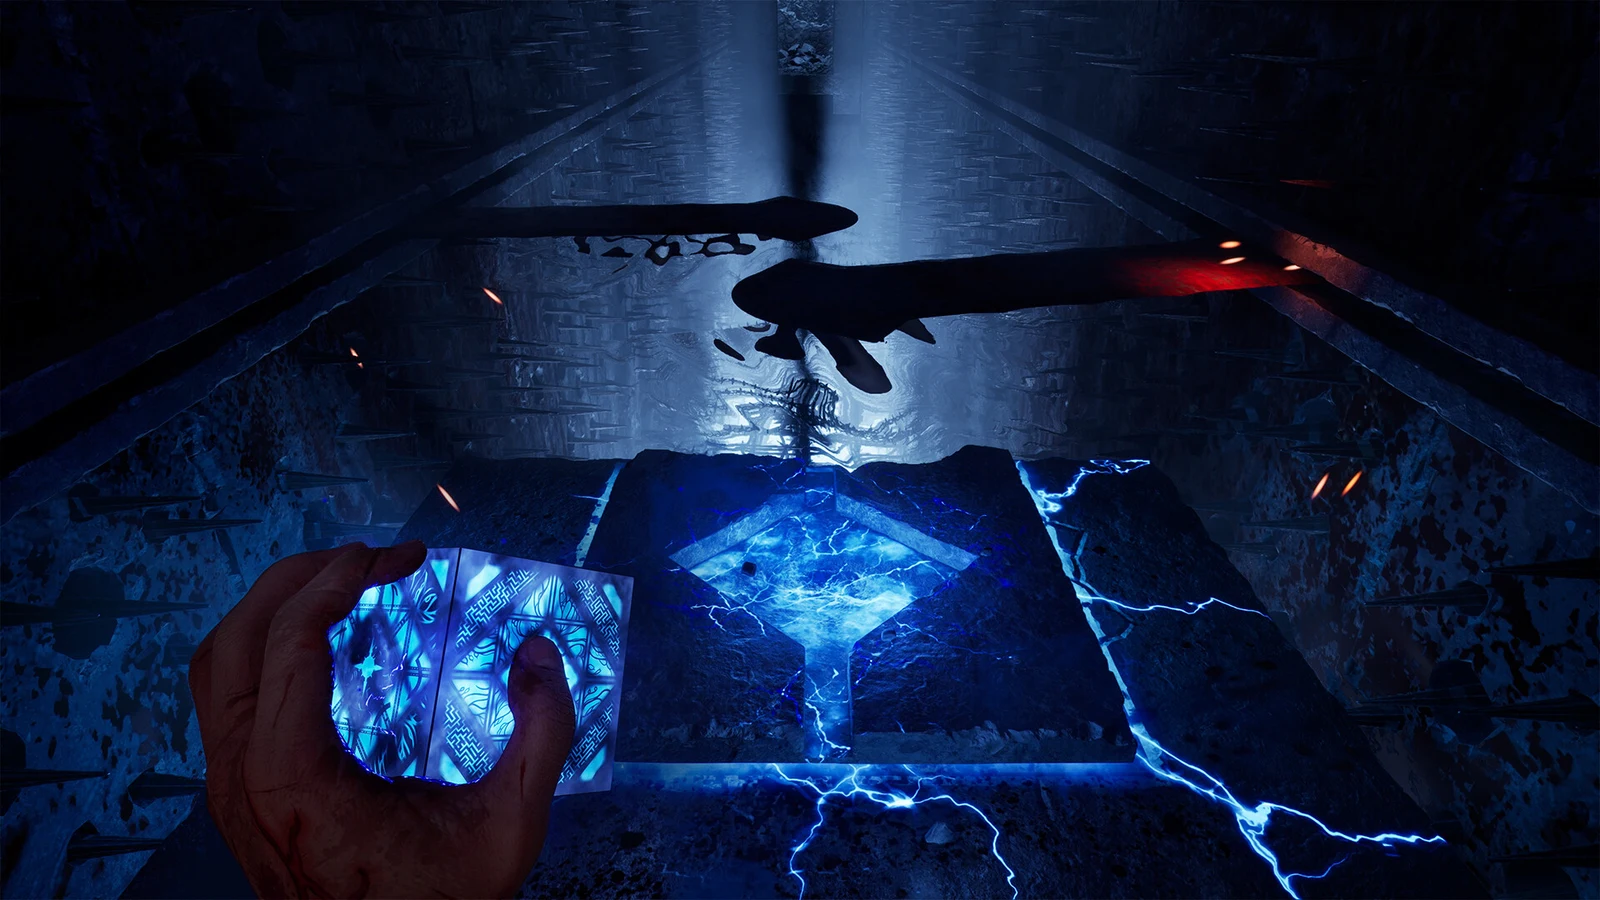
The Statue’s Tongue is a stone piece you need to complete the winged female statue in the park and open the final gate toward Charlotte in Hellraiser: Revival. Reaching it means opening a sealed well, which first requires three brass Puzzle Blocks scattered across the park, dock, and playground.
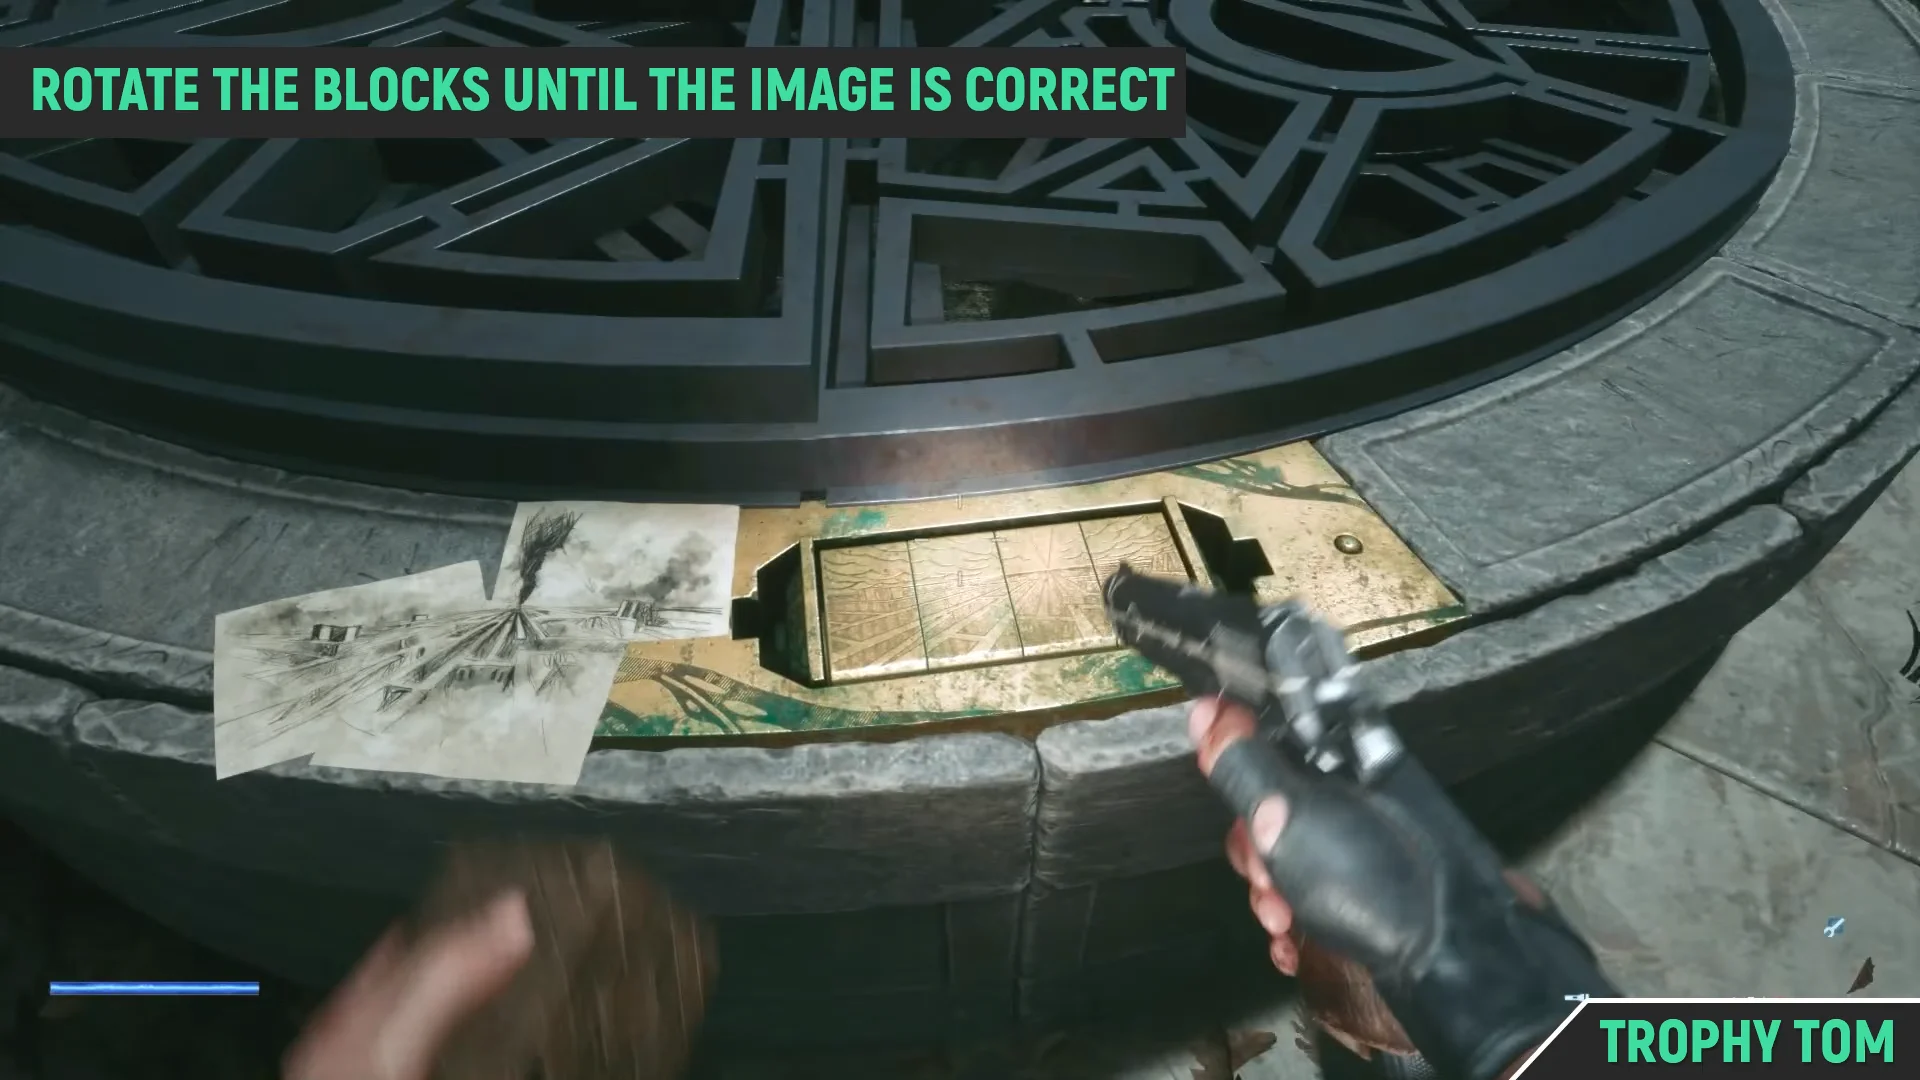
Quick answer: Open the courtyard gate, collect all three Puzzle Blocks, align them on the well cover to open the grate, then climb down to take the Statue’s Tongue from the underground workroom.
Open the courtyard gate with the Genesis Configuration
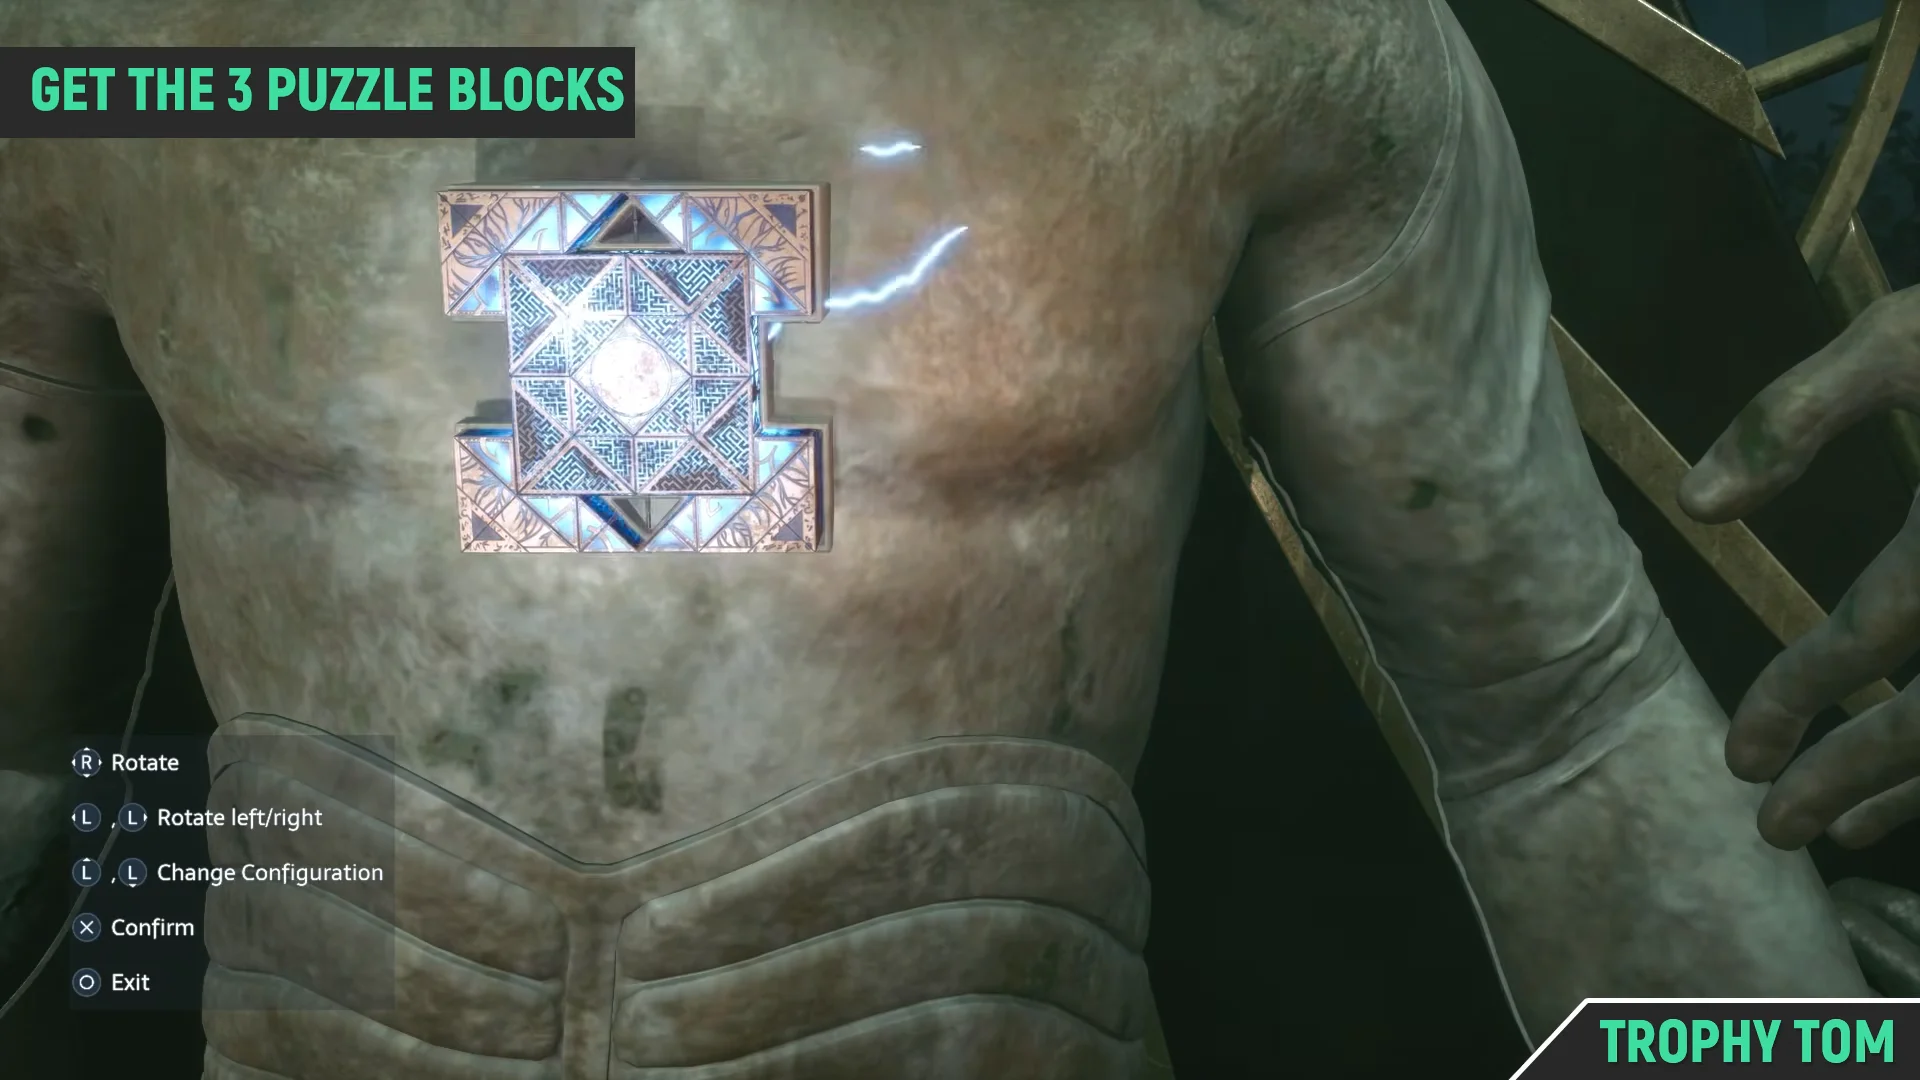
The first male statue has a shaped cavity in its chest. Interact with it using the Genesis Configuration puzzle box, then rotate and change the box into its expanded form so the cross-shaped notch matches the cutout. When the shape lines up, the iron gate swings open and you can head through to the park.
Collect all three Puzzle Blocks
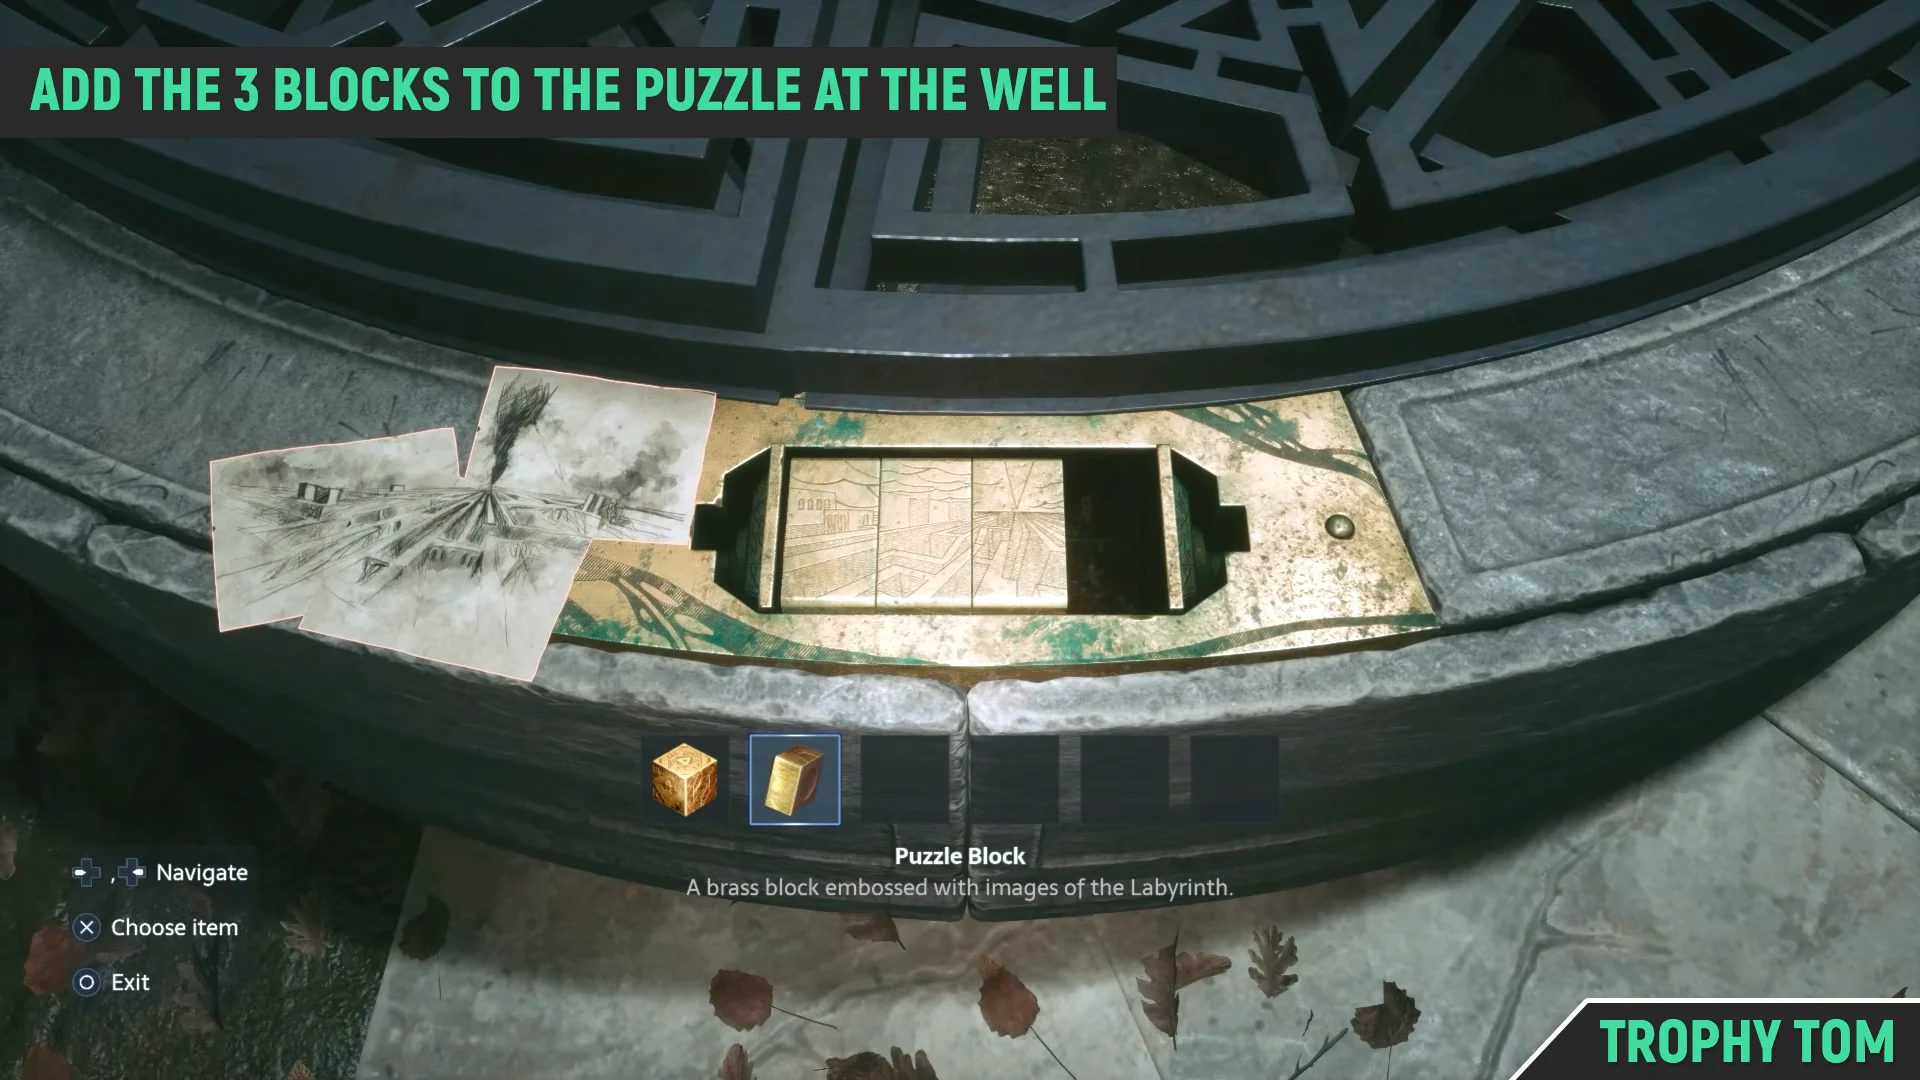
Each Puzzle Block is a brass cube embossed with images of the Labyrinth. You can grab them in any order, but every pickup can draw enemies, so clear each area before moving on.
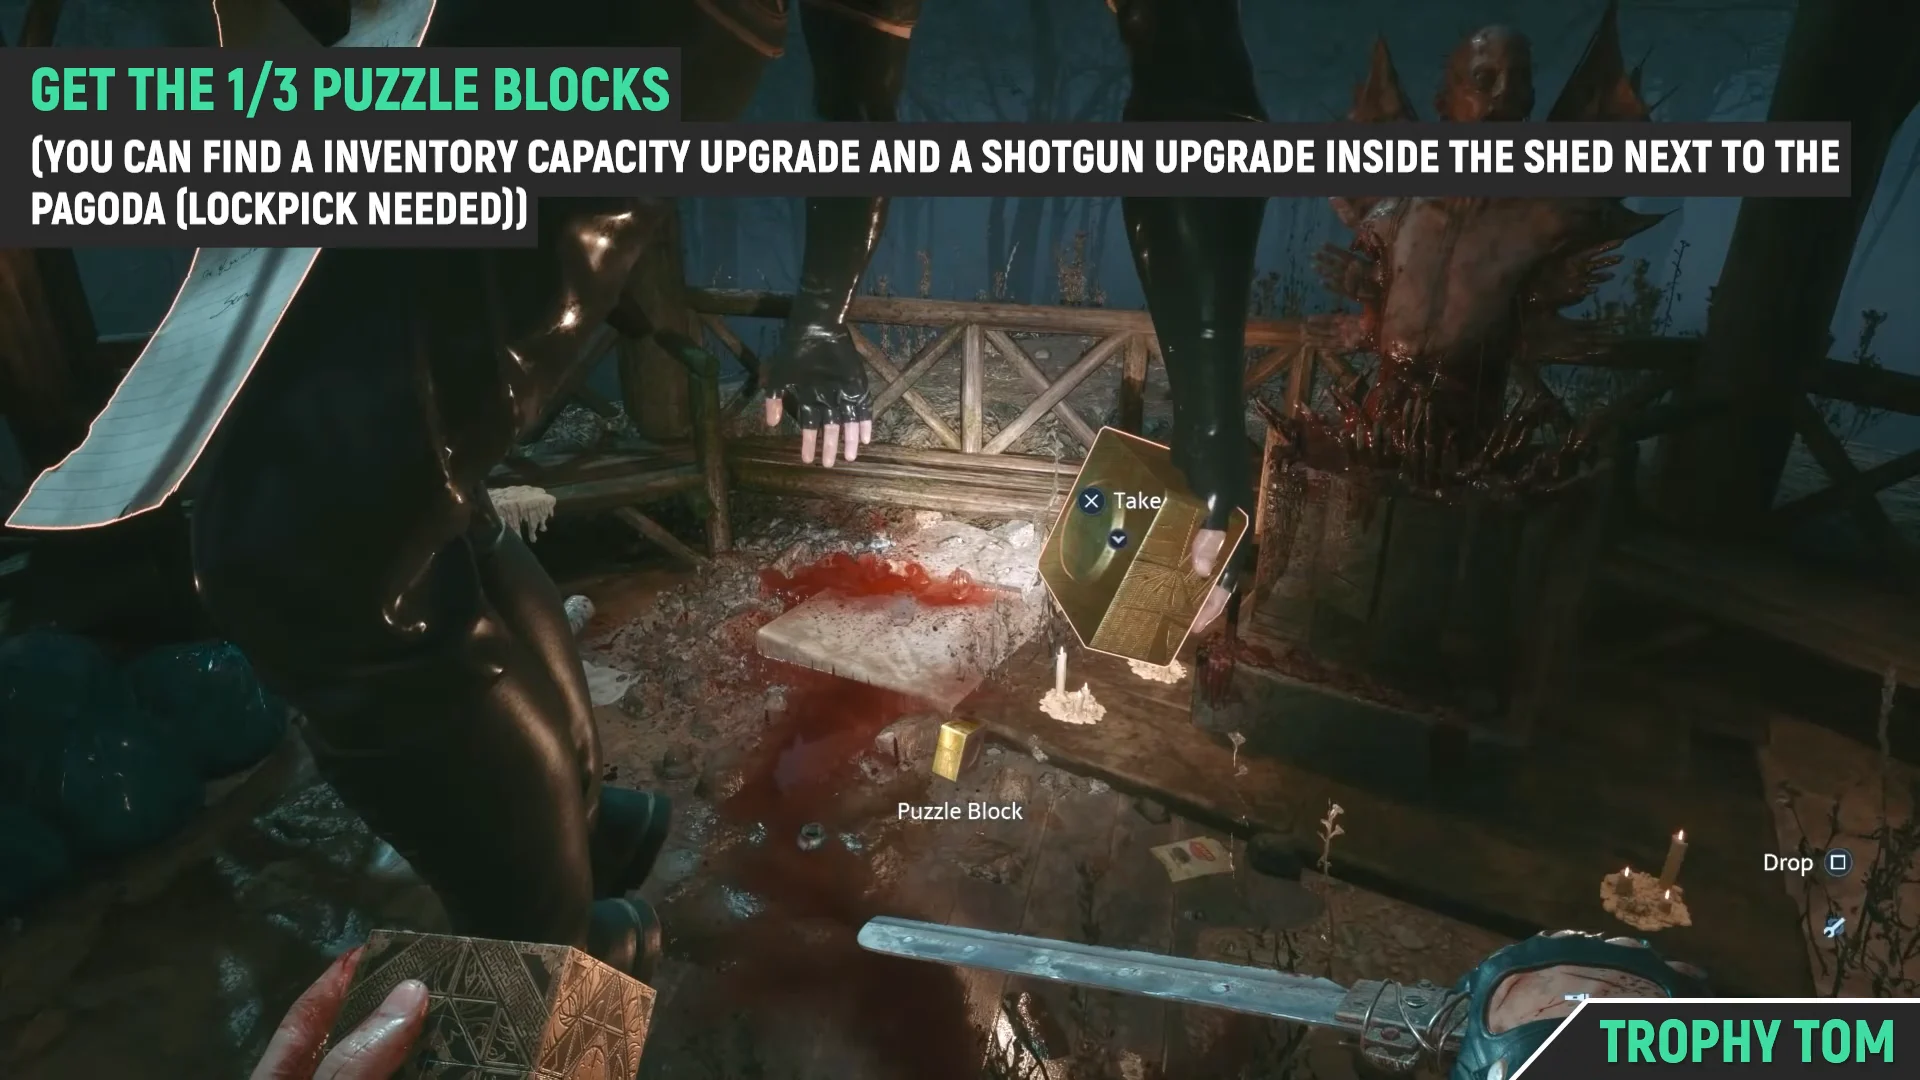
Puzzle Block 1: Pagoda altar
Go through the gate to the wooden pagoda. The first block sits on the bloody sacrificial altar inside. Take it, then look at the locked shed next to the pagoda if you have a lockpick, as it holds an Inventory Capacity Upgrade and a Shotgun Upgrade.
Puzzle Block 2: Lake dock
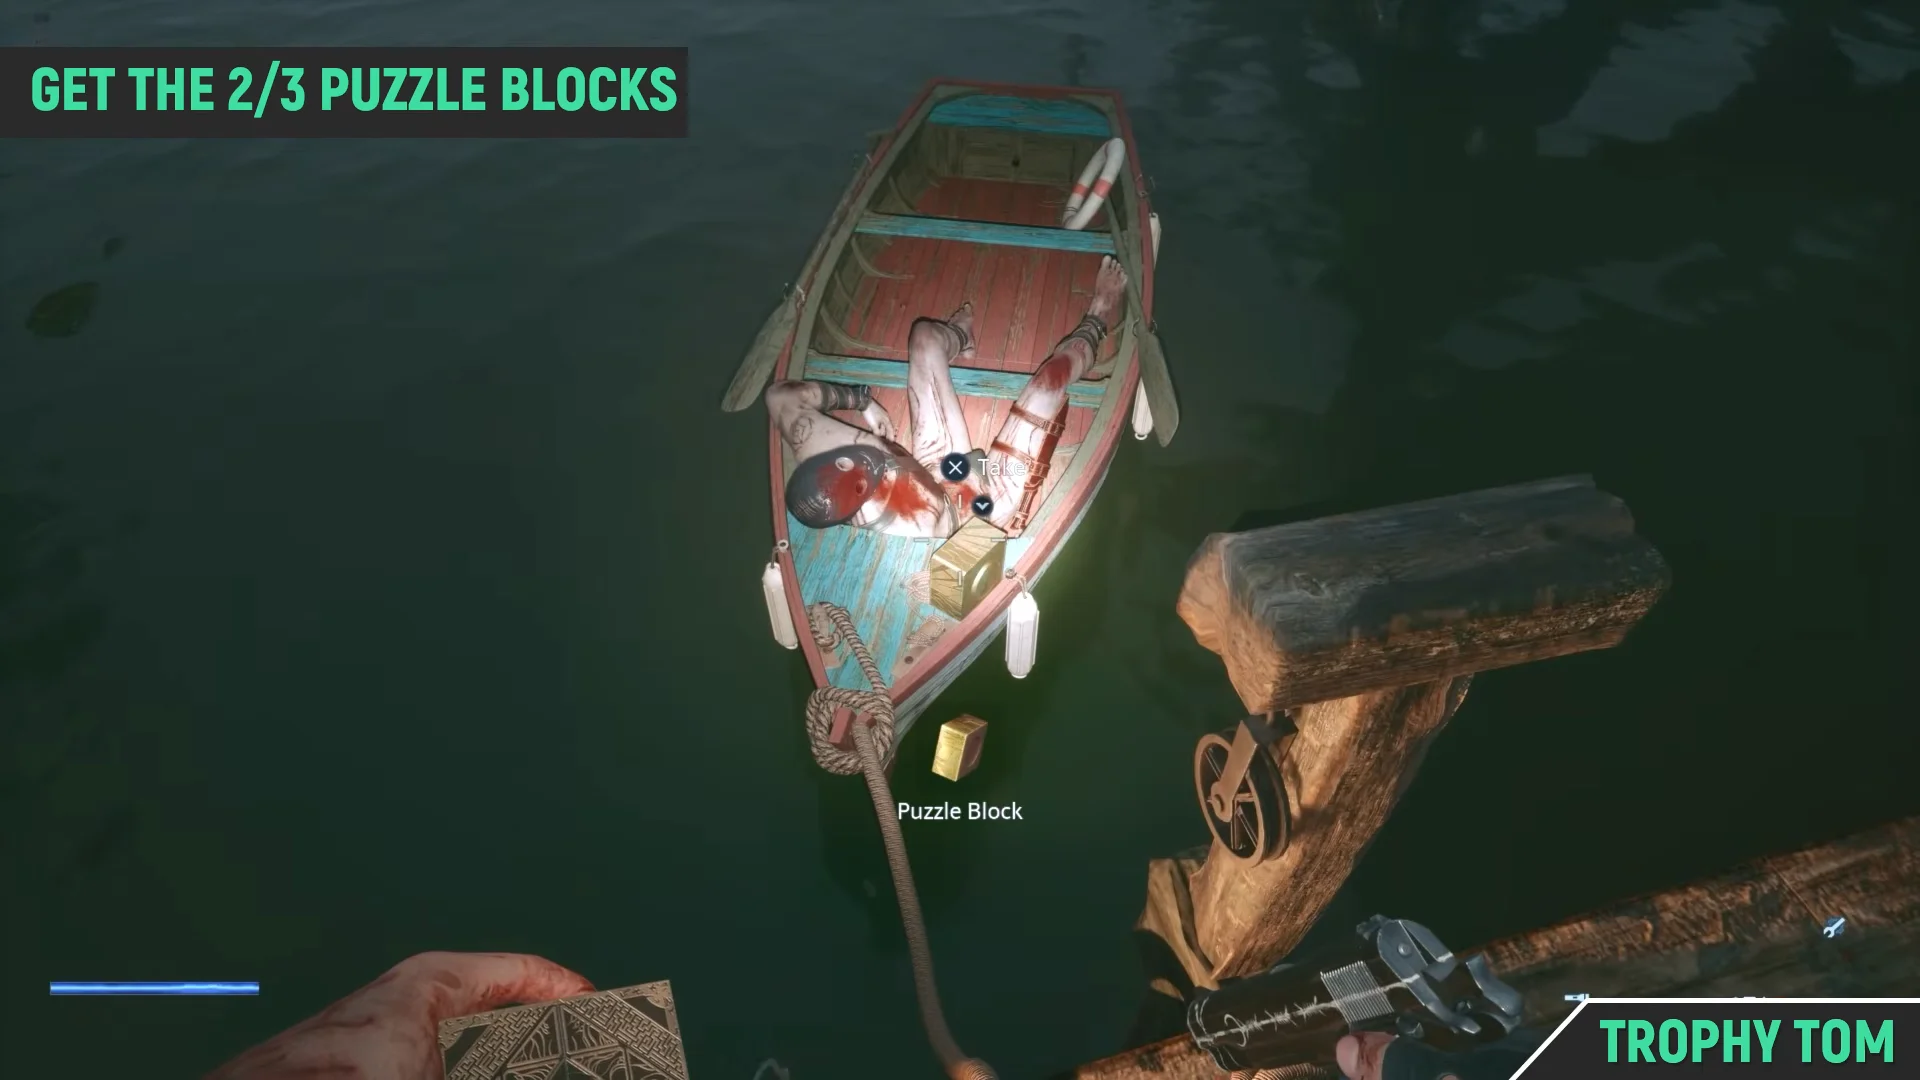
Go to the lakeside dock and deal with the enemy posted there. Use the wooden rope winch to pull a small rowboat in; it holds a corpse and the second block. Remove the block before leaving.
Earn the “Red Dead Damnation” trophy by firing on every one of the 9 glass bottles on the wooden posts and docks while you’re at the dock.
Puzzle Block 3: Playground carousel
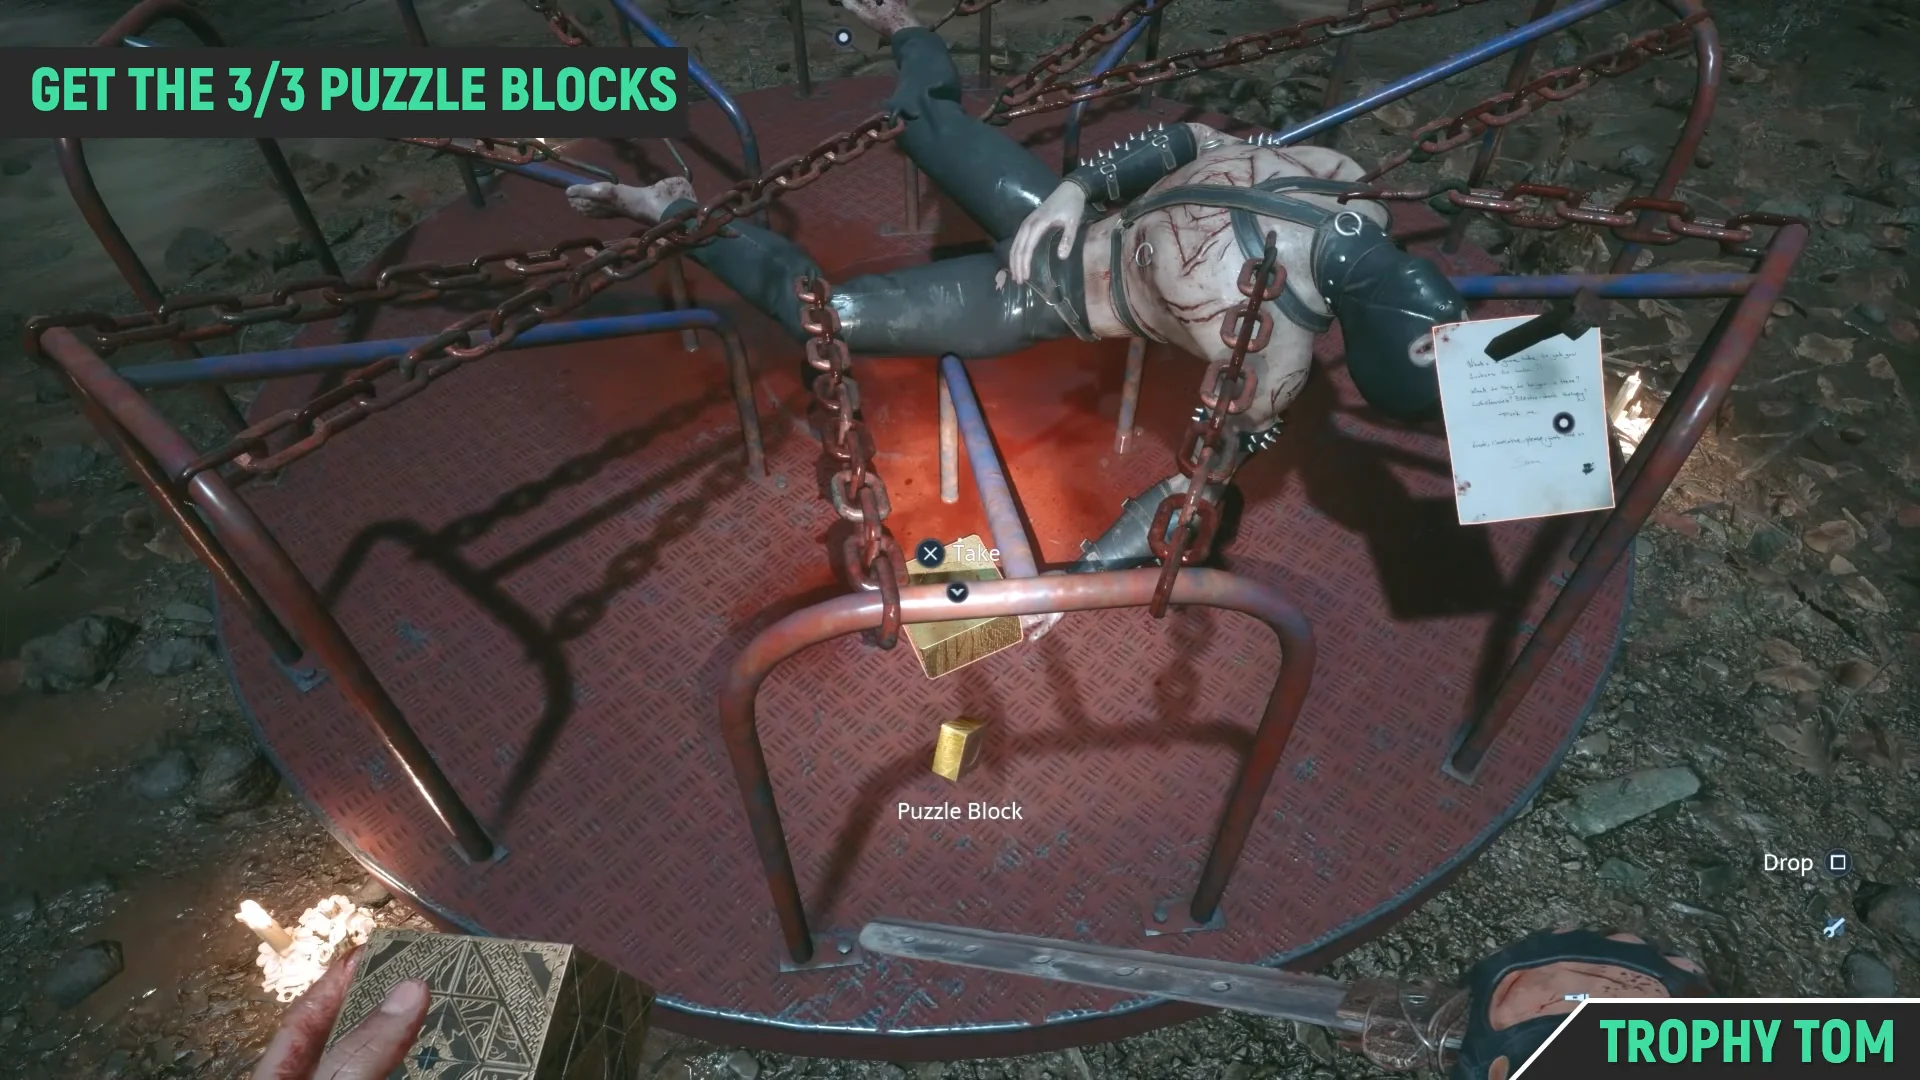
Fight your way to the children’s playground and find the carousel. Interact with it to spin the platform, which reveals the third block lying next to a bound victim. Pick it up to complete the set.
Solve the well puzzle
Descend the well and take the Statue’s Tongue
Take the ladder down into the underground tunnels, go through the circular chamber, and continue into the back workroom. There, the Statue’s Tongue sits on a desk cluttered with a skull, books, and candles. This stone piece fits the statue resembling Charlotte, and you need it to open the final gate.
A cabinet in this room holds an SMG upgrade if you have a lockpick. Taking the tongue does not open the ladder as a quick exit, so you will need to solve the wiring puzzle to continue.
Electrical junction box
In the same room, open the wall-mounted breaker box and turn the wire segments until the circuits are complete and every green indicator light is lit. This powers the mechanism and opens the door leading toward the exit.
Optional: 99 coins from the flesh mass
For extra coins, turn off the red steam valve, then cut the bleeding tentacle appendages in the surrounding rooms and hallways. Slice through the main flesh mass in the side room to destroy it. This pays out in three batches of +33 coins for a total of 99.
On the way back up you pass through a blue corridor where two fully armored enemies spawn, one ahead and one behind. Avoid getting pinned between them and find the staircase that leads back to the park.
Complete the female statue and open the gate to Charlotte
Back above ground, head to the gate with the ornate winged female statue. Interact with the statue, choose the Statue’s Tongue, and put it in the statue’s mouth. Then use the Genesis Configuration box on the chest slot to begin the final puzzle.
Configure the box in this order so its shape matches the chest emblem:
- Press left stick Down twice.
- Rotate with the right stick to orient the pegs correctly.
- Shift the configuration with left stick Left.
- Press Confirm (Cross / A) to set it.
When the shape fits the emblem, the gate opens and the path to Charlotte becomes available. You know the sequence worked once the tongue sits in the statue’s mouth and the gate unlocks after confirming the box, letting you move forward.