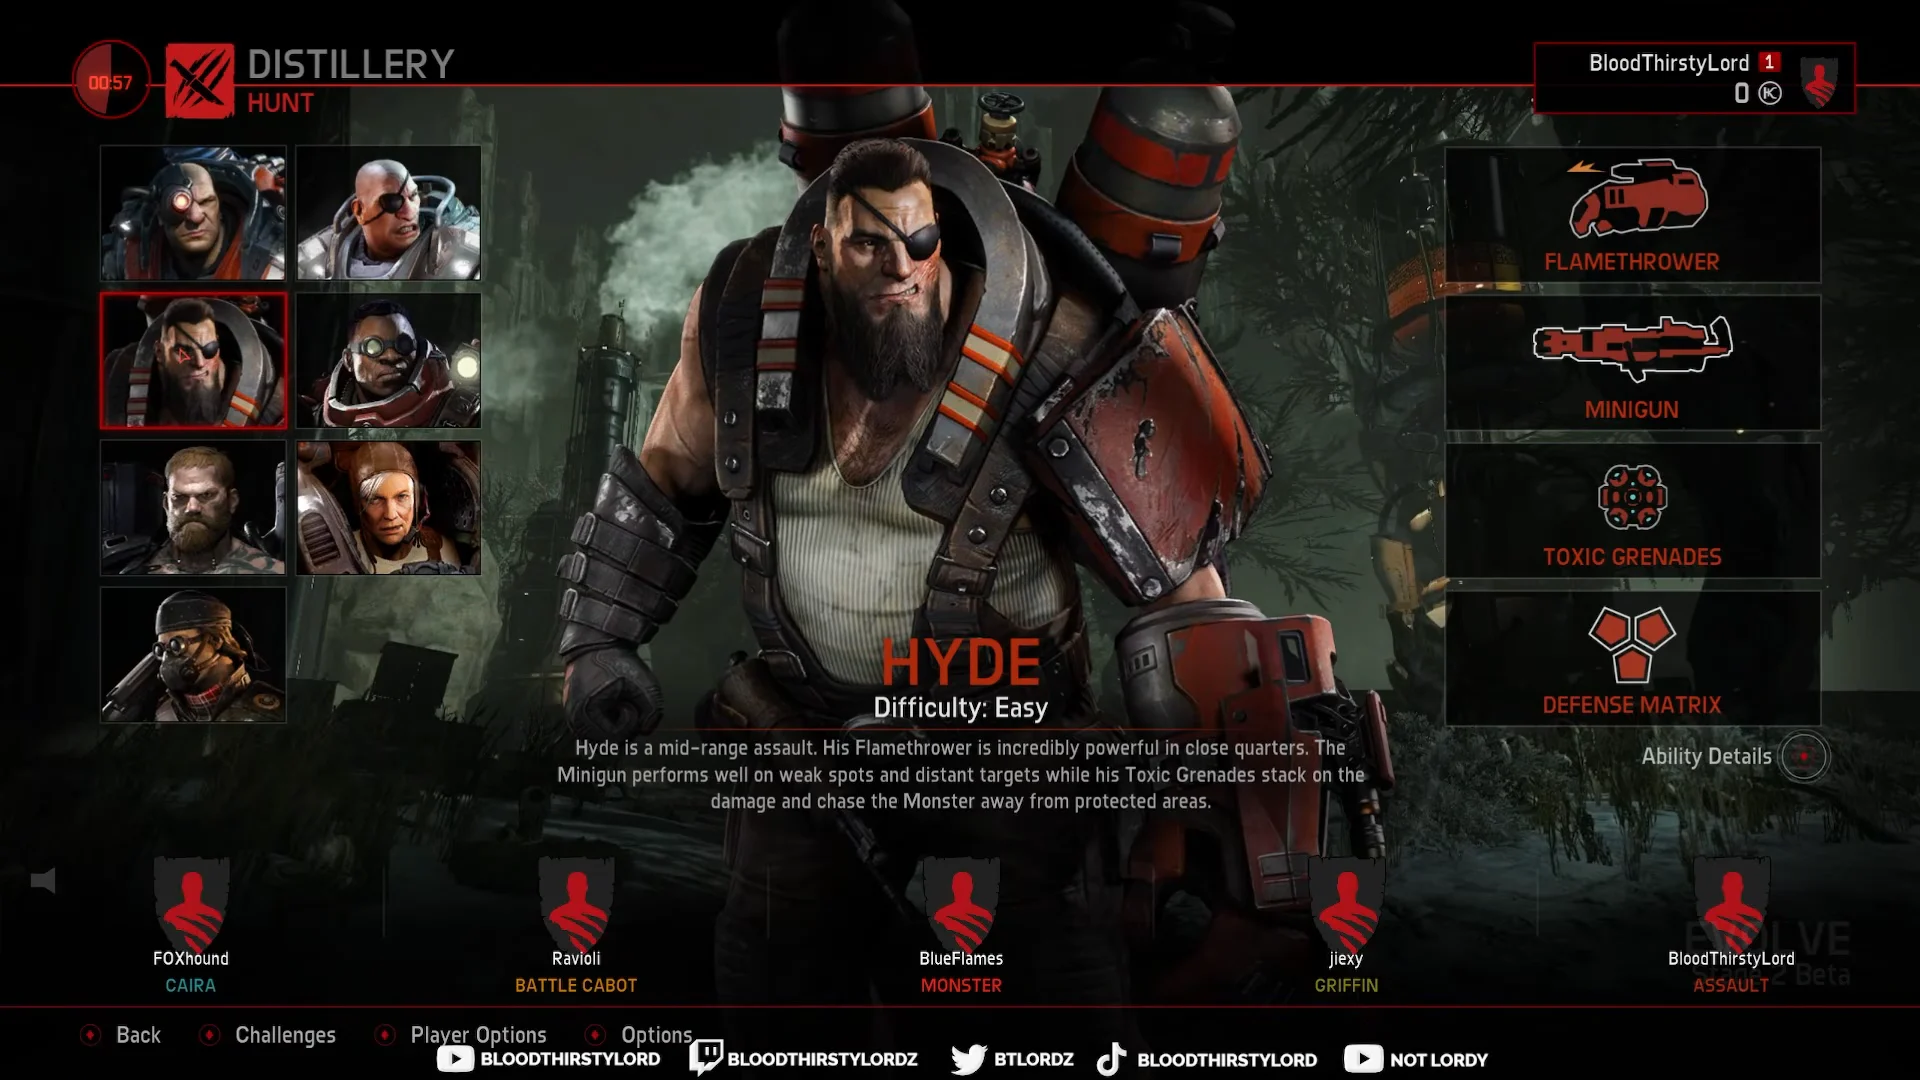
Hyde is one of the Assault-class hunters in Evolve Stage 2, built around getting close and setting the Monster on fire. He carries a Flamethrower as his main weapon, a Minigun for distance, Toxic Grenades for area denial, and a personal shield called Defense Matrix. The game rates him as an Easy-difficulty pick, which makes him a common starting point for new players learning the four-versus-one Hunt mode.
Quick answer: Hyde is a mid-range Assault hunter whose Flamethrower deals heavy close-quarters burn damage, backed by a Minigun, Toxic Grenades, and the damage-blocking Defense Matrix.
Hyde’s loadout in Evolve Stage 2
Hyde’s kit is split across short and long range. The Flamethrower does the work up close, the Minigun covers everything past it, and the two remaining tools shape the fight. Each one fills a clear job.
| Tool | Role | Effect |
|---|---|---|
| Flamethrower | Primary | Continuous close-range fire with burn damage over time |
| Minigun | Secondary | Fast, low-accuracy fire for weak spots and distant targets |
| Toxic Grenades | Ability | Poison cloud that damages and pushes the Monster off protected areas |
| Defense Matrix | Class ability | Temporary shield that blocks a share of incoming damage, then cools down |
The Flamethrower is strongest when the Monster is right in front of you, so Hyde wants to be inside the arena dome and in its face. The Minigun exists for the moments when it breaks away, since it chews through weak spots at range. Toxic Grenades serve double duty as damage and as crowd control near objectives like the Power Relay.
The full-damage perk build (+16% total)
The build shown here stacks three perks that all do the same thing, raising raw damage output. Together they add up to a +16% damage increase with nothing spent on movement, reload, or jetpack recovery.
- Extra Force (Minor): +3% Damage Increase
- Destructive Force (Major): +5% Damage Increase
- Lethal Force (Superior): +8% Damage Increase
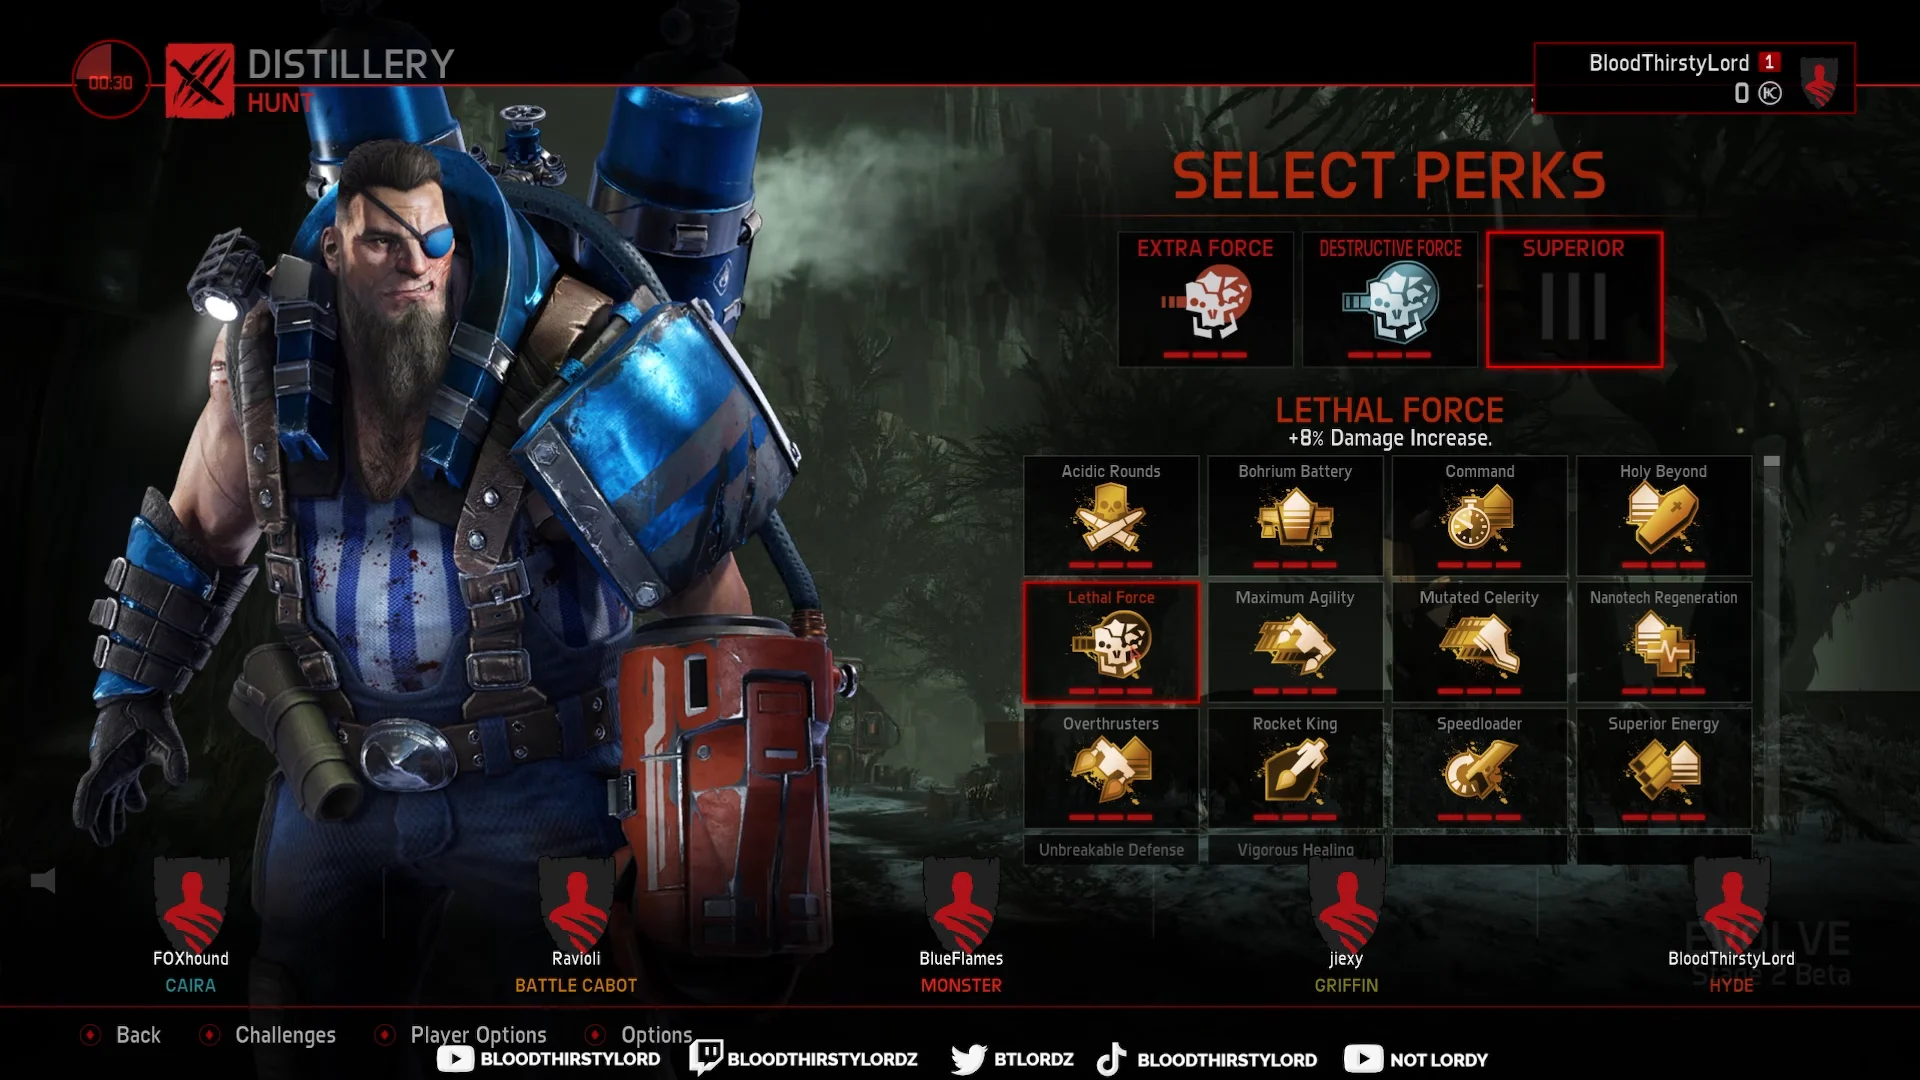
This is a pure offensive setup. It pays off against the Monster’s armor, which it can strip quickly, but it trades away any survivability or mobility help that other perks would give Hyde.
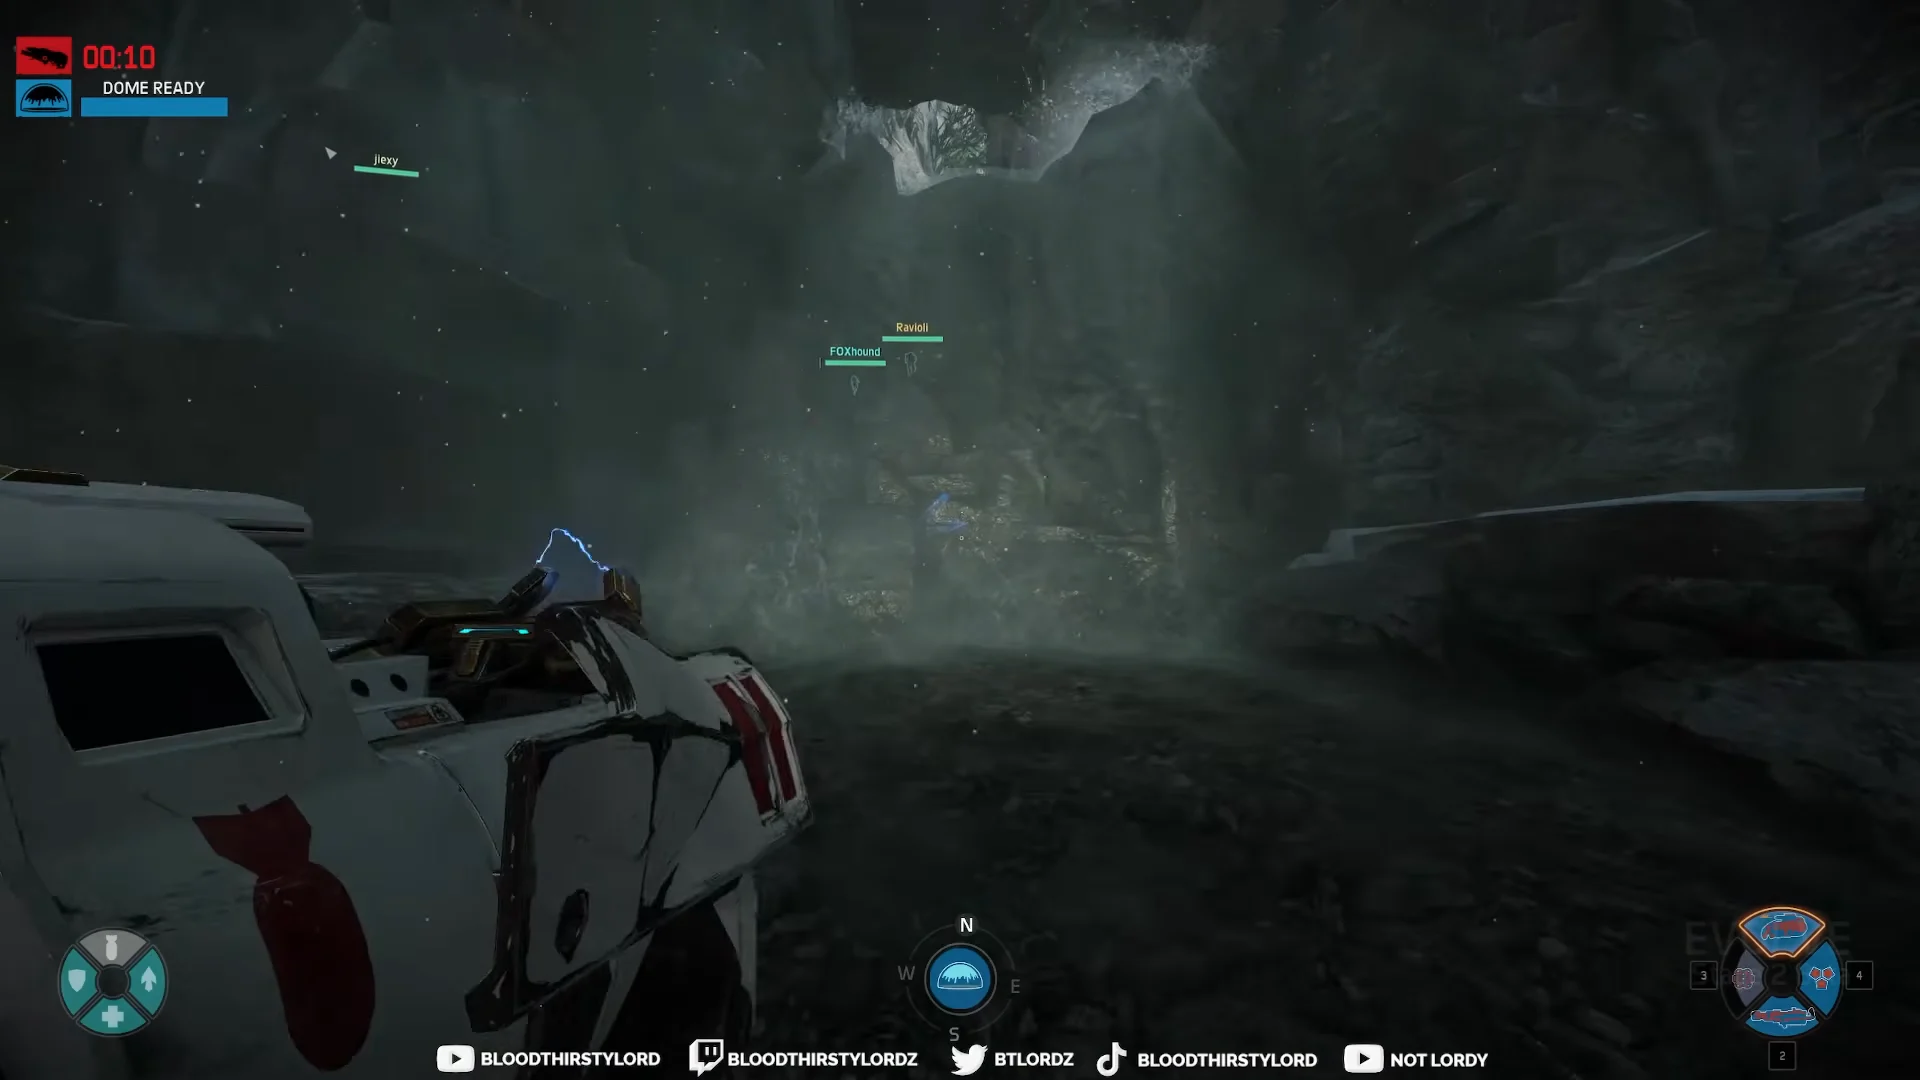
How Hyde plays in a Hunt match on Distillery
In Hunt mode, the four hunters drop onto the map and follow the Monster’s tracks, spooked birds, and other trails until the Trapper can throw down a mobile arena dome and pin it in place. On the Distillery map, that means moving through a snowy industrial canyon dotted with caves, factory ruins, and relay platforms.
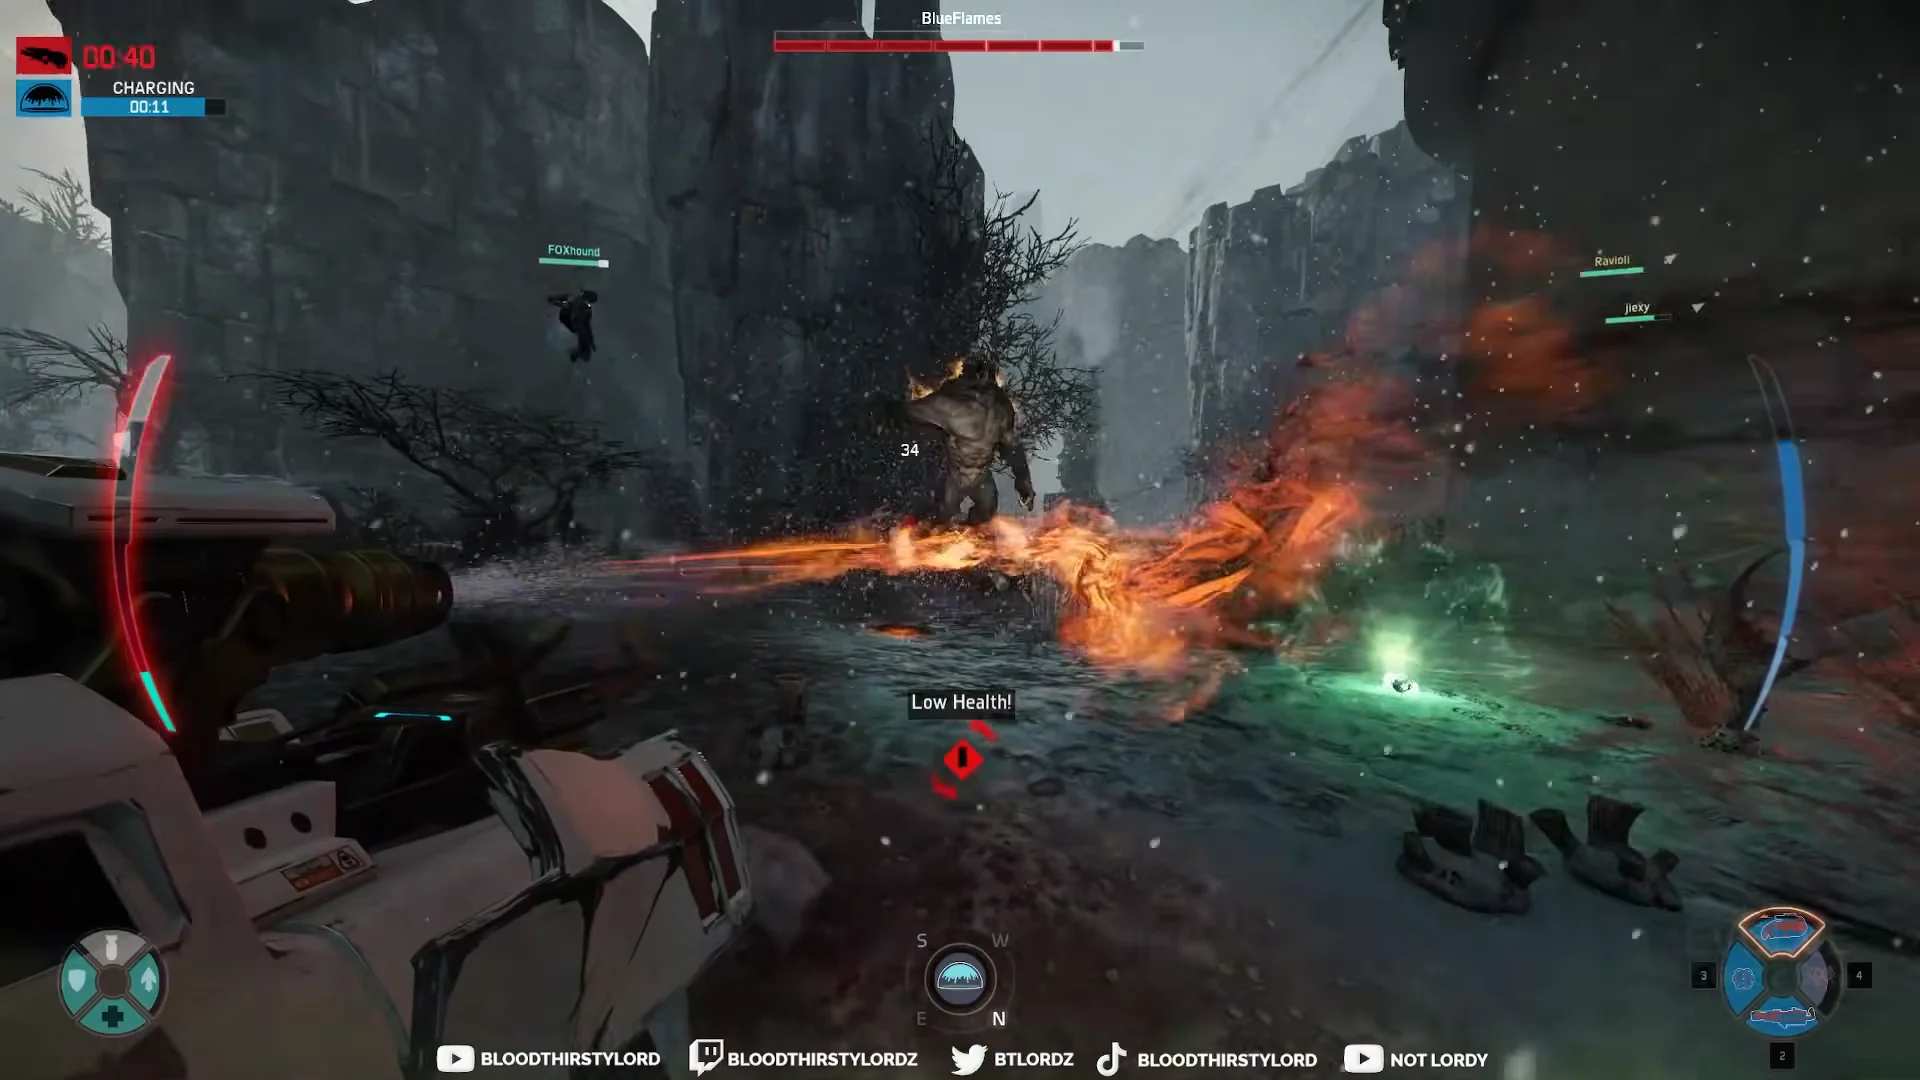
Once the dome goes up, Hyde closes in and pours Flamethrower fire onto the Goliath while popping Defense Matrix to soak return hits. The footage shows the armor burning off fast under that pressure. The problem is staying alive long enough to finish the job.
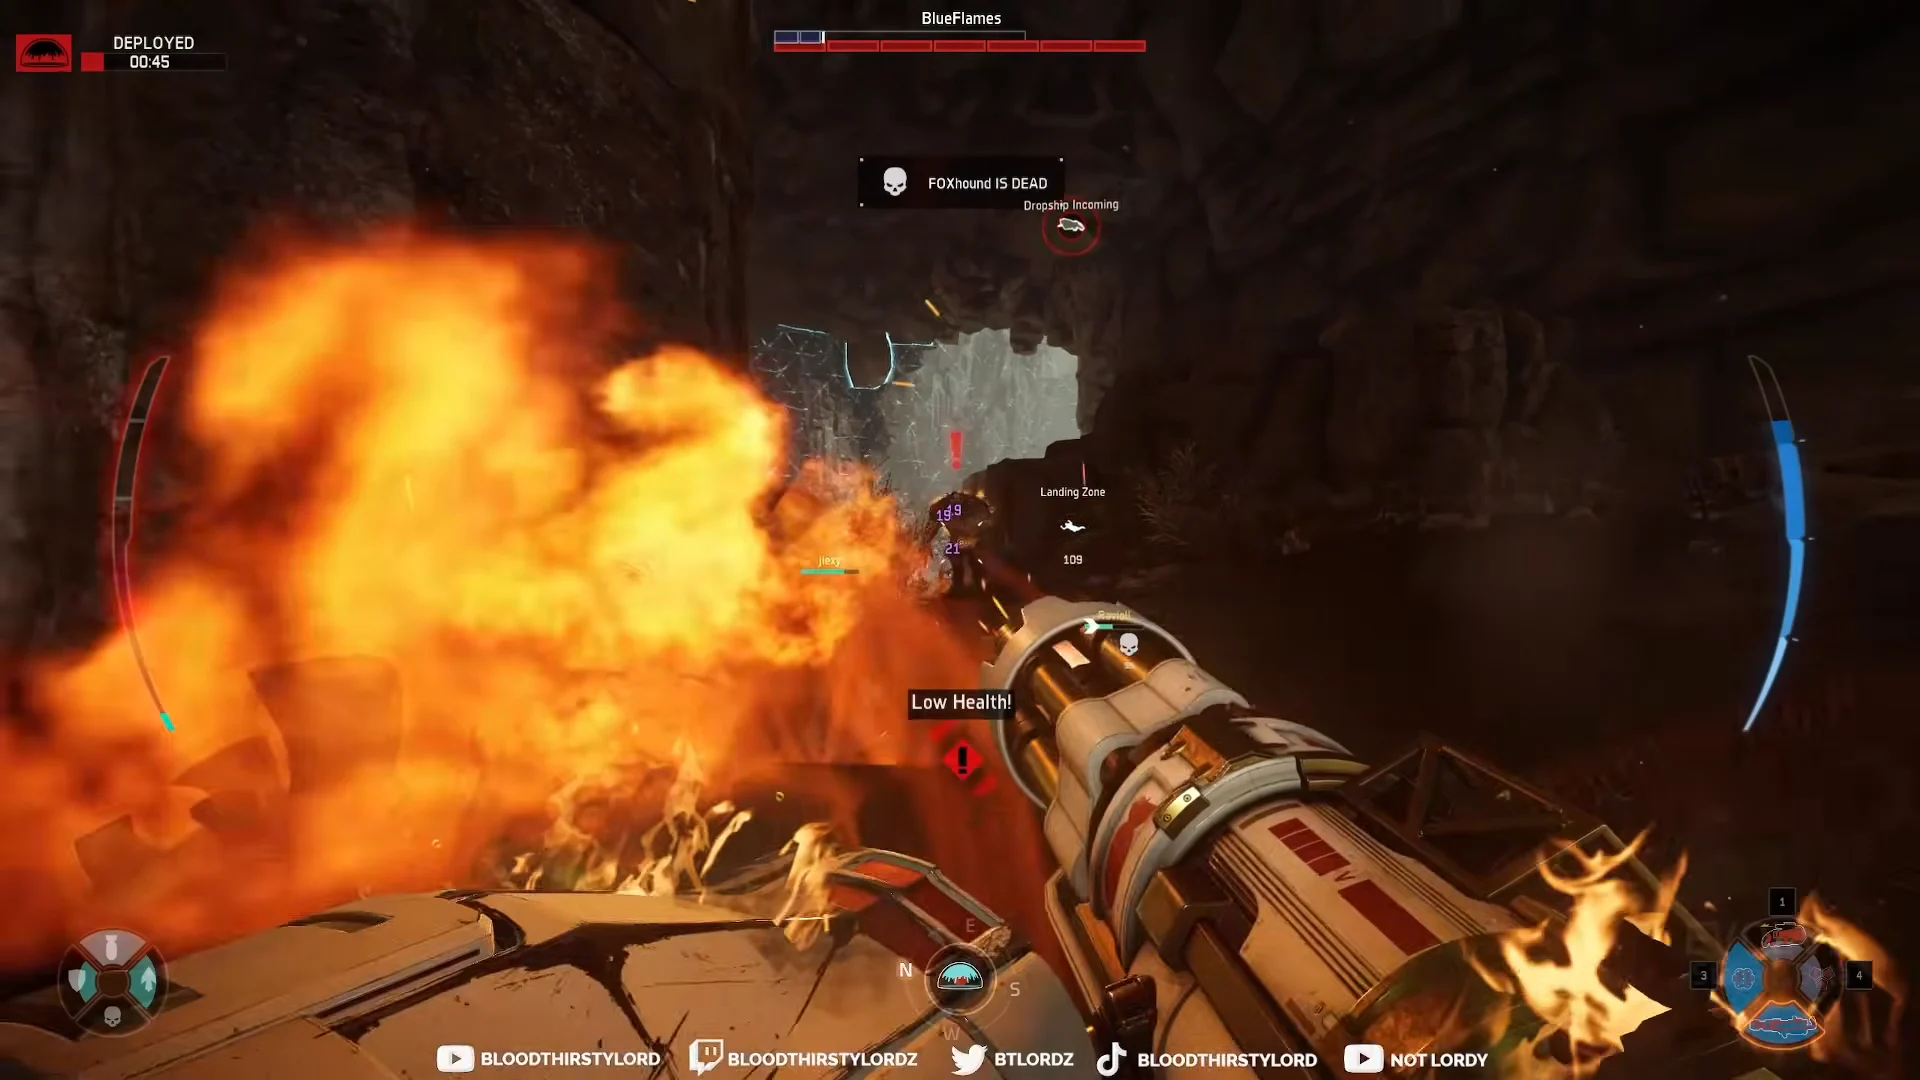
The team here runs Caira as Medic, Battle Cabot as Support, Griffin as Trapper, and Hyde as Assault, facing a Goliath called BlueFlames. The Monster repeatedly focuses the Medic, dropping her in each major clash. Every time the Medic goes down, the hunters lose their healing and start trading casualties they cannot recover from.
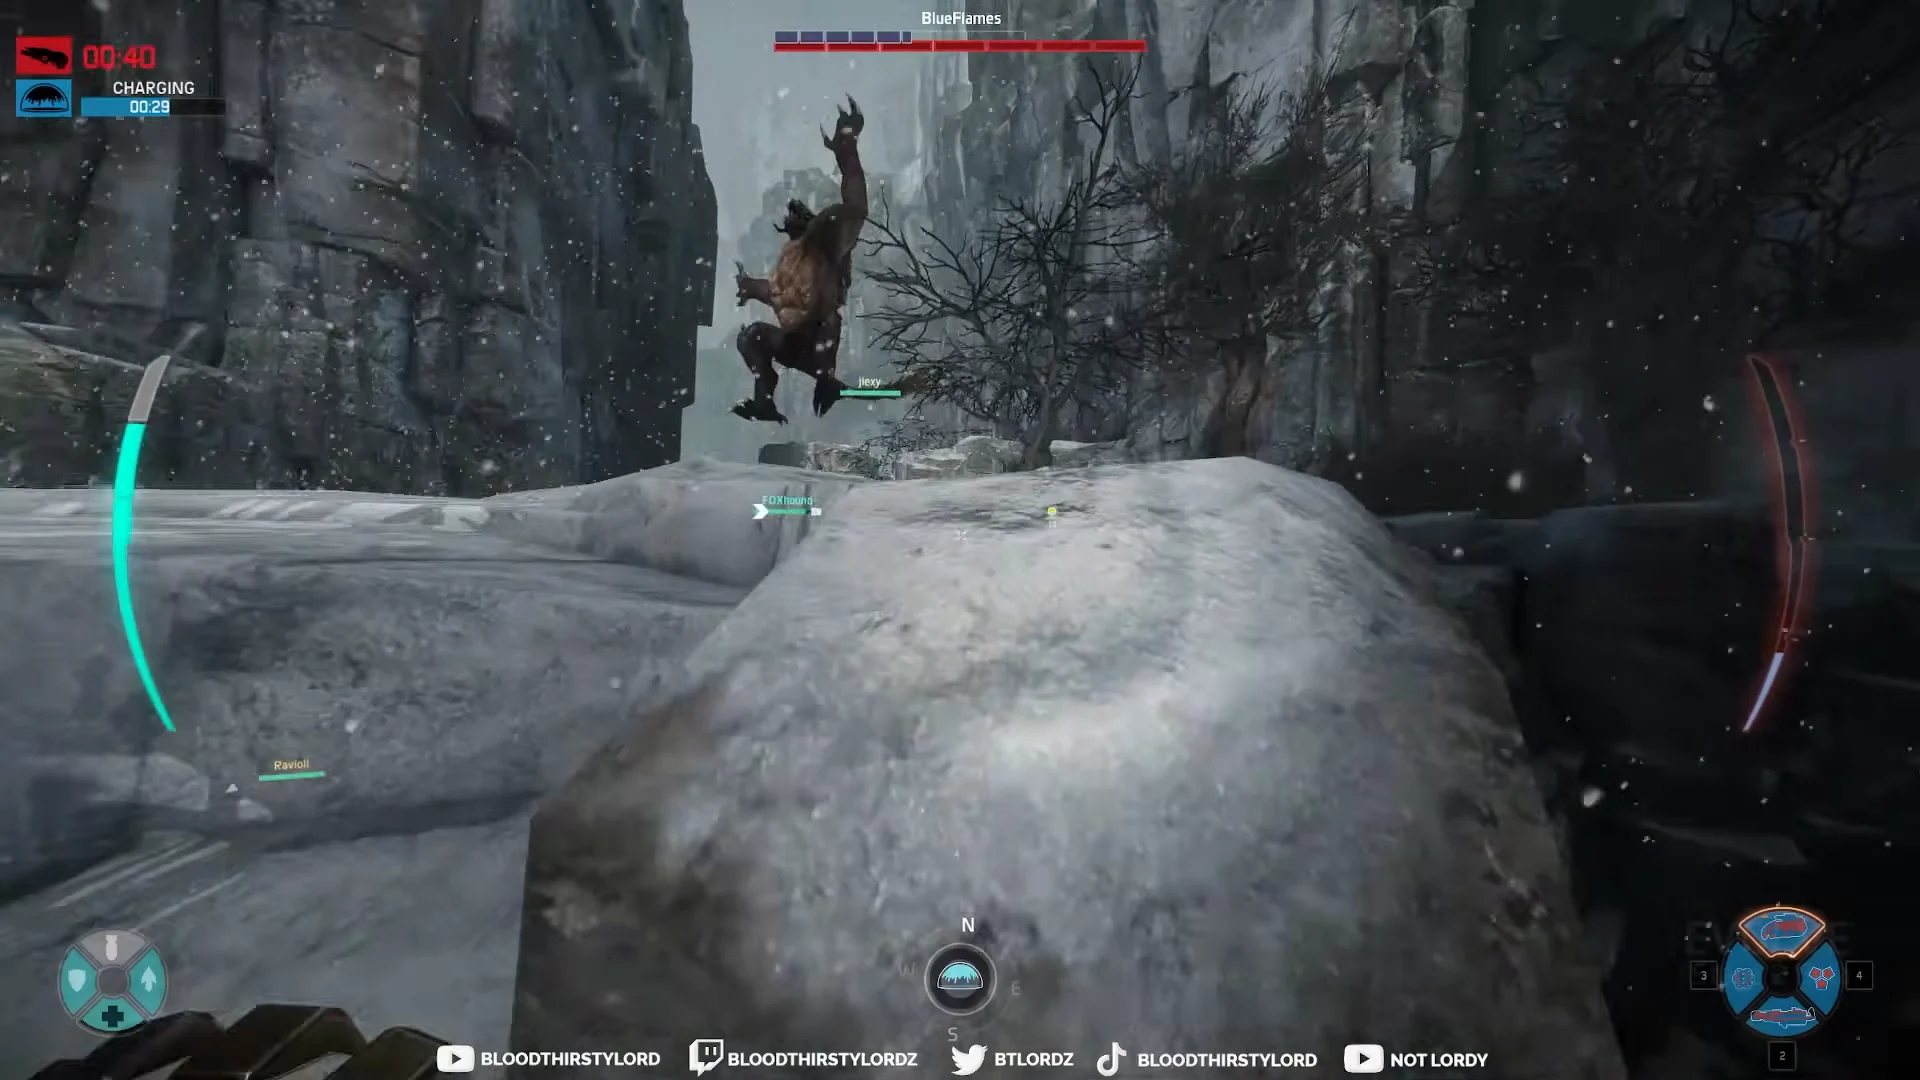
Between fights the Goliath keeps fleeing and feeding, which lets it evolve. It climbs from Stage 1 to Stage 2, and the extra health and armor make each dome harder to win. Hyde gets incapacitated several times across the match and is revived by teammates, but the fire output never quite outpaces the Monster’s growth.
By the time it hits Stage 3, the fight moves to the Power Relay. The Goliath tears down the relay defenses and corners the last hunter, ending the match with the “MONSTER WINS!” screen. On the post-match screen Hyde finishes at Level 1 with zero wins, one loss, no kills, four wildlife kills, three deaths, and 13 minutes 48 seconds played.
What the loss says about Hyde
The result is not really a knock on Hyde’s damage. His Flamethrower repeatedly shredded armor, and the “MONSTER ARMOR DESTROYED” alerts confirm the output was landing. The match turned on the Medic dying over and over, which is a team problem rather than an Assault problem.
That is the trade a full-damage Hyde makes. He can delete armor and chase the Monster off objectives, but he still depends on the Medic keeping everyone upright and the Trapper landing clean domes. Against a Monster that is allowed to evolve to Stage 3, raw damage alone is not enough to carry the fight at the relay.