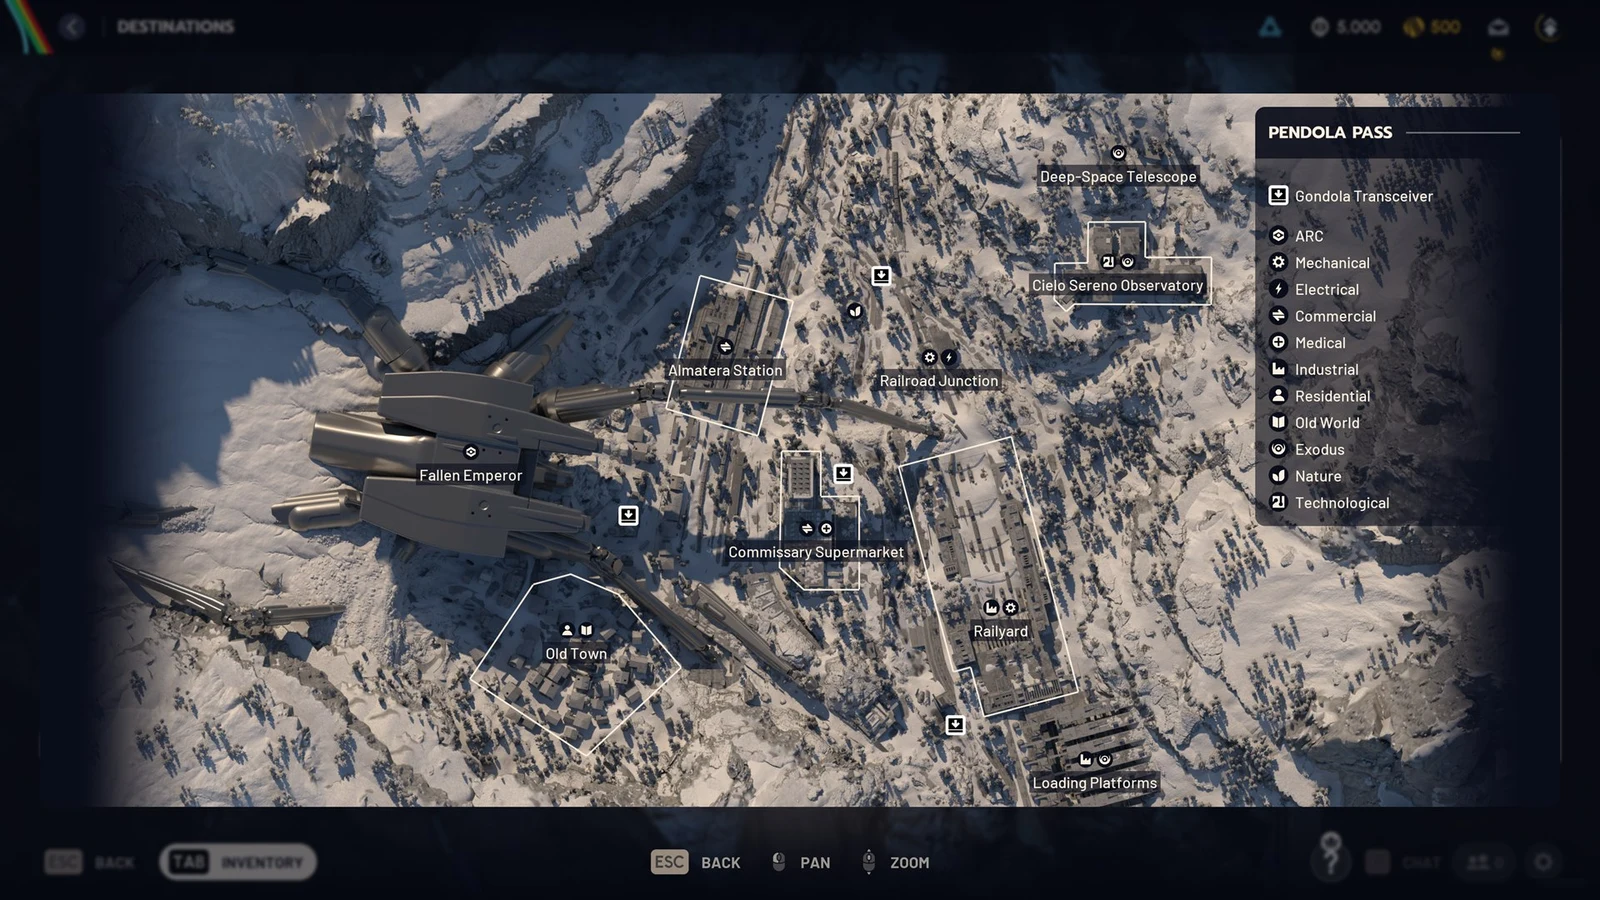
Belly of the Beast is a Shani quest added with the Frozen Trail update, and it drops you into the Fallen Emperor, the giant downed ARC vessel at the center of the Pendola Pass map. It follows Sizing Things Up, a lead-in handed out by Celeste, so finish that first if the quest is not in your log yet. What looks like a short objective line hides a full multi-room dungeon run with a crafting gate, repeated Hydra fights, and environmental hazards that can kill you faster than the machines.
Quick answer: Craft an Emperor Gateway Conduit on Pendola Pass, open the Fallen Emperor gateway, search five containers through the dungeon, pick up the Legendary Emperor Modulator, then extract and turn in to Shani.
Belly of the Beast objectives
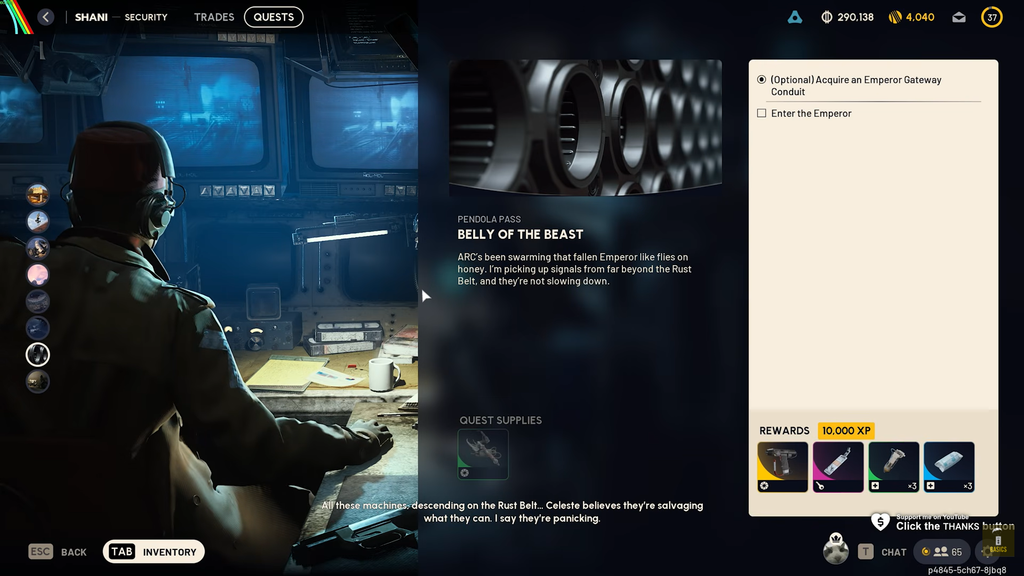
The quest runs seven objectives. The first is optional because anyone carrying a Conduit can open the gateway for the whole lobby, so a squadmate or passing Raider can let you skip the craft. Everything after that happens inside the Emperor.
- (Optional) Acquire an Emperor Gateway Conduit
- Enter the Emperor
- Track down the source of the Emperor’s power.
- Learn what becomes of Harvester Payloads after they enter the Emperor.
- Find the storage location for Harvester Payloads delivered to the Emperor.
- Search 5 containers inside the Emperor
- Obtain a unique piece of Emperor loot
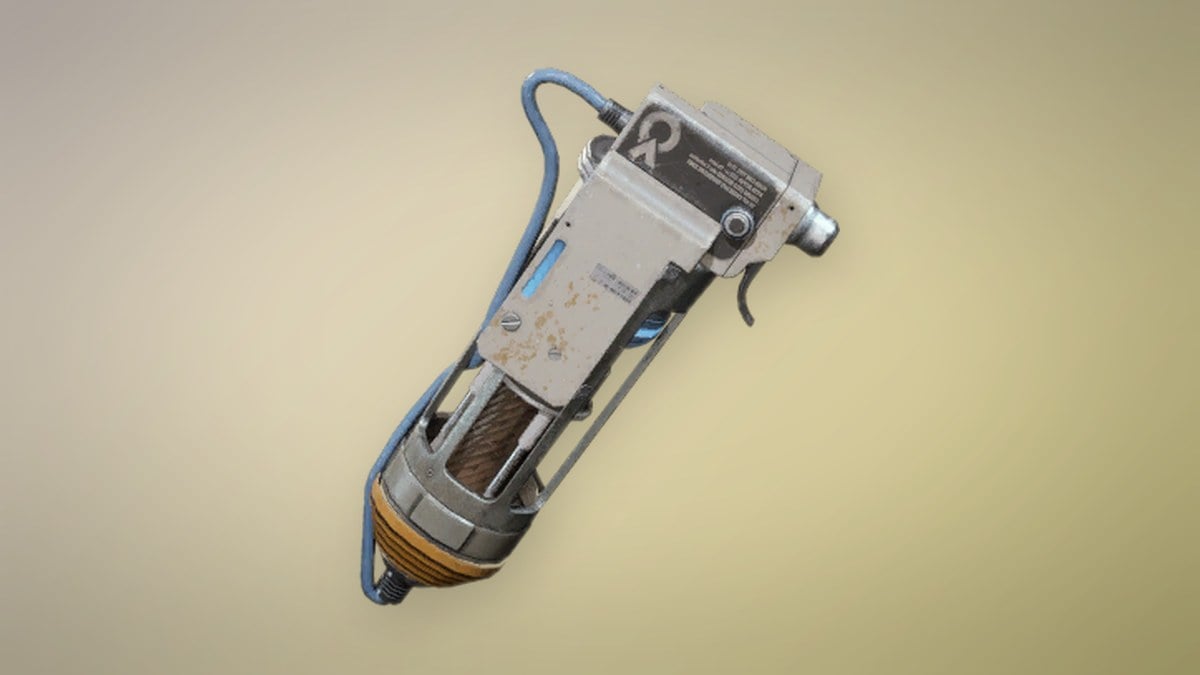
Accepting the quest from Shani hands you a Grappling Hook. The unique piece of loot is the Legendary Emperor Modulator, found in the final vault.
What to bring into the Emperor
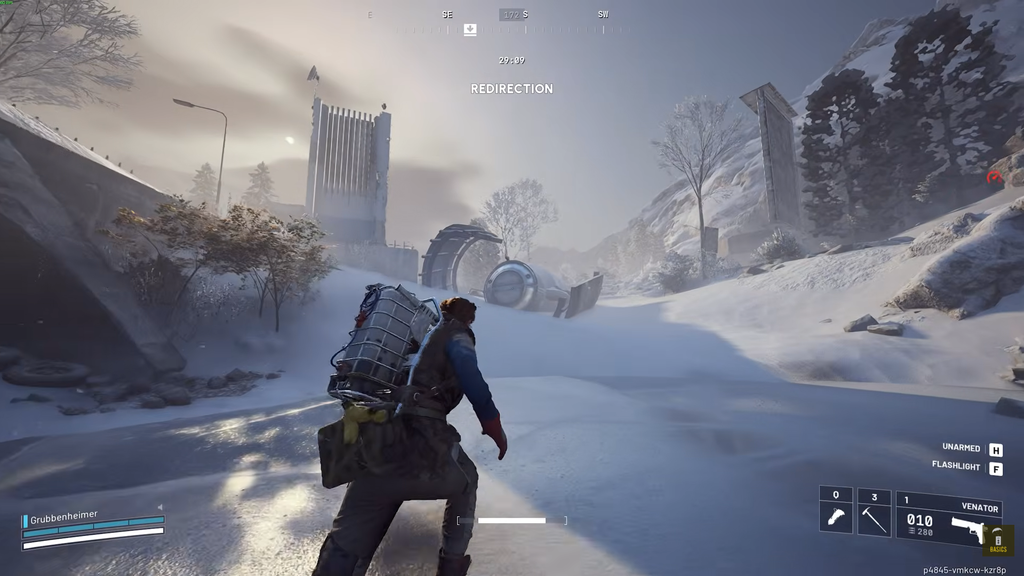
This is a long run, and time matters. Looting and clearing every room eats into your raid clock, so move faster than usual to make sure you can grab the vault loot and still extract. Pack your loadout around three things.
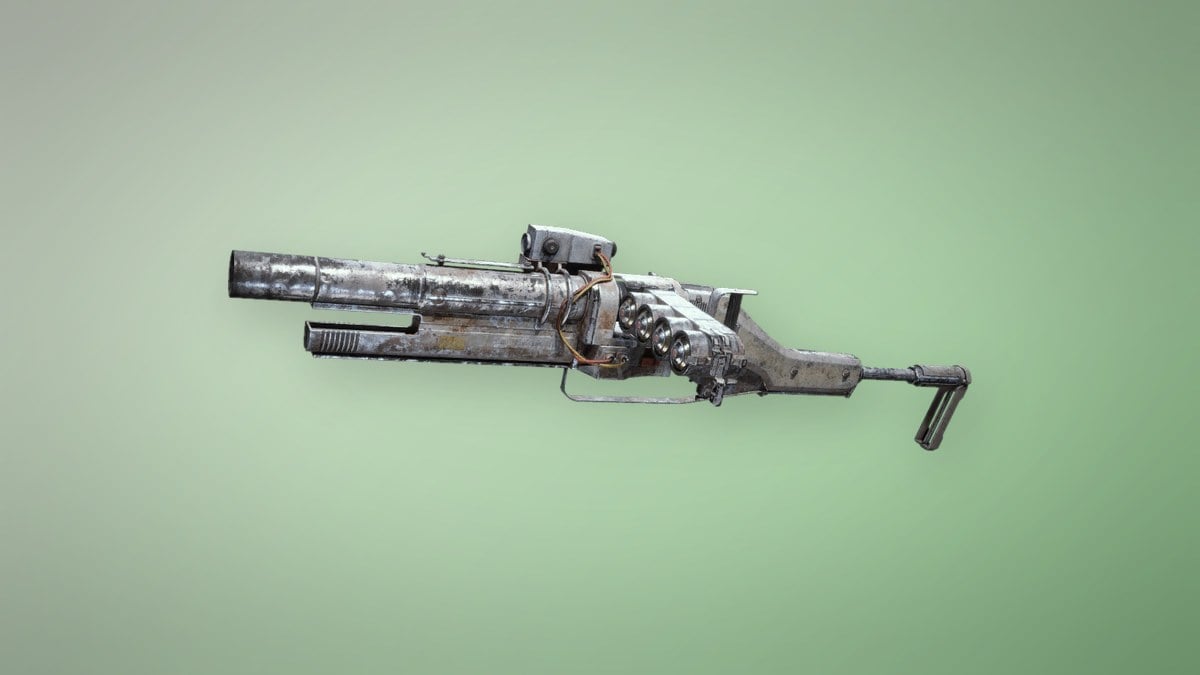
- A Hullcracker to handle the Hydras that gate the dungeon
- A Snap Hook for crossing hazard rooms and climbing between platforms
- Plenty of healing items
The Hullcracker launches explosive rounds that burst on contact with ARC, making it well suited to this task. There’s no need to bring extra shields, because dead ARCs and the containers inside them drop plenty.
How to craft the Emperor Gateway Conduit
The Fallen Emperor’s round portal remains locked until a bearer of an Emperor Gateway Conduit activates it. Making the item yourself is the dependable option, and the process plays out as a mini-quest. This Legendary key is assembled from three distinct couplers.
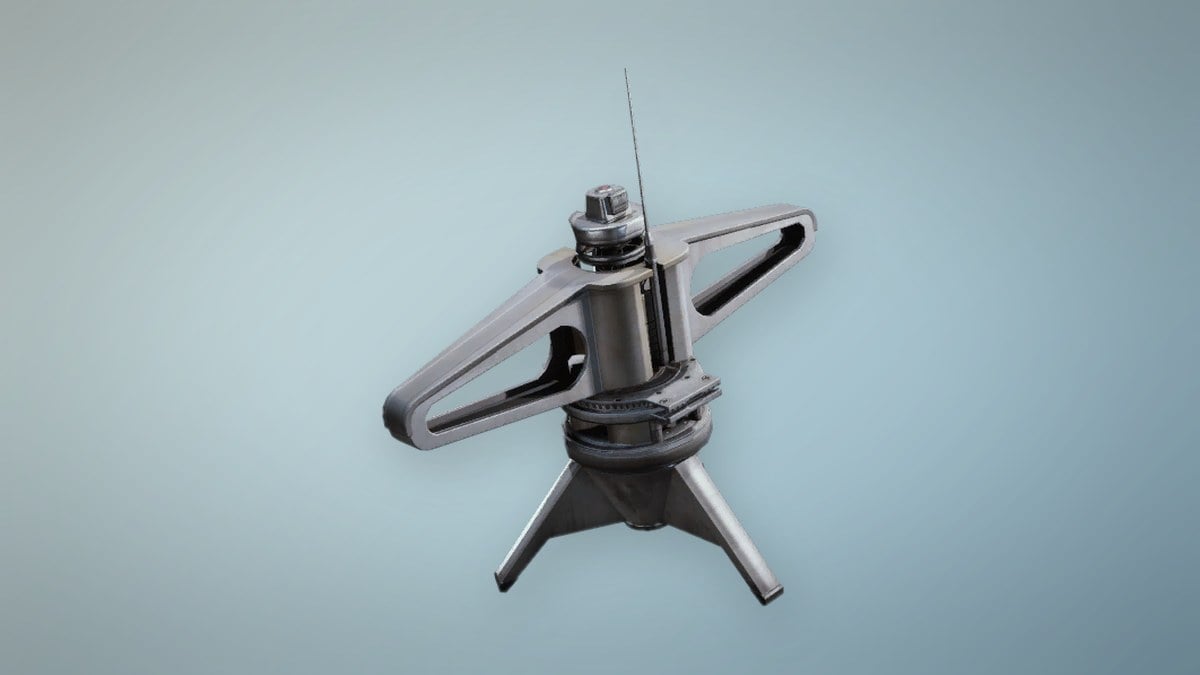
The blueprint is a chance drop, so expect to spawn and clear more than one Payload. The relays are a shared target in a PvPvE lobby, so other Raiders will be farming the same spots.
Entering the Fallen Emperor
Once you have a Conduit, enter Pendola Pass and travel west to the Fallen Emperor. Use the Conduit at the large round gateway to unlock it. If a squadmate has one, follow them inside after they open the door.
A Hydra appears just short of the first doorway; take it on with the Hullcracker before going inside. Stay away from the electrical components at the entrance, since touching or shooting them will hurt you before combat begins.
Enter the next room to finish the objective of locating the power source. Fire at the yellow buttons to summon the elevator. Since the lift descends, leave it at every upper level and climb to the next platform on foot instead of staying aboard. Breach containers as you go to collect Amplification parts.
The Emperor uses different layouts per run, so the open doors can send you through the rooms below in a different order each time. Learn the rooms, not a fixed route.
Dungeon rooms and hazards
Poison chamber
On entry, the walls begin to converge as poison spreads across the floor and prevents sprinting. Use your Snap Hook to grapple straight to the opposite side before the room closes around you. Capsule-shaped containers are safe to loot, except for the orange ones, which explode when searched. Grab your loot and move.
Harvester Payload room
Grapple back to the room with the closing walls, then climb the ladders to reach the chamber where Harvester Payloads enter the Emperor. This is the toughest fight: up to three Hydras appear when they spot you. Shoot from cover, draw them out separately when possible, and take each down quickly. Every Hydra is a multi-part turret, so target its weak points.
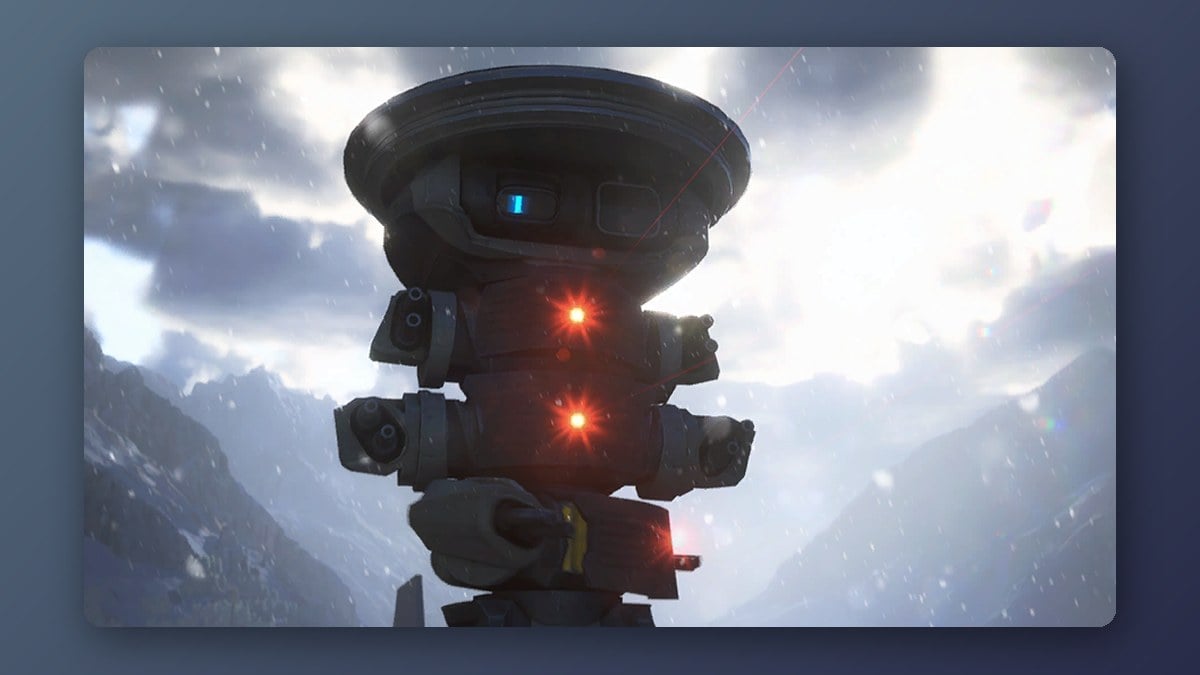
| Hydra part | Health |
|---|---|
| Body | 1050 |
| Core | 800 |
| Joint | 550 |
| Gatling gun | 280 |
| Armor plate | 100 |
Purple laser room
Purple lasers inflict fire damage. Keep running and jump over them to reach the elevator at the far end. Go through the door as it opens into a narrow round tube, and descend carefully—the fall at the bottom deals heavy damage.
Maze room
Watch for Pops and Fireballs as you cross the large room toward the exit on the opposite side. Past it, another narrow tube leads upward; use the Snap Hook to climb all the way to the top.
Main vault
The last room is the vault holding the Payloads delivered to the Emperor. Drop down to trigger the giant door ahead; a Vaporizer may appear, so take it out before interacting with the metal capsules. The capsules contain plenty of Amplification parts, along with the Legendary Emperor Modulator, the unique quest loot. Search five containers to complete that objective. Then exit by the large doorway, descend, and slide to the extraction point.
Belly of the Beast rewards
Once you extract and talk to Shani, the quest completes and pays out the following, along with 10,000 XP.
| Reward | Quantity | Rarity |
|---|---|---|
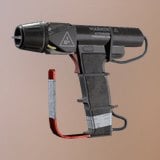 Snap Hook Snap Hook | 1 | Legendary |
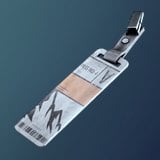 Pendola Pass Observatory Key Pendola Pass Observatory Key | 1 | Epic |
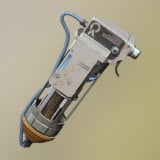 Shield Recharger Shield Recharger | 3 | Uncommon |
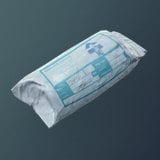 Sterilized Bandage Sterilized Bandage | 3 | Rare |
The Shield Recharger is a portable kit that restores shield at 4 per second for 10 seconds and takes 2 seconds to use. The Sterilized Bandage restores health at 5 per second for 10 seconds, with a 1.5-second application time.
The real prize is everything else you carry out of the vault. The Amplification parts feed the new fifth-tier Amplified Weapons, and the Emperor is one of the key endgame sources for them. You will know the quest is done when Shani’s turn-in completes and the rewards land in your inventory, so the Amplification parts are yours to keep on top of the fixed payout.