High Justicar Aurelius, Last of the Faithful is a story boss in Valor Mortis, the first-person soulslike from One More Level and Lyrical Games. You meet him as William Dowsett during Chapter 7, and the fight is built as a straight sword duel rather than a spectacle encounter with summons or arena tricks. He opens human-sized and controlled, then shifts into a second, mutated form before he goes down.
Quick answer: Aurelius is the Chapter 7 (Witch Hunt) boss on the Broken Bridge in the Outskirts. Beating him awards 18,000 Catalysts and the True Oath trophy, and clears the chapter.
See where High Justicar Aurelius is fought on the Valor Mortis map.
Where you fight Aurelius and what the encounter is
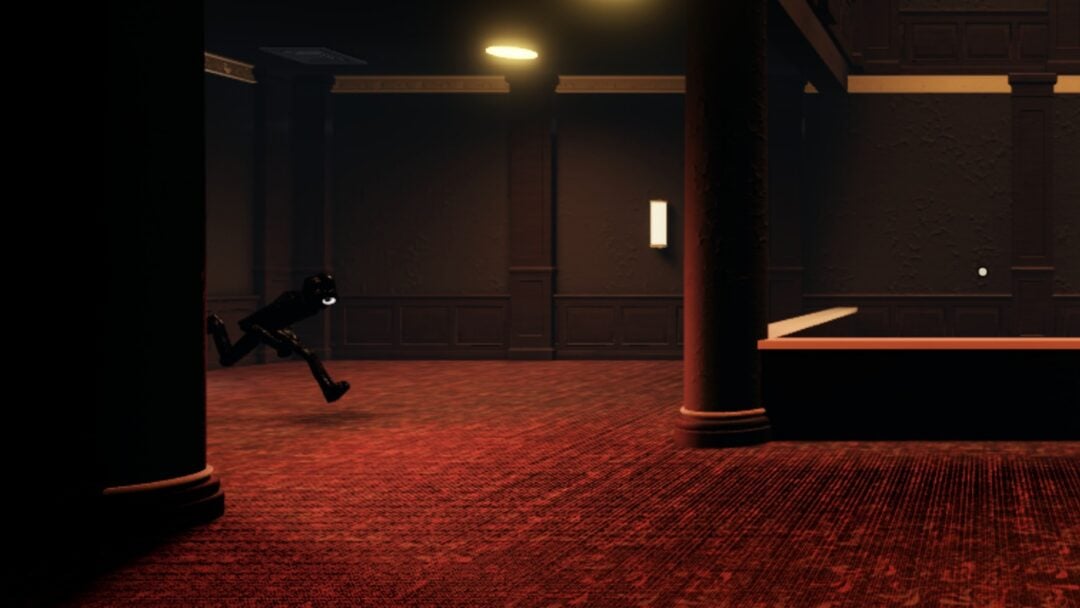
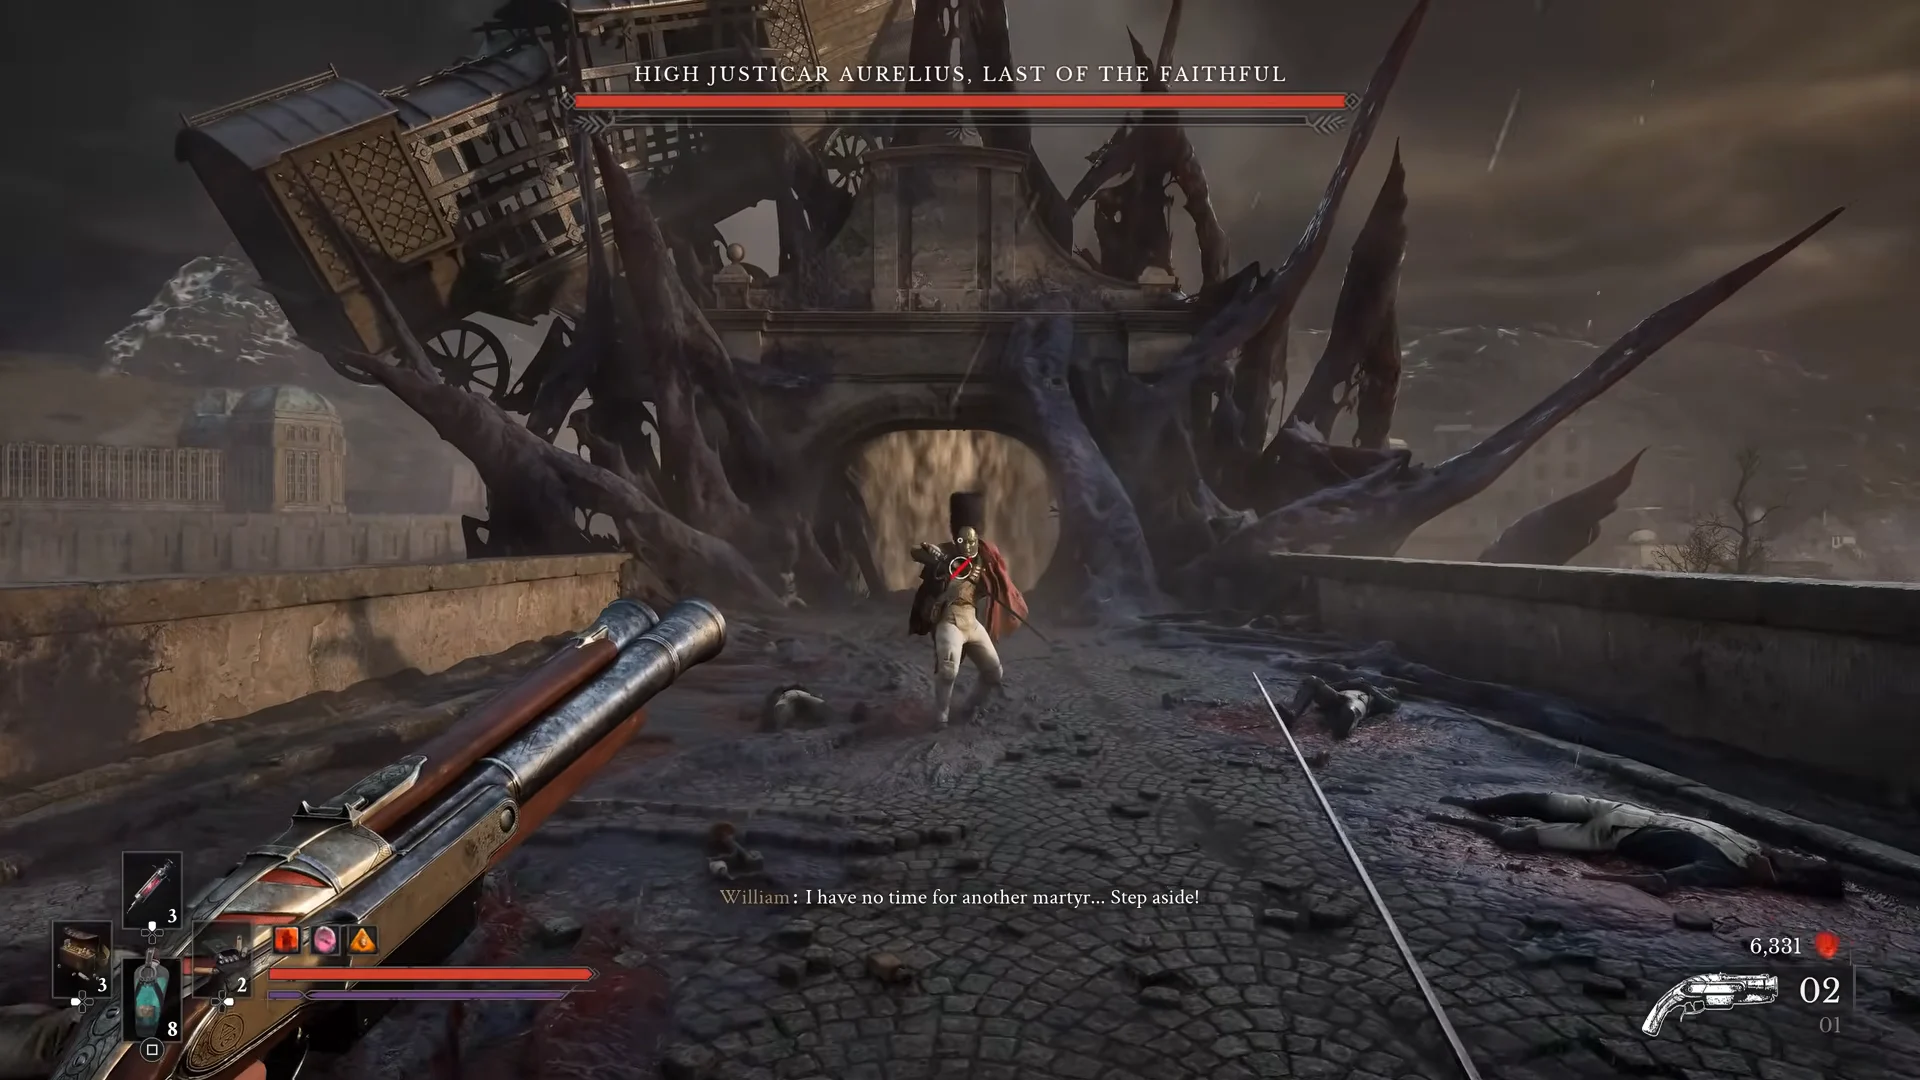
The encounter sits in Chapter 7, the Witch Hunt stretch, and plays out on a Broken Bridge in the Outskirts. A golden fog gate marks the entrance, and stepping through it drops you onto a wide stone span that runs toward ruined structures under an overcast, war-scorched sky. This is not an optional boss, so clearing the chapter means clearing him.
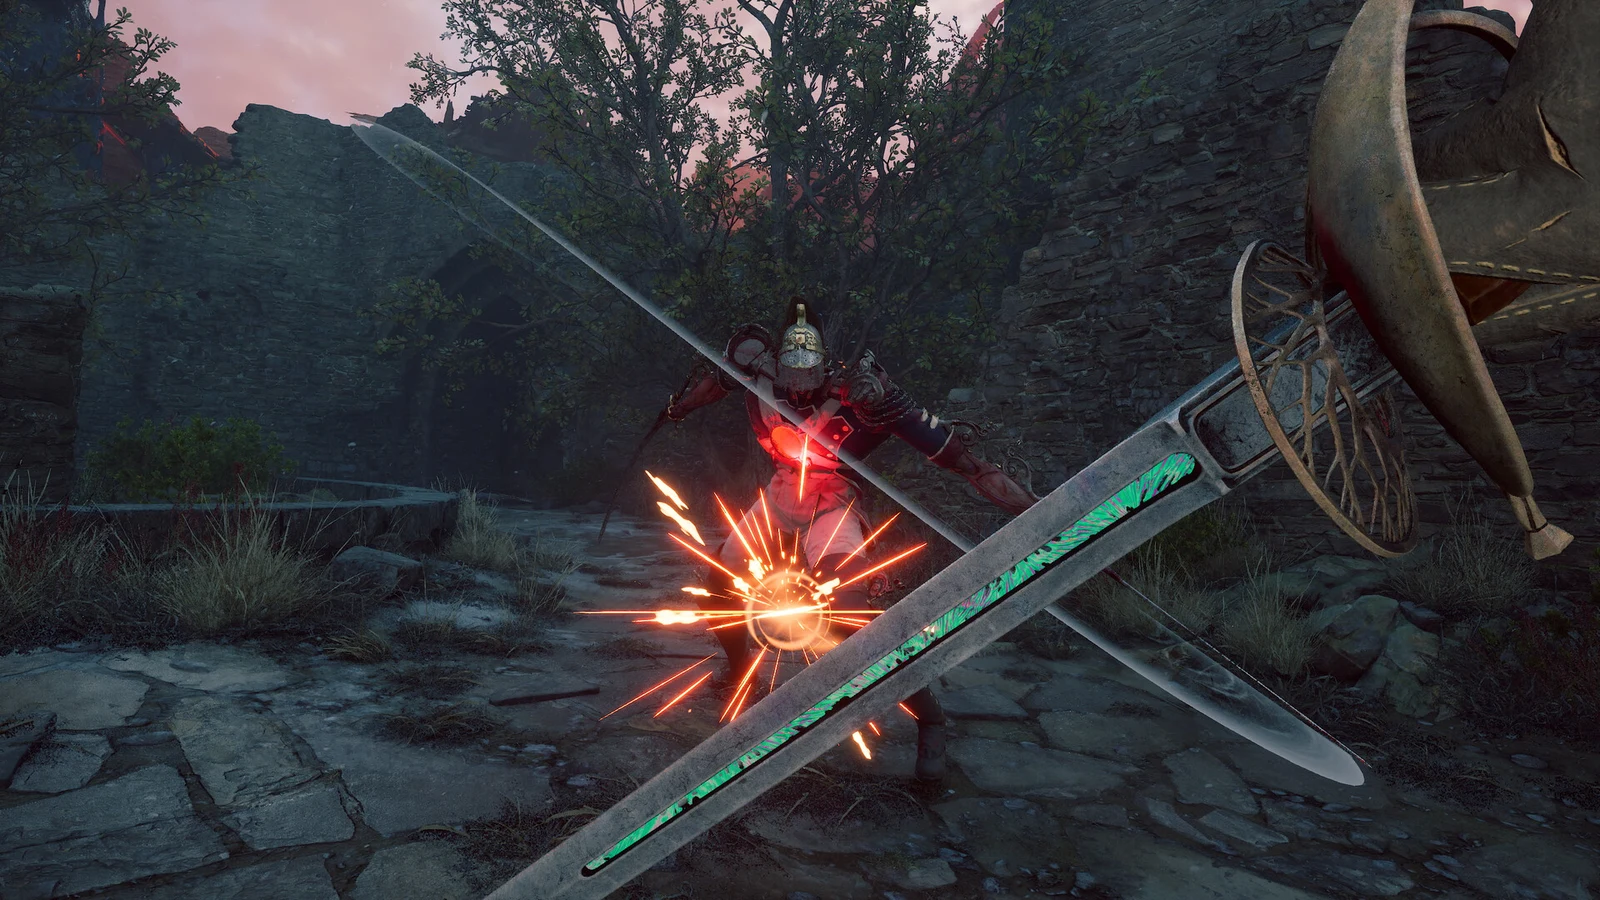
In his first stage Aurelius keeps his human stature and fights as a duelist, using a single sword to both attack and defend. His strikes come fast with little wind-up, and he presses forward relentlessly rather than waiting for openings. His moveset includes quick thrusts, spinning horizontal slashes, leaping downward strikes, and short evasive retreats that pull him out of range.
Two phases and the form change
The fight runs across two distinct phases, split at the halfway point of his health. Both phases hold the same posture pool, so stagger pressure carries the same weight the whole way through. The visible change is at the transition, where Aurelius sprouts flesh tendrils and moves into a monstrous second stage.
| Phase | Trigger | Posture | Resistances |
|---|---|---|---|
| Phase 1 | Opening phase | 1000 | Ranged 30% |
| Phase 2 | Until defeat | 1000 | Melee 20%, Ranged 30% |
In the second phase his attacks widen out. Sweeping tendril lashes and leaping attacks join the sword strings, and the duel becomes a longer test of holding deflection timing while he mixes ranges. The finishing blow lands after a posture break, and on defeat the screen reads ABOMINATION ERADICATED.
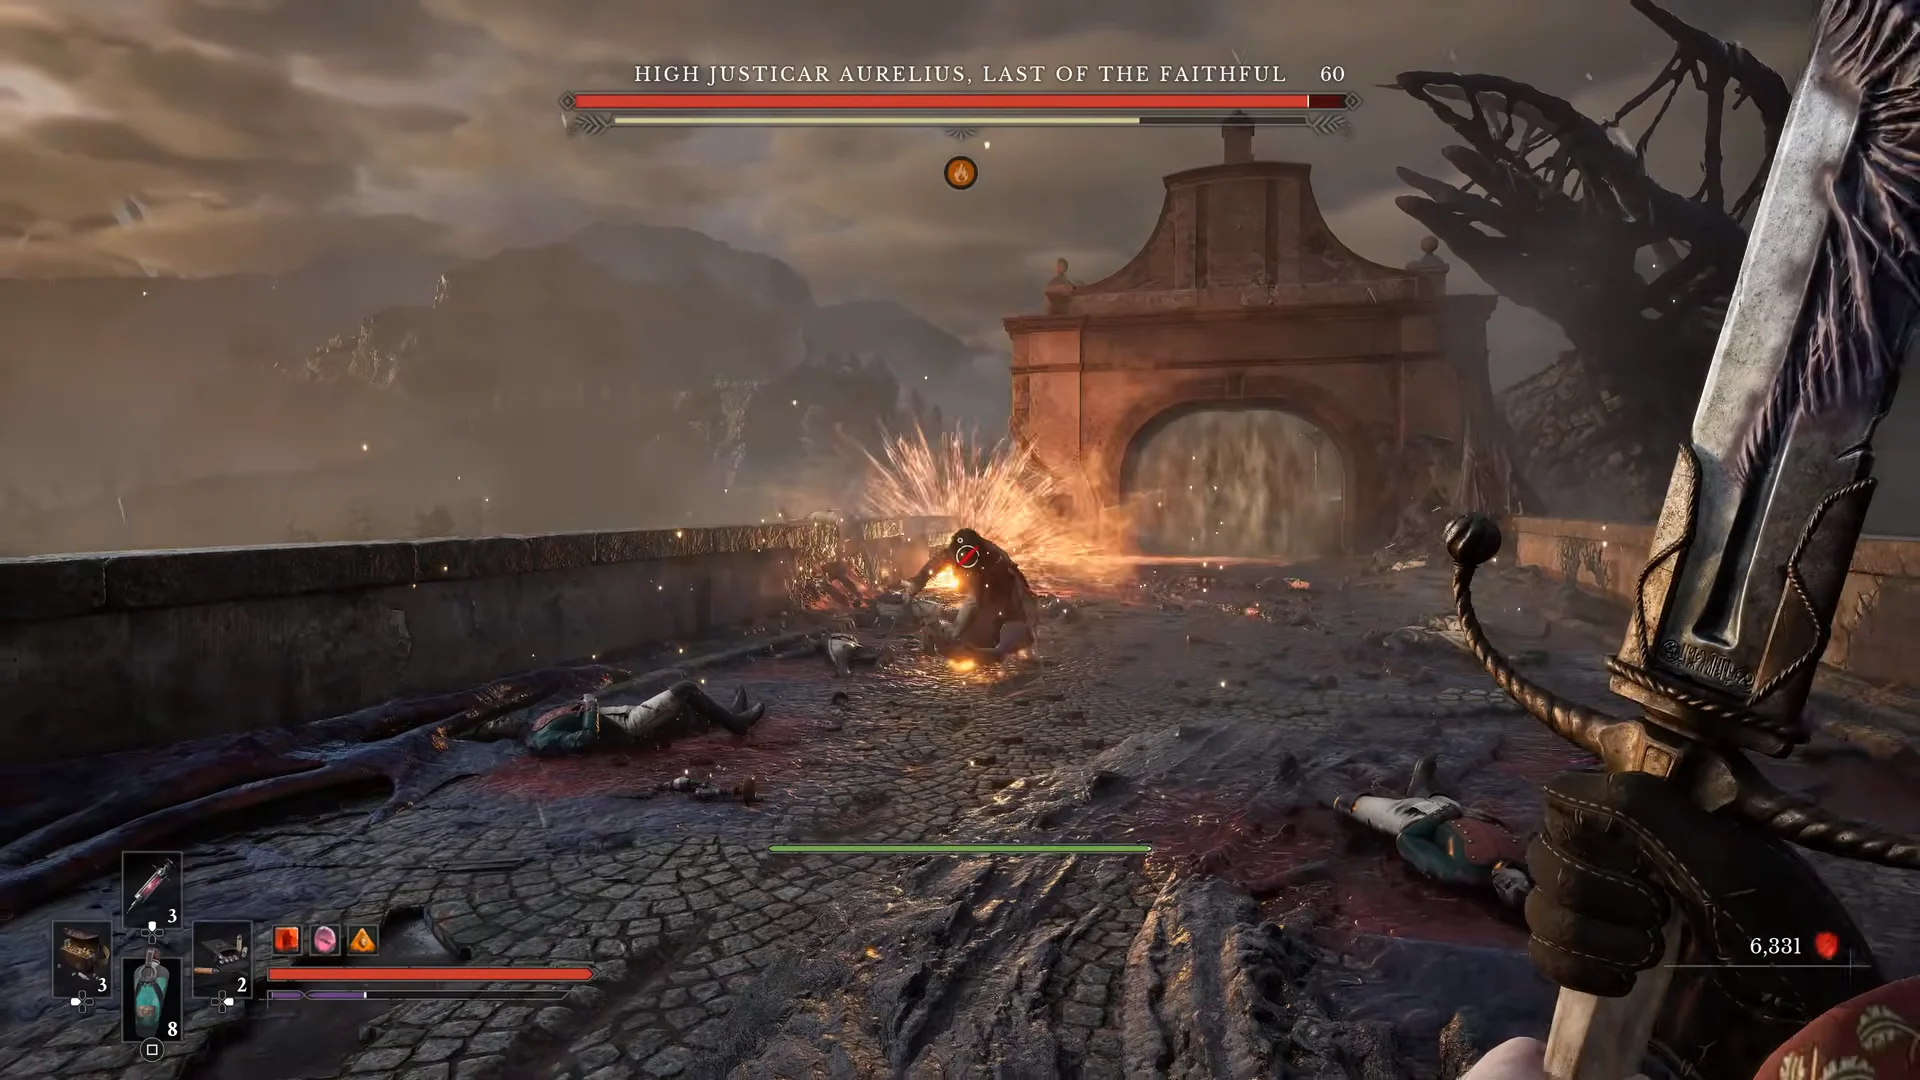
What damages Aurelius, and what he shrugs off
Melee and fire are his soft points. The Claymore, Rapier, and Saber all land as effective melee options, and Fire Transmutation adds ignite pressure on top of raw hits. He is tougher against ranged damage, which is reduced across the fight.
- Hits hardest with ignite (Fire Transmutation) and melee (Claymore, Rapier, Saber).
- Ranged damage is cut by 30% in both phases.
- Phase two adds a flat 20% melee resistance that phase one does not have.
The health bar is secondary here: each parry builds his posture meter, and maxing it out creates an opening for a critical hit. The encounter revolves around this mechanic, so block or dodge only to cover a missed parry rather than relying on either as your main strategy. Blocking uses Endurance and can be broken; dodging also consumes Endurance.
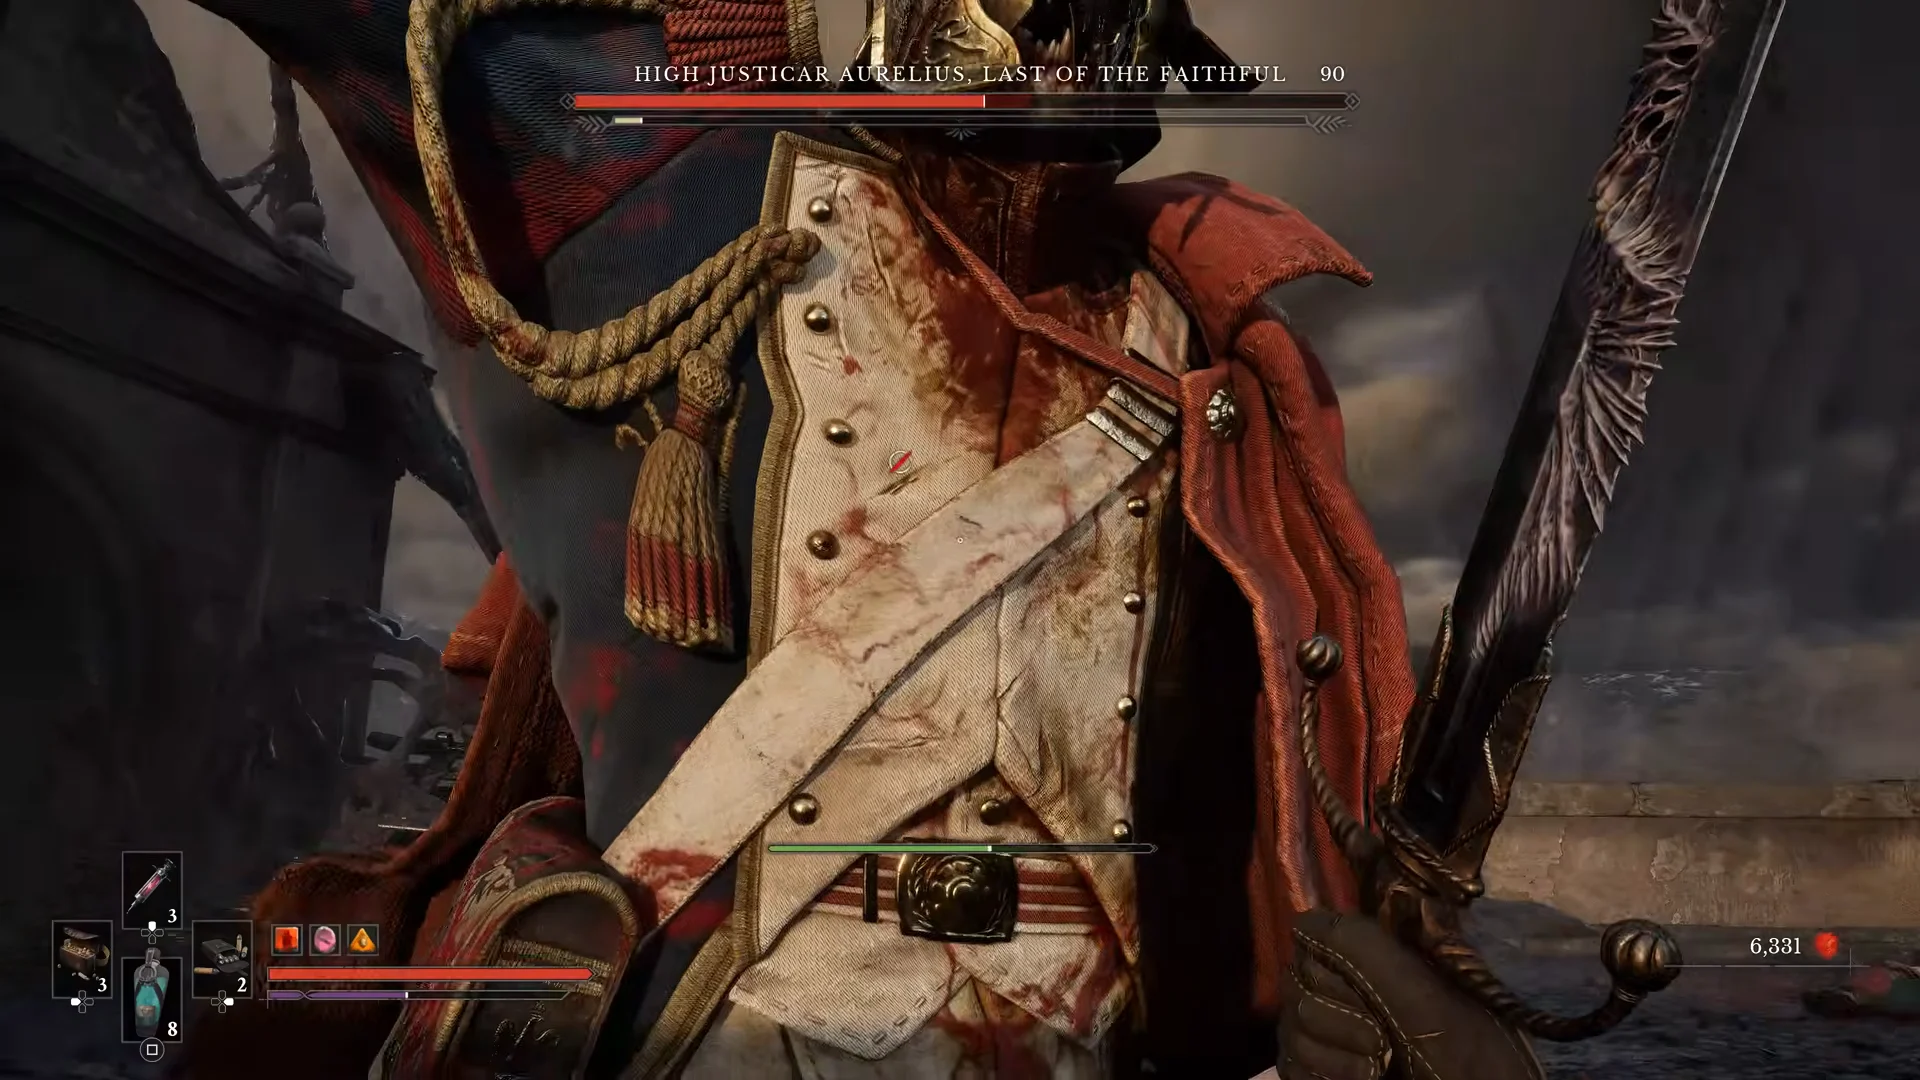
How to beat High Justicar Aurelius
The core plan against Aurelius
Treat the fight as a rhythm of range and parries. At mid range, apply Fire Transmutation to chip him down while he closes the gap. When he reaches you, stop advancing and defend, because every clean parry staggers him and opens a short window for light attacks.
Each successful parry earns you two to four sword hits before he recovers. Resist the urge to swing more than that, since overextending puts you back in range of his next combo. This loop carries through both phases.
Phase one: the sabre duel
In the opening phase Aurelius fights entirely with his sabre. He has three attacks to recognize.
Phase two: the flesh arm transformation
At about half health, Aurelius lets out a roar and crouches as an enormous red flesh claw erupts from his shoulder. He keeps using his sabre alongside the claw; parry each swing or step back out of the claw’s sweeps.
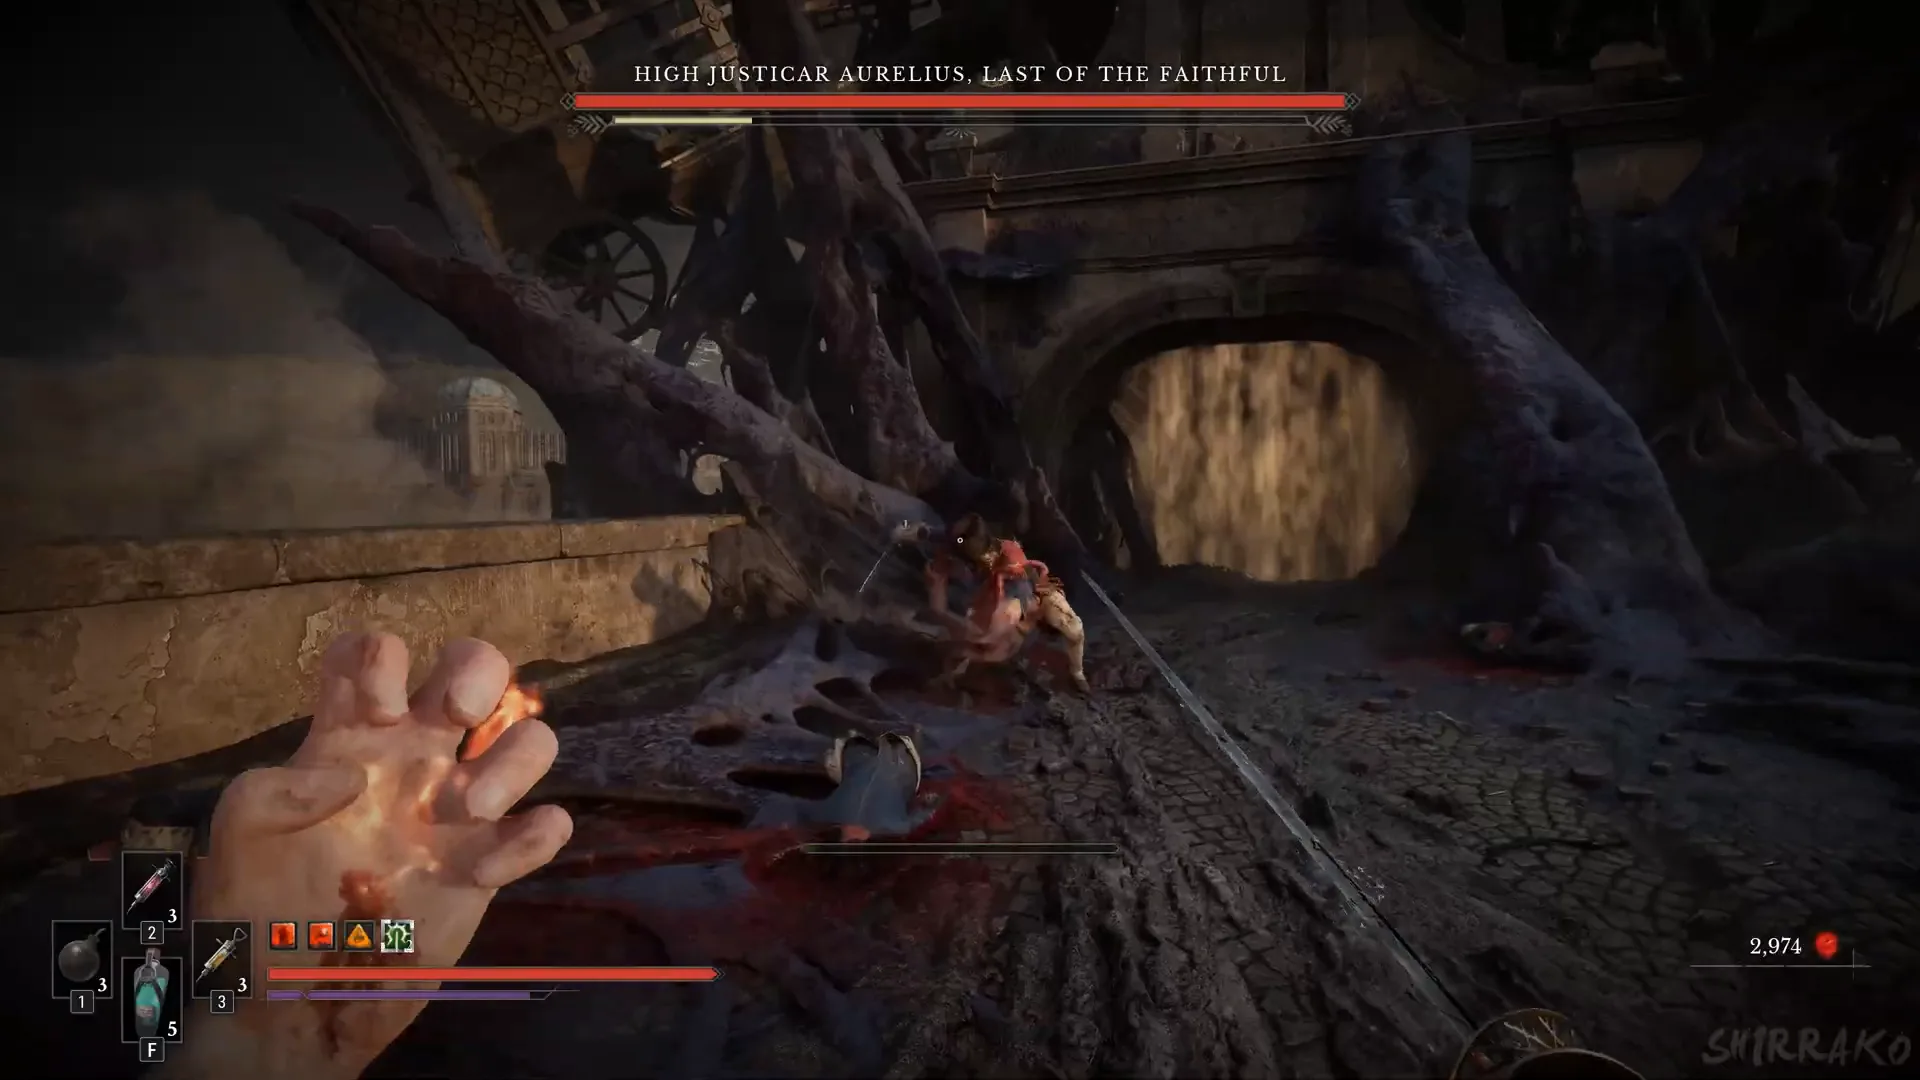
Reward and chapter clear
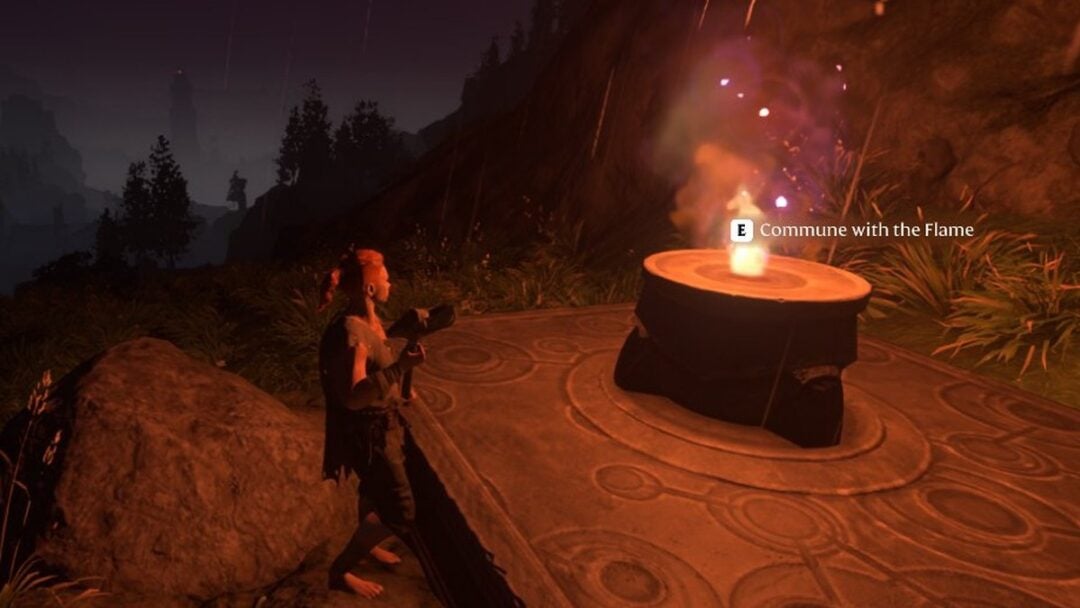
Defeating Aurelius pays out 18,000 Catalysts, the currency spent at Lanterns for permanent stat upgrades. In the showcase run, William’s counter climbs from 6,331 to 24,331 the moment the kill lands. The victory also unlocks the True Oath trophy and adds a new entry to the Journal, with a prompt to view it.
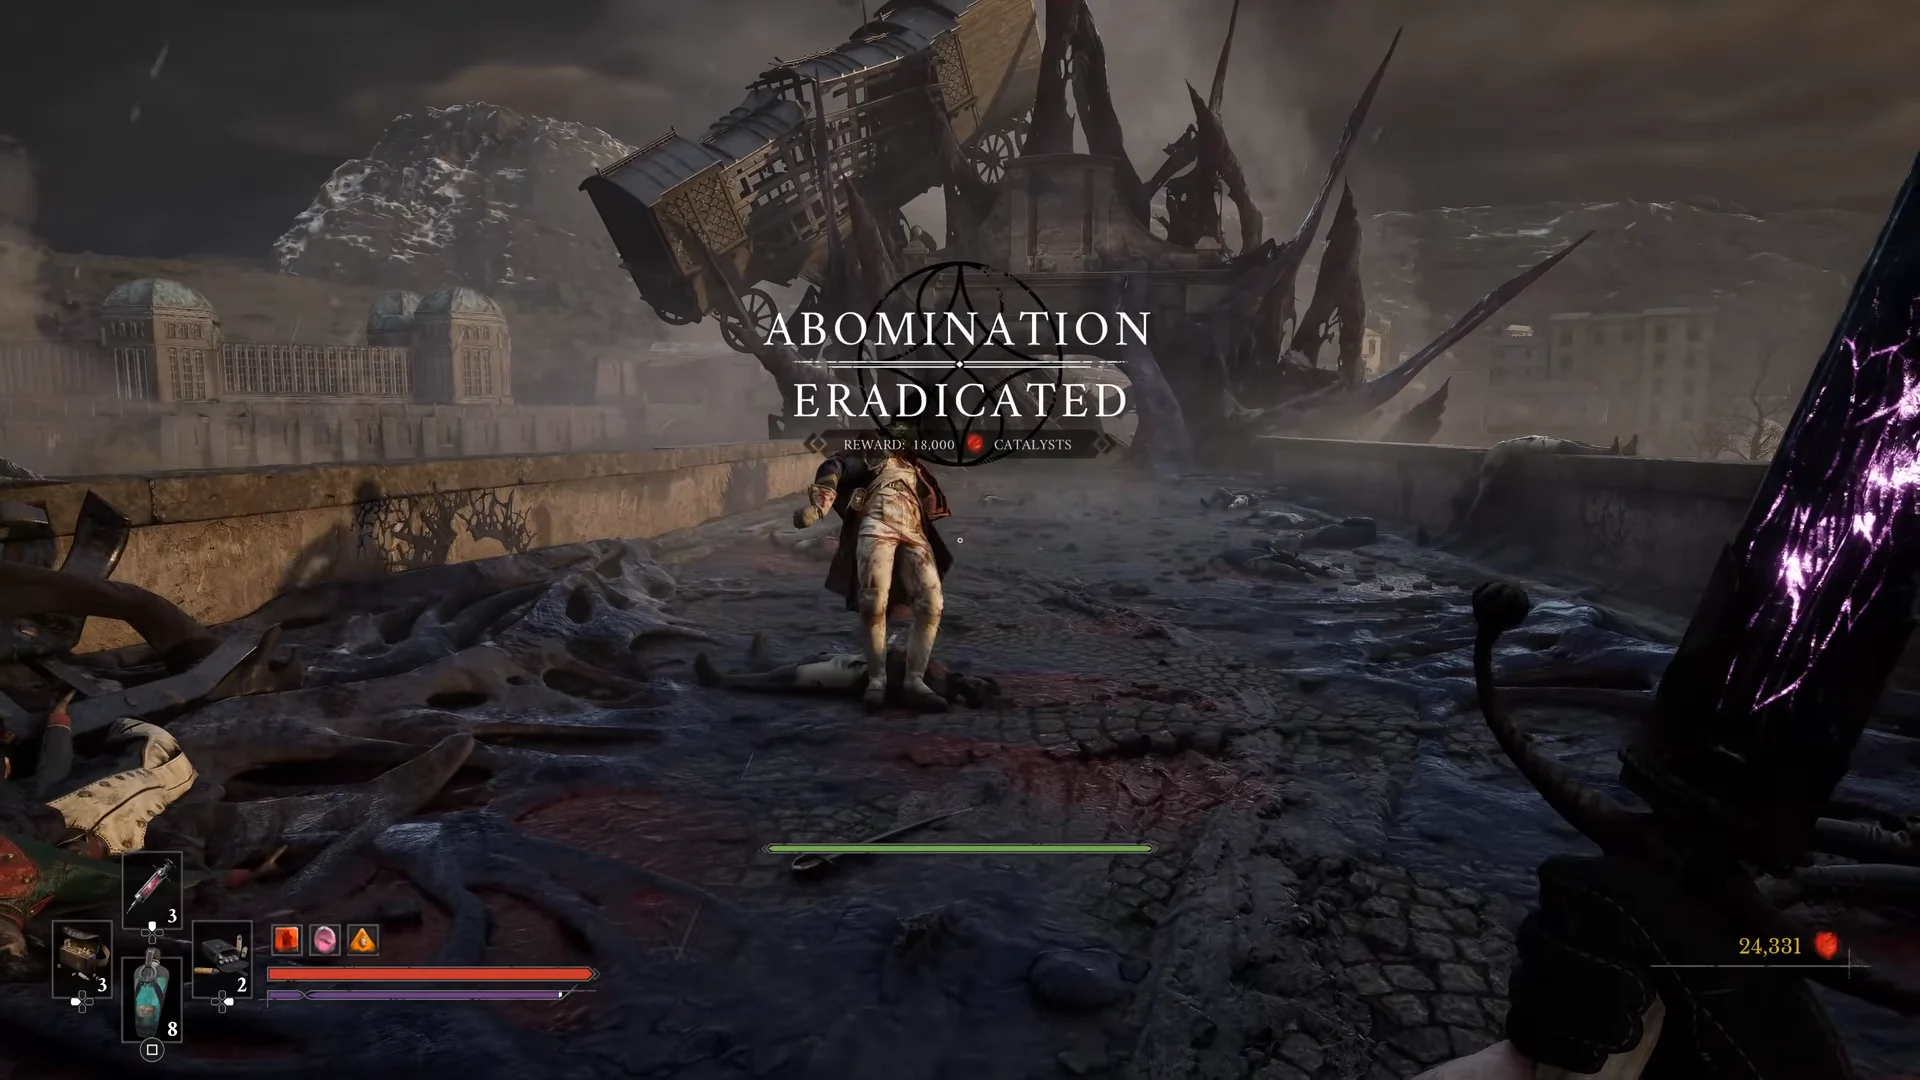
A flawless clear is possible because the fight rewards reading his fixed combinations over trading blows. He commits to sequences, and once you stop flinching those strings become the punish windows that drive his posture bar to a break. Clear him with your health untouched and the only difference on screen is a full bar sitting under his name as the banner drops.