Gaming How-To

How to Open the Workbench in Permafrost and Fix “Roof Needed to Interact”

Place the bench on a foundation, then add a wall and a roof over it so pressing F actually opens the crafting panel.

Place the bench on a foundation, then add a wall and a roof over it so pressing F actually opens the crafting panel.

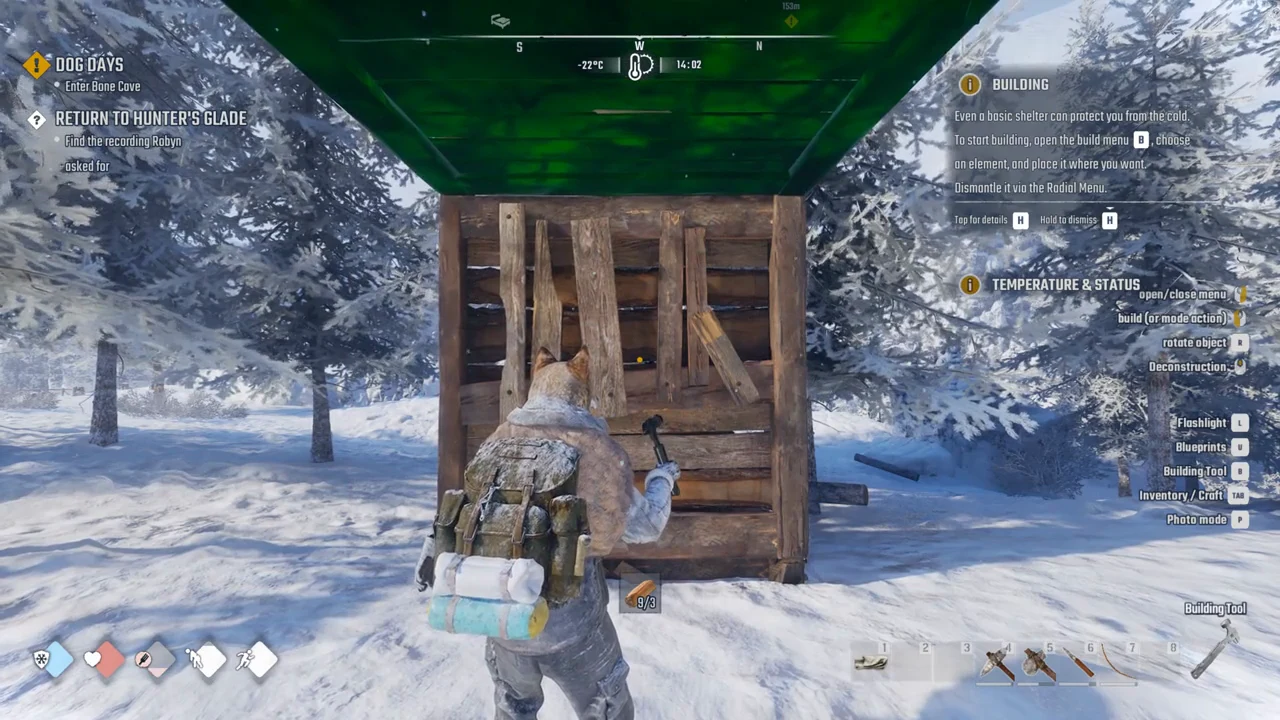
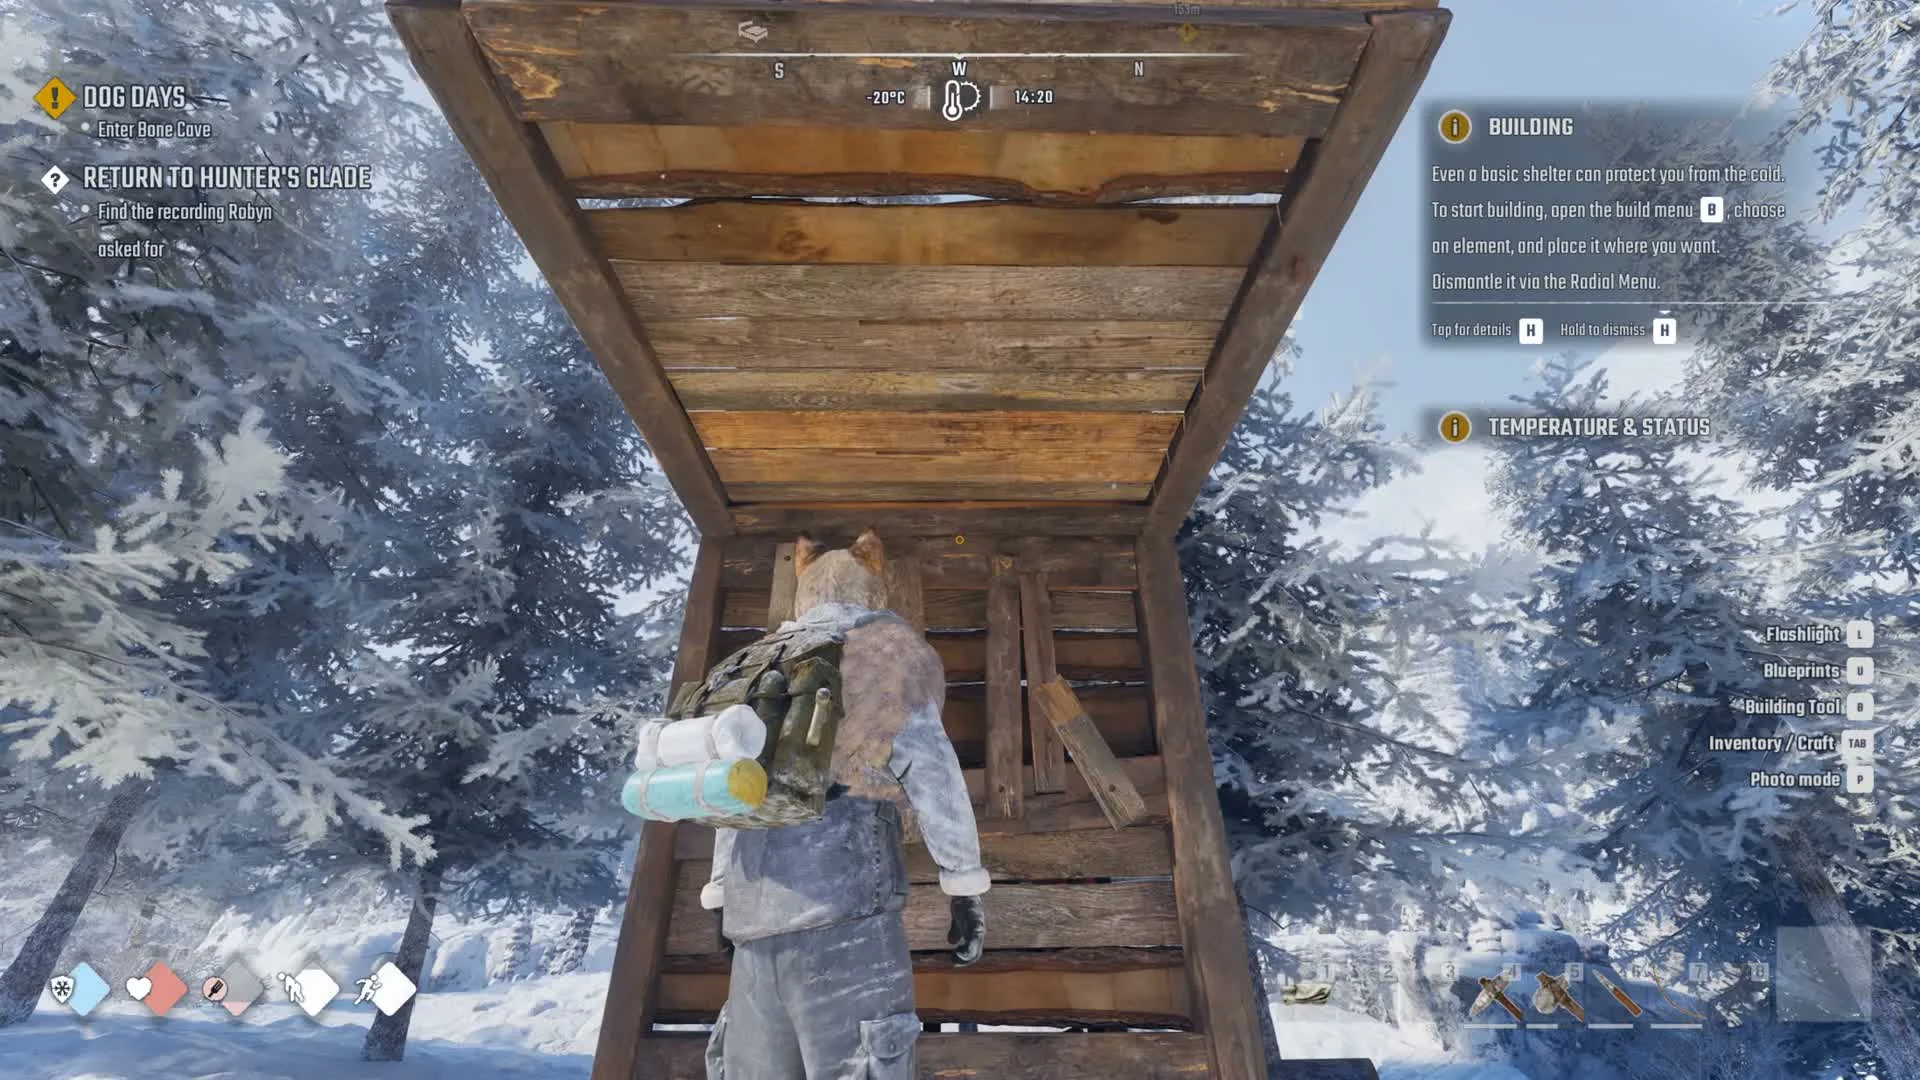
A survivor standing under a wooden roof piece hanging from a single wall in a snowy pine forest

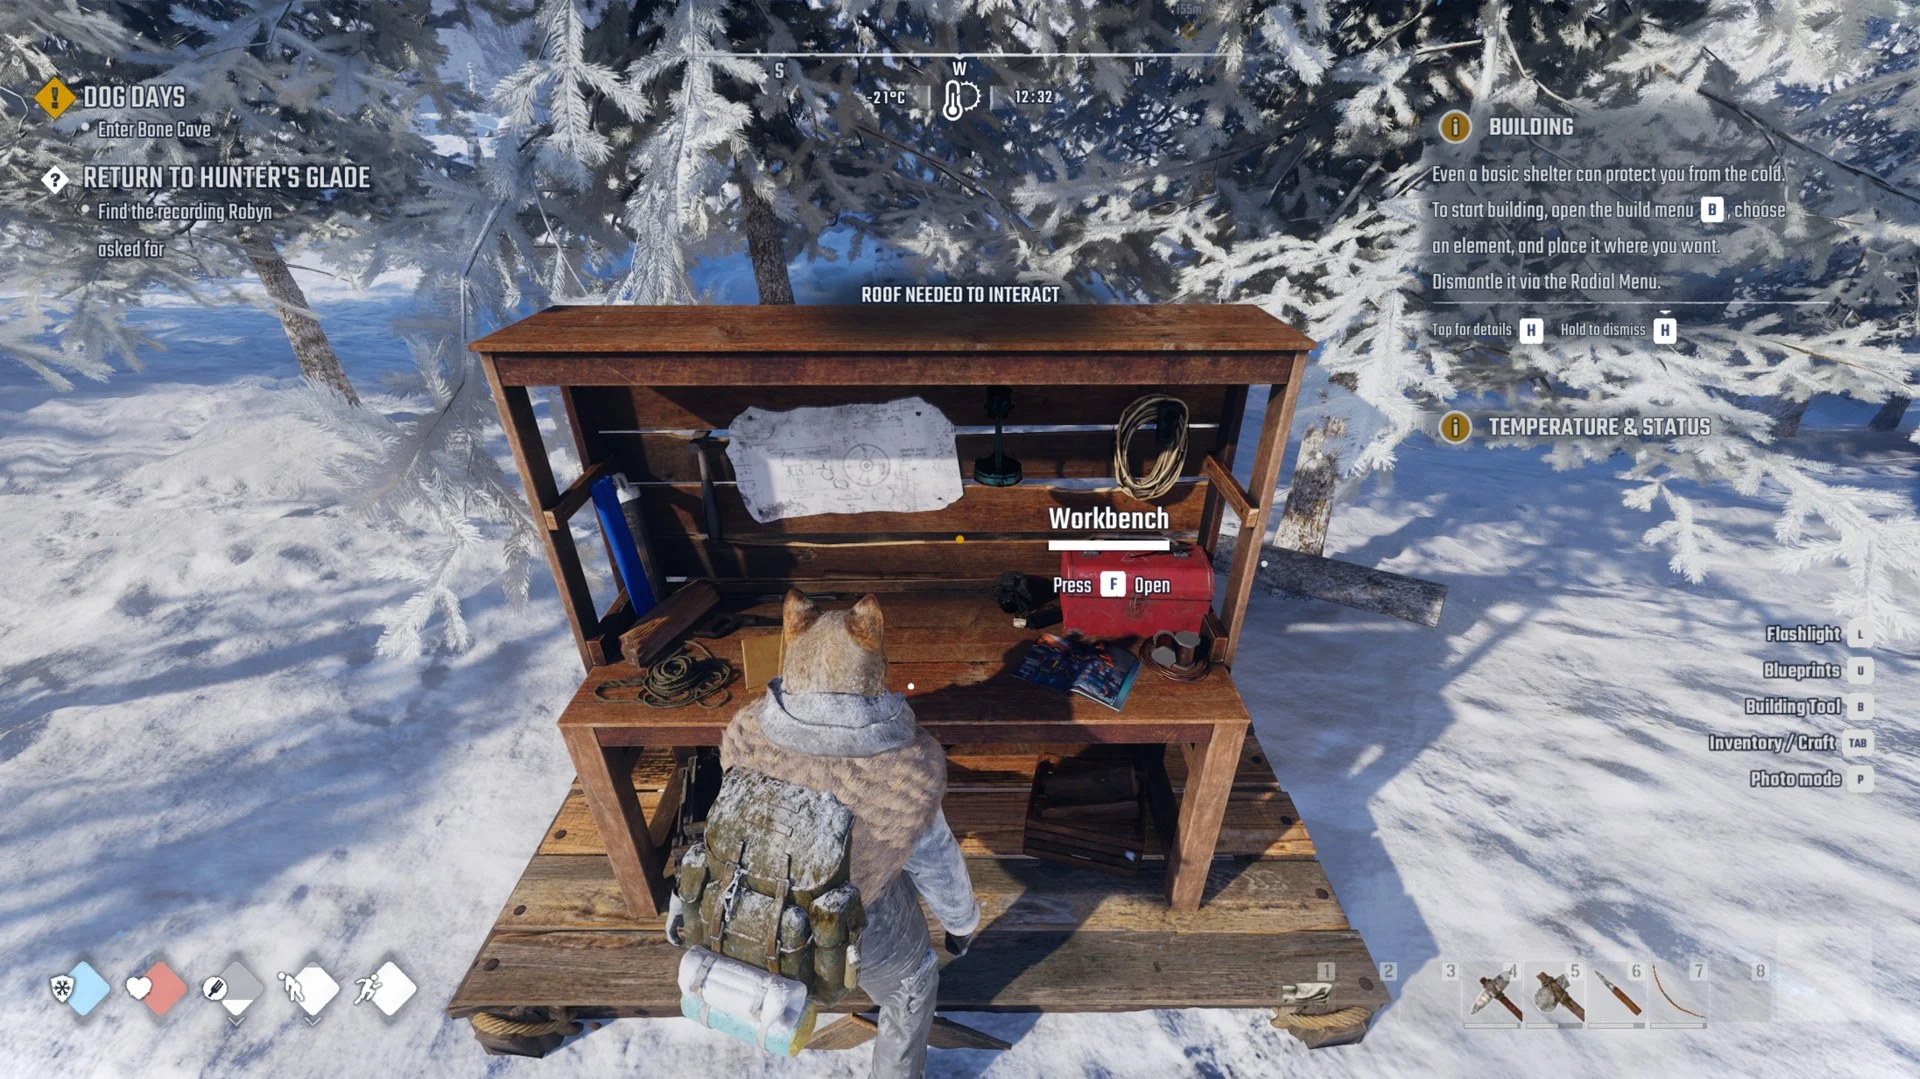
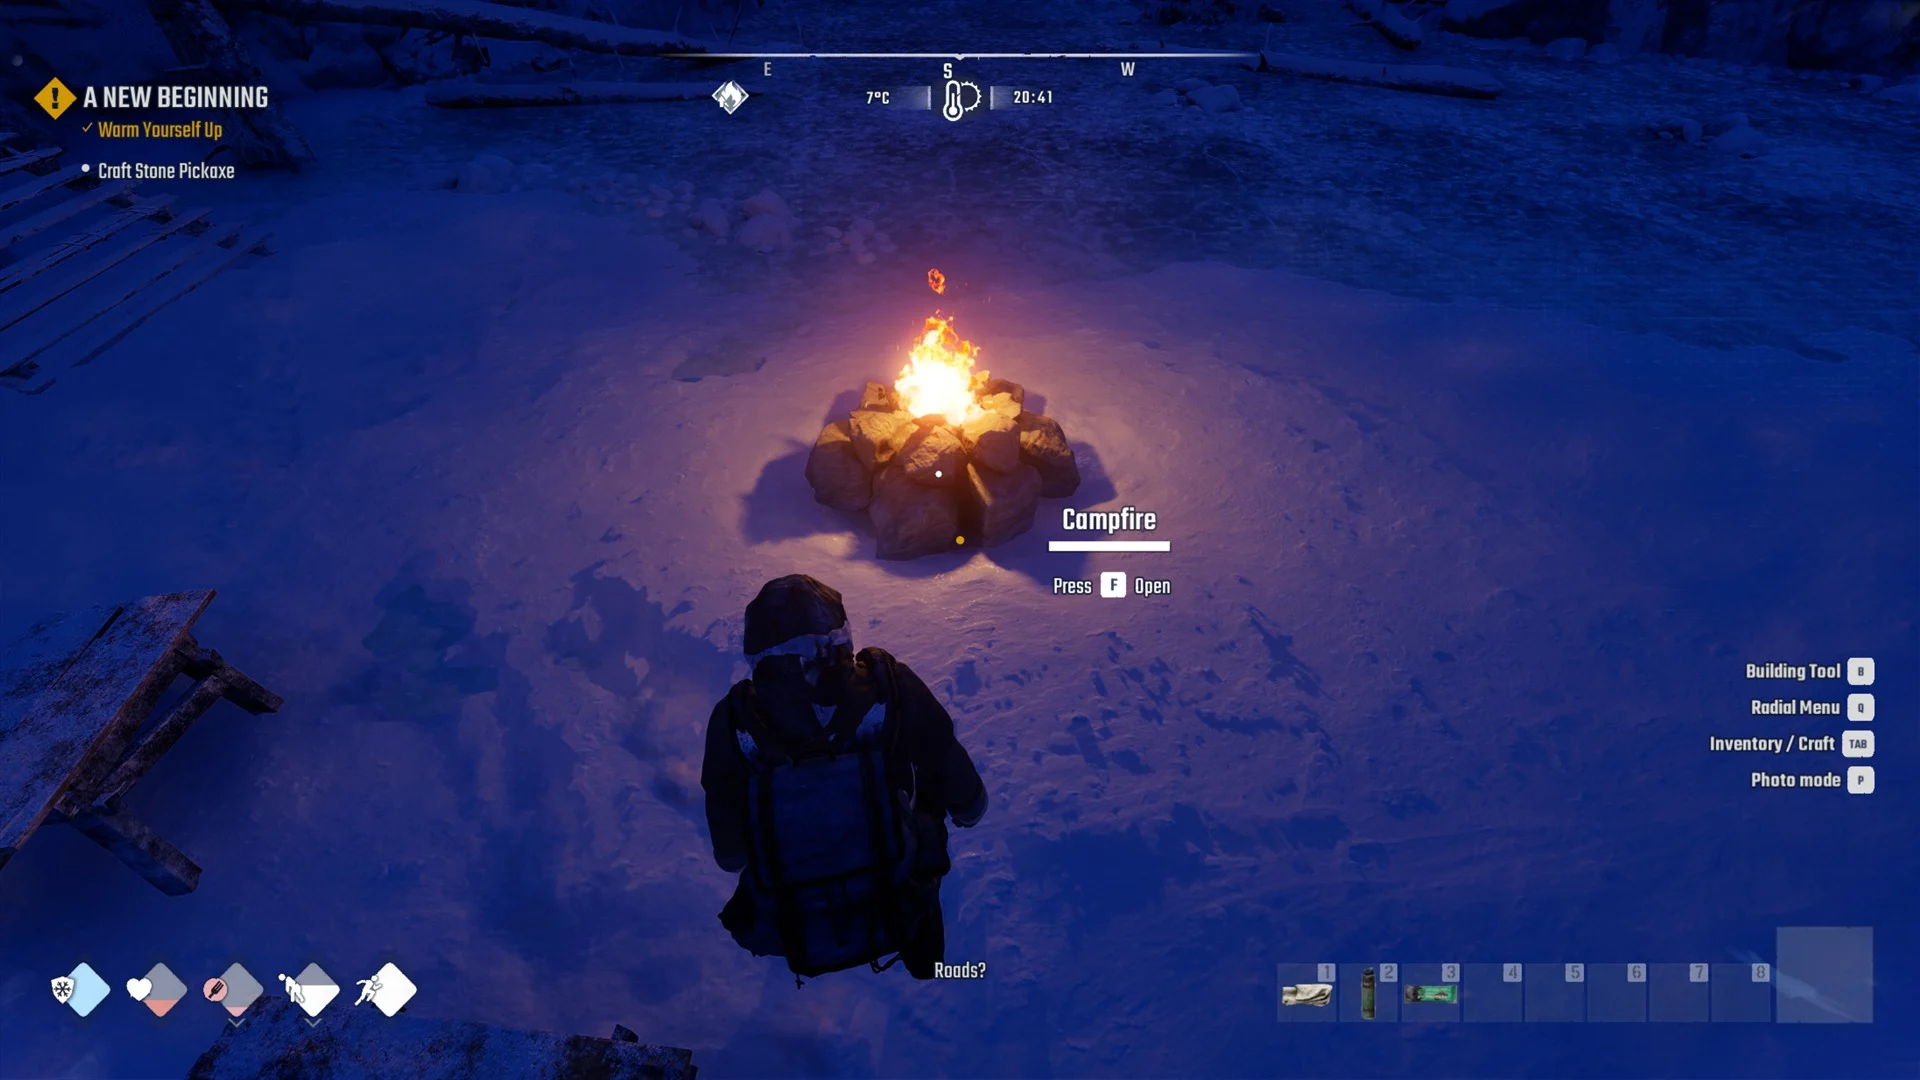
Dropping a Workbench on the snow and walking up to it in Permafrost does not get you anywhere. The game shows “Workbench, Press F Open”, but pressing F throws up the line “ROOF NEEDED TO INTERACT” and the panel stays shut. The bench needs a floor under it and a roof over it before it will open at all.

Quick answer: Put the Workbench on a Wooden Foundation, add at least one Wooden Wall and a Wooden Floor / Roof above the bench, then stand under the roof right against it and press F.


A Workbench preview stuck red on snow in Permafrost, then built on a Wooden Foundation for 10 Wood, the message “ROOF NEEDED TO INTERACT” when pressing F, and a Wooden Wall and a Wooden Floor / Roof going up around it.

What to bring and where to build

You need roughly 24 Wood for the full setup on Story difficulty: 5 for the foundation, 10 for the Workbench itself, 3 for one wall, and 6 for two roof pieces. On Story, a single felled pine gives 12 Wood (four Trunk pieces of 3 each), so two trees cover it.

Pick flat ground outside any settlement. Horizon is flagged as a “NO-BUILD ZONE”, so you cannot place anything there. The Workbench is unlocked from the start and sits in the BUILDING menu under the Utilities tab, with the description “The heart of any survivalist’s setup, where advanced crafting comes to life.”

Trying to place it straight on the snow fails. The preview turns red with “FOUNDATION REQUIRED!”, so a platform has to go down first.
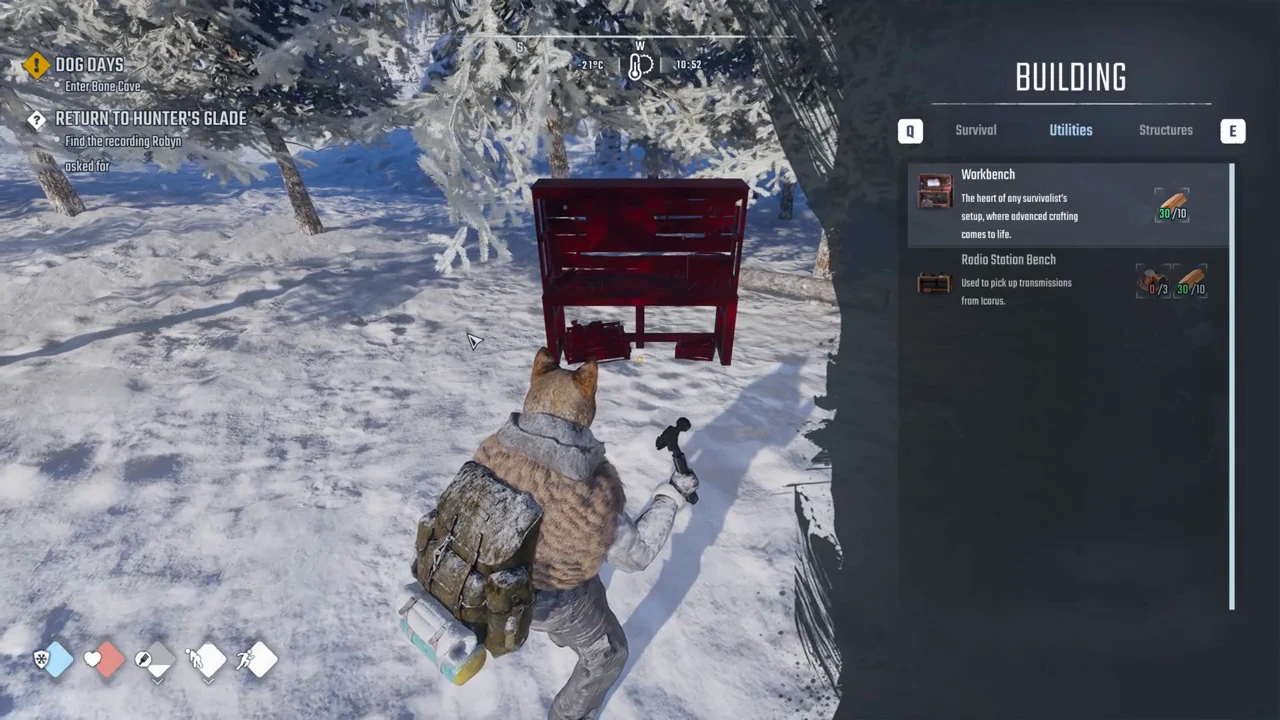
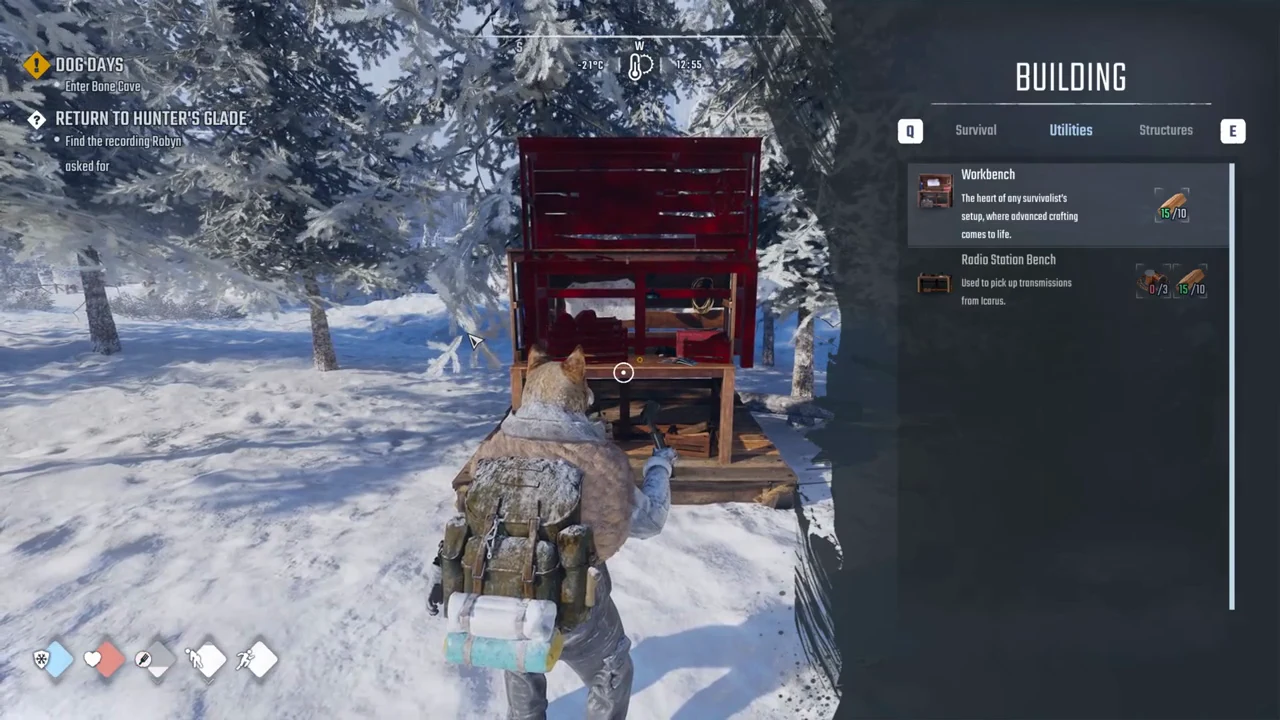
Workbench selected in the Utilities tab with a red placement preview sitting on bare snow
The Workbench preview glows red on bare snow because no foundation is under it.

Build the Workbench so it opens

Press B to bring out the Building Tool and open the menu. The whole sequence is foundation, bench, wall, roof.
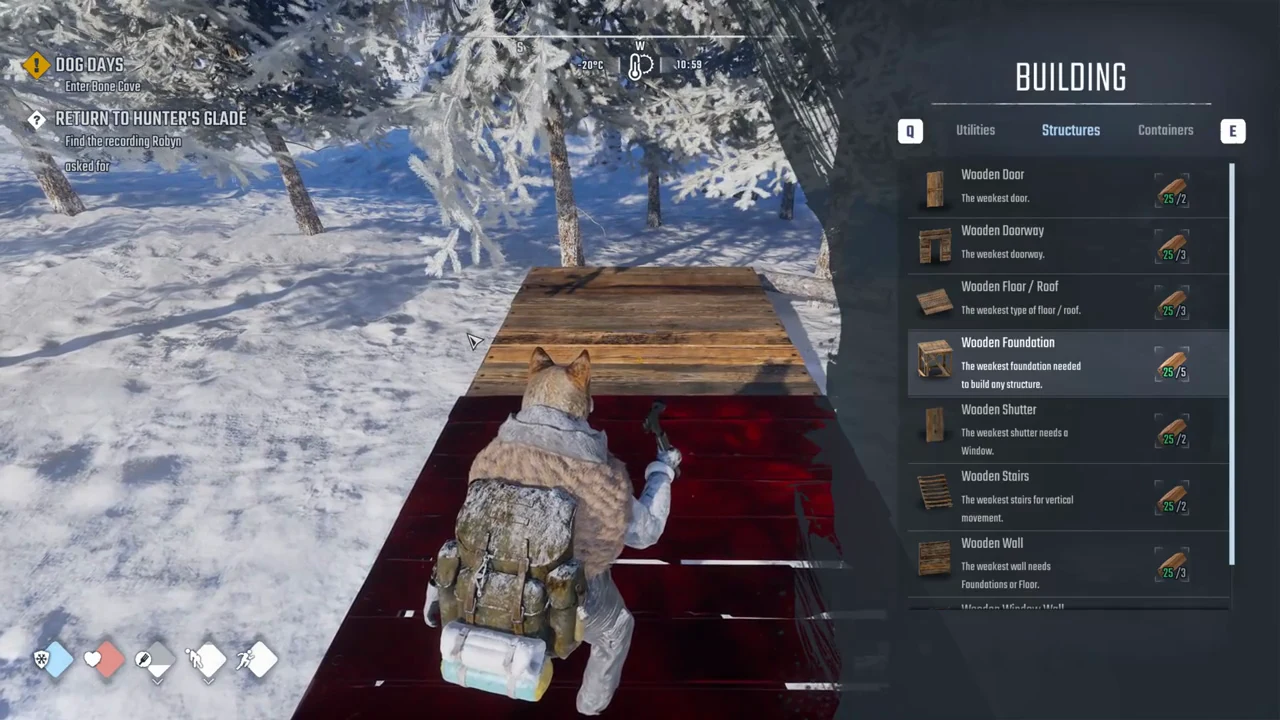
Switch to the Structures tab and pick Wooden Foundation (5 Wood). Aim at flat ground until the preview turns green, then left click to build it. Its own text calls it “The weakest foundation needed to build any structure.”
Wooden Foundation highlighted in the Structures tab with its placement preview on the snow
Wooden Foundation chosen from the Structures tab, ready to drop onto level ground.
Return to Utilities and choose the Workbench, which costs 10 Wood. Point to the foundation’s upper surface and wait for the preview to turn green. Left-click to set the bench on the platform; 10 Wood is deducted.
Workbench item highlighted in the Utilities tab before placing it on the foundation
Workbench selected in the Utilities tab to set it on top of the new foundation.
Stow your tool and press F at the bench. Without anything overhead, you will see “ROOF NEEDED TO INTERACT” and the panel stays closed.
Workbench on a wooden foundation in the snow with the line ROOF NEEDED TO INTERACT above the prompt Workbench, Press F Open
“ROOF NEEDED TO INTERACT” above the prompt on a Workbench with nothing over it.
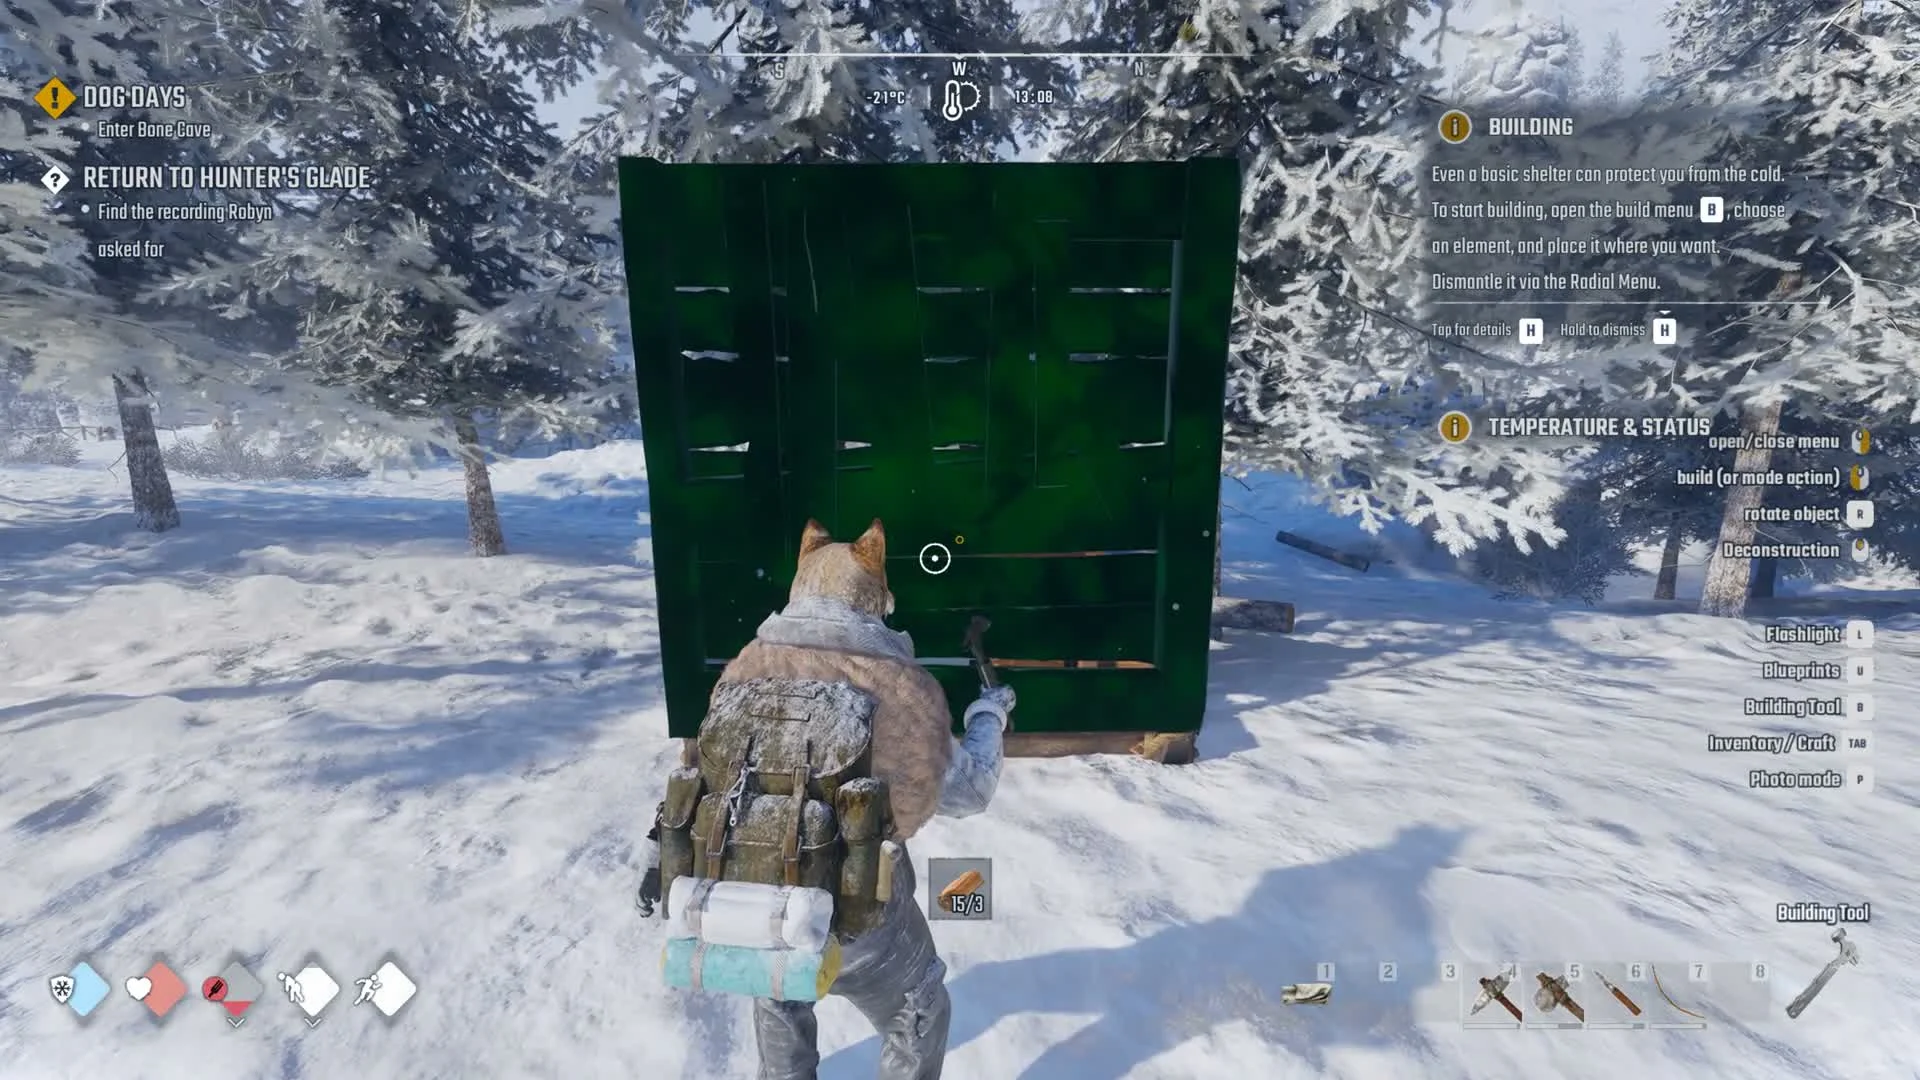
Open the Structures tab again and pick Wooden Wall (3 Wood). Aim at an edge of the foundation behind the bench until the preview snaps green, then left click. Its text reads “The weakest wall needs Foundations or Floor.”
Green Wooden Wall preview standing on the edge of the foundation behind the Workbench
The Wooden Wall preview turns green on the edge of the foundation.
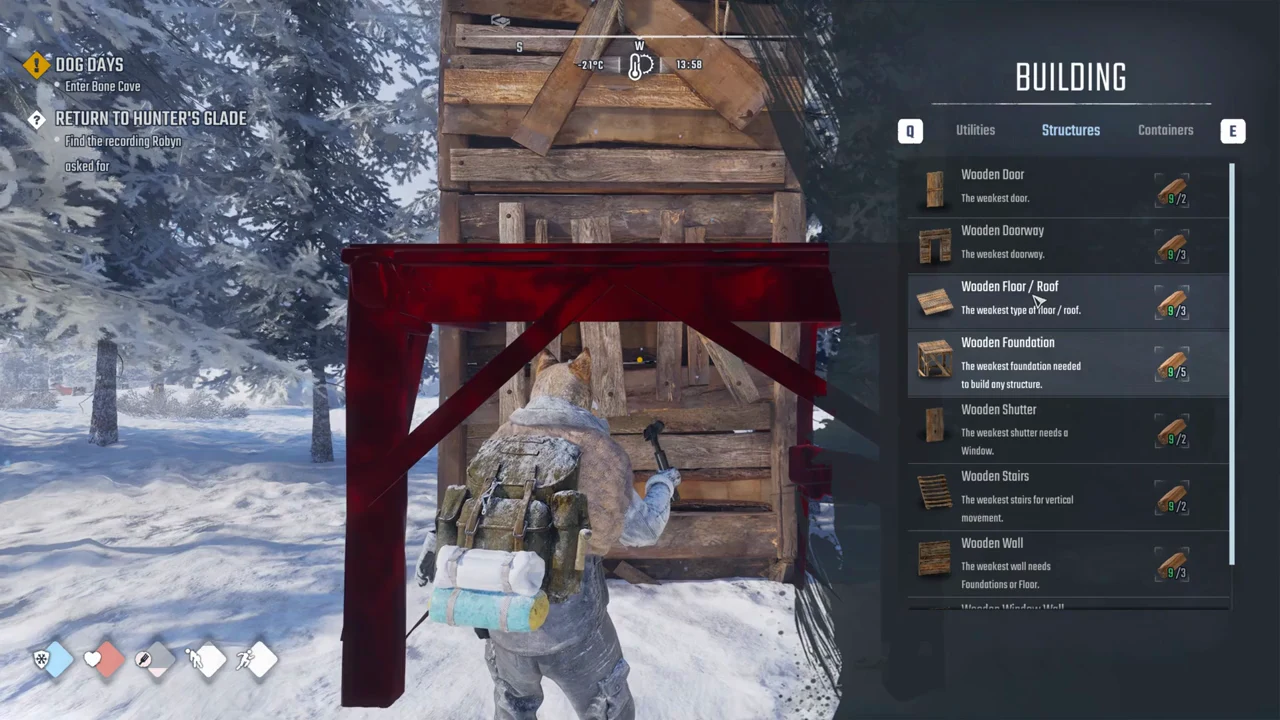
In Structures, select Wooden Floor / Roof for 3 Wood; its description is “The weakest type of floor / roof.” Aim near the wall’s base, where the red preview says “AREA OBSTRUCTED” or “CAN’T BUILD IN AIR”. Raise your aim to the wall’s upper edge instead.
Wooden Floor / Roof option highlighted in the Structures tab
Wooden Floor / Roof picked from the Structures tab to cap the shelter.
The roof snaps only to the top edge of the wall. When the preview turns green and covers the bench, left click and the piece hangs out over the Workbench from the top of the wall.
Green roof piece previewed over the wooden shelter from the top of the wall
The roof preview turns green only when aimed at the top edge of the wall, covering the bench below.
Press B to put the tool away. Move beneath the roof, close to the bench’s rear, then press F. The WORKBENCH panel opens.

The two refusal messages, and how to clear them

Two different lines can stop the bench from opening, and they mean different things.
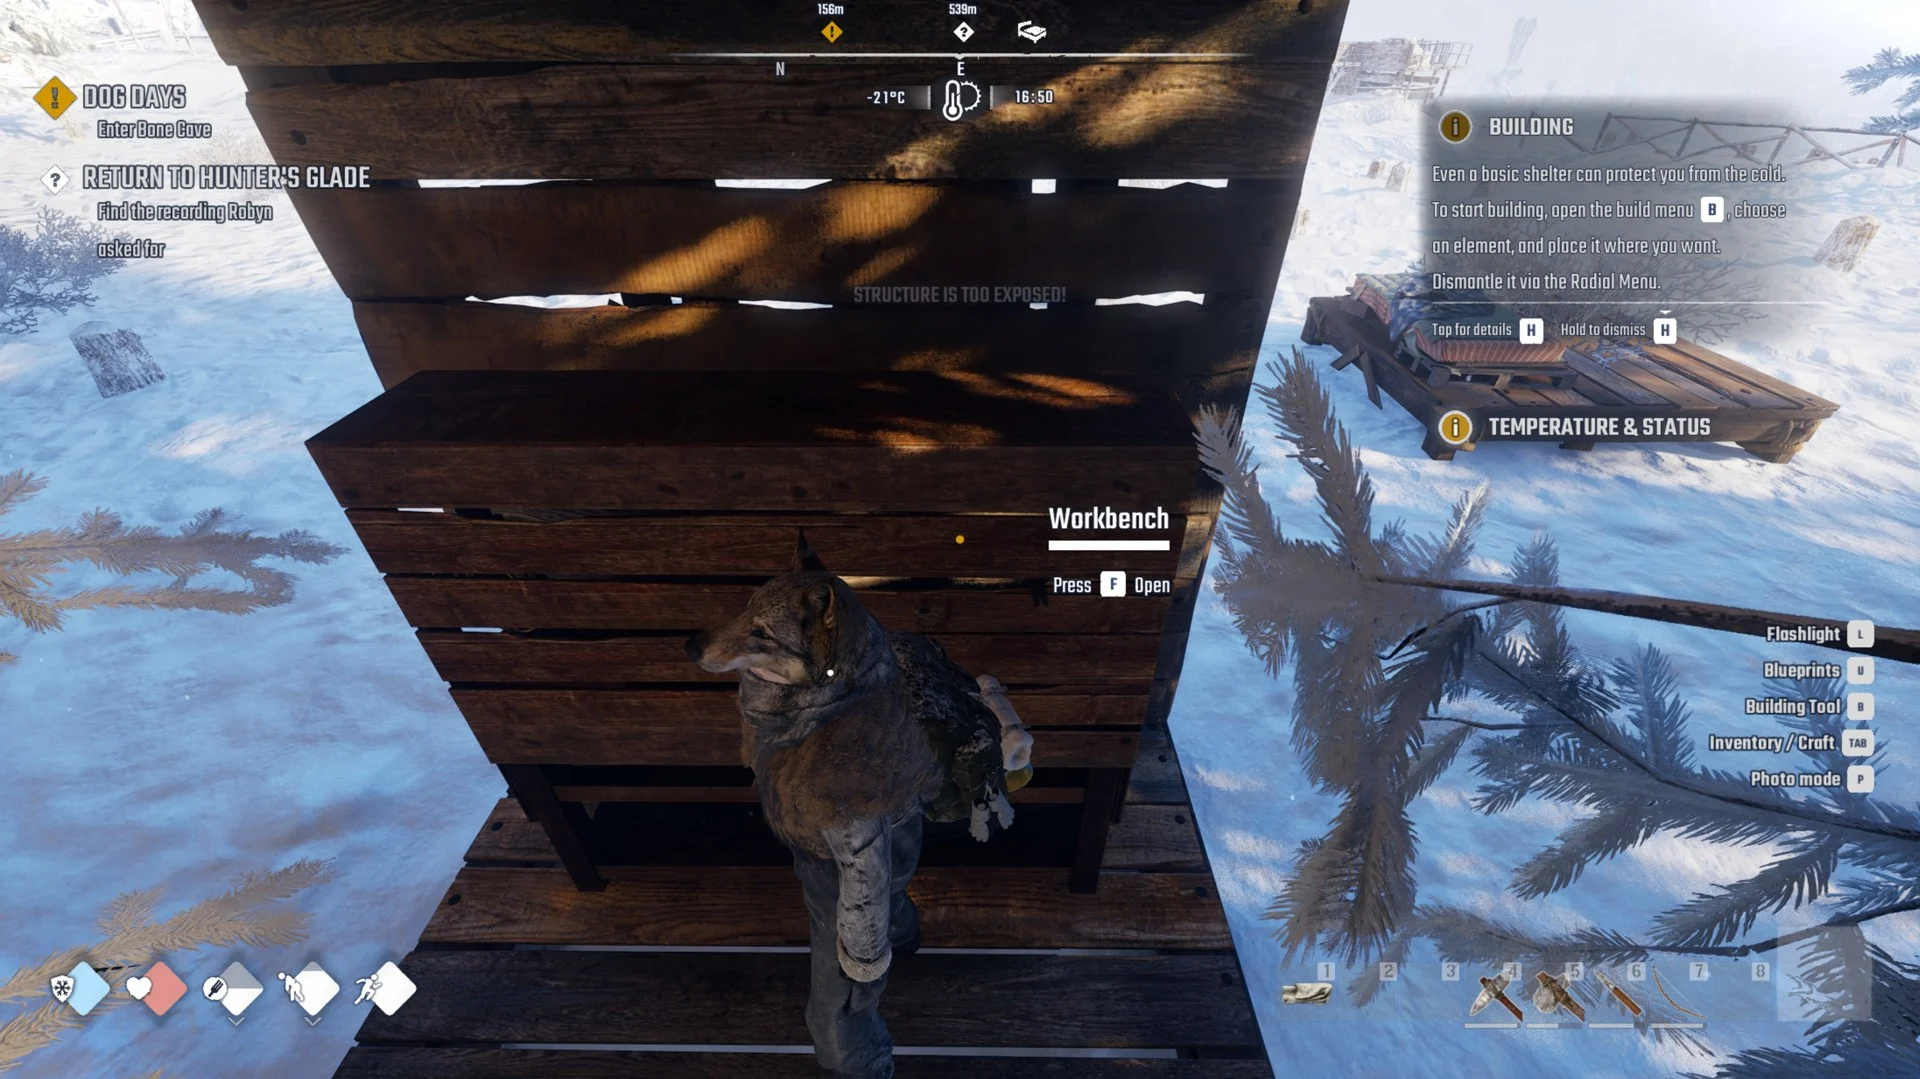
Workbench under a single roof piece with the line STRUCTURE IS TOO EXPOSED above the prompt
“STRUCTURE IS TOO EXPOSED!” with one wall and one roof piece in place.
  • “ROOF NEEDED TO INTERACT” — there is no roof piece over the bench at all. Build the wall and the Wooden Floor / Roof above it.
  • “STRUCTURE IS TOO EXPOSED!” — Even with a roof overhead, the location remains exposed. With a single wall and the roof in place, the panel opened from beneath the roof, at the back of the bench.

If the roof will not sit where you want it, aim at the very top edge of the wall rather than its middle. It snaps only to that edge, so pointing lower just gives you the red “AREA OBSTRUCTED” preview.
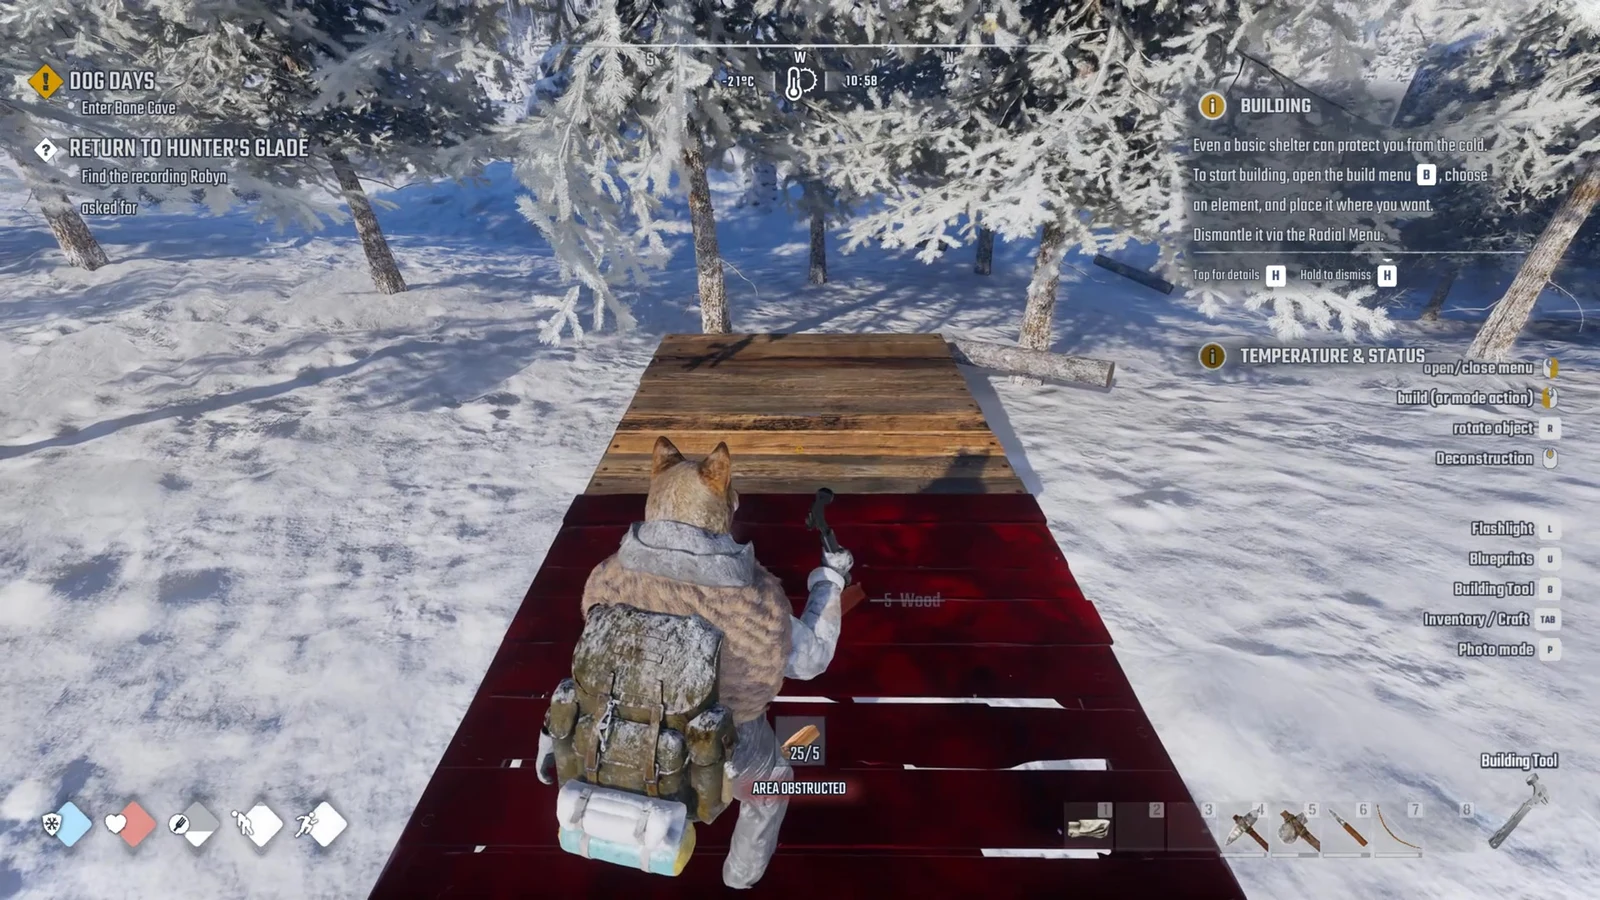
Character stands on a red floor preview in a snowy forest with an AREA OBSTRUCTED warning next to a built wooden floor.
A placement preview shows red with the warning AREA OBSTRUCTED next to a finished wooden floor, while the Building panel stays open.

How to confirm it worked

You know the fix has taken when F opens the WORKBENCH panel instead of printing a warning. The panel has the same filter icons and A–Z sorting as the inventory crafting list, and it lists five recipes at this early stage.
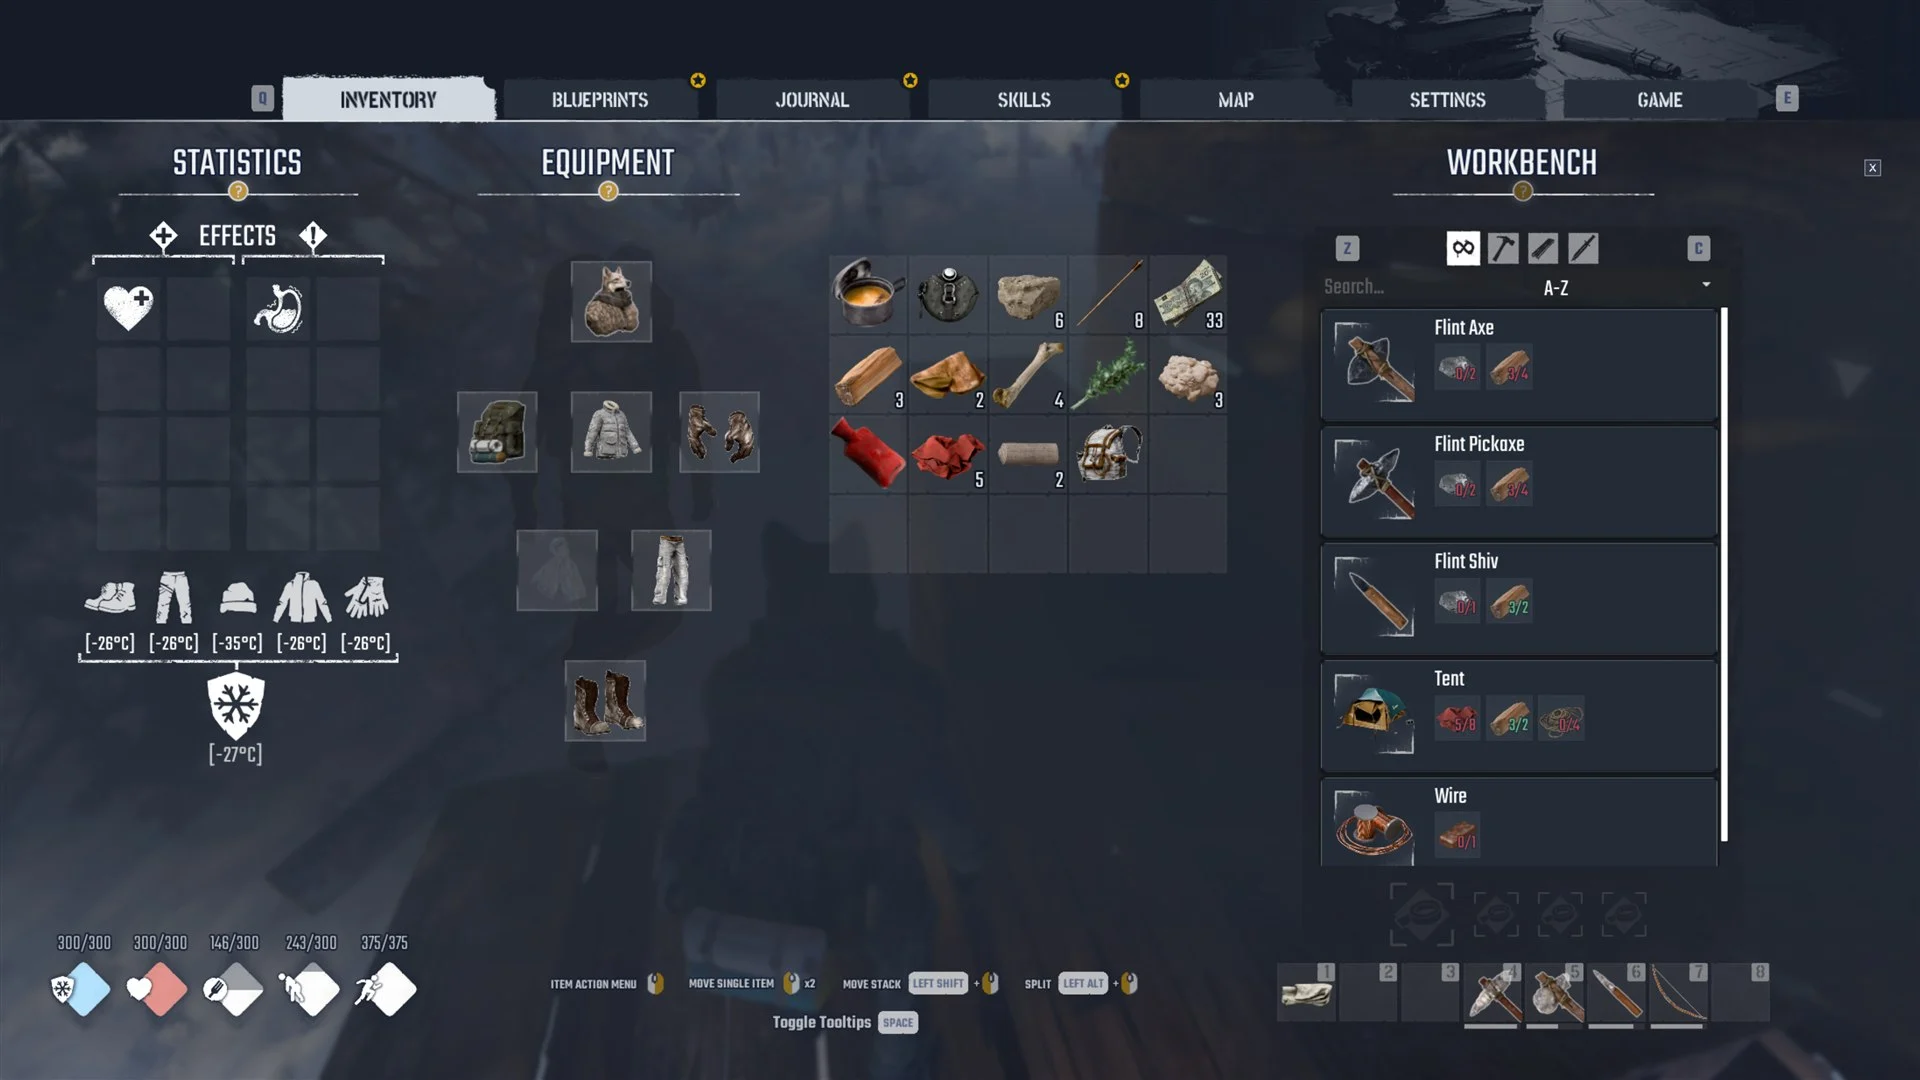
WORKBENCH panel listing Flint Axe, Flint Pickaxe, Flint Shiv, Tent and Wire
The open WORKBENCH panel: Flint Axe, Flint Pickaxe, Flint Shiv, Tent and Wire.
RecipeCostValue / Damage
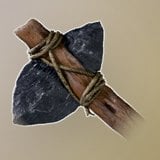
Flint AxeFlint 2, Wood 4Value 20, Damage 14
Flint PickaxeFlint 2, Wood 4Value 20, Damage 16
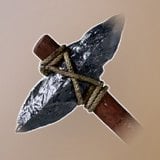
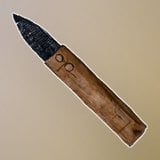
Flint ShivFlint 1, Wood 2—
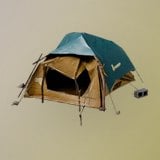
TentCloth 8, Wood 2, Rope 4Value 50
WireCopper Ingot 1Value 15

The Flint Pickaxe mines Sulfur, Copper, Coal, Flint and Stone, which is the step up from the Stone Pickaxe. Flint itself comes from Flint Boulders, so you make your first Flint Pickaxe with Flint gathered using the Stone Pickaxe. Three Wire feed into the Radio Station Bench, which sits in the same Utilities tab and costs 3 Wire plus 10 Wood.


Easy mistakes to avoid

  • Placing the Workbench straight on snow, which gives “FOUNDATION REQUIRED!”
  • Pressing F on a bench with no roof over it.
  • Trying to place the roof at the wall’s midpoint rather than its upper edge.
  • Trying to build inside Horizon, which returns “NO-BUILD ZONE”.

Whether more walls or a door stop the “STRUCTURE IS TOO EXPOSED!” line for good is not confirmed; one wall and one roof piece were enough to open the panel from under the roof.