In Dragon’s Dogma 2: Dark Arisen, sealed Abandoned Supplies bundles turn up across Norgan. Carrying them has no effect, and they come in two varieties: “Abandoned Supplies (Normal)” and “Abandoned Supplies (Rare)”. You can’t open or use either variety yourself; take them to an appraiser to uncover what’s inside.
Quick answer: Take the bundles to Jiera in the Norgandian Settlement and choose “Appraise”. It costs 5 RC per Normal bundle and 10 RC per Rare bundle, and each one becomes a single item.
What Abandoned Supplies (Normal) and (Rare) are
You’ll find both varieties under Materials in the Items menu, where each has a weight of 0.01 kg. The Normal description says “some sort of item”; the Rare description says “a rare item.”
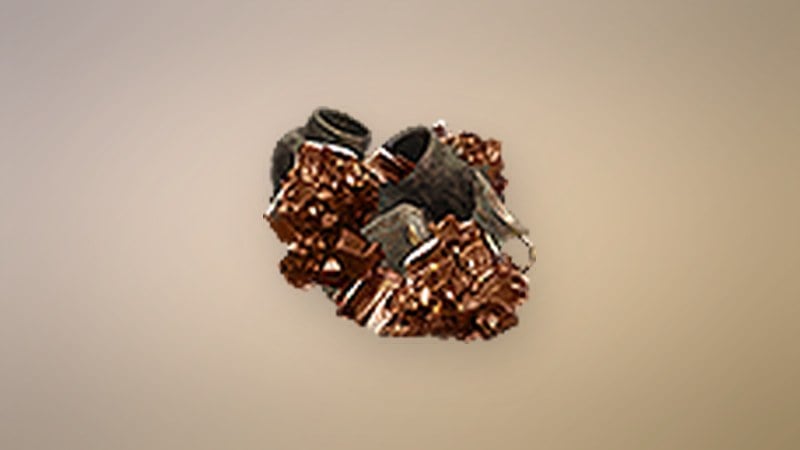
- Abandoned Supplies (Normal): “Timeworn relics of an ancient war. Have them appraised to obtain some sort of item.”
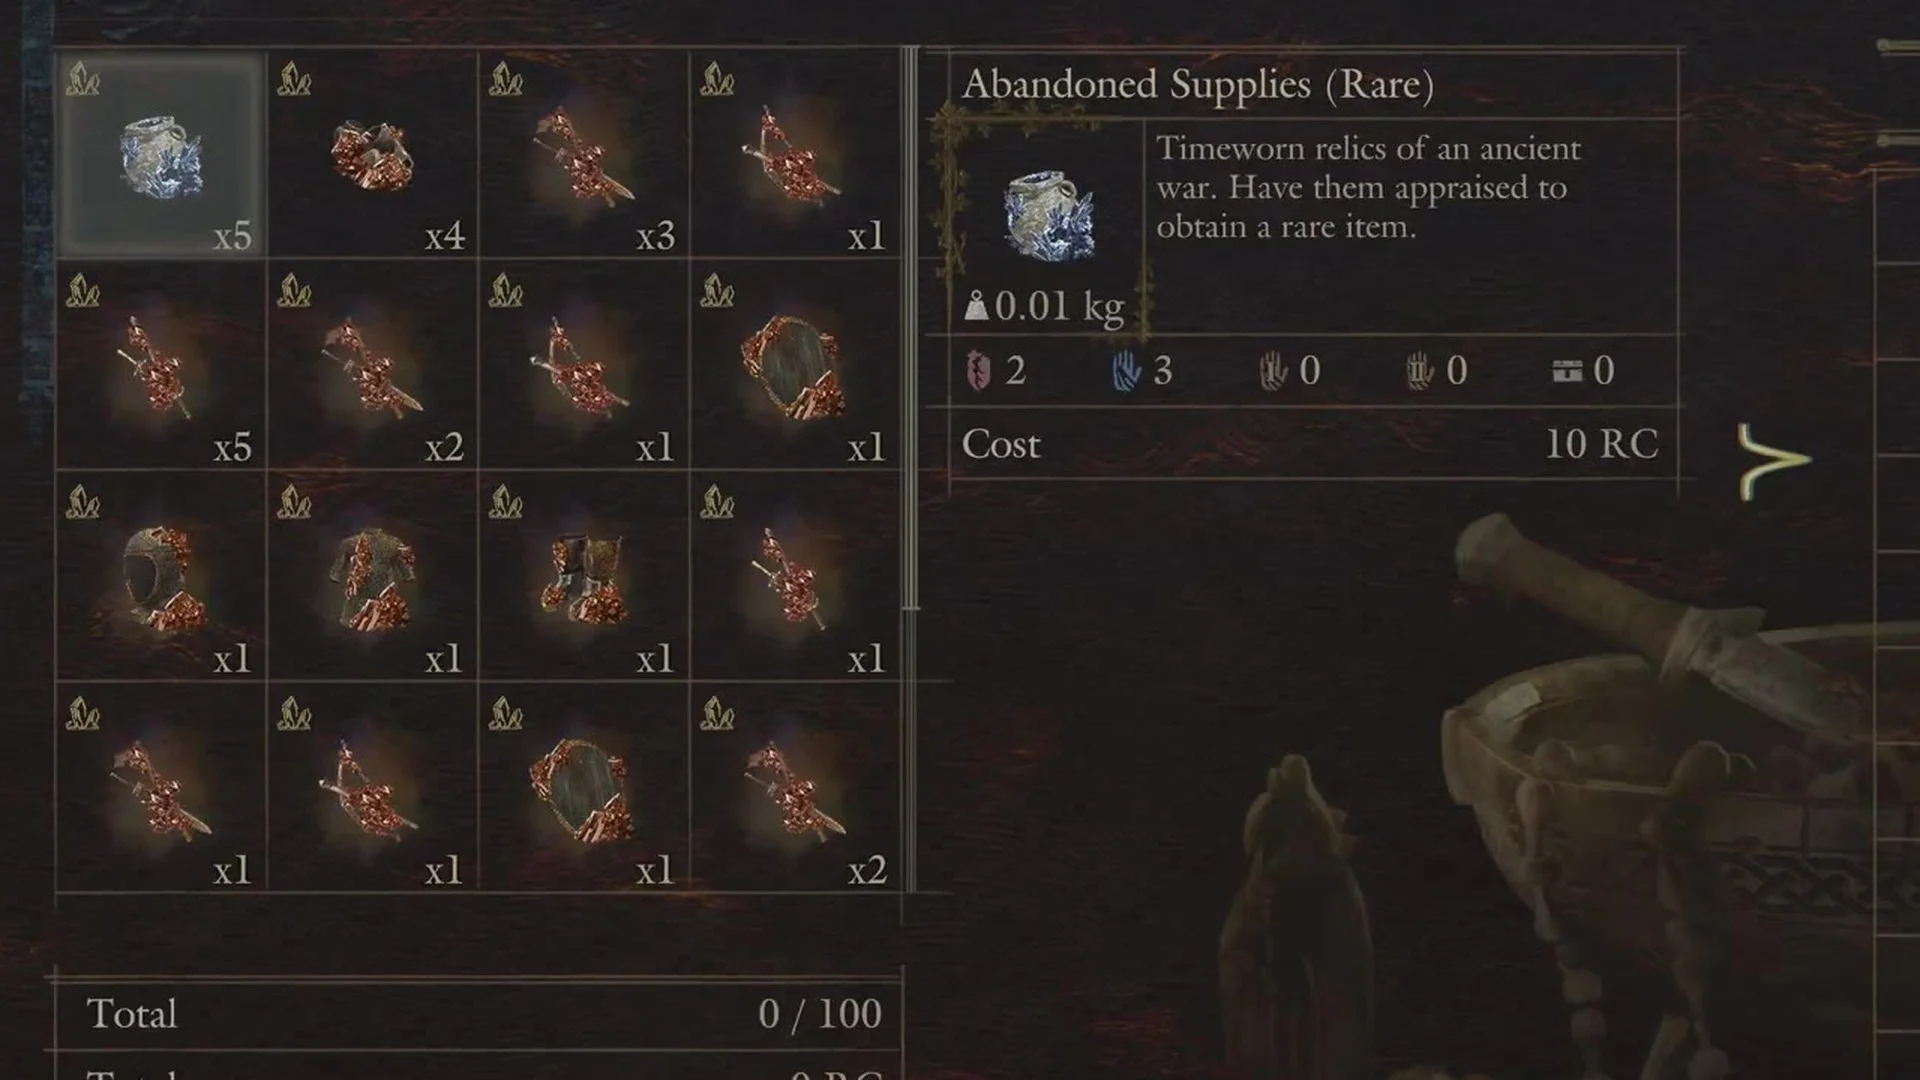
- Abandoned Supplies (Rare): “Timeworn relics of an ancient war. Have them appraised to obtain a rare item.”
Supplies can reveal curatives, spell grimoires, jewels or hunks of Rift Crystal, whereas Spoils yield weapons and armor. You can instead sell an unopened bundle as-is for 300 G if you want to keep your crystals.
Where to find Abandoned Supplies
Defeated enemies can drop these bundles, and you can also pick them up from heaps and bodies around the Norgan region. The notification at the screen’s right edge identifies the type you collected. Here are several locations:
- “Abandoned Supplies (Normal)” along the trail through Valgr Ravine.
- After fighting a ghoul, look on the broad stairs at the Mountain Stronghold for “Abandoned Supplies (Normal)”.
- Look for “Abandoned Supplies (Rare)” in the Mountain Stronghold’s roofless chamber.
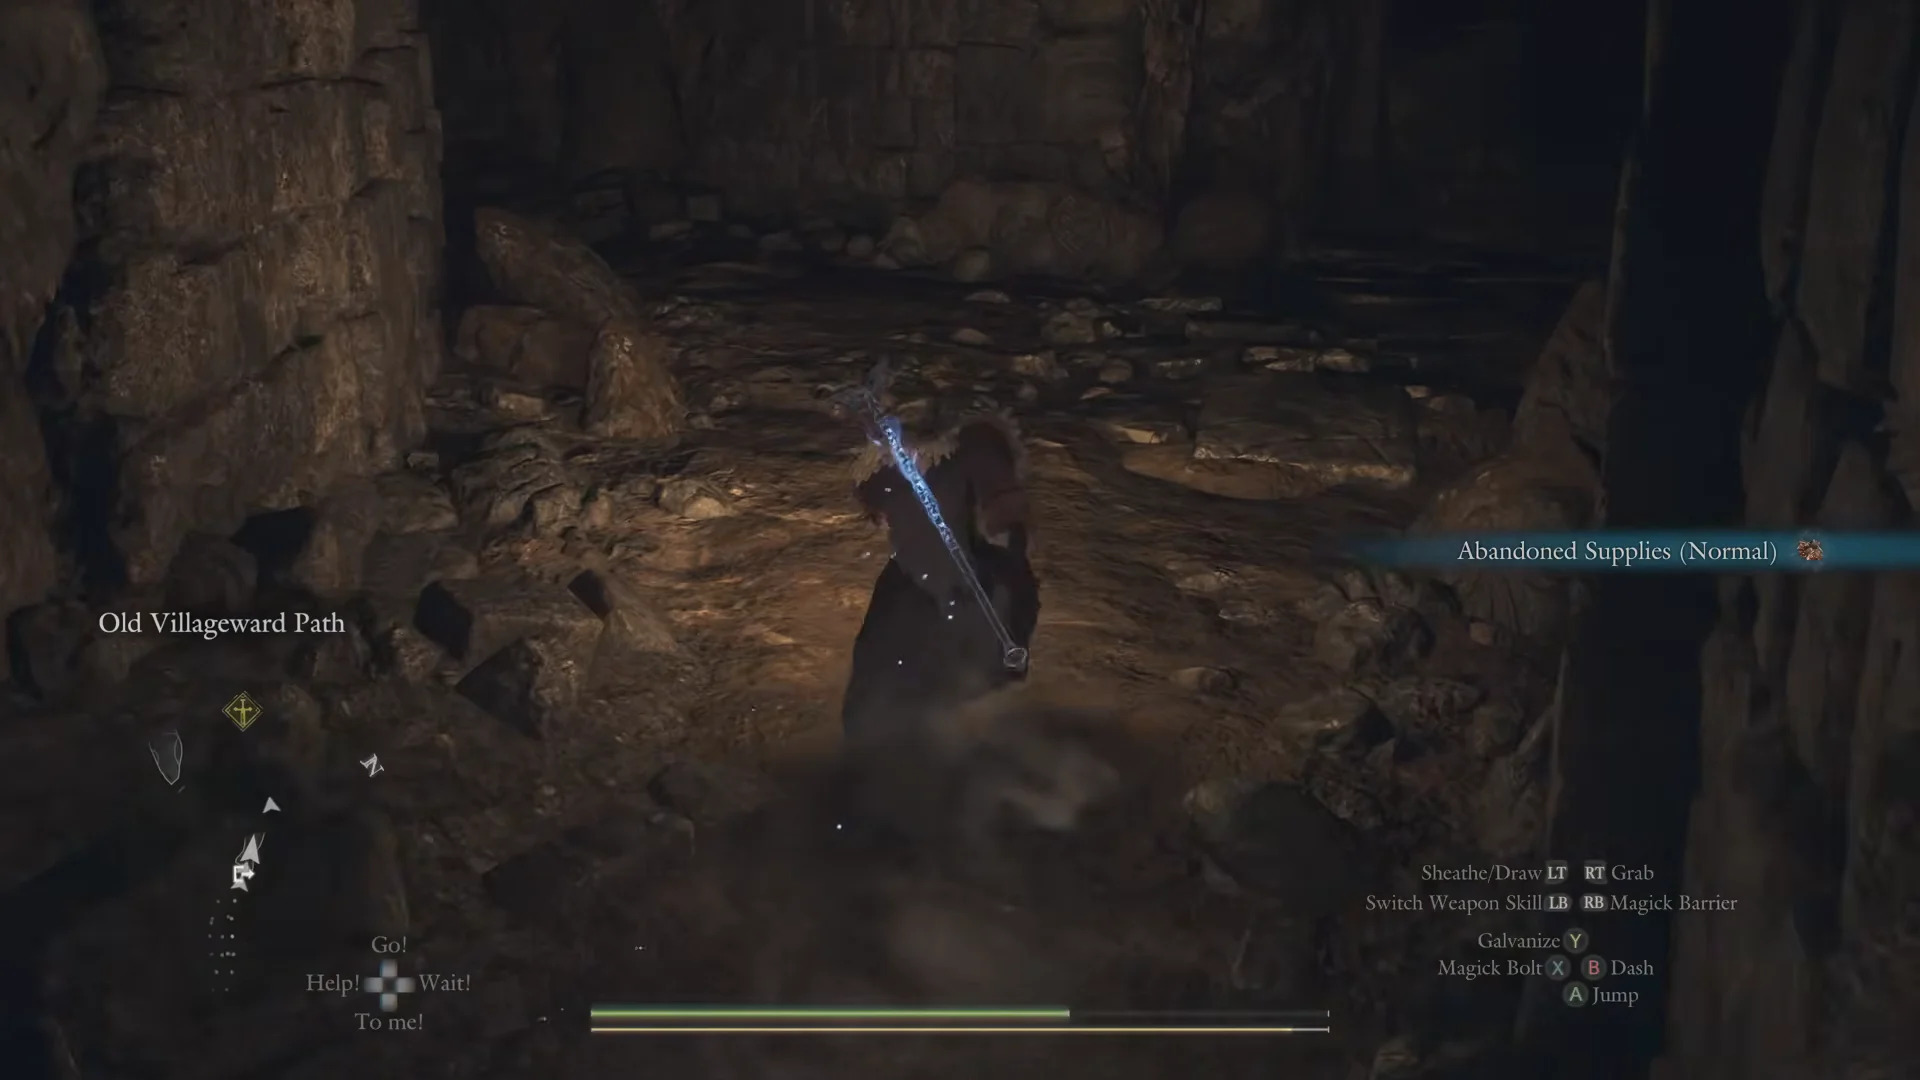
- “Abandoned Supplies (Normal)” just inside Old Villageward Path, with “Abandoned Supplies (Rare)” deeper in.
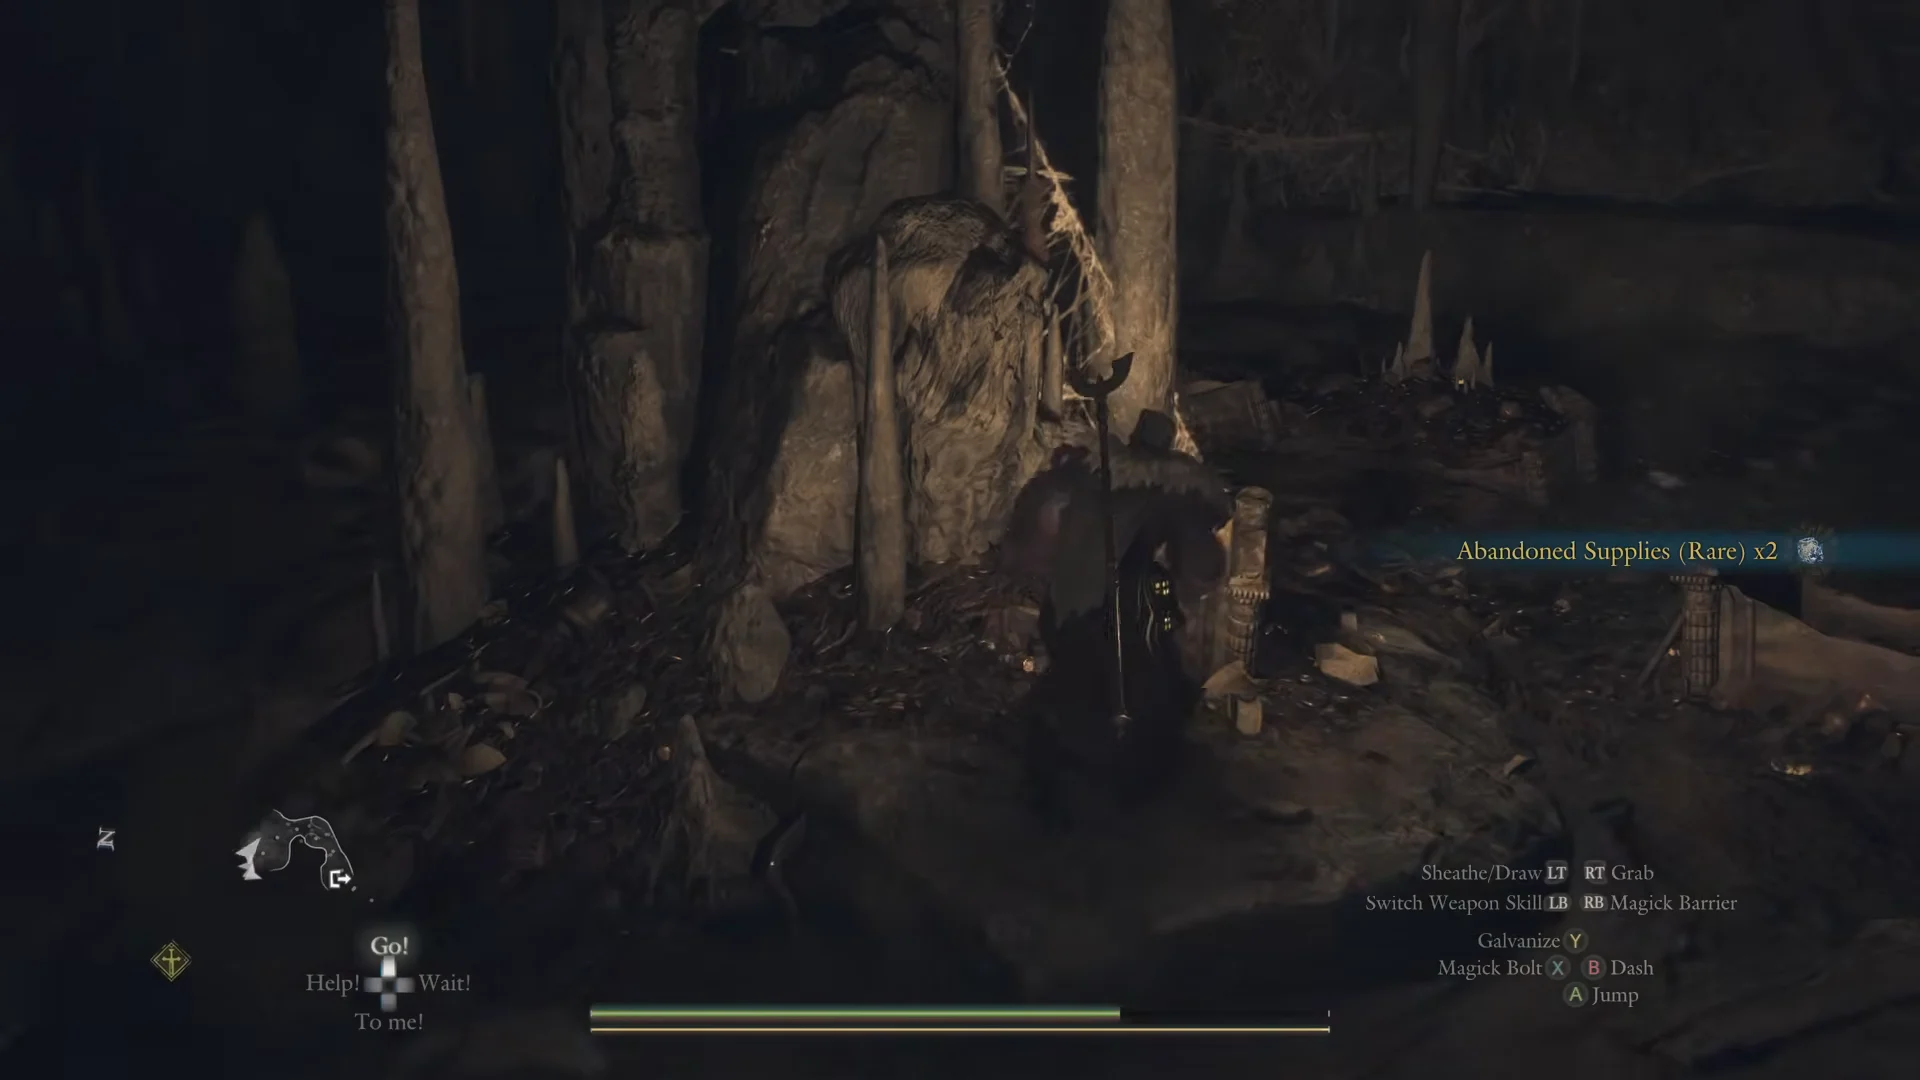
- “Abandoned Supplies (Rare) x2” can be found in a heap at the Snatching-Beast’s Lair after you kill the snowfoot.
How to open Abandoned Supplies at Jiera
A Giant Hunk of Rift Crystal has no “Sell” or “Send to Storage” option. Its menu is only “Take” / “Cancel”, and taking it adds 300 RC to your pool, so two of them more than cover a batch of bundles.
Example results from opened bundles
Here are results that came out of bundles, with the value shown under each on the results screen.
| Result | Came out of | Value shown |
|---|---|---|
| Giant Hunk of Rift Crystal | Normal | 300 RC |
| Galvanic Eruption | Normal | 300 G |
| Fungal Cure-All | Rare | 900 G |
| Allheal Elixir | Rare | 1750 G |
| Terrene Ire | Rare | 300 G |
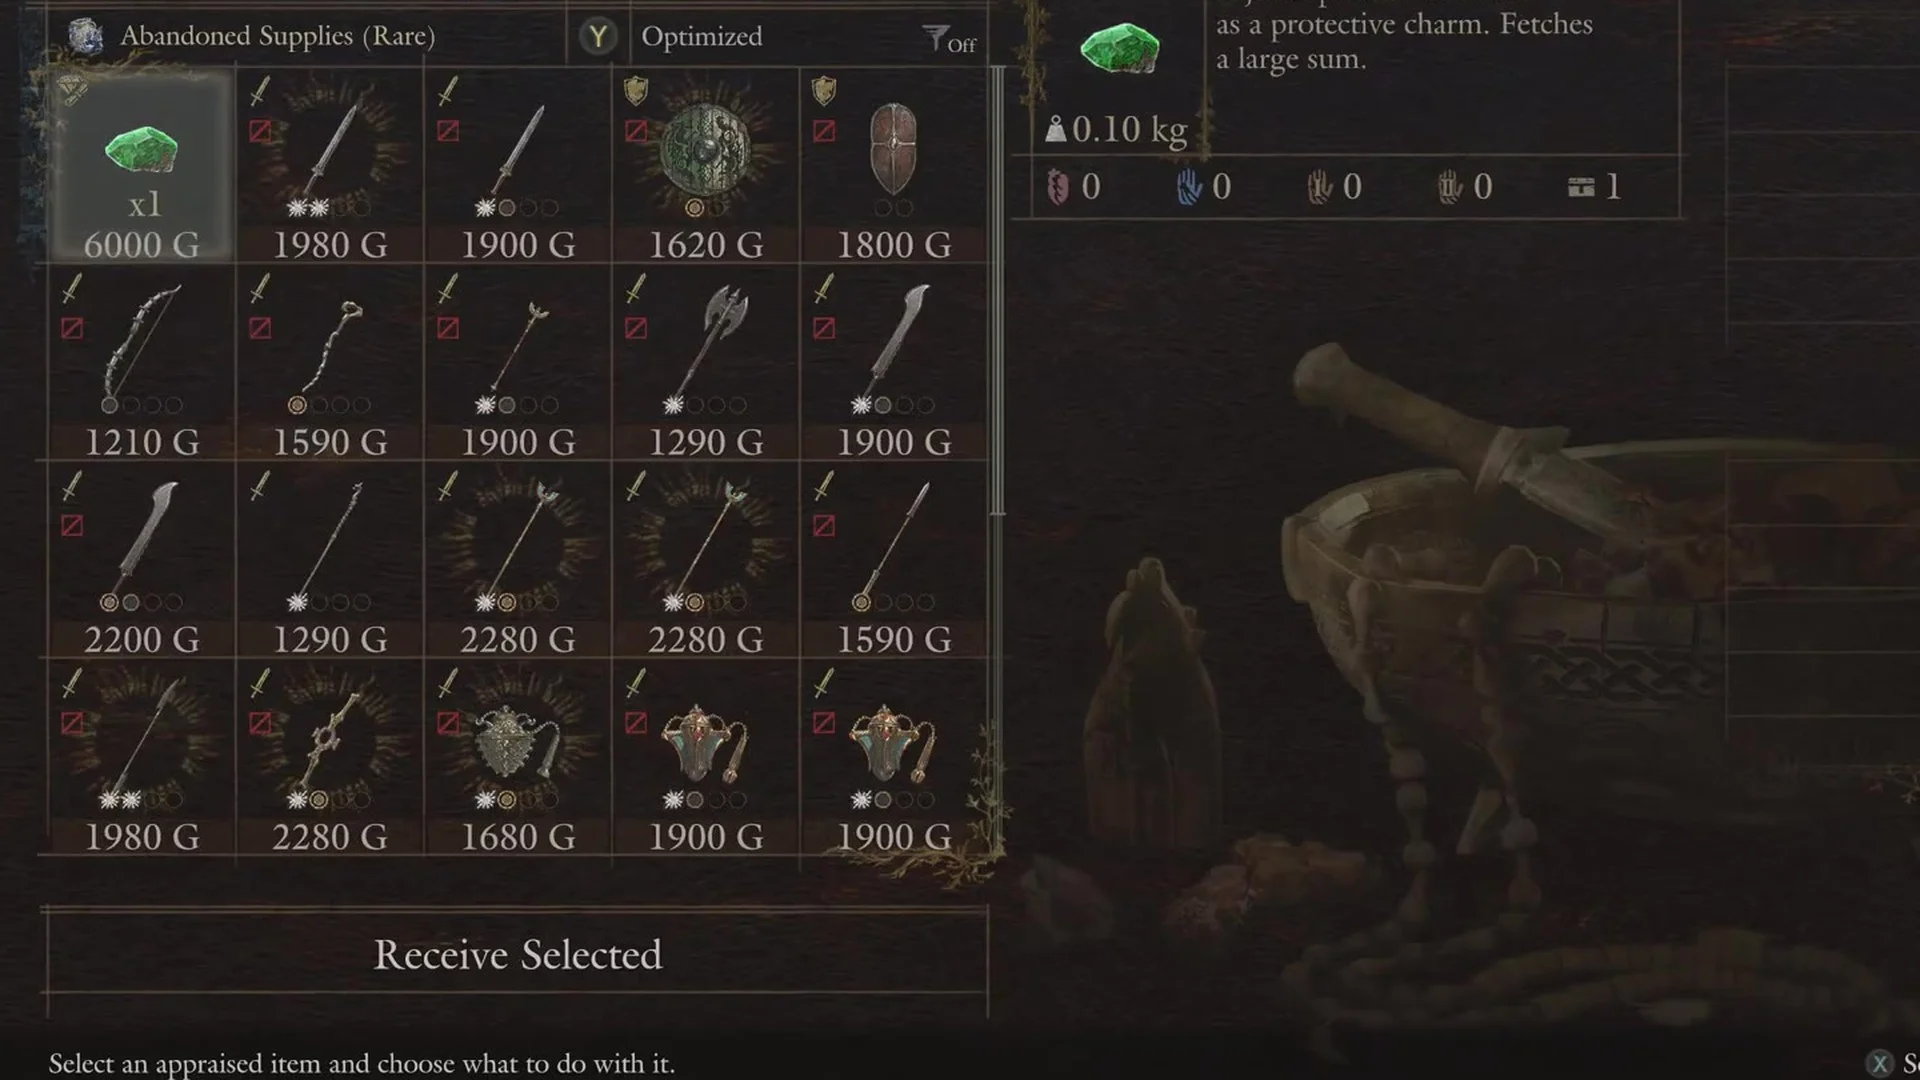
| Emerald | Rare | 6000 G |
- Giant Hunk of Rift Crystal: “Confers 300 Rift Crystals when obtained.”
- Galvanic Eruption: “A grimoire that casts a spell upon being read. Usable even by those incapable of magick. Invokes High Thundermine, a lightning spell.”
- Fungal Cure-All: “A panacea made by boiling mushrooms. Recovers loss gauge and restores Health.”
- Allheal Elixir: “A precious elixir, decocted to concentrate its curative elements. Consume it to recover Health and Stamina in full, and cure all current debilitations.”
- Terrene Ire: “A grimoire that casts a spell upon being read. Usable even by those incapable of magick. Invokes High Seism, a spell that conjures eruptions of stone.”
- Emerald: “A jewel prized for its use as a protective charm. Fetches a large sum.”
What a bundle can appraise into
Either kind can produce jewels, currency items, crystals, curatives, tomes, grimoires, arrows and rings. Items both kinds can turn into include Emerald, Coin Pouch, Coin Chest, Giant Hunk of Rift Crystal, Enormous Hunk of Rift Crystal, Norgan Ducat, Wakestone Shard, Wakestone, Panacea, Allheal Elixir, Regeneration Elixir, Fungal Cure-All, Chirurgeon’s Tome, Logistician’s Tome, Hawker’s Tome, Forager’s Tome, Aphonite’s Tome, Effulgent Aurora, Galvanic Eruption, Threshing Blaze, Algid Tempest, Terrene Ire, Blighting Arrow, Explosive Arrow, Ring of Levity, Ring of Avarice, Ring of Contingency and Ring of Rearrival.
- Normal-only results: Sunstone, Curvestone and Wyrmslife Crystal.
- Rare-only results: Bolide Barrage, Unbridled Gale, Dynamic Sanctuary and Renascent Decree.
Sell, trade or appraise
Appraising a Normal one costs 5 RC, while a Rare one costs 10 RC, and each appraisal yields one item from the lists above; the example values above ran from 300 G grimoires up to a 6000 G Emerald. Those fees are modest beside the Spoils costs shown on the same screen: “Spoils: Lv 1, Helm” costs 5 RC, “Spoils: Lv 2, Ancient Greaves” costs 15 RC, and both “Spoils: Lv 2, Light Weaponry” and “Spoils: Lv 2, Ancient Long Weaponry” cost 25 RC.
The split between the two kinds is simple. The Normal bundle promises “some sort of item” and the Rare bundle promises “a rare item”, they cost 5 RC and 10 RC respectively, and the Rare kind can produce items the Normal kind cannot. Neither one gives weapons or armor, so if you are after gear, that comes from Spoils instead.