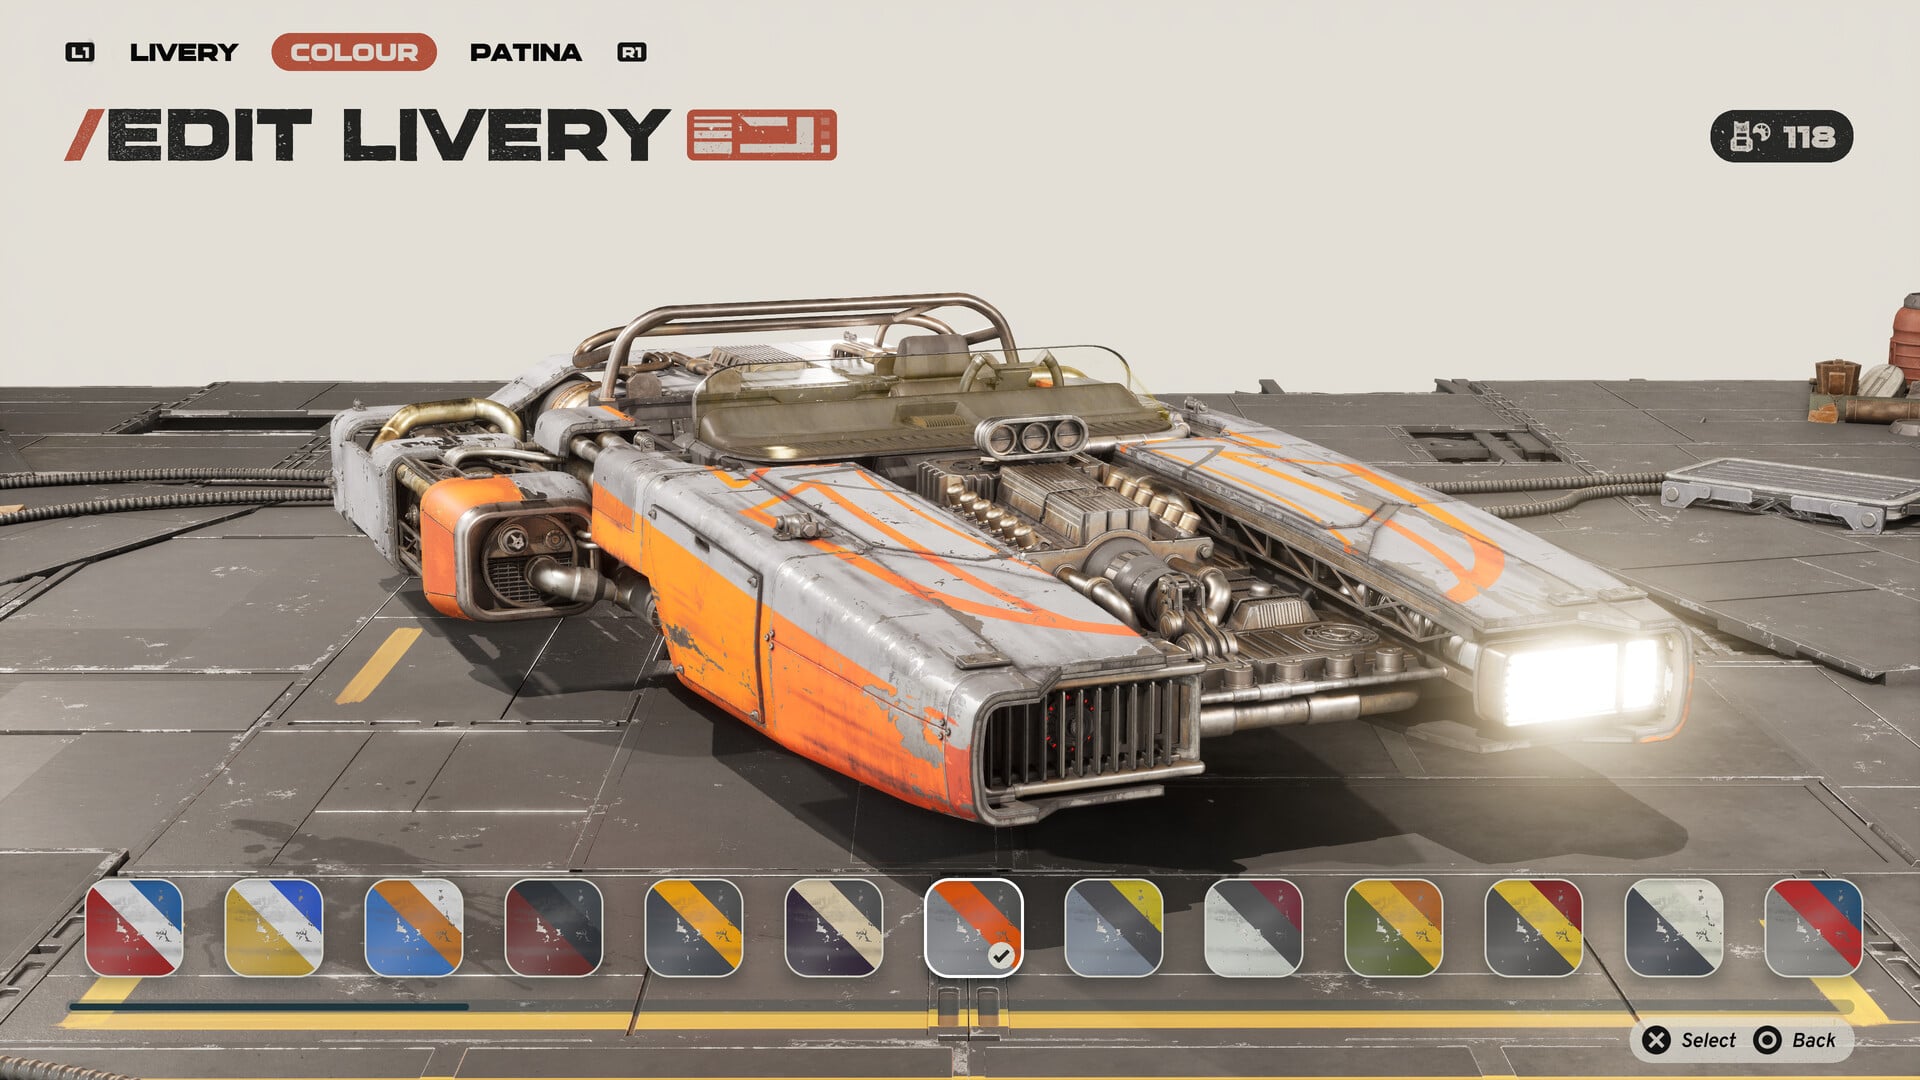
Champion is the hardest Campaign difficulty in Star Wars: Galactic Racer, and it punishes crashes harder than any other setting. Opponents drive faster and far more aggressively, and the way your Crashes refresh across a Tour changes so that damage management becomes the real test. The build below is tuned to hold first place from the start line, keep a near-permanent Ramjet running, and survive every Race, Eliminator, and the Galactic Gauntlet.
Quick answer: Run Clean Racer (Rank 3) on the Skim Speeder, equip the Favors Fan Club, High Roller, and Mad Genius, fill all four Part slots with Ramjet/Redline gear, and bring Overtaking Surge and Vent as your only Abilities.
Unlock Champion and what it changes
Champion is not selectable from the start. You unlock it by completing all three Campaign Acts at least once. Difficulty is chosen when you begin a new Tour, so you commit to Champion during Tour setup and cannot swap mid-run.
Lower settings only adjust how many Crashes you get before losing a Galactic League Token. Champion goes further by changing how Crashes refresh over the course of a Tour, on top of making the AI quicker and more physical. That means the build has to win races and protect your Token economy at the same time.
Racer Style: Clean Racer at Rank 3
Clean Racer avoids the crash-heavy openings that end Champion runs. Because everyone on the grid drives aggressively here, a style built around non-combative racing keeps you out of the pile-ups while the AI fights for second. At Rank 3, Clean Racer gives you:
- Overtaking Surge Ability installed from the start.
- Once Surging reaches 10 seconds, top speed increases; System Malfunction or the end of Surging removes the boost.
- Top speed that gradually climbs while you are Surging.
- +1 Energy for every 5 overtakes.
Trigger Overtaking Surge the moment a race begins. Blowing past the pack early builds Surge, the Surge stacks more speed, and you take the lead before the aggressive racers can touch you. Redliner and Firebug are strong Ramjet-focused alternatives, but Clean Racer is the safer pick when a single early crash can snowball.
Vehicle and stat upgrades: Skim Speeder
The Skim Speeder has the highest top speed in the game and eats up straightaways. Its Knife Edge drift is extremely sharp, so it takes some skill to hold a line, but once mastered it leaves the field behind. Pour your stat points in this order.
| Priority | Stat | What it does |
|---|---|---|
| 1 | Ramjet | Higher Ramjet speed, held for longer |
| 2 | Knife’s Edge | Tighter drifting through corners without crashing |
| 3 | Resilience | Survives high-speed collisions and obstacles, saving Crash tokens |
| 4 | Afterburner | Raises base speed |
| 5 | Energy | More charges to spam the Surge Ability |
Invest heavily in Ramjet, Knife’s Edge, and Resilience first. Once those three are strong, move to Afterburner and Energy, then freely max out whatever remains. Fan Club (below) feeds you extra Vehicle Stat Upgrades after events, so these stats fill out fast on the way to the finale.
Parts for a permanent Ramjet
You can equip four Parts, and what you find depends on the Scrap Dealer, event rewards, and Hibi’s Shop. Prioritize anything that extends Redlining and boosts Ramjet. These four are the target loadout.
| Part | Effect |
|---|---|
| Extended Alarm IV | +200% Redlining duration |
| Overheat Loop III | +5% Ramjet power while Redlining, stacking until you Crash |
| Redline Purge | Lets you reuse the Ramjet after Redlining for higher heat gain, enabling near-infinite Ramjet |
| Redlining Power | +100% Ramjet power while Redlining |
If you run the Gadgeteer Favor for six Part slots instead of four, watch out for Faulty Parts, which can drag down the whole loadout.

Abilities: Overtaking Surge and Vent
Two Abilities cover everything this build needs. Overtaking Surge pushes you into first and keeps you there. Vent cools your engines while Redlining, which is how you keep the Ramjet alive for most of a lap and stretch your lead.
There is little reason to buy anything else. If you have spare Credits, Autopilot and Shield are useful defensive options that help you avoid losing more Crash tokens on dangerous sections.
Favors: Fan Club, High Roller, and Mad Genius
These three Favors solve the problems that end Champion runs: thin stats, a fragile Crash allowance, and a weak economy.
Fan Club
Finishing in the top 3 of any Race or Eliminator gives a 20% chance at an Upgrade Pack carrying a +3 Vehicle Stat Upgrade. Combined with the base reward, you gain at least +4 Vehicle Stats per event, which pushes you toward maxed stats by the finale.
Mad Genius
You start each planet with 2 extra Crashes. On Champion, where the Crash system is at its harshest, those act as extra lives and are the reason the run survives mistakes long enough to recover.
High Roller
Sidebet winnings get a +100% Credits boost, which fuels Legendary Parts and Upgrade Packs at Hibi’s Shop. A confident run can clear +2,000 Credits per race, rising to around +4,000 against Kestar Bool.

Protect your Galactic League Token
If you are about to lose a race or burn through your remaining Crashes, you can force-quit before the result locks in. Closing the game with Alt+F4 on PC, or turning off your console, prevents the loss of a Galactic League Token so you can retry the event with your Tour intact.
You will know the build is working when Overtaking Surge puts you in front within the opening seconds, Vent keeps the Ramjet firing down the straights without the engine exploding, and you clear each planet with Mad Genius Crashes still in reserve. Hold that pattern through all three Acts and the Galactic Gauntlet falls the same way every other event does.