Evolve a Cell drops you into a pond as a tiny microbe that has to eat, grow, and avoid becoming food. Your early choices about diet, body parts, and where you spend DNA decide how fast you climb the food chain. Here is how the core systems work and which upgrades pay off.
Quick answer: Pick one diet and eat only its color, grow safely under the 3-minute newbie shield, spend DNA on movement and defense first, then commit to one combat role before chasing mutations at Rebirth (Stage 4).
Choose your diet: plants or meat
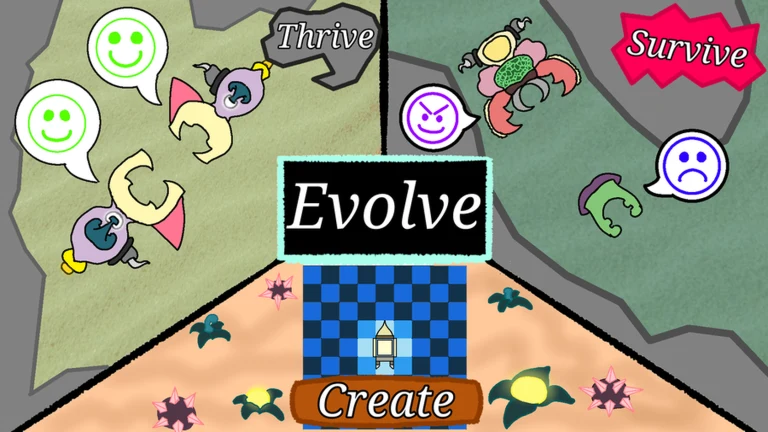
The first screen asks what do you eat? and gives you two paths. Picking meat gives your cell jaws, so you eat red orbs and hunt smaller cells. Picking plants gives you a filter mouth, so you eat green plant matter. Stick to your color — eating your preferred food type grants the best growth, and switching back and forth wastes time.
Carnivores gain mass and DNA both from red orbs and from biting rival cells until they drop meat chunks. Herbivores stay on green food. Whichever you pick, clear the nearby food before swimming far, and do not try to fight a larger cell right after spawning.
Use the newbie shield to grow safely
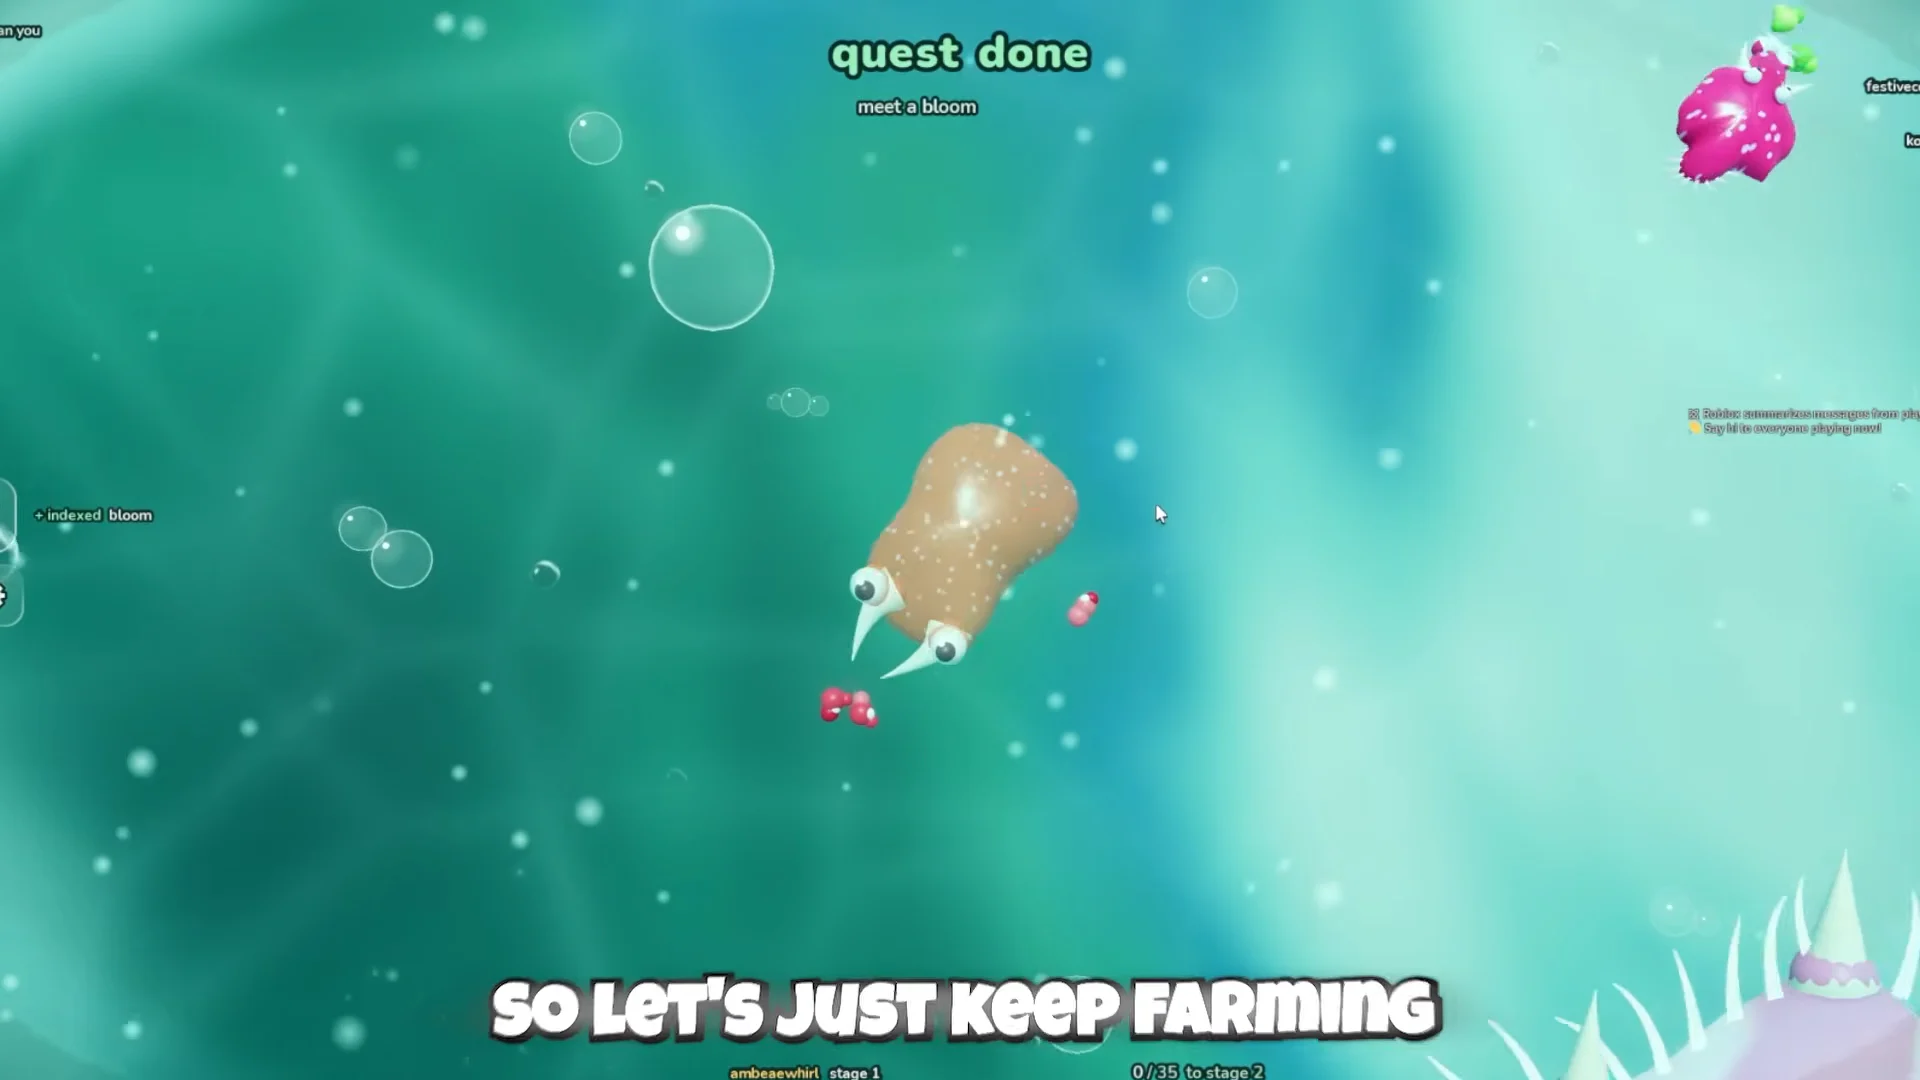
When you hatch from the egg, you get a newbie shield that reads Nothing can eat you for 3 minutes, grow fast! Nothing can eat you during this window, so use it. Gather every nearby orb, complete your early quests, and build size while you are safe rather than wandering the edges of the pond.
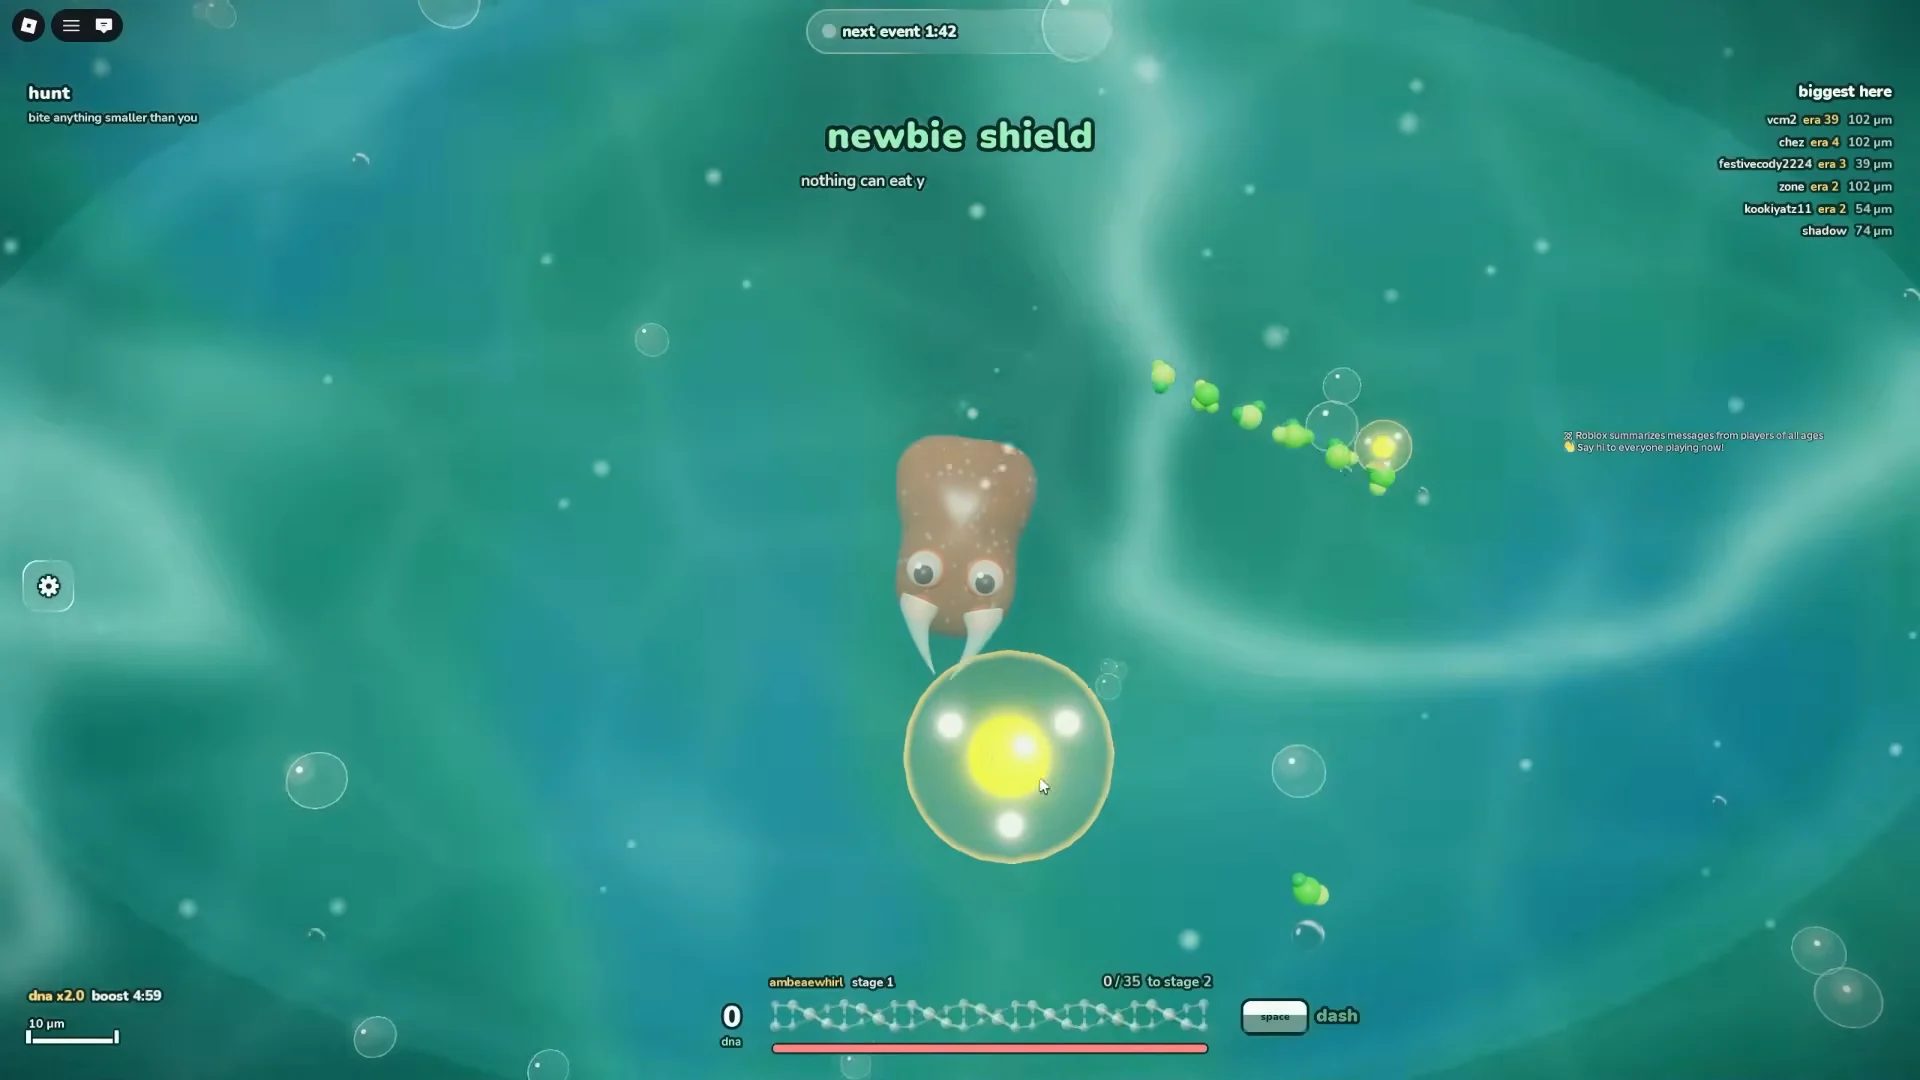
Press space to push forward, and keep an escape route open at all times. The dotted ring around other organisms marks their detection and strike range, so read it before you drift too close. When the shield drops, treat every moving cell as a threat until you know its size.
Pond events and hazards to watch for
Randomized events change the pond mid-run. Some drop extra food, others can kill you. The banners appear across the top and center of the screen, so react as soon as one fires.
| Event | Effect |
|---|---|
| Meteor shower | Meteors rain down; dodge the impacts |
| Red tide | Toxic water; avoid the affected area |
| Carcass | Large food deposit to feed on |
| The leviathan rises | A giant organism appears |
| Feeding frenzy | Faster feeding window |
| Night falls | Visibility and conditions shift |
Other callouts like golden sugar, free 2x dna, migration, and kelp forest also appear. Grab the DNA bonuses when they show, and steer clear of toxic clouds and meteors until you are big enough to shrug off a hit.
Spending stat cards as you level up
As you eat and clear stages, you reach new levels and are offered a choice of three upgrade cards along the bottom of the screen. These are passive stat boosts. Collecting mutagens along the way feeds into this progression.
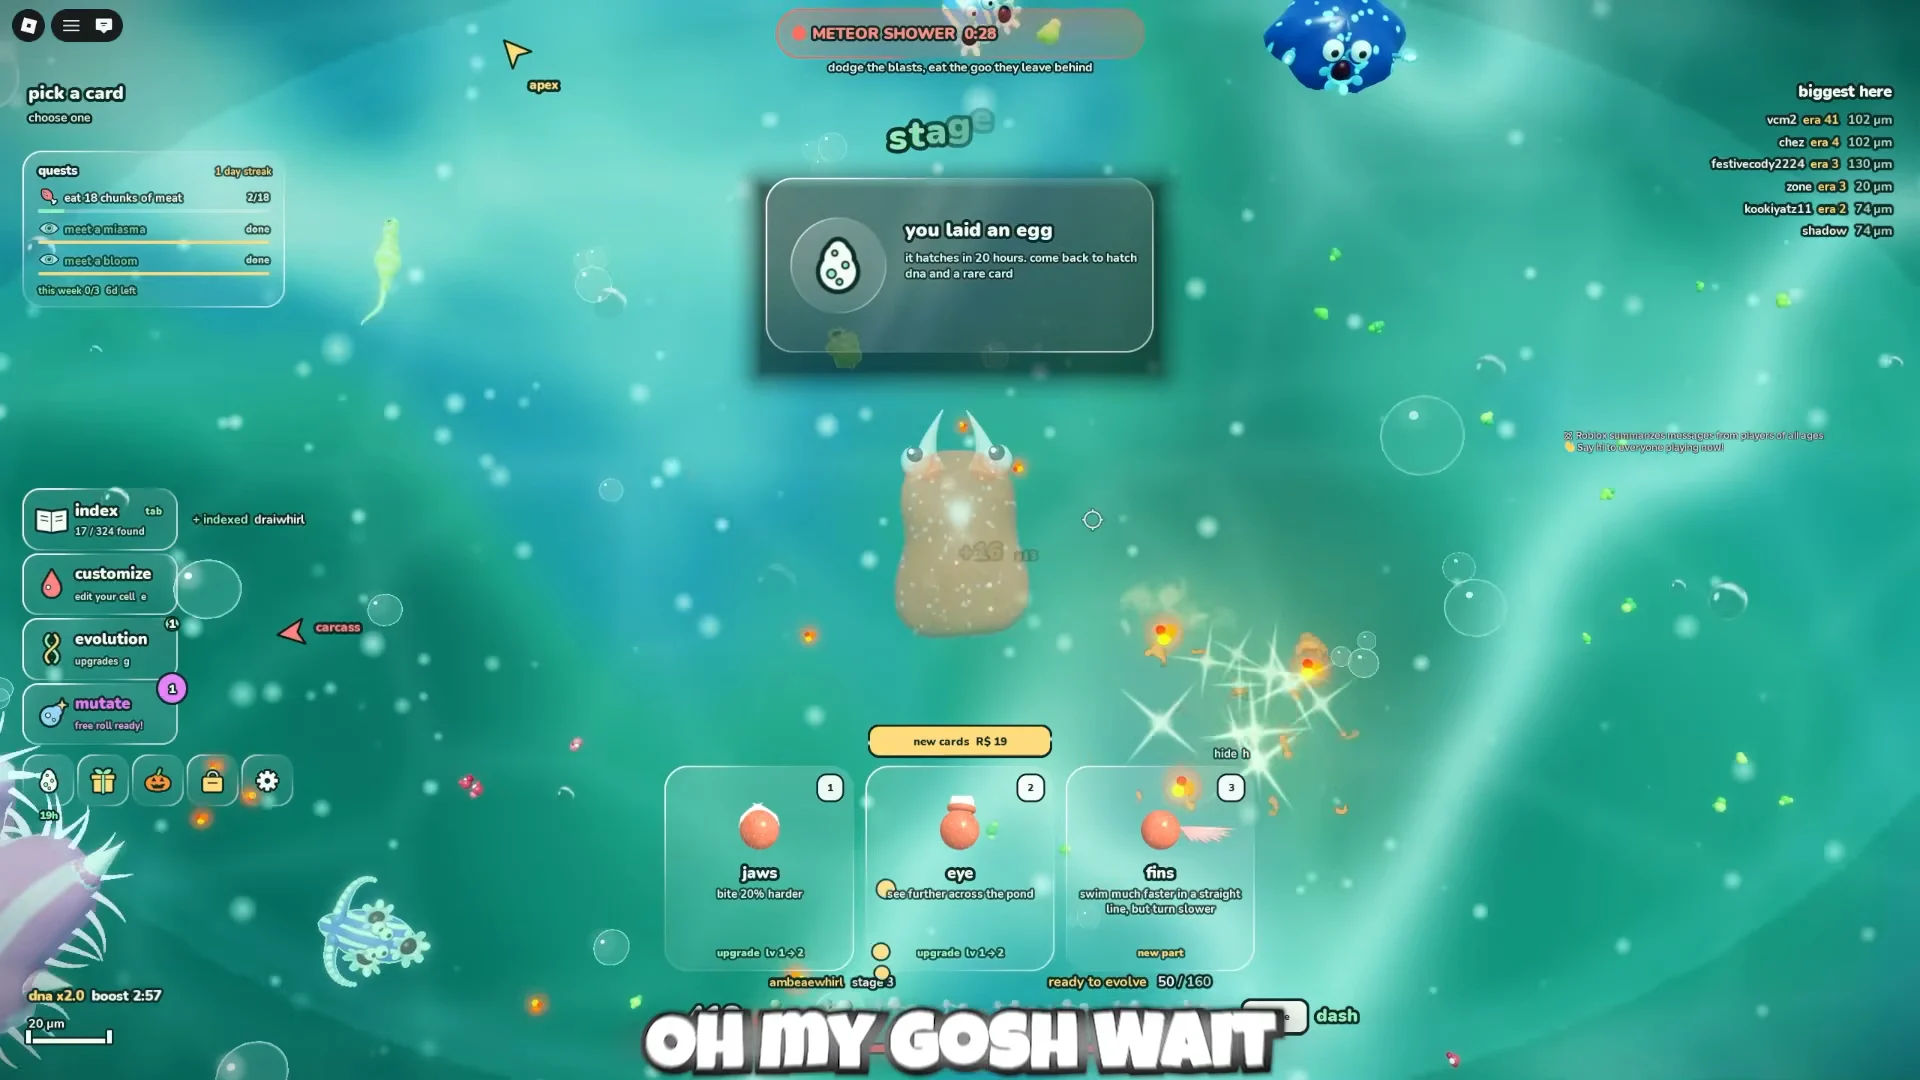
Here is what the common cards do:
| Card | Effect |
|---|---|
| Thick membrane | +15% more health |
| Mending | +50% heal faster out of fights |
| Jaws | Bite 20% harder |
| Flagellum | Whip tail; swim faster |
| Cilia | Tiny hairs; turn faster |
| Camo skin | Hunters can’t see you while you swim slowly |
| Leech | Bites heal you; plants give less |
| Eye level 2 | Improved vision and awareness |
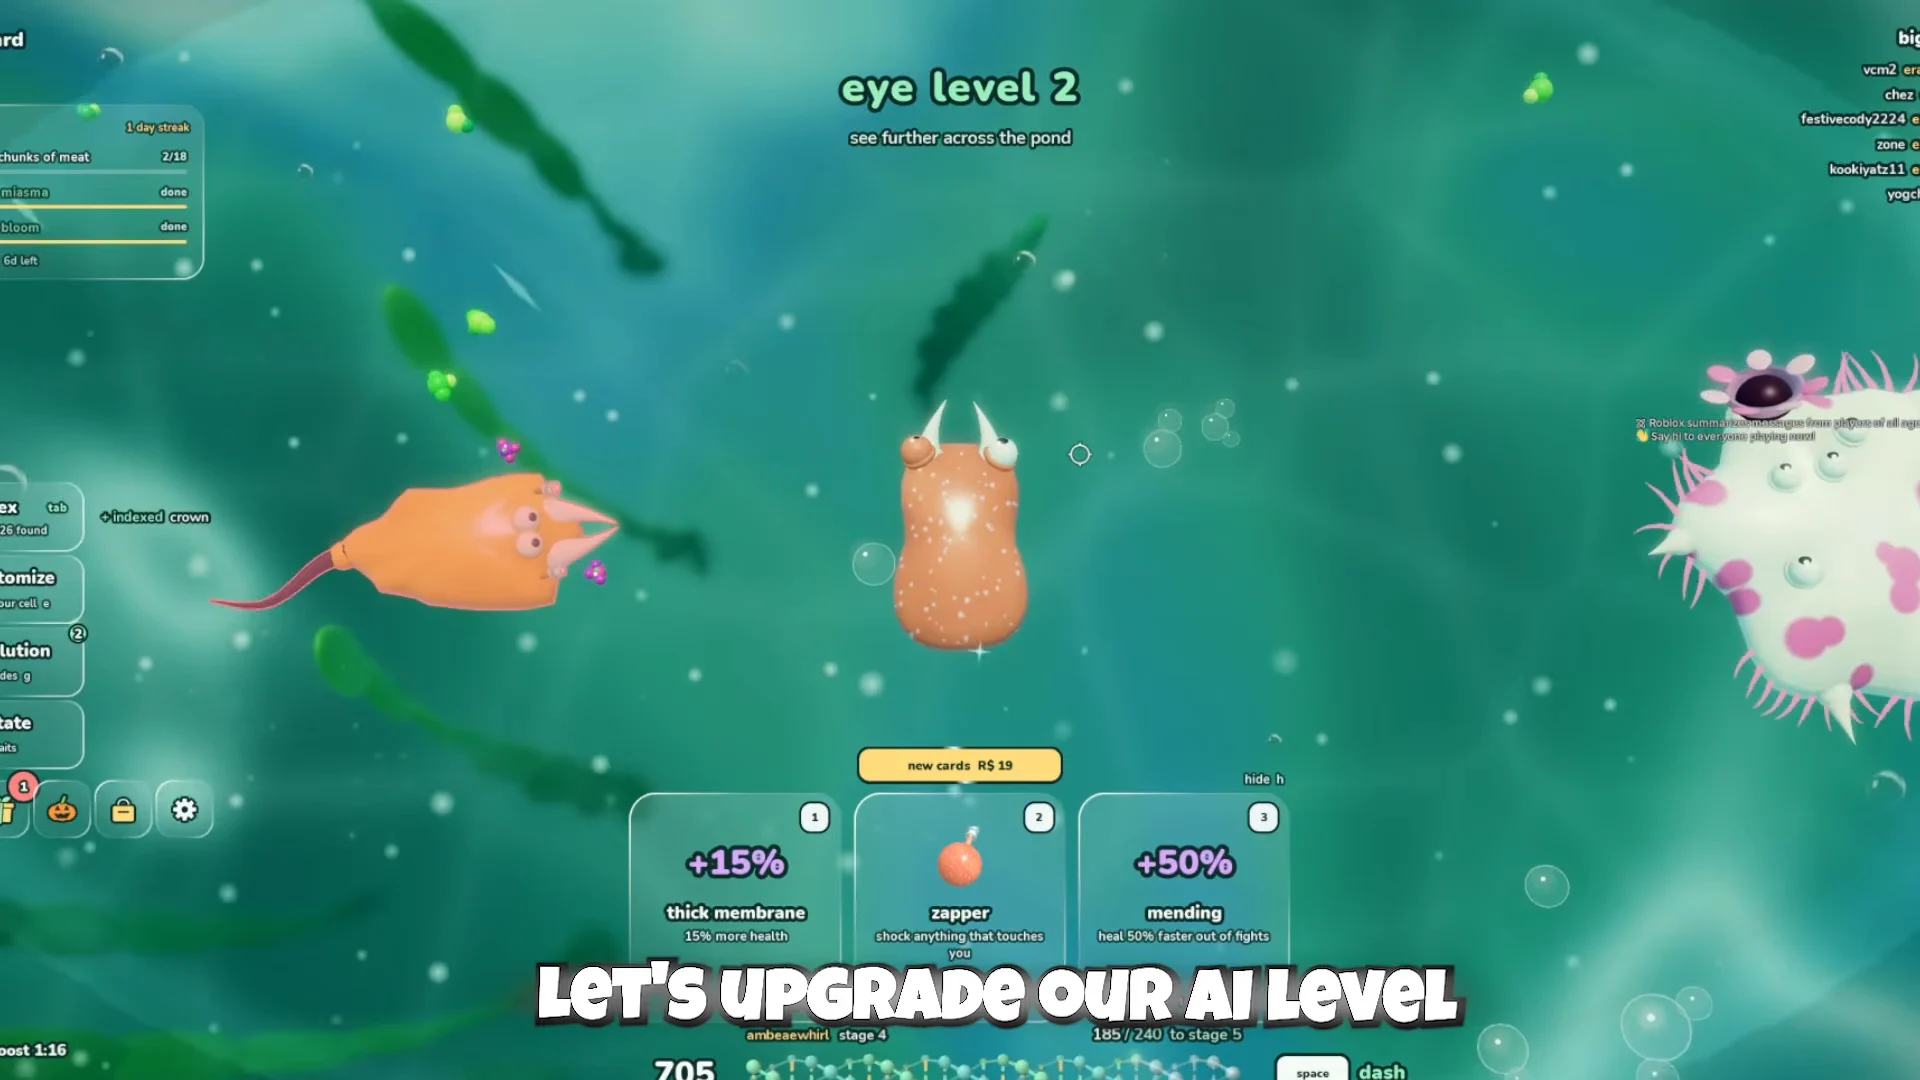
At the start, prioritize survival and movement with cards such as thick membrane, mending, cilia, and flagellum. When you start hunting rivals, add jaws or leech. Use E whenever you like to open the body-part menu and equip eyes, followed by jaws, horns, spikes, and fins.
Best Evolution Tree upgrades
The Evolution Tree splits into four branches — Growth, Speed, Size, and Hunt — and you spend evolution points earned from Rebirth across them. Hold down on a node to grow it. Pick nodes that match the role you want instead of spreading points thin across every branch.
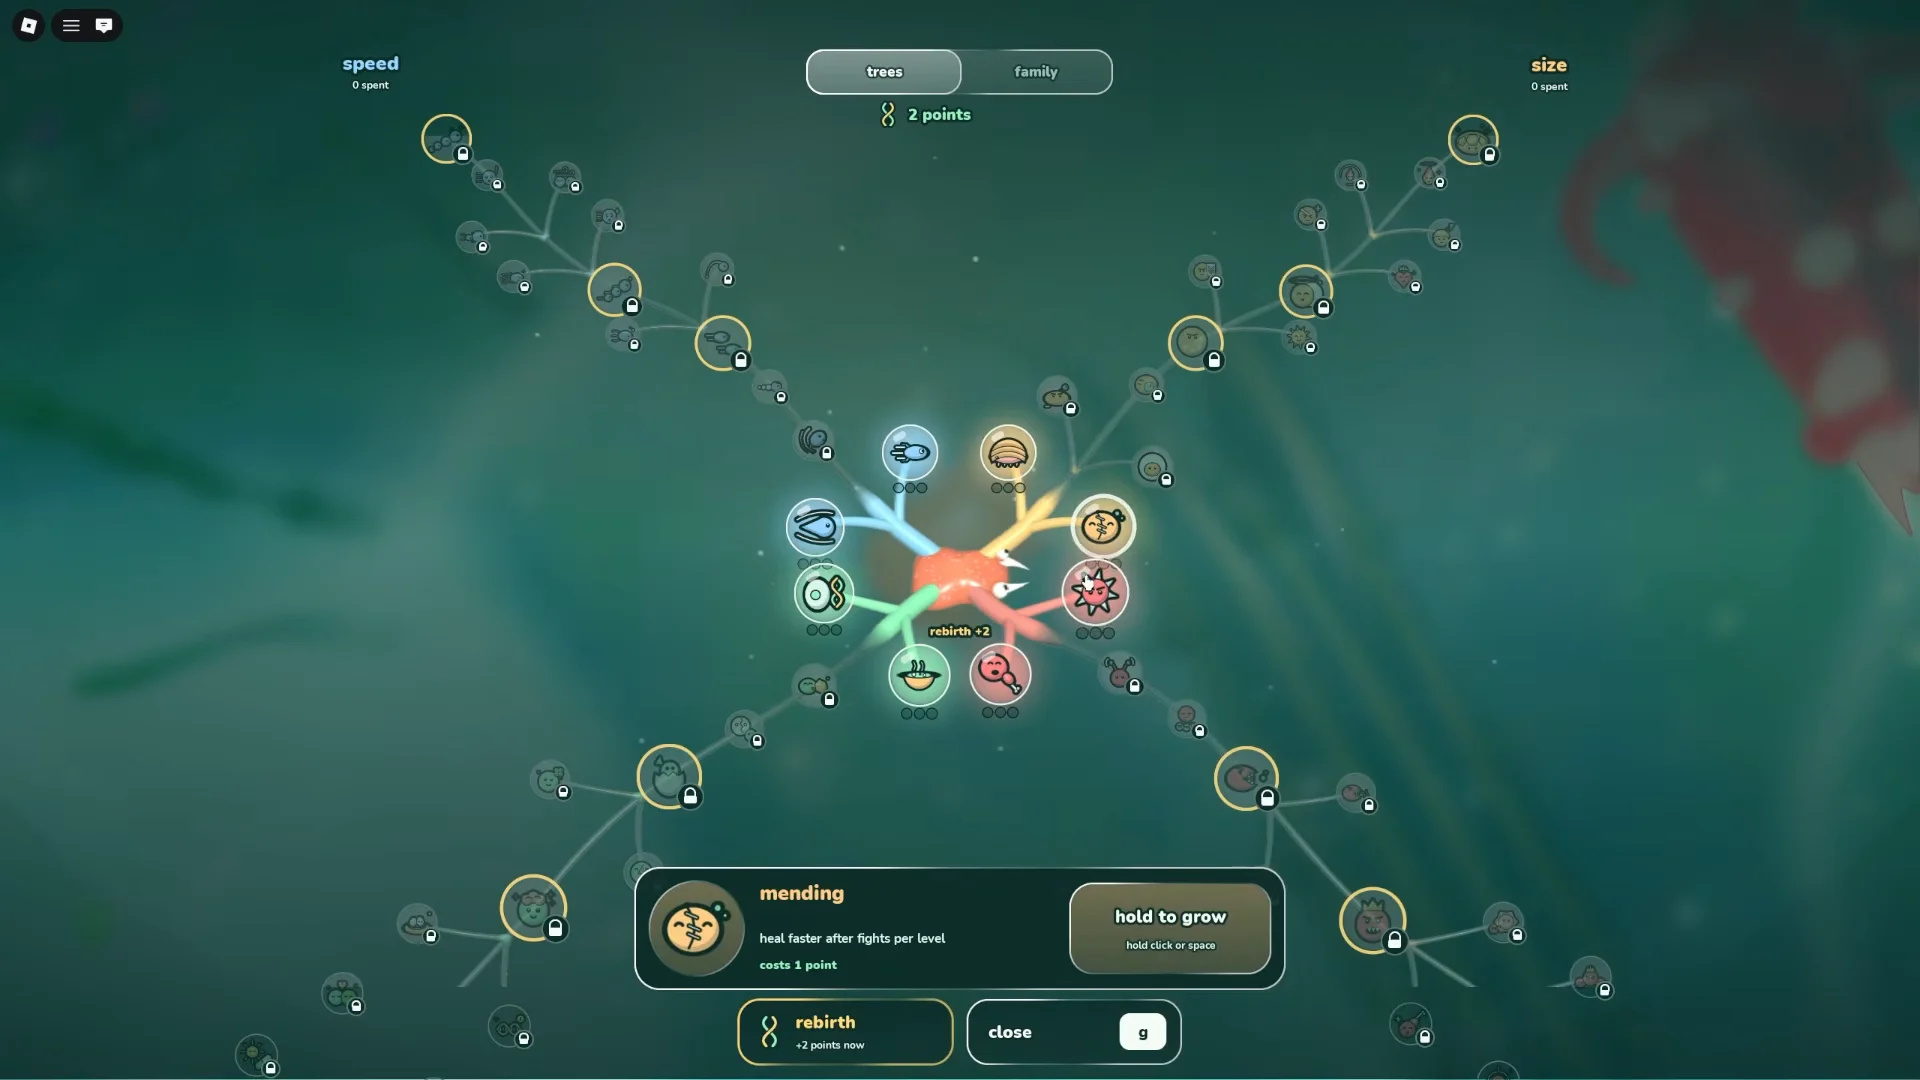
Three nodes stand out for early value:
- Sharp edges — +15% damage per level, for hunting builds.
- Feast — +25% DNA from meat per level, to speed up growth.
- Mending — heal faster after fights per level, for staying power.
Feast and mending help almost any build, so they are safe early picks. Sharp edges is worth prioritizing once you commit to attacking other cells.
Rebirth and rolling mutations
Reaching Stage 4 unlocks Rebirth, which opens the Mutations screen. Mutations are passive perks that improve survival and combat, and you roll for them. One example is the Rare slick membrane, which makes drills and tentacle whips hurt you 50% less.
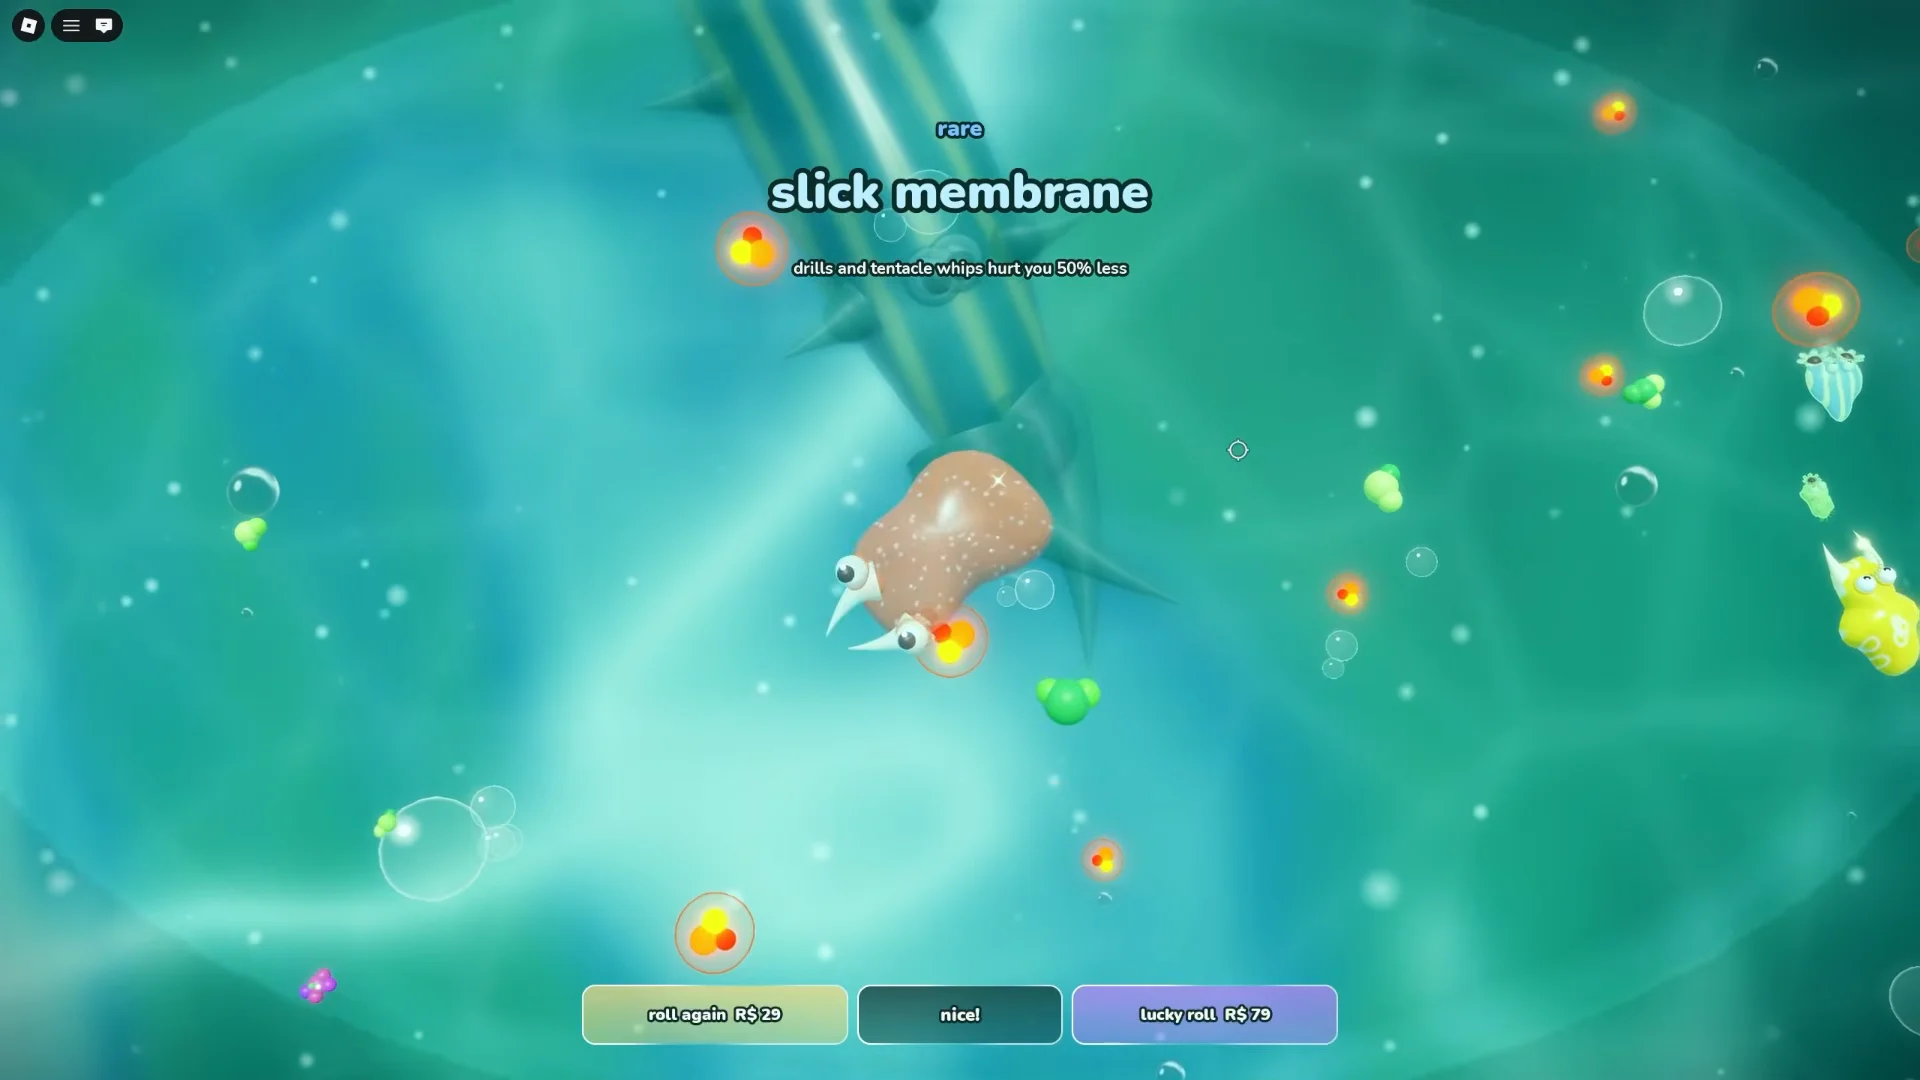
Rebirth also hands you evolution points to spend in the tree, so each Rebirth makes your next run stronger. Keep mutations that give useful passive bonuses like damage reduction, and reroll the ones that do not fit your plan.
Rerolls and lucky rolls cost Robux, but free rerolls and roll tokens also come from the daily Gifts menu and the Pond Pass, so you rarely need to pay to keep rolling.
Claim free DNA from gifts and the Pond Pass
The Gifts menu hands out free rewards for logging in and for playtime. Come back daily to stack them up:
| Day | Reward |
|---|---|
| Day 1 | +80 DNA |
| Day 2 | +1 point |
| Day 3 | 2 free rerolls |
| Day 4 | 10 min 2x DNA |
| Day 5 | +2 points |
| Day 6 | Rare card +120 DNA |
| Day 7 | +4 points, 15 min 2x DNA |
The free track of the Haunted Pond season pass adds more, starting with +100 DNA at Tier 1 and continuing through further tiers. Claim the free tiers as you earn them before spending anything on premium.
What happens when you die
When another organism kills you, the death screen gives three choices:
- Descendant — continue as generation 2, keeping part of your design.
- Start over — reset to stage 0 as a new cell.
- Second chance — a Robux revive that keeps everything on the spot.
If you choose to start over, you can pick your diet again or hatch directly as any creature you have already cataloged in the Index, such as the abyssal organism. Spending Robux to revive on early deaths is rarely worth it — learning the pond’s pacing costs nothing and pays off across every run.
Keep the loop simple. Collect food safely, grow, evolve, then contest tougher areas once your build has a clear role. Growth earned without taking damage always beats one risky kill, so when a fight stops going your way, break off and keep feeding.