Planet Zoo 2 looks cozy, but the management underneath is deep enough to drown a new player in menus. Money runs tight in the opening hours, and new systems arrive faster than you can absorb them. The early game is really about one thing: staying in the black long enough to afford the animals and builds you actually want.
Quick answer: Start in Career mode, adopt low-maintenance animals, put donation bins near your busiest exhibits, keep staff lean inside work zones, and complete each animal’s thriving checklist for up to 20% higher donations.
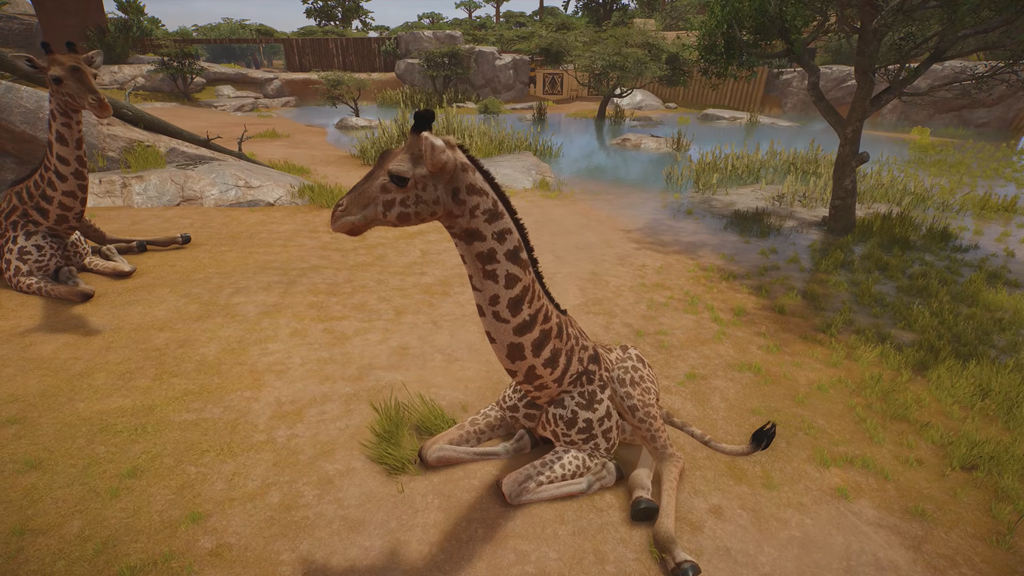
Start in Career mode to learn the economy
There are three modes: Career, Franchise, and Sandbox. Career is the structured one, and it’s where a first-time player should begin. It walks you through FEN’s conservation scenarios, hands you objectives, and teaches the economy without dropping you into an empty plot with a blank budget.
Sandbox gives you unlimited funds and every feature unlocked, which makes it a good place to prototype a tricky build or test an aviary blueprint without risk. Franchise connects zoos across the globe and shares Conservation Credits between them, but it requires an online connection and more management discipline. Save both until you understand the basics.
Pick cheap, low-maintenance animals first
Before you adopt anything, open the Zoopedia and read the animal’s card. Each entry lists its Periodic Food Expenses, which is the recurring cost of keeping that animal fed. In the opening hours, a hungry lion is a money pit that can tip you into debt before guests ever arrive.
Stick to simple, affordable species to start. An African Penguin, warthog, meerkat, or aardvark draws a crowd without demanding elaborate enclosures or premium food. Carnivores like lions and tigers are a reward you buy later, once a steady income can absorb their upkeep.
The Zoopedia card also shows each species’ space, terrain, shelter, and social needs. Check those before you adopt, not after, so you aren’t tearing down a half-built habitat because the animal needs deeper water or a bigger group.
Build income with donation bins and ticket prices
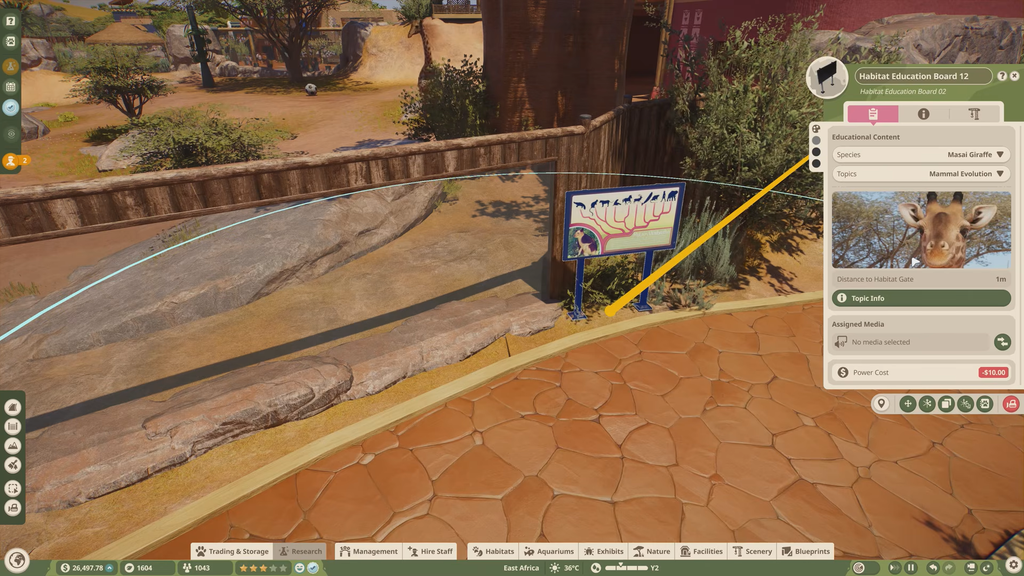
Donation bins are your most reliable passive income. Guests drop money into them as they wander, so scatter them across the zoo and concentrate them near your biggest attractions, where crowds are thickest and donations come fastest. Placing bins next to education boards and audio speakers raises contributions, because guests give more after they’ve learned something about the animal in front of them.
Ticket pricing provides another way to improve returns. Once guest traffic through the entrance is steady, increase admission prices to raise your margins. This strategy relies on animals having a high appeal stat, since that attracts paying visitors. Baby animals draw even larger crowds. If you prefer not to manage prices yourself, have admission adjust automatically with park appeal to avoid undercharging or putting guests off.
Raise prices only after appeal is high. Jacking up the fee in an empty-feeling zoo just drives guests off before they spend anything.
Raise reputation with education and scenery
A higher reputation pulls in more guests, which keeps the zoo growing. Education boards are one of the cheapest ways to push that number up, since they teach guests about the animals and feed donations at the same time. Swap the board topics at regular intervals so guests keep encountering fresh facts instead of the same panel every visit.
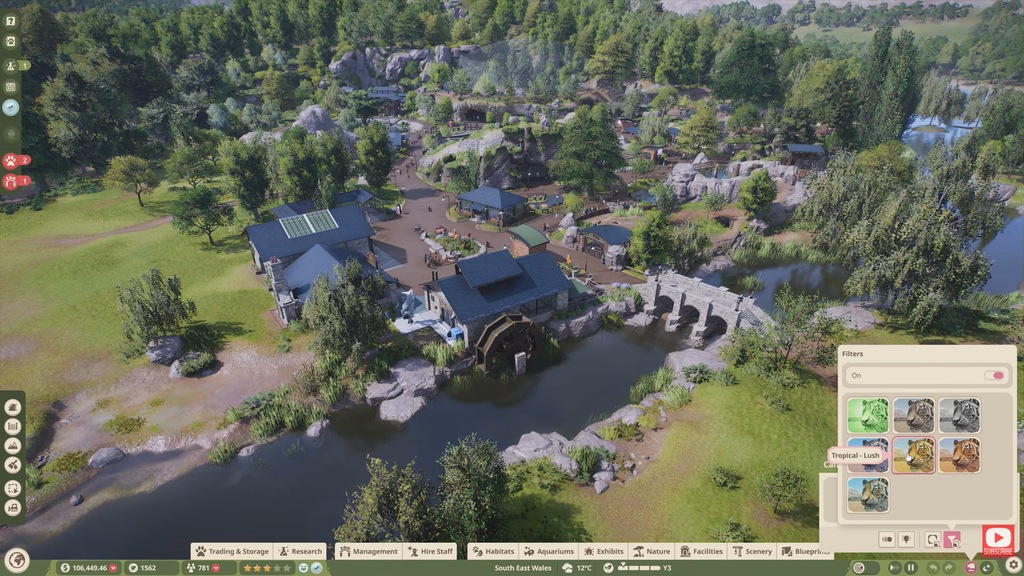
Scenery helps too. You don’t have to hand-place every item: drop in blueprints like canopies and simple props to make an area more appealing in seconds. It’s a fast way to lift the look of a path without spending an evening in the build menu.
Lay out paths to avoid overcrowding
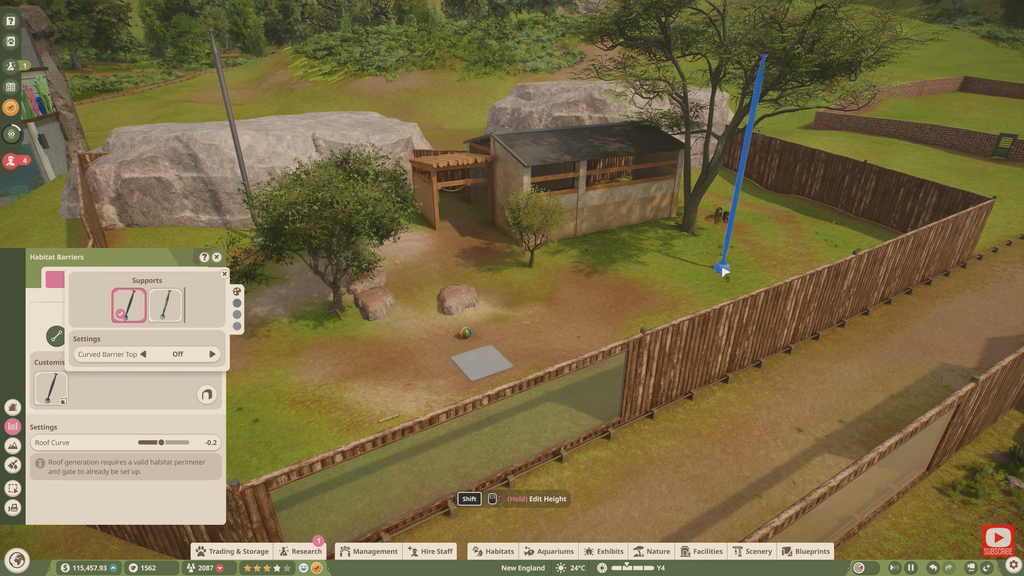
Big draws like lions and tigers pull the largest crowds, and if you put them on a main walkway they’ll clog it for everyone trying to pass. Push your headline attractions out to the corners and edges of the zoo, off the central route, so the crowd spreads out instead of piling up on one path. Keep those big exhibits apart from each other as well, since clustering them creates the same bottleneck.
For the layout itself, avoid a single long straight road. Build around central plaza hubs that branch into smaller paths, which keeps guests flowing rather than funneling into one congested line.
Keep staff lean and assigned to work zones
Salaries quietly eat your budget, so don’t flood the payroll early. Hire only the Keepers, Mechanics, and Caretakers you actually need, and assign each one to a dedicated work zone. A keeper who has to cross the whole park to deliver food leaves habitats neglected, and welfare drops while you’re not looking.
Get every animal thriving
Click any animal and you’ll see a checklist of objectives tied to its welfare. Complete them and the animal reaches a Thriving state, which is worth chasing for more than the warm feeling of a happy enclosure.
A thriving animal returns concrete gains:
- Up to 20% higher donations from guests at that habitat.
- A better husbandry rating for the zoo as a whole.
- Recovery of any lifespan the animal lost to poor welfare.
Each species has its own checklist, so there’s no single formula. Work through them one habitat at a time, and you’ll know it worked when the animal’s status changes to Thriving and its donation and welfare numbers climb. Nail the cheap animals, the lean staffing, and a layout that keeps crowds moving, and the expensive carnivores and aquariums become something you can comfortably afford rather than a gamble that bankrupts you.