The large antenna sits on the far northeastern edge of Riven Tides, on the cliffs that look down over the harbor and the beach. It is the last field objective in Celeste’s Teenage Rebellion, and it asks you to do two things at the base of the tower: weld a broken generator, then switch on the transmitter. Riven Tides is the hardest map in the rotation at a difficulty of 5 of 5, so plan your route before you drop in.
Quick answer: Travel to the cliffs east of Wavebreaker and north of the Stacking Yard, climb the trail to the red-and-white tower, weld the generator on the trailer, then activate the transmitter on its rear panel.
Where the large antenna is on Riven Tides
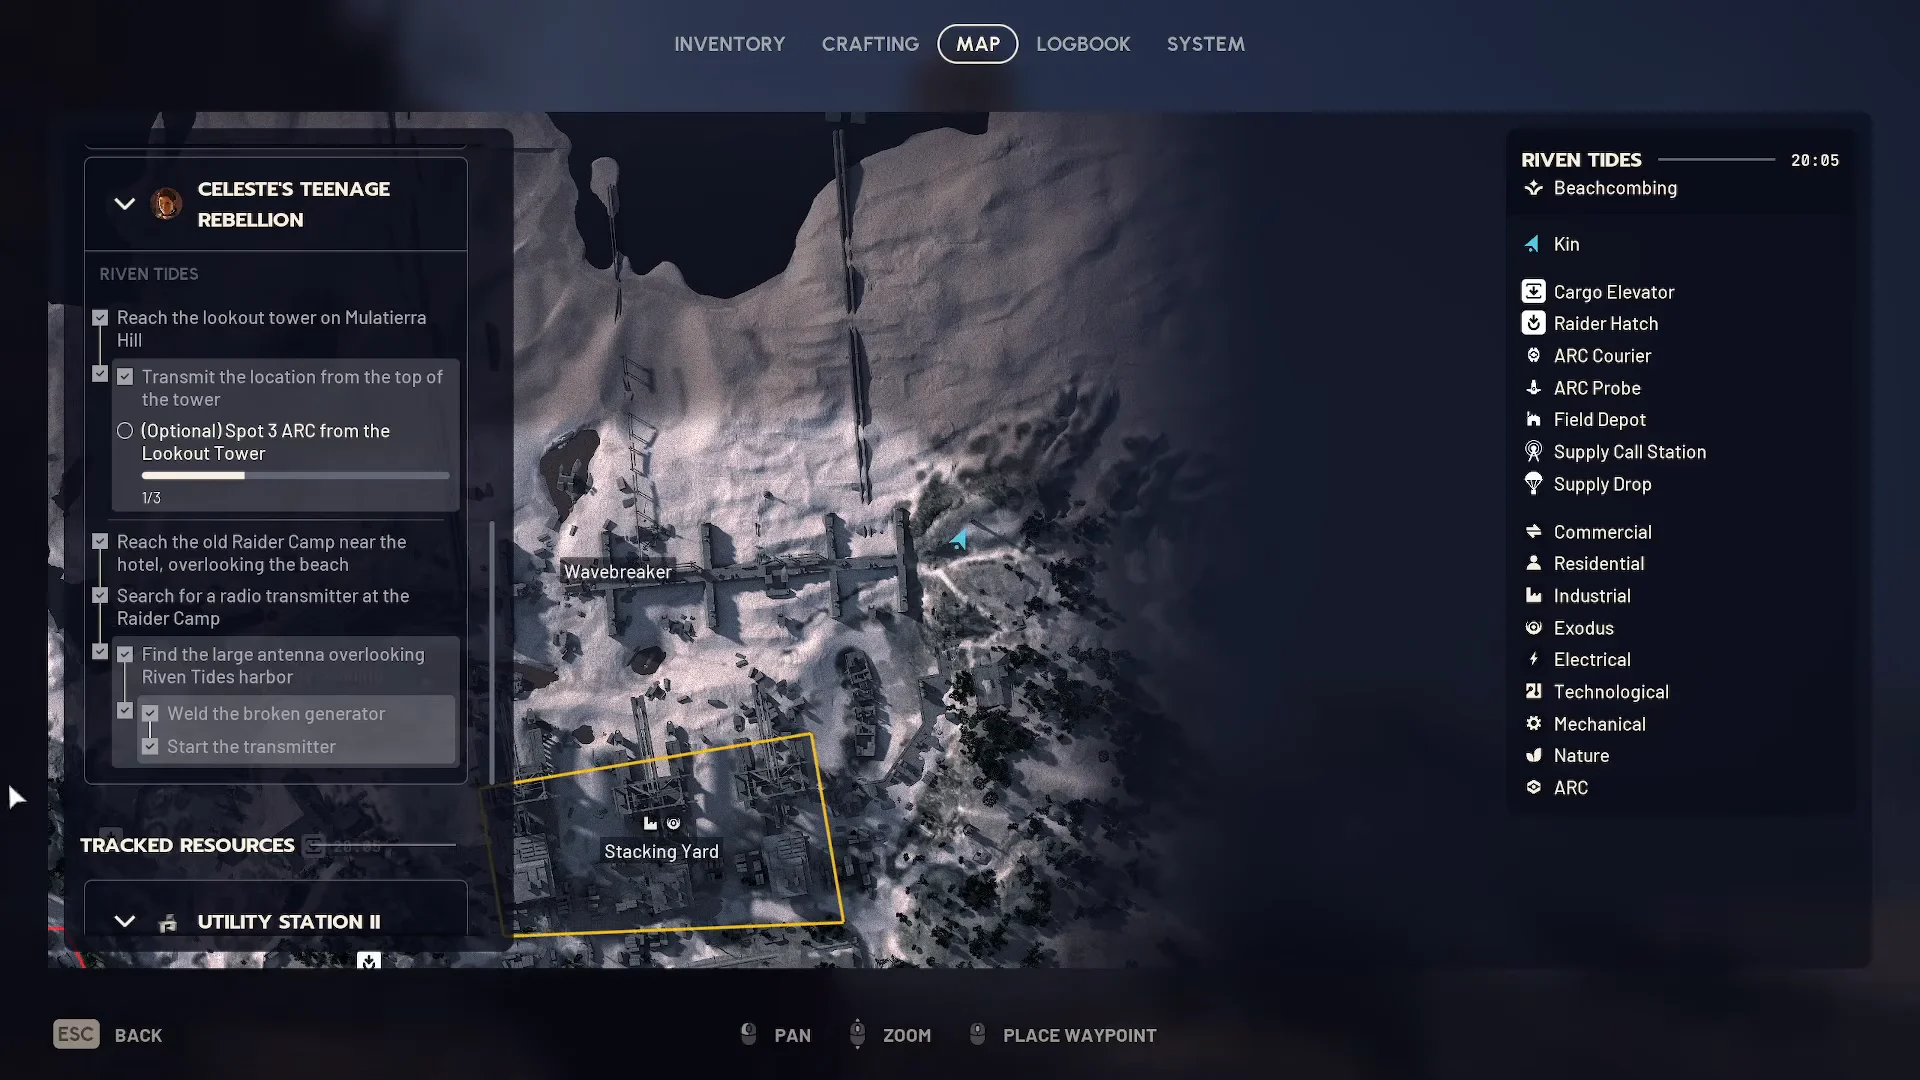
Go to the map’s northeastern tip, beyond the Harbor. The antenna sits on elevated ground at the cliff edge, east of Wavebreaker and north of Stacking Yard. It’s a tall red-and-white striped transmission tower with a small structure beside it, making it easy to spot against the coastline once you reach the area.
Open your map and zoom into the stretch of shore between those two landmarks. The tower sits on the ridge overlooking the water, and a dirt path with short flights of stairs leads up to it.
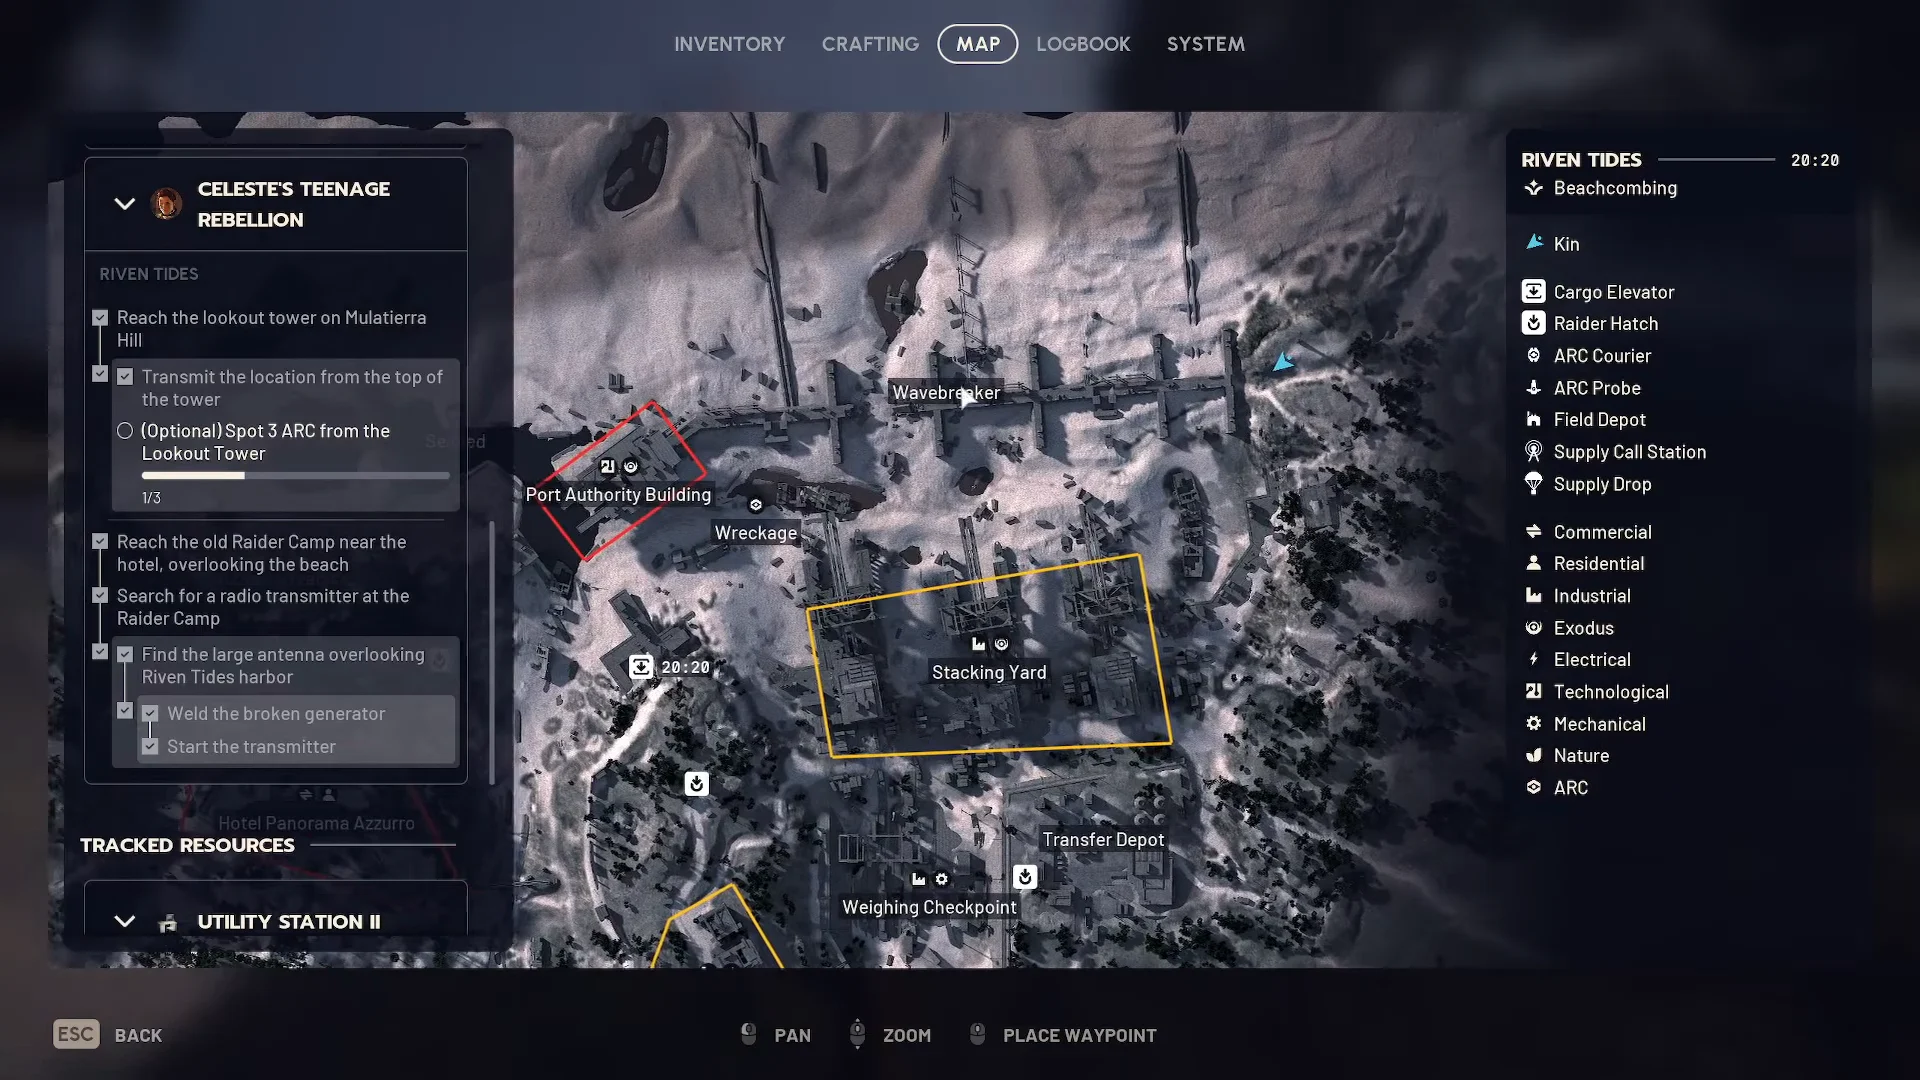
Follow the trail and stairs up the ridge toward the tower. Checking your map again at the base confirms you are directly on the antenna site rather than one of the other coastal structures nearby.
Weld the generator and start the transmitter
Everything you need is at the foot of the tower. A rusted generator trailer is parked directly under the antenna, and both actions happen on that unit. You do not carry anything in or out for this step, so a Free Loadout is enough.
Approach the generator trailer from the front and use the open equipment console there to weld the broken generator. This restores power to the unit.
Move around to the rear of the same trailer. Interact with the panel of switches there and select the power prompt to start the transmitter.
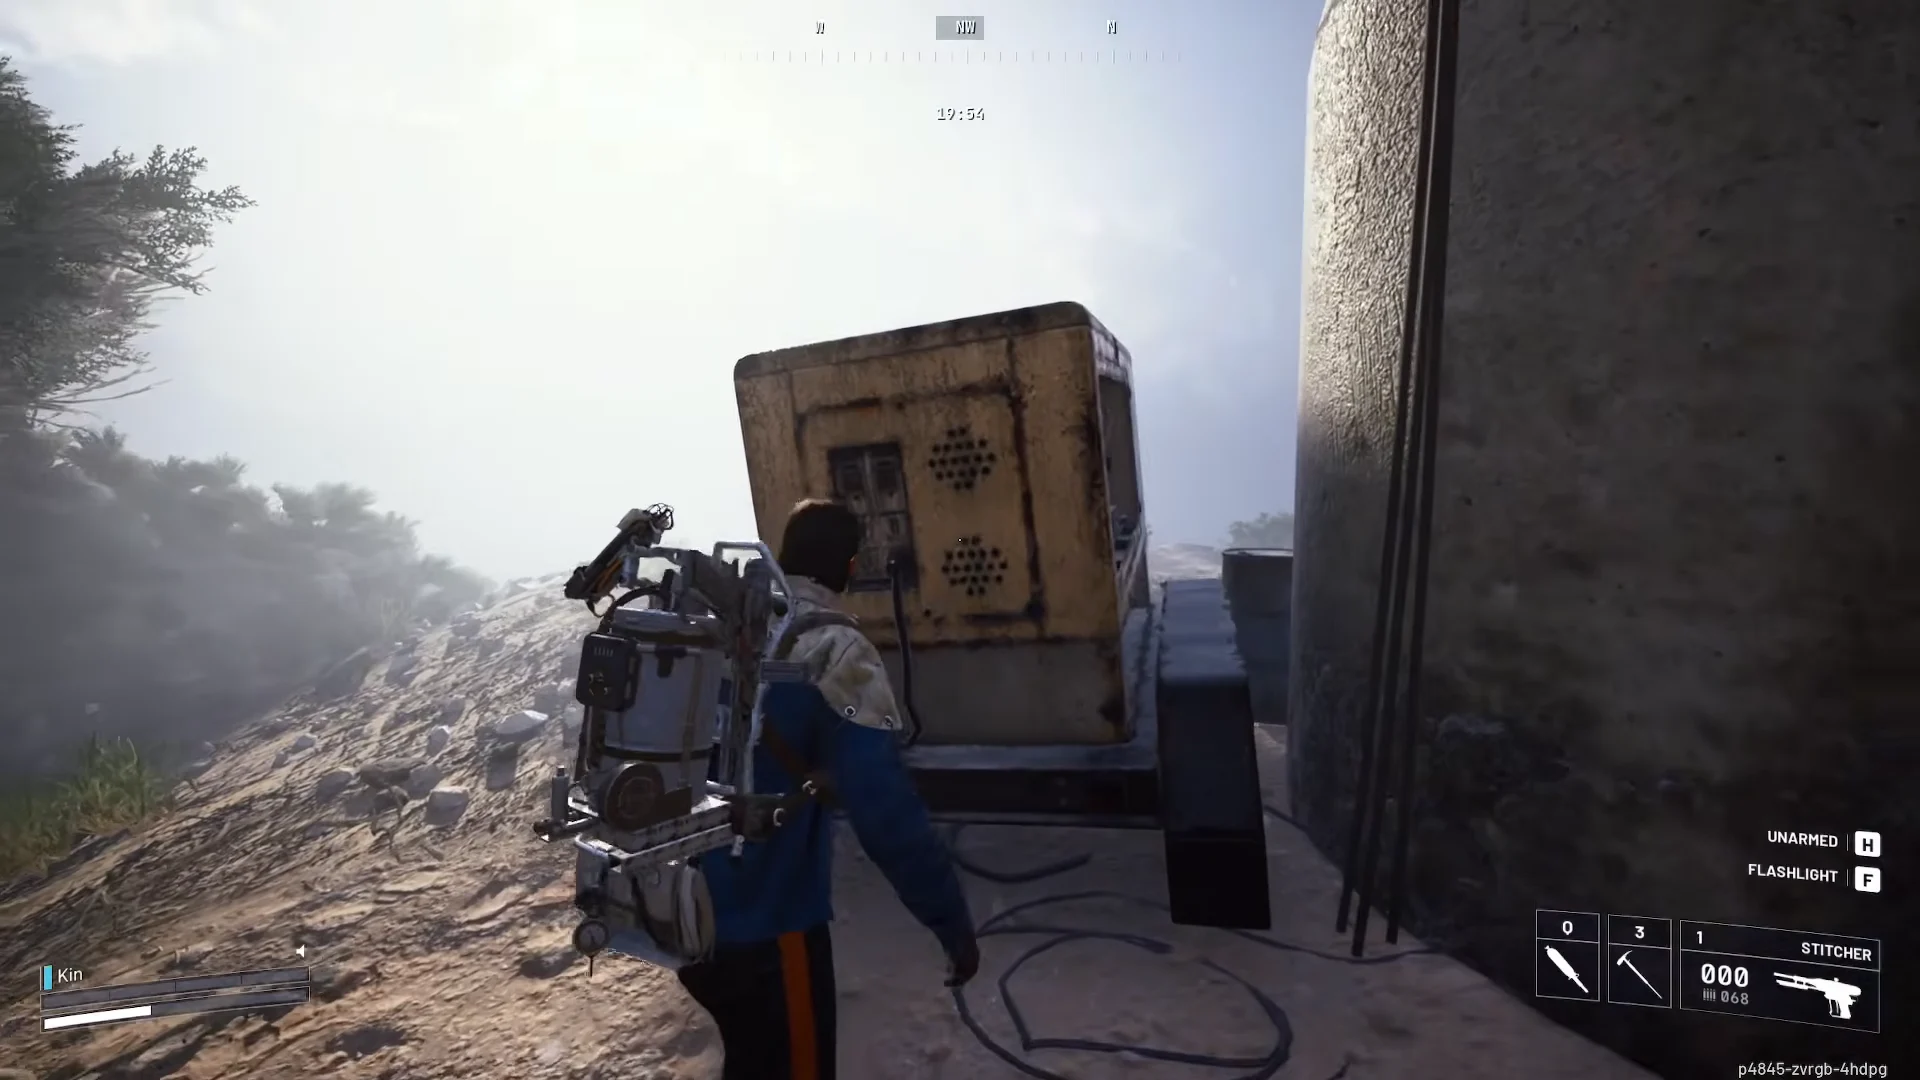
The order matters. You cannot start the transmitter until the generator is welded, since the rear panel only has power once the front console is fixed.
How to confirm the objective is done
Once the transmitter switches on, the quest log marks the final field objective of Celeste’s Teenage Rebellion as complete. That is the last thing you have to do inside the raid. You can then extract through any extraction point or Raider Hatch, or surrender if you came in on a Free Loadout and want to return to Speranza quickly. Progress is already saved, so you do not lose the completion by leaving.
Riven Tides landmarks to navigate by
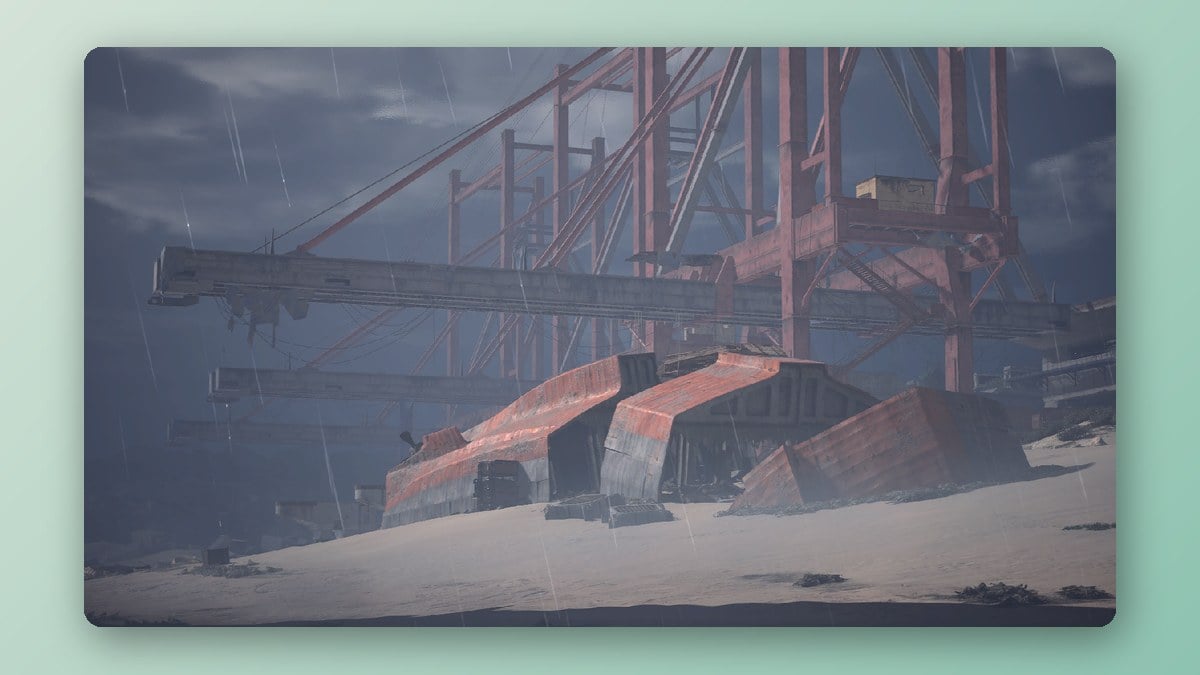
Riven Tides unlocks at 20 rounds played. These are the landmarks along the eastern route to the antenna, with their loot focus and threat ratings, so you can weigh which areas to push through and which to skirt on the way to the cliffs.
| Landmark | Loot category | Threat level |
|---|---|---|
| Stacking Yard | Exodus, Industrial | 2 |
| Port Authority Building | Exodus, Technological | 3 |
| Hotel Panorama Azzurro | Commercial, Residential | 3 |
| Customs House | Electrical, Industrial | 2 |
| Azzurro Beach | Residential | — |
The transmitting steps earlier in the quest draw ARC units toward you, so stay aware of flying enemies while you cross the open coastline to reach the antenna.
Rewards for finishing Celeste’s Teenage Rebellion
Back in Speranza, hand the quest in to Celeste. Your rewards are a Heavy Shield and a Looting Mk. 2 augment. The Heavy Shield absorbs substantial incoming damage but reduces mobility, while Looting Mk. 2 improves your carrying setup. Both are useful on the tougher Frozen Trail raids.