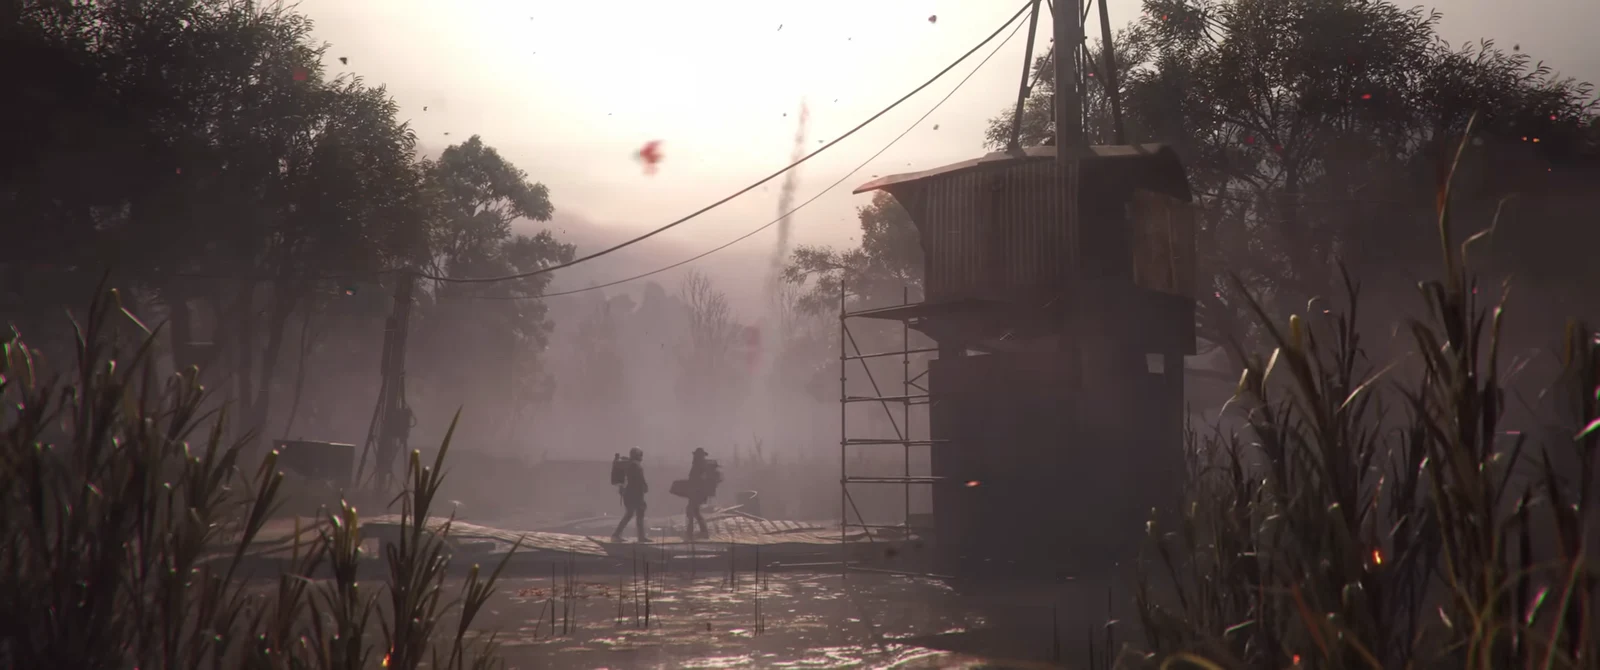
The Lookout Tower on Mulatierra Hill sits near the middle of the Riven Tides map and is the first stop in Celeste’s Teenage Rebellion. It is a tall, weathered, light-colored concrete structure with an open doorway at its base, and you only need to get inside, climb to the top, and transmit your location.
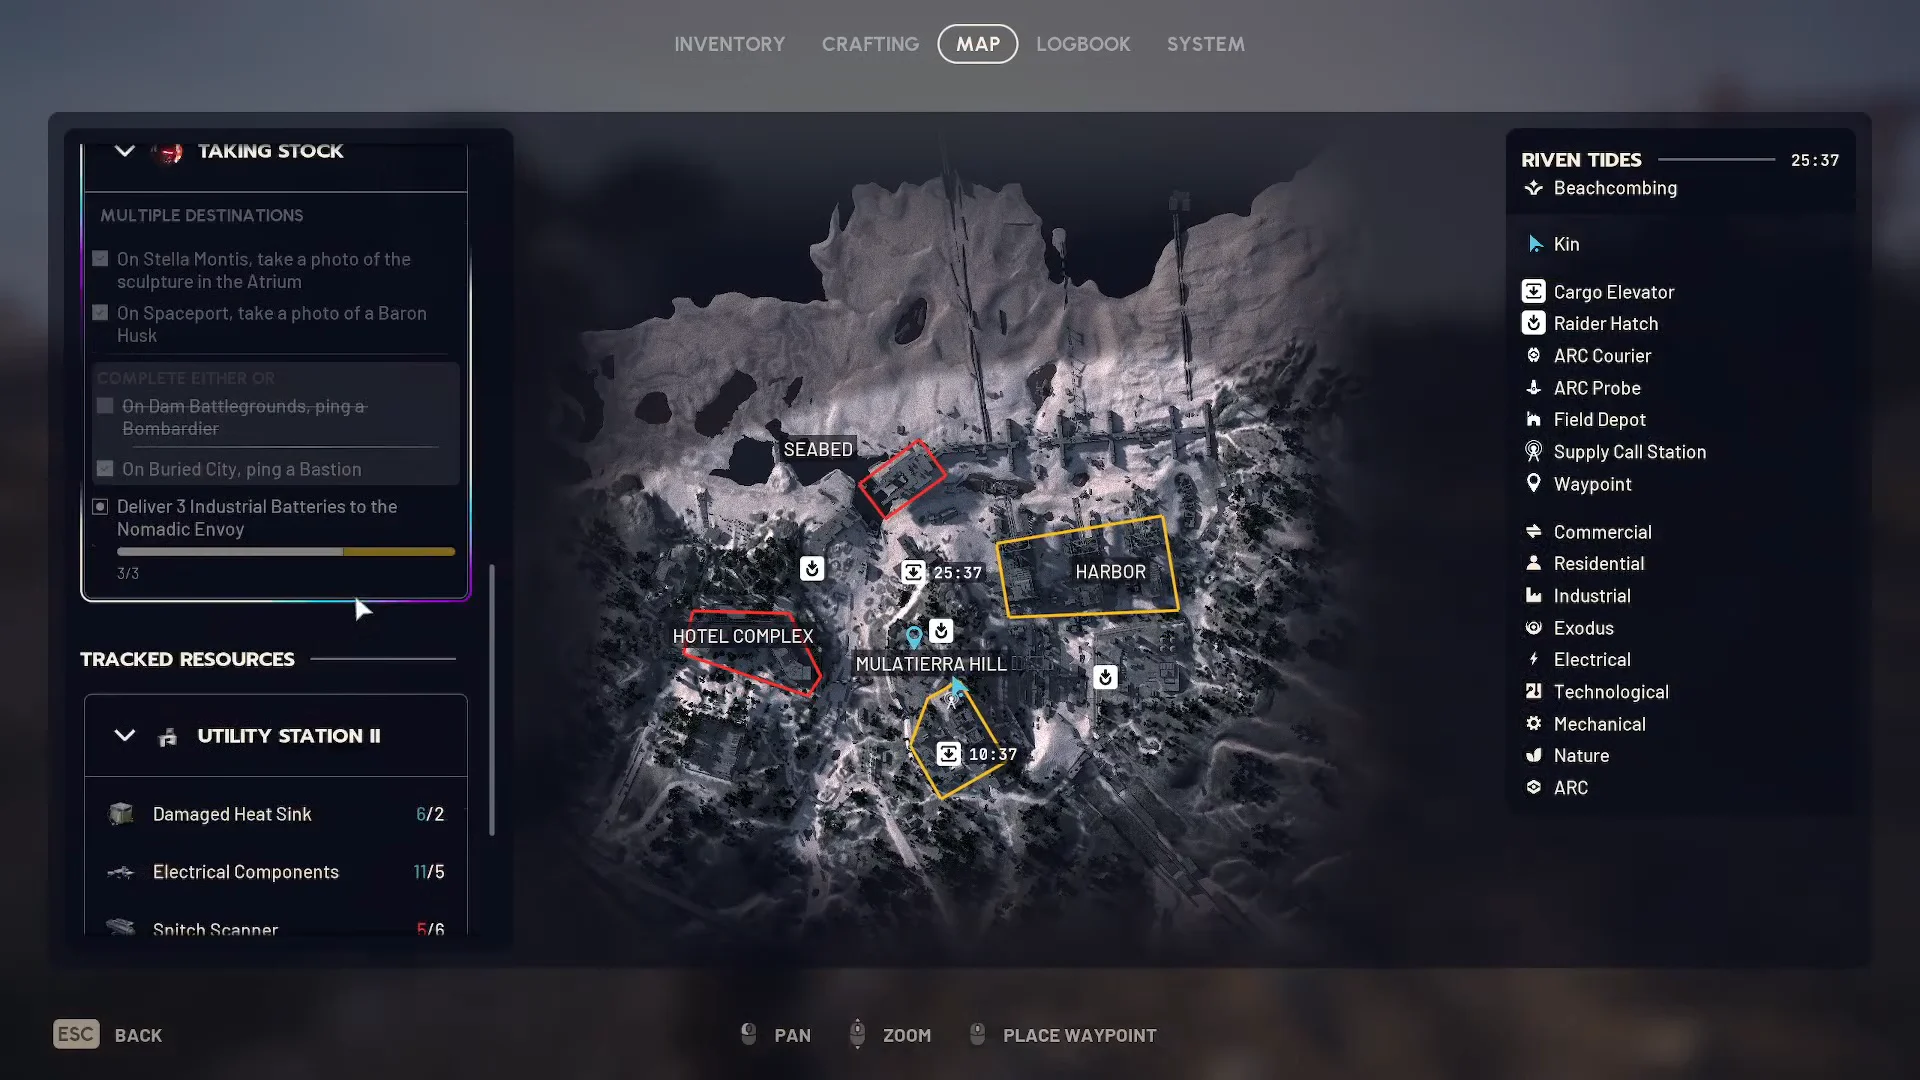
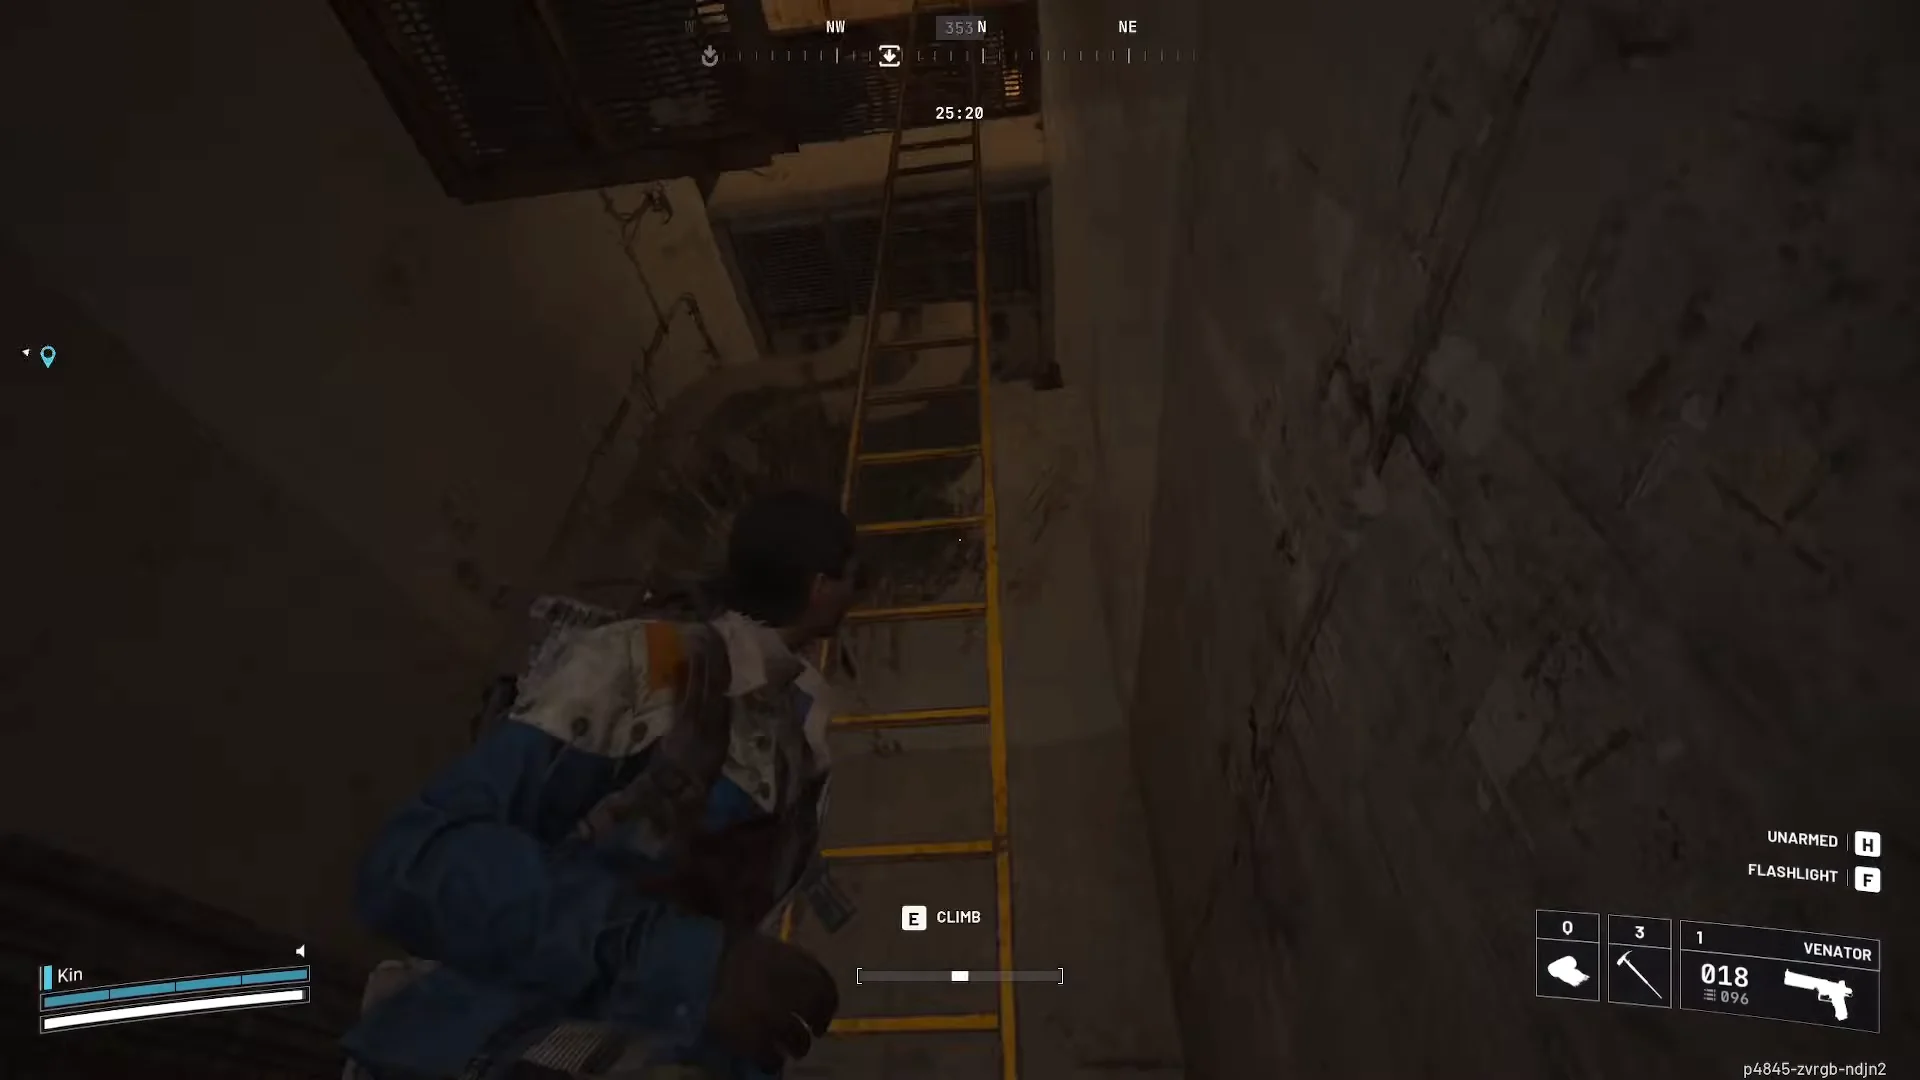
Quick answer: Head to the top of Mulatierra Hill in the center of Riven Tides, just north of the Customs House and beside the Hilltop Hatch. Enter the concrete tower, climb both yellow ladders, and the objective clears when you step onto the top observation deck.
Where the Mulatierra Hill Lookout Tower is on Riven Tides
Open your map and look at the central section of Riven Tides. Mulatierra Hill rises directly north of the Customs House and the Special Handling Tunnel, and south-west of the Harbor. The nearby Hilltop Hatch is the clearest landmark, so if you drop in close to that return point you are already at the base of the climb.
The tower stands well above the surrounding terrain, so it is easy to spot from a distance. Follow the dirt path past the rusted vehicles and debris toward the hill and make for the open doorway on the ground floor.
Climb the tower and transmit the location
[E] TRANSMIT LOCATION prompt. This clears the second objective, “Transmit the location from the top of the tower,” and points you toward the old Raider Camp between Azzurro Beach and the Wharf.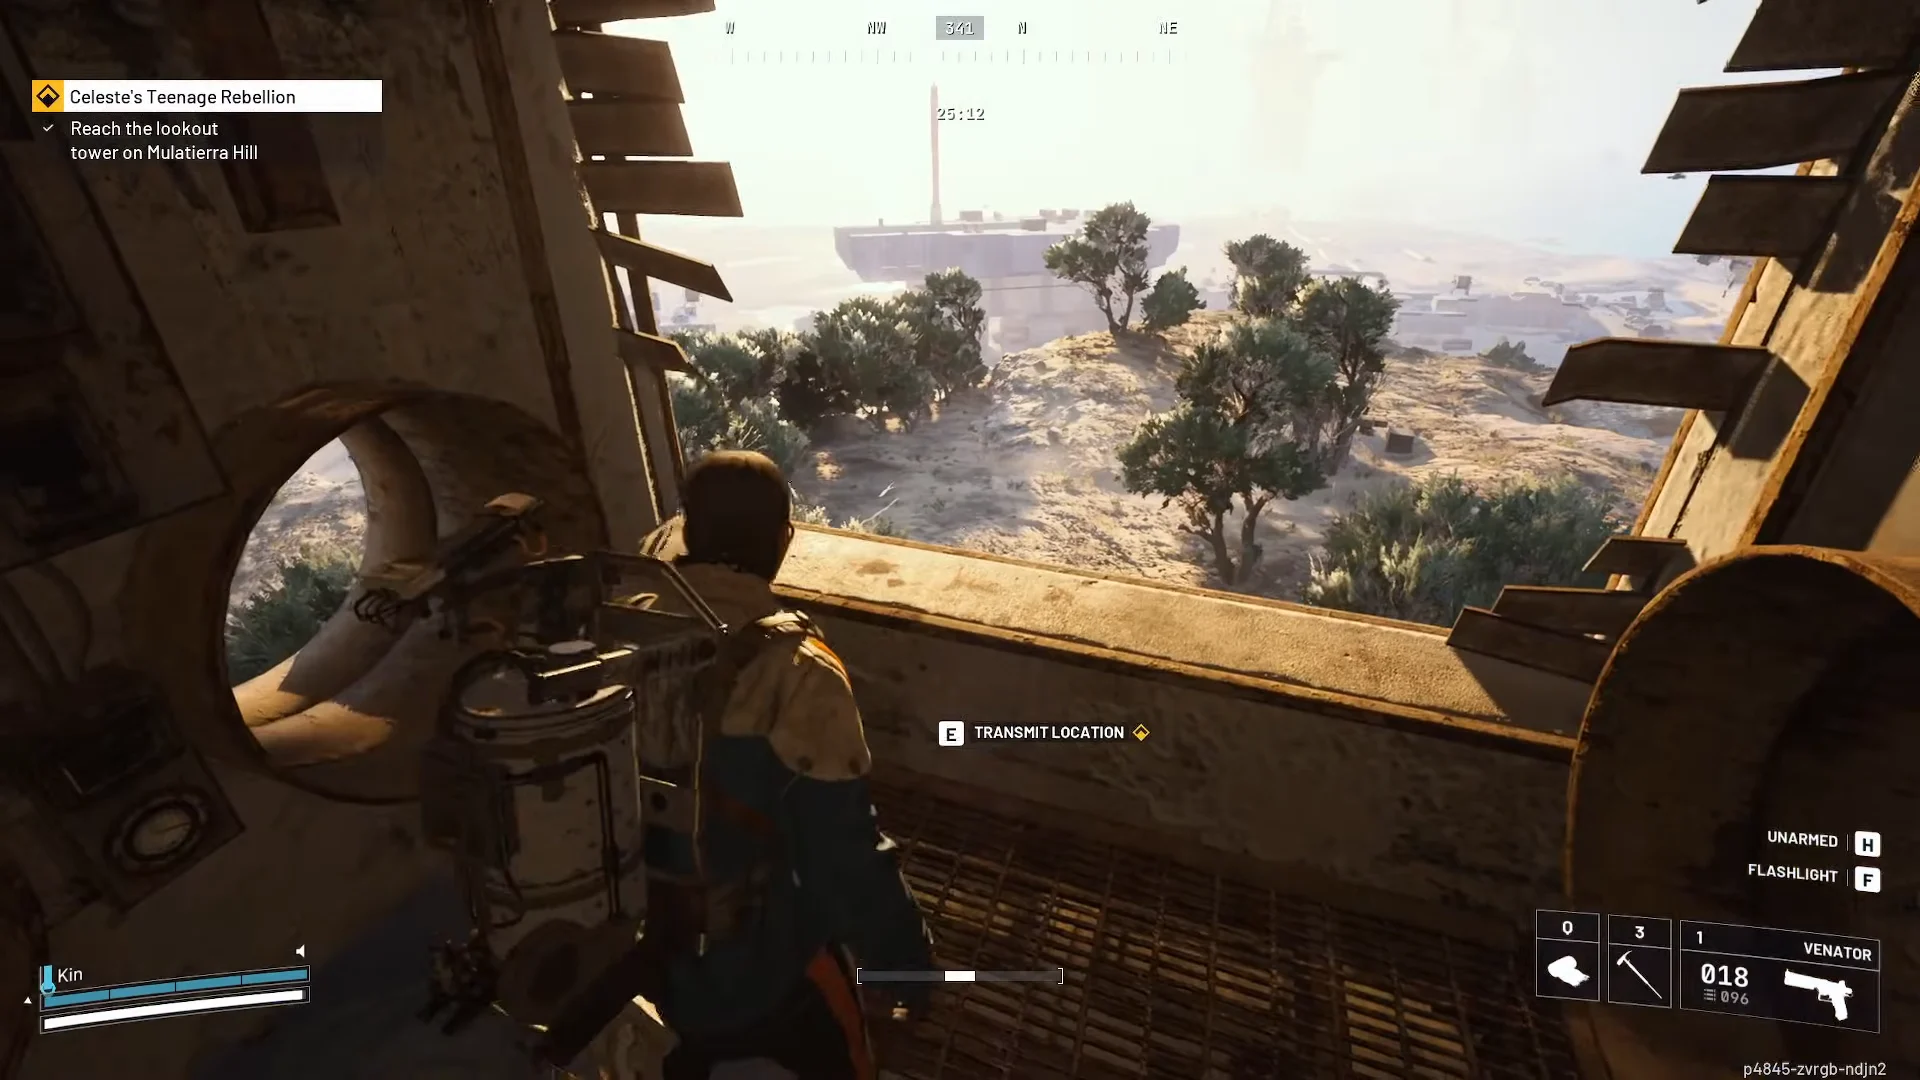
Transmitting from the tower alerts nearby ARC machines. Before you start the transmission, check the airspace for large flying units such as Rocketeers and Vaporisers that can pin you down on the exposed deck. Wait for them to drift away, then descend and break line of sight using the terrain and nearby structures.
How to confirm the objective completed
You know the first stage is done when the tracker swaps from “Reach the lookout tower on Mulatierra Hill” to “Transmit the location from the top of the tower” the moment you enter the top room. After you hold the transmit prompt at the window, the quest advances again and marks the Raider Camp near the hotel as the next destination. An optional objective, “Spot 3 ARC from the Lookout Tower,” can be worked in while you are up there.
You don’t need to carry or extract any quest items during this stage; a Free Loadout will do, and there’s no need for a Safe Pocket. The questline concludes at a harbor antenna in the north-east. Then return to Speranza to hand in Celeste’s Teenage Rebellion and receive a Heavy Shield and a Looting Mk. 2 augment.
Riven Tides map reference
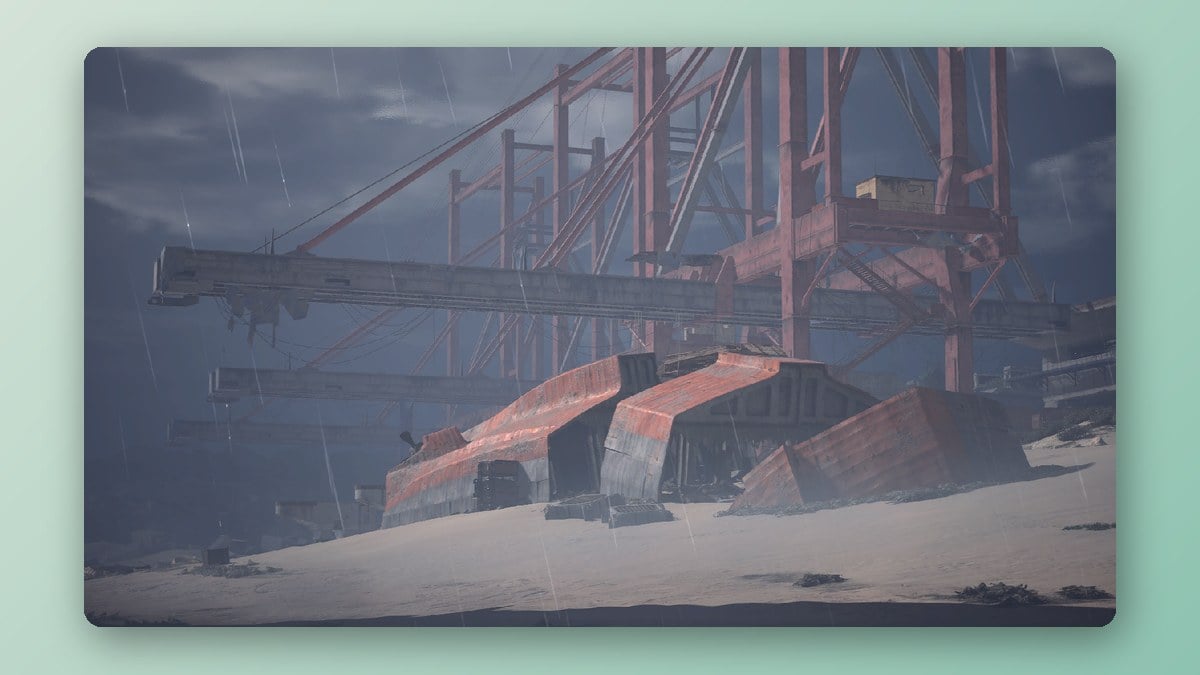
Riven Tides is a 5-of-5 difficulty map that opens up after 20 rounds played, so it is one of the tougher places to run a quest. Knowing the return points and the loot profiles around Mulatierra Hill helps you plan a quiet route in and a fast way out.
| Riven Tides detail | Value |
|---|---|
| Difficulty | 5 of 5 |
| Unlocks at rounds played | 20 |
| Return points | Customs Elevator, Hilltop Hatch, Saltswept Hatch, Seaside Elevator, Weighbridge Hatch |
These are the landmarks closest to the tower that you will pass while navigating the central and western part of the map.
| Location | Loot category | Threat level |
|---|---|---|
| Customs House | Electrical, Industrial | 2 |
| Dried Riverbed | Nature | — |
| Azzurro Beach | Residential | — |
| Hotel Panorama Azzurro | Commercial, Residential | 3 |
With the location transmitted, drop back down the ladders and either push west toward the Raider Camp to continue the questline or peel off to the Hilltop Hatch to extract. Because nothing has to be brought back, you can surrender from a Free Loadout at any point and still keep the progress you have banked.