William picks up upgrade materials almost from the moment he wakes, but nothing in the opening hours tells you where to spend them. Blades, firearms, and the transmutations you cast from your off-hand all level up on their own tracks, and pushing them to full strength is how you keep pace with Napoleon’s bosses later on. Here is exactly where the upgrade benches are, when they open, and what each weapon costs to max out.
Quick answer: Upgrade weapons at James’s Iron Bench and transmutations at Louis’s Laboratoire, both inside the Abandoned Church. The benches become available right after you beat General Lothaire, The Eagle Bearer.

Where and when you can upgrade weapons
Every upgrade happens at the Abandoned Church hub, and the church only opens once you defeat General Lothaire, The Eagle Bearer in the courtyard outside. Until that fight is done, there is no way to spend any of the materials you have been hoarding.
Inside, the two benches divide the upgrade jobs: James’s Iron Bench is for melee weapons and firearms, and Louis’s Laboratoire is for the three transmutations. Use Blade Materials on melee weapons, Firearm Parts on firearms, and Transmutation Material on transmutations. Approach the appropriate bench, choose an item, then spend the required materials to upgrade it.
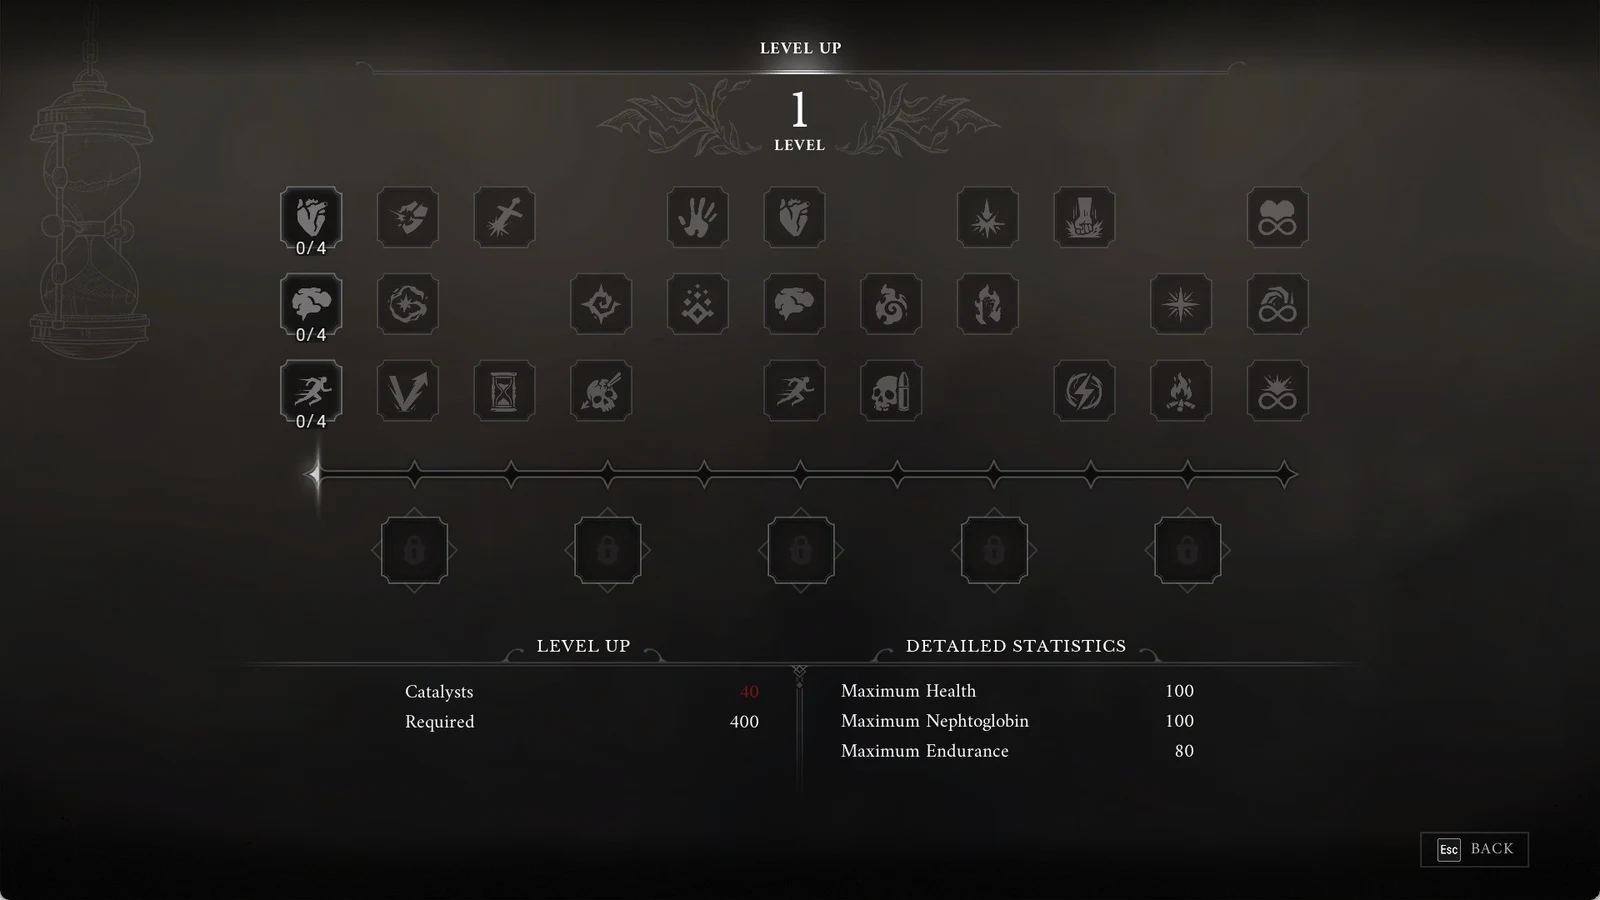
Both James and Louis also sell a limited number of materials for Catalysts, so if you are one or two short of a tier, check their stock before you backtrack to look for more.
Upgrade materials and level caps
Both melee weapons and firearms reach level 10, following the same tier-by-tier material quantities despite using different items. For instance, Saber and Pistol require matching amounts at each step. Transmutations stop at level 5 and use a considerably shorter progression.
| Level | Melee material | Firearm parts |
|---|---|---|
| 2 | Crude Blade x1 | Standard Firearm x1 |
| 3 | Crude Blade x2 | Standard Firearm x2 |
| 4 | Crude Blade x3 | Standard Firearm x3 |
| 5 | Pure Blade x1 | Superior Firearm x1 |
| 6 | Pure Blade x2 | Superior Firearm x2 |
| 7 | Pure Blade x3 | Superior Firearm x3 |
| 8 | Distilled Blade x1 | Exquisite Firearm x1 |
| 9 | Distilled Blade x2 | Exquisite Firearm x2 |
| 10 | Quintessential Blade x1 | Masterwork Firearm x1 |
Transmutations run on a separate set of materials. Reaching level 2 takes Crude Transmutation Material x2, level 3 takes Pure x2, level 4 takes Distilled x2, and level 5 takes a single Quintessential Transmutation Material. One Quintessential Transmutation Material covers the final level of Fire, Stasis, or Shield.
Upgrading does two things. It raises the weapon’s damage or firepower, and it opens perk slots. Melee weapons and firearms get new perks at levels 2, 5, 8, and 10, while transmutations unlock perks at levels 2, 3, 4, and 5. When a slot offers two choices, only one can be active at a time, but you can swap your selection whenever you like, so a maxed weapon can be retuned for each fight.
Melee weapons: Saber, Rapier, Claymore
| Level | Saber dmg | Rapier dmg | Claymore dmg |
|---|---|---|---|
| 1 | 20 | 25 | 50 |
| 2 | 26 | 28 | 60 |
| 3 | 32 | 31 | 70 |
| 4 | 36 | 33 | 75 |
| 5 | 40 | 35 | 80 |
| 6 | 44 | 37 | 84 |
| 7 | 48 | 39 | 88 |
| 8 | 52 | 41 | 92 |
| 9 | 56 | 43 | 96 |
| 10 | 60 | 45 | 100 |
Saber is a balanced blade with no particular strength or weakness, and it deals 5 posture damage at every level. At level 2, Advanced Swordsmanship boosts damage and replenishes Endurance when the fifth strike connects in an uninterrupted combo. At level 5, pick Careful Preparations to make Whetstone effects last longer, or Pursuit to recover Endurance from hits after a dodge. At level 8, Adrenaline Flourish grants Endurance for kills, while Second Wind gives you recoverable Health when you parry. Expert Swordsmanship at level 10 changes the combo bonus to trigger on every third hit.
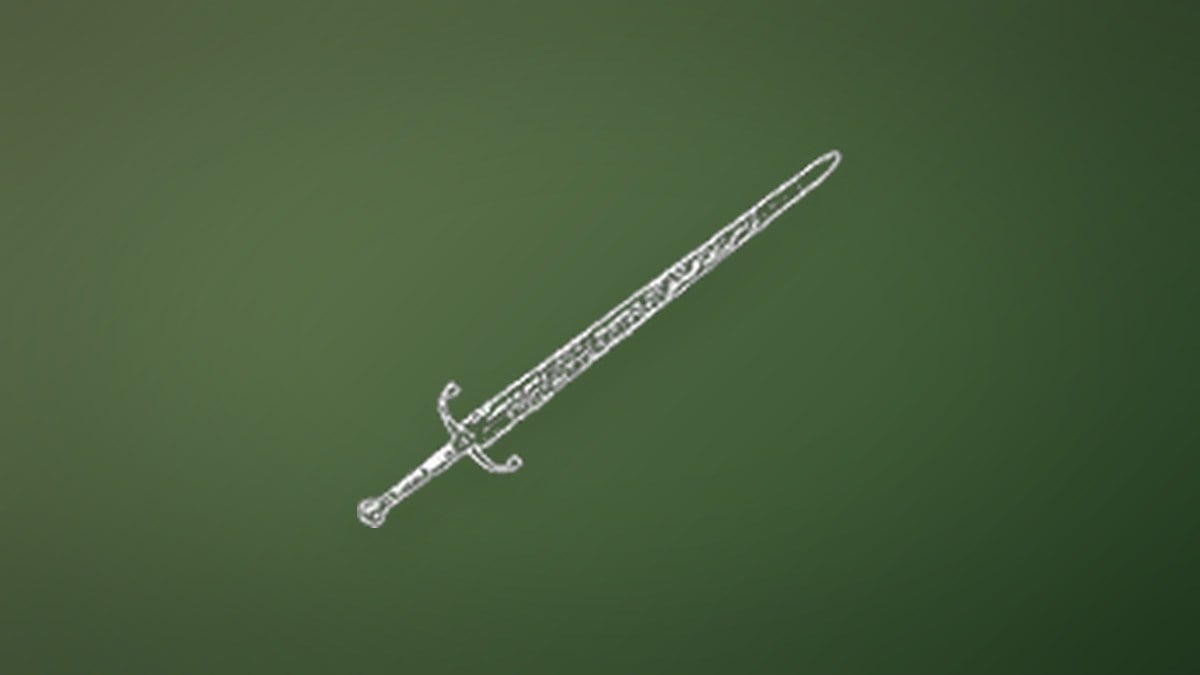
Rapier delivers quick, precise attacks, is strong at parrying, and can break Nephtoglobin Weak Points, though its block is poor. Its posture damage remains 3. Remise at level 2 builds bonuses from consecutive parries for your next Heavy Attack; at level 5, Lunge lowers the Endurance cost of dodging during Heavy Attacks. At level 8, pick Astute Quarta to regain Nephtoglobin on a parry or Invigorating Seconda to recover Endurance on one. Vigorous Terza at level 10 restores Health after a successful parry.
Claymore gives up parrying in exchange for powerful two-handed strikes combining physical damage and Nephtoglobin attacks; its posture damage remains 15. Leveling raises Ignite buildup from 0.75 to 0.93 and Stasis buildup from 2 to 3.4, while Ignite damage goes from 60 to 132 and Stasis damage from 40 to 130. At level 2, Rampage banks a resource for a stronger Heavy Attack or a less costly transmutation. At level 5, choose Bulwark to take less damage from projectiles and explosions while blocking, or Willpower to regenerate Endurance faster while holding block. Flesh Wound at level 8 lowers incoming damage during attacks. Bloodlust at level 10 restores Health each time Rampage is spent.
Firearms: Pistol, Blunderbuss, Musket
| Level | Pistol dmg | Blunderbuss dmg | Musket dmg |
|---|---|---|---|
| 1 | 30 | 15 | 150 |
| 2 | 33 | 16 | 165 |
| 3 | 36 | 17 | 180 |
| 4 | 39 | 18 | 195 |
| 5 | 42 | 19 | 210 |
| 6 | 45 | 20 | 225 |
| 7 | 48 | 22 | 240 |
| 8 | 51 | 24 | 255 |
| 9 | 54 | 26 | 270 |
| 10 | 60 | 30 | 300 |
Pistol is a versatile choice, with a 5-round magazine, a 4-second reload, 10 posture damage, and the ability to break Nephtoglobin Weak Points. Its primary use is shooting red orbs to unlock shortcuts. At level 2, Nephtoglobin Infusion — Bullet lets you hold Reload to ready a posture-breaking round. At level 5, Resourcefulness restores one round when you melee an enemy you shot (once), while Ruthlessness strengthens your next Melee Attack according to the rounds that hit. At level 8, choose Ingenious Engineering for a quicker reload and smaller magazine, or Robust Chamber for a larger magazine. At level 10, Automatic Mayhem greatly increases your firing rate, while Tactical Reload empowers your next bullet when you reload from an empty chamber.
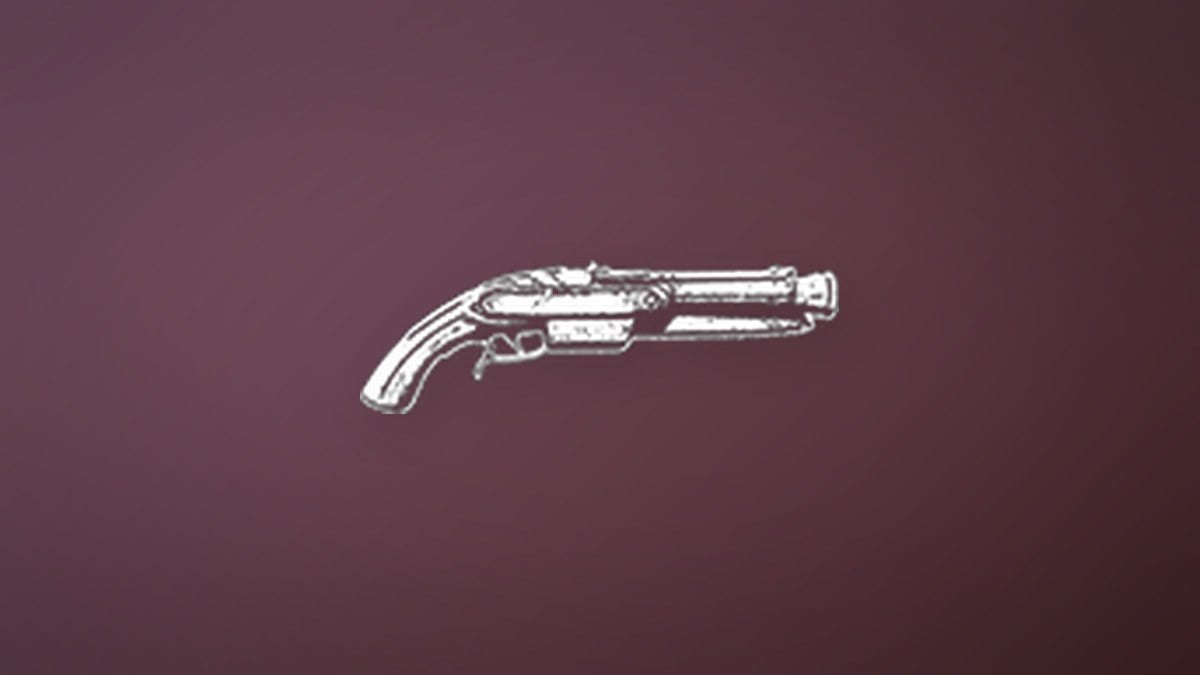
Blunderbuss is a short-range hand cannon that hits several enemies at once and fires special ammunition, carrying 2 shots with a 3.5-second reload. Posture damage stays at 3 and the posture cap at 100, while the damage cap climbs from 150 to 350. Showstopper at level 2 interrupts Unblockable Attacks. Level 5 is Collateral Damage for a wider spread or Iron Shower for more range. Nephtoglobin Infusion — Grenade at level 8 loads a Stasis grenade using Nephtoglobin and ammo, and Back-Breaker at level 10 boosts posture damage on shots from behind.
Musket is designed for precise shots against single targets at long range. It holds 1 round per load, takes 2.5 seconds to reload, and deals 20 posture damage. As a two-handed weapon, it cannot be equipped with a melee weapon. Puncture at level 2 allows shots to pass through enemies. At level 5, Nephtoglobin Infusion — Cannon prepares an explosive round. At level 8, select Bayonet for greater Melee damage or Scope for better accuracy; Spacious Barrel at level 10 raises ammunition capacity.
Transmutations: Fire, Stasis, Shield
Off-hand Transmutations consume Nephtoglobin, the purple meter beneath your health. Shattering weak points or hitting foes with your blade replenishes it. Each of the three transmutations reaches level 5 and uses the Transmutation Material progression outlined above.
Fire Transmutation
| Level | Base dmg | Damage | Ignite dmg |
|---|---|---|---|
| 1 | 5 | 15 | 4 |
| 2 | 7 | 17 | 4.5 |
| 3 | 8 | 18 | 5 |
| 4 | 9 | 19 | 5.5 |
| 5 | 10 | 20 | 6 |
Fire sets enemies and world objects alight, dealing damage over time and making it useful against groups. At level 2, Brittleness makes burning foes more vulnerable to Melee damage. Back-Burner at level 3 ramps up damage and status buildup with repeated use. At level 4, choose Fireworks to increase flame range or Wildfire to broaden its spread. At level 5, Never-Ending Inferno lets Melee Attacks extend burns, while shooting a burning enemy with Unstable Blaze triggers an explosion.

Stasis Transmutation
Stasis freezes enemies and machinery in place, leaving frozen foes vulnerable to heavy damage. Its damage factor is 1, 1.2, 1.3, 1.4, and 1.5 across successive levels. Termination, unlocked at level 2, lets Heavy Attacks break Stasis at any buildup amount. At level 3, Eruption inflicts area damage when a Stasis Segment activates, whereas Implosion raises the damage caused by activating one. At level 4, Control lets you grapple toward frozen enemies, or Hex stops Stasis from decaying. Drain at level 5 restores Health when you hit frozen enemies; Expansion causes an activated Segment to spread to nearby targets.
Shield Transmutation
The Shield focuses on defense from attacks and environmental hazards, with counterattacks as its central strength. A perfect parry deals 200 posture damage, and its damage factor goes through 1, 1.15, 1.3, 1.45, and 1.75. Its built-in Counter Blast holds the damage absorbed while the Shield is raised and releases it when you lower it. Reach at level 2 enlarges the damaging wave sent out by defending. At level 3, Absorb turns incoming projectiles into Nephtoglobin, while Deflect returns bullets to their source. Impenetrable Defence at level 4 guards against Unblockable Attacks. Shield Bash at level 5 lets you bash using the Attack button.
Where to find all nine weapons
All nine are obtainable, though a few are tucked away from the main route. Collect them as you enter each region, and your arsenal will fill out naturally before you arrive at the University.
| Weapon | Type | Where to get it |
|---|---|---|
 Saber Saber | Melee | Starting weapon |
 Fire Transmutation Fire Transmutation | Transmutation | Opening area, corpse held up by growths |
 Pistol Pistol | Firearm | Carriage past the Demolished Path Lantern, Valley of Ashes |
 Rapier Rapier | Melee | Abandoned Church courtyard corpse |
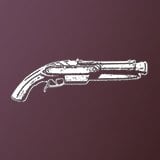 Blunderbuss Blunderbuss | Firearm | Carriage in Fallen Village, before the Marketplace Lantern |
 Stasis Transmutation Stasis Transmutation | Transmutation | Corpse in the Caverns mines |
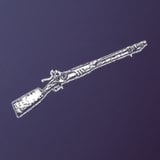 Musket Musket | Firearm | Guarded wagon in the Vale of Wrath |
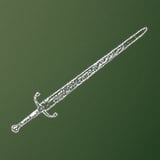 Claymore Claymore | Melee | Altar corpse in the Cursed Hollow church |
| Shield Transmutation | Transmutation | Upper floor of the University |
Latching onto plague-infected humanoids slumped in the world transfers their Transmutations to William. Find melee weapons and firearms on corpses or in carriages; claiming the Blunderbuss, Musket, and Claymore also requires winning a fight for each.
Finding the rarest upgrade materials
Early materials are easy to come by. Crude Blade Material drops from most basic enemies, lies around the world, and sells at James’s Iron Bench for $1,500. Pure Blade Material sells for $3,000, and Distilled Blade Material for $6,000, with both also found in chests across the later regions.
The pinch point is the final tier. There are only 3 Quintessential Blade Materials in the entire game, one per melee weapon, and none appear until the late regions. One sits in a chest in the Lighthouse underground boss room in The Outskirts. The second is down in the Fortress sewers near the Ramparts Lantern. The third is locked in a secret room near the Courtyard Lantern in the Fortress, which only opens after you beat all 7 Eternal Guards and combine their Mysterious Stone Pyramids into the Mysterious Stone Slab.
Taking a single melee weapon to level 10 unlocks the Bladesmith achievement, so pick your favorite before spending a Quintessential Blade Material, since the choice perks swap freely once a weapon is maxed.
Confirming the upgrade worked
After you spend the materials at the bench, the weapon’s entry in the Arsenal shows its new level and a higher damage value, and any newly unlocked perk slot becomes selectable. If the damage number jumped and the perk slot is active, the upgrade applied. From there you can keep feeding materials in whenever you return to the Abandoned Church, right up to level 10 for weapons or level 5 for transmutations.