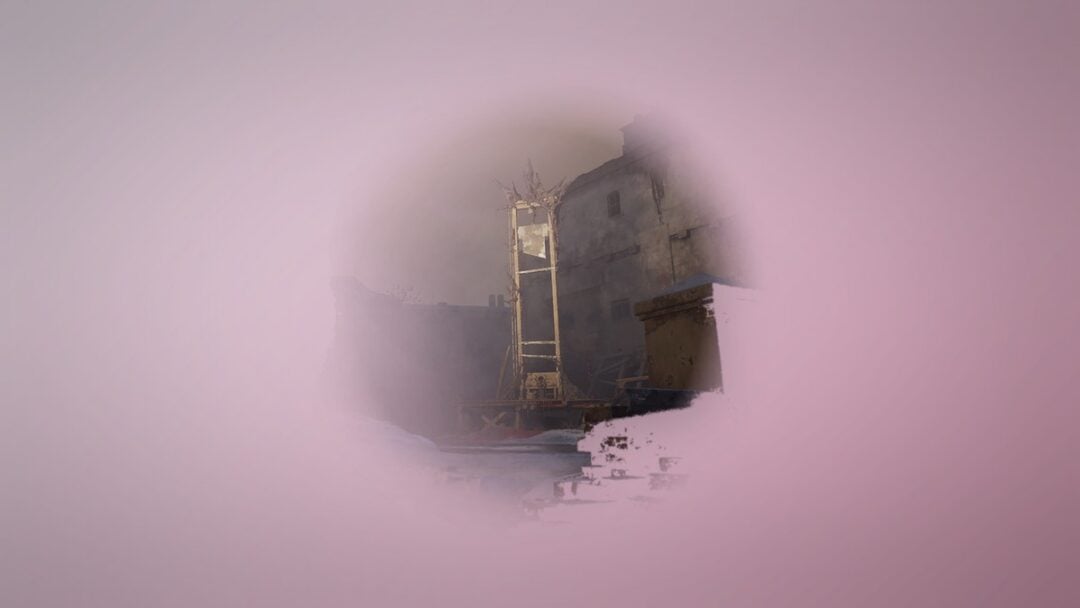
The Orphan is one of the ten named bosses in Valor Mortis, the first-person soulslike from One More Level set in a plague-ridden alternate Napoleonic Europe. You meet it at the University, deep in a drainage chamber reached from the Sewage Drain lantern, where a tall, straitjacketed figure caged in an iron headpiece drops onto the grated floor and comes apart over the course of the fight. It is a mandatory encounter tied to the Blasphemy quest, and it is built around parrying rather than trading blows.
Quick answer: The Orphan is fought at the University, holds 4,000 HP across two phases, and pays 40,000 Catalysts on the kill. Defeating it advances the Blasphemy quest and adds a journal entry.
What the no-damage run reveals about the fight
The encounter opens with the Orphan still bound. A ventilation shaft tears open, the creature lands with sparking mechanical blades, raises its caged head and shrieks. In this state it fights with a long cleaver-style arm-blade, and almost everything it does can be read and answered on reaction, which is why a clean, hitless clear is possible at all.
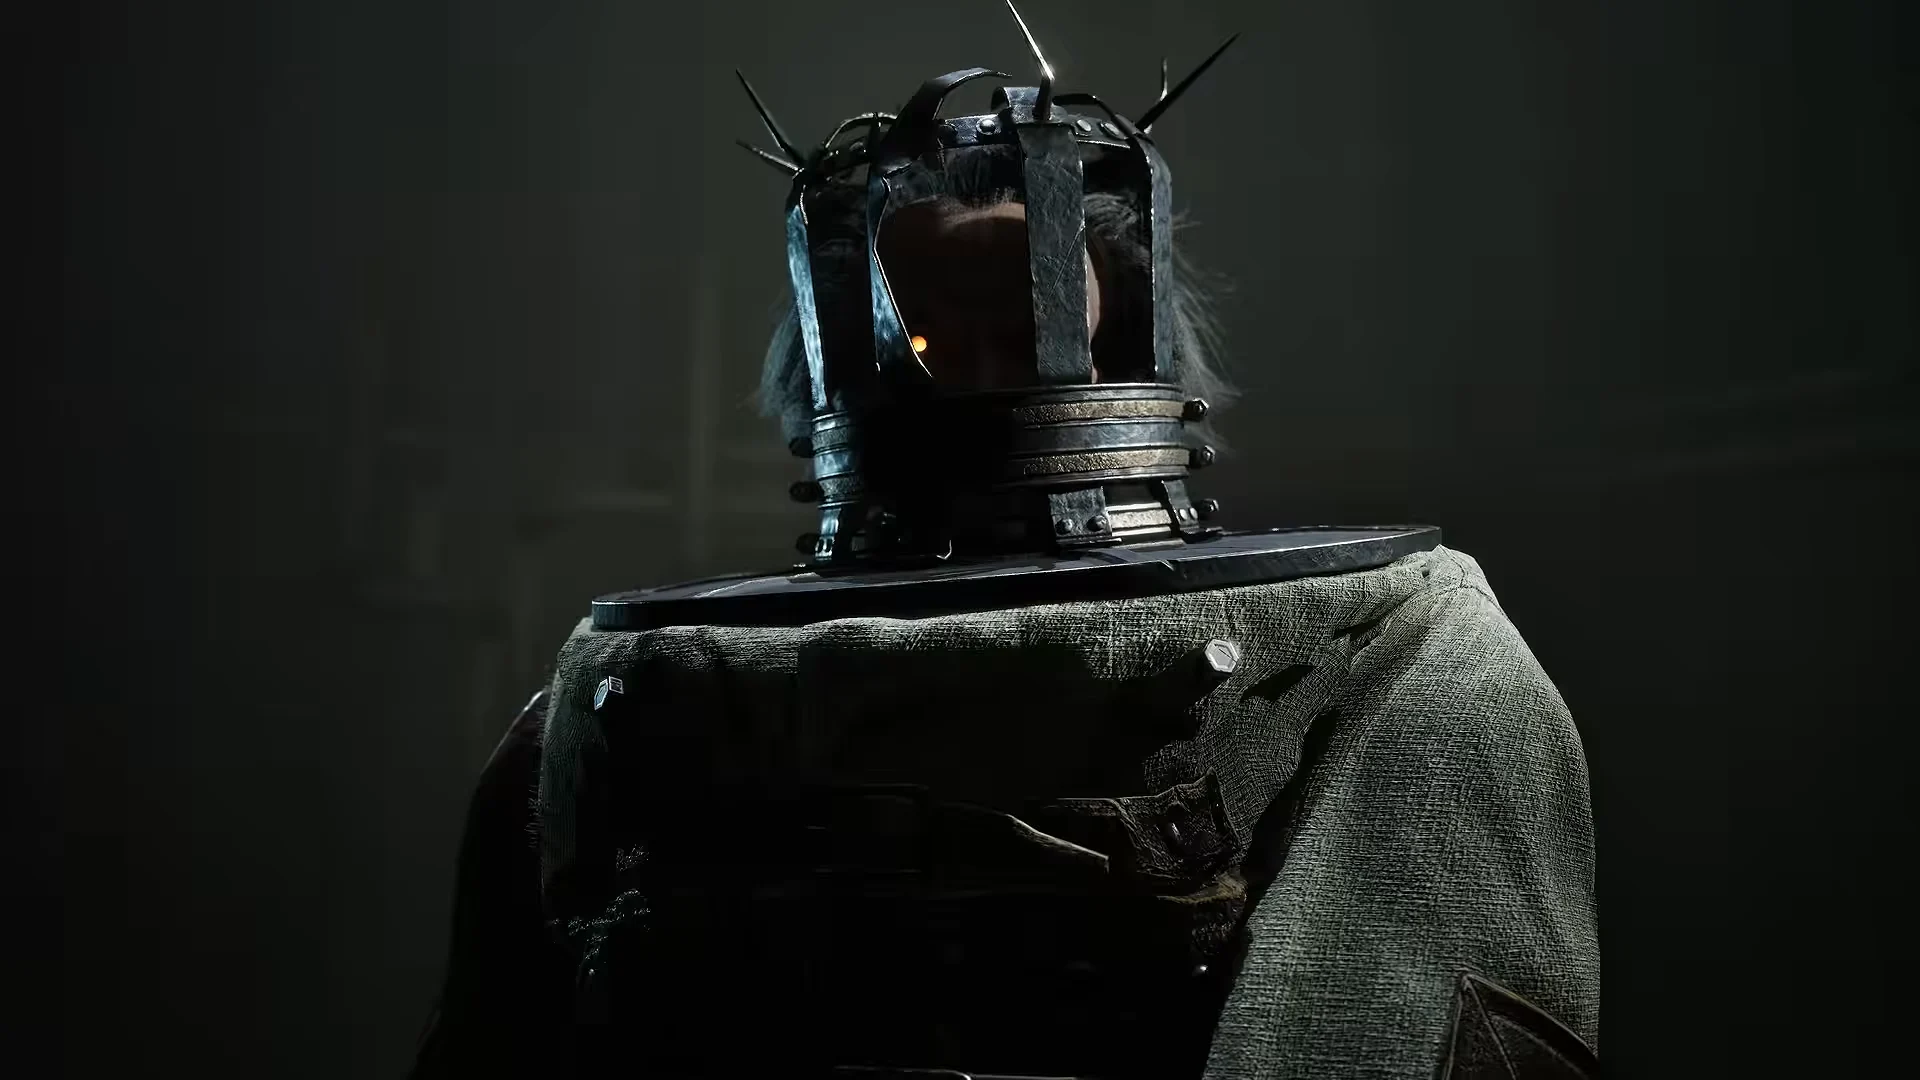
Phase one is a parry exam. The player deflects the boss’s sword swings, builds its posture meter and lands critical thrusts while a corrupted left hand throws flame bursts between strikes. Fire looks tempting here, but it is a trap: both phases override the boss’s resistances so that fire deals only neutral damage.
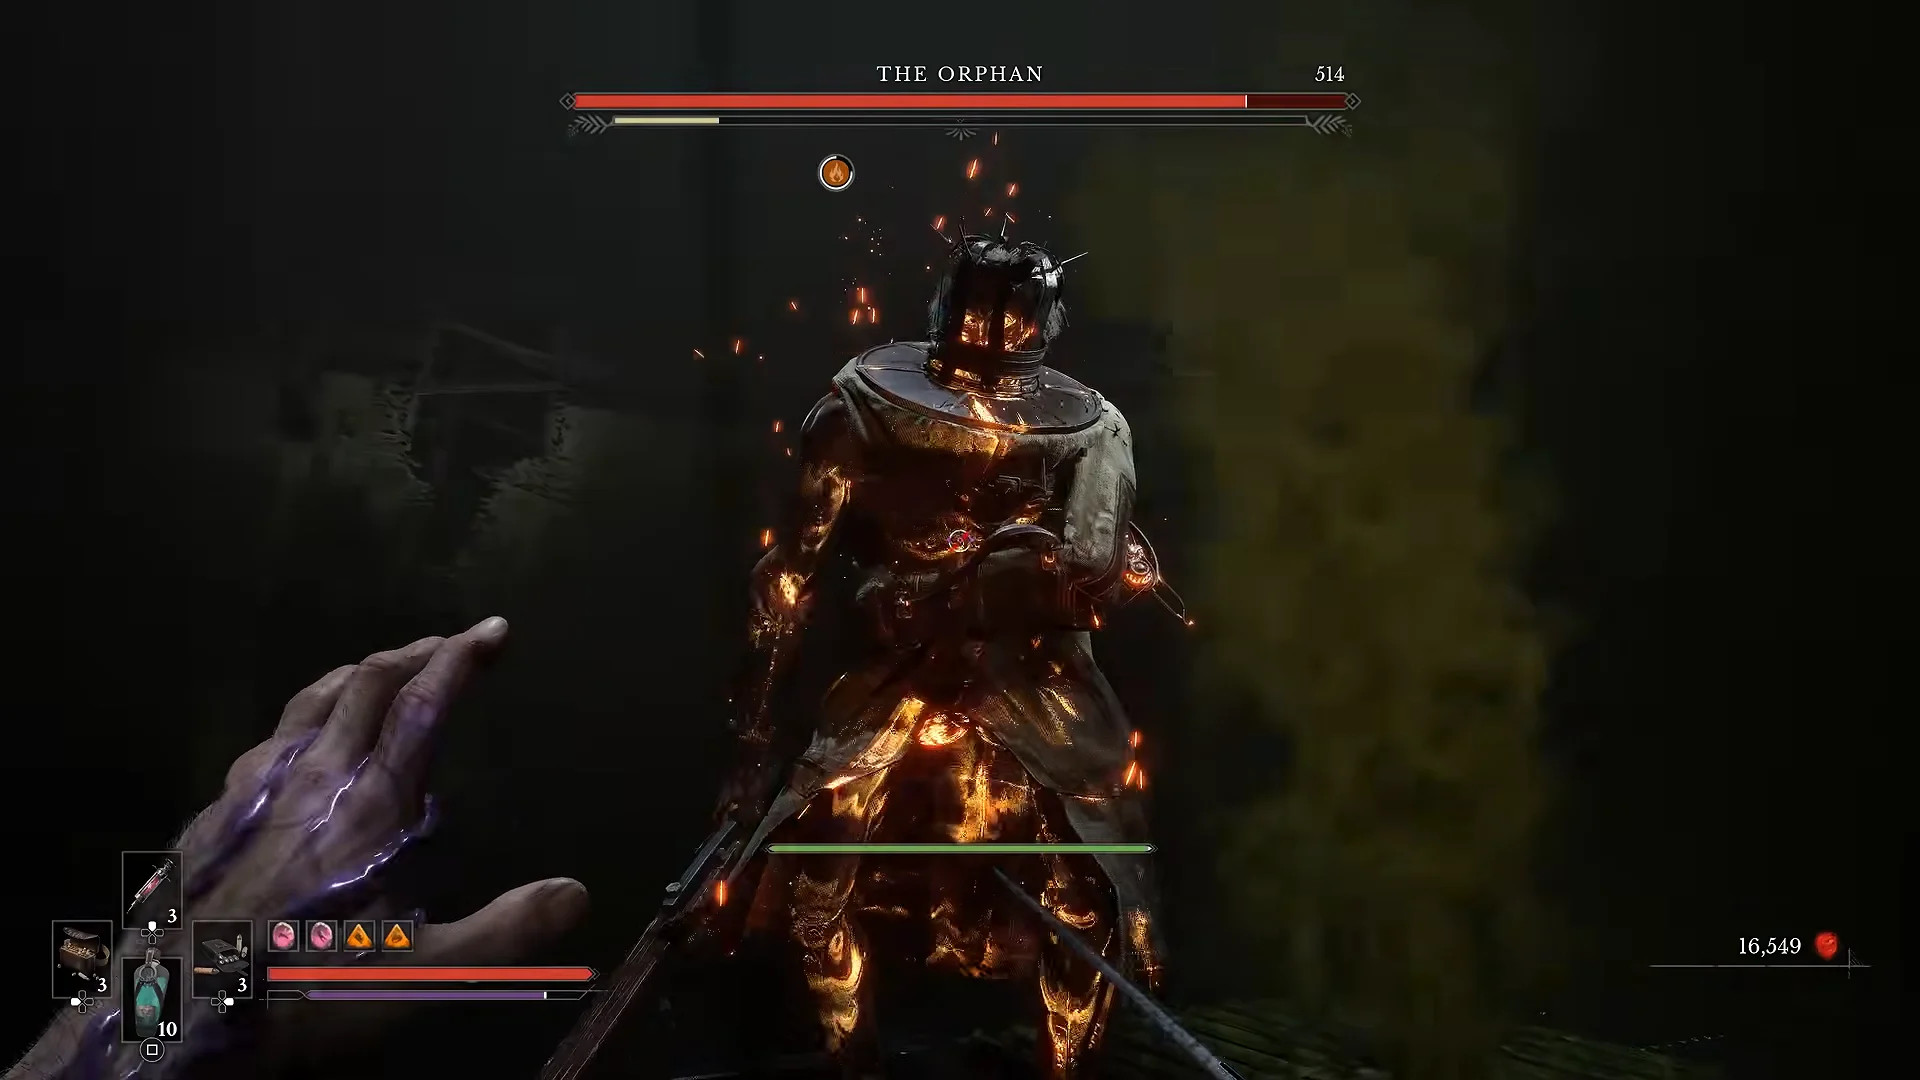
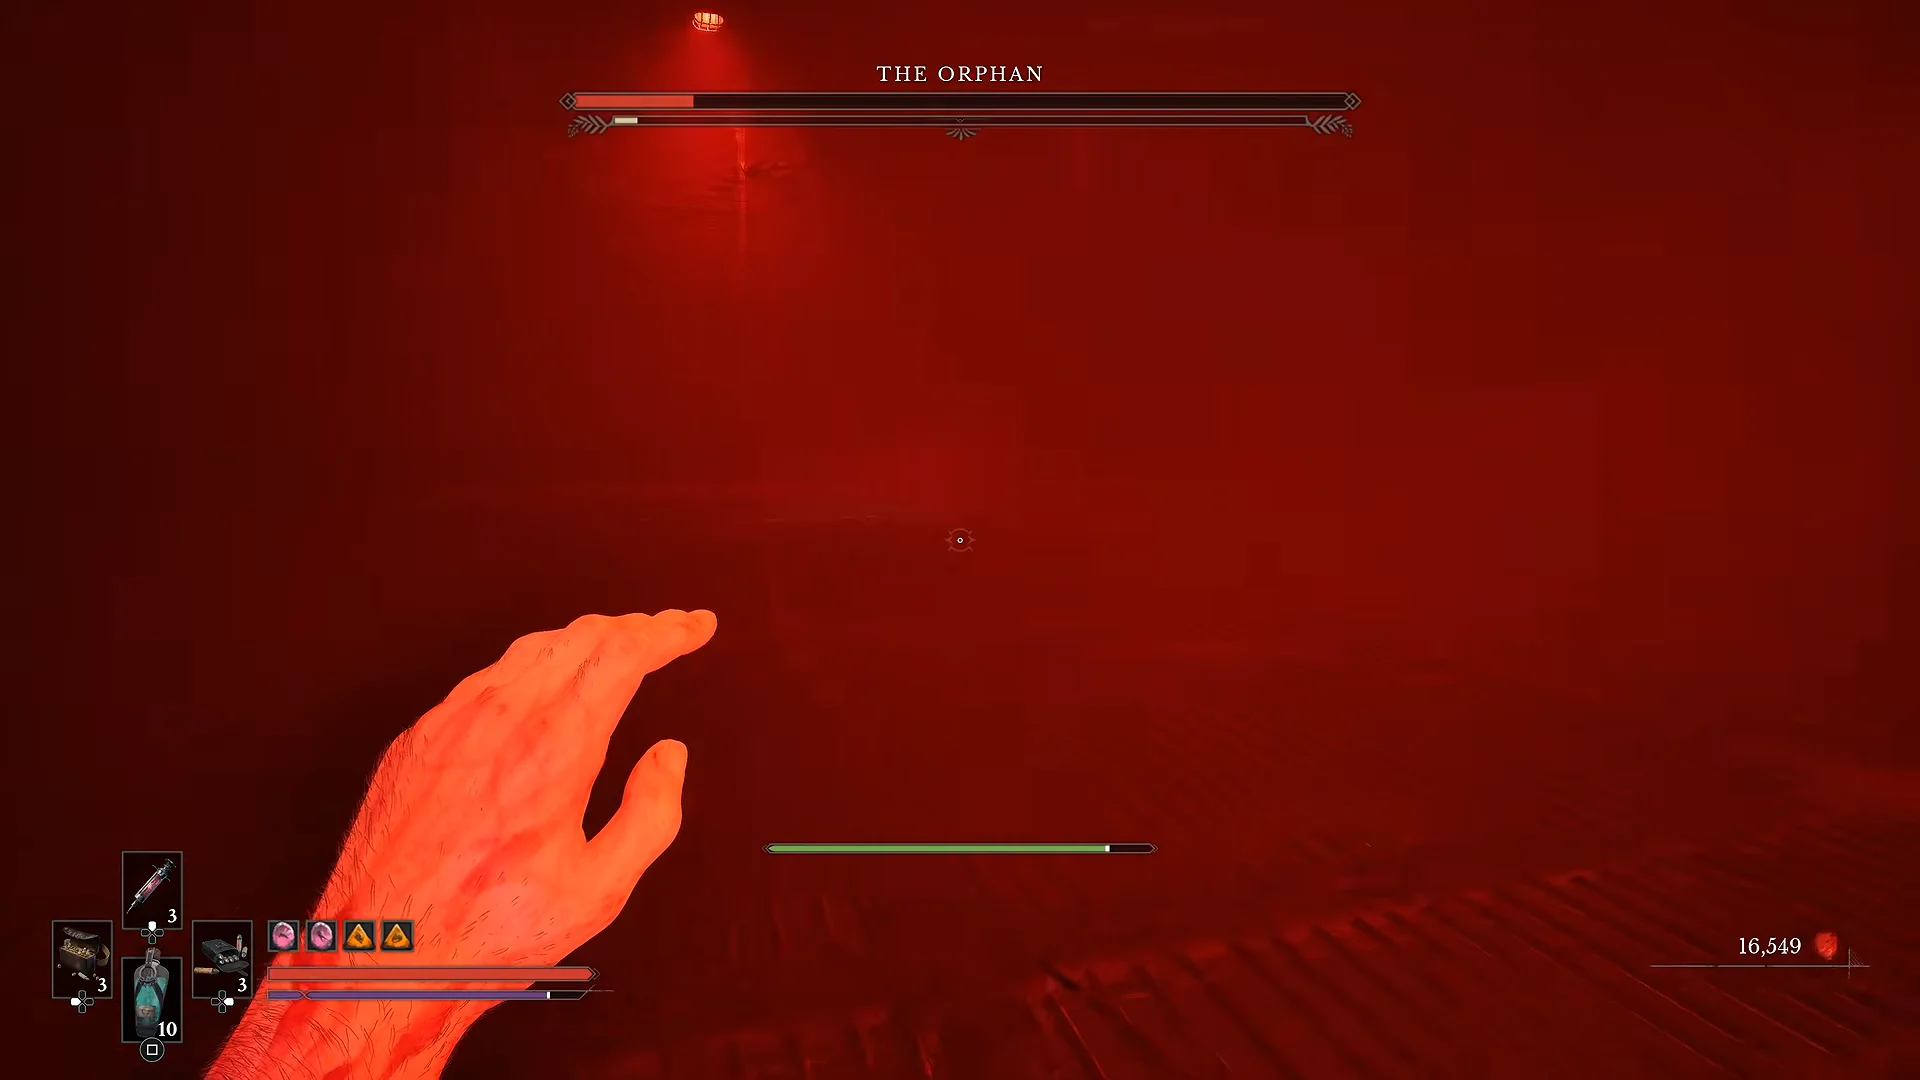
Partway through the first phase the chamber floods with red emergency lighting and venting steam, and the Orphan pulls back into the mist. While it is hidden it fires ranged attacks, so this stretch becomes a waiting game until the boss steps back into view and the melee exchange resumes.
Emptying the first health bar triggers a transition cutscene. The Orphan ruptures its straitjacket, sprays green fluid, exposes a mechanized spine and tears the cage off its head, revealing a mutated humanoid face with glowing eyes.
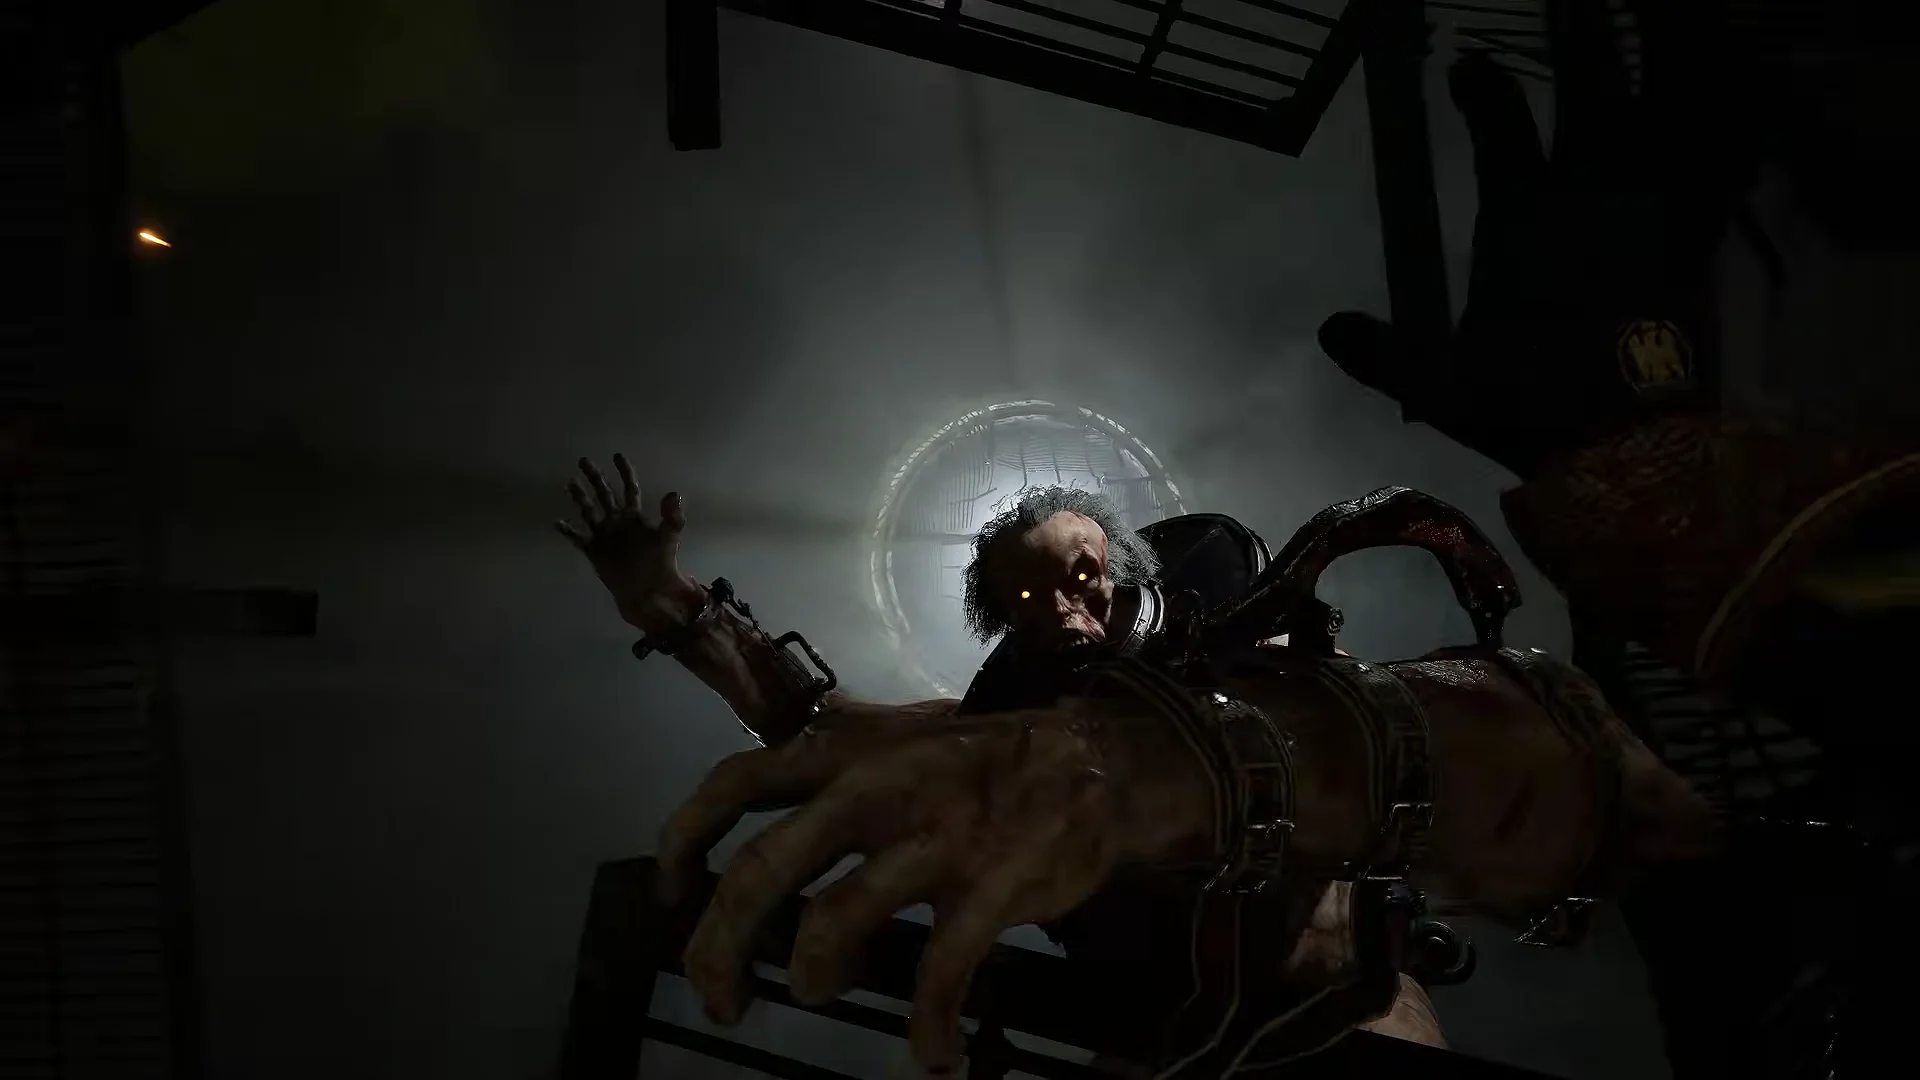
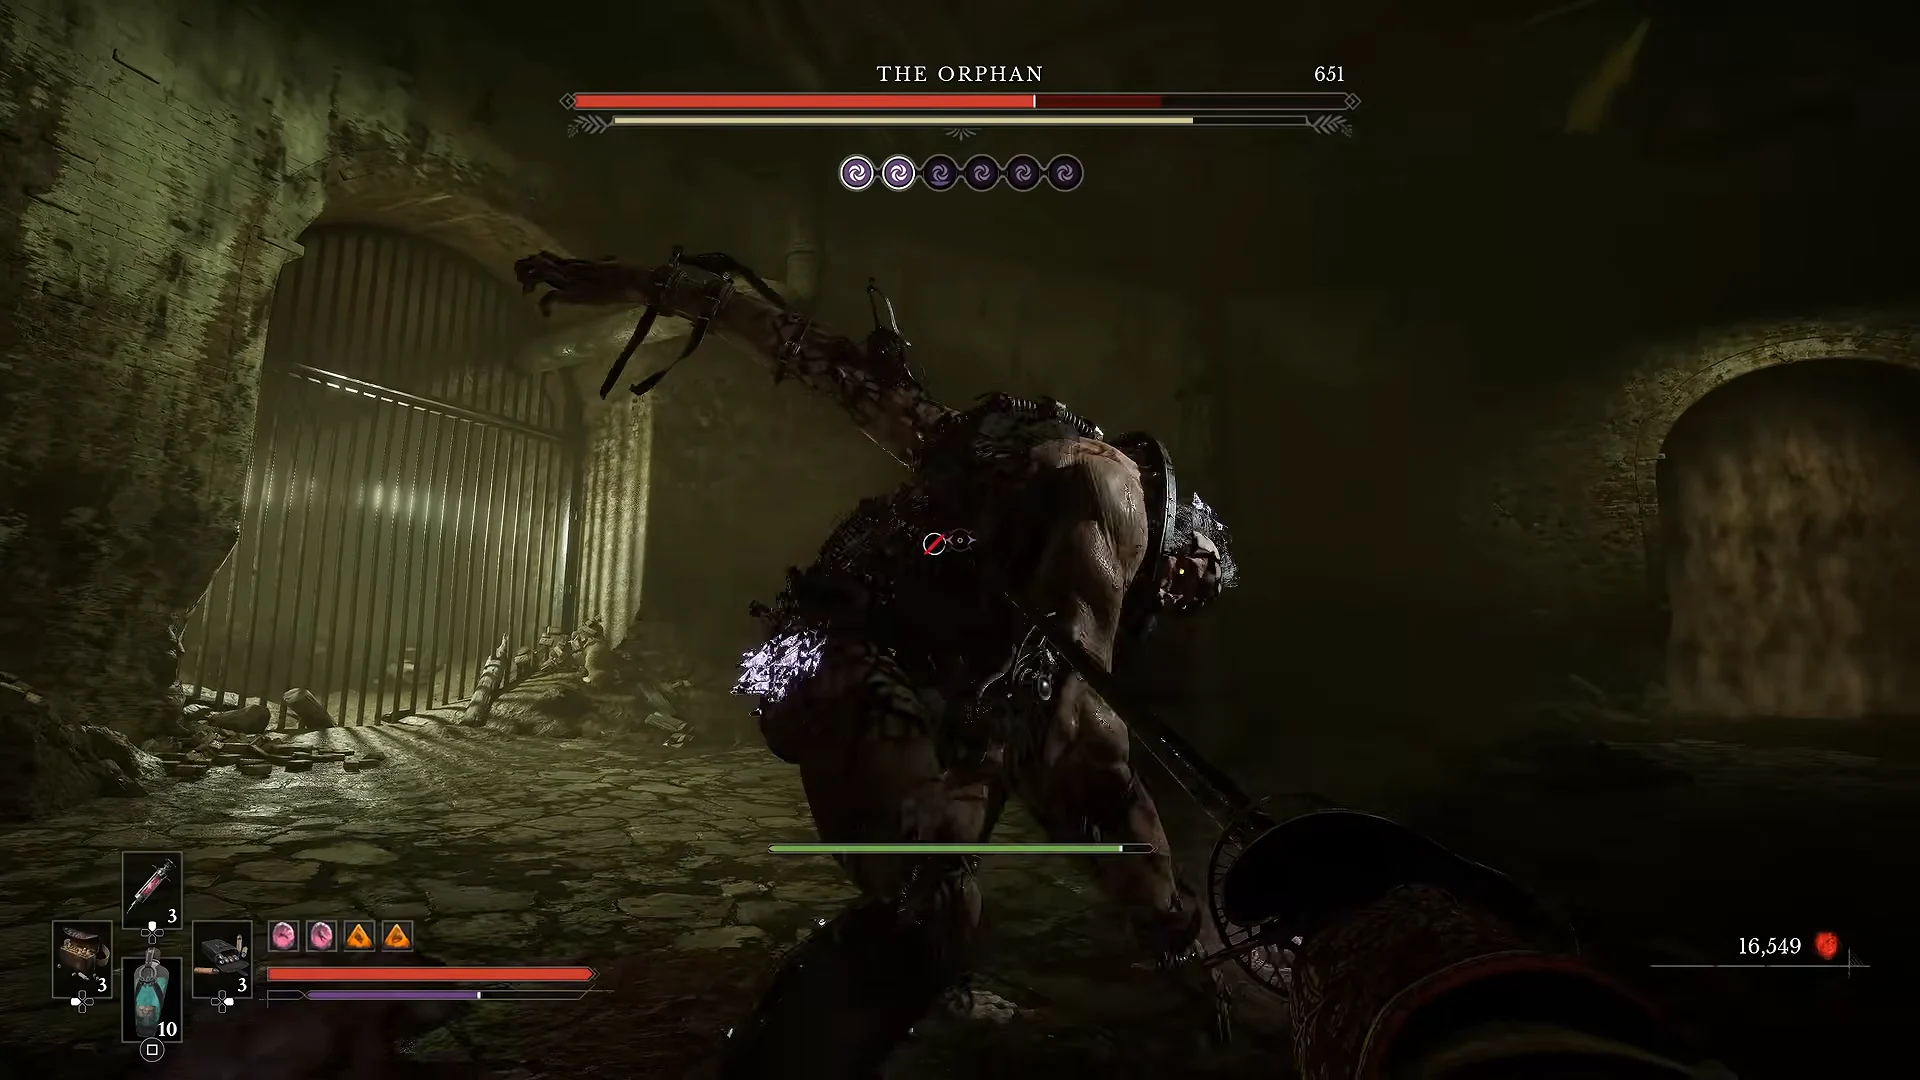
Phase two moves to an open sewer arena and speeds everything up. The unmasked Orphan chains high-speed claw and blade combos, jumping gap-closers and multi-hit flurries, with more of those strings ending in attacks that cannot be blocked. Clean deflections still fill its posture gauge, shown as six circular pips beneath the health bar, and a full break opens it to a visceral critical thrust.
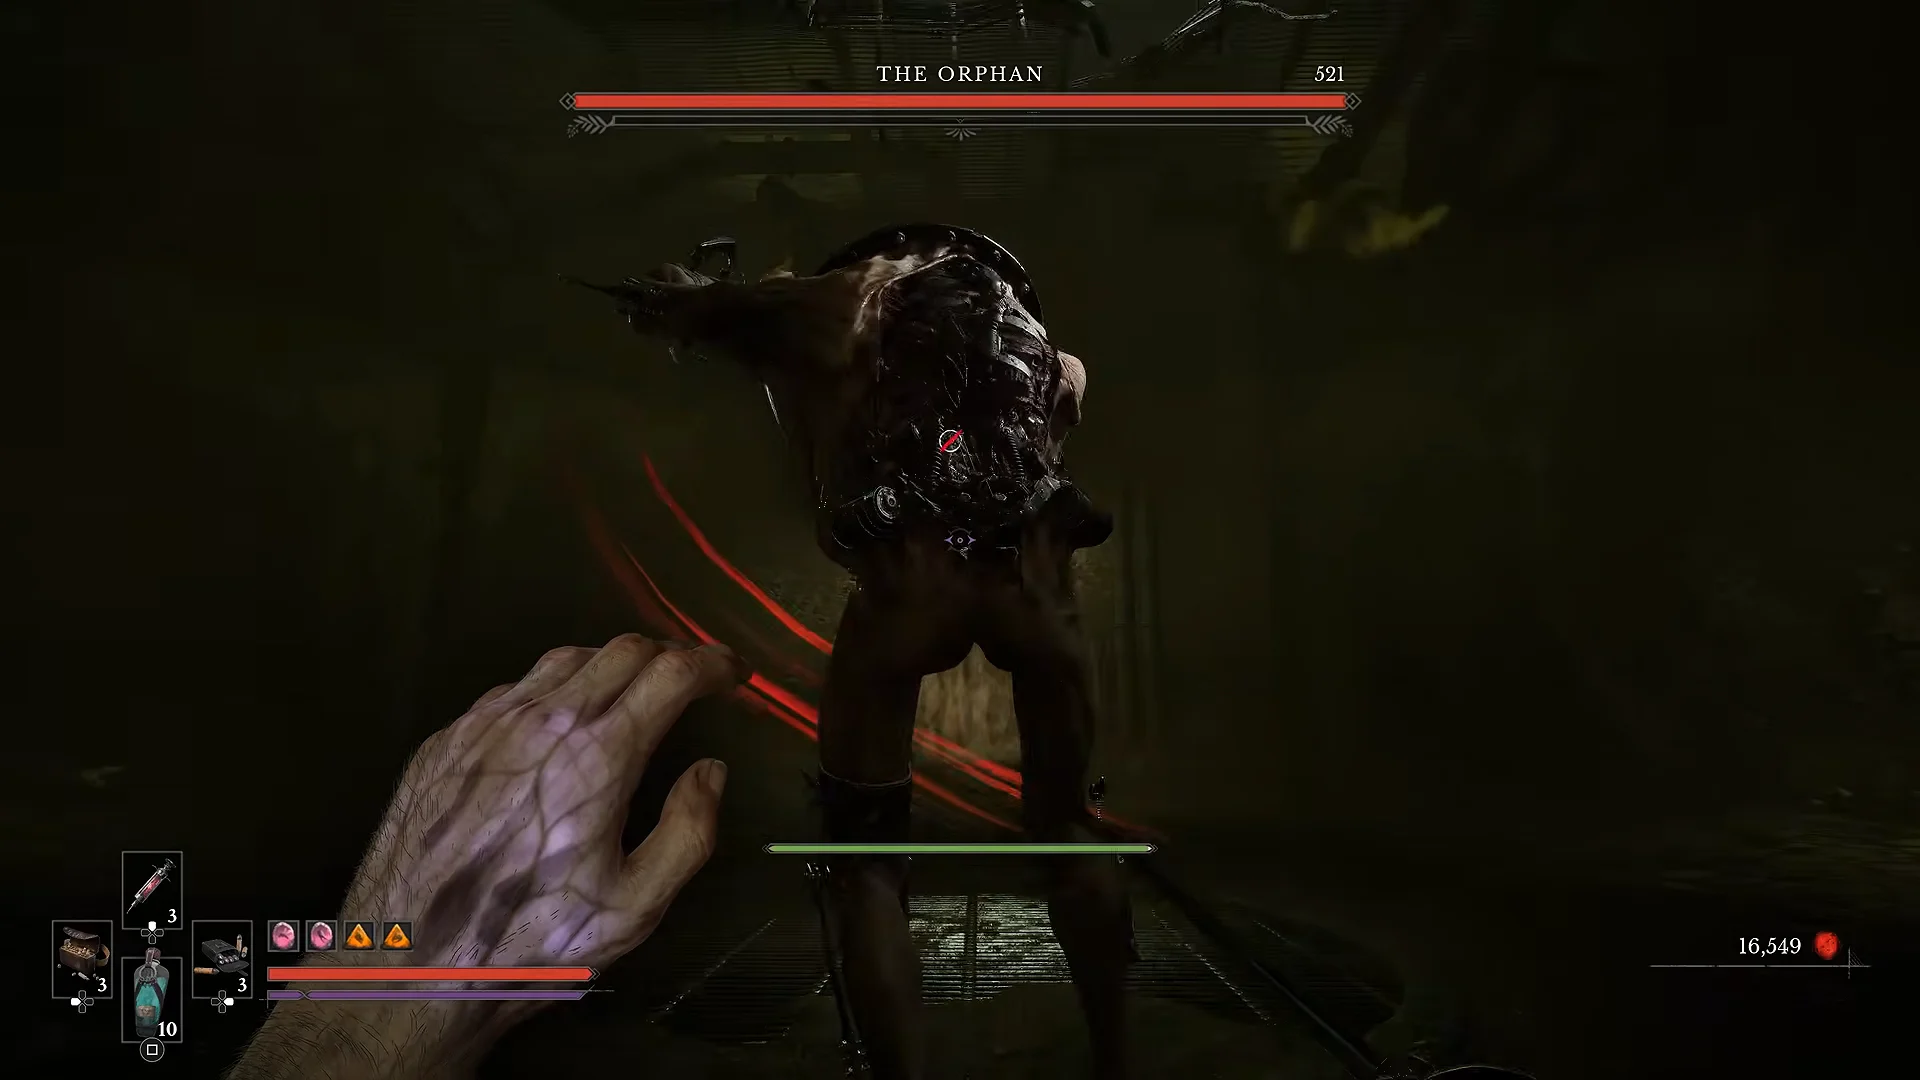
The remainder is a loop of deflected sweeps, posture breaks and ripostes until the boss collapses. In the run shown, that loop never breaks: the entire fight finishes with full health and zero hits taken.
The Orphan stats and reward
The Orphan carries one of the larger health pools in the game and a high posture pool to match. A posture break lands a fixed critical worth 700 damage, roughly 18 percent of its total health, so breaks matter more than raw chip damage.
| Stat | Value |
|---|---|
| Health | 4,000 |
| Posture | 1,550 |
| Phases | 2 |
| Critical attack damage | 700 (fixed) |
| Stasis segments | 6 |
| Hardest single hit | 100 (Pipe) |
| Catalyst reward | 40,000 |
The nearest checkpoint is the Sewage Drain lantern, about 39 meters from the arena, which is where you respawn after a death. As in every Valor Mortis fight, Catalysts drop at the spot where you fall and must be recovered on the next attempt.
Every attack the Orphan uses
The boss draws on 16 attacks across both phases, seven of which cannot be blocked. Damage is the base per-hit value, since bosses always fight at level 1. Note the Grab: it inflicts Infection and cannot be blocked, so it is answered with distance rather than a guard.
| Move | Hits | Damage per hit | Block / parry |
|---|---|---|---|
| Pipe | 3 | 80 / 80 / 100 | Unblockable |
| Combo | 3 | 30 / 70 / 60 | Blockable |
| Phase 2 Combo (right) | 2 | 50 / 80 | 1 hit unblockable |
| Combo Five Hit | 2 | 60 / 60 | 1 hit unblockable |
| Leap | 2 | 60 / 60 | Blockable |
| Phase 2 Combo (left) | 3 | 50 / 0 / 50 | 1 hit unblockable |
| Swing Right | 1 | 70 | Blockable |
| Swing Fake | 1 | 70 | Unblockable |
 Lunge Lunge | 1 | 70 | Blockable |
| Dead Body Lunge | 1 | 70 | Blockable |
| Combo Three Hit | 1 | 65 | Blockable |
| Combo Five Hit Fast | 1 | 50 | Blockable |
| Dead Body Combo | 1 | 50 | Blockable |
| Leap Scream | 1 | 50 | Unblockable |
| Taunt | 2 | 0 / 40 | Blockable |
| Grab (Infection) | 1 | 15 | Unblockable |
Blocking is costly against this fight. A blockable combo hit drains 70 Endurance, and the phase-two right combo costs 90, which is why the hitless approach leans on parries and dodges rather than holding guard.
Weak points and resistances
The Orphan has no specific weakness, though its body parts receive different damage multipliers. Shots to the head deal double damage and 1.5x posture damage, making aimed firearm fire the most effective option. Its legs, by contrast, suffer less damage.
| Body part | Damage taken | Posture damage |
|---|---|---|
| Head | ×2 | ×1.5 |
| Chest | ×1 | ×1 |
| Hands | ×1 | ×1 |
| Legs | ×0.8 | ×1 |
On status effects, the Orphan resists Ignite build-up by 70 percent and is immune to Infection, so neither is worth building around. Stasis is the exception: it has no resistance to it over six segments, and a full freeze breaks for 750 damage.
The base profile marks fire as a double weakness; however, the records for both phases set fire resistance to 0 percent, so fire deals only neutral damage throughout the actual fight.
Weapon figures to bring in
The Orphan’s head takes twice as much damage, making a firearm an effective choice. The Blunderbuss, found in Fallen Village, is a hand cannon for close-range combat. It holds 2 rounds, reloads in 3.5 seconds, and has the Staggering trait. Each upgrade steadily raises its damage per shot.
| Blunderbuss level | Damage | Posture damage | Damage cap |
|---|---|---|---|
| 1 | 15 | 3 | 150 |
| 5 | 19 | 3 | 230 |
| 8 | 24 | 3 | 290 |
| 10 | 30 | 3 | 350 |
Since Stasis has no resistance on this boss, a Stasis-based left-hand power is the status worth leaning on. The Stasis Transmutation stops enemies in their tracks and deals heavy damage to frozen targets, running from a 1.0 damage factor at level 1 to 1.5 at its maximum level 5.
With resistances applied, the Blunderbuss needs 27 shots at level 1 and 12 at level 10 to clear the health pool, dropping to 6 shots if every one lands on the head. A fully upgraded Claymore takes 40 body hits by comparison, which again points toward headshots and posture breaks over sustained melee.
How you know the fight is over
When the second health bar empties, the Orphan drops and the screen prints an “ABOMINATION ERADICATED” banner. The kill screen then pays out the reward prompt, “REWARD: 40,000 CATALYSTS,” which you can see land in the run as the counter climbs from 16,549 to 56,549.
A “QUEST UPDATE” notification for Blasphemy follows, along with a “NEW ENTRY ADDED TO THE JOURNAL” message and a prompt to view it. Those three confirmations together are how you know the encounter registered and the quest has moved forward.