Monster Hunt is a side quest in Valor Mortis built around 17 crude monster sketches drawn by the city’s children, the Mice. The sketches are hidden across the City of Orphans, the region for Chapter VIII, Blasphemy. They’re tucked into alleys, rooftop rooms, a poison-filled basement, and the sewers underneath it all. There’s no quest giver. You start it by picking up the first drawing, and you finish it by picking up the last one.
Quick answer: Find the full set of 17 children’s drawings in the City of Orphans. Picking up drawing 17 finishes Monster Hunt, grants a Quintessential Transmutation Material, and unlocks The Book of Beasts achievement.
Monster Hunt requirements and how the quest starts
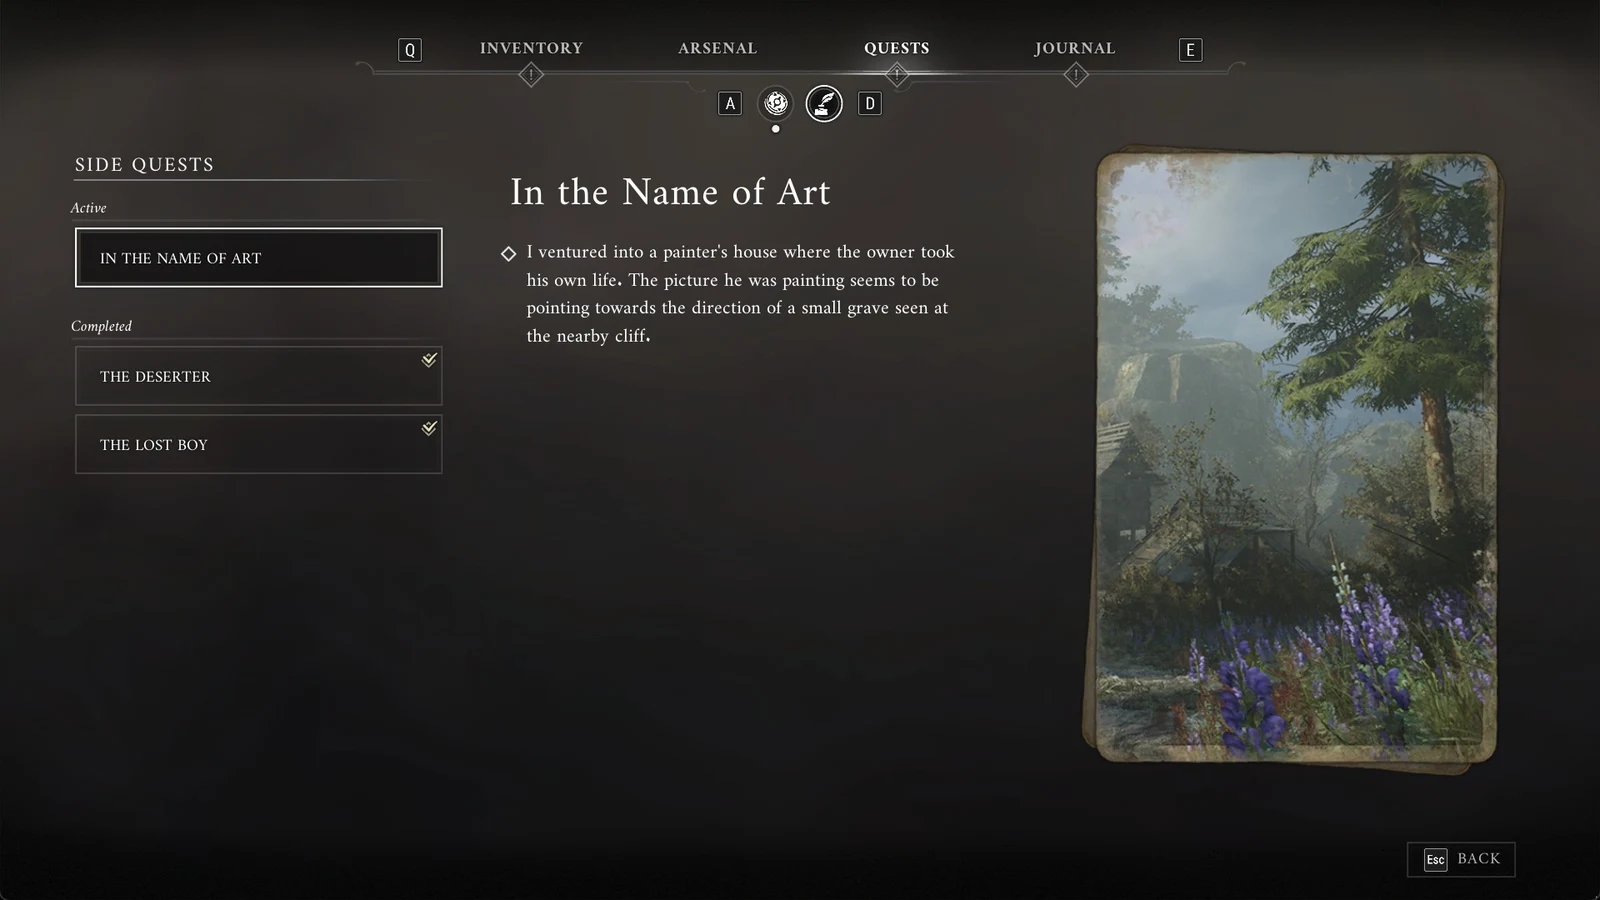
Monster Hunt switches on the moment you interact with the Lancer drawing in Tribunal Square. When you take it, William mutters, “What a hideous creature… The children must have drawn that.” The “NEW SIDE QUEST” banner appears, and the quest is added to your journal. None of the drawings are missable, and you can still collect every one after the credits.
- All 17 drawings are in the City of Orphans, spread across Tribunal Square, Shamble Street, and the Sewers.
- The grapple hook is required. When a Grapple Point is in range, aim at it and press the Interaction button.
- Found in a chest opened during the story, the Sewers Key unlocks a side door in the round sewer chamber.
- The Sewers Master Key gets you into the lowest tunnels, near the Abomination drawing.
- The City of Orphans has three Lanterns, at Tribunal Square, Shamble Street, and the Sewers. The route below starts from each of them in turn.
Look for white raven graffiti on the sewer walls; it indicates the route to take. Follow the markings for the fastest way to the final drawing.
All 17 Monster Hunt drawings checklist
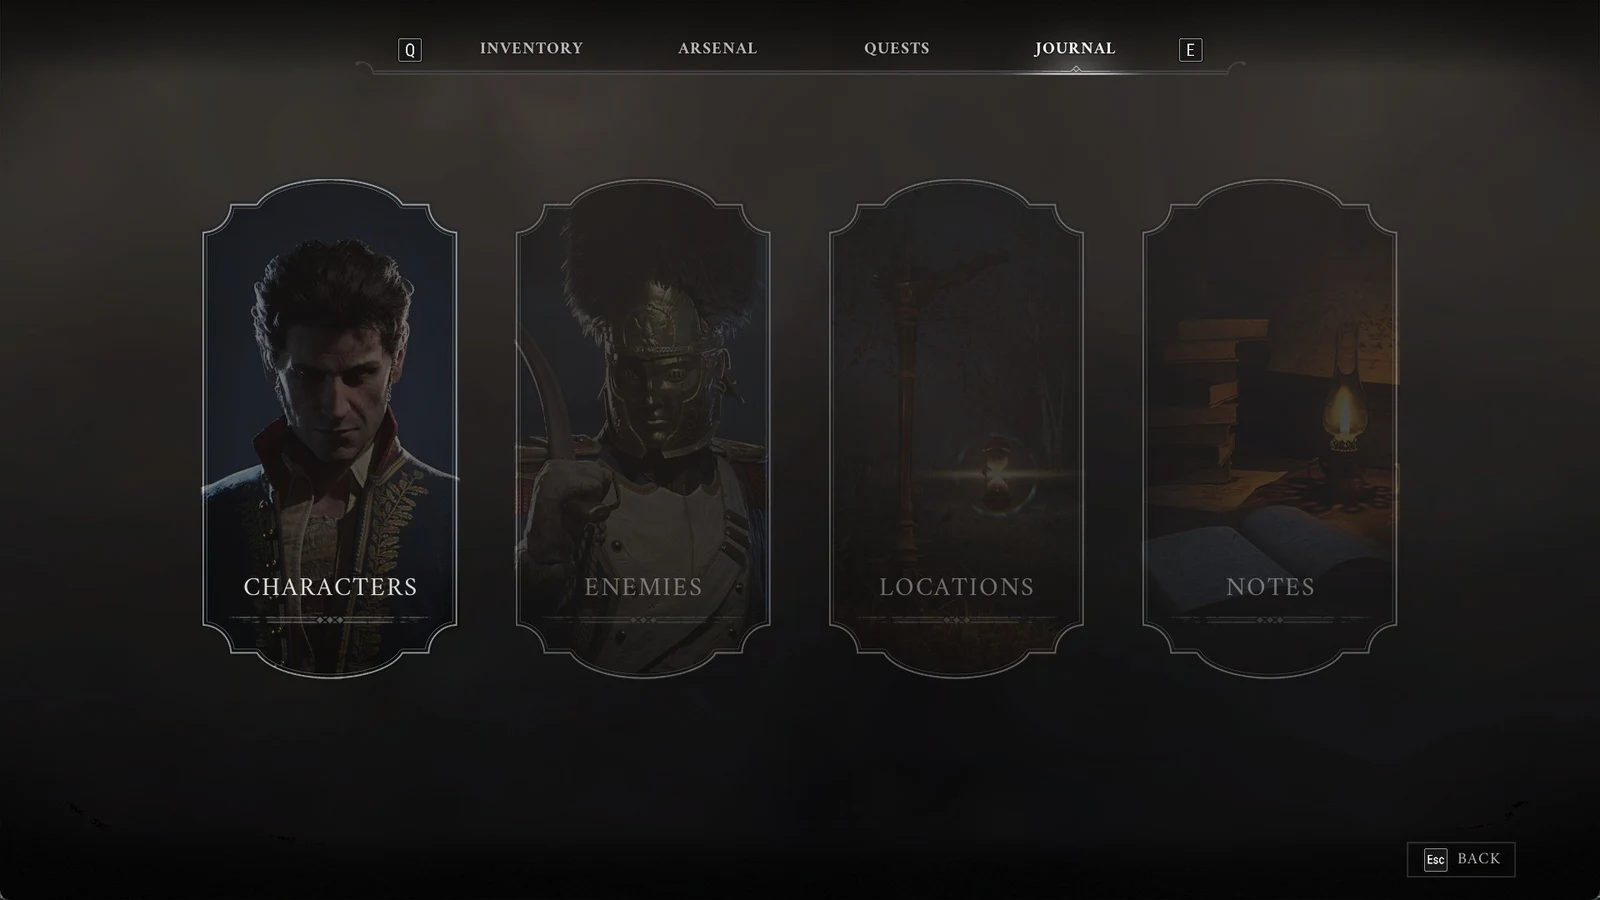
Each sketch gets its own line in the quest log, so you can open the journal at any point to see which monsters you still need. Two of the drawings have a different name in the journal than on the item itself. The Unknown Monstrosity is logged as a “cloaked monstrosity,” and the Unknown Figure is logged as a “menacing figure.”
| # | Drawing | Area | Start from |
|---|---|---|---|
| 1 | Lancer |  Tribunal Square | Tribunal Square Lantern |
| 2 | Risen Soldier | Tribunal Square | Tribunal Square Lantern |
| 3 | Howler | Tribunal Square | Tribunal Square Lantern |
| 4 | Volunteer | Tribunal Square | Tribunal Square Lantern |
| 5 | Eternal Guard |  Shamble Street | Shamble Street Lantern |
| 6 | General Lothaire | Shamble Street | Shamble Street Lantern |
| 7 | Sapeur | Shamble Street | Shamble Street Lantern |
| 8 | Slaughtermill | Shamble Street | Shamble Street Lantern |
| 9 | Swarm Mother | Shamble Street | Shamble Street Lantern |
| 10 | Shambling Civilians | Shamble Street | Shamble Street Lantern |
| 11 | Remnant of the Iron Regiment | Shamble Street | Shamble Street Lantern |
| 12 | Sphinx | Shamble Street | Shamble Street Lantern |
| 13 | Carrion |  Sewers | Sewers Lantern |
| 14 | Grenadier | Sewers | Sewers Lantern |
| 15 | Unknown Monstrosity | Sewers | Sewers Lantern |
| 16 | Abomination | Sewers | Sewers Lantern |
| 17 | Unknown Figure | Sewers (exit yard) | Sewers Lantern |
Monster Hunt drawing locations, in route order
The route is split by Lantern. Fast travel to each one using Travel to the Lantern, then work outward from it. Step numbers restart for each area.
Tribunal Square: drawings 1–4
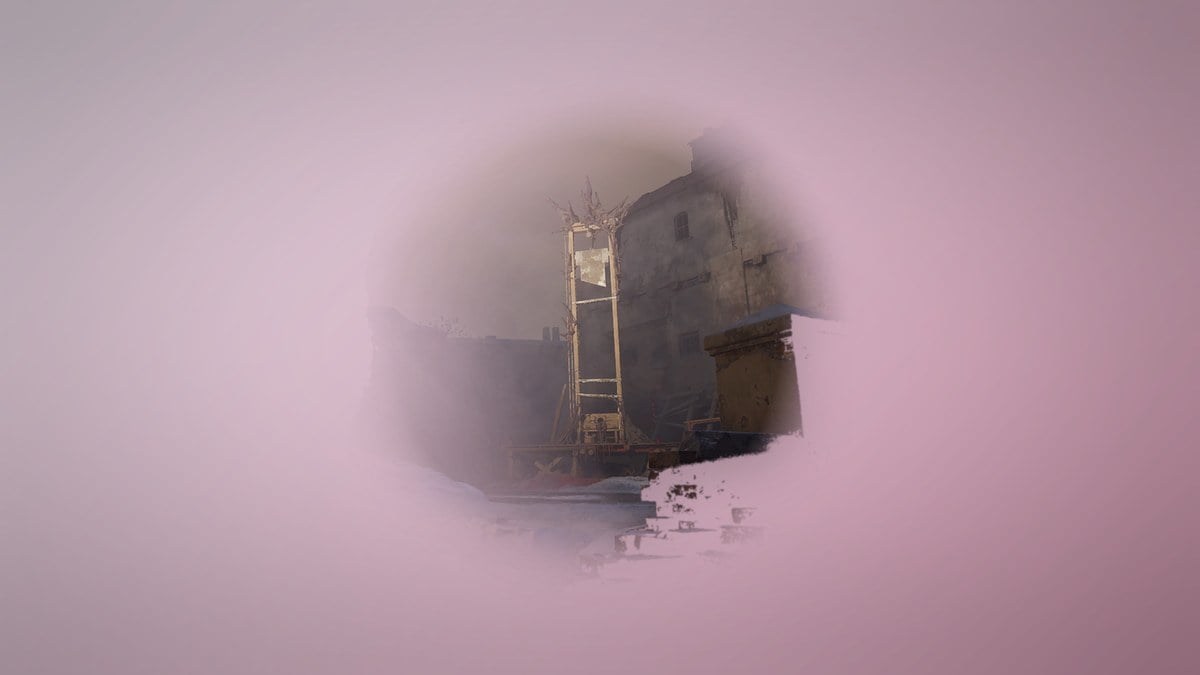
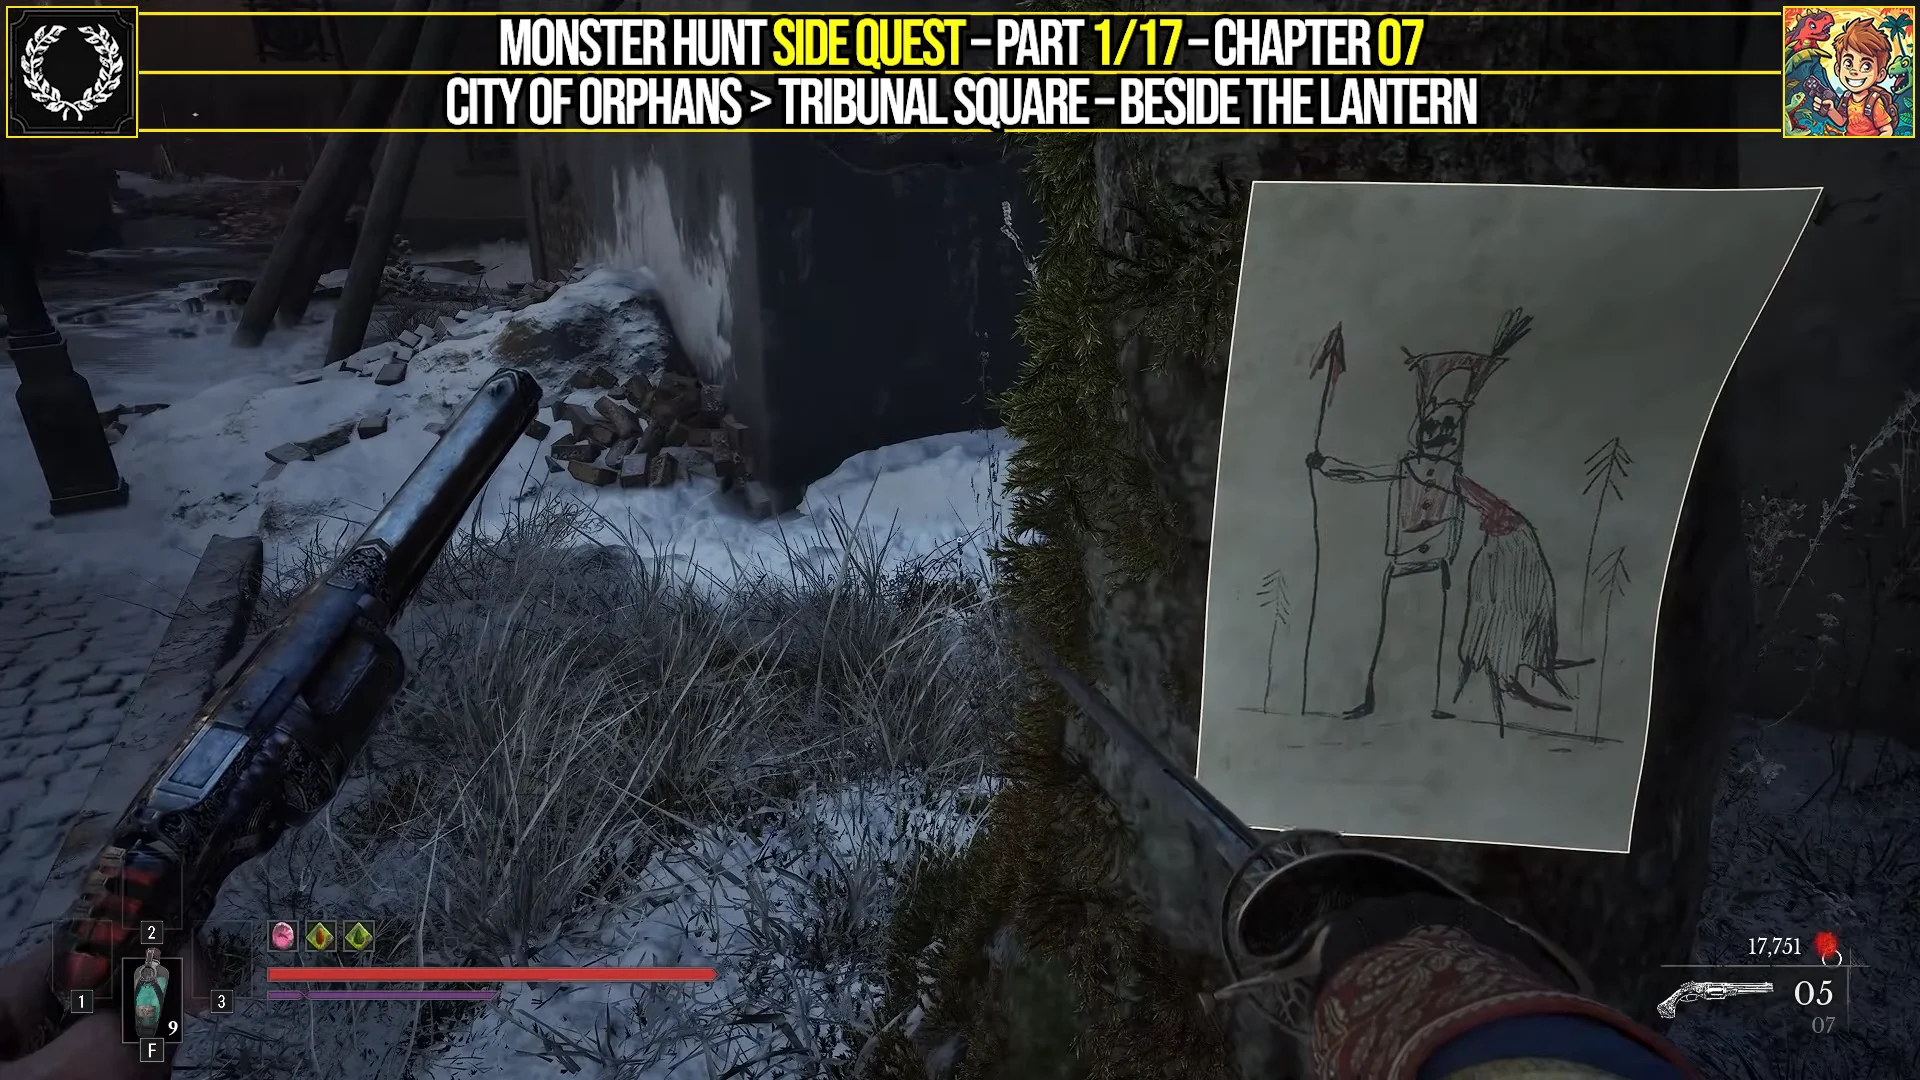
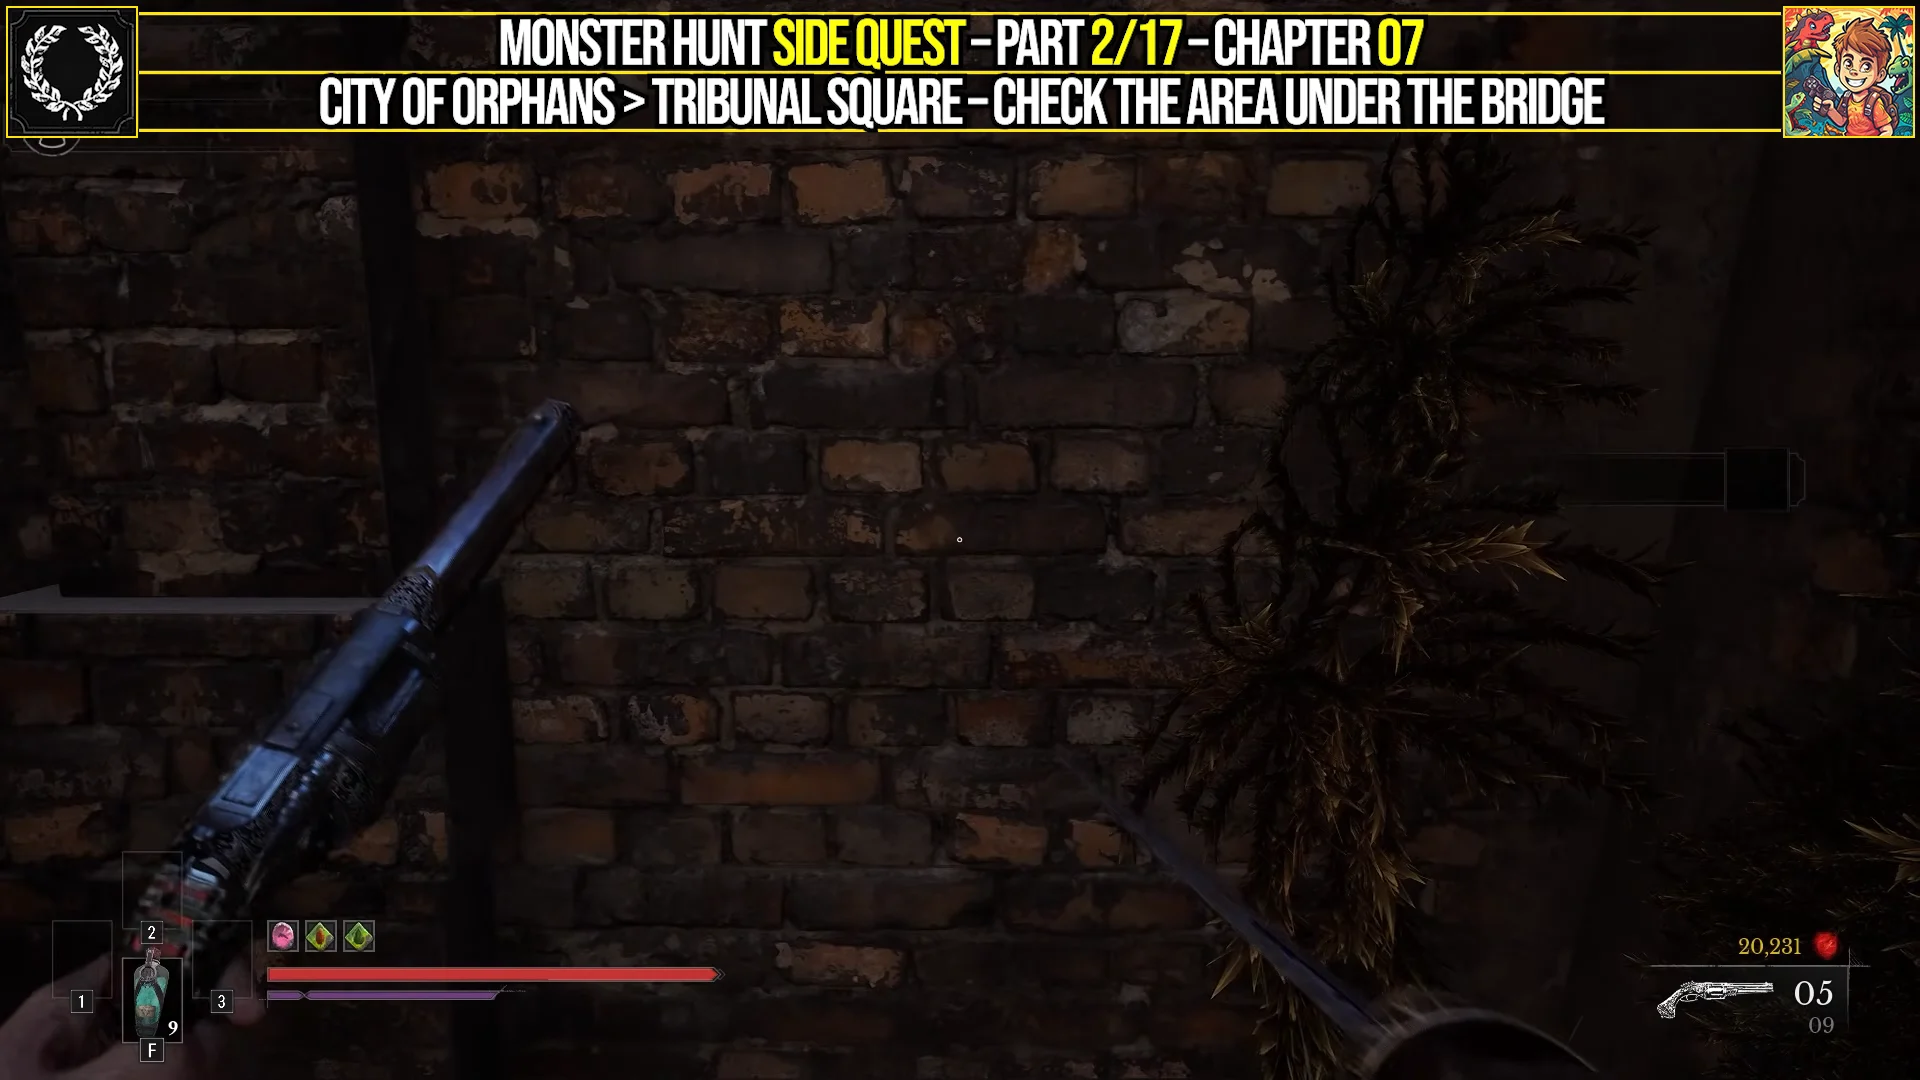
Shamble Street: drawings 5–12
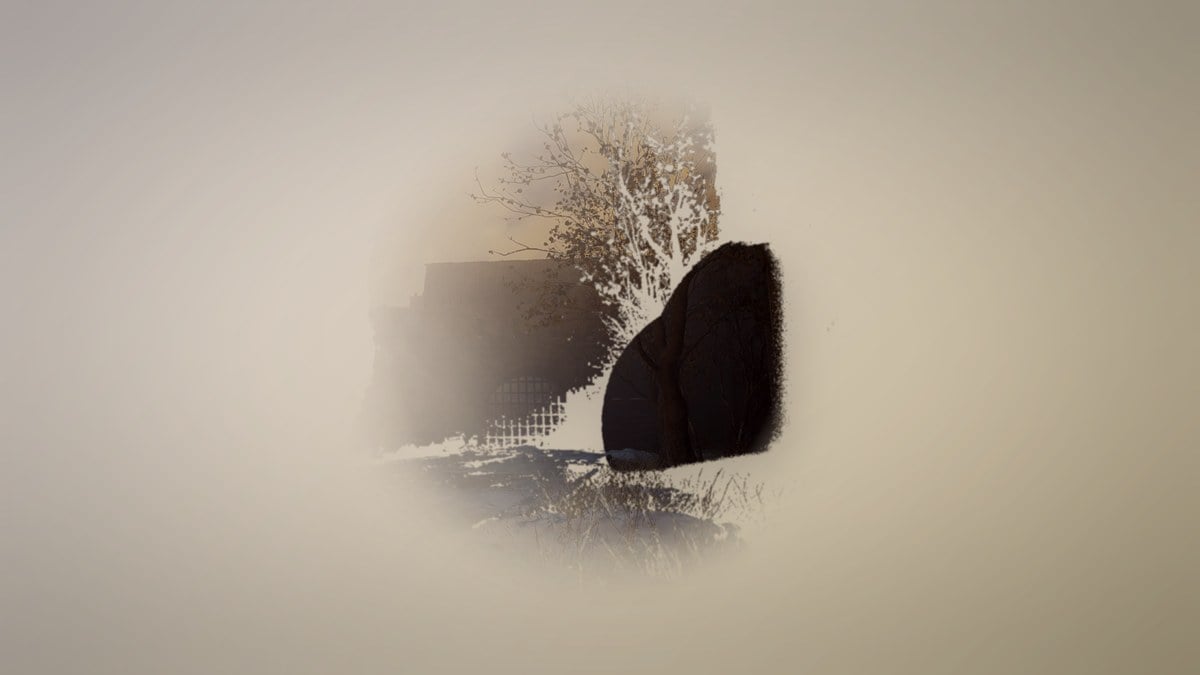
The bottom room of that house is full of poison gas. Grab the drawing and climb straight back out before the damage piles up.
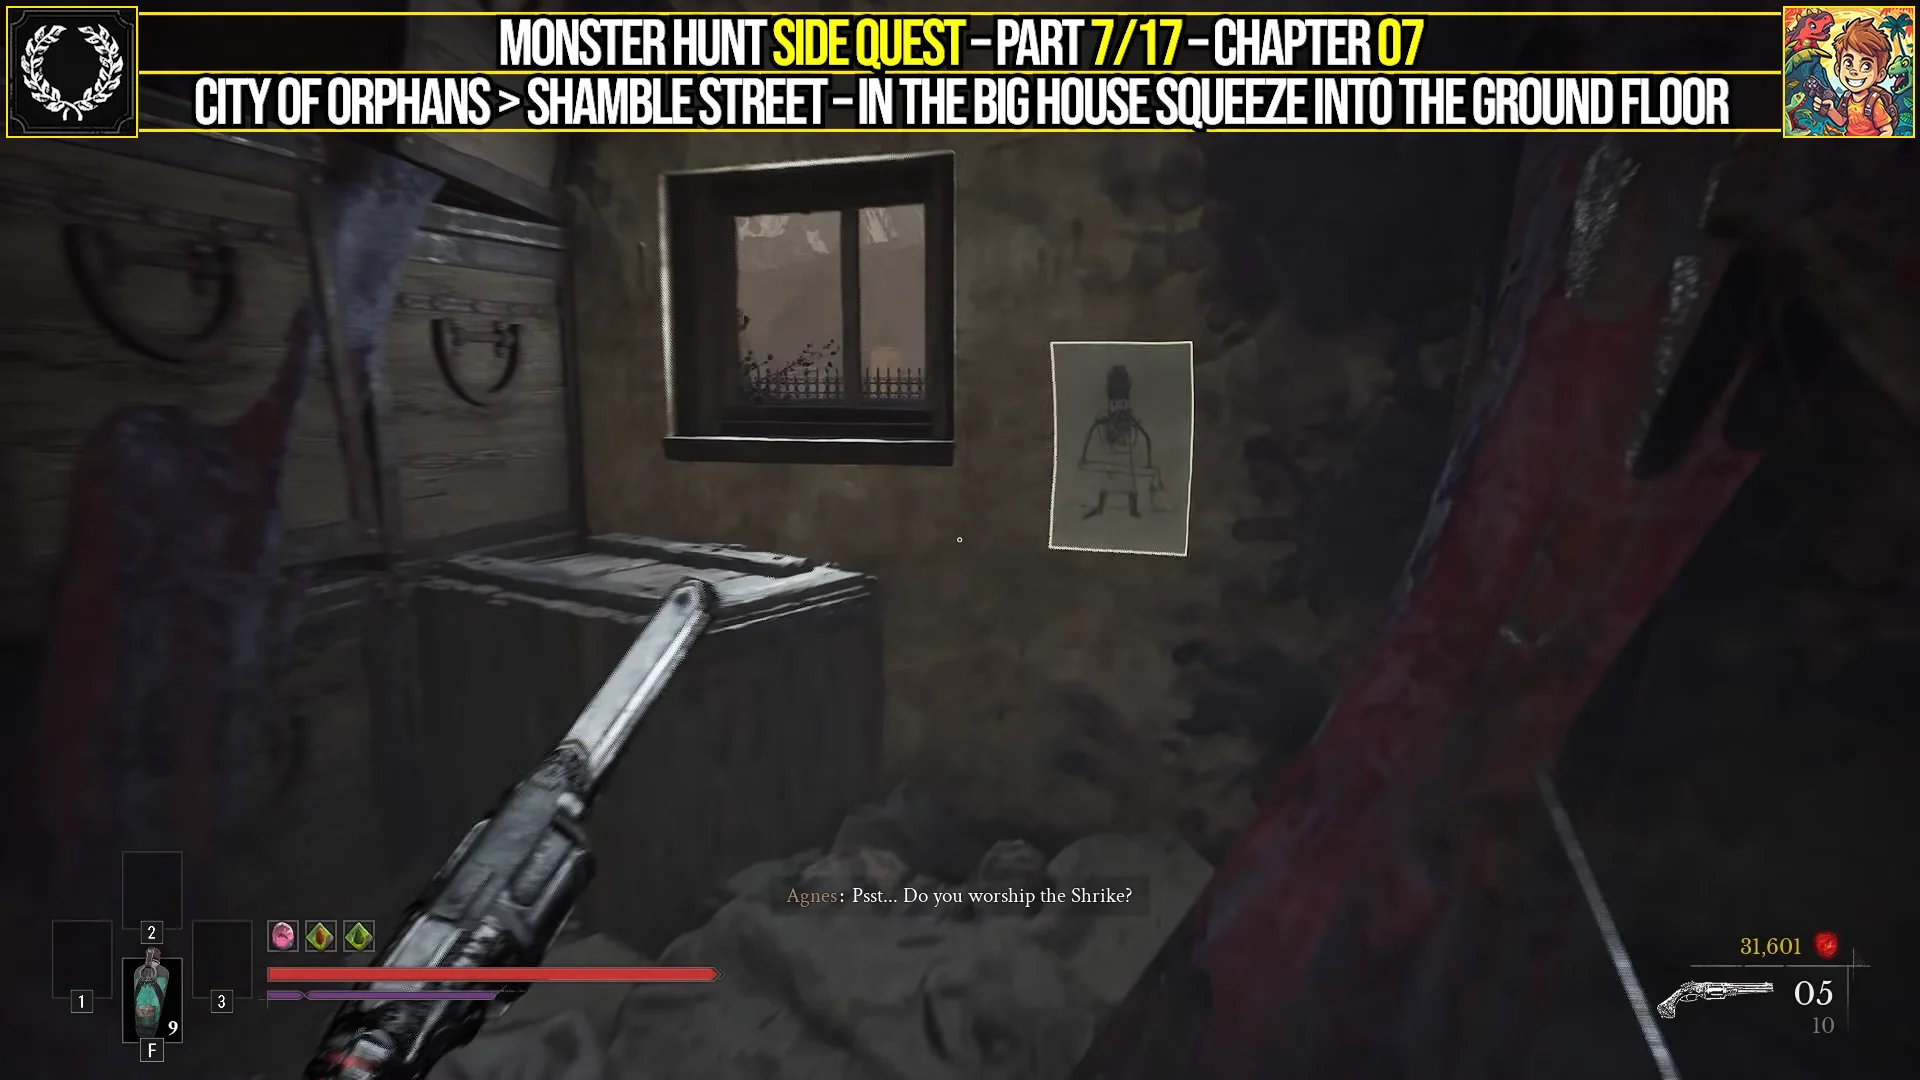
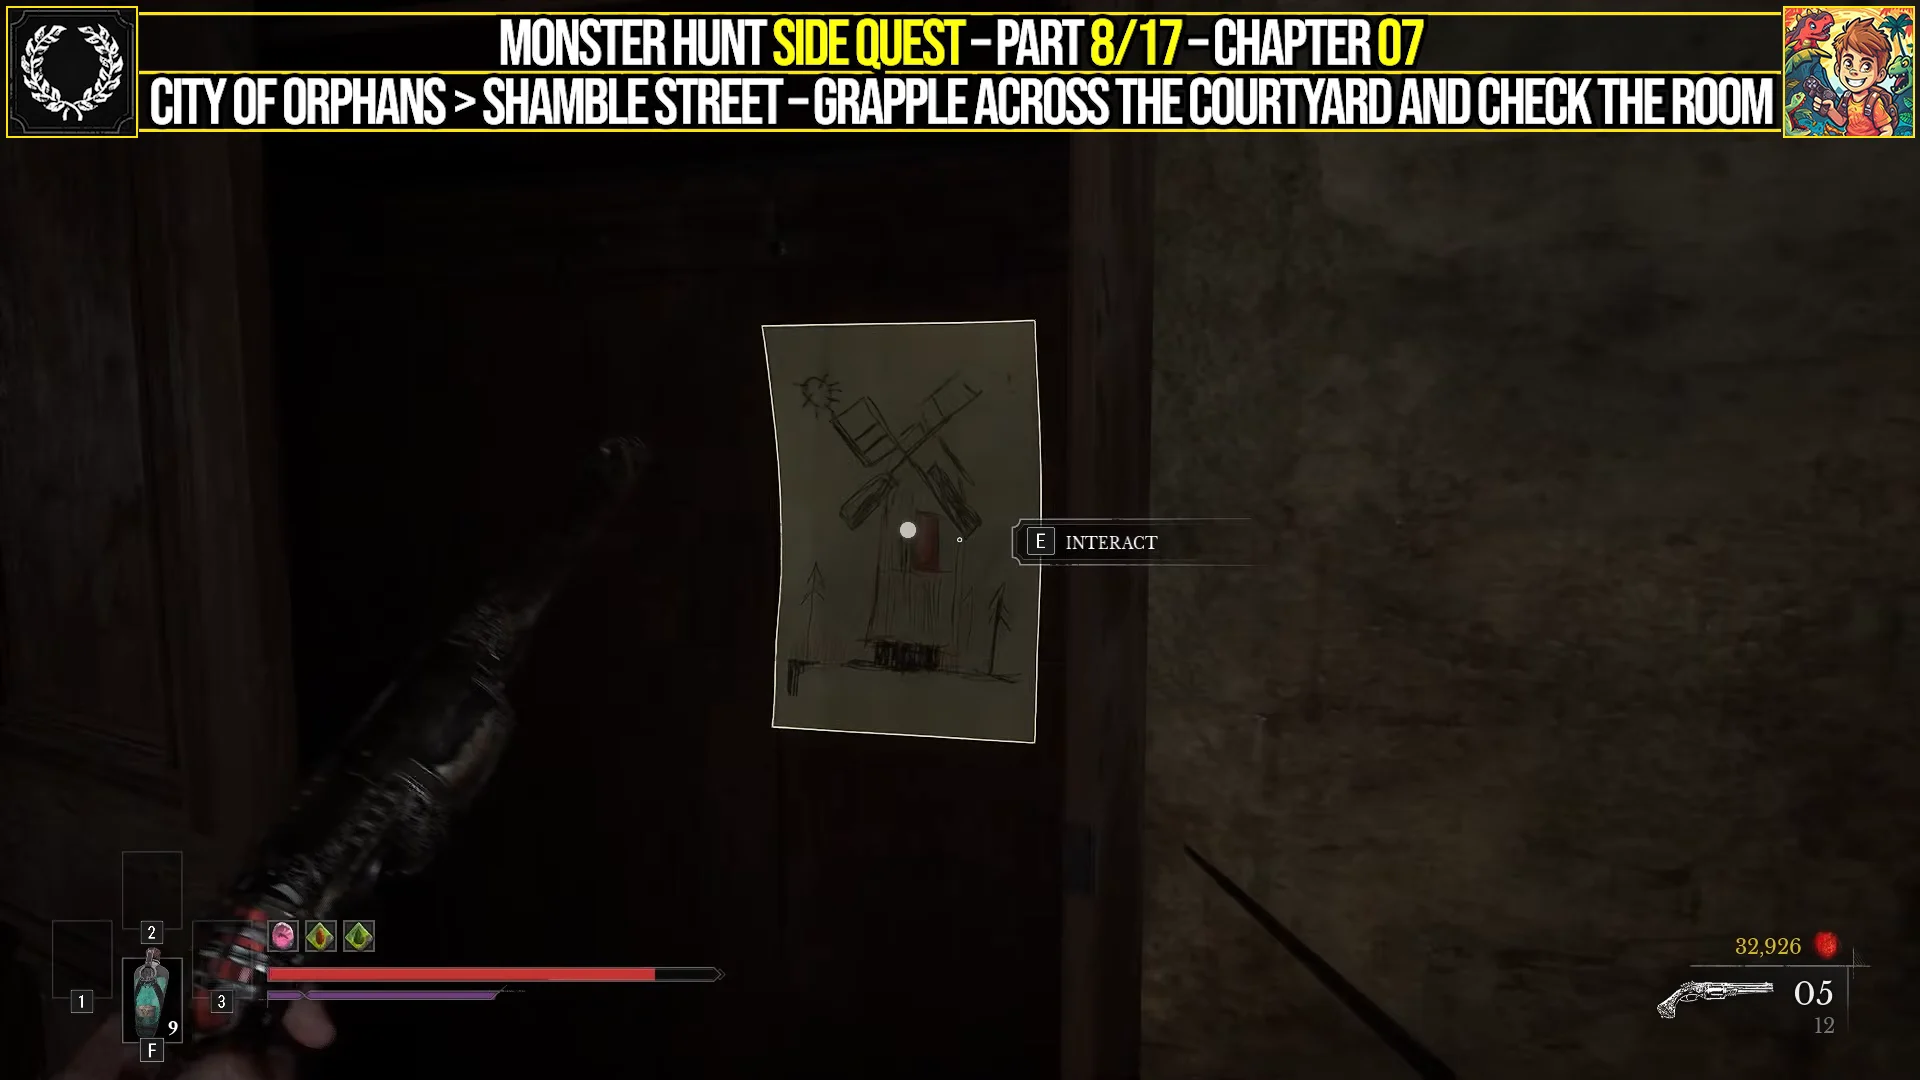
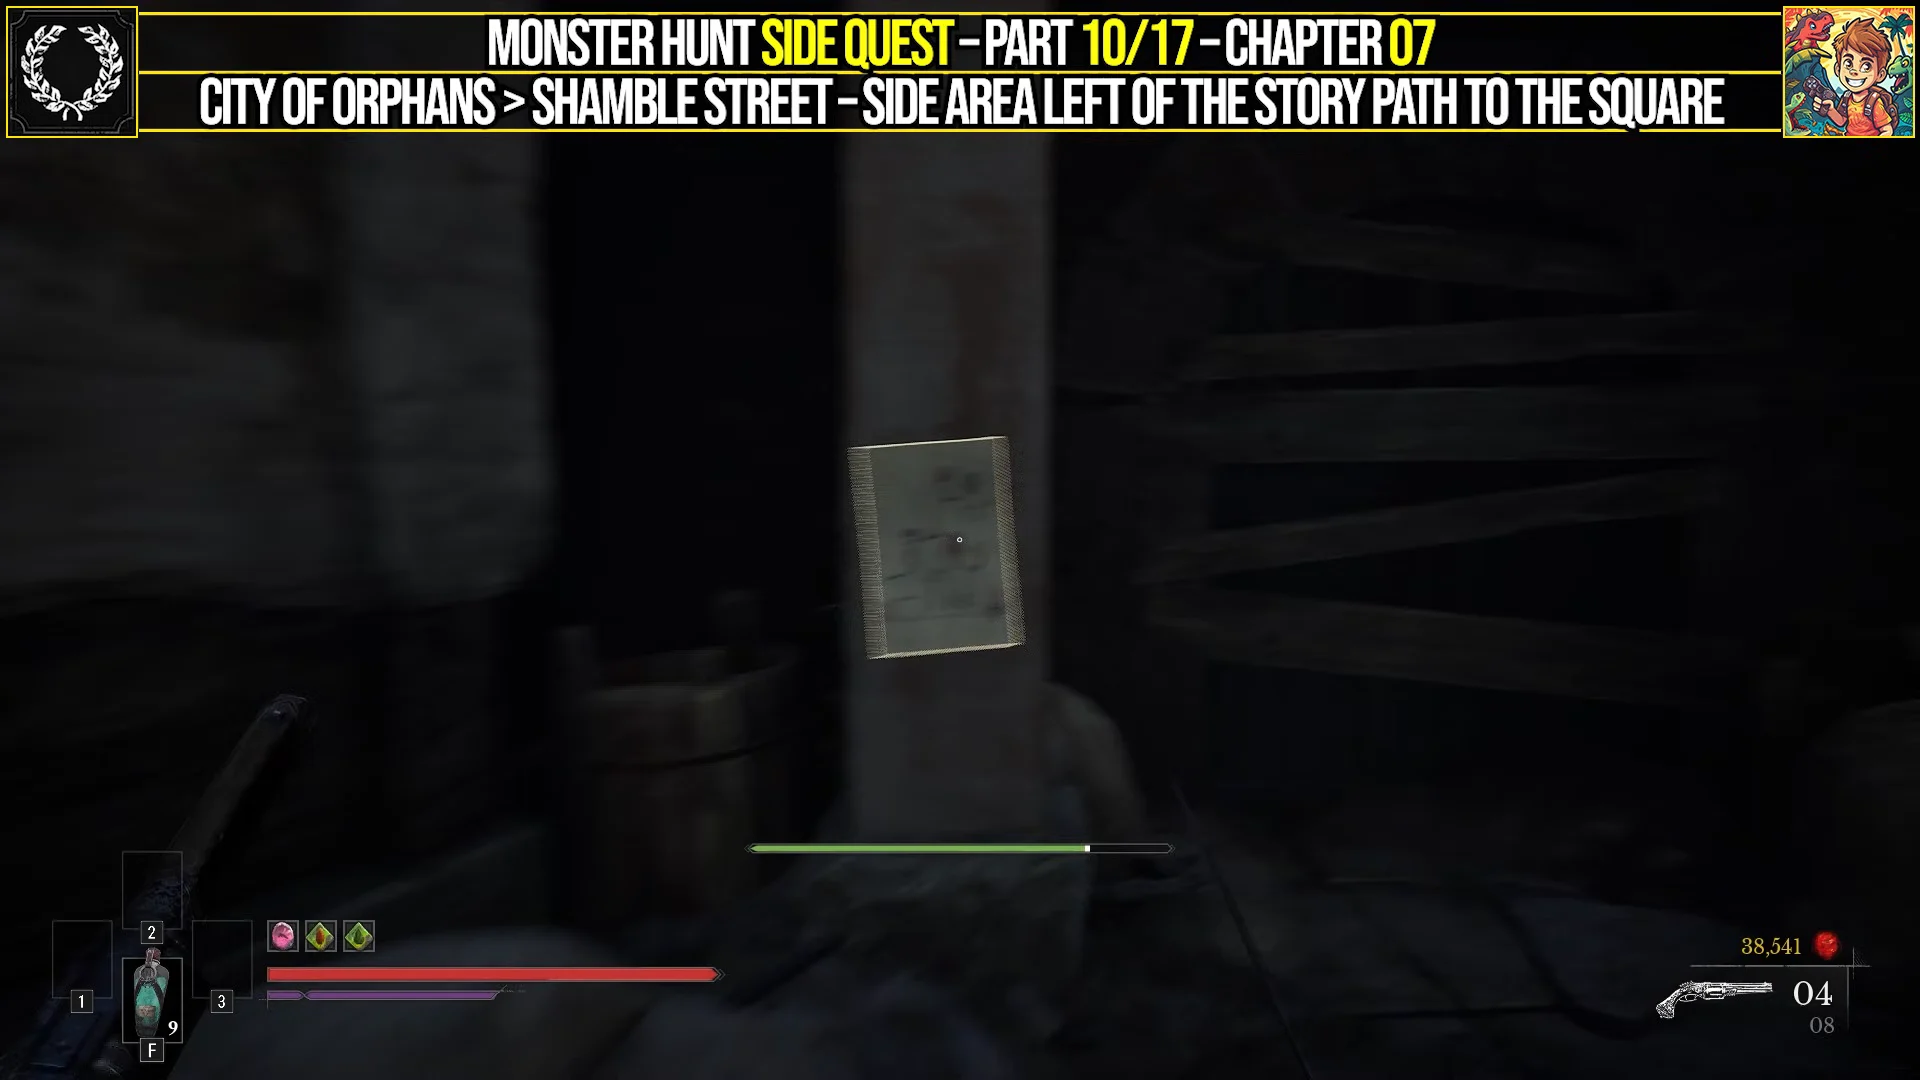
Sewers: drawings 13–17
The poisoned part of the sewers also hides two of the Mice, Teddy and Maisy. To reach them, pull the wall lever in the toxic vat room and climb the ladder. Teddy asks, “The darkness is scary. Can you light the torches for us? Please…” Light the wall torches with fire magic, and Maisy thanks you and hands over a Tiny Whisker Gift. You don’t need to do this for Monster Hunt, but it’s on the same path.
How to confirm Monster Hunt is complete
Taking the seventeenth drawing shows the “QUEST COMPLETE” banner along with the reward popups. William’s final journal entry sums up the collection: the drawings are creepy and a little cute, but mostly worrying. Monster Hunt then moves to the Completed tab of the quest log, which lists all 17 monsters, and The Book of Beasts achievement unlocks.
| Completion reward | Amount |
|---|---|
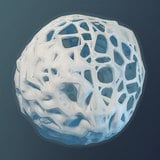 Quintessential Transmutation Material | x1 |
 Tiny Whisker Gift | x1 |
| Achievement | The Book of Beasts |
What the Monster Hunt rewards do
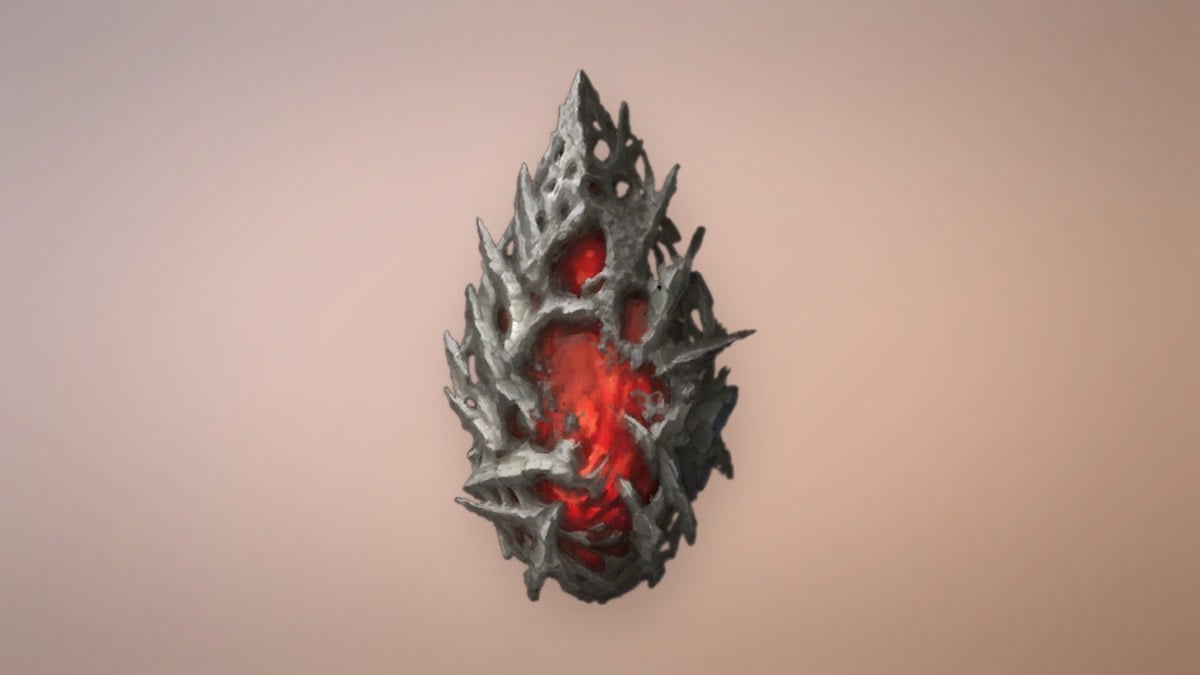
Quintessential Transmutation Material
Quintessential Transmutation Material is the upgrade material for the final step of a Transmutation. Taking Fire, Stasis, or Shield Transmutation to level 5 costs one unit. No shop sells it. Outside Monster Hunt, the only copies are in chests at the University and the Fortress. The table shows where it fits among the other Transmutation materials.
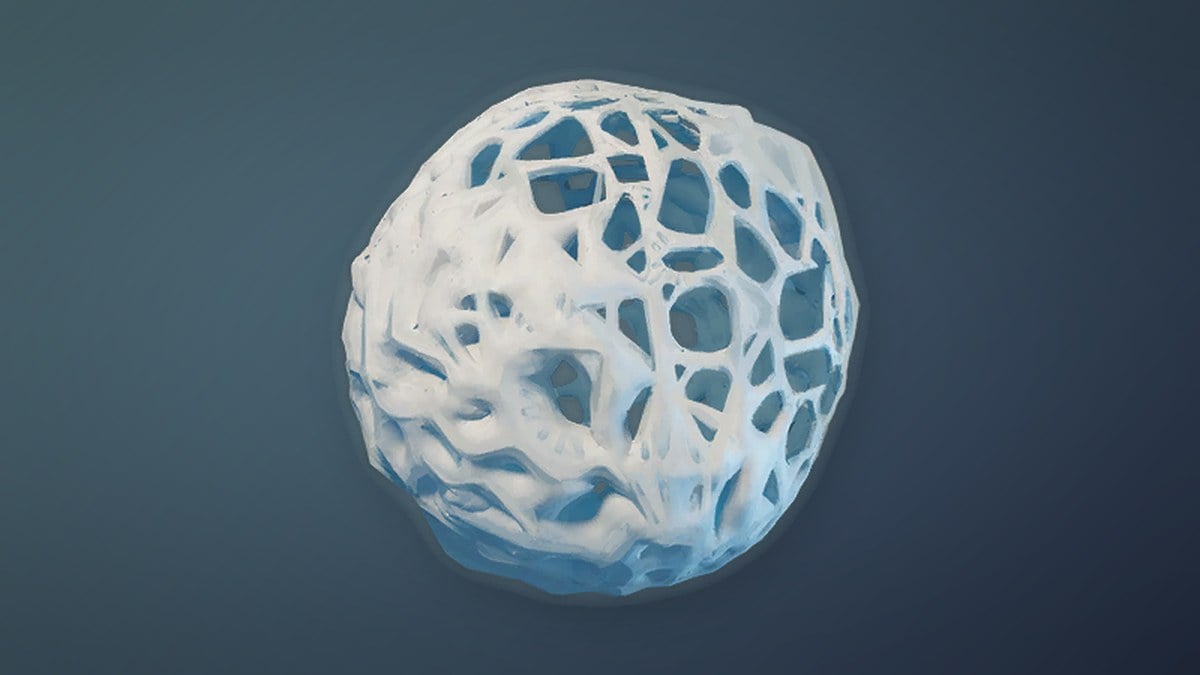
| Material | Used for | Cost per Transmutation | Shop price |
|---|---|---|---|
 Crude Transmutation Material | Level 2 | x2 | 2,000 (Louis’s Laboratoire) |
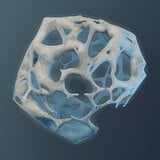 Distilled Transmutation Material | Level 4 | x2 | 8,000 (Louis’s Laboratoire, chapter 9) |
| Quintessential Transmutation Material | Level 5 | x1 | Not sold |
Each tier applies equally to Fire Transmutation, Stasis Transmutation, and Shield Transmutation. The Swarm Mother, one of the monsters in the drawings, has a 1% chance to drop Crude Transmutation Material.
Tiny Whisker Gift
The Tiny Whisker Gift is a consumable present from the Mice. Using it gives you 3,000 Catalysts, which is also what it sells for. You can carry up to 99. Gifts also come from five different conversations, so they add up if you save them for a level-up at a Lantern.
Monsters from the drawings: health and Catalyst values
Several of the sketched monsters are enemies you’ll fight in the City of Orphans while you collect the drawings. The table gives health and Catalyst rewards at level 1 and level 6, plus how many of each are placed in the City of Orphans.
| Monster | Health (lvl 1 → 6) | Catalysts (lvl 1 → 6) | In City of Orphans |
|---|---|---|---|
 Shambling Civilians | 80 → 320 | 120 → 170 | 17 |
 Risen Soldier | 100 → 400 | 50 → 200 | 9 |
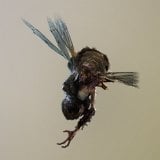 Swarm Mother | 120 → 480 | 150 → 275 | 9 |
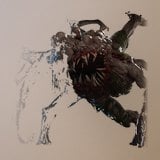 Abomination | 1,000 → 4,000 | 1,500 → 3,500 | None |
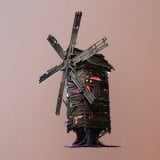 Slaughtermill (boss) | 3,250 | 30,000 | None (Vale of Wrath) |
Shambling Civilians
These plagued villagers turn up more than any other enemy in the Fallen Village (63) and the Outskirts (48). Enraged versions have 500 or 700 health. All of them have two stasis segments. Drops are Protective, Refreshing, and Cleansing Vials at 3% each, and Crude Blade Material at 1%.
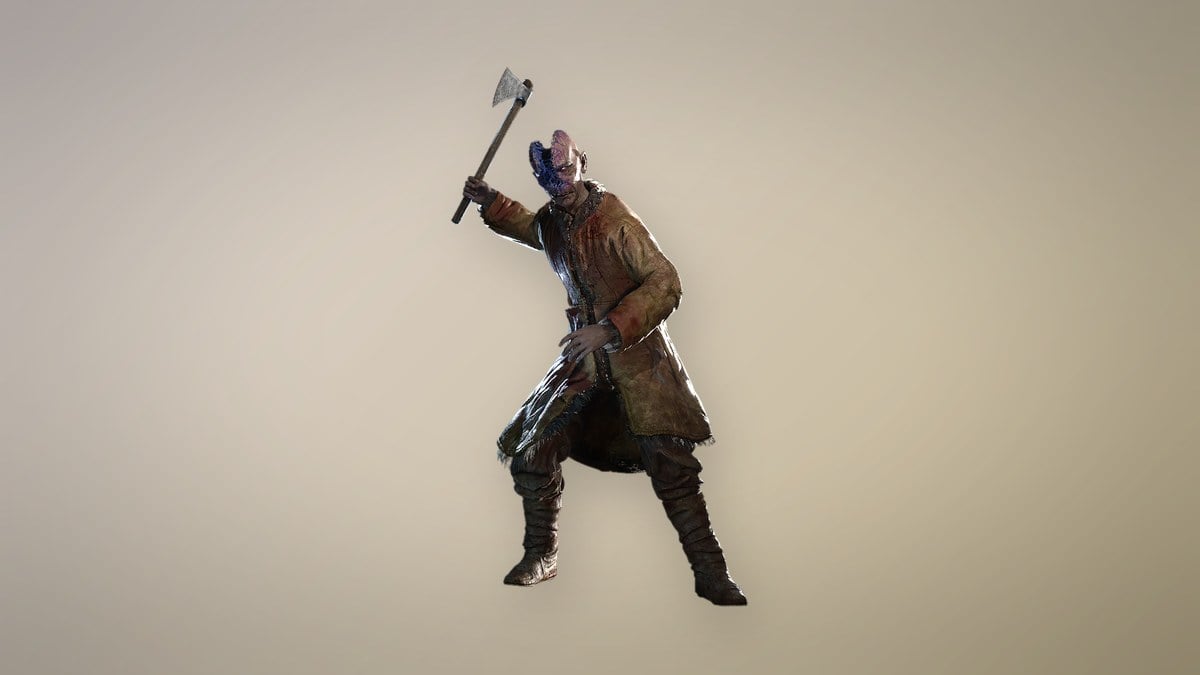
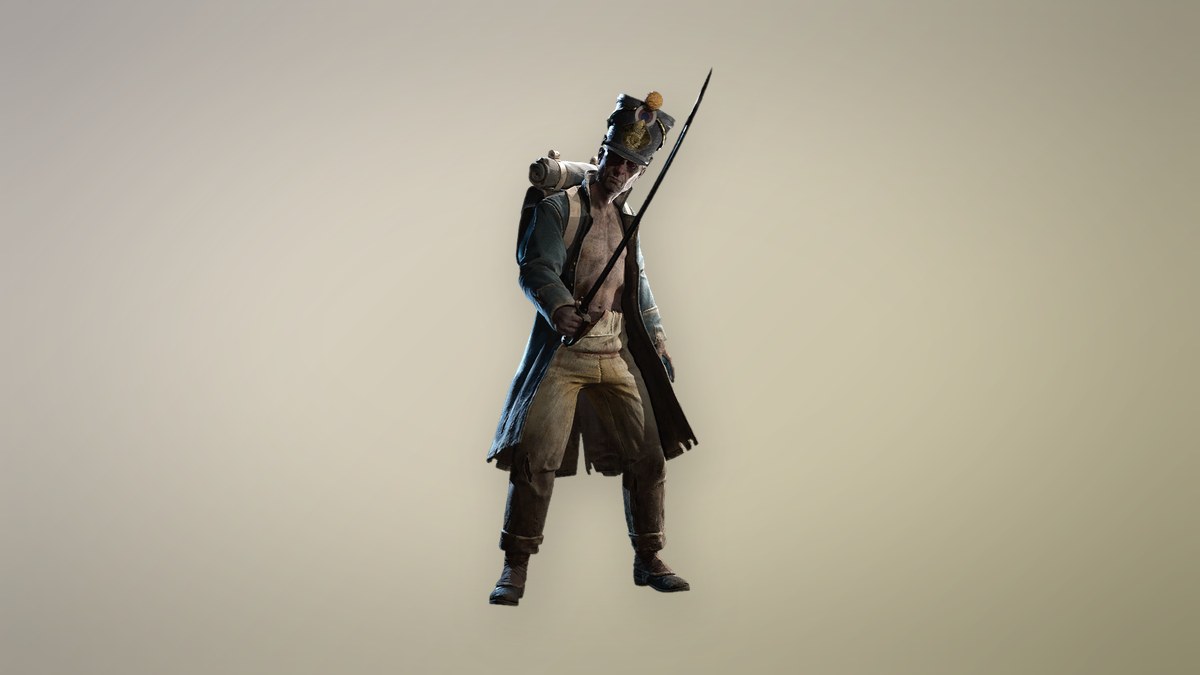
Risen Soldier
Risen Soldiers are placed in 11 regions, with the most in the Vale of Wrath and The Battlefield. Enraged versions have 600, 700, or 2,500 health. They have two stasis segments. Drops are Whetstone and Deadly Rounds at 3%, Pistol Cartridges at 2%, and Crude Blade Material at 1%.
Swarm Mother
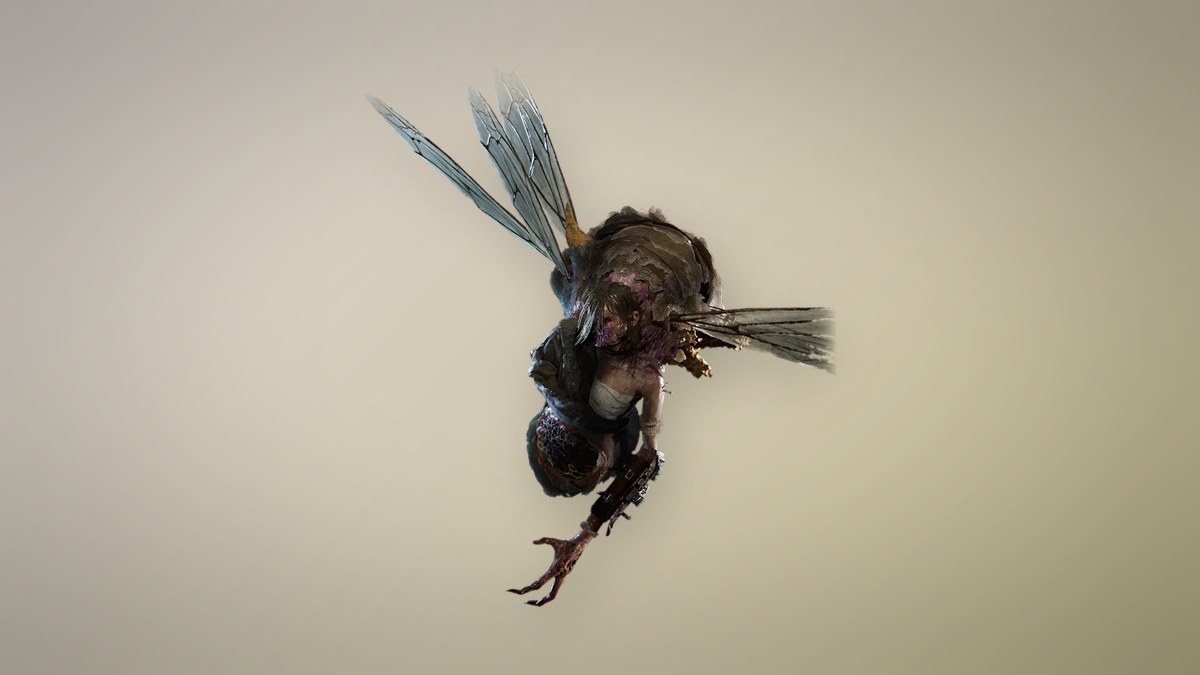
The Swarm Mother releases hornet-like spawn that chase you over long distances. Its enraged version has 800 health, and it has two stasis segments. It drops Mighty Rounds at 3% and Crude Transmutation Material at 1%.
Abomination
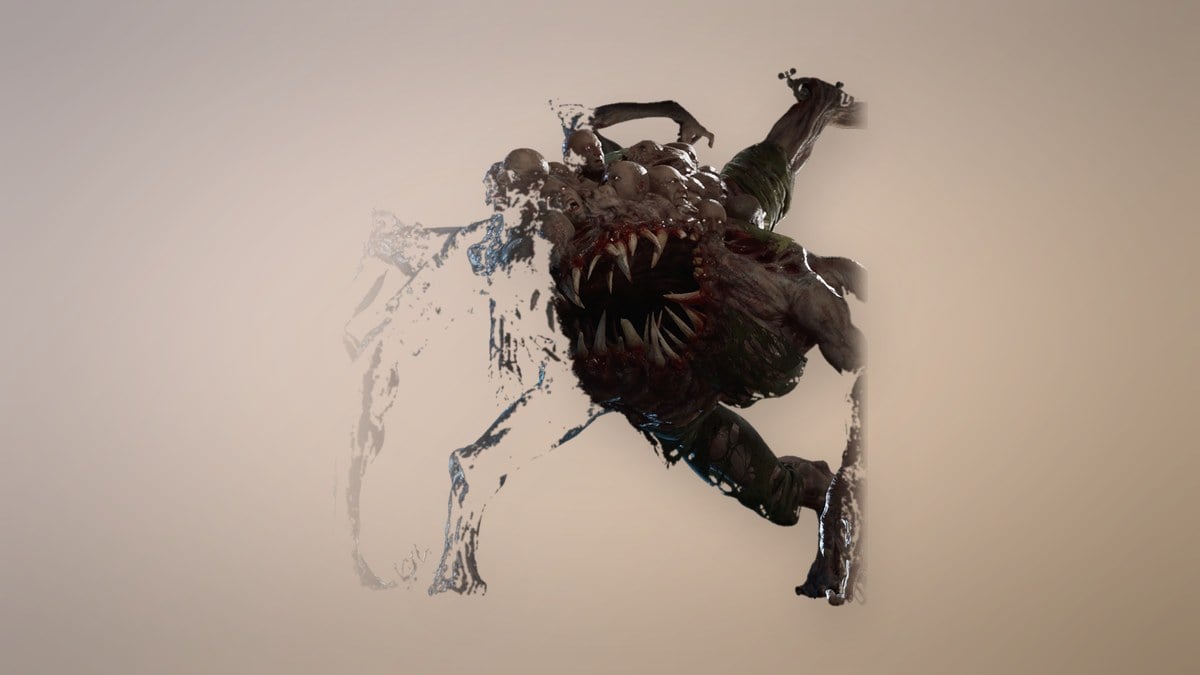
Abominations appear in the Cursed Hollow, University, Fortress, and Napoleon’s Prison. Ignite does 20% less damage to them, ignite builds up 50% slower, and they have 30% stasis resistance across five stasis segments. Drops are Nephtoglobin Vial at 8% and Pure Transmutation Material at 2%.
Slaughtermill
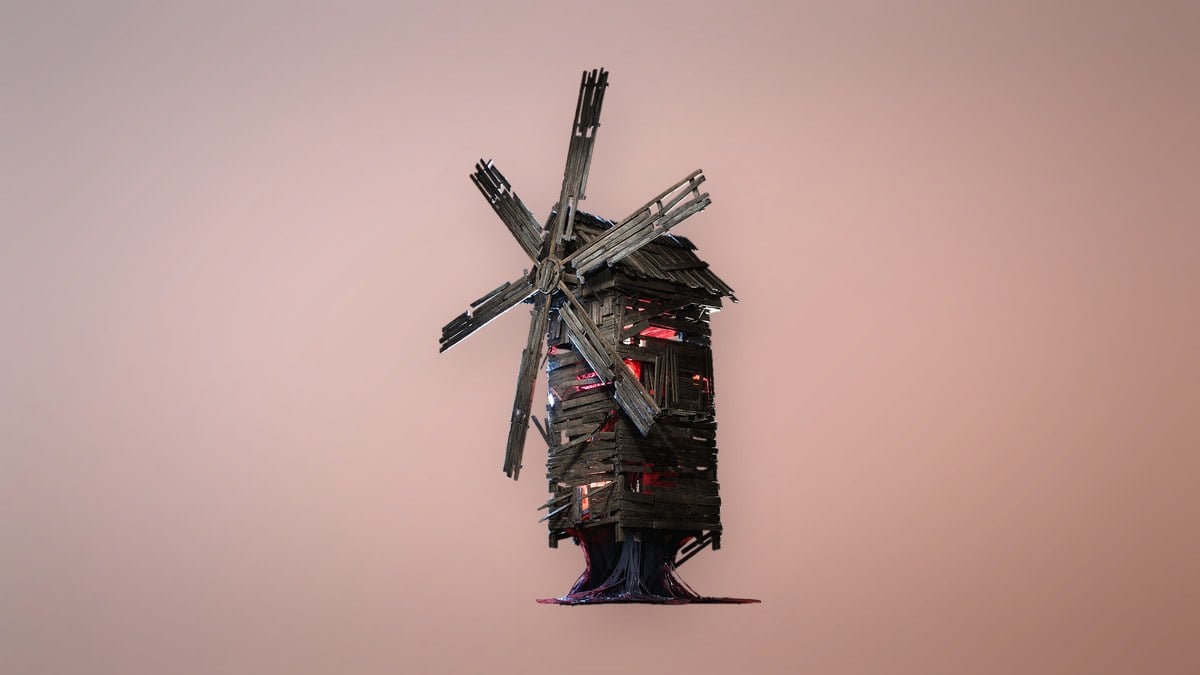
The Slaughtermill is a boss in the Vale of Wrath, a windmill the plague has animated. It has three phases. The first ends at 2,251 health and the second at 751. Its small wave, big wave, and ground tentacle attacks can’t be blocked, but you can block the projectile from its corpse throw. None of its attacks build up Ignite or Stasis. It summons one Carrion, and beating it unlocks the Quixotry achievement.