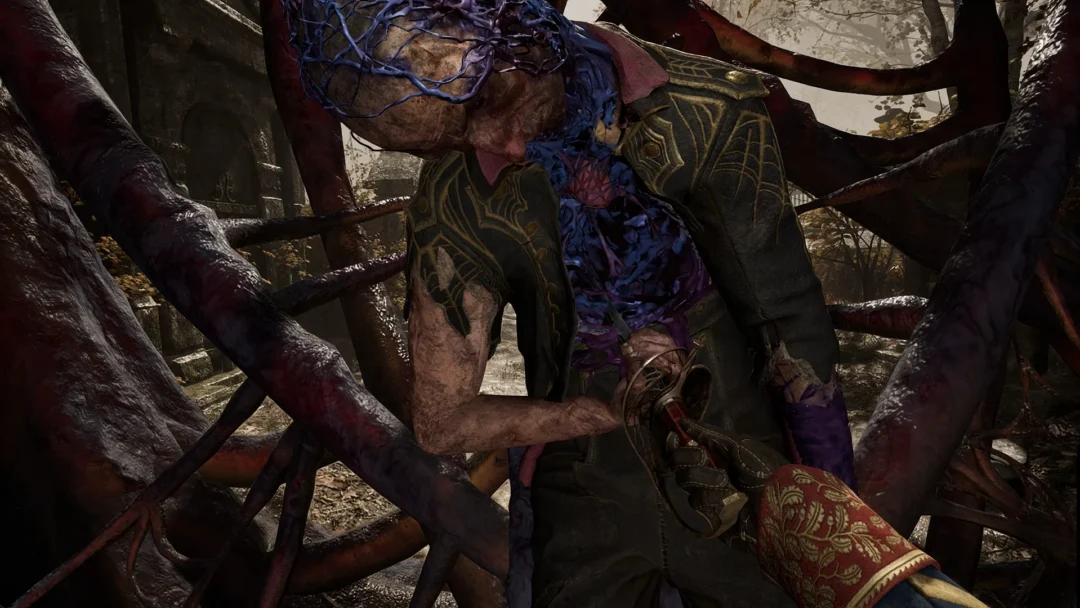
Eight talismans in Minecraft Dungeons 2 are hidden inside secret chests rather than handed out as quest rewards, and finding all of them does more than fill out your collection. Once the last one is in your pack, a sealed door opens in Howling Woods that leads to the secret boss Mosstrosity, who drops the Wonderful Wheat talisman along with a room full of loot.
Quick answer: Collect all 8 secret talismans scattered across the Overworld and The Sift. The eighth pickup triggers a message that a secret door has opened; fast travel to Hidden Grove in Howling Woods and walk north to reach Mosstrosity in Lush Caves.
All 8 secret talismans and where they are
Five of these sit in fixed spots you can fast travel straight to. The other three only appear inside specific randomly generated dungeon and rift layouts, so you may need to re-run a few before the right room shows up.
| Talisman | Region | Effect (Tier I) |
|---|---|---|
| Lucky Clover | Frozen Highlands | 2% chance for extra loot drops |
| Thrifty Pendant | Rainy Plains | Up to 50% damage based on emeralds held |
| Amethyst Lens | Howling Woods | Ranged attacks deal 10% more |
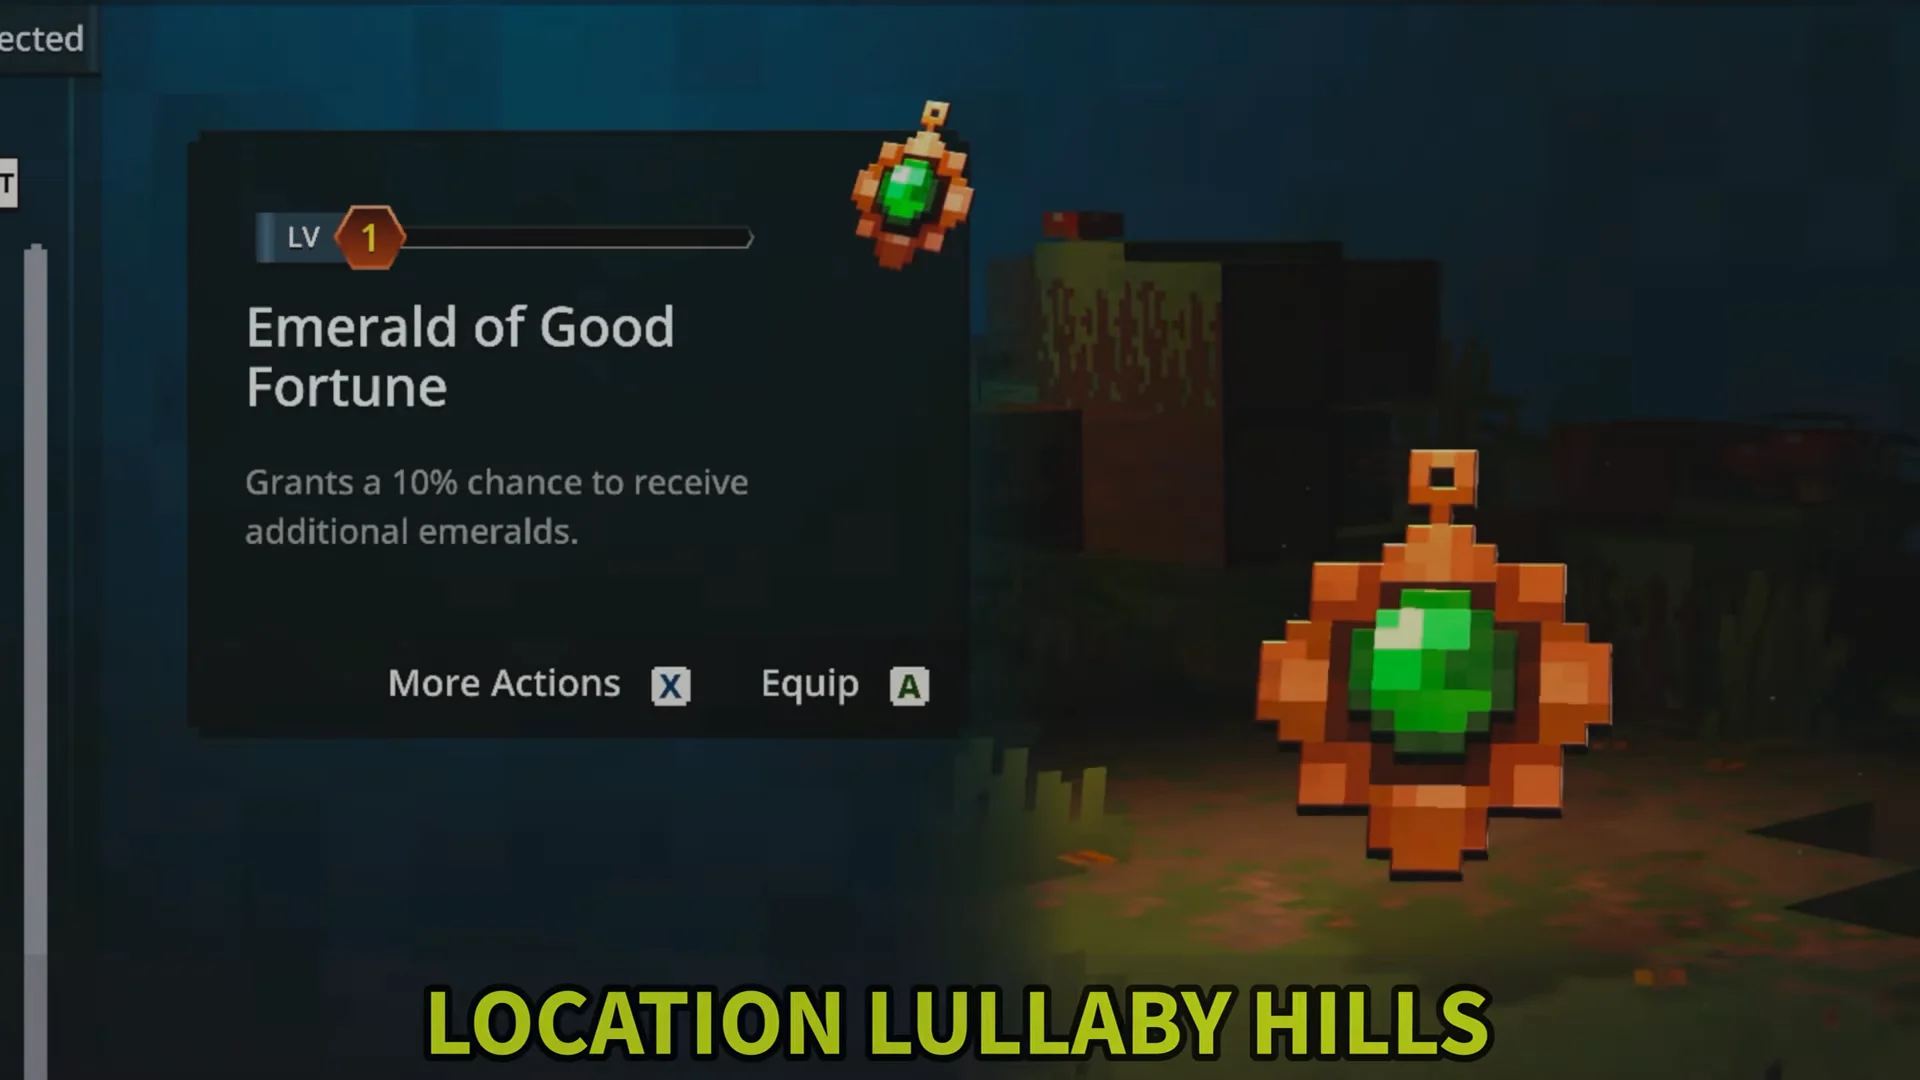
| Emerald of Good Fortune | Lullaby Hills (The Sift) | 10% chance for extra emeralds |
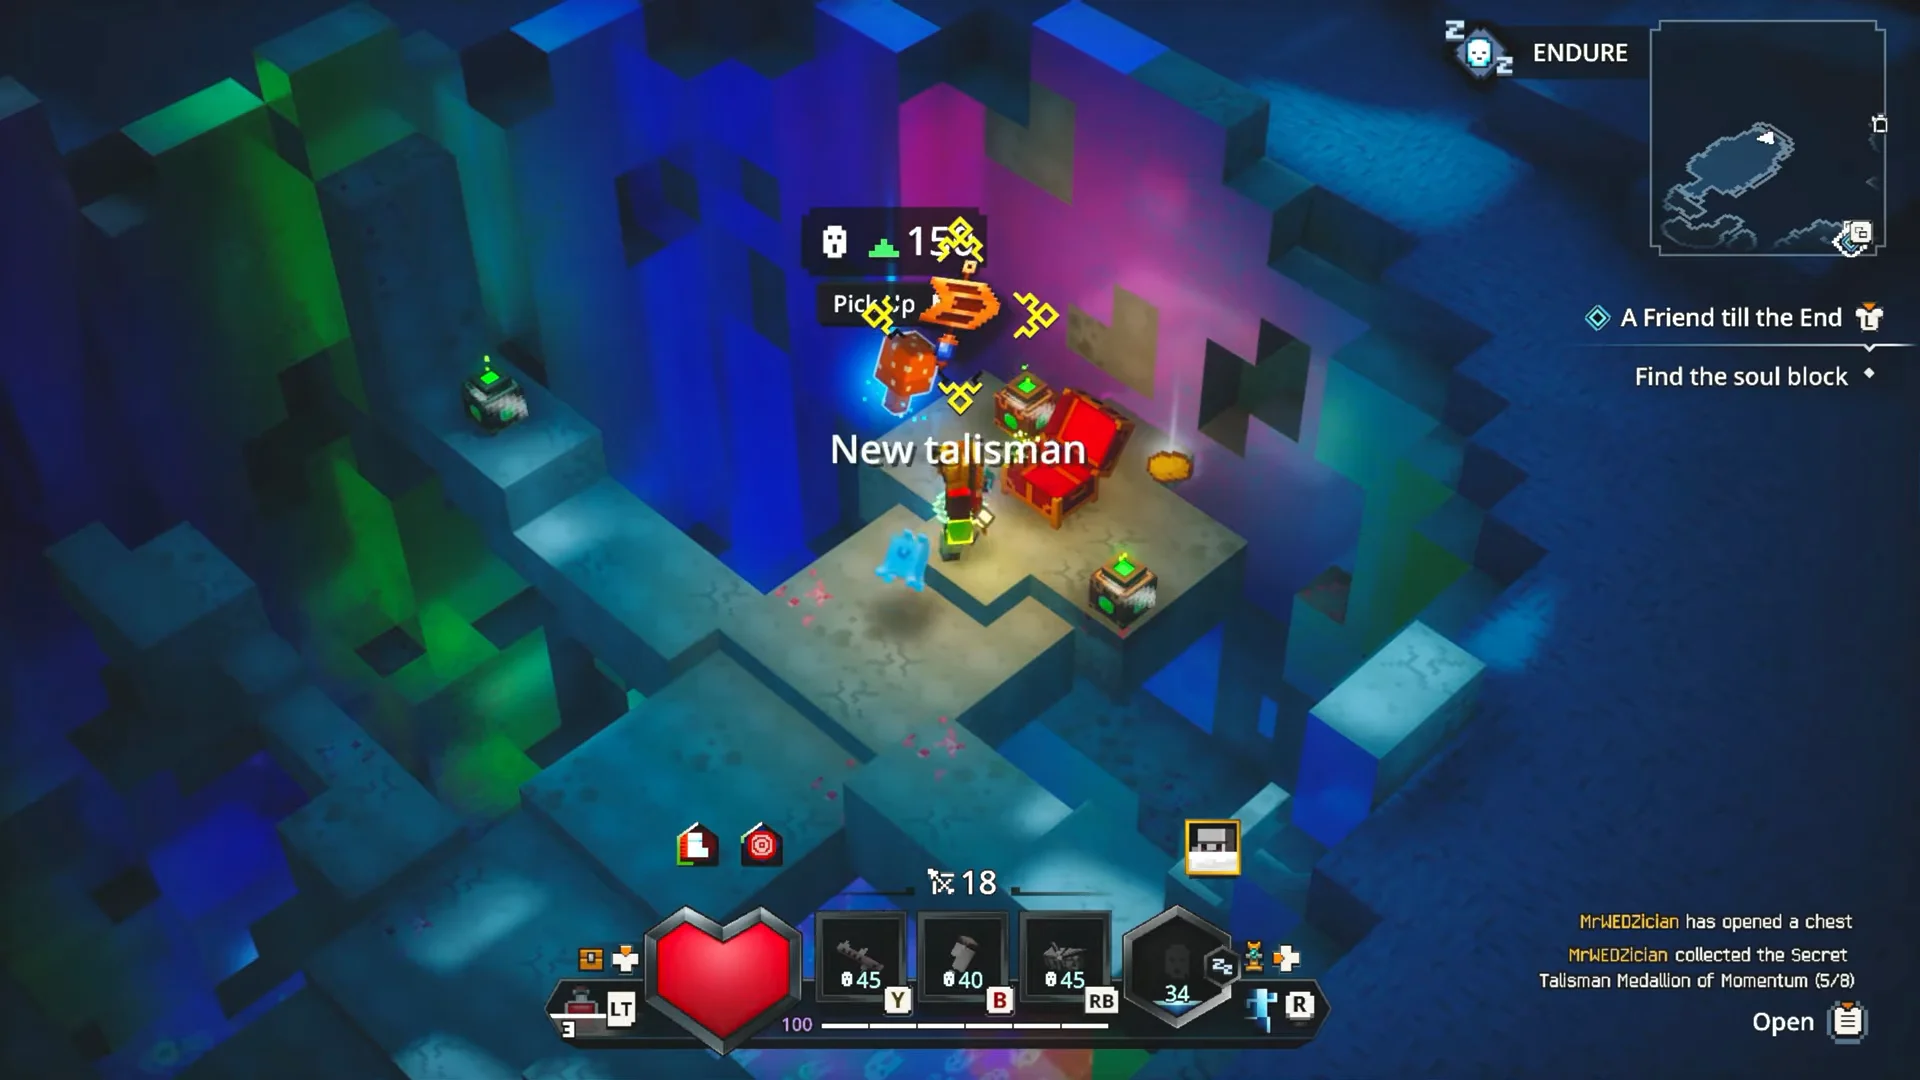
| Medallion of Momentum | Humbler Huskland (The Sift) | +10% move speed after 3 seconds moving |
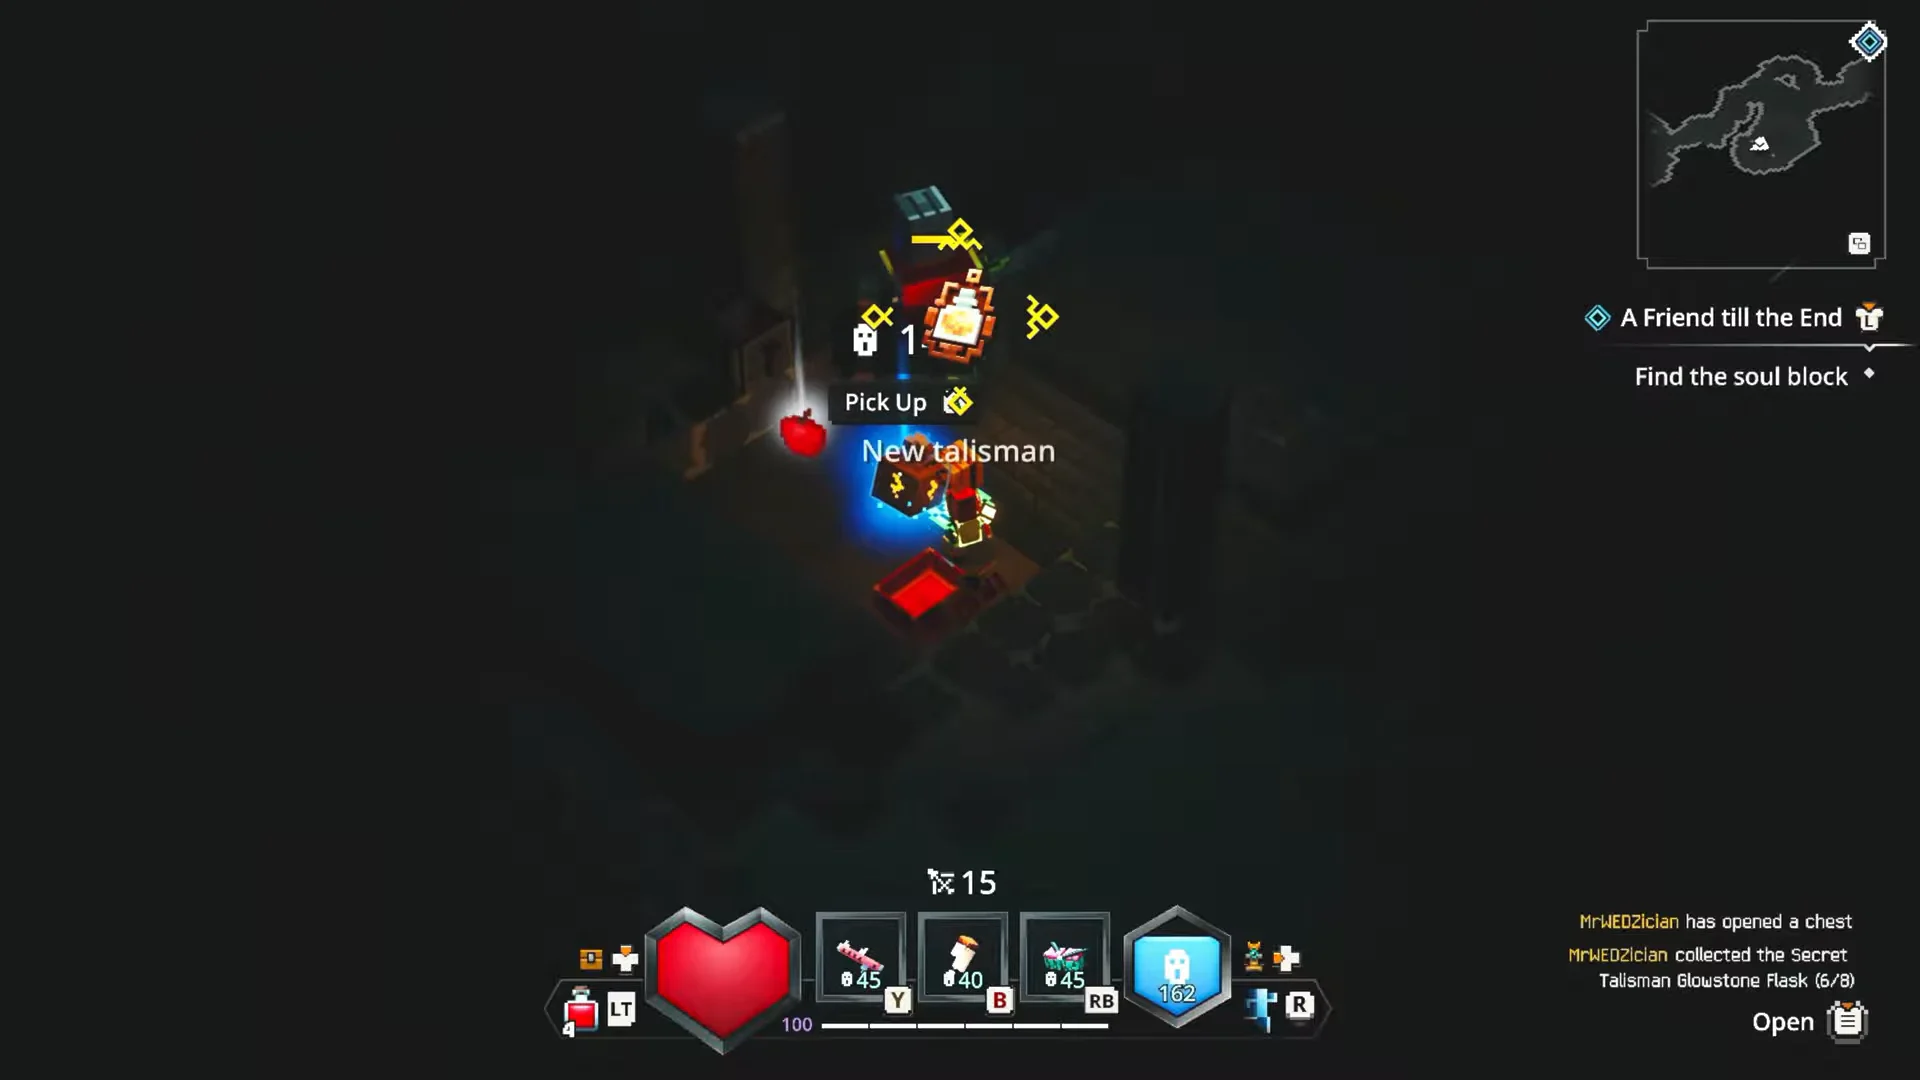
| Glowstone Flask | Random Overworld dungeons | Reduces potion cooldown by 10% |
| Soul Chip | Random Sift dungeons | +15% Soul capacity |
| Ocelot’s Paw | Random Overworld rifts | Jumping melee attacks deal 10% more |
Before you start, enchant a pair of boots with Springload. Several of these chests sit behind timed jumping puzzles, and the extra movement speed makes the tighter platform sequences far less punishing.
Fixed-location talismans
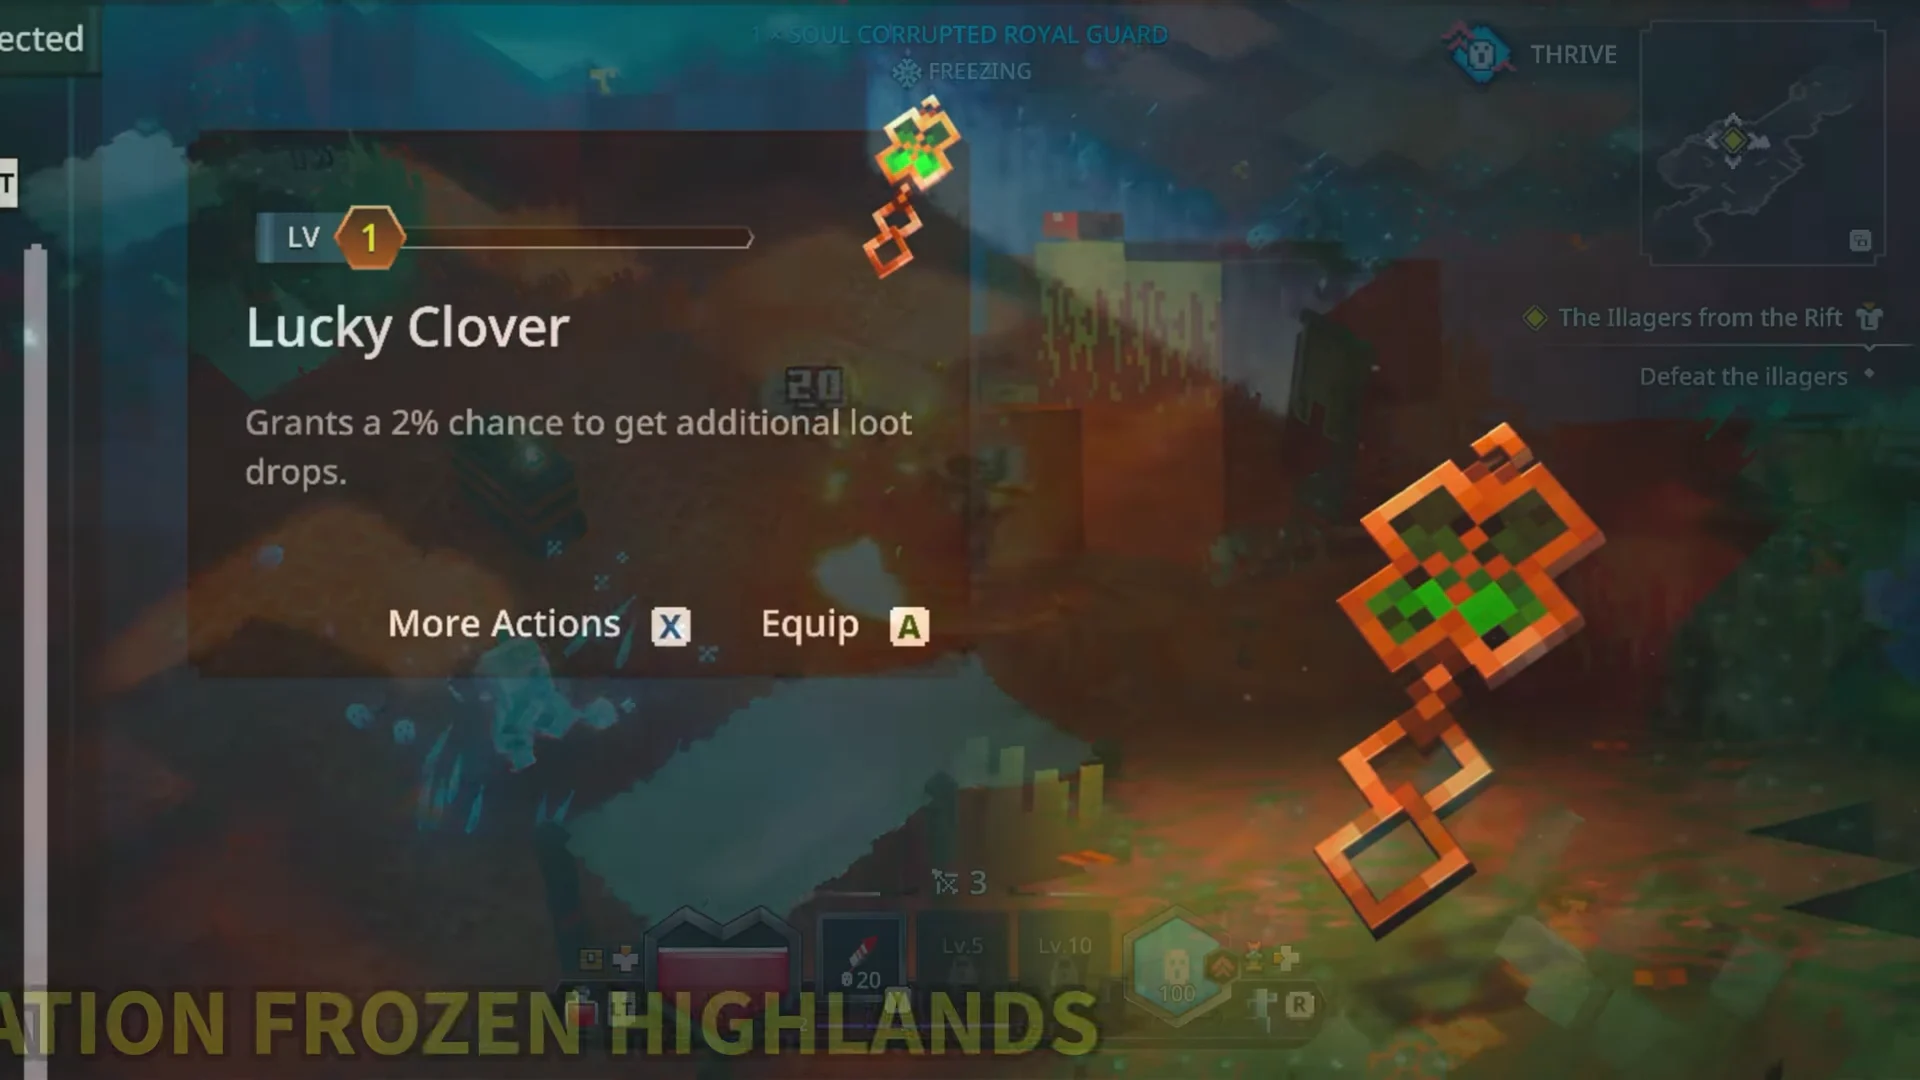
Lucky Clover (Frozen Highlands)
Fast travel to Frozen Fortress and head into the Library Towers, then climb the stairs to the top of the ramparts. Walk along the battlement until you reach the gap in the railing near the middle and drop off the edge onto the lower walkway. Interact to reveal a hidden jump pad that launches you up to a pillar platform, where the chest holds the Lucky Clover.
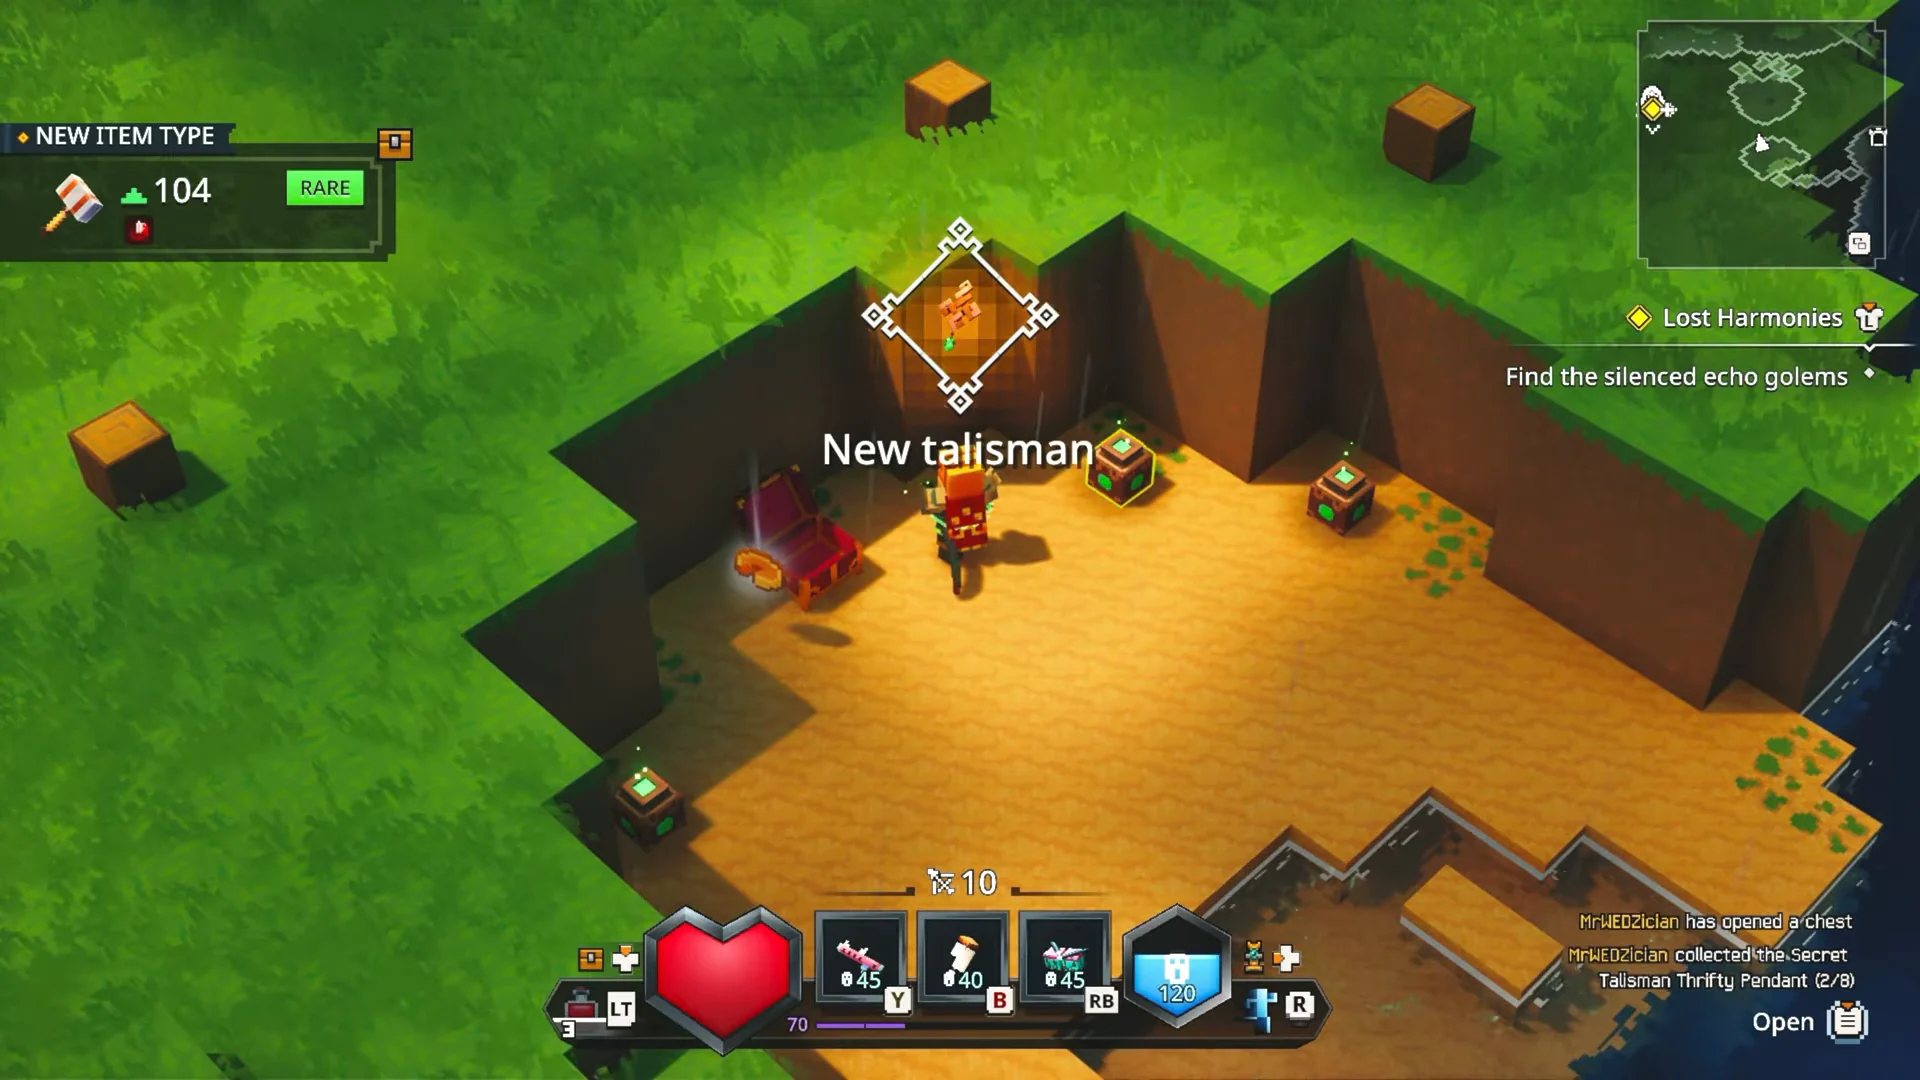
Thrifty Pendant (Rainy Plains)
From the White Tower fast travel point, head toward the broad stretch of water near a dungeon entrance. Hop across the stone platforms, which sink the moment you land, so keep moving and don’t pause between jumps. The chest waits on the sandbar at the far side and holds the Thrifty Pendant, a strong generic damage boost once you have a stack of emeralds.
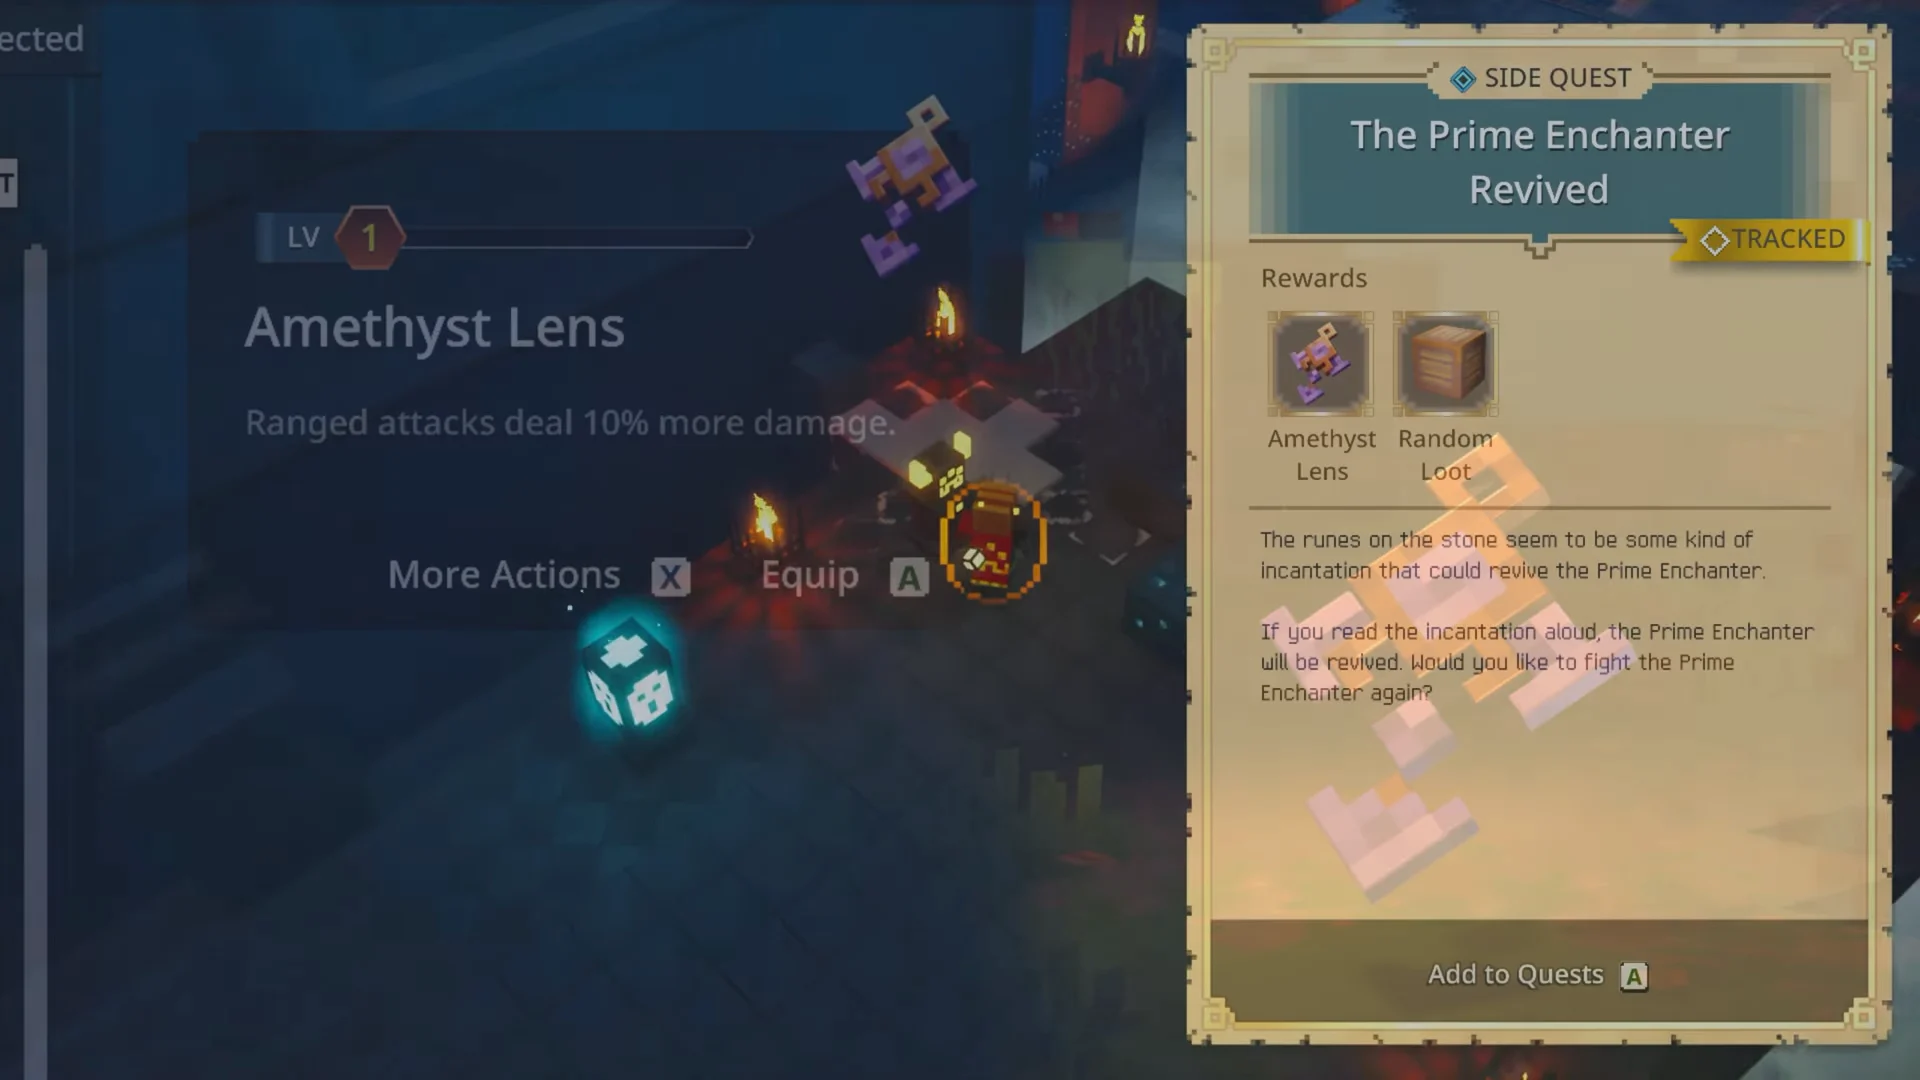
Amethyst Lens (Howling Woods)
This one has two sources. You can claim it as a reward from the side quest The Prime Enchanter Revived, or grab it from a secret chest in Howling Woods. For the chest, travel from the Deep Dark Entrance (or Hidden Grove), go down and around to the waterfall, then climb the hillside beside it. Jump across the blocks, get above the waterfall, follow the path, and drop into the cave at the end to open the hidden chest.
Emerald of Good Fortune (Lullaby Hills, The Sift)
Fast travel to Lullaby Hilltop and head down toward the Illager Fortress. Near the checkpoint you’ll find an open area with a jumping puzzle. Drop onto the pipe to your left, cross to the one opposite, clear a slightly longer gap to the square pipe, then jump down to the chest. An Illager ambush can trigger here, so clear it before looting the Emerald of Good Fortune.
Medallion of Momentum (Humbler Huskland, The Sift)
From The Echo Den, head north until you reach a dungeon entrance, then walk into the cliff side on the left to enter a hidden path. Jump across the gap and proceed along the spine-shaped platforms, where the floor drops out under the ribs, so keep moving. Open the chest at the end for the Medallion of Momentum.
Randomly generated talismans
The last three talismans depend on which layout the game generates. Keep clearing the relevant activity until the specific room appears, then follow the trigger below.
Glowstone Flask (Overworld dungeons)
Run Overworld dungeons until you find a room with four lit braziers in the corners. Interact with each one to extinguish it, and after all four are out, a stone tile slides open to reveal the chest with the Glowstone Flask. The chest respawns on later runs, though it no longer holds a talisman once you’ve claimed it.
Soul Chip (Sift dungeons)
Enter Sift dungeons through Singer’s Meadow, Humbler Huskland, or Lullaby Hills and look for a layout with a jump pad that feeds straight into a second jump. That chain lands you on a high point with a distinct green raised platform. Step onto it to spawn the hidden chest holding the Soul Chip.
Ocelot’s Paw (Overworld rifts)
Run Overworld rifts and watch for an interactable wall tucked along a winding passage with high canyon walls. Interact with the odd-looking section to reveal a chest, then open it for the Ocelot’s Paw.
On keyboard and mouse the wall interaction sometimes won’t register. If clicking the wall does nothing, hover over the chest behind it to click that instead, or switch to a controller.
Opening the secret door and reaching Mosstrosity
The order you collect the eight in doesn’t matter. The moment the eighth lands in your pack, an on-screen message confirms that a secret door has opened in the world. That door is in Howling Woods.
Beating Mosstrosity and claiming Wonderful Wheat
Mosstrosity is a large moss golem with a straightforward damage check. Dodge its area-of-effect blasts and keep up the pressure until its health bar empties. Defeating it unlocks the Wonderful Wheat talisman, which summons a woolly llama companion to fight alongside you, and drops four reward chests. Loot all four before you leave the arena.
Collecting Wonderful Wheat brings your talisman total to 24 of 24 if you’ve already gathered the rest from quests.
Farm Mosstrosity on a checkpoint loop
Because the checkpoint sits right outside the boss chamber, you can rematch Mosstrosity over and over without re-running Howling Woods. After each kill, pause the game, open the System tab, and select Reset to Checkpoint. You’ll reload on the ledge just outside the arena, so walk back through the gate and fight again.
Each run adds Unique and Rare loot beams to the arena floor, along with experience for both your character and any equipped talismans. Running a melee setup with the talismans you already collected clears the fight in seconds once your item power is high enough, which makes this one of the fastest repeatable loot sources in the game.