Monster Hunt is a side quest in the City of Orphans, the Chapter 8 region known in-game as Blasphemy. It begins the moment you pick up the first eerie child’s drawing of a monster, and it tasks you with tracking down all 17 sketches the Mice have hidden across the streets, ruined buildings, rooftops, and the sewer network below. None of them are missable, and you can still gather every one after finishing the story.
Quick answer: Collect all 17 children’s drawings scattered through the City of Orphans. Grabbing the final one closes the quest and unlocks The Book of Beasts achievement.
How Monster Hunt starts and what you need
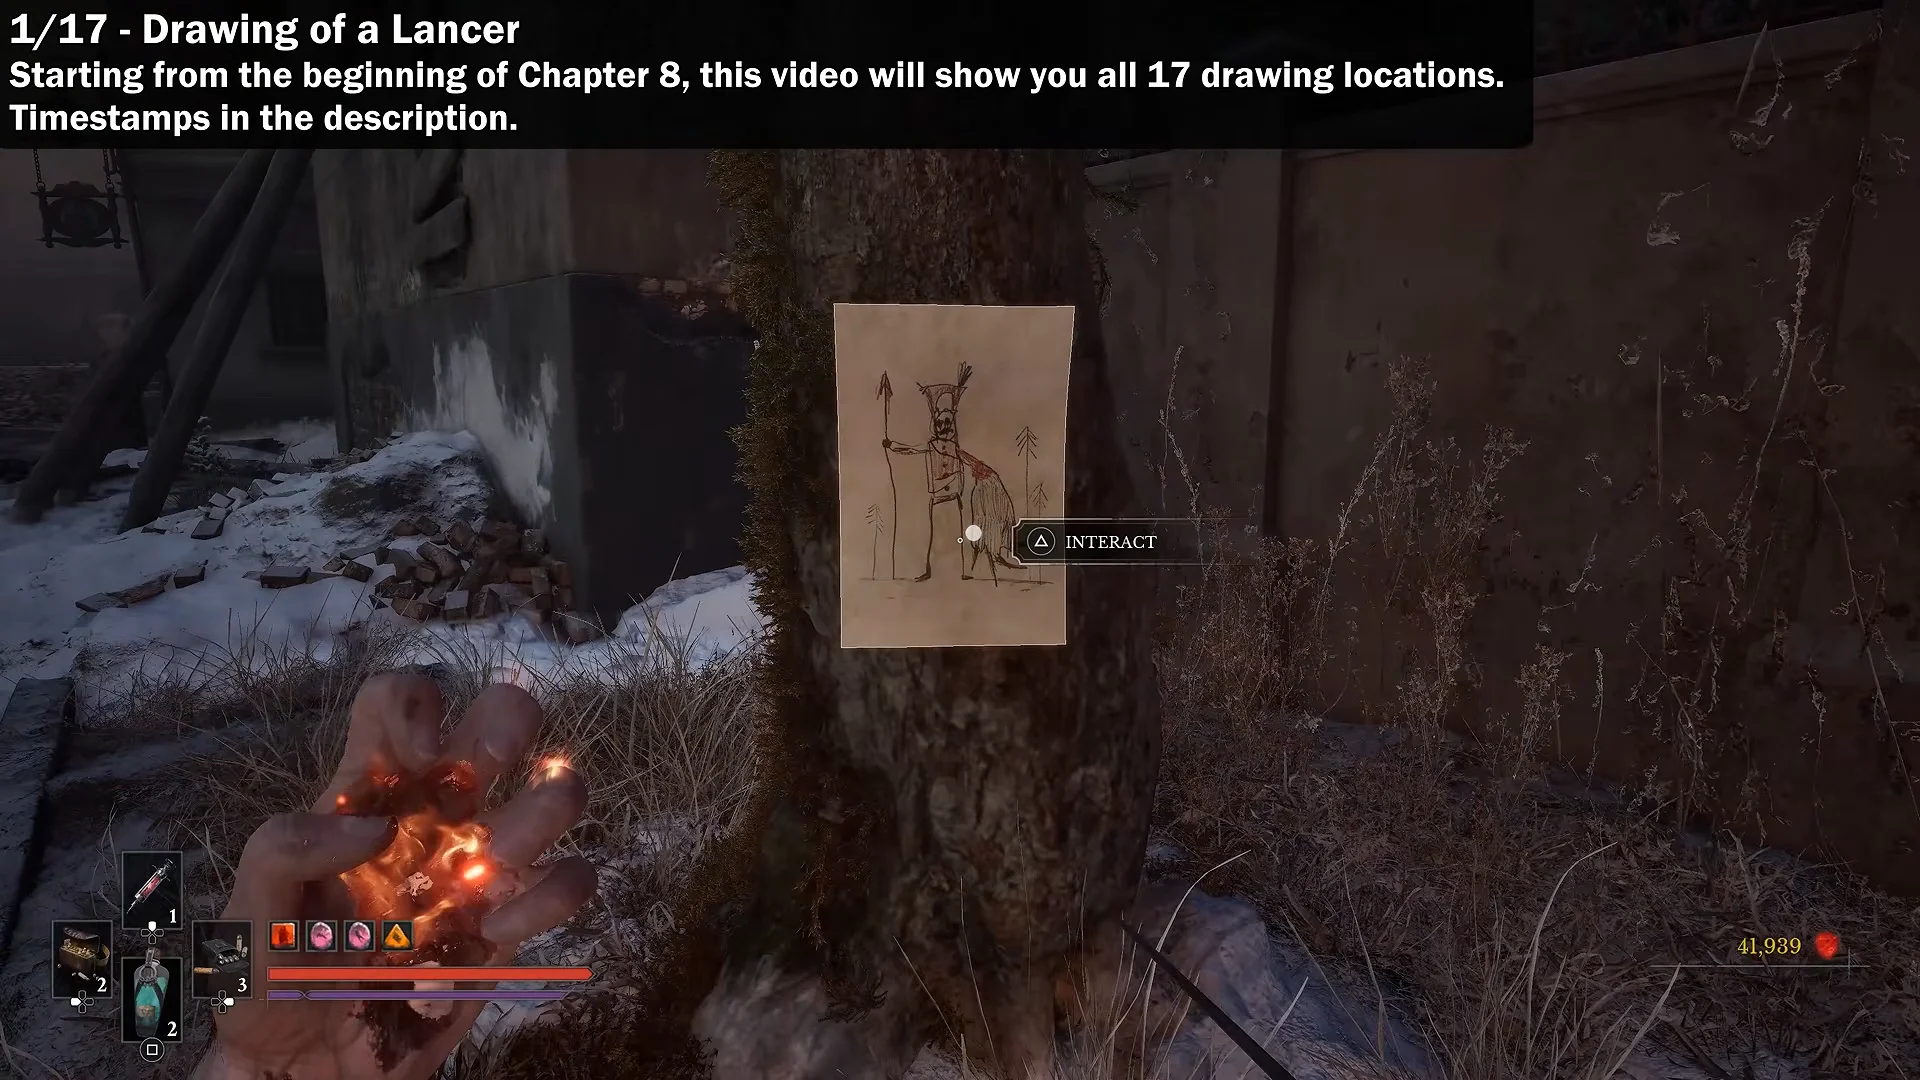
The quest triggers automatically when you interact with the Lancer drawing in Tribunal Square, so there is no NPC to seek out first. Everything stays within the City of Orphans, and the route relies on the traversal tools you already have: the grapple hook for ceiling anchor points, ladders, and jumps across broken beams and floating rafts. White raven graffiti sprayed on the walls marks the intended path through the sewers.
Two items you collect automatically during the main story matter for the deeper drawings. The Sewers Key opens a side door in the circular sewer room, and the Sewers Master Key reaches the lowest tunnels. If you are cleaning this up after the credits, you will already hold both.
Tribunal Square drawings (1–4)
Lancer. Starting in Tribunal Square, move forward and find the drawing pinned to a tree right next to the lantern.
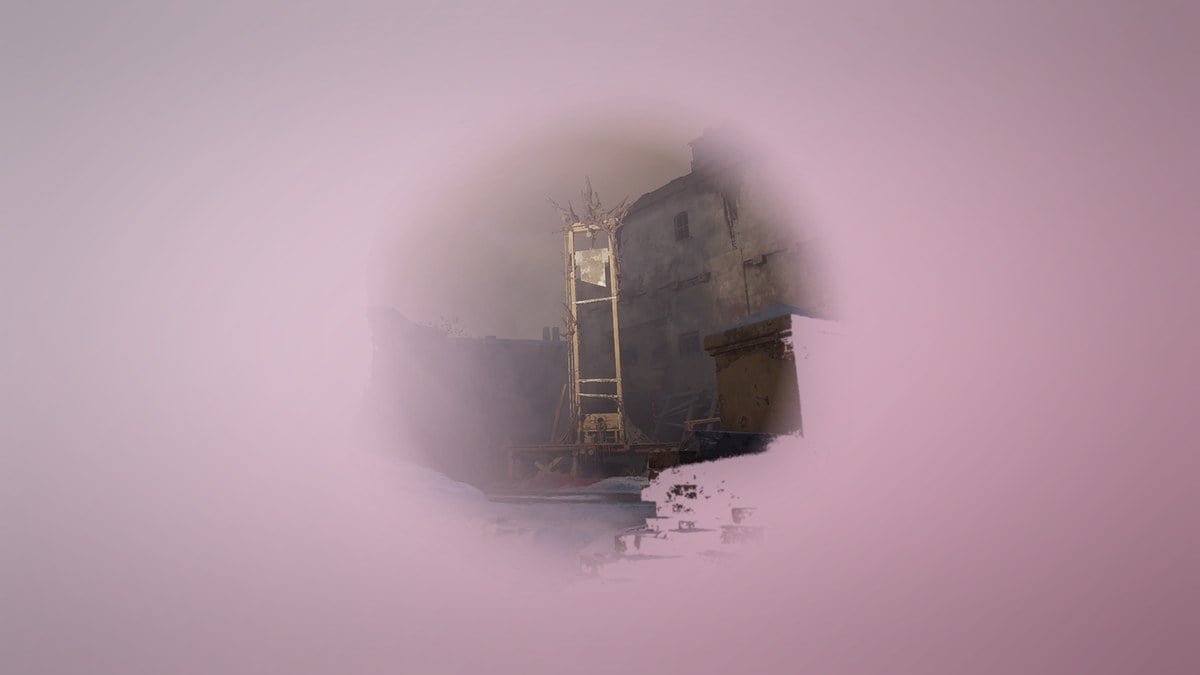
Risen Soldier. Leave the guillotine area by following the left-hand street downhill, then continue right along the main road. Descend the stairs on your right; at their foot, the drawing is beside the flowing water.
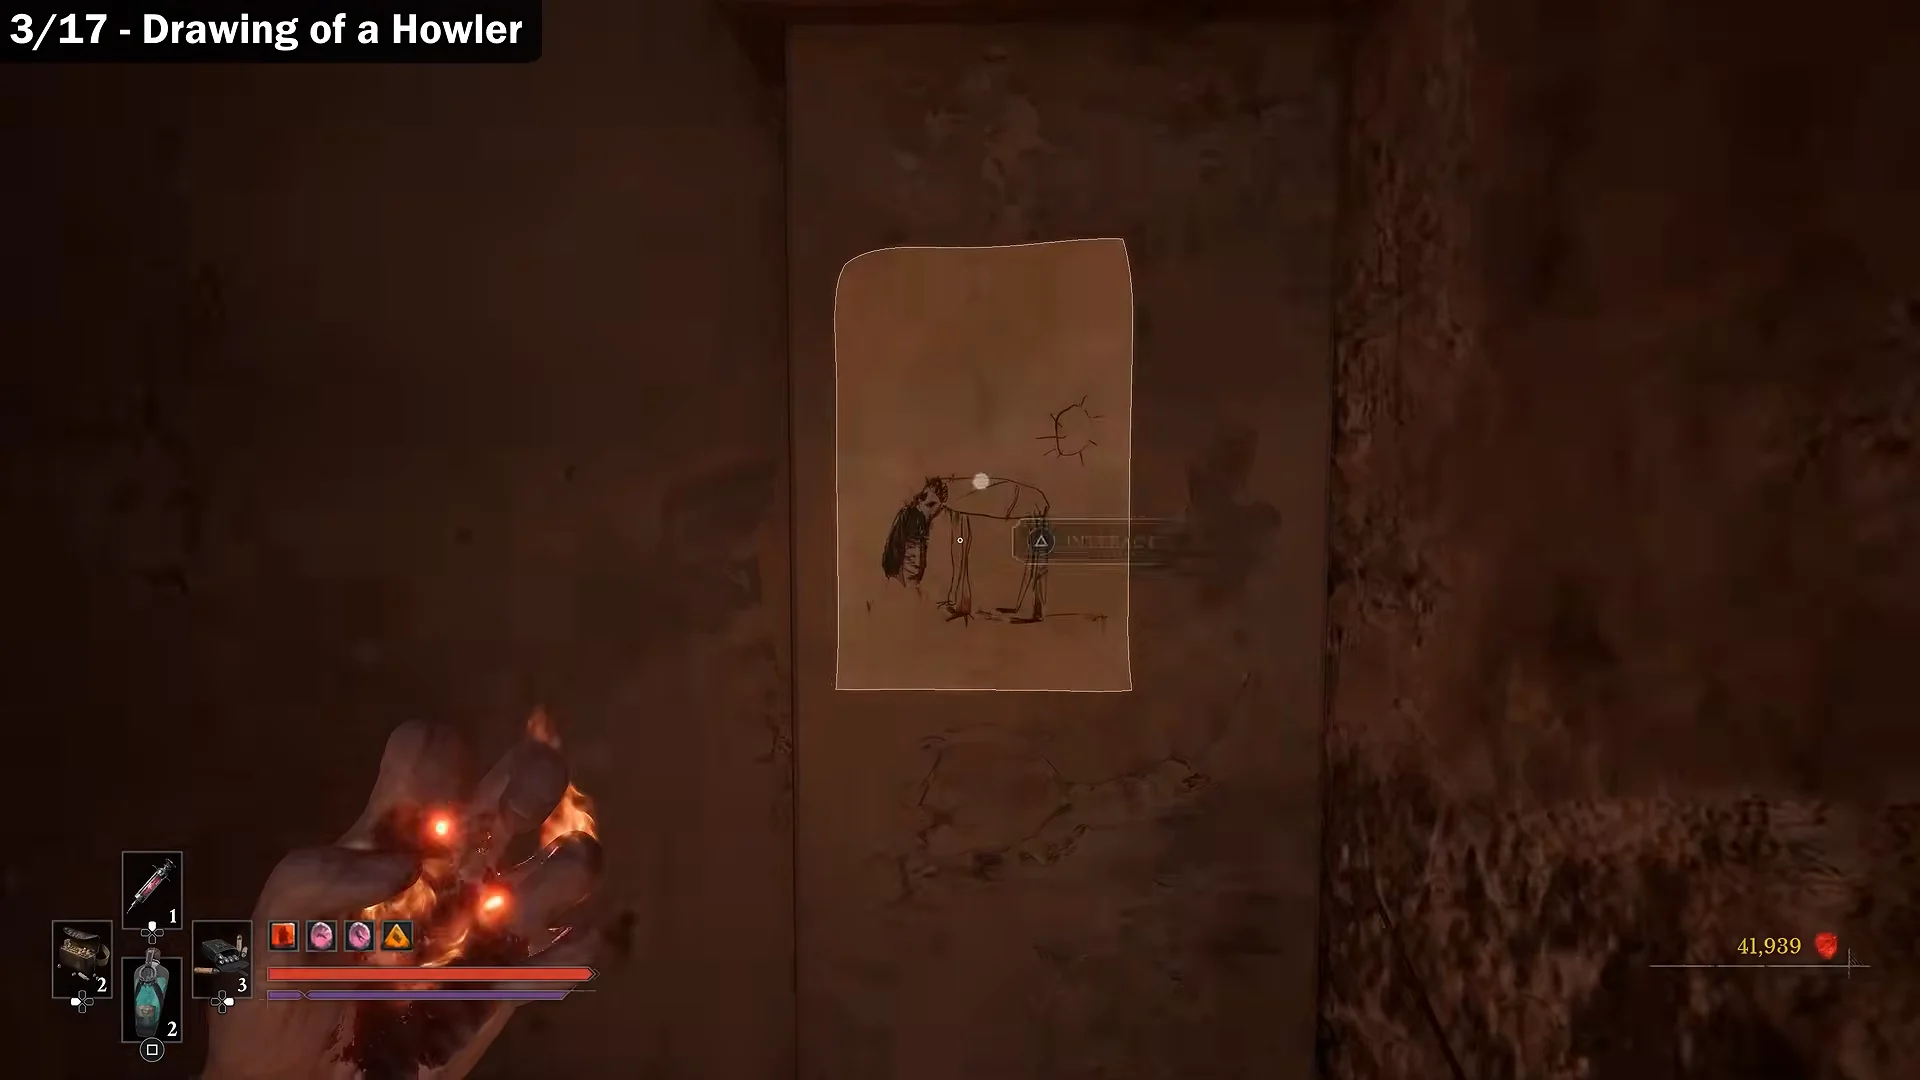
Howler. Retrace your route up the stairs and follow the street to its end. Enter the burning stretch on your right, then turn left at the far end. The drawing is mounted on the wall in a small recess to your right.
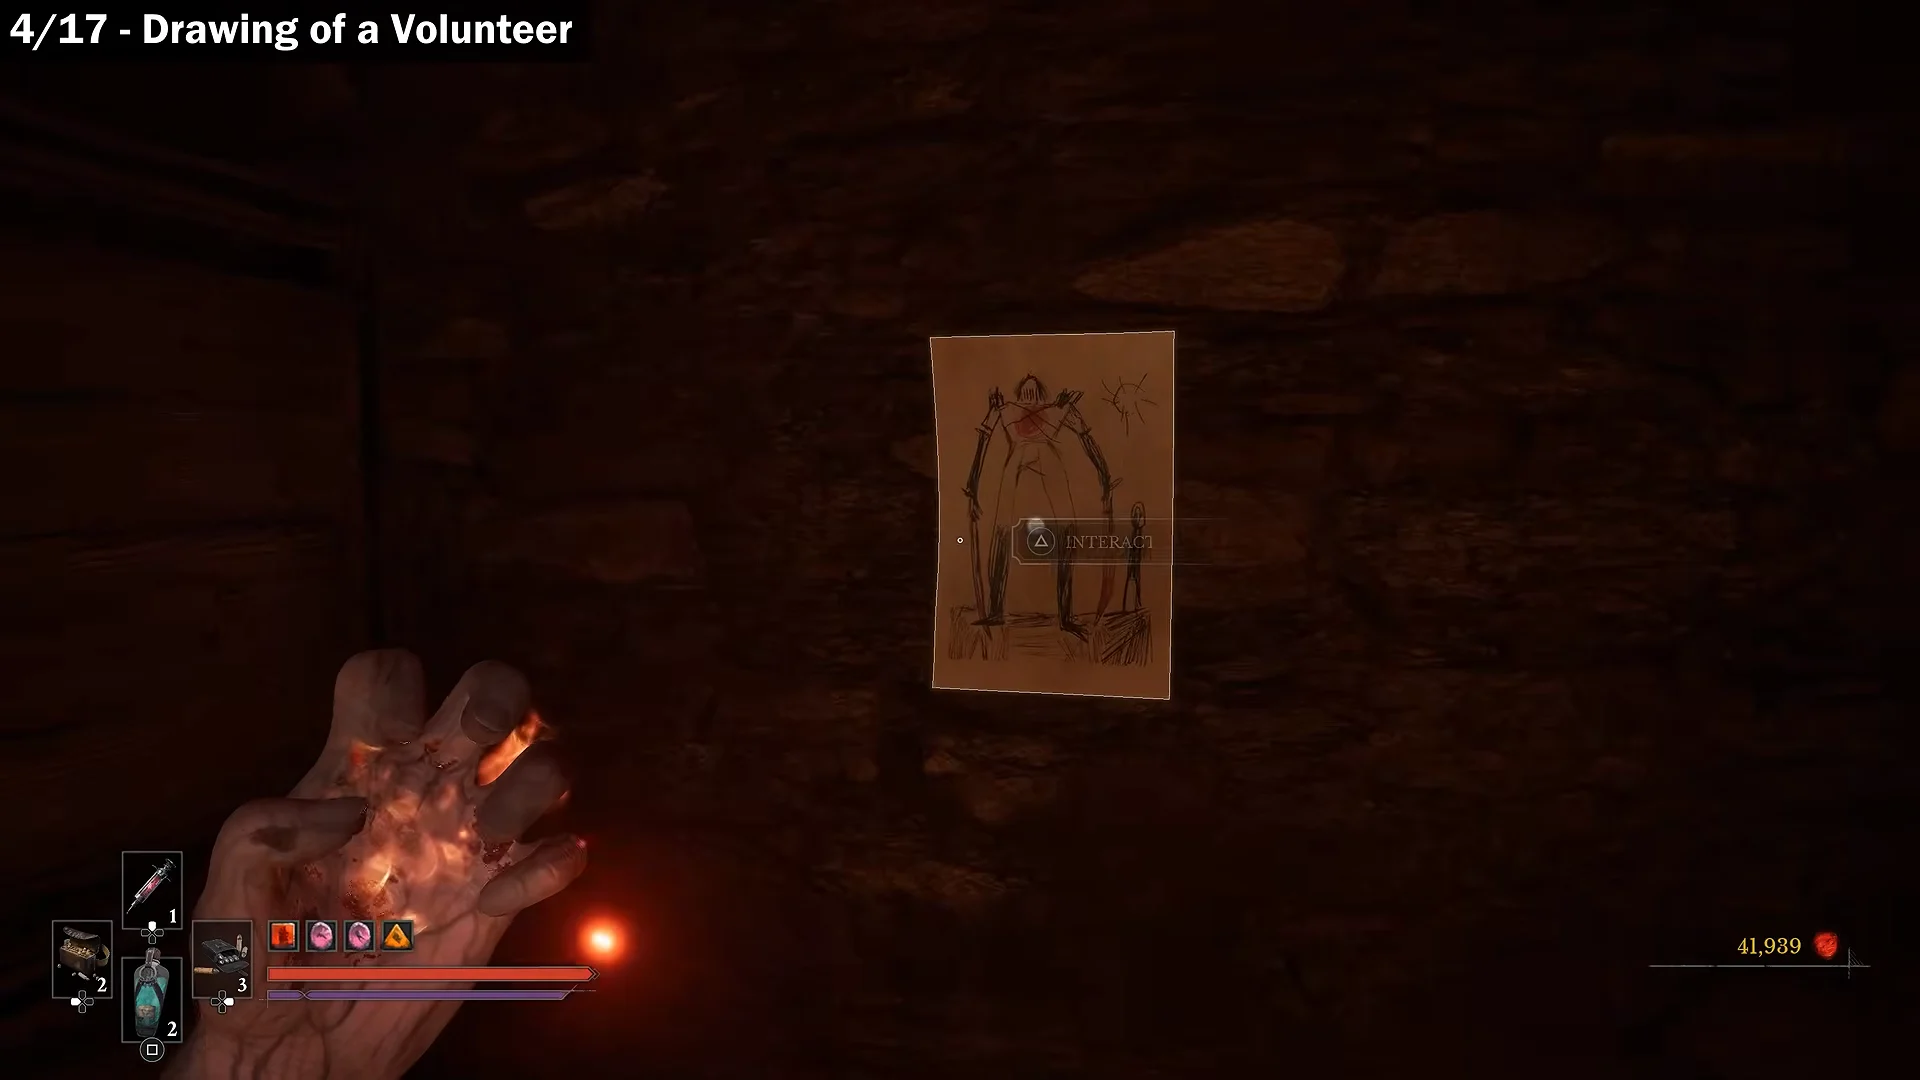
Volunteer. Coming out of the burning street, head in the opposite direction and enter the building with boxes in the first room. In the next corridor, the drawing is tucked under the ramp that leads up to the second floor.
Shamble Street drawings (5–12)
Eternal Guard. Starting at the Shamble Street lantern, return through the burning street and take the first available right. The drawing hangs on the wall inside a small opening on the right.
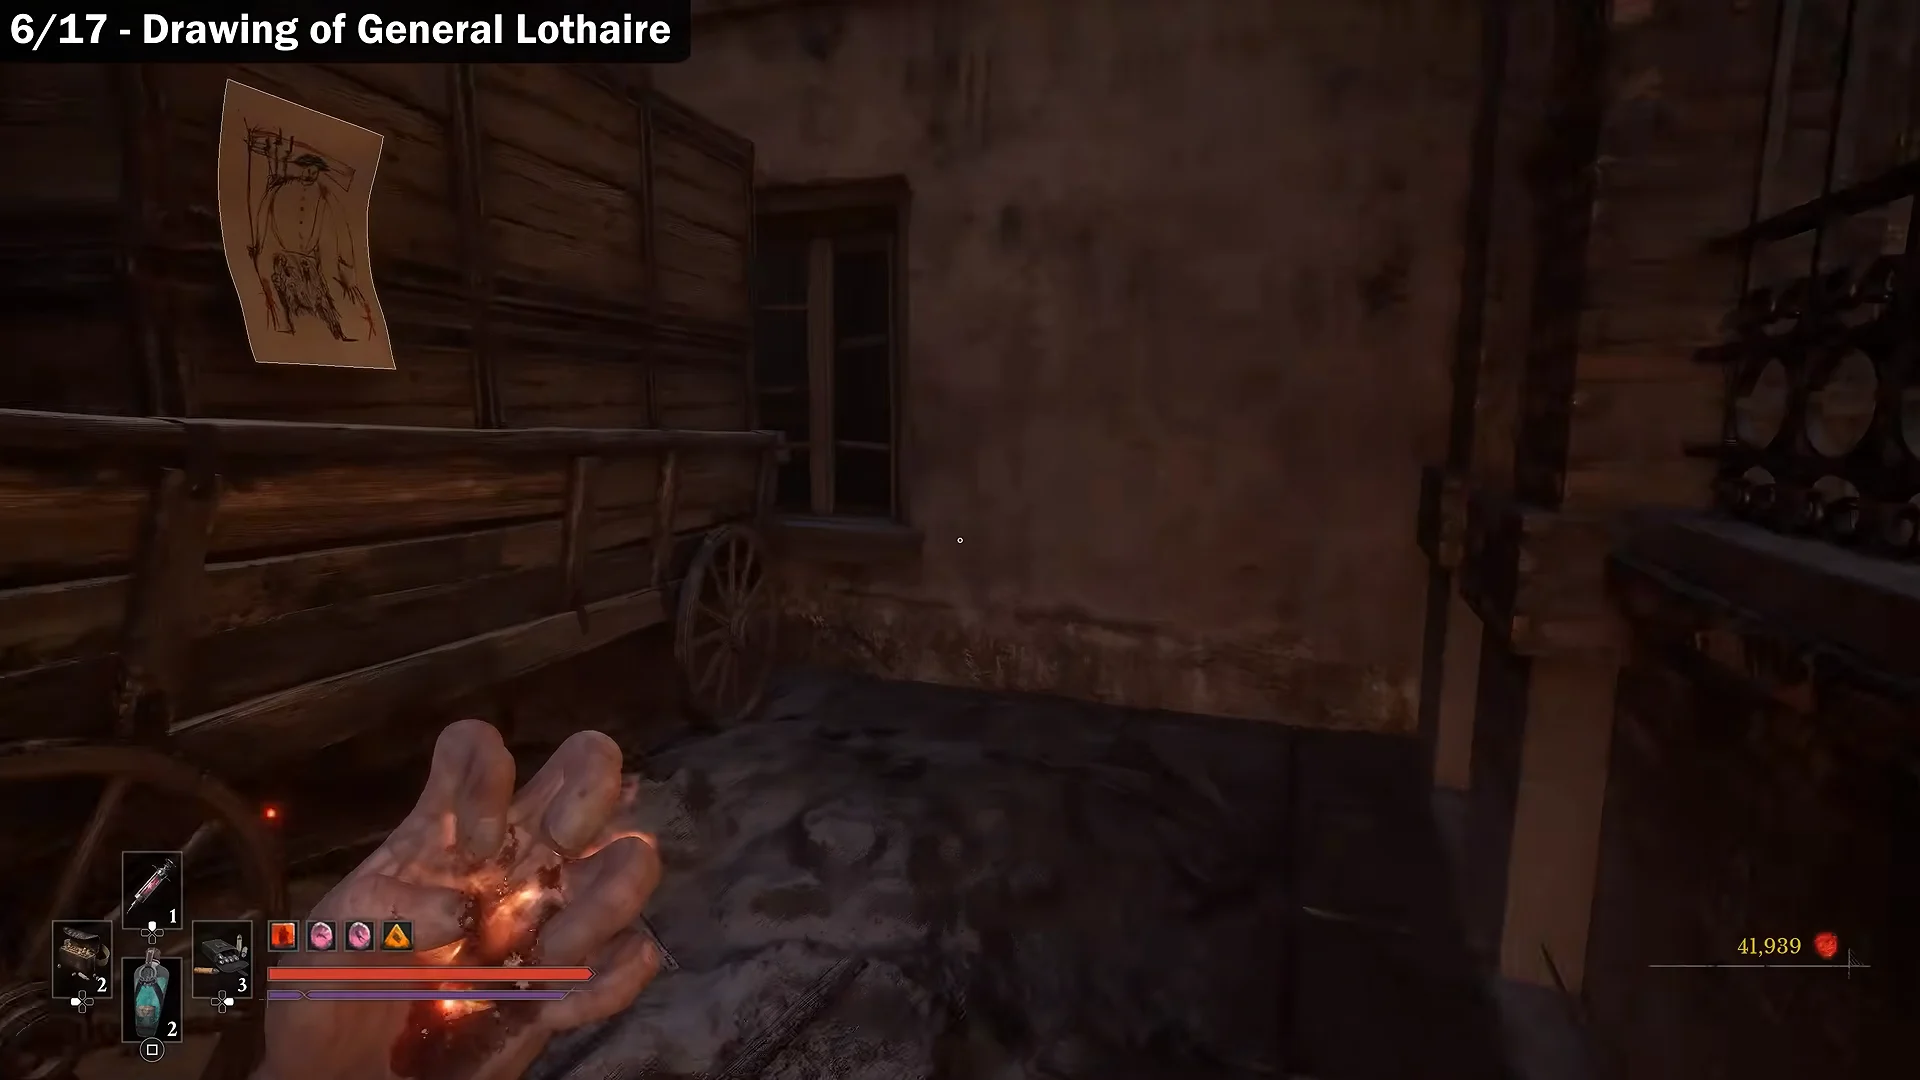
General Lothaire. Leave the lantern heading toward the burning street. Just before the flames, look right for a cart beside a small area. The drawing is on the cart, to the left of that space.
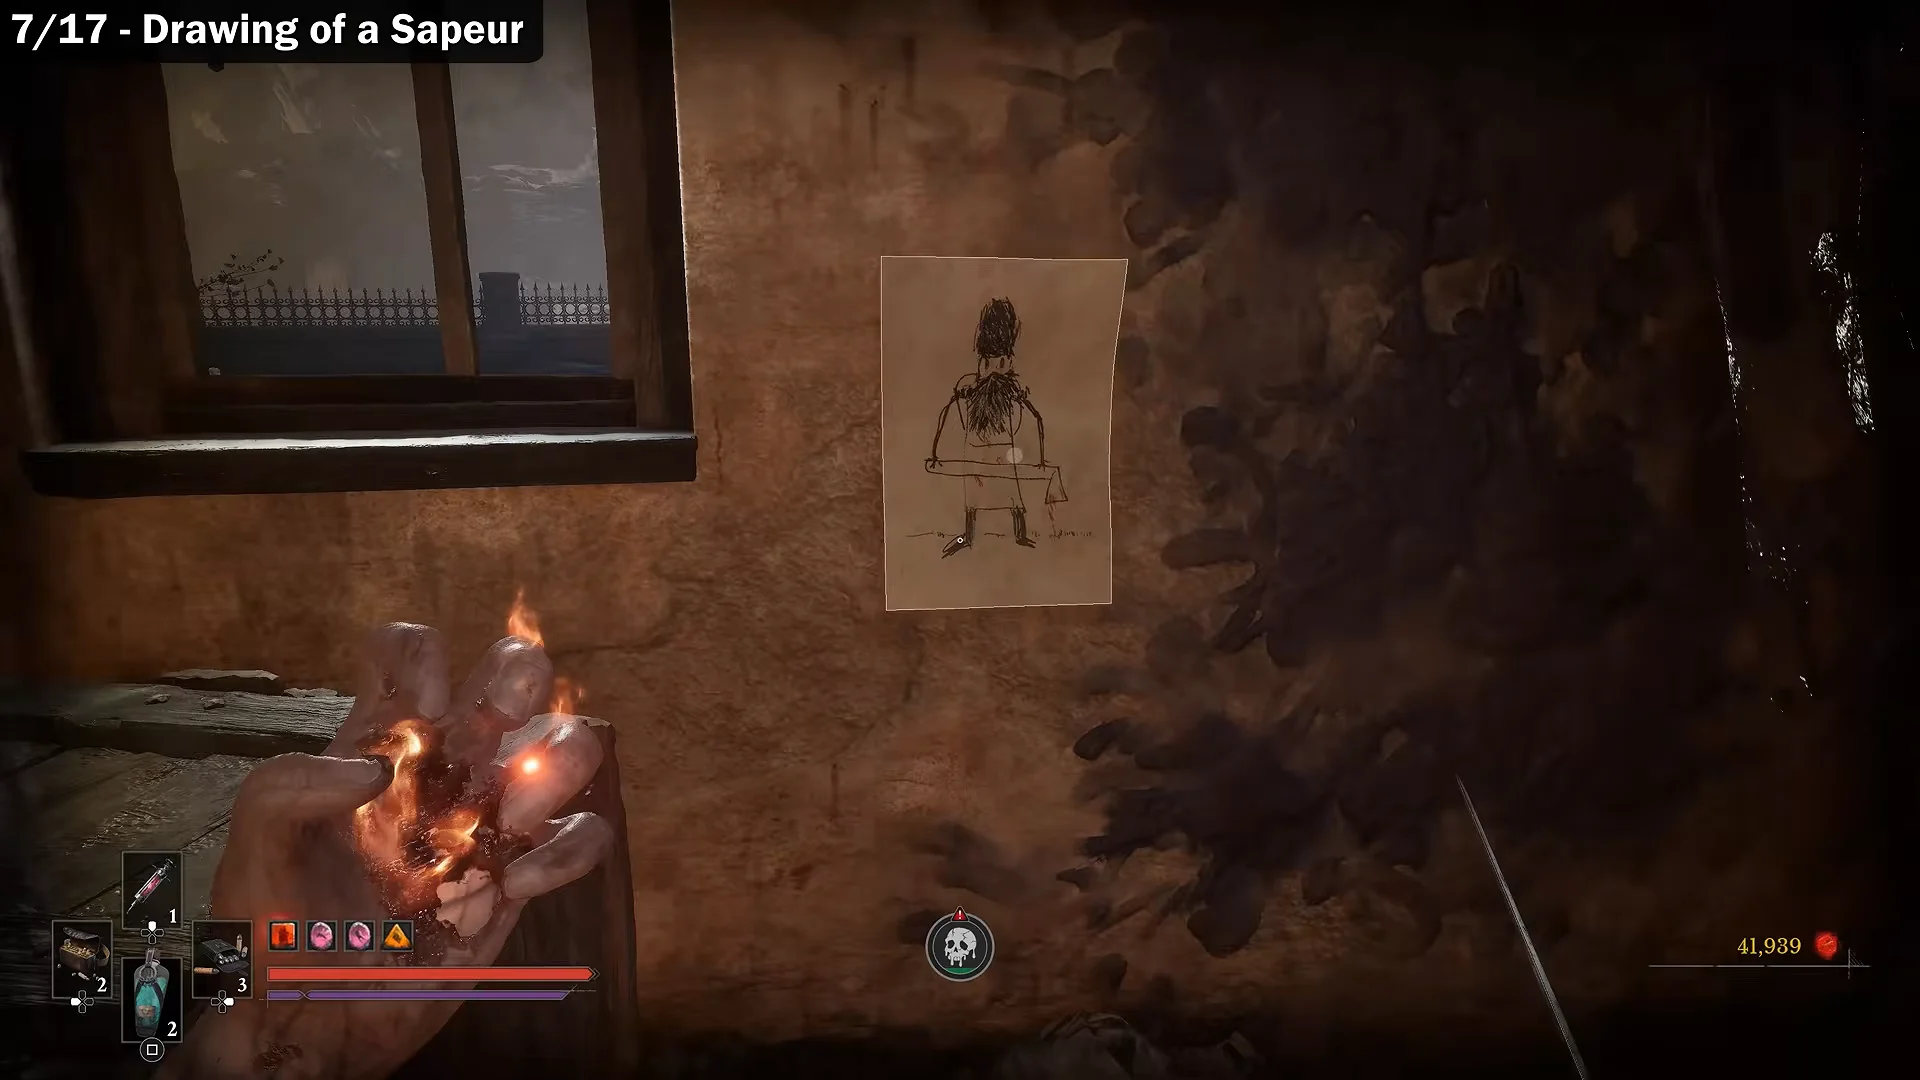
Sapeur. Jump into the building immediately beside the lantern, then descend through the holes to the lowest floor. The drawing hangs on a wall there.
Slaughtermill. Jump into the lantern-side building and cross to the opposite end of its top floor. Grapple over to the building beyond the courtyard, enter through the door on your right, and look inside the wardrobe for the drawing.
Swarm Mother. Use the gate shortcut beside the lantern, then enter the building on the left, where boxes block the doorway. Climb to the top floor and step onto the balcony; the drawing is on your right.
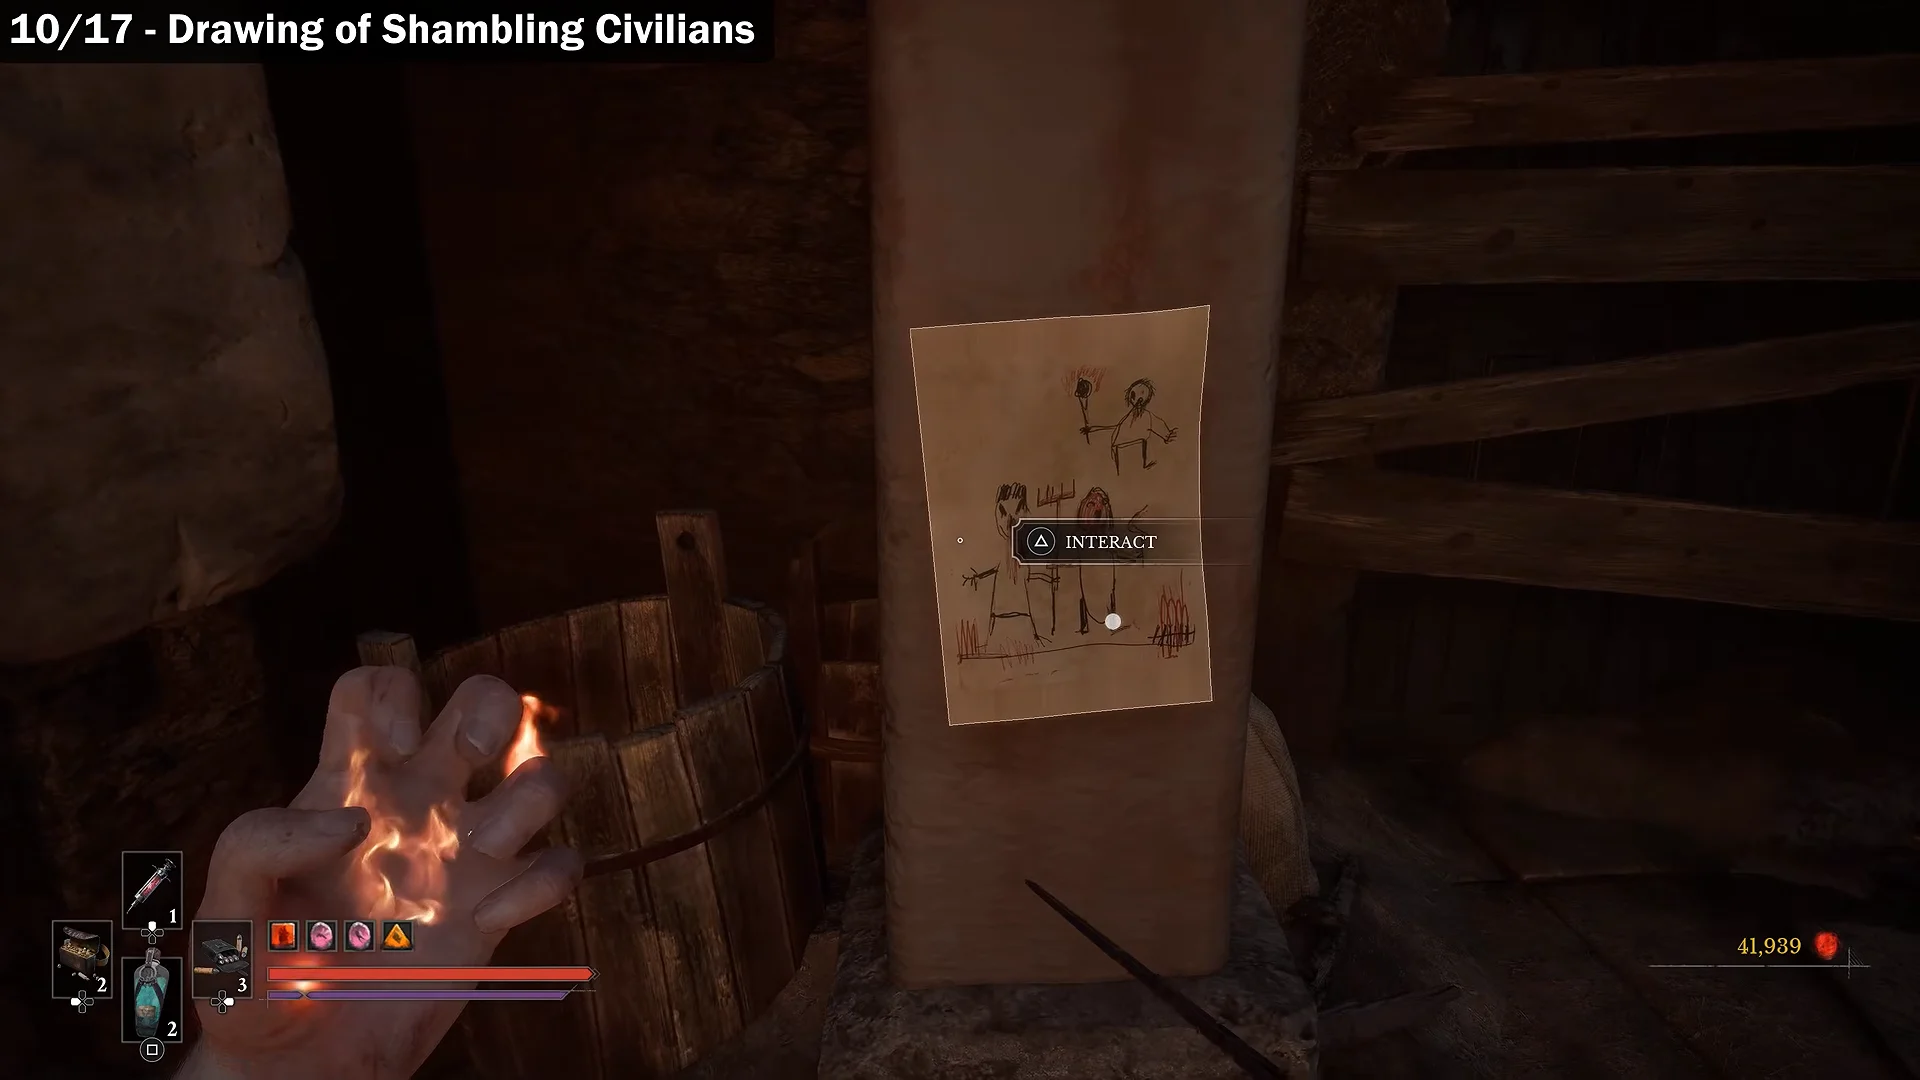
Shambling Civilians. After using the gate shortcut, continue straight until you reach the waterfront. Turn left twice and take the ramp toward the burning street. At the top, turn left to find the drawing on a stone pillar.
Remnant of the Iron Regiment. Go through the burning street and enter the large plaza marked by the tower. Look among the arches on the far side for the drawing.
Sphinx. Climb the tower and ride the zipline to the circular sewers building. If you already have the shortcut, cross by way of the wooden structure on the plaza’s left instead. Circle around the building’s right side; at the end, the drawing is on the wall to your left.
Sewers drawings (13–17)
Carrion. Starting at the Sewers lantern, retrace your initial route until you come to a fork: a tall enemy is on the left, and wooden planks block the way on the right. Duck beneath the boards and continue along the right-hand route. You will reach a point above the starting lantern; climb down the ladder beside the falling water. At the bottom, the drawing is on the right-hand wall beside a wooden bridge.
Grenadier. From the lantern, follow the main route again until you reach the room containing the cell. Turn right, then check the next tunnel for an opening on your left where an enemy hangs. The drawing is on the wall beside the hanging enemy.
Unknown Monstrosity. Continue through the sewers to the round chamber, where a grapple point sits at the center. Leave it unused and unlock the doorway on your left with the Sewers Key. In the following area, cross to the far side, then turn right; the drawing is at the dead end.
Abomination. Keep going along that same path until you see the drawing on the left wall of the large tunnel ahead of you.
Unknown Figure. Take the door on the right side of that tunnel and follow the raven markings along the walls until you get outside. Head to the end, look right toward the tree, and the final drawing is on the wall.
The journal logs each sketch as its own entry, so you can check your running total in the quest log at any time and spot which monster you still need.
All 17 drawings checklist
| # | Drawing | Area |
|---|---|---|
| 1 | Lancer |  Tribunal Square Tribunal Square |
| 2 | Risen Soldier | Tribunal Square |
| 3 | Howler | Tribunal Square |
| 4 | Volunteer | Tribunal Square |
| 5 | Eternal Guard |  Shamble Street Shamble Street |
| 6 | General Lothaire | Shamble Street |
| 7 | Sapeur | Shamble Street |
| 8 | Slaughtermill | Shamble Street |
| 9 | Swarm Mother | Shamble Street |
| 10 | Shambling Civilians | Shamble Street |
| 11 | Remnant of the Iron Regiment | Shamble Street |
| 12 | Sphinx | Shamble Street |
| 13 | Carrion |  Sewers Sewers |
| 14 | Grenadier | Sewers |
| 15 | Unknown Monstrosity | Sewers |
| 16 | Abomination | Sewers |
| 17 | Unknown Figure | Sewers |
Completion and reward
Interacting with the seventeenth drawing closes Monster Hunt. William’s journal signs off with the line that he has found all the children’s drawings and that they are creepy, oddly cute, and above all concerning. On screen you will see the Quest Complete banner along with the reward popups.
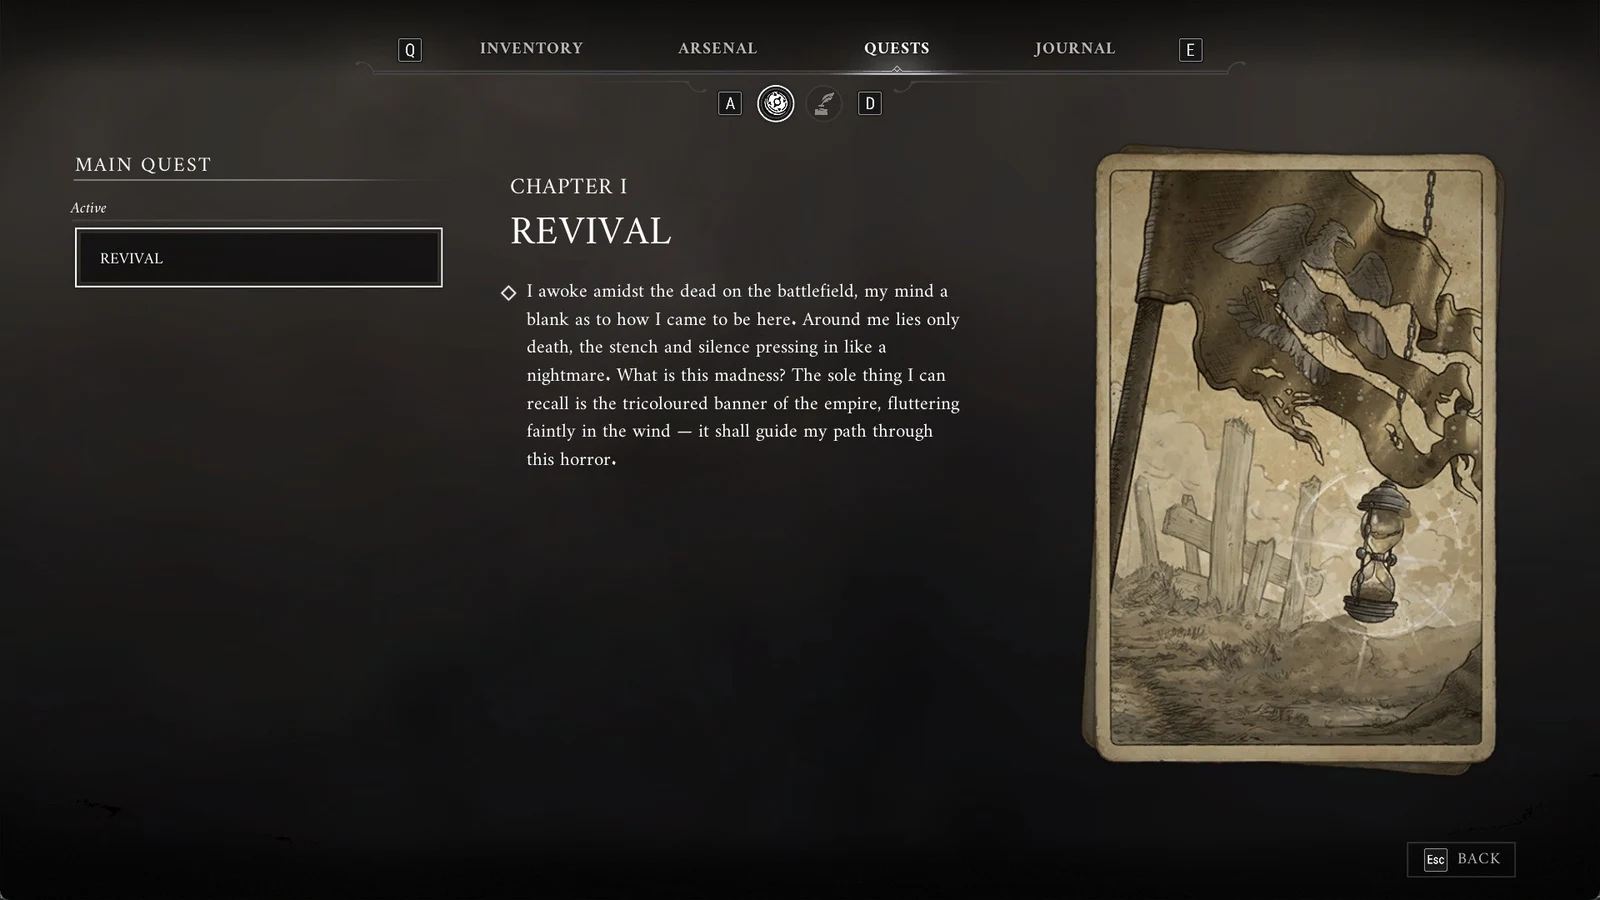
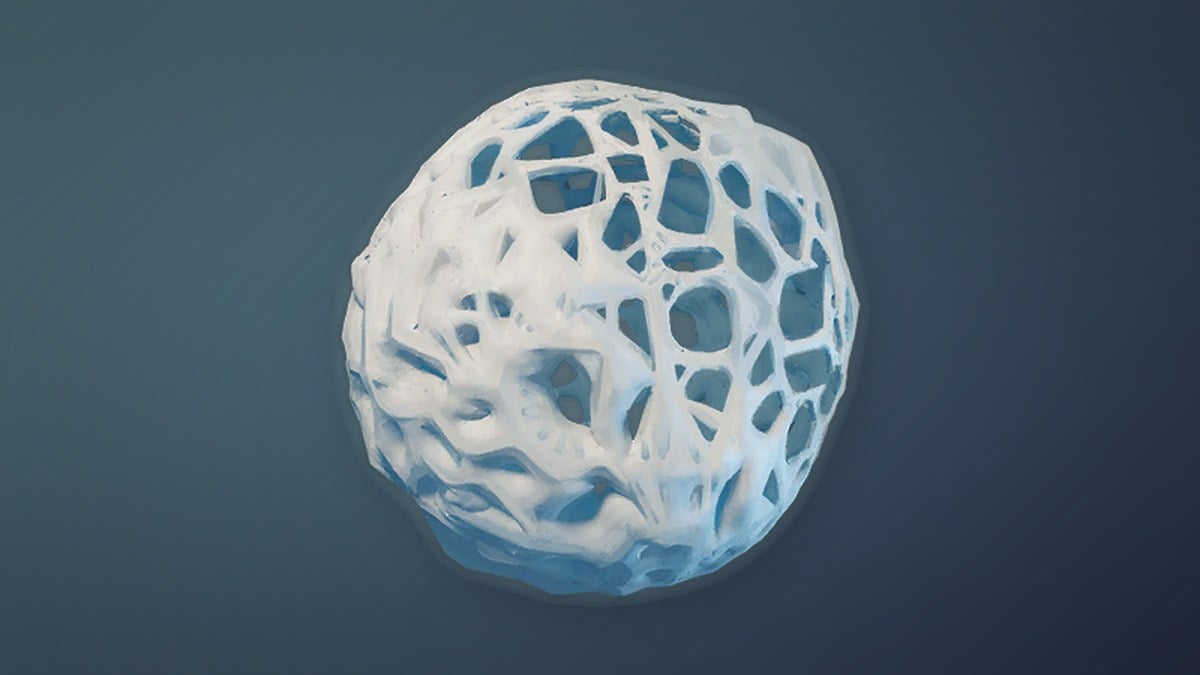
Finishing the quest grants a Quintessential Transmutation Material (x1) and a Tiny Whisker Gift (x1), and it unlocks the The Book of Beasts achievement, one of the game’s rarest.
Quintessential Transmutation Material, explained
The upgrade material you earn here is worth holding onto. Quintessential Transmutation Material is used to push a Transmutation to its top tier, and each of those upgrades consumes a single unit. The copies that exist in the world sit in chests at the University and the Fortress, so a guaranteed one from Monster Hunt is a convenient boost.
| Upgrade | Quintessential Transmutation Material needed |
|---|---|
| Fire Transmutation level 5 | 1 |
| Stasis Transmutation level 5 | 1 |
| Shield Transmutation level 5 | 1 |
Shambling Civilians reference
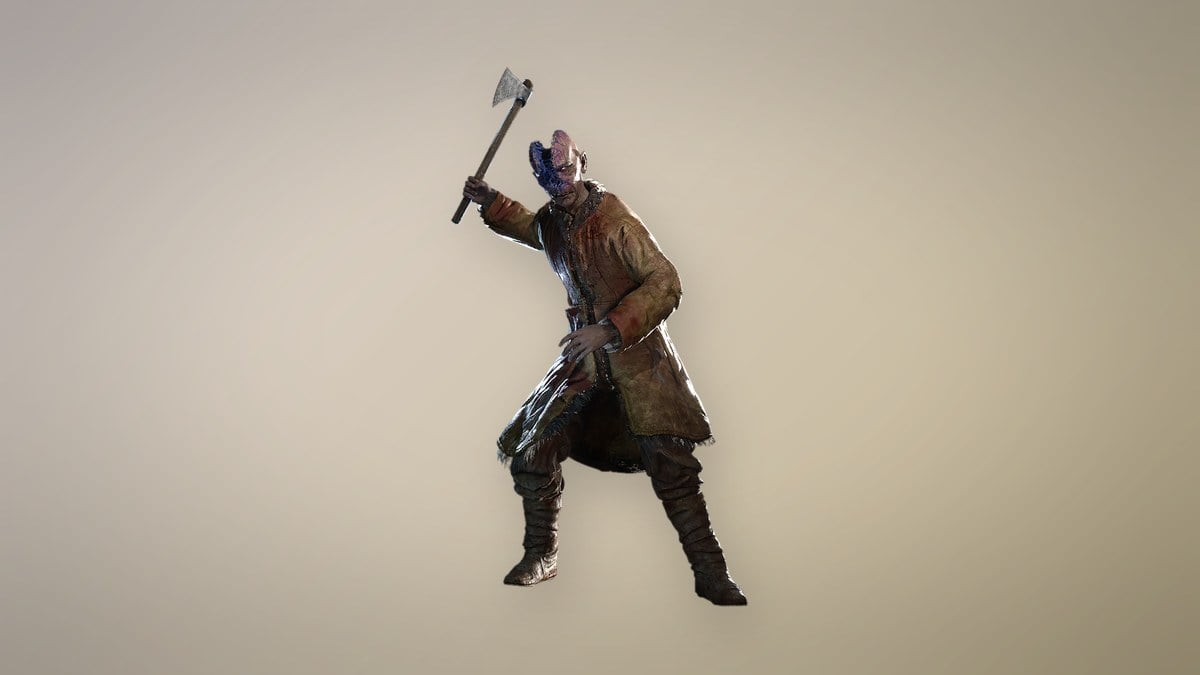
Several of the monsters you sketch are enemies you fight throughout the campaign, and Shambling Civilians are among the most common you will see in the City of Orphans and beyond. If you are clearing the region on foot, these figures scale with level, and knowing their health and the Catalysts they drop helps you plan how much to engage versus slip past.
| Level | Health | Catalysts |
|---|---|---|
| 1 | 80 | 120 |
| 2 | 112 | 130 |
| 3 | 144 | 140 |
| 4 | 192 | 150 |
| 5 | 256 | 160 |
| 6 | 320 | 170 |
When one turns enraged, its health jumps to 500 or 700, and each has two stasis segments. The City of Orphans holds 17 of them in all, so expect regular, low-stakes fights while you comb the streets for drawings rather than a single set-piece encounter.