Once Human rewards players who are willing to fight with a near-empty health bar. By stacking shields from gear sets, armor mods, cradle perks, and a single deviation, you can absorb nearly every hit while a set of low-health buffs keeps your damage high. The trick is forcing your health below 40% and keeping it there, then feeding the shield faster than enemies can break it.
Quick answer: Keep your health strictly below 40%, then run either Treacherous Tides for an automatic 30% shield or Savior to stack hit-based shields that let you fight safely at 1 HP.
Two ways to build low-HP shields
There are two gear sets that drive this style, and they behave very differently. Treacherous Tides is passive and forgiving: it tops you up on its own whenever your health is low. Savior is active and aggressive: it only works while you keep attacking, but it lets you survive at a single point of health.
| Set | Trigger | Shield granted | Cooldown |
|---|---|---|---|
| Treacherous Tides (4/4) | Automatic when below 40% HP | 30% of Max HP, lasts 8s | 8s |
| Savior (4/4) | Weapon hit, consumes 8% current HP | 5% of Max HP per hit, up to a 40% cap | 0.5s |
Treacherous Tides suits players who want a safety net without changing how they play. Savior suits players who stay on the offensive and want the extra damage that comes from sitting at minimum health.
How the Savior set keeps you alive at 1 HP
Each weapon hit with the Savior set spends 8% of your current health to create a temporary shield worth 5% of your maximum health, lasting 30 seconds, with a cap of 40% of Max HP. Because the drain is a percentage of current health rather than a flat amount, it can never reach zero. Once you bottom out at 1 HP, every follow-up hit refreshes the shield’s duration and damage boost without taking any more health away.
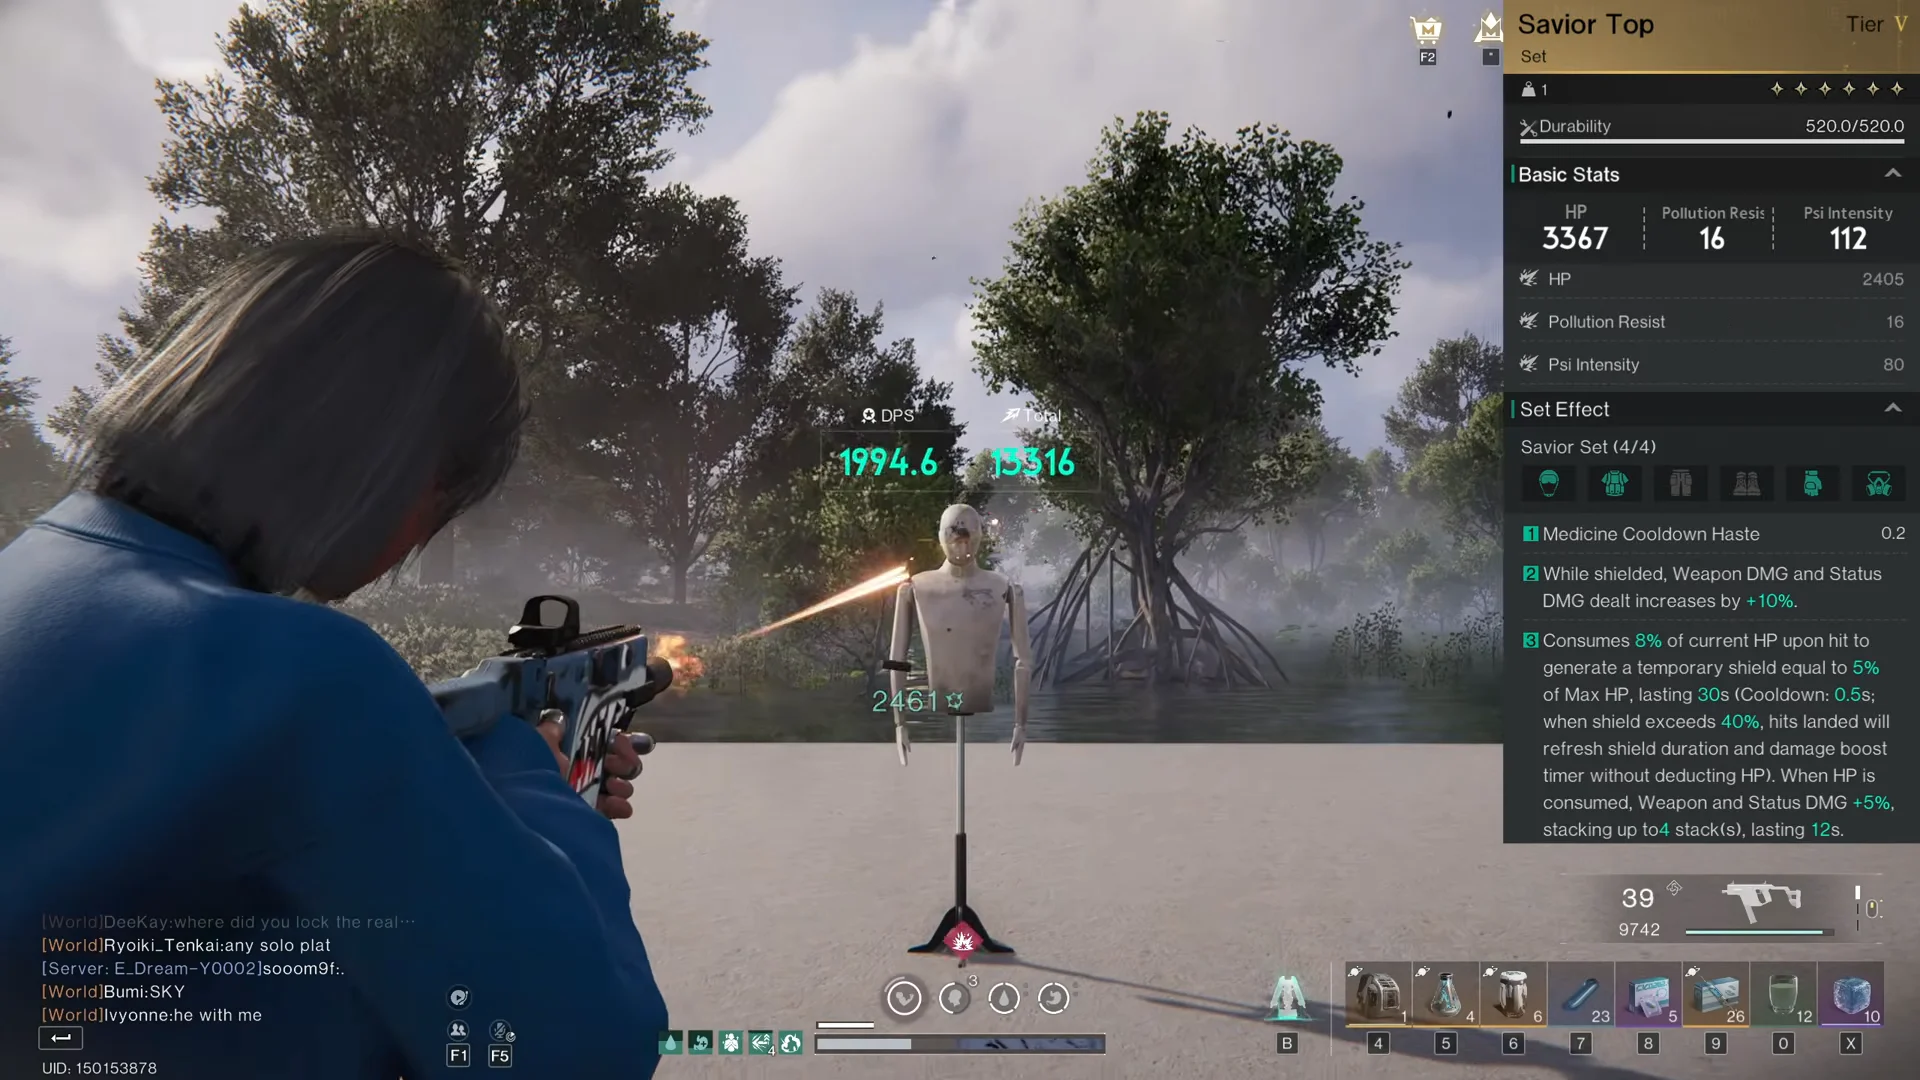
Fast-firing weapons refill the shield quickest because the effect scales with how often you land hits. Something like Little Jaws stacks shields far faster than a slow weapon. Keep the attacks direct, though: indirect damage does not count. The Unstable Bomber area effect from Hazardous Objects, for example, will not generate a Savior shield at all.
As long as you keep firing, the shield stays refreshed. The danger is a pause in your attacks that lets the shield expire while you sit at 1 HP.
Shield gear and armor mods that stack on top
Several individual pieces and mods add their own shields or shield-based protection. Layering them pushes your effective health far past your base bar and adds damage reduction on top.
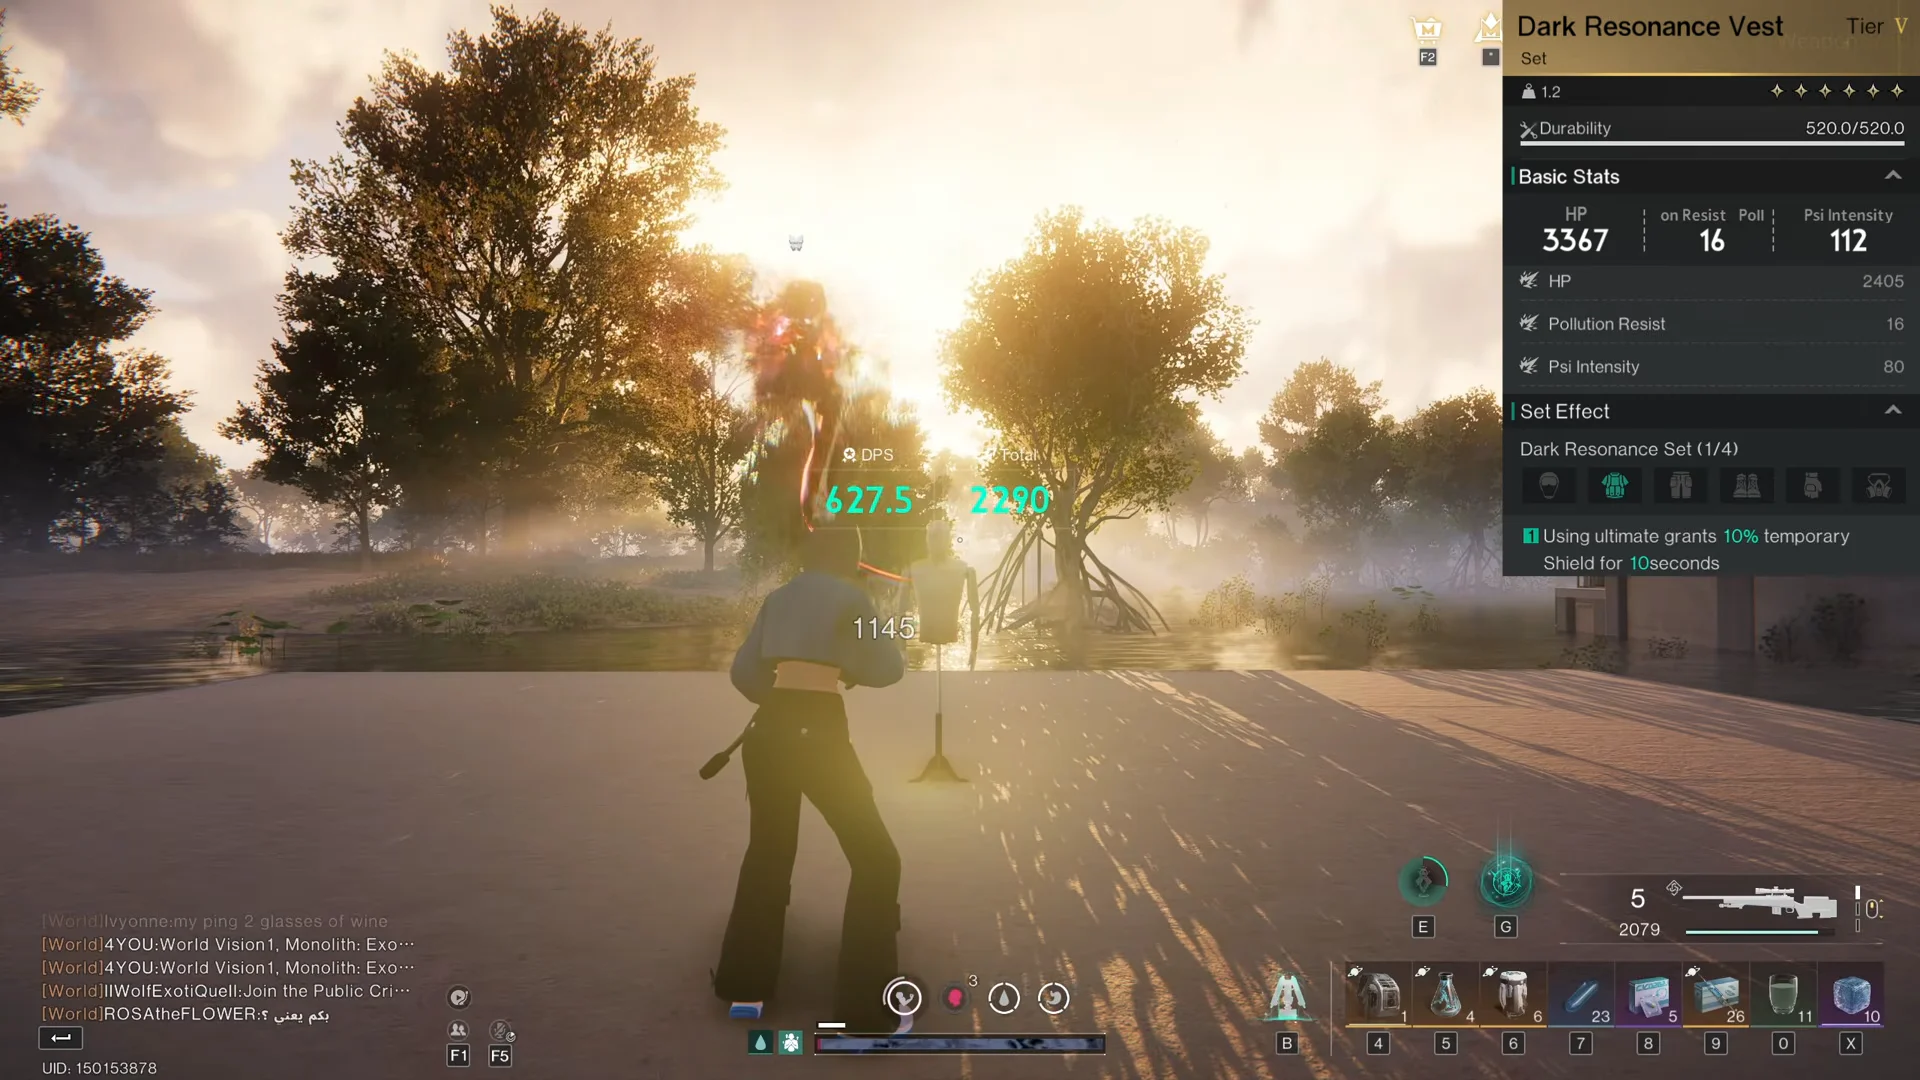
Dark Resonance Vest
Run a single Dark Resonance Vest as a filler piece and your deviation ultimate grants a shield equal to 10% of your maximum health for 10 seconds. It costs you nothing in rotation since you are using the ultimate anyway.
Rejuvenating (Lunar)
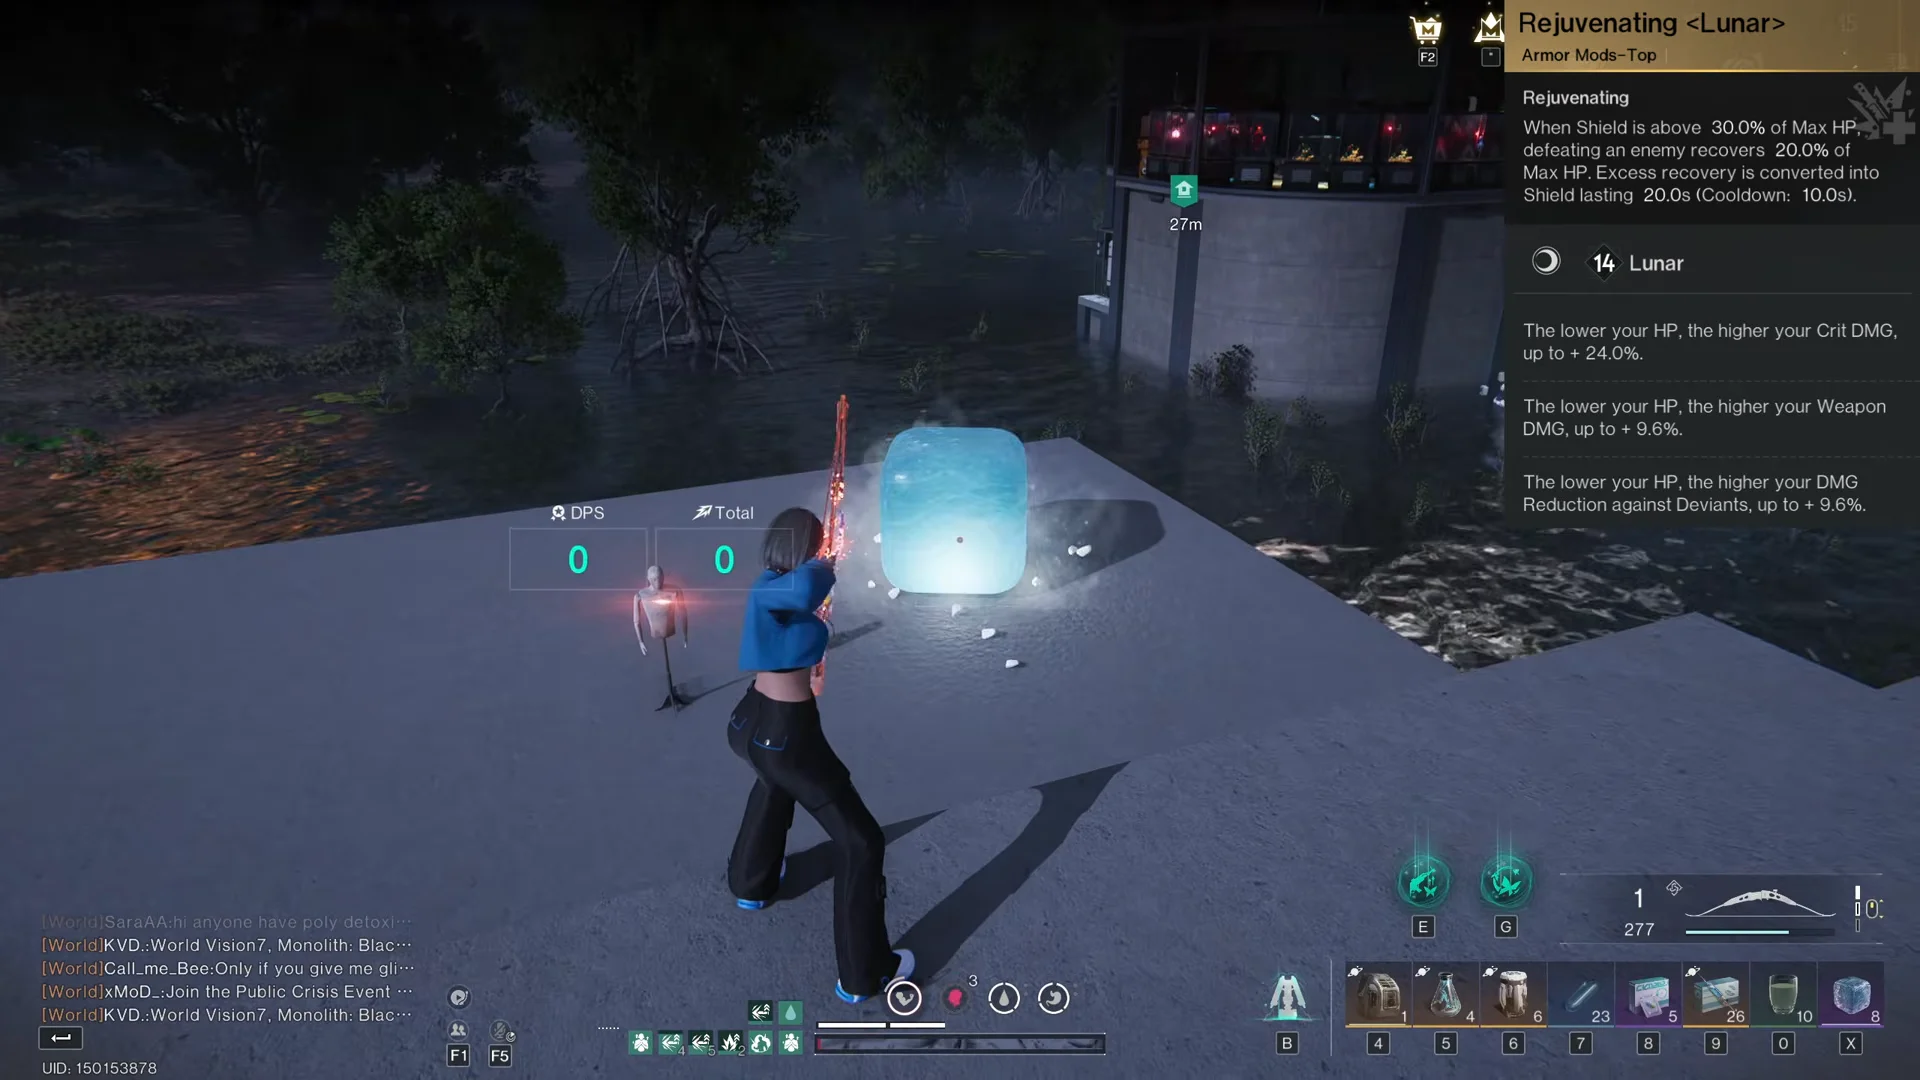
While your shield sits above 30% of Max HP, defeating an enemy recovers 20% of your maximum health, and any overflow turns into shield for 20 seconds on a 10-second cooldown. You can keep that loop running by killing targets or by destroying your own objects, such as ice crystals, to overcap the shield to high values.
Ardent Shield (Lunar)
While any shield is active you take 15% less damage. More importantly, once the shield exceeds 1,000 points, a single instance of damage cannot punch through it into your health. That hard cap on single hits is what makes a 1 HP build survivable against big bursts.
Lunar mod secondary attributes
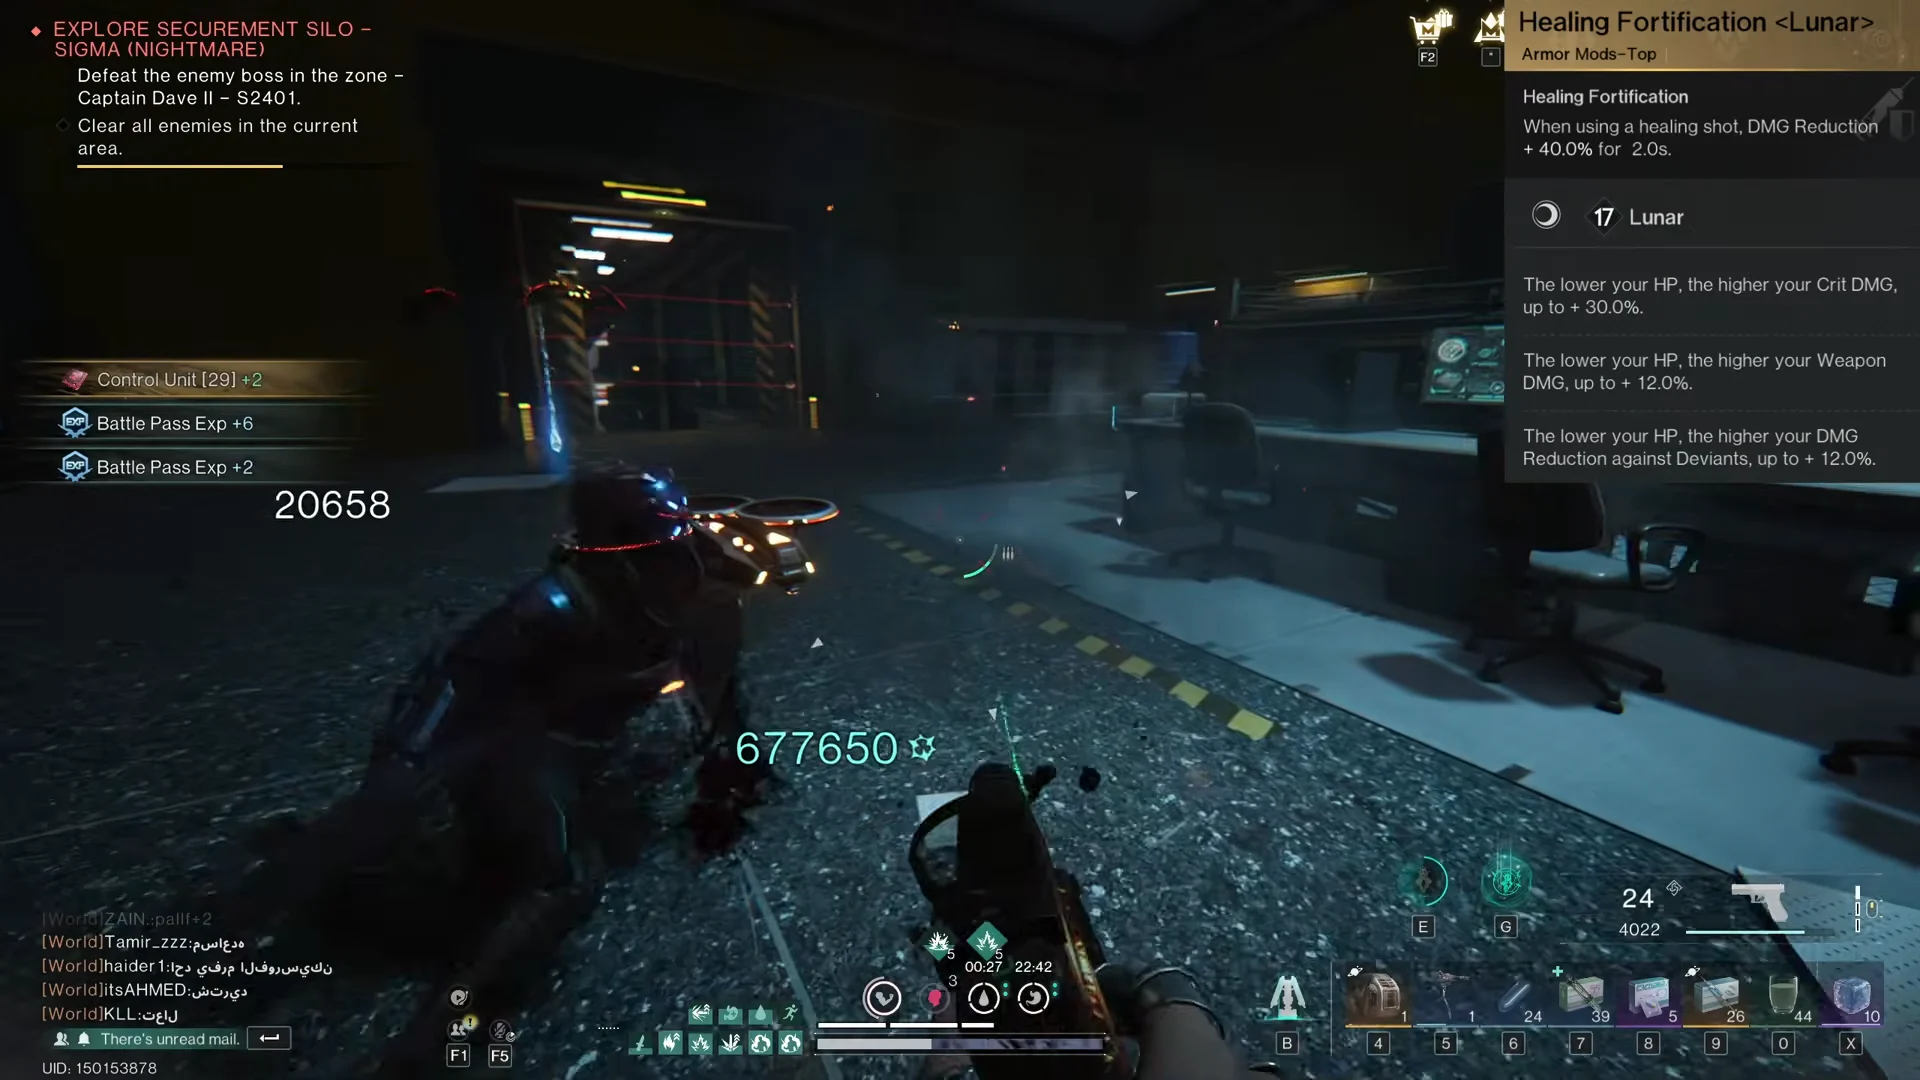
Lunar mods carry secondary attributes that reward low health directly. Healing Fortification, for instance, can provide up to 12% damage reduction while your health is low. These values only matter if you stay under the threshold, so they pair naturally with the shield sets.
Lunar Rabbit Fur hides
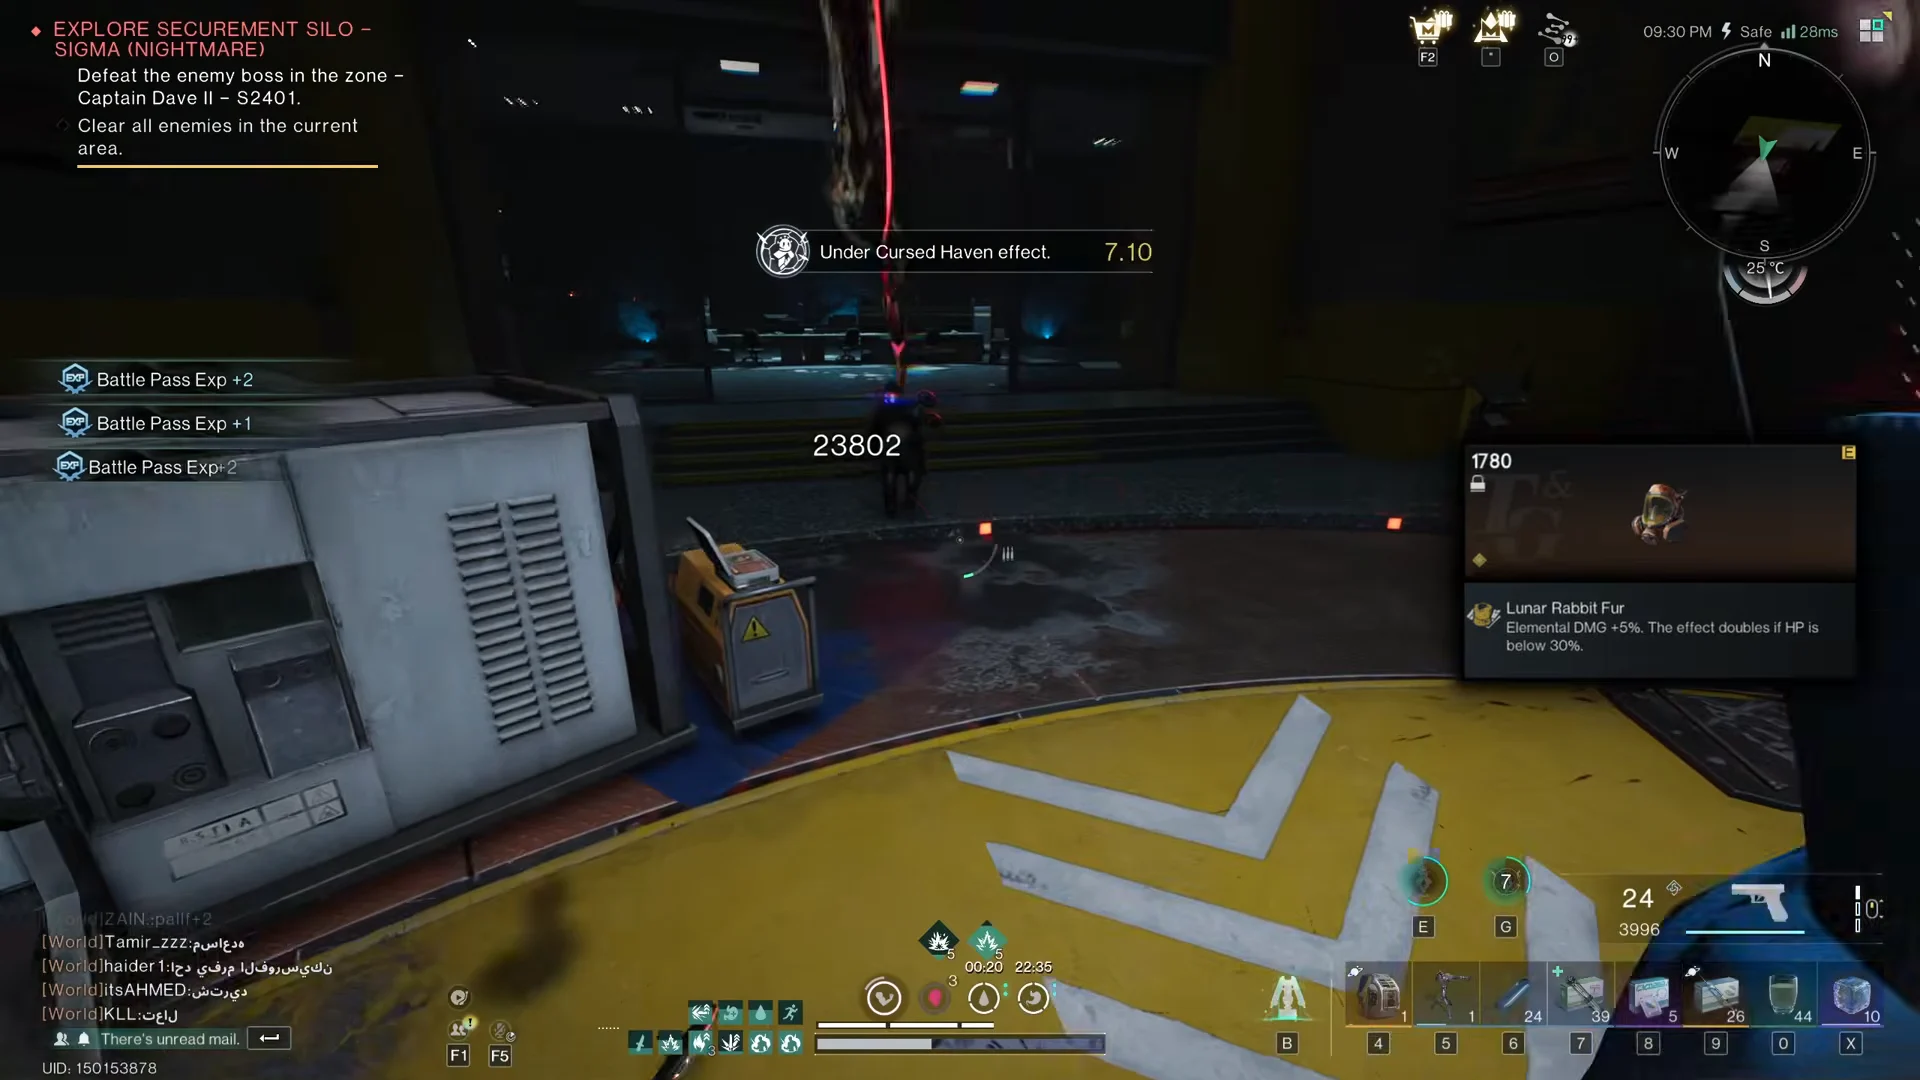
Some crafting hides add their own low-health bonuses. Lunar Rabbit Fur doubles its elemental damage and damage reduction once you drop below 30% HP, so the gear you craft from it becomes stronger exactly when you want to be fighting at minimum health.
Cradle perks that boost shields
Three cradle overrides feed directly into this build. Deviant Energy Defense is the big source of free shield, while Resilience and Shield Protection make whatever shield you have last longer and hit harder.
Summoning or handling a deviation with Deviant Energy Defense grants a shield equal to 30% of your maximum health for 30 seconds, and while it is active your Weapon and Status damage reduction both rise by 10%, on a 30-second cooldown. Deviations like Zapamander can be picked up by hand over and over, so every time the cooldown resets you can refresh the shield instantly.

The other two perks protect and reward that shield:
- Resilience — your shield takes 30% less damage from monsters.
- Shield Protection — while your shield is above 40% of Max HP, Deviant damage reduction rises 10% and your damage to monsters rises 10%.
Brave George for massive shield capacity
The Brave George deviation, using the Hard Case Trooper skill, turns shield capacity up to extreme levels inside its Ideal Garden. At Skill Rating 5, up to ten allies within range gain Super Armor, their shield cap is raised to 300% of Max HP, and they immediately receive a shield worth 200% of Max HP. After that they recover 13% of Max HP as shield every second while they stay in the area, with the garden refreshing on a 3-second cooldown.
Stepping out of the Ideal Garden removes all shields George granted and replaces them with a shield equal to 50% of Max HP as compensation, on a 14-second cooldown. That keeps you from walking out of the zone and instantly dying with no shield at all.
Drop your sanity to stay under 40% HP
Low sanity lowers your maximum health, which is how you force the bar under the 40% line that every low-health effect depends on. Two consumables handle this cleanly.
A Sanity Corrosion Capsule removes 100 sanity per use for small adjustments. For a large drop, craft Large Boiled Water through Creative Cooking using 5 Dirty Water and 5 Polluted Water, which cuts sanity by 1,000 in one go. There is also Starry Bubble Tea, which grants a shield worth 5% of Max HP per second while you glide, stacking up to 50%, so you can arrive at a fight already shielded.
Lowering sanity caps your maximum health near the 40% band that Treacherous Tides needs, and it sets up Savior’s initial health drop. You will know it worked when your health bar is visibly below the 40% mark and the shield sets begin triggering on their own.
Hit exactly 40% HP or lower
The low-health buffs check your exact health ratio, and rounding can quietly break them. Divide your current health by your maximum health. If the result is 0.4000 or lower, the buffs fire. If it is even a fraction above, they do not. A bar that reads 40.0013% is enough to shut off effects like Rush Hour, the Lunar low-health attributes, and Surprise Spring Roll.
| Calculation | Result | Status |
|---|---|---|
| 6466 ÷ 16165 | 40.0000% | Exactly 40% — buffs active |
| 6339 ÷ 15847 | 40.0013% | Above 40% — buffs off |
If you land just over the line, nudge your maximum health until the ratio drops to 40% or below. You can change which Buffalo Milk tier you consume (Normal, Pristine, or Stardust), swap mod suffixes so they add or remove health (Crescent adds HP while Lunar does not), or adjust your hide tiers and gear stars. The goal is a clean 40% or lower reading.
Scenario differences to expect
These builds work best in the standard Manibus, Way of Winter, and Endless Dream scenarios, where the full range of sets, mods, and deviations is available. Novice Manibus is more limited, so expect fewer of these pieces to be in play there. Between the two approaches, Savior rewards constant aggression and the 1 HP playstyle, while Treacherous Tides is the more forgiving option that simply tops you up whenever your health falls under 40%.