Order of the Sinking Star: All Torc Puzzle Solutions
Solve all four beam puzzles in Torc to power the Vault of the Beamcasters and open the path to the Crossroads.
Solve all four beam puzzles in Torc to power the Vault of the Beamcasters and open the path to the Crossroads.
by AllThingsHow Staff
Image: Thekla, Inc.
In the West of Order of the Sinking Star, Torc is a compact area for the Explorer, just south of the large West hub and beneath the Vault of the Beamcasters. To clear it, solve four beam puzzles across two map tiles, then aim an outdoor green beam over the canyon and into the Vault of the Beamcasters.
Quick answer: Torc holds four beam puzzles across two map tiles. Clear all four, then aim the green beam east into the Vault of the Beamcasters to open the way to the Crossroads.
Where Torc sits and what the Torc does
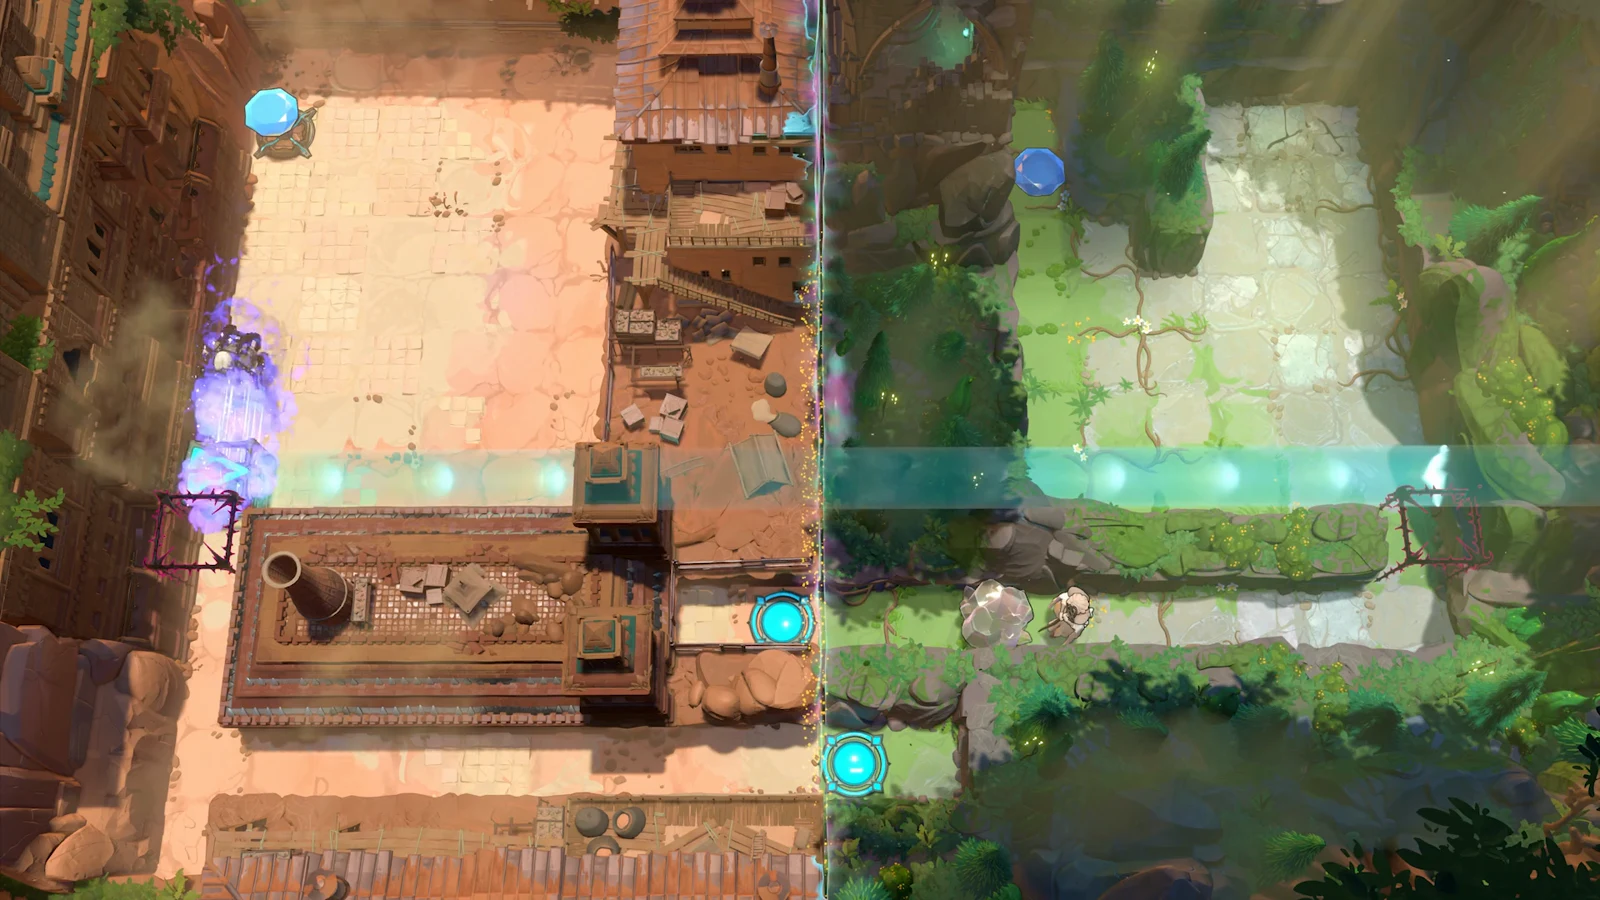
On the world map, Torc lies south-west of the central crossing. Puzzles one through three, along with the courtyard steps connecting them, occupy the South 1 West 2 tile; puzzle four is on South 1 West 1.
You collect the Torc, a neck ring, when the first puzzle begins. Stand beside a beam emitter while wearing it, and the emitter rotates toward your facing. This mechanic underpins nearly every solution in the area.
Beam rules you need before you start
Every puzzle runs on the same handful of rules. Gems power beams: drop a gem into a socket and every emitter in its block lights up, and taking the gem back makes them go dark. Each beam color does one thing.
Beam color
What it lets you do
Green
Walk through walls
Cyan
Push blocks and emitters
Yellow
Break stones and robots
Facing often causes trouble: turning in place isn’t possible, so your direction stays tied to your most recent movement. You can correct your facing in two different ways.
While standing in a green beam, walk into a wall and then step back to change direction.
Have the cart robot shove you; its push won’t alter the direction you’re facing.
Cyan beams let you push cyan emitters: aim one so its light falls on you, and you can shove the emitter.
Cyan beams combine their force. A lone beam moves one stone, but two beams crossing can shift an entire row.
Puzzle 1: fire the left emitter to the right
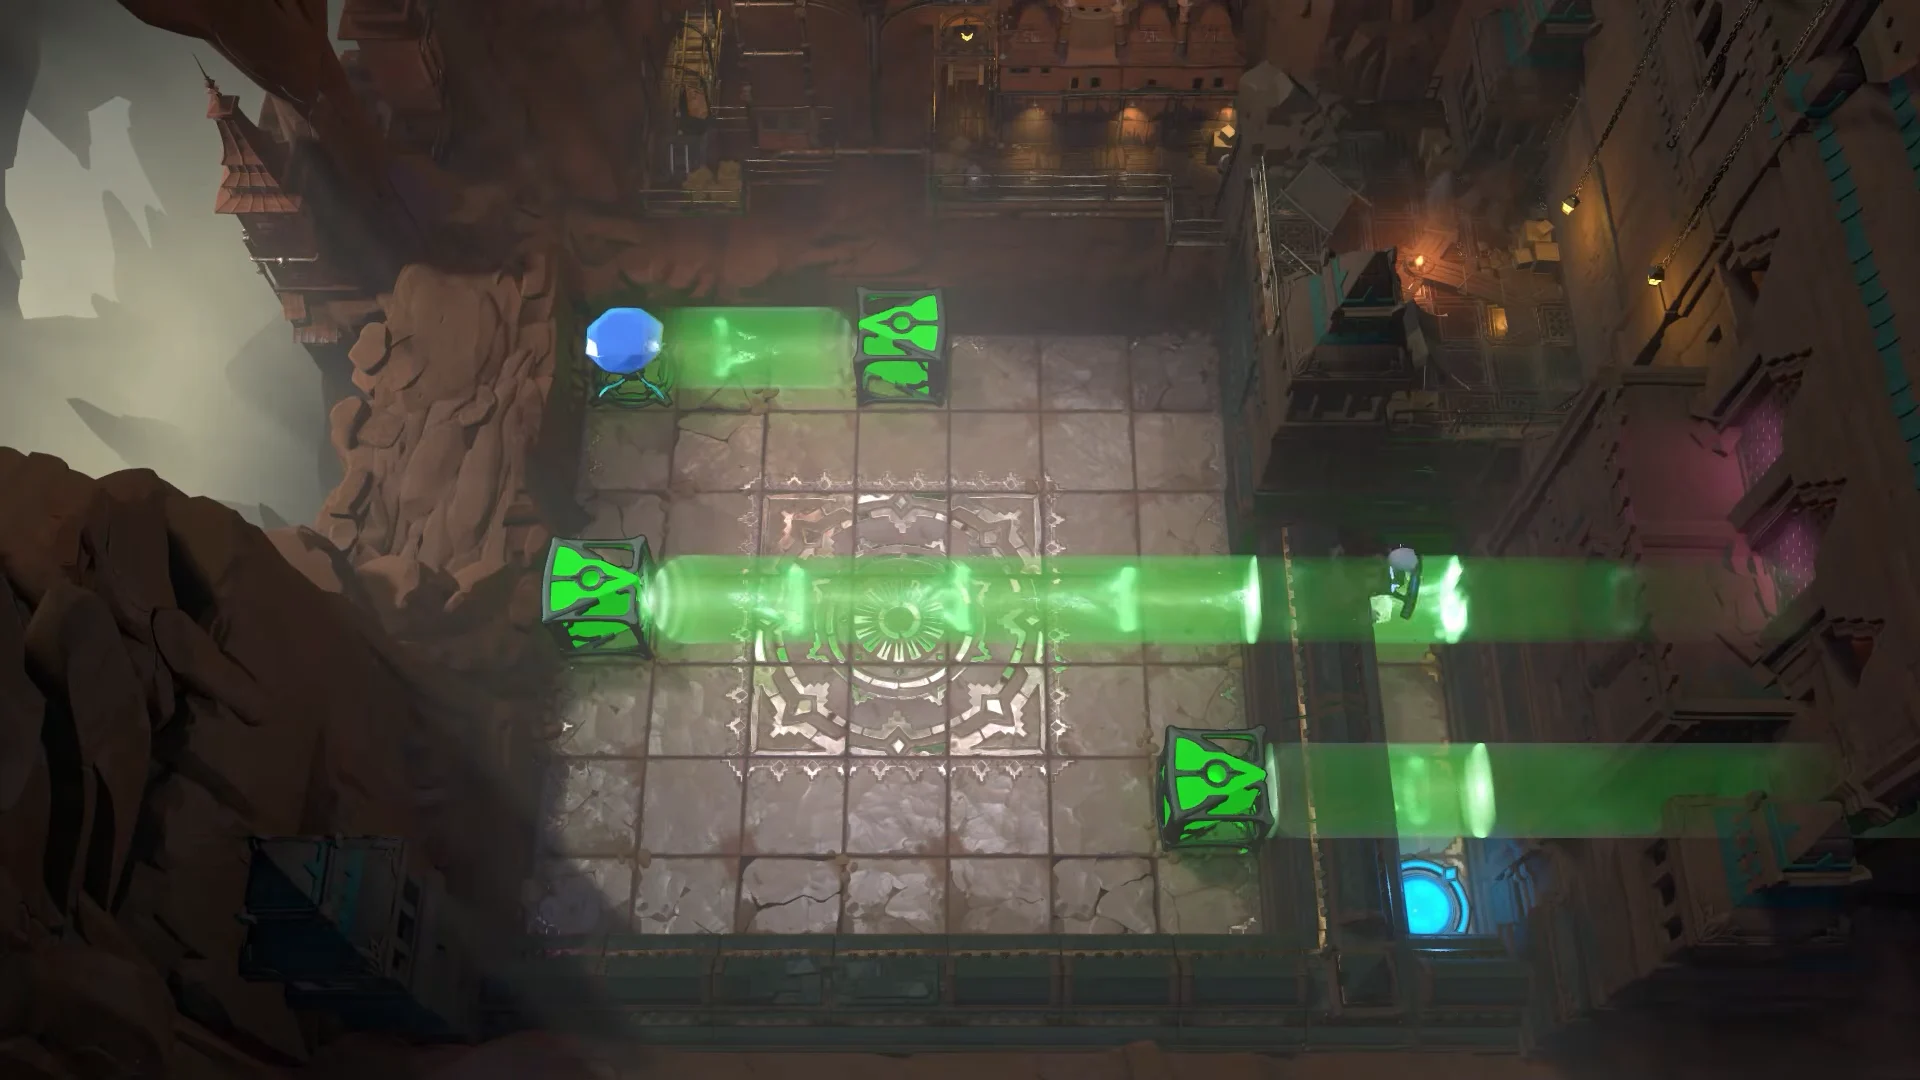
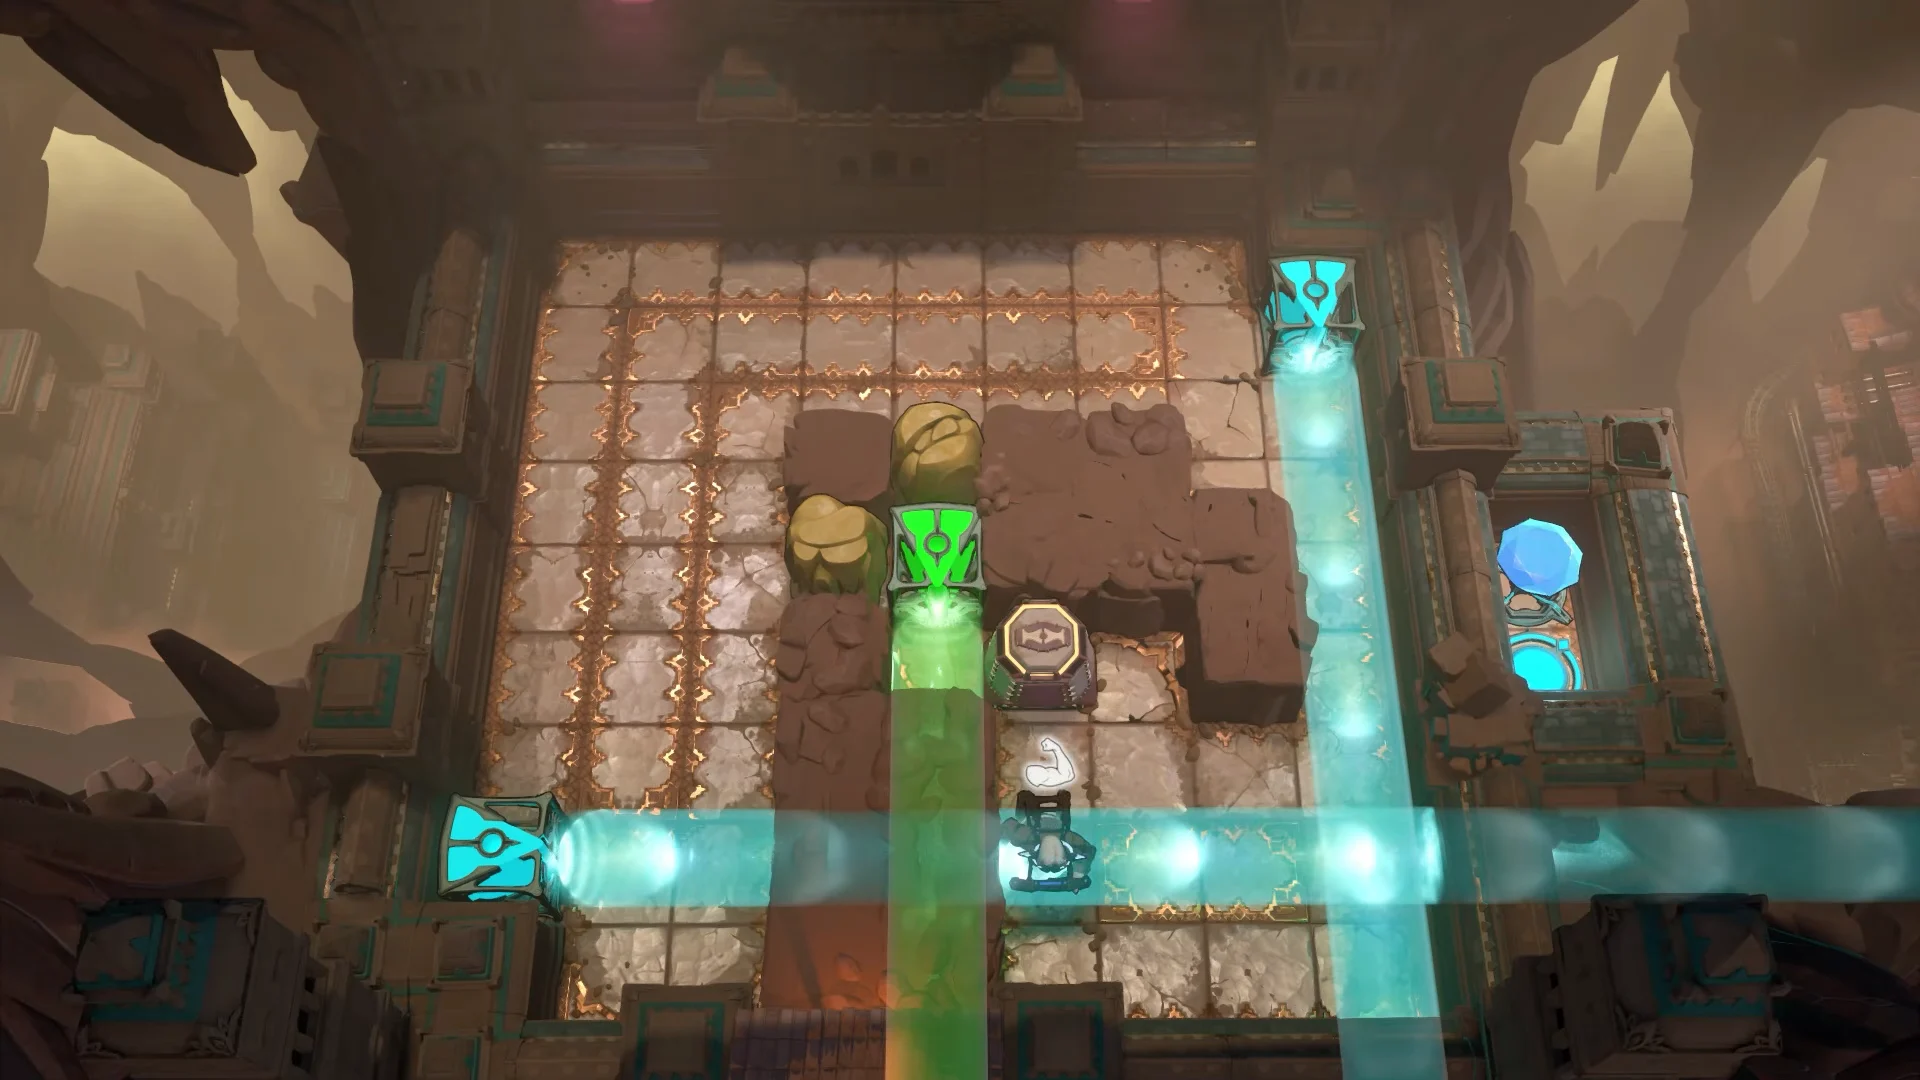
Here you’ll pick up the Torc. To reach the bottom-right, walk through the wall; the far-left emitter is the only one that can reach that spot, and it must point right.
Your facing can’t be changed to right while you’re in that column without help, so use a second green beam. Aim the bottom-right emitter left; stepping into the wall and back out will then leave you facing right.
Set the bottom-right emitter to point left, then enter the wall and step out to switch your facing to the right. Now aim the far-left emitter right and walk through.
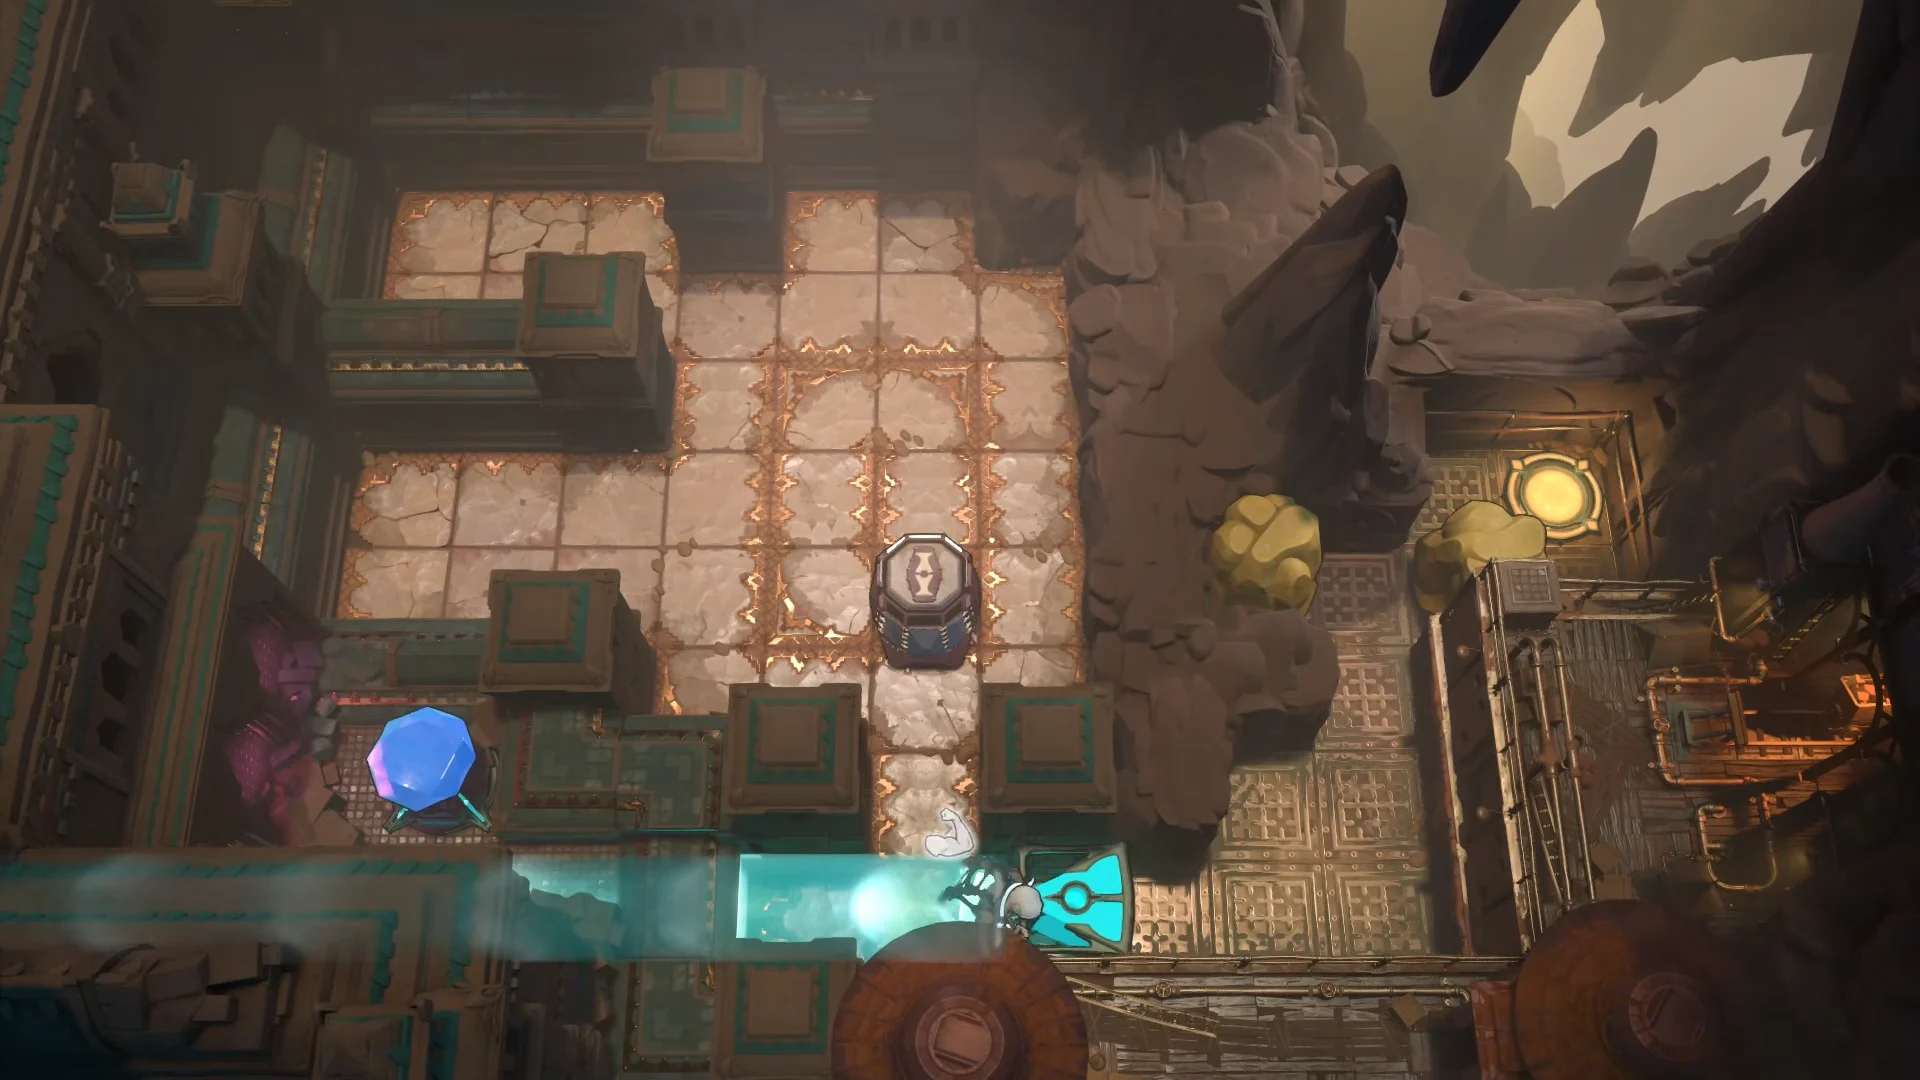
Continue into the next chamber. Rotate the cyan emitter until you can shove it, then use the cart to transport it the remaining distance to the stone you need to move.
You must finish at the end spot facing up. Face upward and let the cart shove you to the bottom; then rotate the emitter until its cyan beam reaches inside and moves the stone.
Keep that cyan emitter facing left as the cart moves it, or you won’t be able to push it to the right later on.
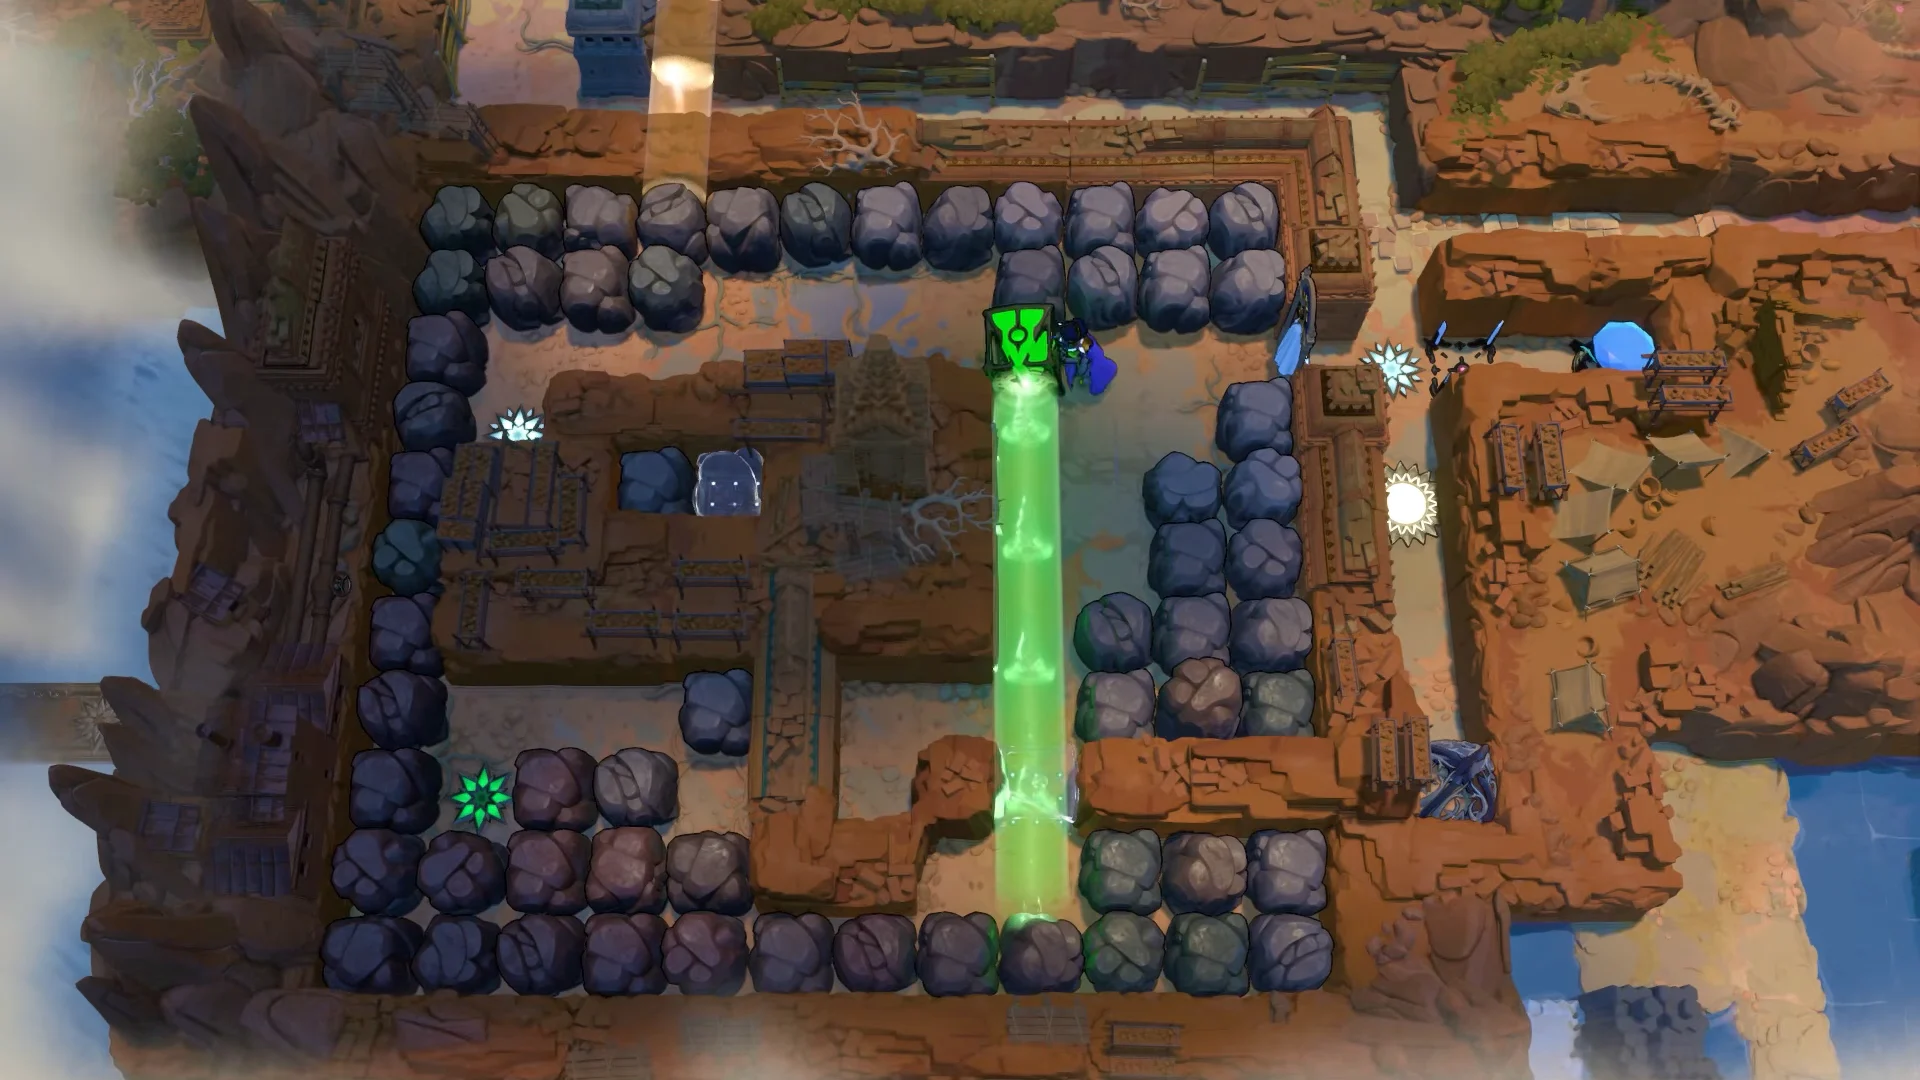
Completing Puzzle 2 activates a green emitter in the courtyard. Turn it on, but first remove the stone blocking the bottom-left tile so the beam can reach it.
Clear the first piece, shift the green emitter one tile to the right and then one tile down. Enter through the wall, push the stone left, and return upward.
This room asks you to keep your facing while the cart pushes you, and you need that trick twice: once to aim the cyan beams, once to aim the green one.
The cart can be pushed upward only when the bottom-left cyan beam points right. Face right and let the cart carry you along; rotate that emitter, then push the cart to the top.
Arrange the last push ahead of time. Point the left cyan emitter right; face right, let the cart move you across, and turn the emitter in that direction.
Repeat the setup with the top-right cyan emitter: aim it left and shove it down one tile. Turn it downward, push it to the bottom row, and then shove it upward.
Once the cart is positioned, turn to face right and quickly aim the green emitter right. The opening doesn’t last long, so you may need several attempts.
After the bottom-right cage opens, rotate the green emitter from its starting position to point right, then walk through to the bottom-right tile. Leave the gold block there alone for now; collecting it requires items found later in the game.
Puzzle 4: the double-cyan push on South 1 West 1
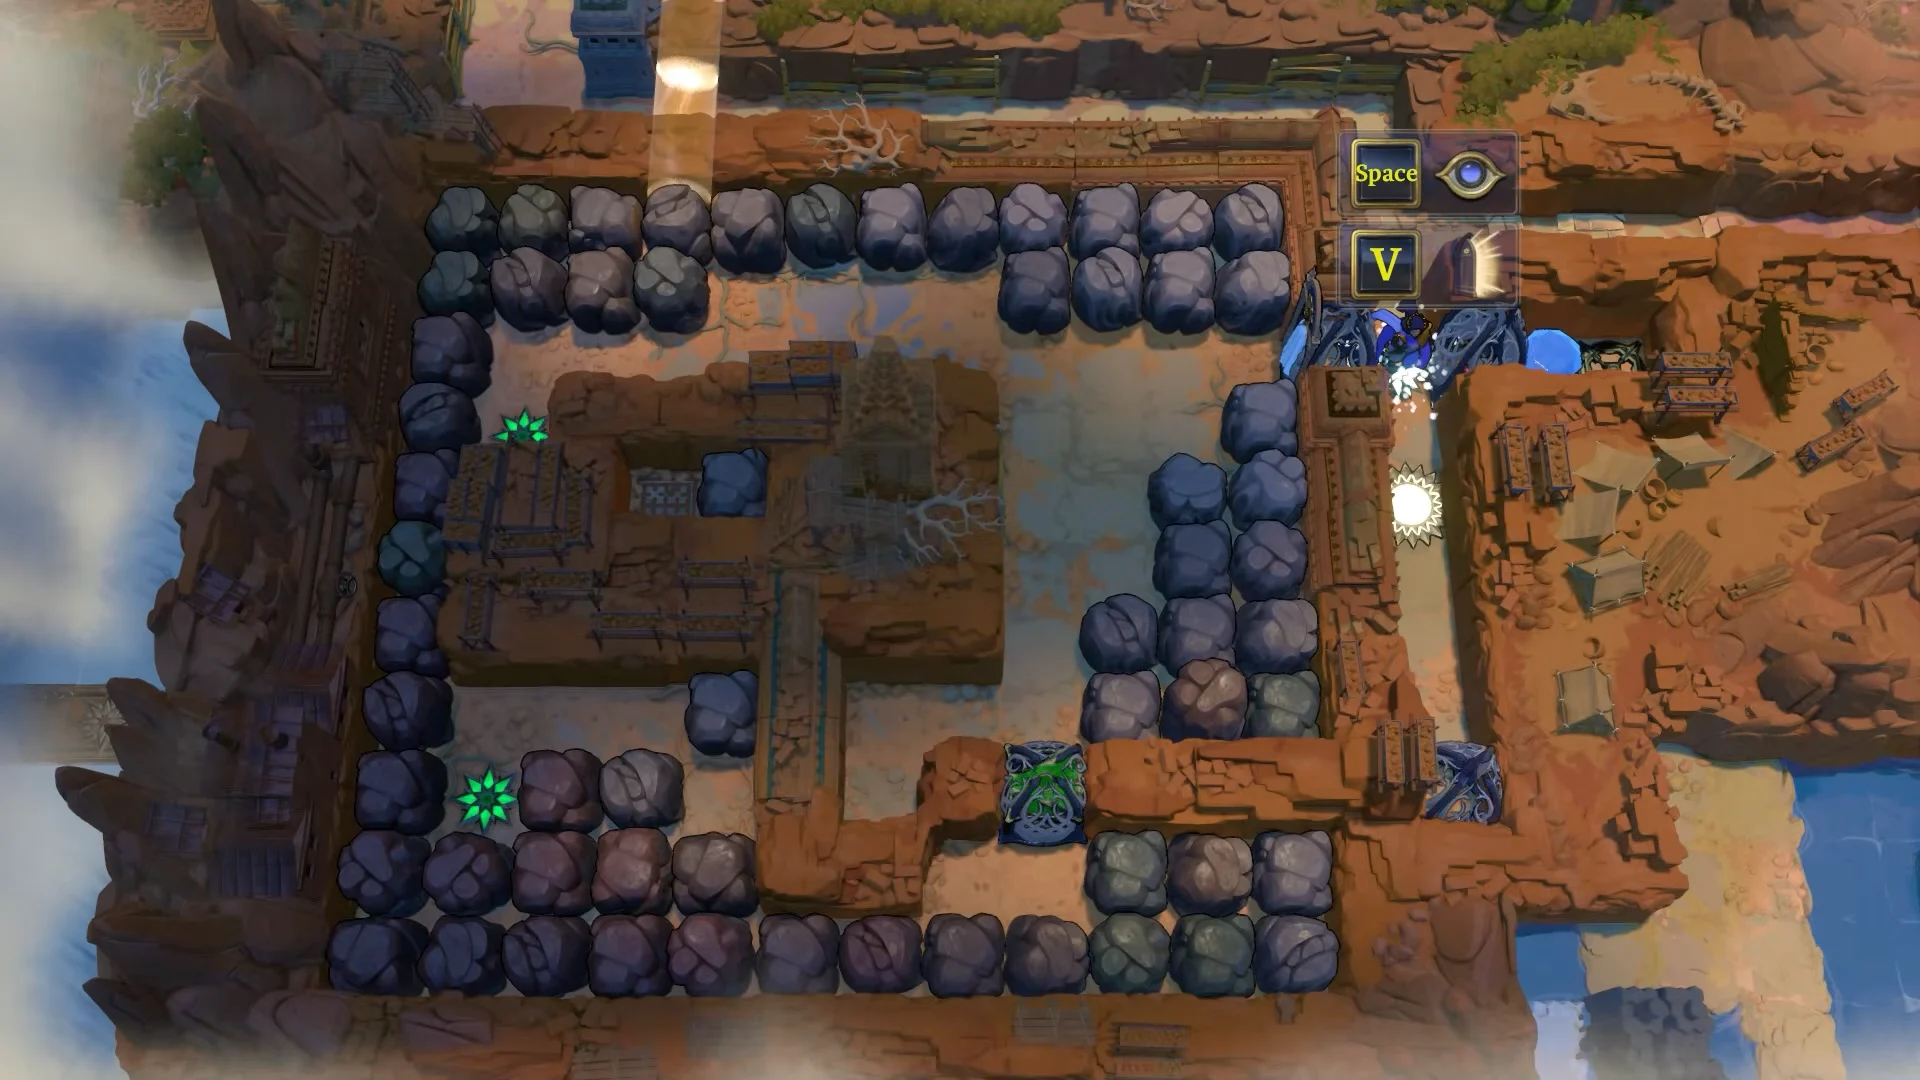
Puzzle four, the finale, is on the South 1 West 1 tile. It brings together the earlier mechanics and concludes with a one-shot push: overlapping cyan beams let you move a full line of stones, making the final move possible.
Direct the upper-left beam downward, moving the cyan emitter into the stone row destined to go right. Recover the gem, put it in this position, and shove the stone right.
Since one cyan beam moves only one stone, the two stacked stones require both beams. Activate the second cyan beam to overlap the first, then shove the entire line. Pick up the gem again.
Set up the bottom row before you move the cart. Activate the top-left beam, push its emitter down to the row containing the three stones, and switch it on.
A gem on the right is blocking the cart, which can’t move gems. Pick it up so the cart can shove the cyan emitter out, then place the gem directly on that beam’s socket. Move with the cart and push the three stones right; this opens the cage.
The cart pushes that emitter out only once. When it reaches the end it cannot push the emitter back, so have the bottom row set up before you release it.
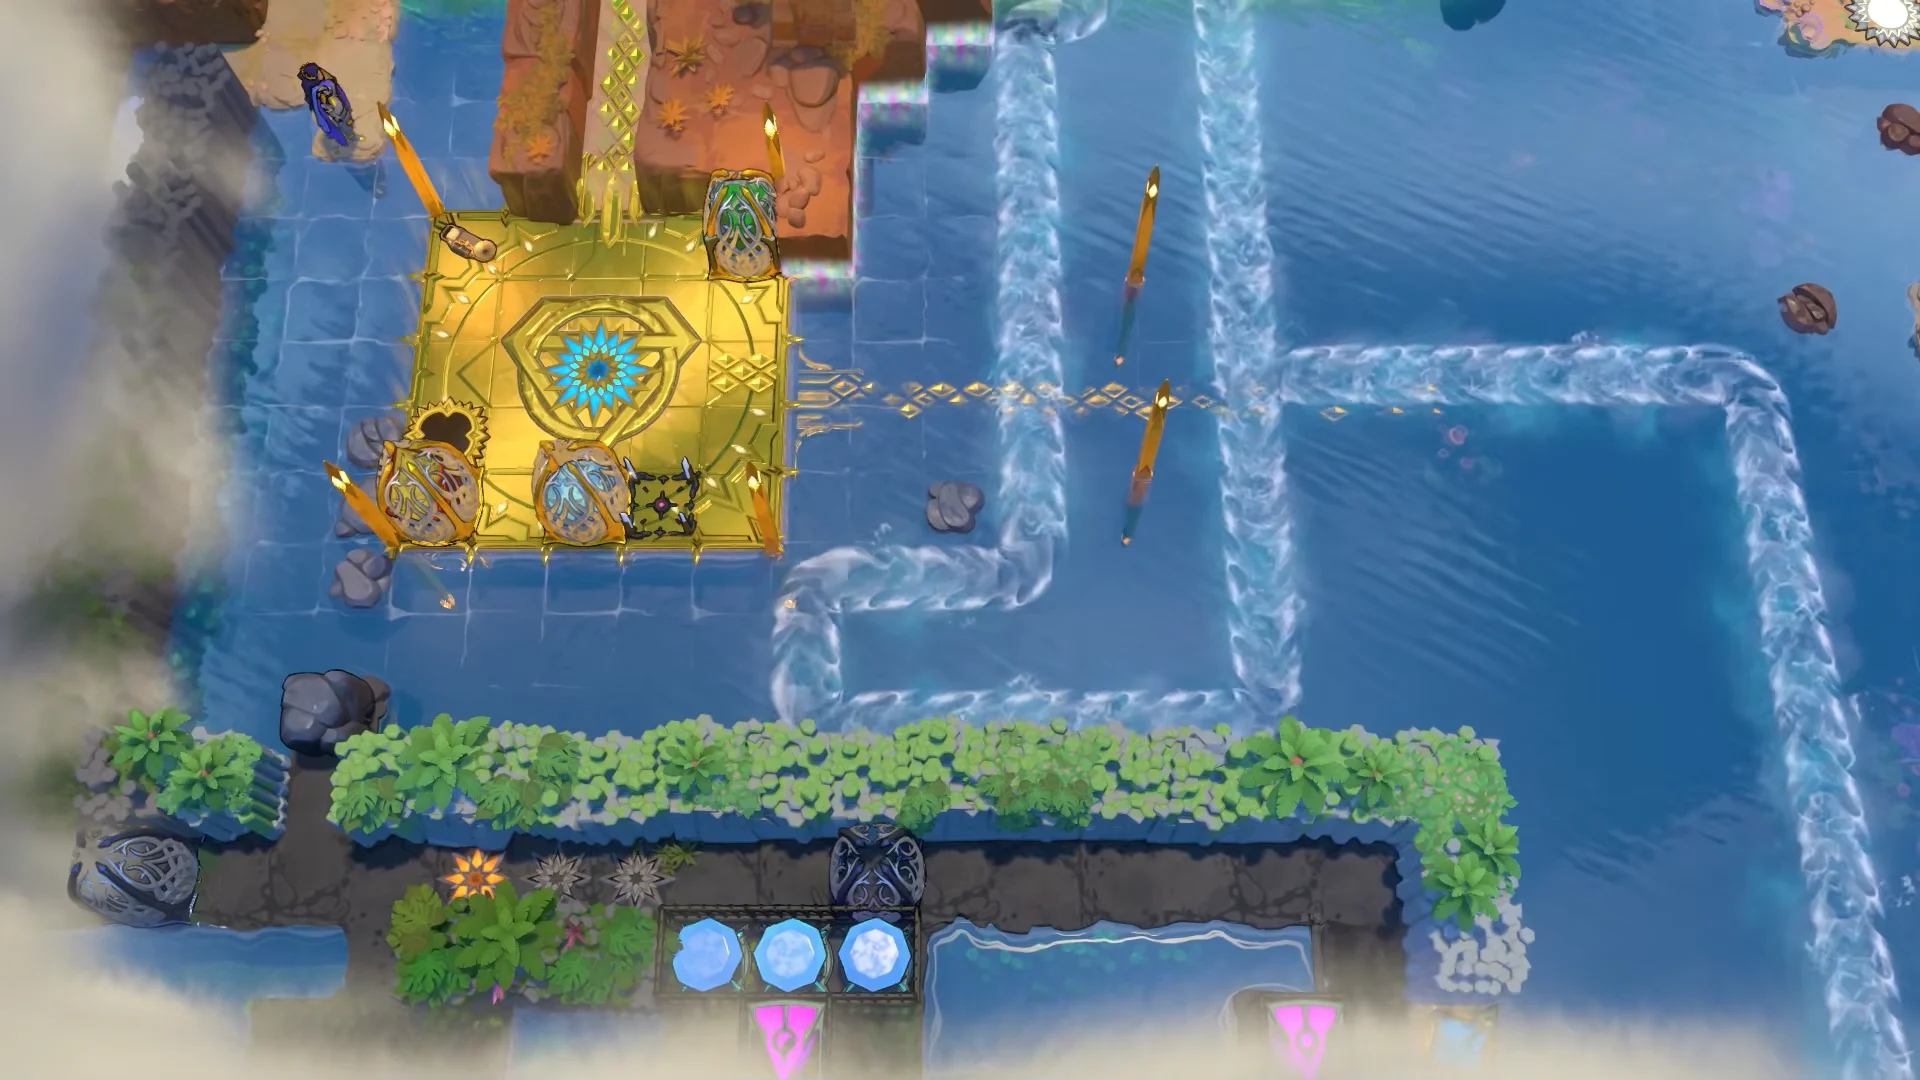
With the puzzles cleared, the Torc surface becomes one long beam network. Pull and position the movable green emitter and angle the prism blocks along the tracks in the canyon bed so the light runs as a single continuous beam.
Point the last prism block east so its powerful green beam crosses the chasm and reaches the Vault of the Beamcasters, where it lights the central flower receptor. With the beam connected, take the path east to the Crossroads gate.
You’ll know Torc is done when the green beam reaches the Vault of the Beamcasters and its central receptor lights up, the global map shows the illuminated paths, and the Crossroads gate to the east is open to walk toward. Each individual puzzle also confirms itself the moment its cage or receptor unlocks.