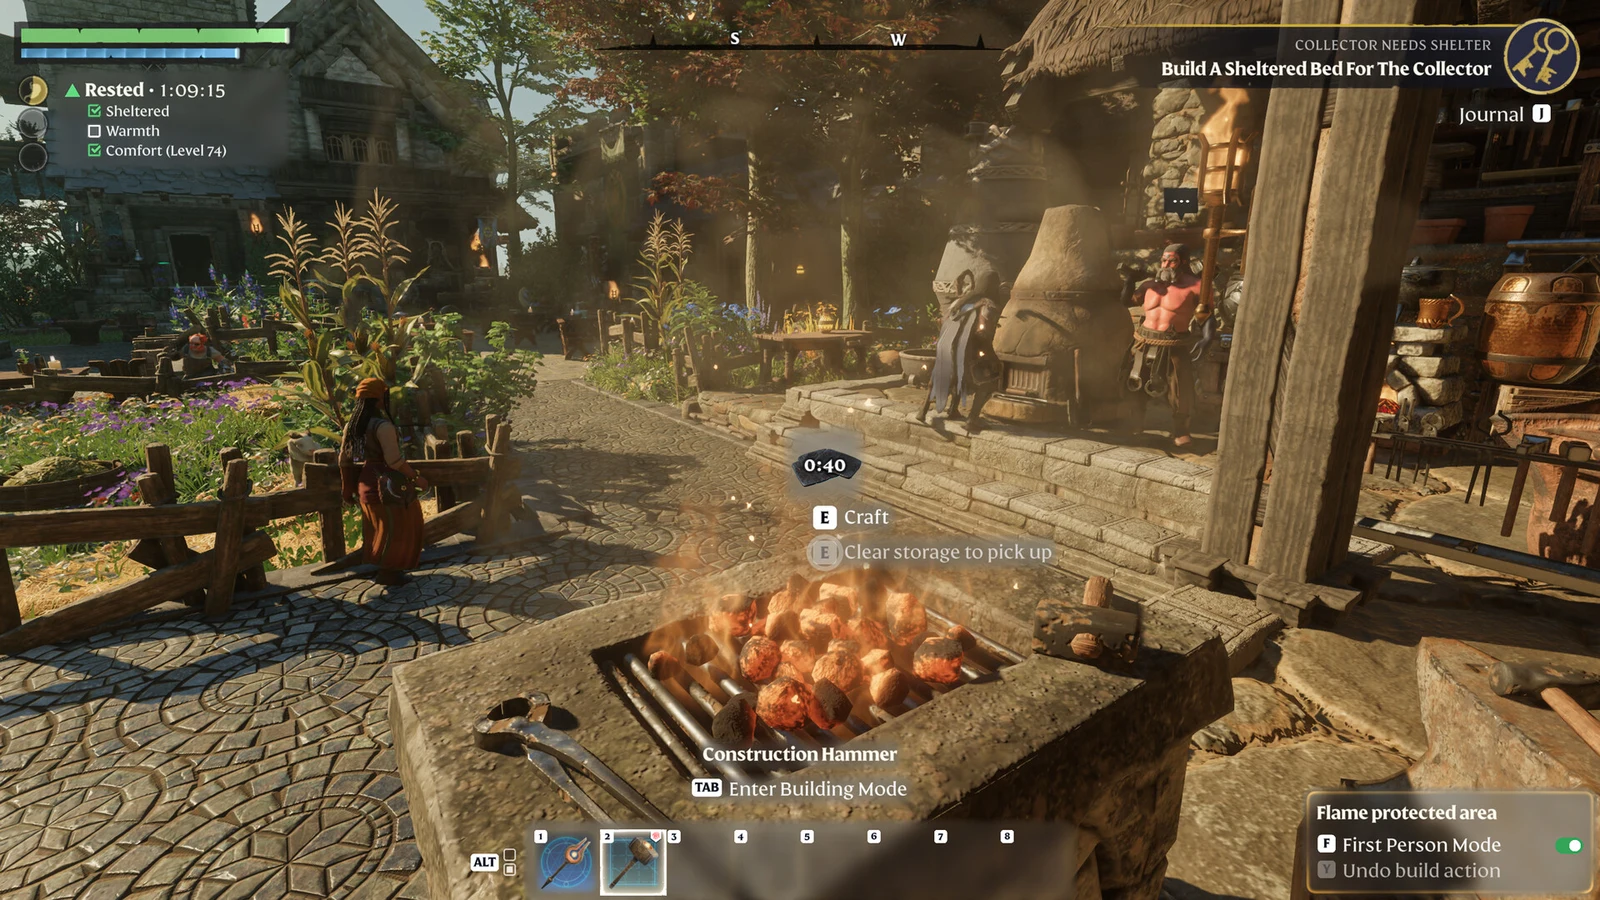
Building in Enshrouded runs on a voxel system with no structural integrity, so blocks float wherever you leave them and the Construction Hammer can add or erase whole sections at once. That freedom hides a set of techniques that cut material-gathering time, reshape terrain in seconds, and squeeze far more out of your Flame Altar than placing walls one at a time ever will. The tricks below cover the ones that change how fast you build and how long you can stay out adventuring.
Farm building blocks fast by deconstructing settlements
Abandoned settlements and enemy camps are full of pre-built stone and timber. You can harvest all of it in bulk instead of chipping away with a pickaxe, and the only tools you need are a Flame Altar, a Workbench, and a stack of the cheapest blocks you can craft.
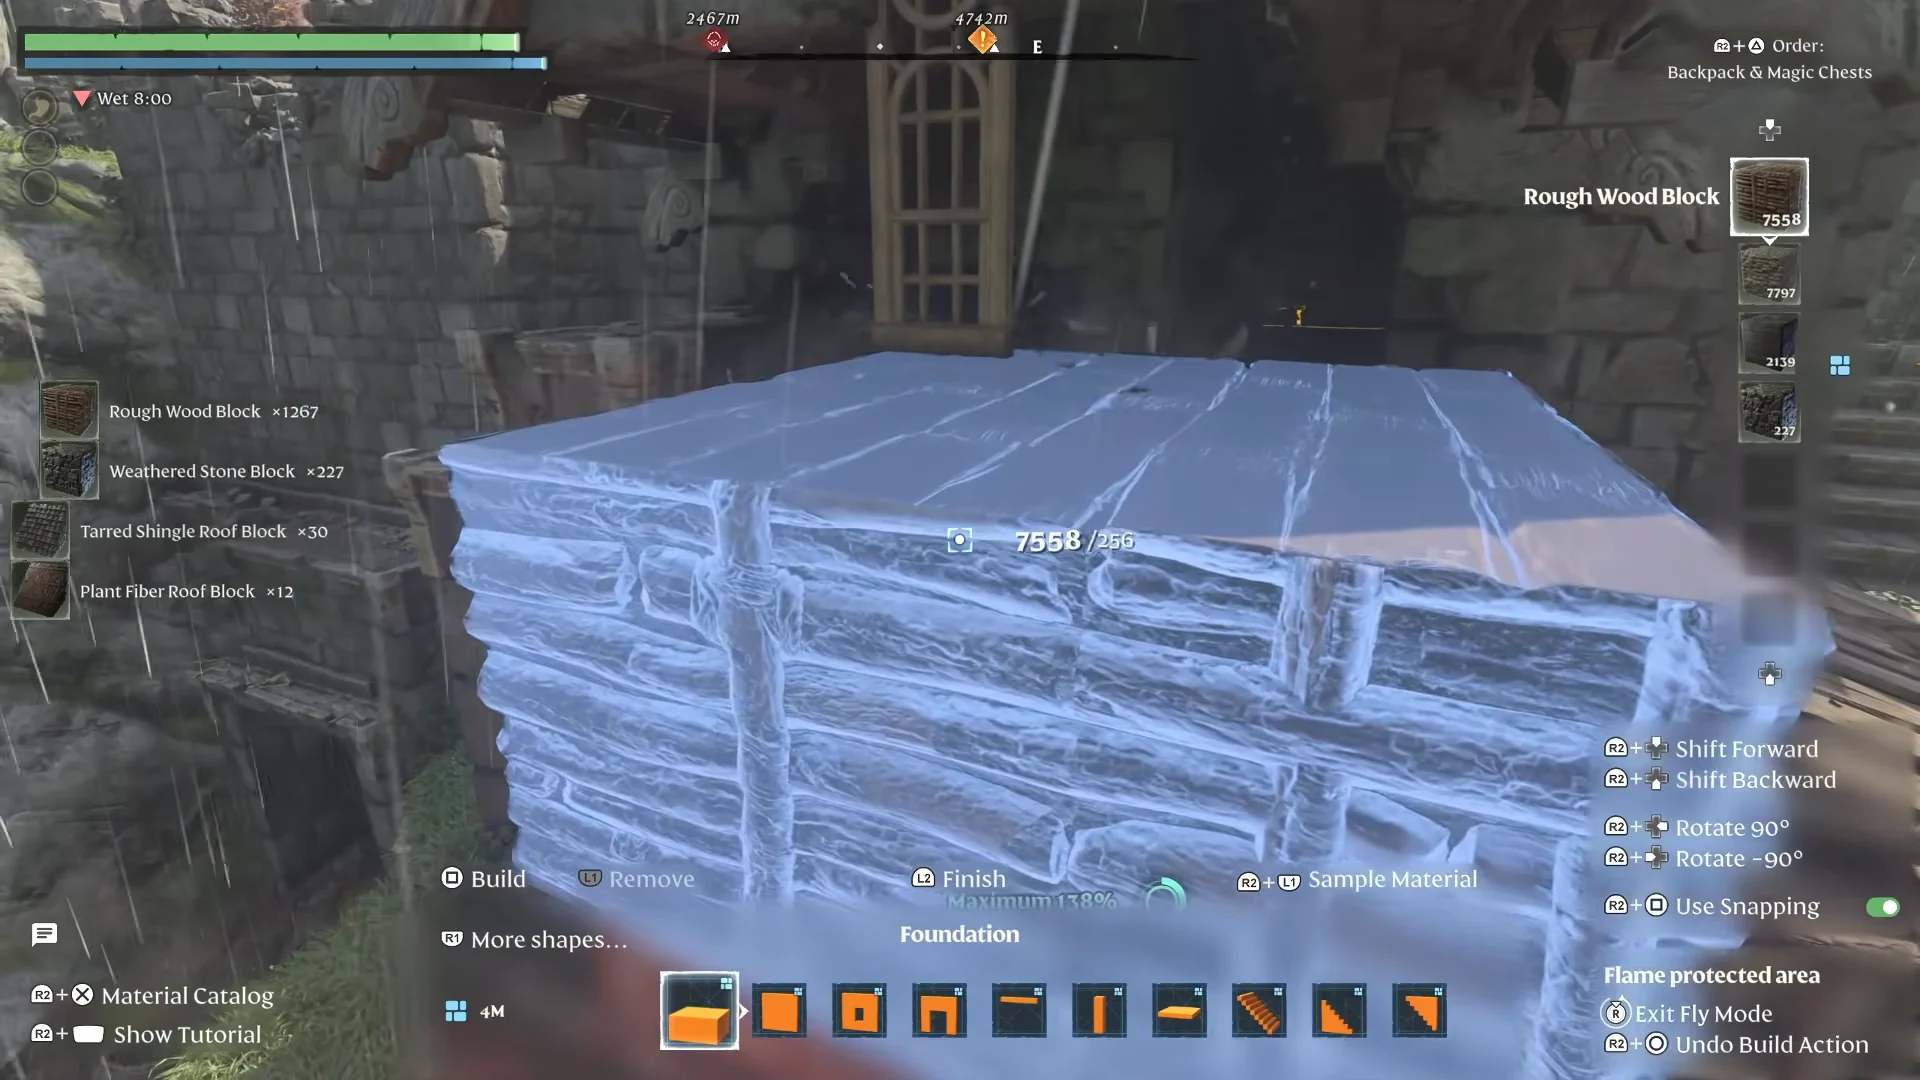
Once you own enough of a material to craft its largest block shape, you can keep farming it the same way anywhere you find that material in the world.
Raise a Flame Altar above ground level
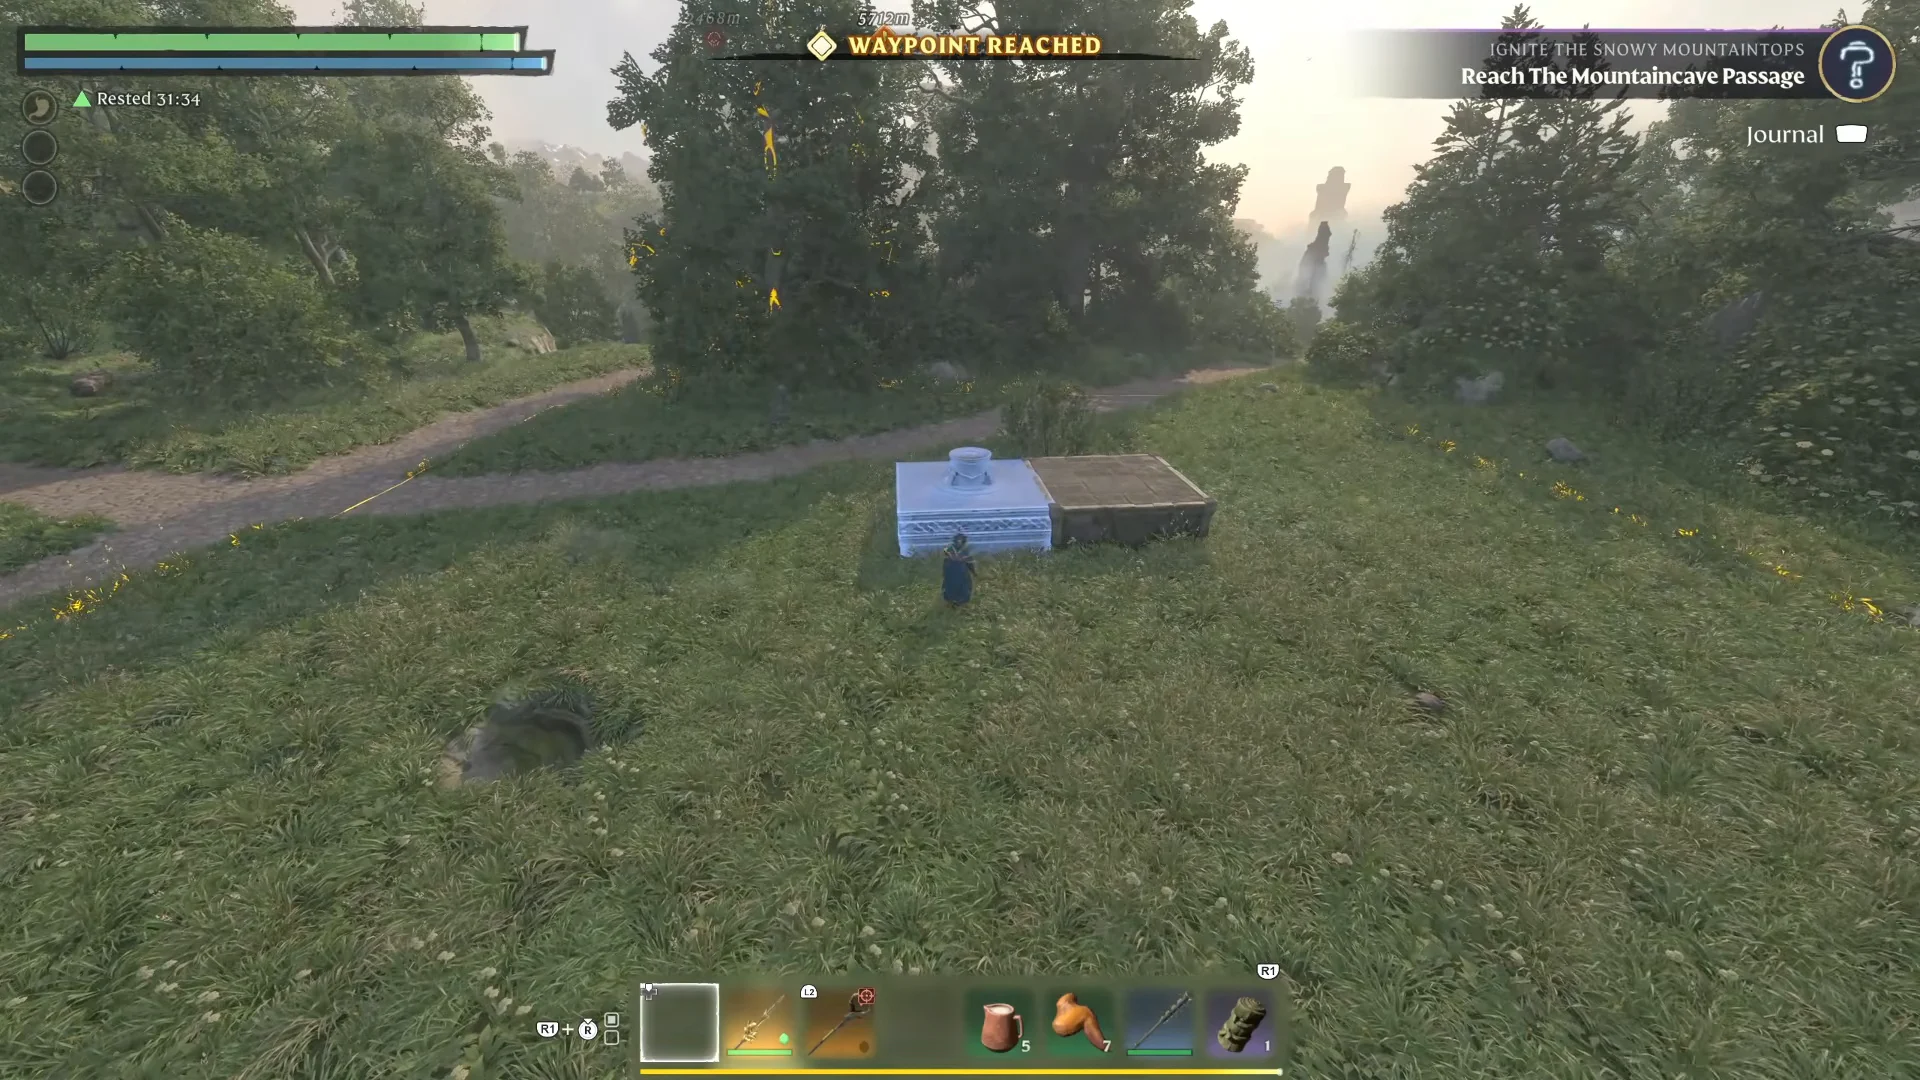
Flame Altars snap only to the ground by default, which is a problem for sky bases and elevated platforms. You can force one to sit higher by giving it a block to snap against.
Carve trenches and basements with foundation blocks
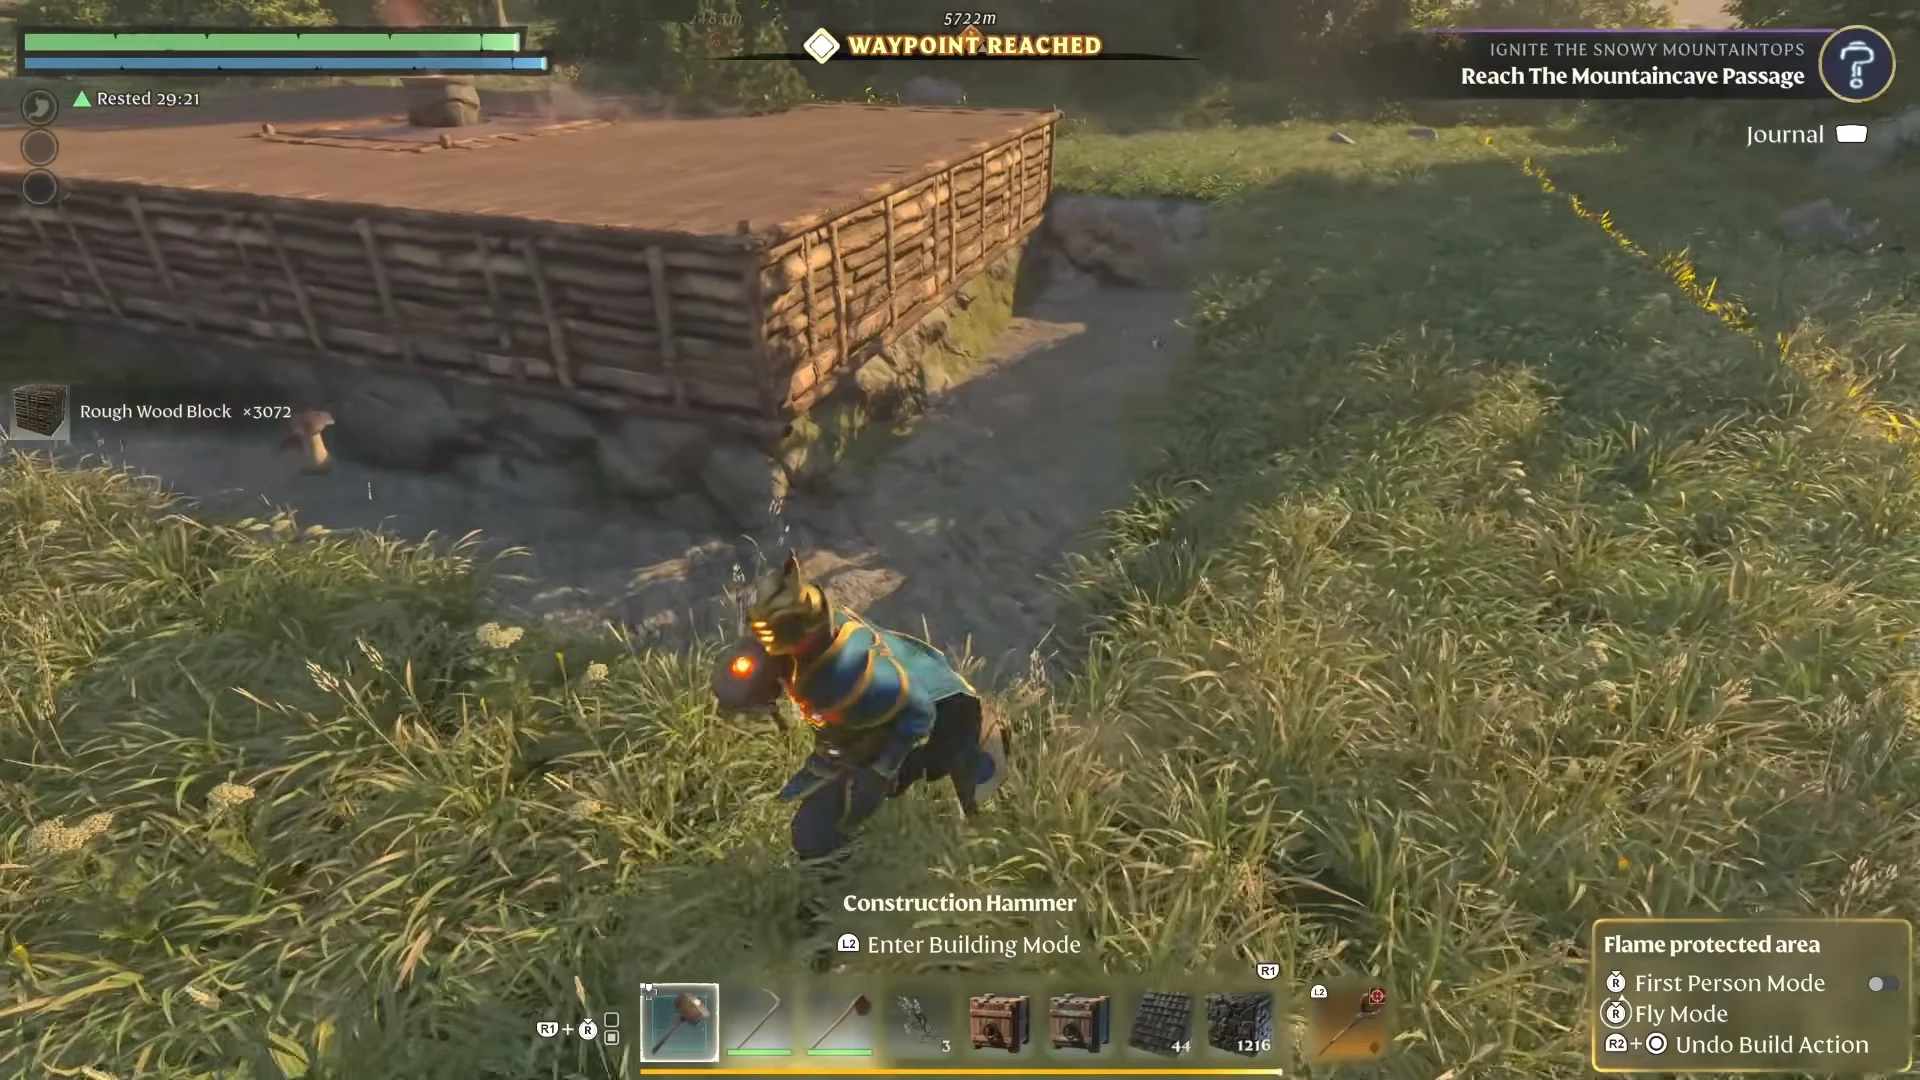
Digging out a basement or a clean pathway with a pickaxe is slow and leaves ragged edges. Foundation blocks remove terrain in tidy cubic chunks instead. Turn snapping off, line up a Foundation shape so it sits partly underground, place it, then remove it with the hammer. The terrain it occupied is cleared instantly, leaving a flat-walled trench or pit. Repeat along a line to cut a path or drop straight down to carve out a cellar.
Shape windows and trim with negative space
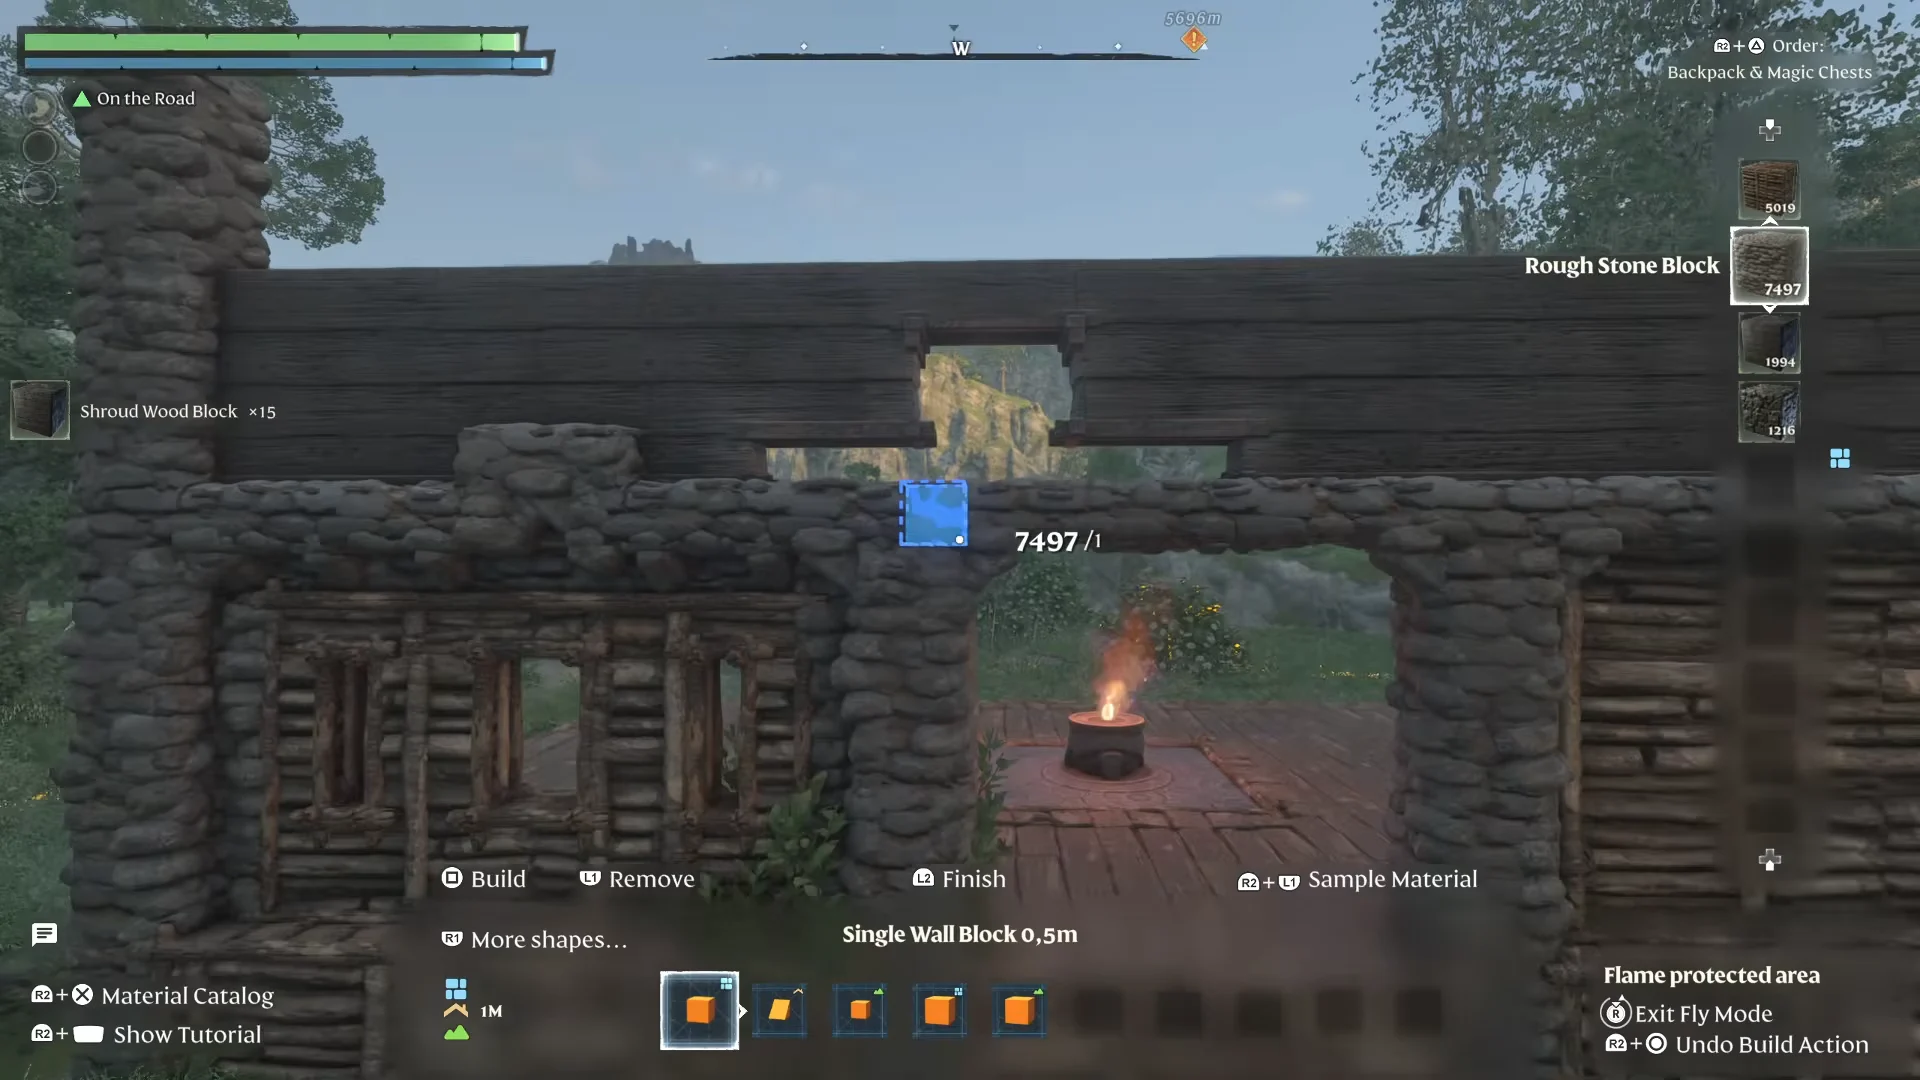
Every hammer shape works in two directions. In its normal mode it adds blocks, and in Remove mode the same shape erases them. That makes the hammer a sculpting tool as much as a building tool.
Build a solid wall with a large shape, then switch to a small 1m or 0.5m single-block shape in Remove mode and cut openings out of it. This is how you get custom window shapes, recessed trim, and decorative loopholes that the preset wall pieces do not offer. You can also inlay stone pillars and door frames into a carved border to give flat walls texture and depth.
Add roof overhangs for realistic eaves
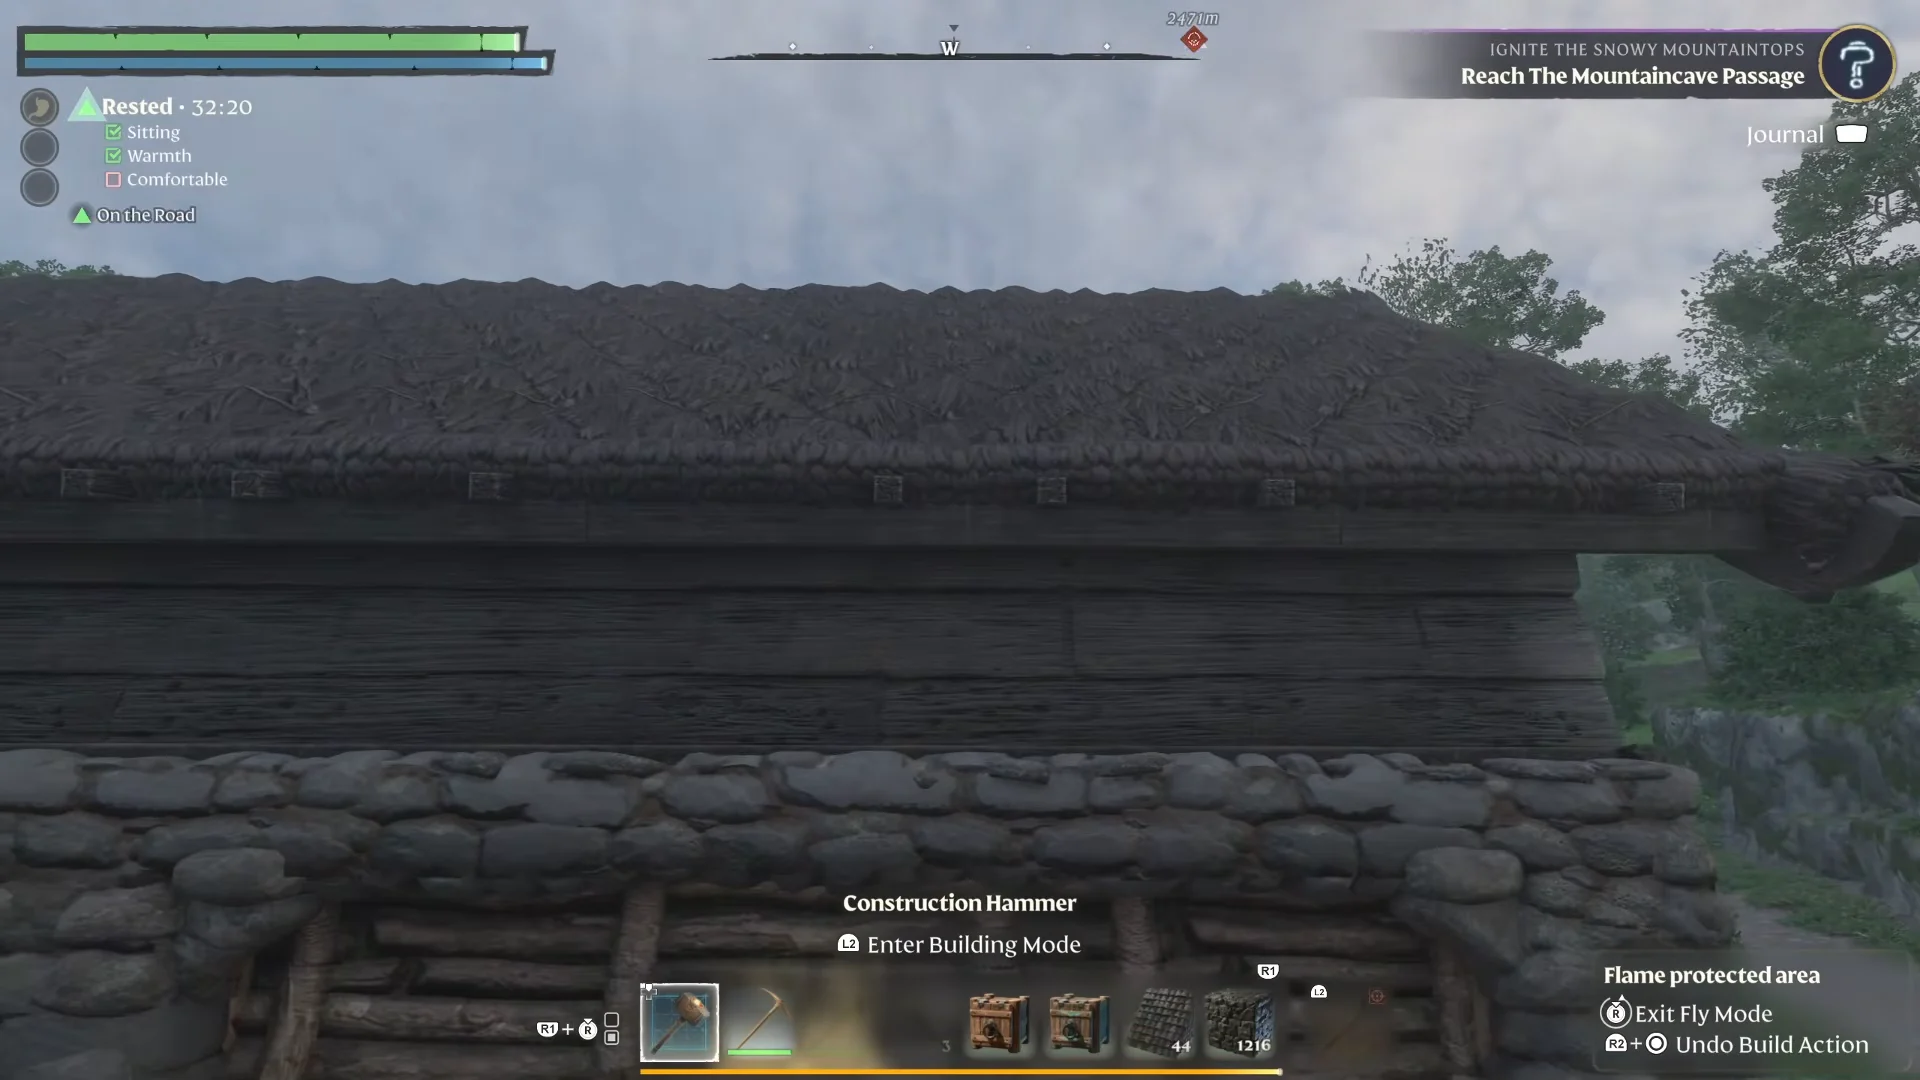
Roof pieces placed flush against the walls look artificial. Turn off snapping and manually nudge each roof piece 0.5 to 1 full block outward and downward past the wall line. The projecting edge reads as a proper eave and gives the whole structure a more grounded shape. Tarred Shingle Roof Blocks and Plant Fiber Roof Blocks both work for this, depending on the look you want.
Upgrade and manage storage with Magic Chests
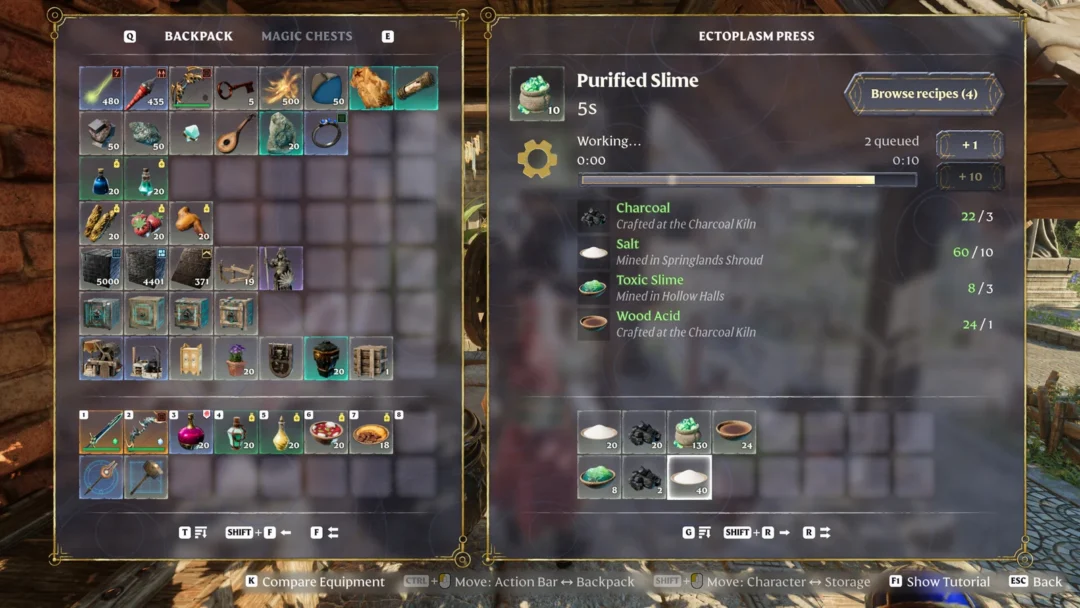
Magic Chests let crafting benches and your own crafting menu pull resources remotely from anywhere inside the base, so you stop shuttling materials between storage and stations. They come in Small, Medium, Large, and larger tiers.
You never have to empty a chest to upgrade it. Open the chest, press Enlarge, and if you have the materials it jumps to the next tier in place with its contents intact.
Quick stacking speeds up deposits by dumping any items from your inventory that already exist in a chest. If a chest keeps grabbing things you want to keep on hand, open it and toggle Receive Quick Stacking off so it stops accepting quick-stacked items. That protects a chest holding hotbar consumables from being raided by a quick-stack dump.
Place and lock down NPCs with the Summoning Staff
The Summoning Staff places your rescued Survivors, Assistants, and Villagers wherever you want them in the base. By default they wander, which is a problem when you want a craftsperson standing at their station.
- Set a villager’s Roaming Range to 0m to turn roaming off and lock them in place.
- Assign craftspeople a bed under shelter; this unlocks their crafting recipes and dialog.
- Place animal beds away from walls so animals do not get stuck against them.
Raise Comfort to extend the Rested buff
The Rested buff increases your maximum stamina and speeds stamina regeneration, and its duration is driven by your base’s Comfort level. Higher Comfort means longer trips before the buff runs out.
Comfort does not stack within a category. Placing three different chairs from Basic Comfort still counts once. To climb the Comfort score you have to pull one item from each separate furniture subcategory instead of piling up duplicates.
- Comfort Furniture – Basic Comfort
- Comfort Furniture – Illumination
- Comfort Furniture – Carpets
- Comfort Furniture – Wall Decorations
Shelter, meaning a roof overhead, and warmth from a nearby fire or the Flame Altar are also required for the buff to apply. A skill in the tree adds roughly five minutes on top, which is enough to keep going after a death even from a quick dug-out shelter.
Decorative tricks: railings and hidden chimney smoke
Several decoration pieces double as something else when you fine-tune their position. Stone Wall Drains and Wooden Window Frames laid flat along a balcony edge work as balustrades, giving you railing styles the fence catalog does not include.
Standing Torches throw off rising smoke particles, which you can turn into a working chimney. Build a hollow stone column, drop a Standing Torch into it using the fine-tune position controls, then seal the lower portion with blocks. The flame disappears from view while smoke keeps drifting out of the top, so the chimney reads as lit without a visible torch.