Death shows up twice in Castlevania: Belmont’s Curse, and the two encounters play very differently. The first, in the Catacombs of Paris, stops partway through on a story cutscene no matter how well you fight. The second, in the Notre-Dame Transept, can actually be won and rewards you with a new Arcana card.
What separates the two Death fights
The two encounters share a “Death” boss bar and scythe, so his attacks feel familiar. Their arenas and endings differ.
- Catacombs (Stairway to Hell): comes earlier in the story, ends on a cutscene with his bar still part full, and gives no reward and no kill.
- Notre-Dame Transept: comes later, ends in a kill, grants the trophy, and hands you a new Arcana card.
Fight 1: Catacombs, Stairway to Hell
In the Catacombs of Paris, activate the pedestal, then cross the glowing red portal into the Stairway to Hell. Navigate the green-lit chamber: trigger its floor switch, ride the elevator cage, and descend through the shafts. A lengthy cutscene shows a ritual seal opening before Death appears; combat begins when the image returns and the “Death” bar comes up.
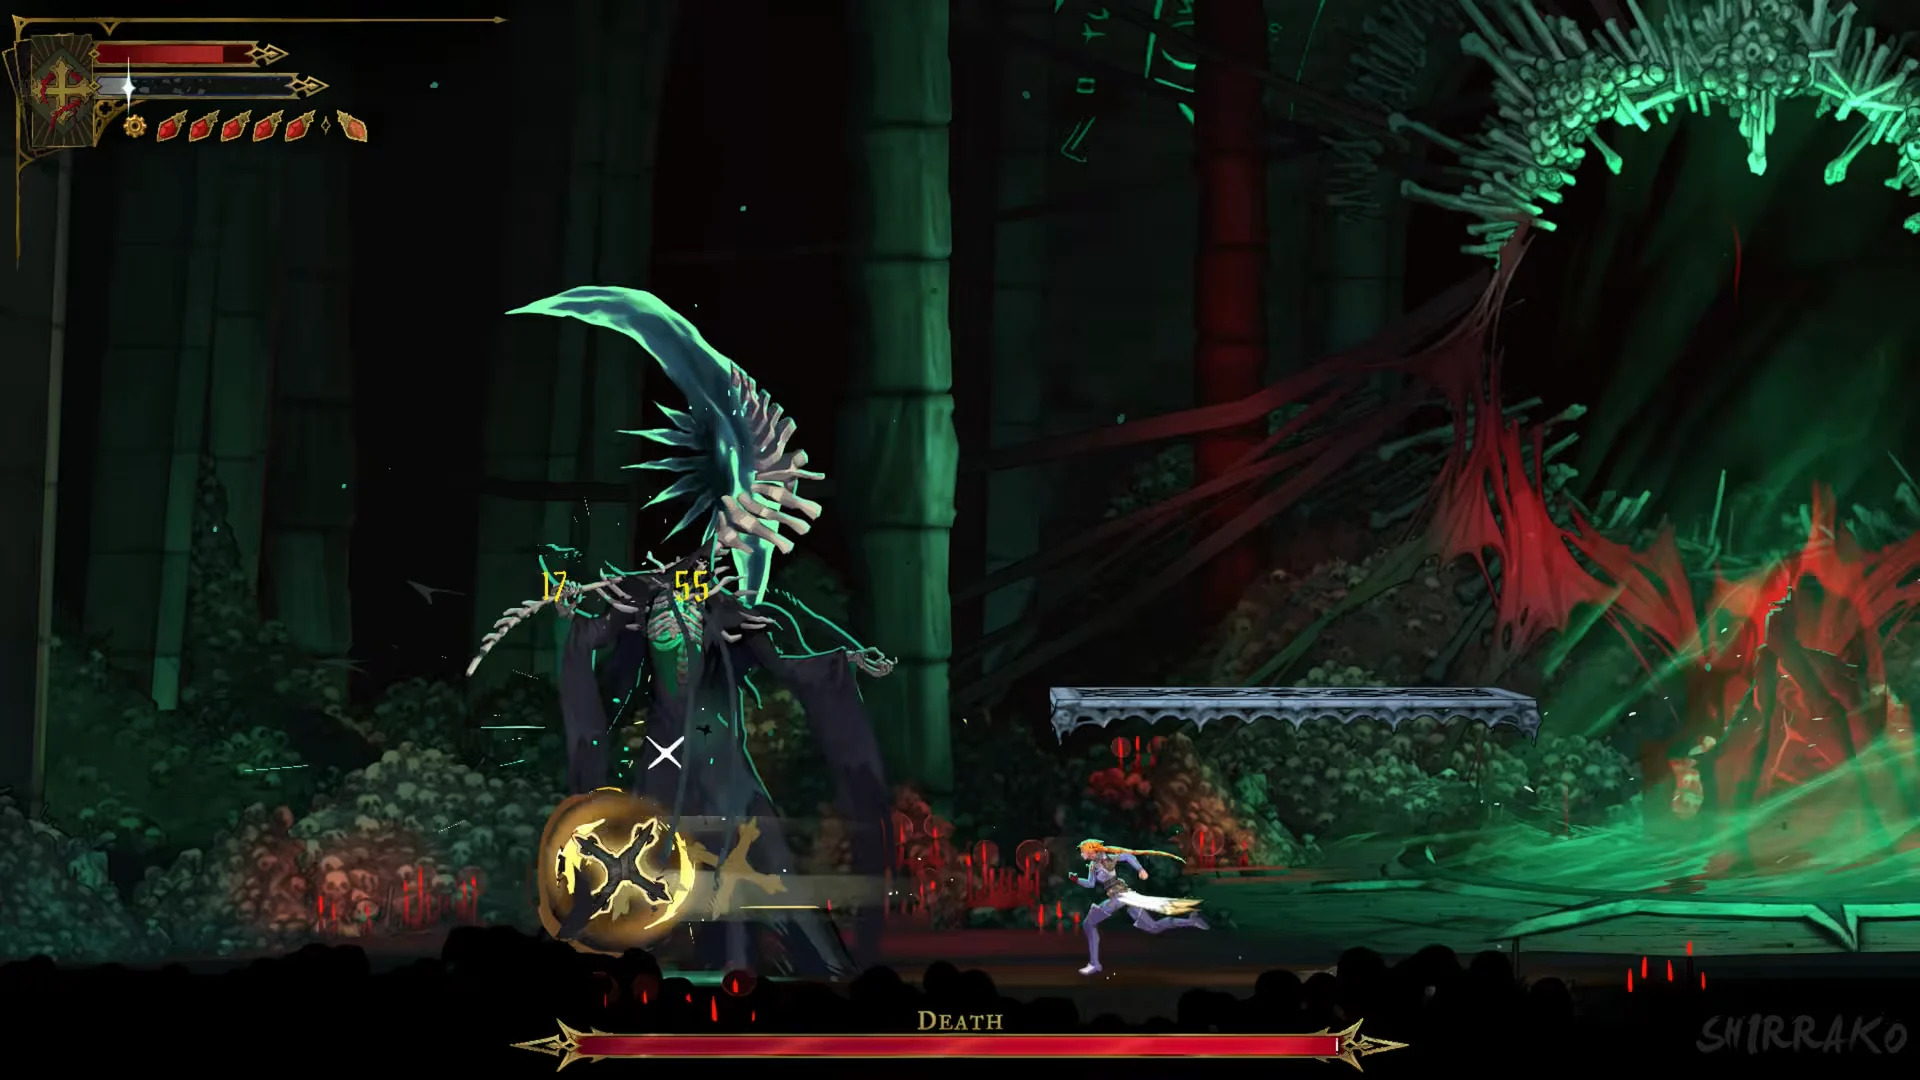
A level stone platform fronts a huge green portal bordered by bones. On its right, a narrow stone ledge rises above the ground; standing there avoids attacks that travel along the floor.
How to read his attacks
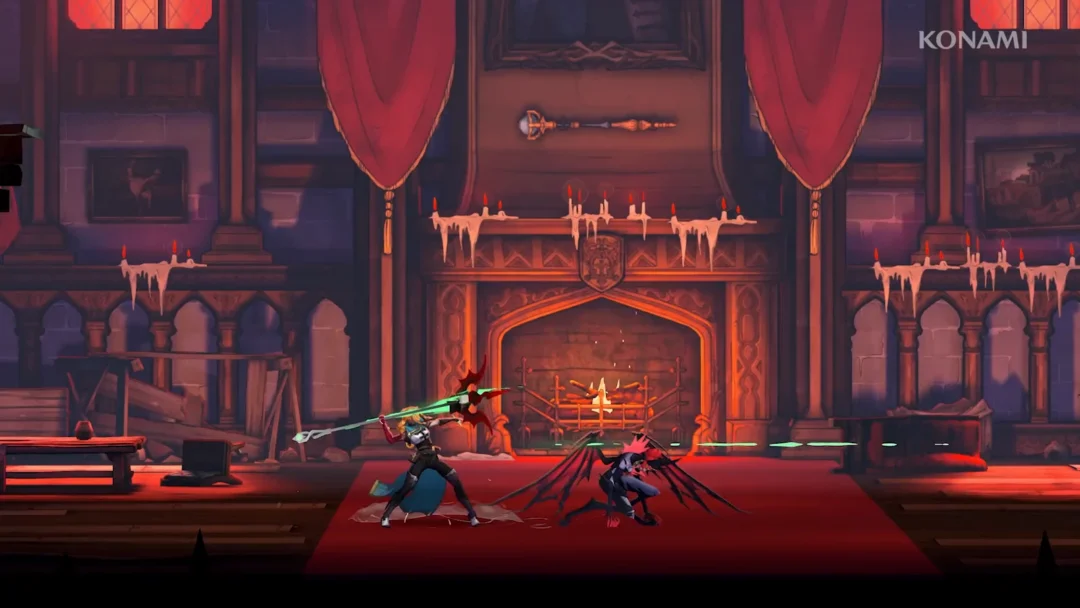
- Overhead scythe chop: He hoists the massive weapon behind his head, then sends its blade sweeping over the ground. Slip beneath the swing, reach his rear, and strike.
- Low dash slash: He draws the scythe back near the ground, then charges forward. Pass through his rush with a slide, come out behind him, and lash him.
- Green crescent wave: A scythe sweep releases a green arc that glides along the floor. Clear it with a jump or dash, or take cover on the raised slab.
- Teleport and downward slash: Dark mist swallows him; moments later he appears above your position. Dodge beneath him, then get clear of the landing spot.
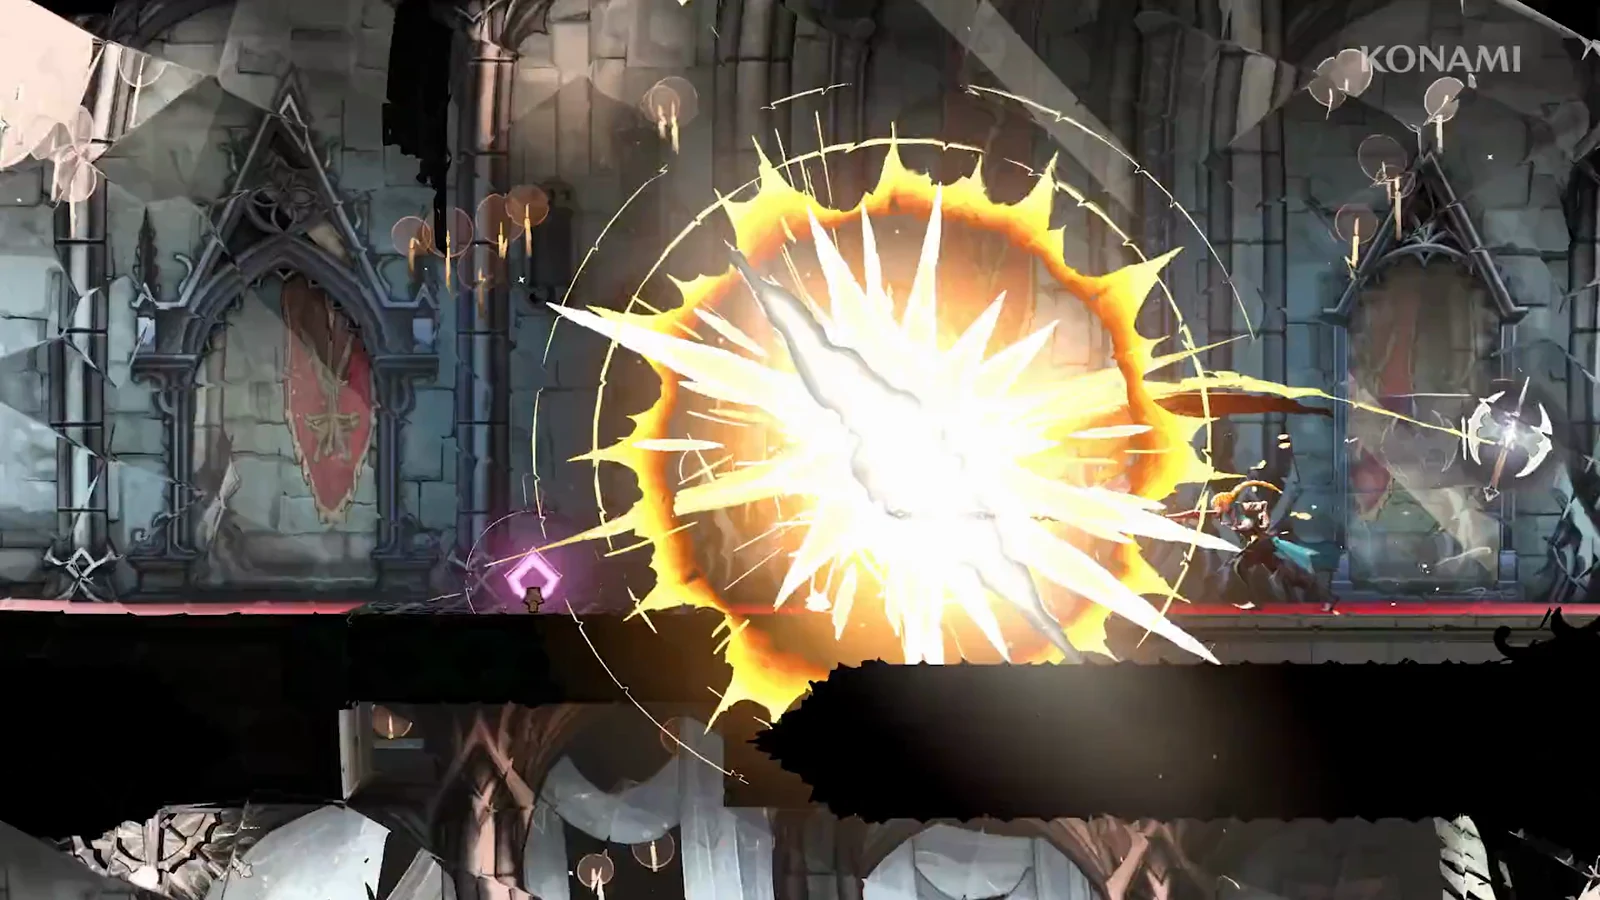
While he stays on the far side, casting the Holy Cross spell (from The Fallen’s Arcana) connects, sending the yellow cross wheel flying across the floor. If your health drops, heal up; the text “HEALED” appears on Rose.
The final floor band attack
The encounter ends with a scripted attack. Portal-side runes begin glowing, followed by a broad green energy strip moving across the floor at screen height; guide lines appear before it does. Jump clear or stand on the raised slab, letting the strip travel below you.
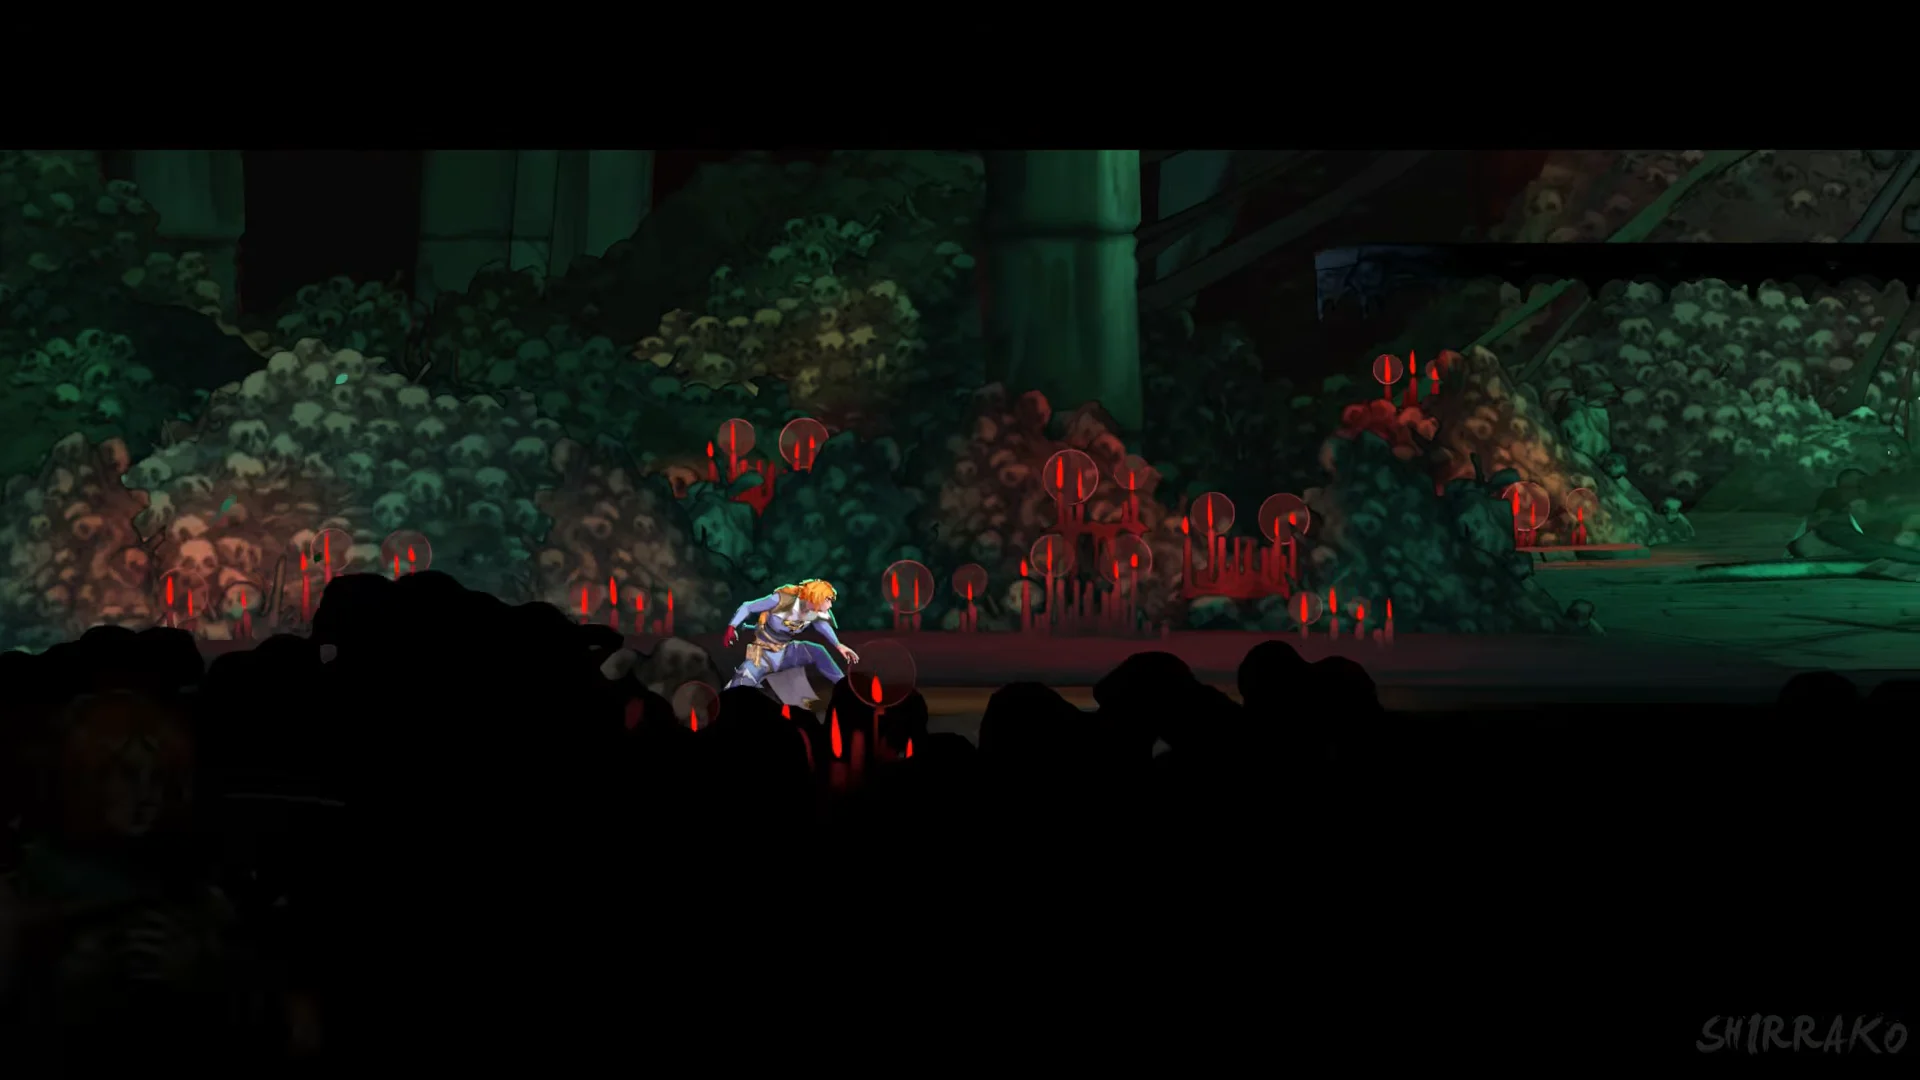
Once the attack finishes, the view shifts to Death suspended in the portal, addressing Rose; his boss bar has vanished although his health remains. A longer cinematic then shows the city burning, Dracula’s castle, and dark red energy hitting Rose. No reward is given at this point: survive the attack and continue with the story.
Fight 2: Notre-Dame Transept
Enter the Notre-Dame Transept, marked by the area banner reading “TRANSEPT”. A cutscene shows Trevor held on a golden cross above a dark purple sphere while Death speaks, and the fight begins after a black screen with the “Death” bar.
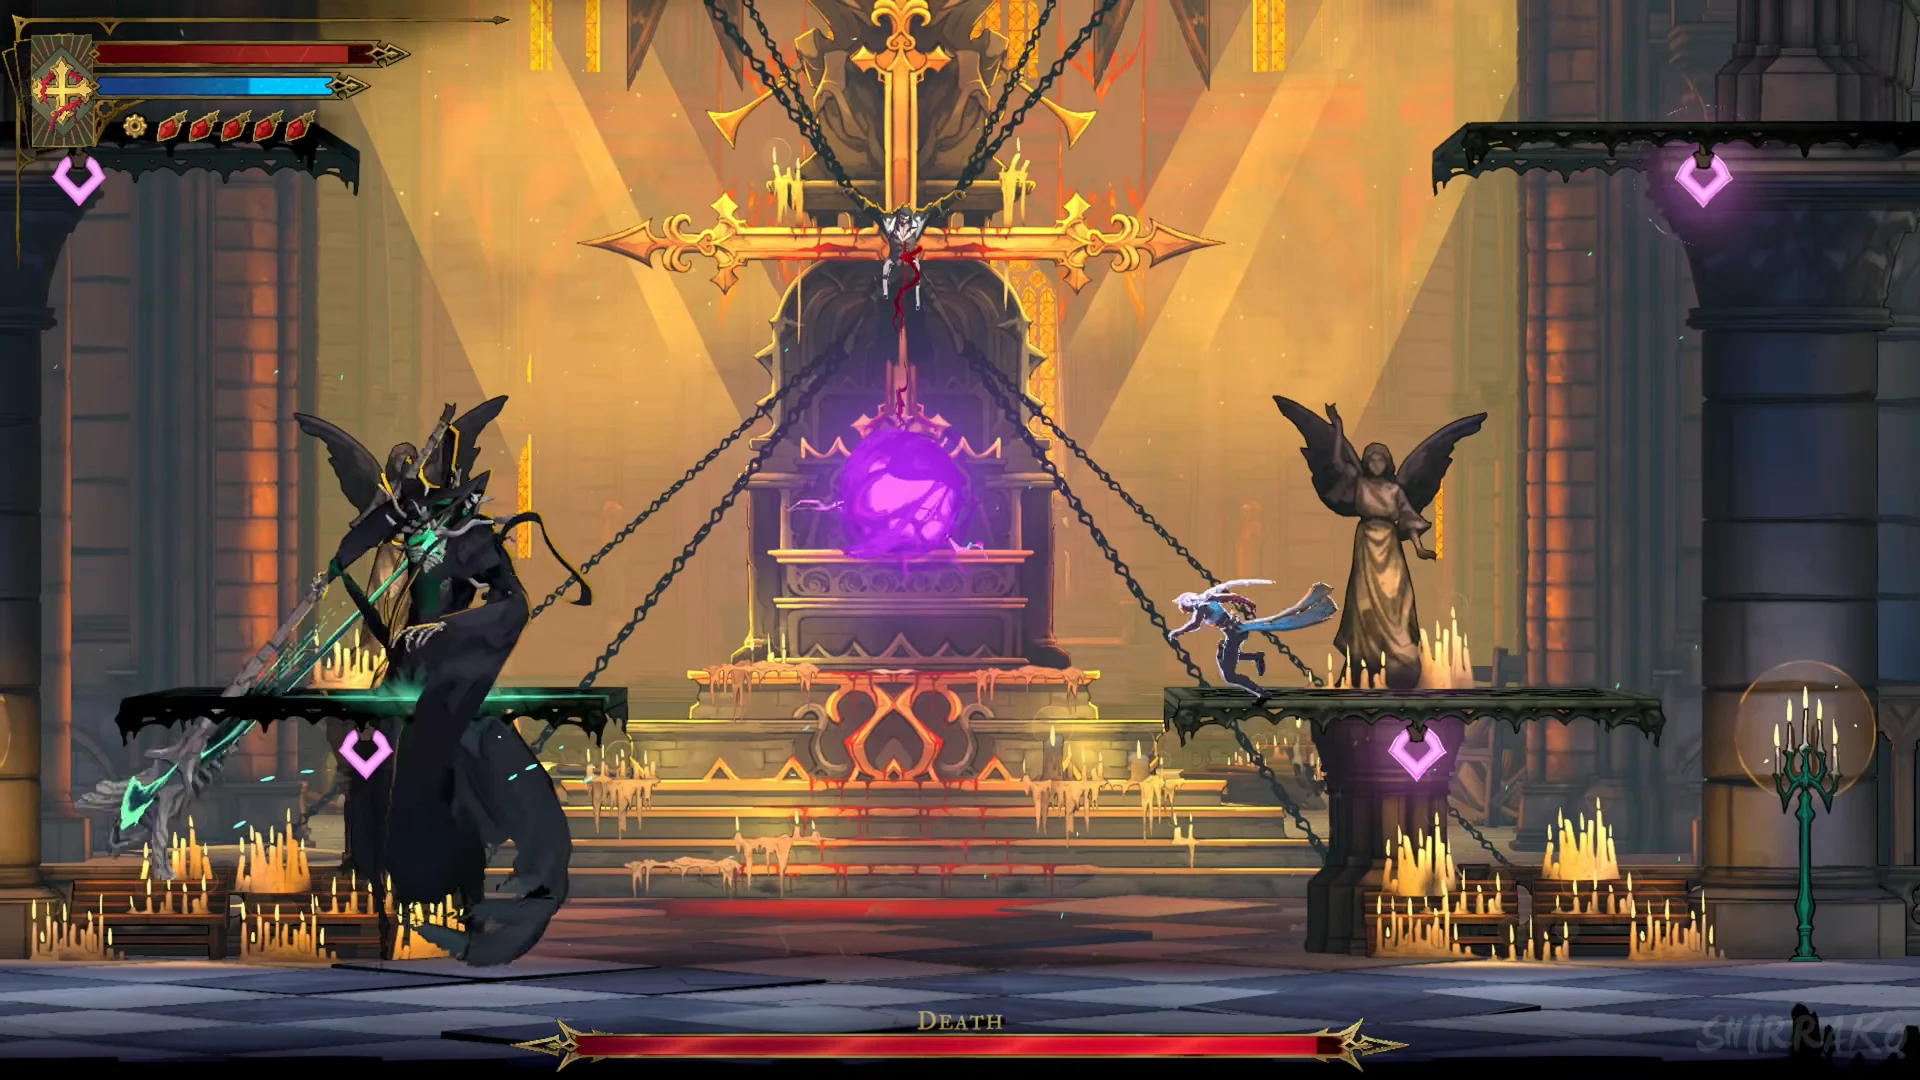
You fight in a cathedral hall with that golden cross and purple sphere behind, two angel statues, candles on the floor, and two floating dark platforms, one on each side of the centre, each carrying a purple heart-shaped mark. Those platforms matter for dodging later, so keep them in mind.
First half: scythe swings and the cut-line grid
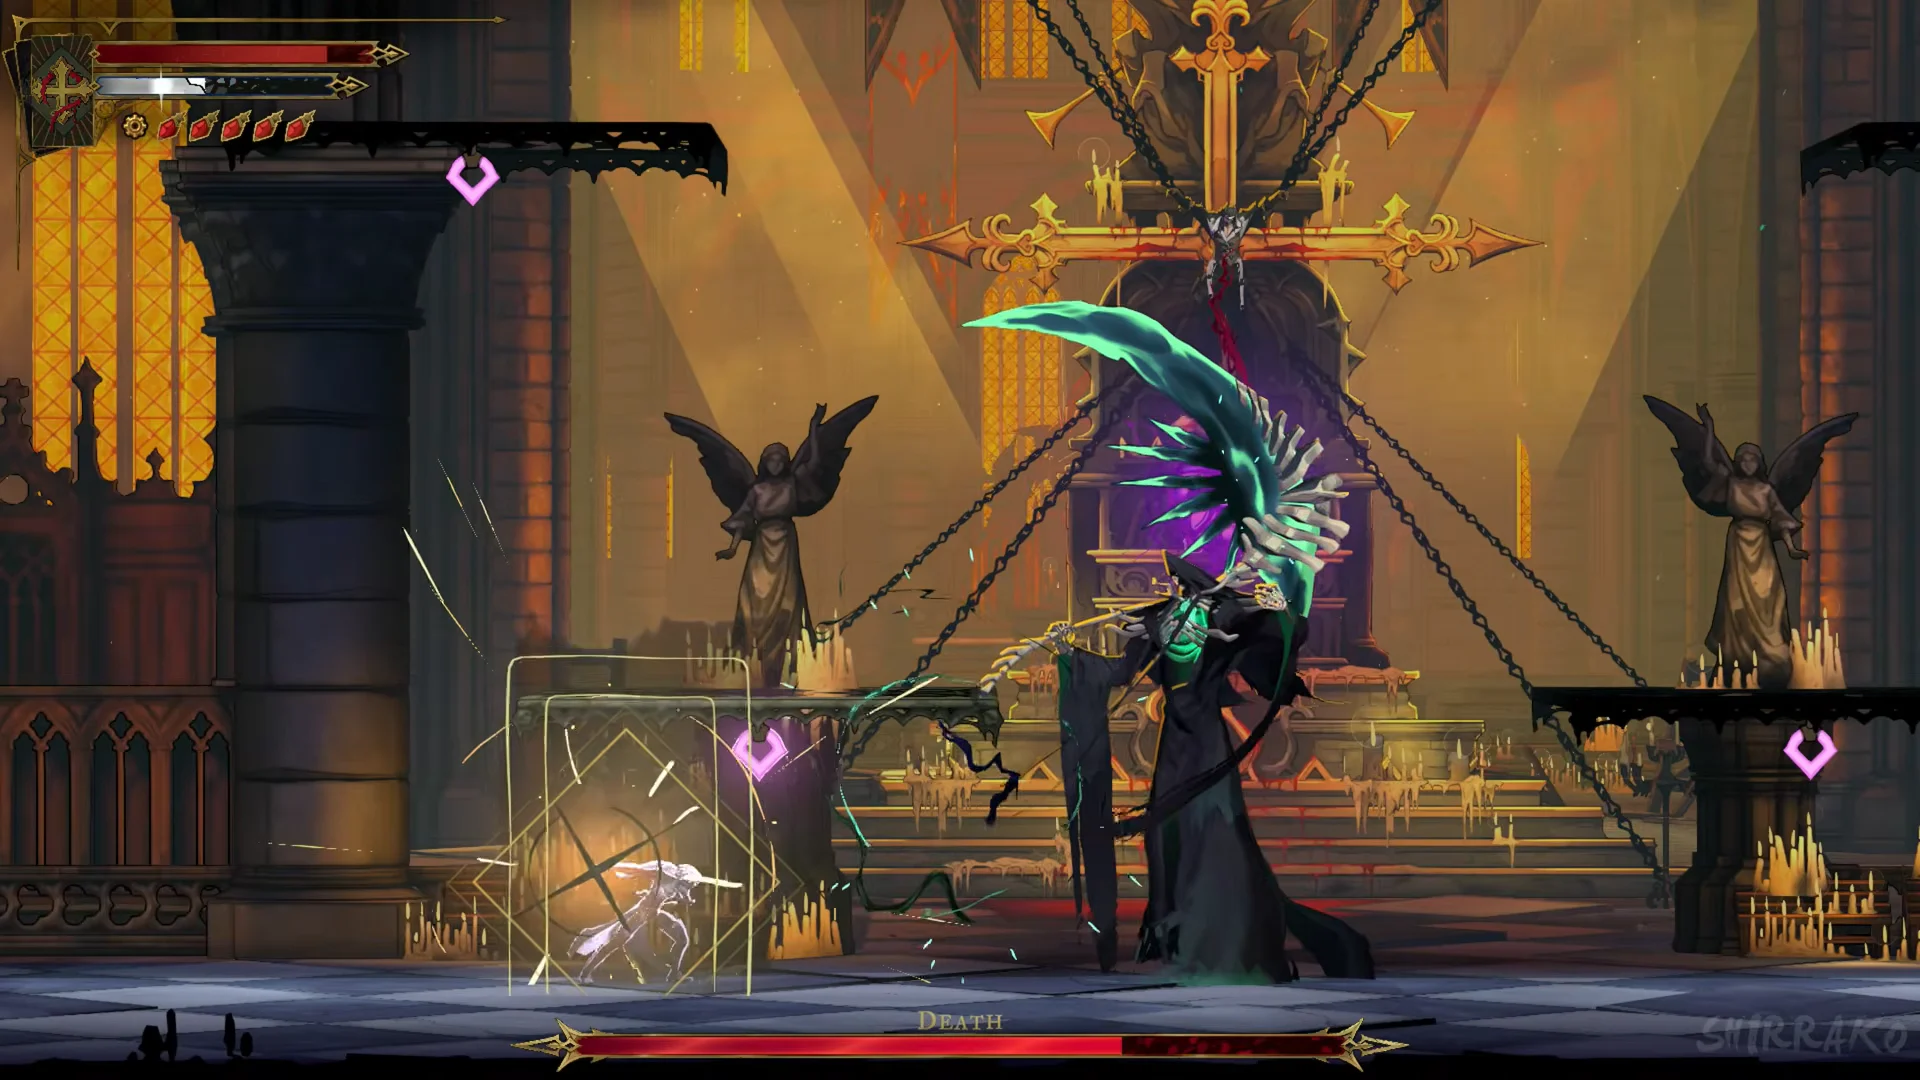
His first move is often a heavy scythe sweep or slam: he lifts the weapon overhead, leaving a teal trail from its blade. Slide past the attack to reach his back and strike there. He can string several swings together, so hold off until the sequence leaves an opening.
His main space-control attack lays a grid of cut lines. After disappearing, he marks the screen with fine teal strokes running horizontally, vertically, and diagonally; these then become broad energy slashes. Look for an unmarked pocket between them, shifting between the floor and floating platforms as needed. He uses this pattern on three occasions—near the start, about halfway through, and close to the finish—and its coverage grows tighter each time.
Second half: the ring of green blades
After his health falls below halfway, he warps to the upper centre, cloaks himself in dark wings, and gathers green light. He then sends out successive rings of small green blades. Reach a platform beside him and dodge through openings in each ring as you continue attacking.
As the fight approaches its close, he attacks with the scythe and calls up green orbs that swirl around. Keep to his rear and continue striking as the orbs move past.
Once the bar is empty, a black-and-white strike splits Death down the centre, and the trophy “Death… killed?” appears. He becomes a radiant golden orb, speaks again, then disappears through a green rift.
The Shadow reward and absorbing the Arcana
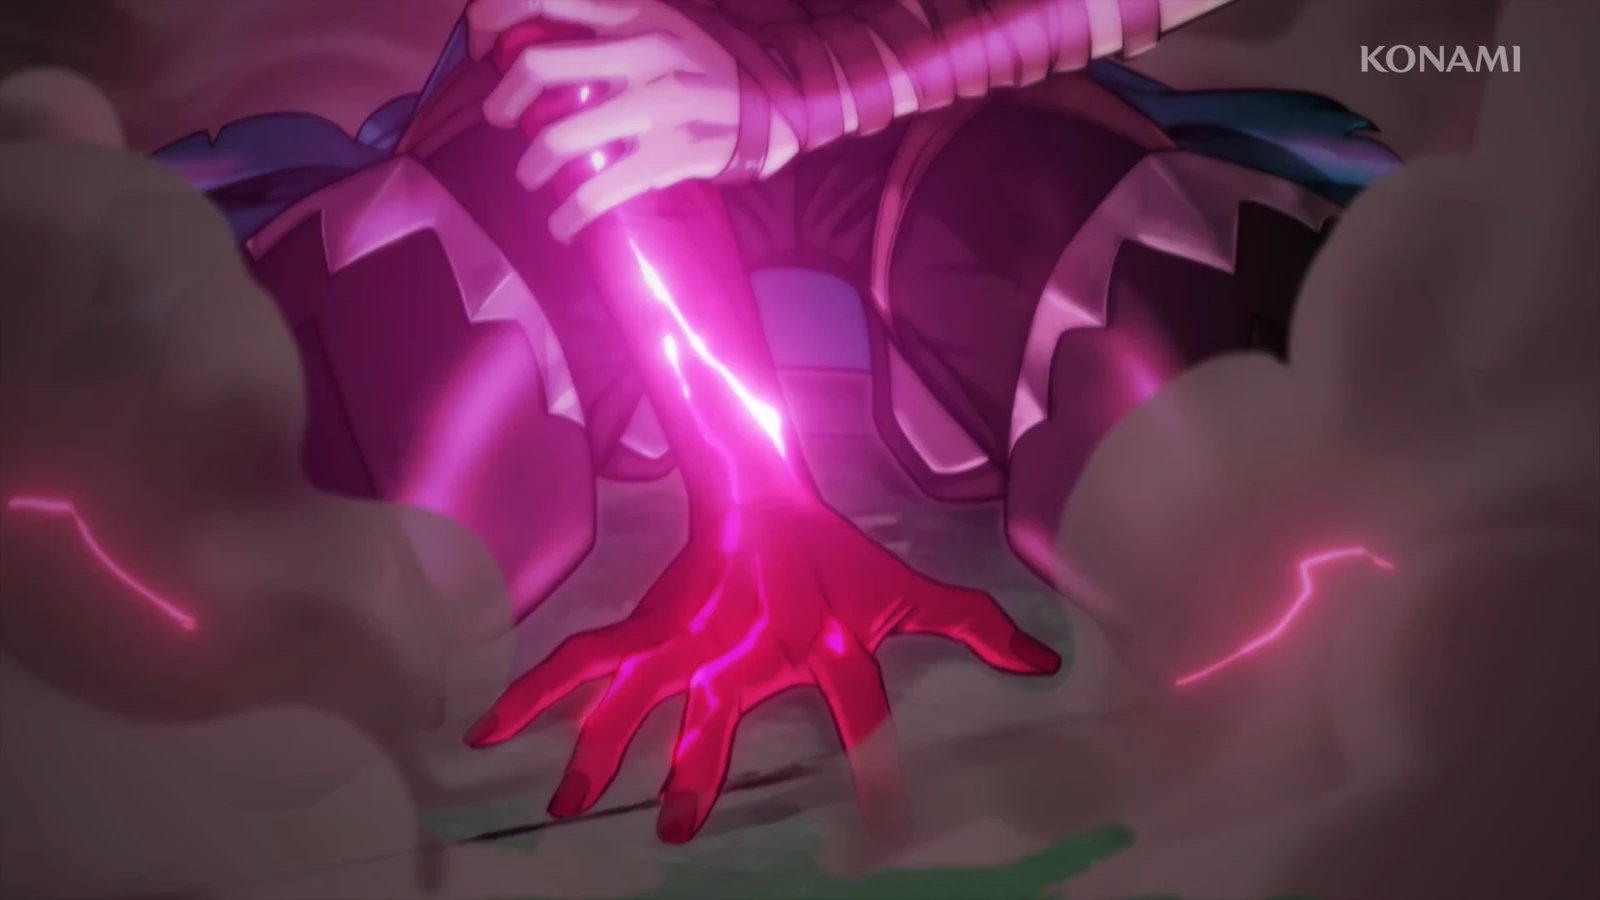
Following the kill, an on-screen prompt asks you to hold the displayed button during absorption to take in the Arcana’s power. Keep holding as Rose reaches toward the golden orb. Next, “LEVEL UP!” appears, and your health and mana are restored to full.
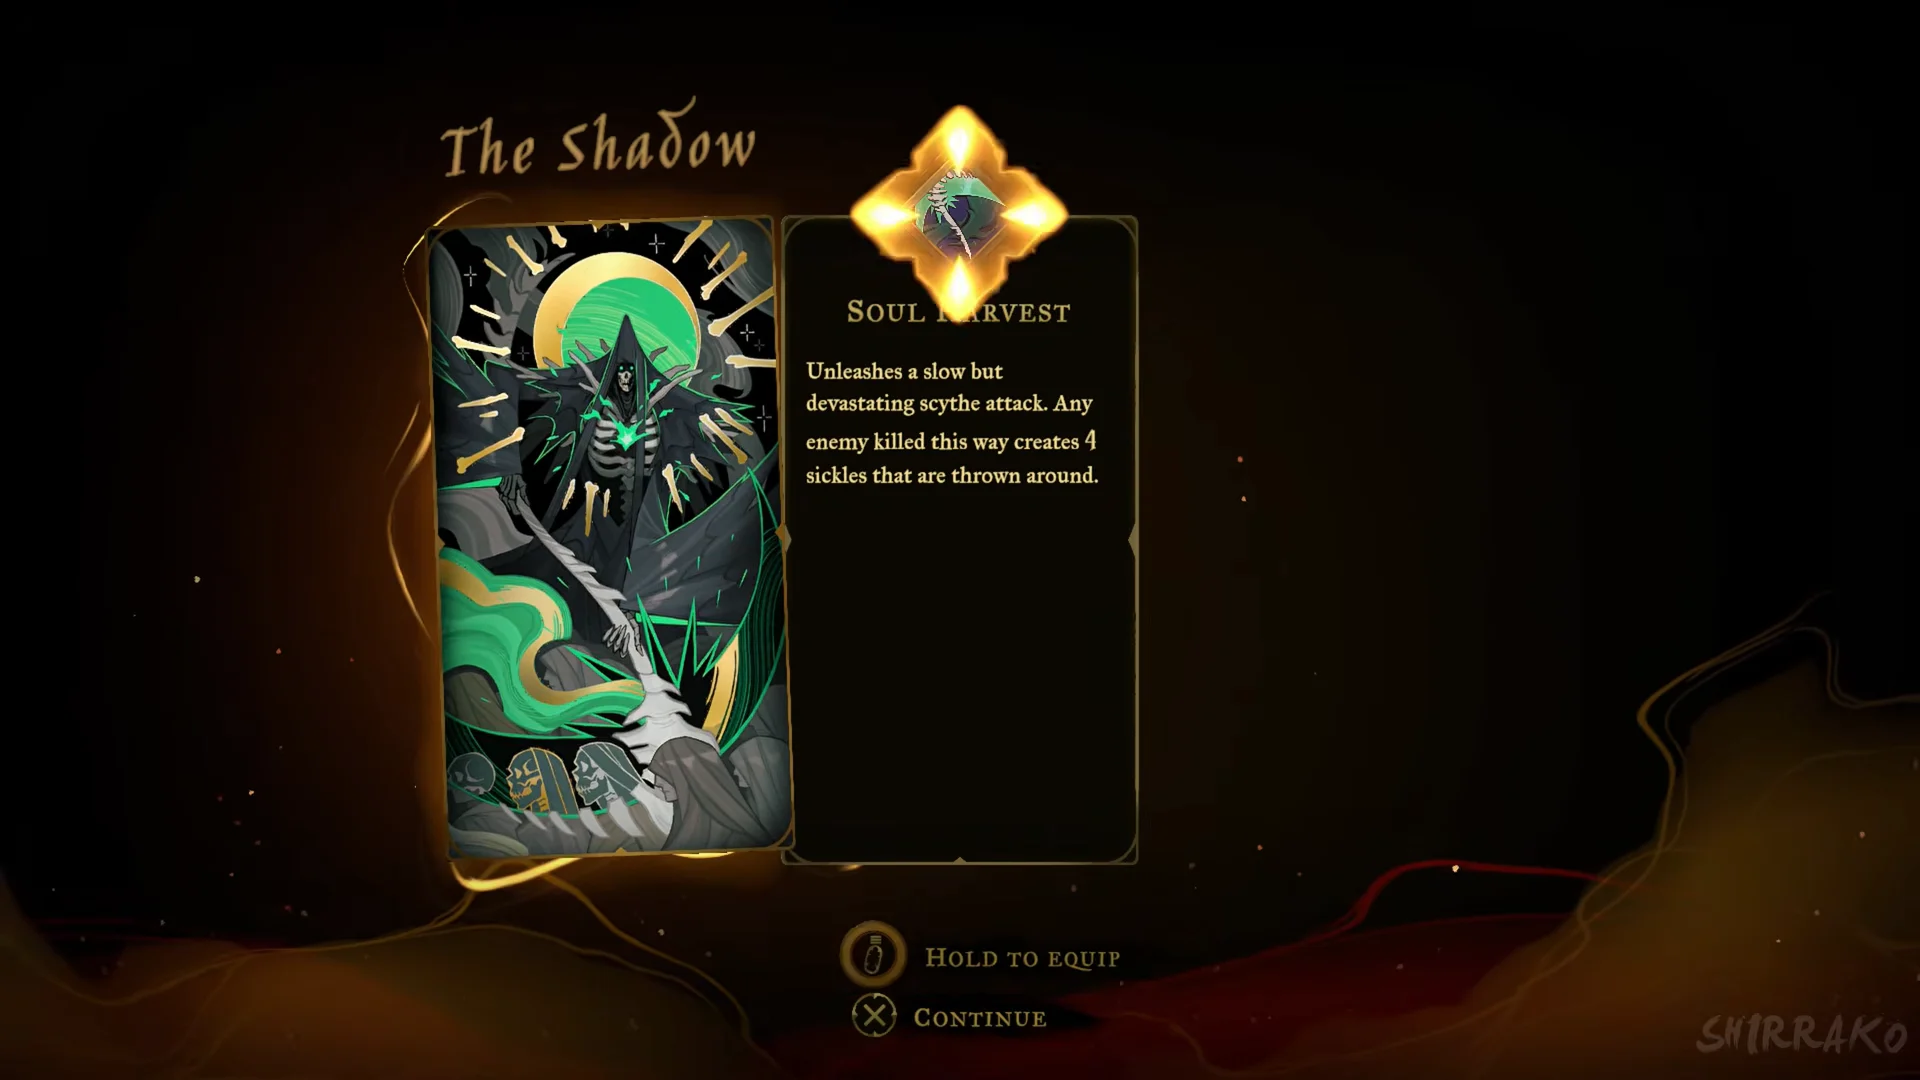
The card screen opens on The Shadow, with the spell “Soul Harvest” described as: “Unleashes a slow but devastating scythe attack. Any enemy killed this way creates 4 sickles that are thrown around.” You will see the prompts “Hold to equip” and “Continue”. A cutscene with Trevor in the Notre-Dame infirmary follows.