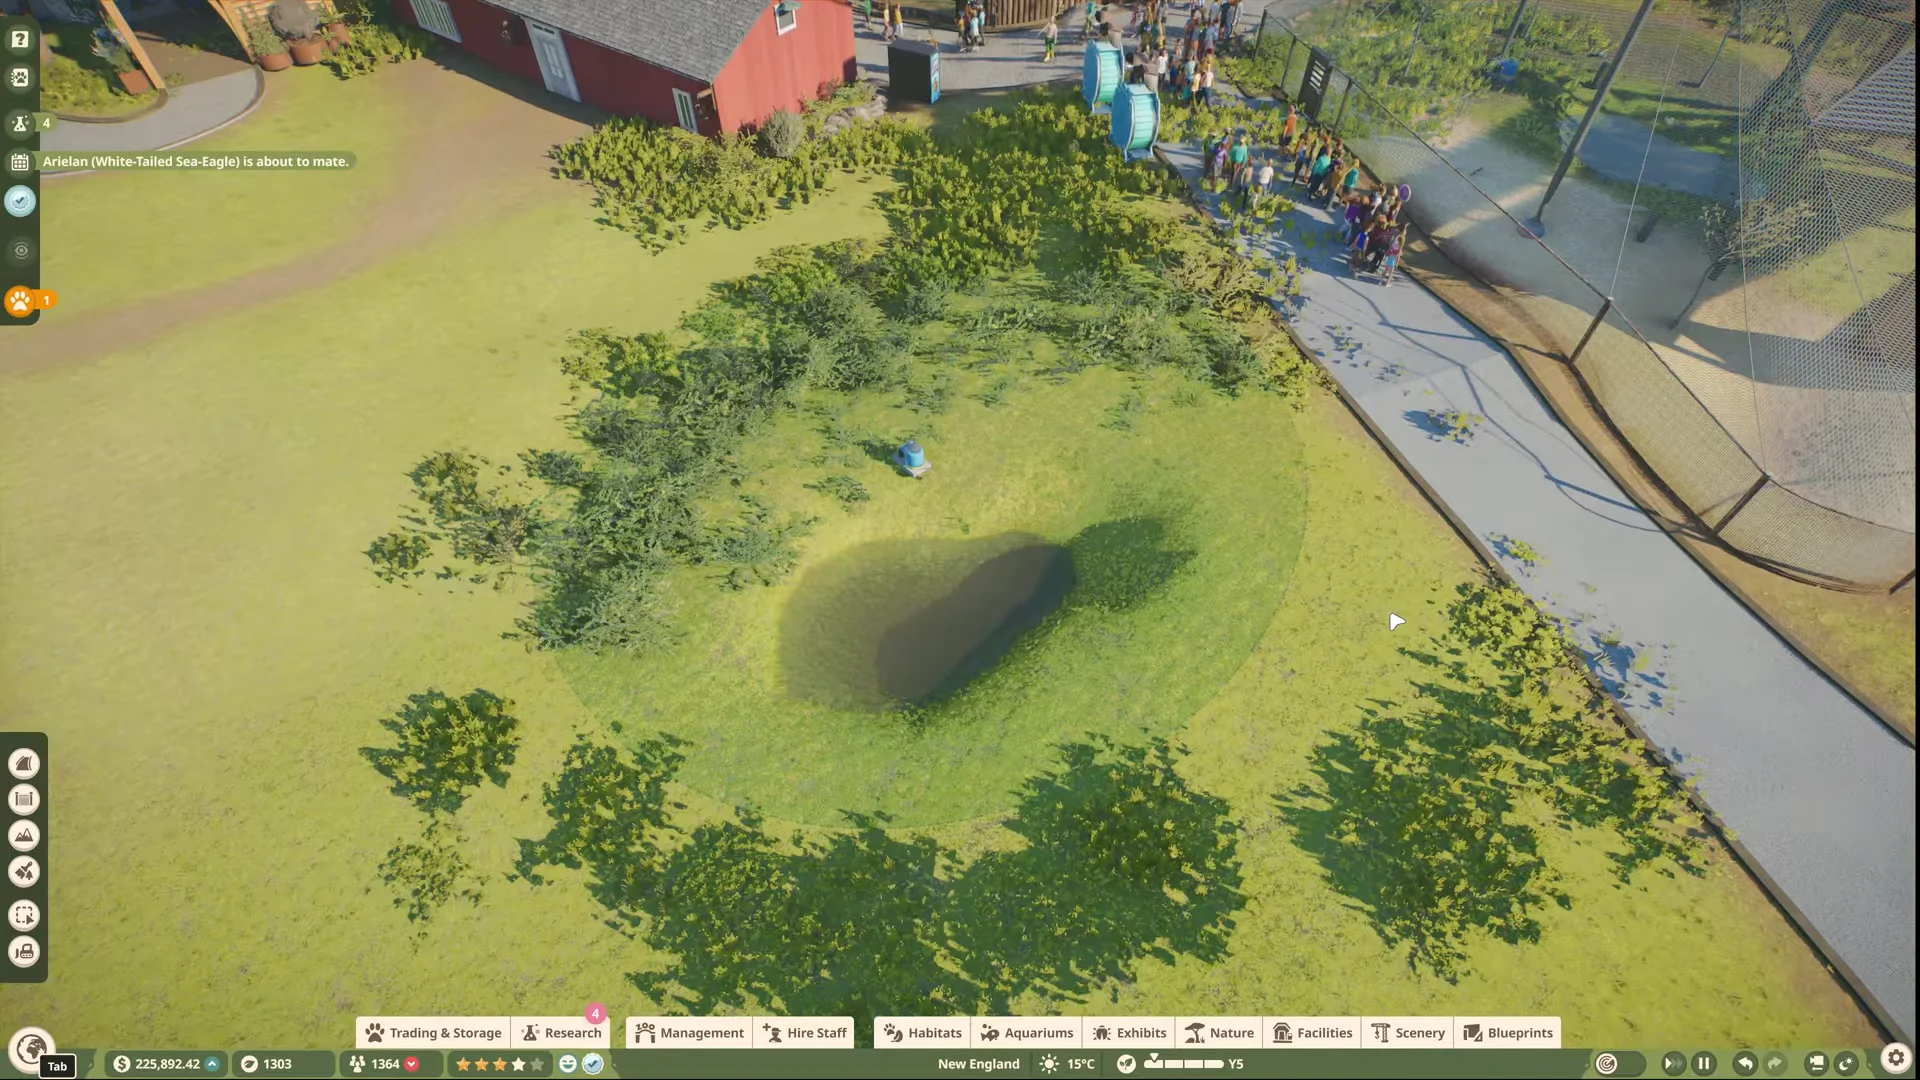
Carve a depression with the terrain tools, fill it with the Water tool, then keep it clean with a connected Water Pump.
Carve a depression with the terrain tools, fill it with the Water tool, then keep it clean with a connected Water Pump.
by AllThingsHow Staff
Image: Frontier Developments
A pool inside a Planet Zoo 2 habitat gives animals somewhere to drink and swim, but water does not drop in as a prefab object. You dig the basin yourself with the terrain tools, pour water to the depth you want, then connect a pump so it stays clean enough to drink. The whole process runs through the Terrain menu and the Facilities menu on the lower interface bar.
Quick answer: Open Terrain → Sculpting, use the Push tool to dig a hole, switch to the Water tool and click inside the hole at the depth you want, then place a Water Pump ($500.00) over the pool and connect its node to a water filter.
Dig the basin with the Sculpting tools
Water only sits where the ground is lower than the surrounding terrain, so the first job is to carve a depression inside the habitat. Everything here happens in the Sculpting tab of the Terrain tool.
Set the Brush Size and Brush Intensity to suit the pool you want. A full 100% intensity digs fast, but around 50% gives much better control over the shape and depth of the basin.
If bushes or foliage block your view of the ground, use the Demolition Brush to clear them away. This lets you see the exact shape of the depression as you work.
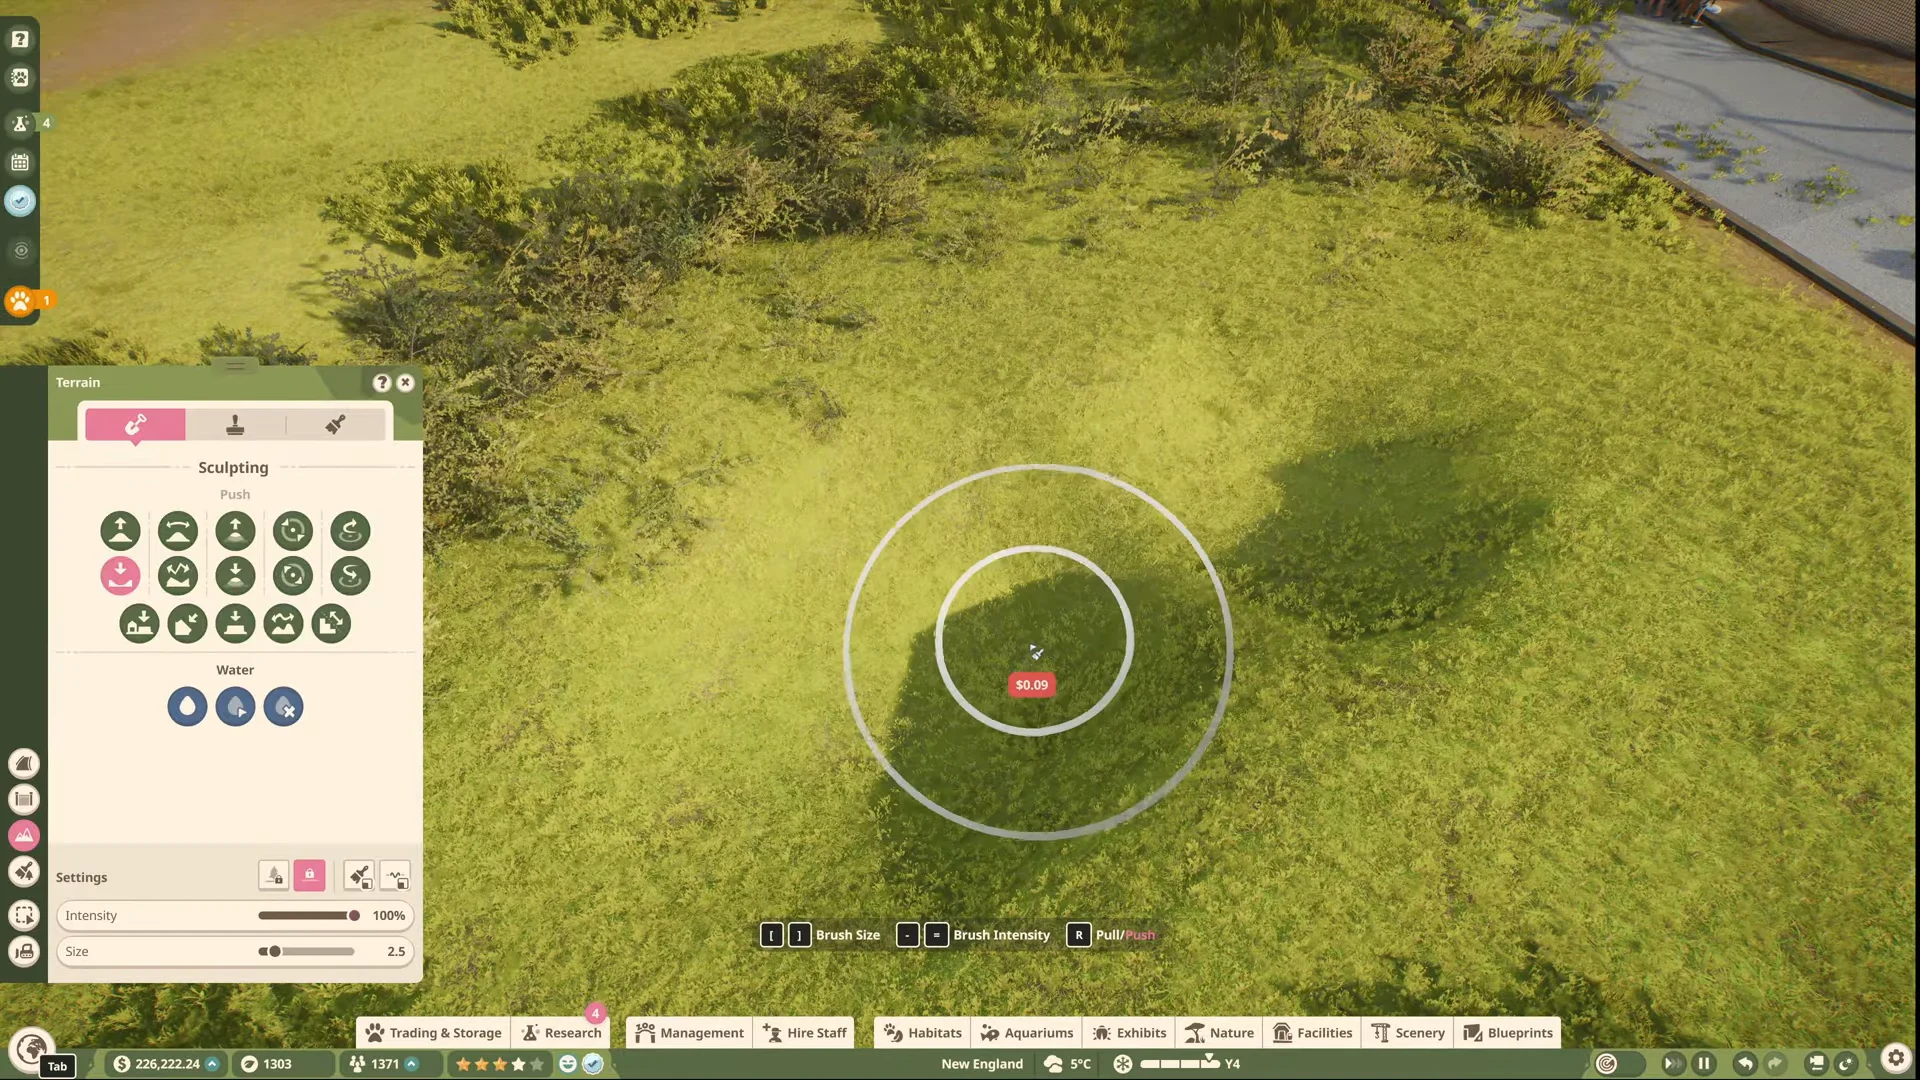
Keep pushing the terrain down until the hole is deep enough for the body of water you have in mind. Raising the intensity to 100% at this stage speeds up deepening a trench once the outline is roughly where you want it.
00:52Deepening the HolePushing the Push brush to 100% intensity to deepen the basin once its outline is set. Shown at 00:52 in Quick Tips’s video. Image: Frontier Developments
Fill the hole with the Water tool
With the basin dug, the Water tool handles the actual filling. The highlighted area inside the depression shows the exact height the water will reach before you commit.
Move the cursor vertically to adjust the blue plane to your preferred depth, then click to set the water in place. The pool rises to the highlighted line.
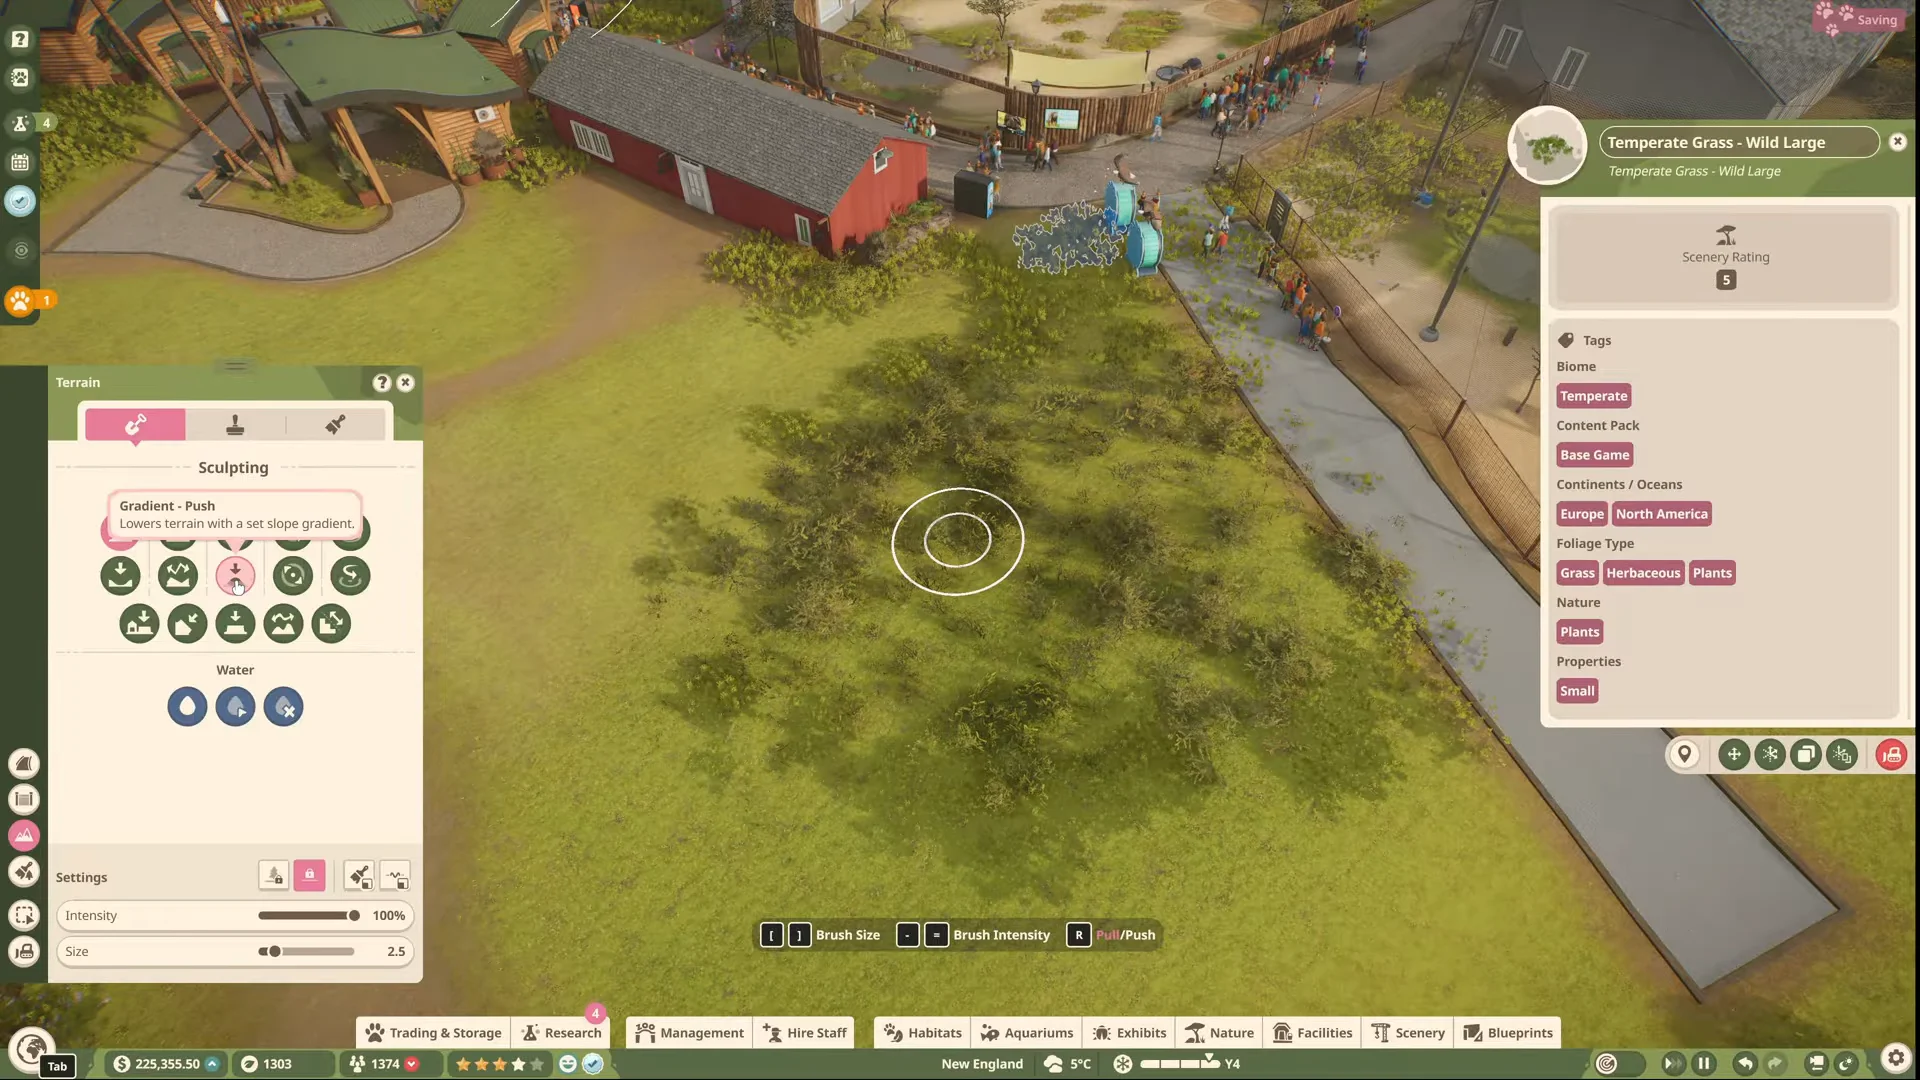
Switch to the Gradient: Push sculpting tool and run it along the edges of the pool to smooth the banks into a gentle slope down to the water.
00:23Sculpting TerrainThe Gradient: Push tool smooths the pool edges into a slope animals can walk down. Shown at 00:23 in Quick Tips’s video. Image: Frontier Developments
A steep incline can leave animals unable to get into the water. Use Gradient: Push to smooth the shoreline and make the pool accessible, rather than merely decorative.
Keep the water clean with a Water Pump
Standing water in a habitat raises disease risk unless it is filtered. A Water Pump placed over the pool and wired into a filtration network keeps the water clean and safe for animals to drink.
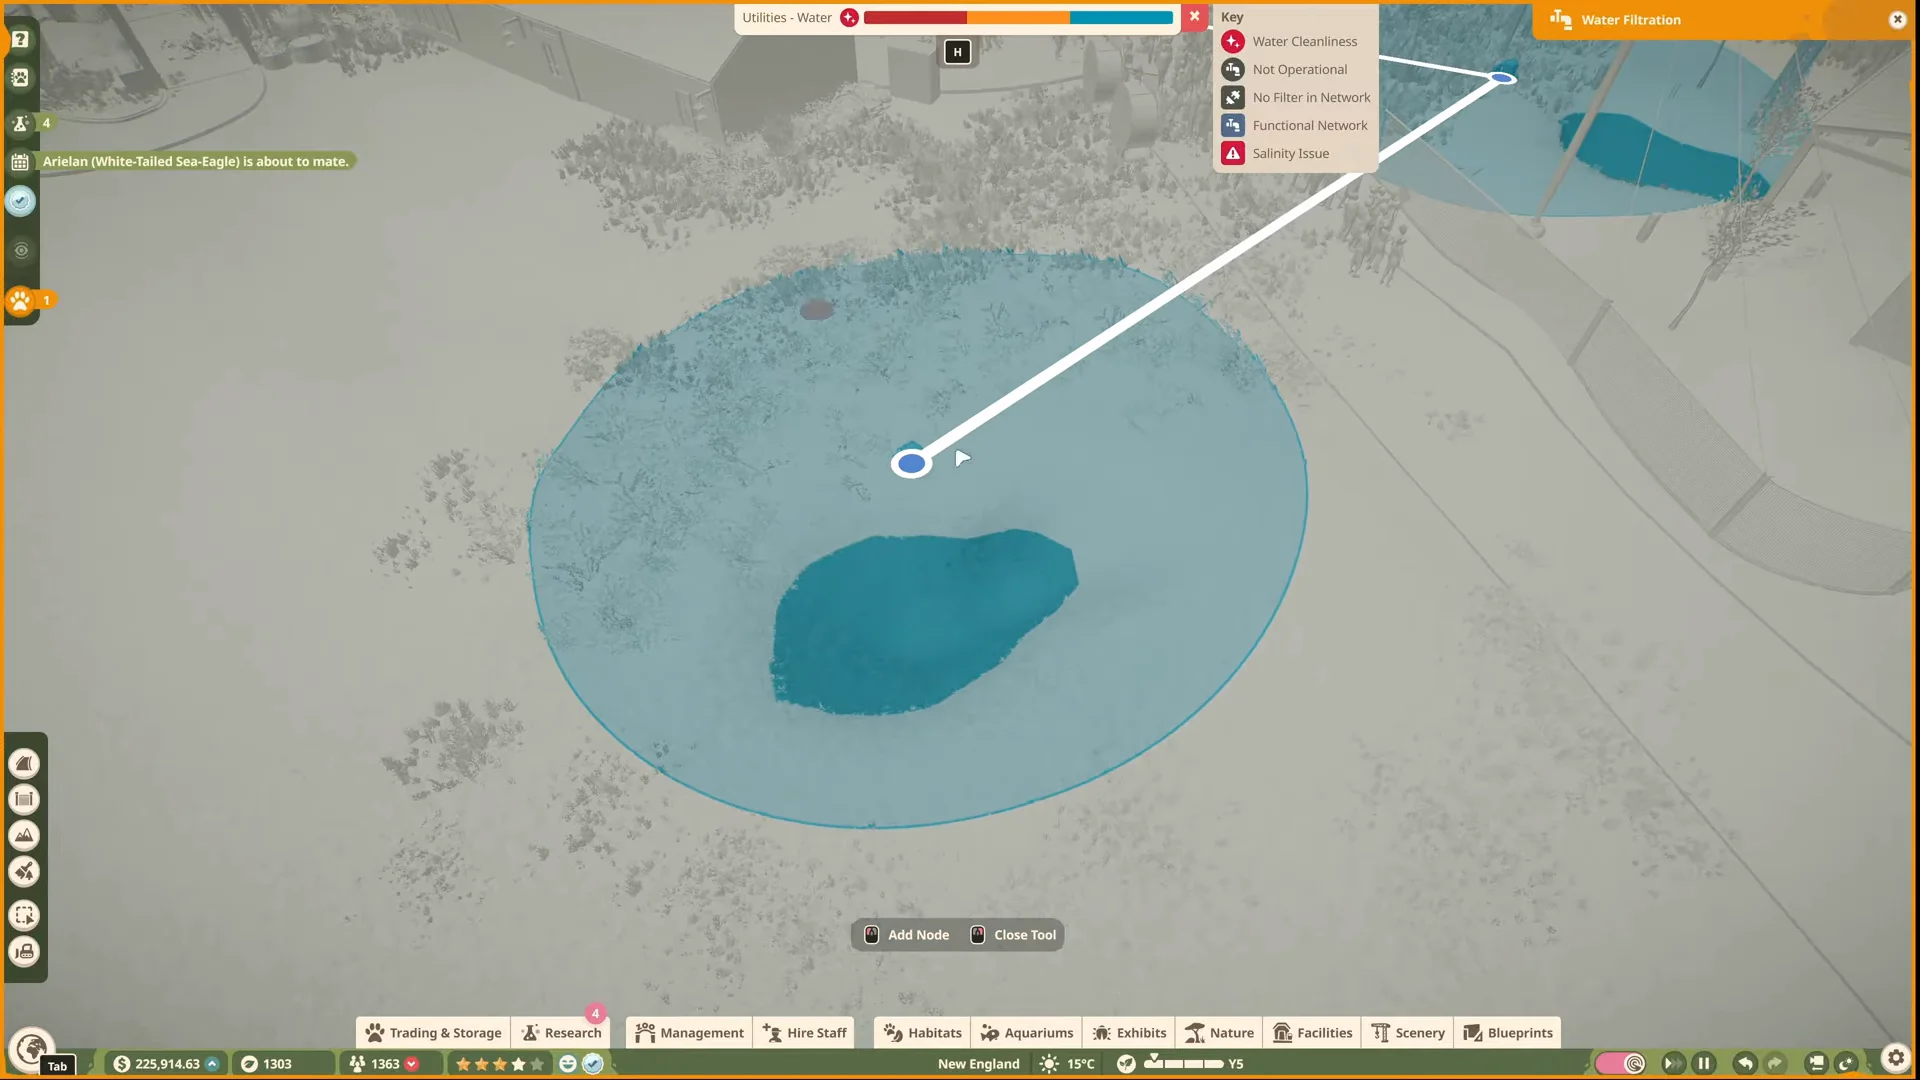
Position the pump so its circular coverage area sits over the body of water you just made. A placement reading of “Valid” means the spot works; “Obstructed” means you need to move it.
Run a direct connection from the pump’s pipe node to an active water filter or an existing Filtration Network. Until linked, a pump labeled “No Connected Water Filter” does not clean anything.
01:42Adding Water FiltrationThe pump's blue coverage area over the pool, with its node joined to a filter by a white pipe line. Shown at 01:42 in Quick Tips’s video. Image: Frontier Developments
Confirm the pool is working
The pool is finished when the water fills to the level you set, the banks slope gently into it, and the pump reports a valid connection to a filter rather than a “No Connected Water Filter” warning. At that point the water reads as clean, and animals can both drink from it and use it as part of their space.
Water surface area and water depth both count toward a habitat’s space, so a well-shaped pool does double duty by meeting drinking needs and expanding the usable environment. Check individual species’ requirements in the Zoopedia to size the depth and slope correctly for the animals you plan to house.