Every option in Castlevania: Belmont’s Curse lives across six tabs, and on PC the whole menu runs on the keyboard. You can open it before you ever start a save, or pause mid-run and change a value without leaving the game. Below is what each tab holds, the value it ships with, and what the options readers most often ask about actually do.
Quick answer: Open SETTINGS from the main menu, or press Esc in game and open the SYSTEM tab. Move through rows with the keyboard and press Space to apply your changes.
Where to open the settings
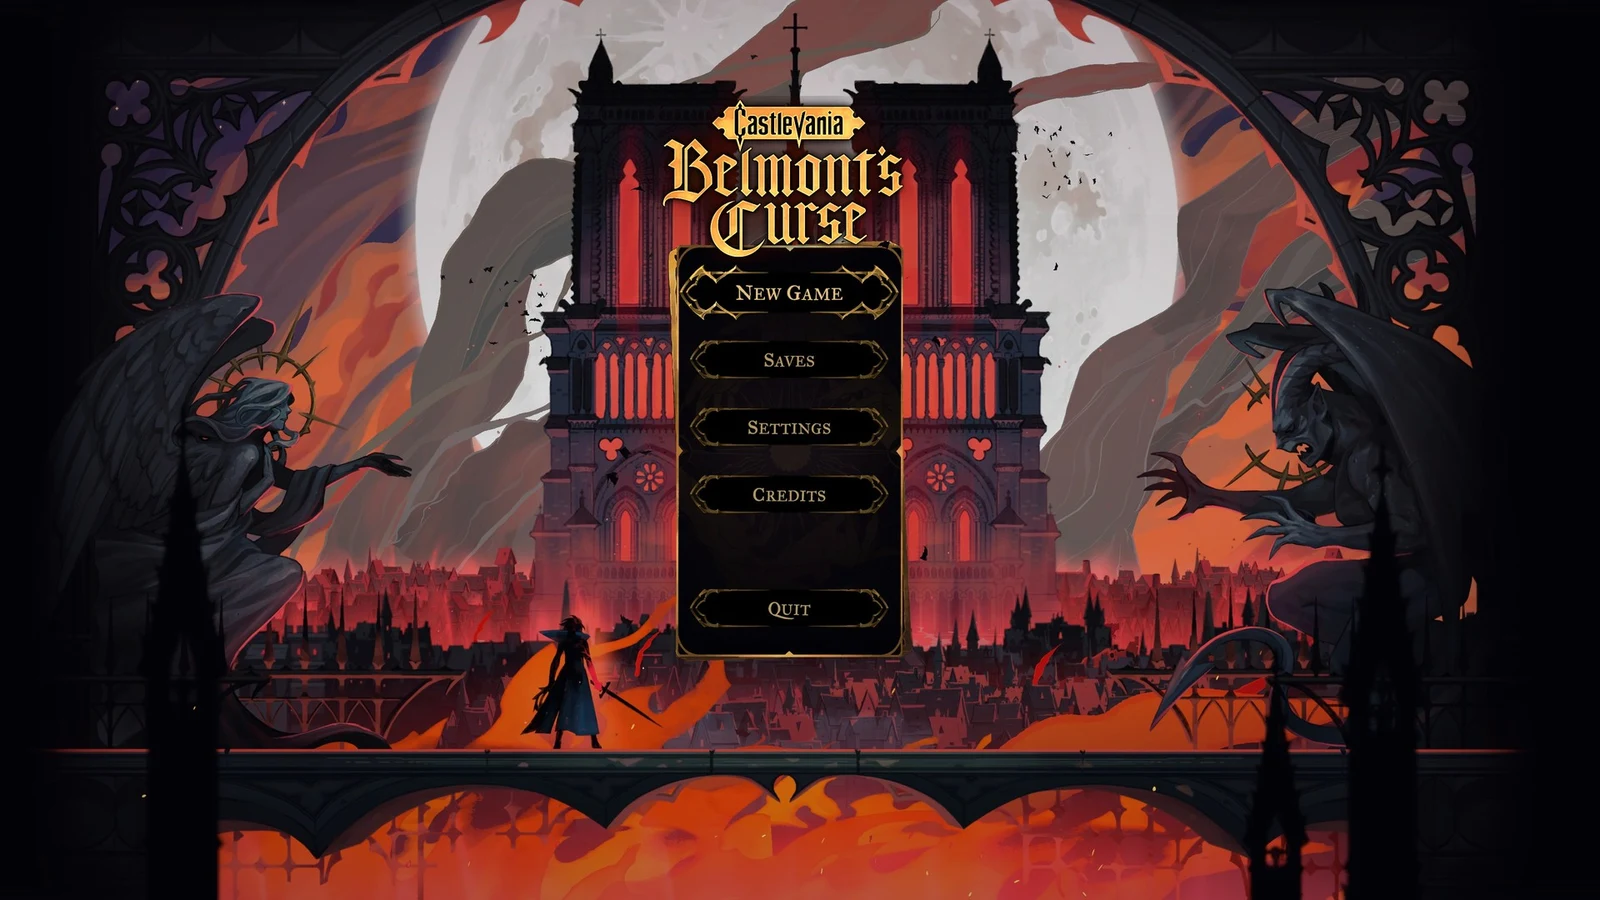
From the main menu, the rows read NEW GAME / SAVES / SETTINGS / CREDITS / QUIT. Pick SETTINGS. Inside a run, press Esc to open the Equipment menu, go to its SYSTEM tab, and choose SETTINGS alongside TUTORIALS, LAST SAVE and MAIN MENU.
The six tabs are CONTROLS / ACCESSIBILITY / GAMEPLAY / VIDEO / AUDIO / LANGUAGE, and Q and E switch between them. Mouse clicks do nothing, so you move row to row and change values with the keyboard.
Every tab shares the same footer, which lists the keys you need:
- “ALT DEFAULT SETTING (SELECTED)” puts the highlighted row back to default.
- “R DEFAULT SETTINGS” restores all defaults.
- “REJECT MODIFICATIONS DELETE” drops changes you have not applied.
- “APPLY THE CHANGES” is Space.
- “CLOSE” is Backspace.
The first-launch prompts
Before the title screen appears, the game runs three setup prompts in order.
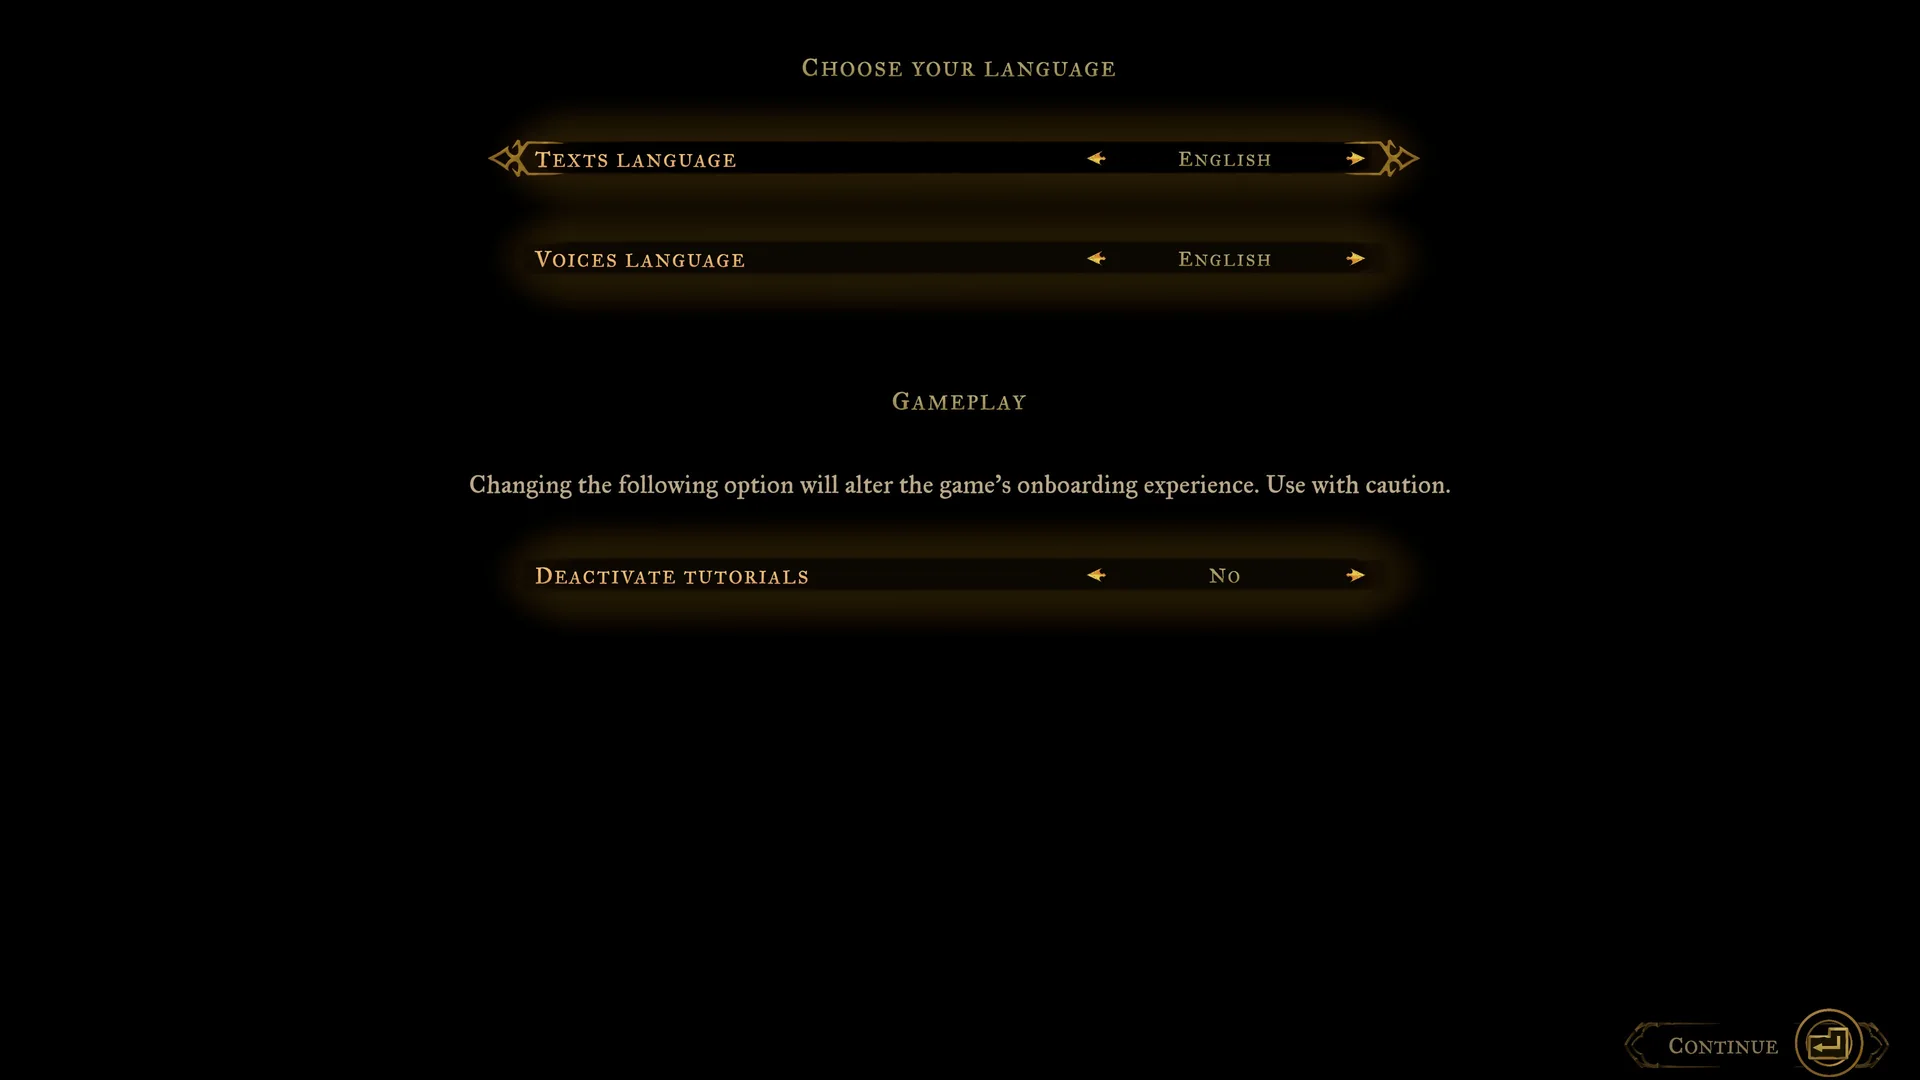
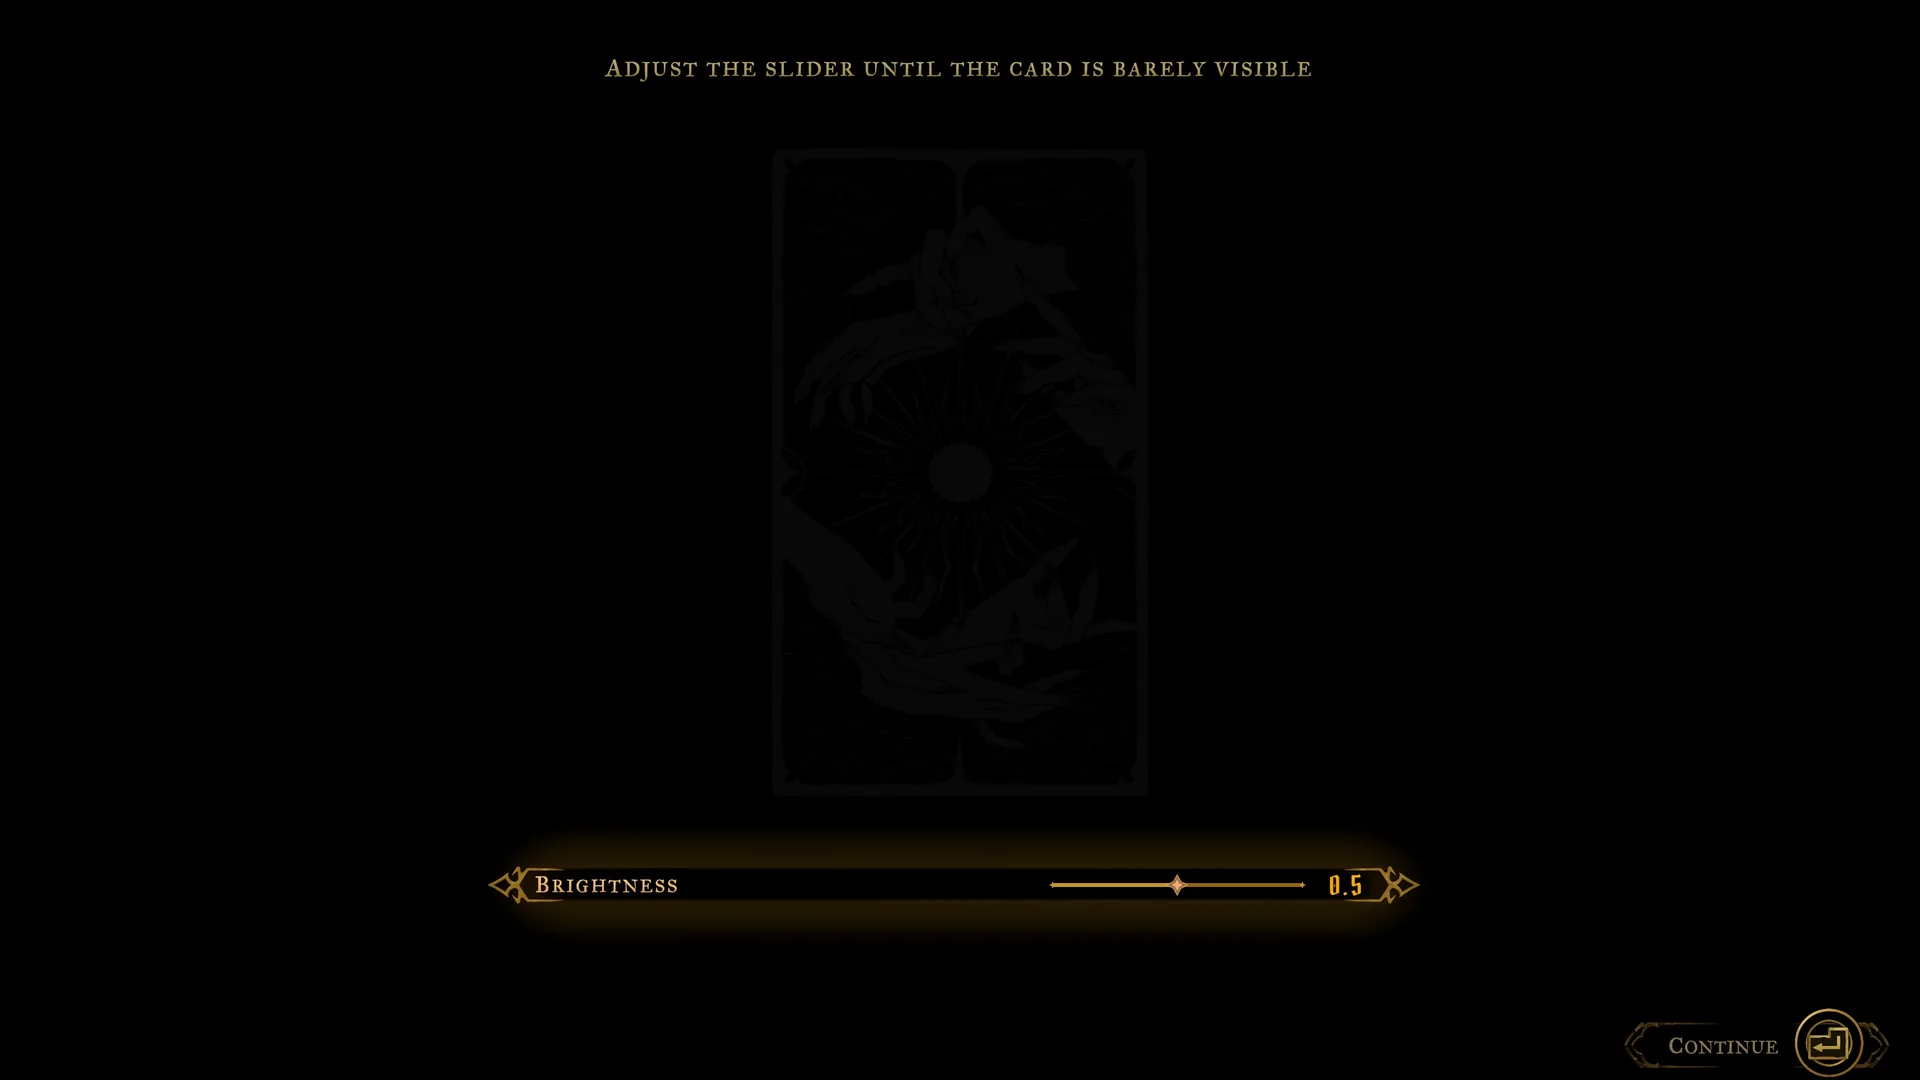
Select NEW GAME to enter the opening immediately; no difficulty selection comes first.
Video tab options and defaults
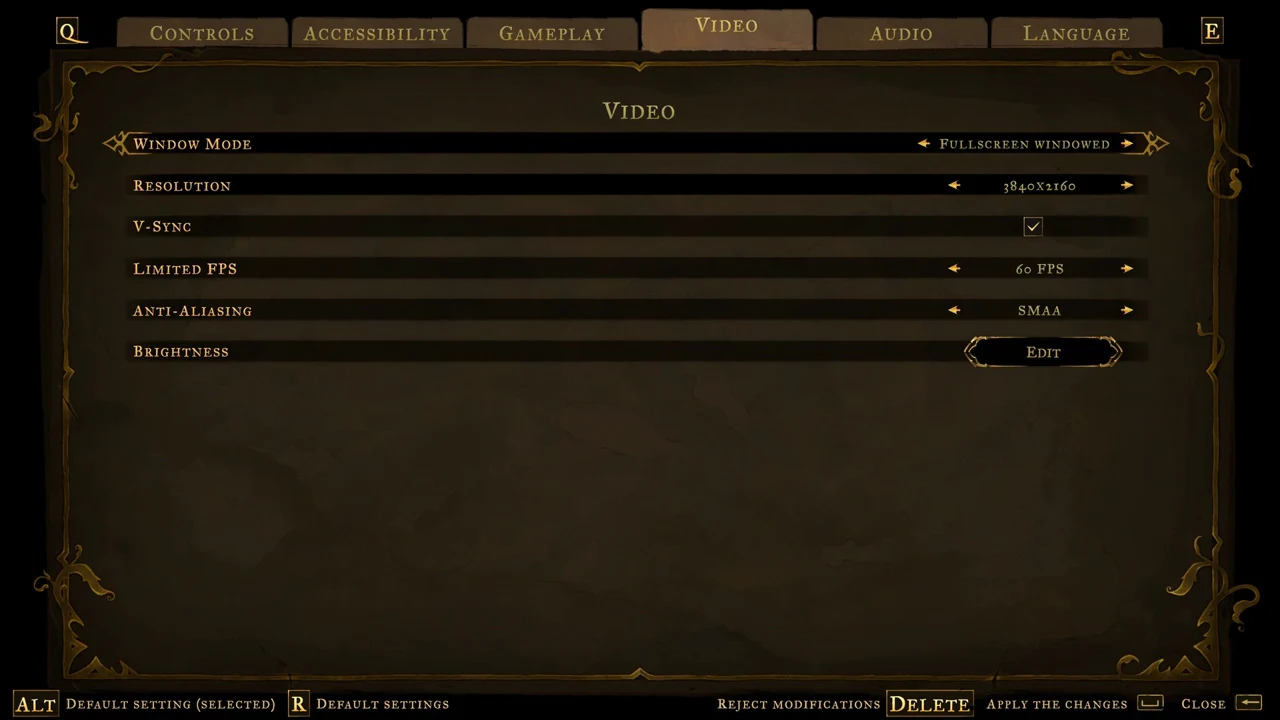
Six rows make up the whole Video tab. There are no quality presets and no separate texture, shadow or effects controls.
| Option | Default |
|---|---|
| Window Mode | Fullscreen windowed |
| Resolution | 3840×2160 (follows the display) |
| V-Sync | On (ticked) |
| Limited FPS | 60 FPS |
| Anti-aliasing | SMAA |
| Brightness | EDIT button |
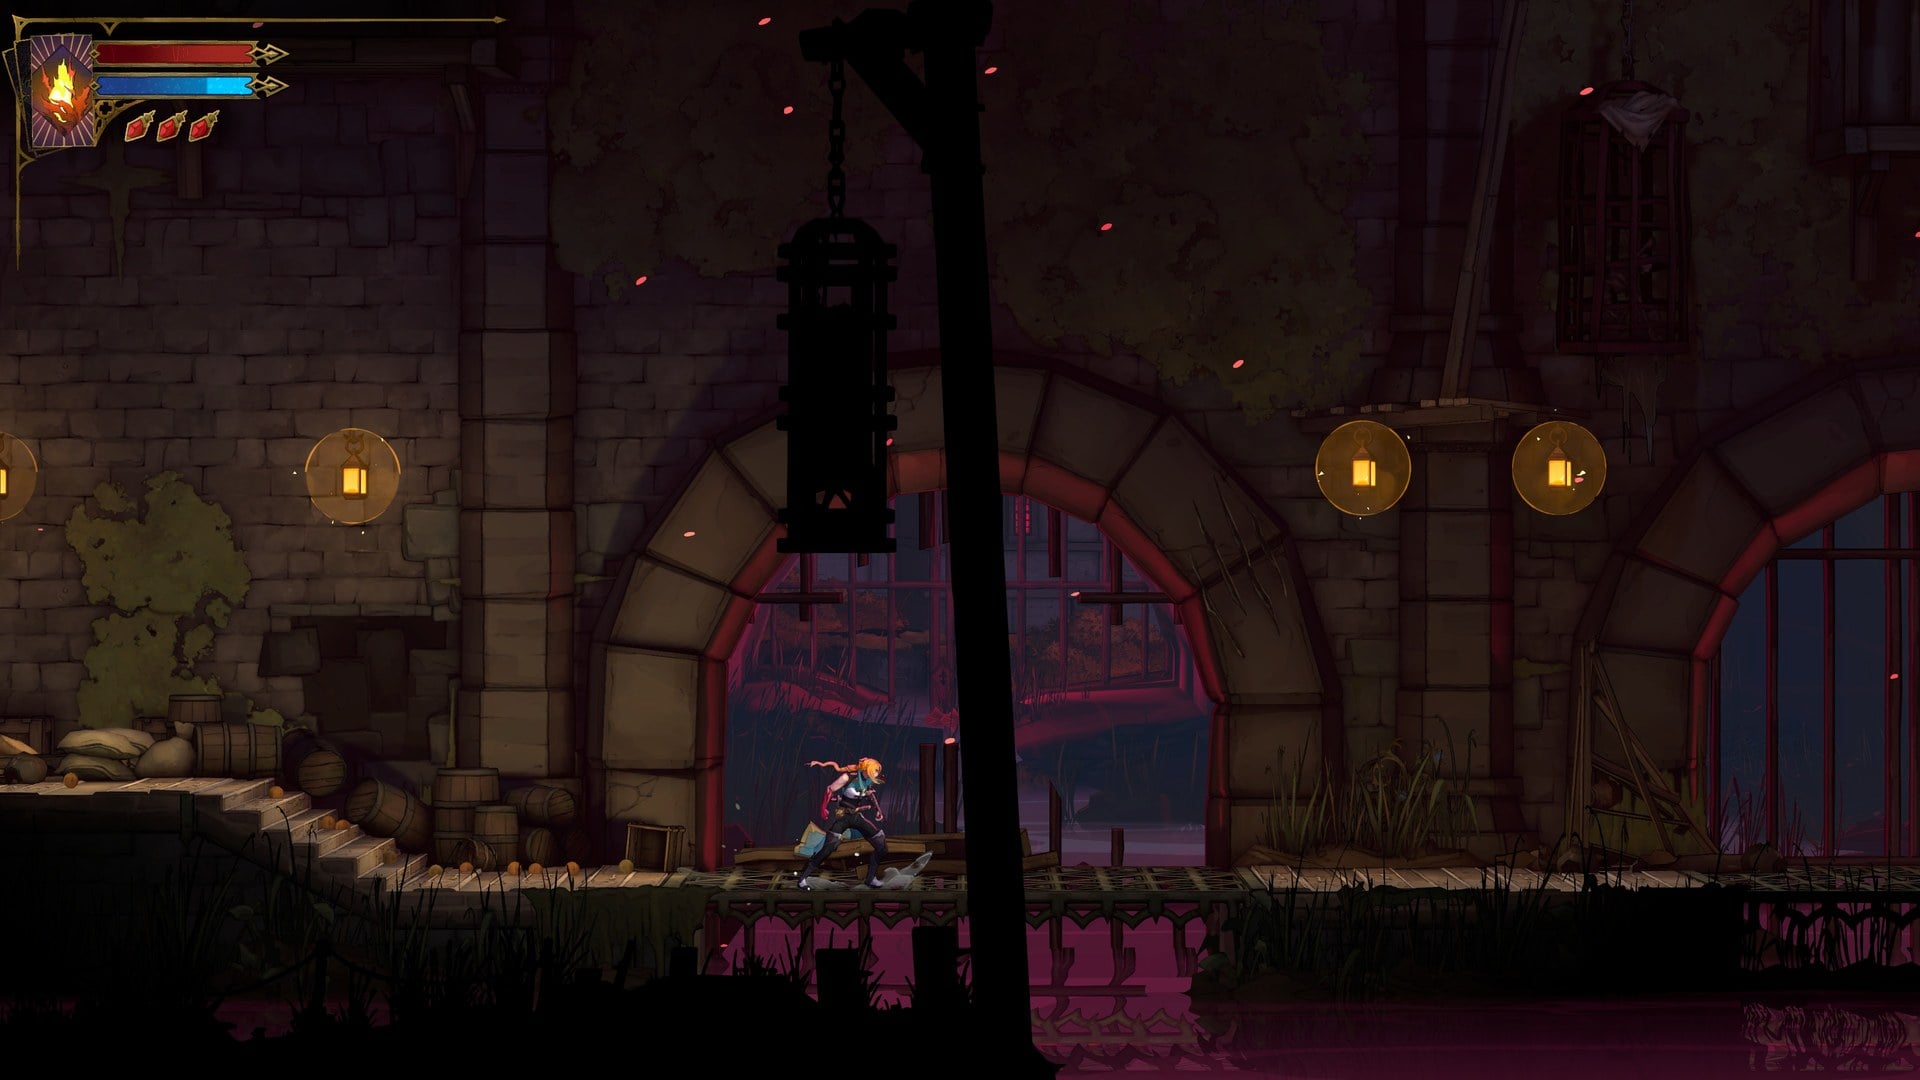
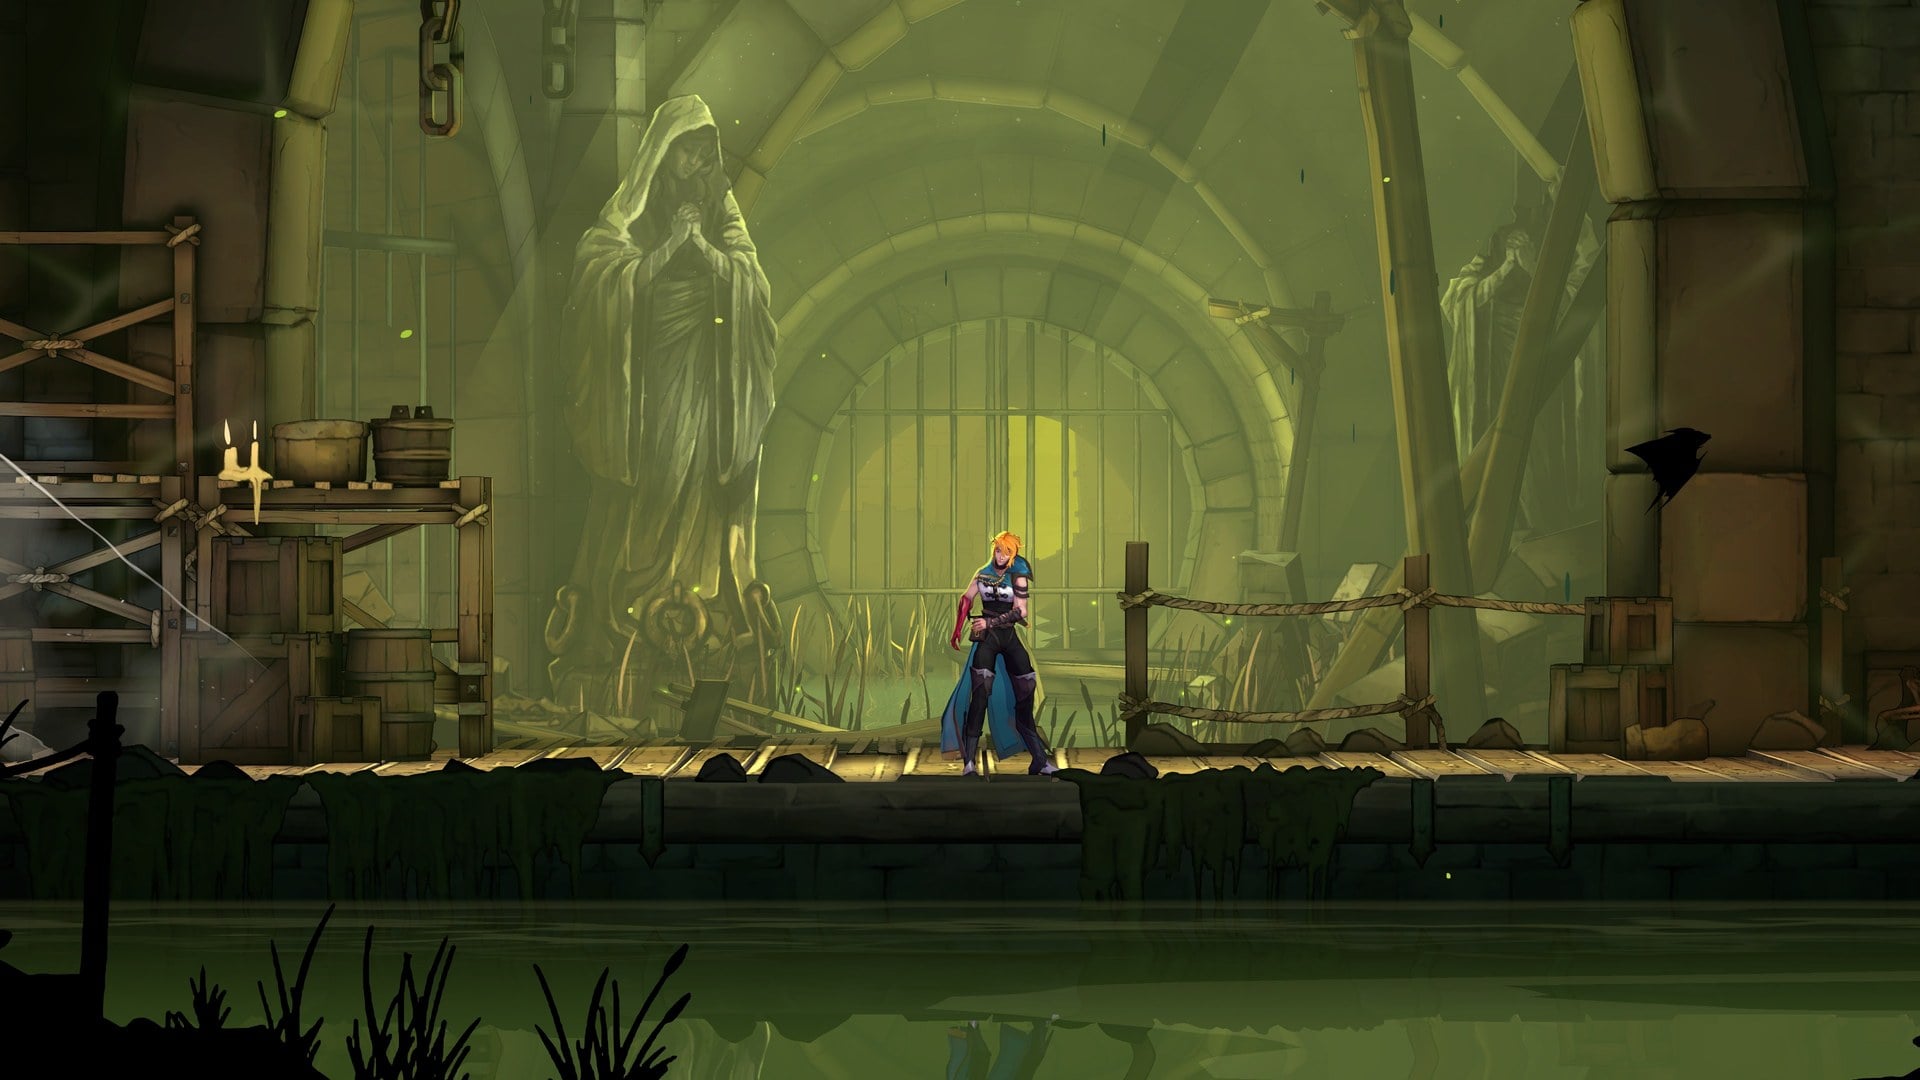
Window Mode, Resolution, Limited FPS and Anti-aliasing are left/right choices. V-Sync is a checkbox. The Brightness row’s EDIT button is where you change brightness after the first-launch card has already set it to 0.5, which is useful when dark stretches such as the sewers are hard to read.
Audio tab options and defaults
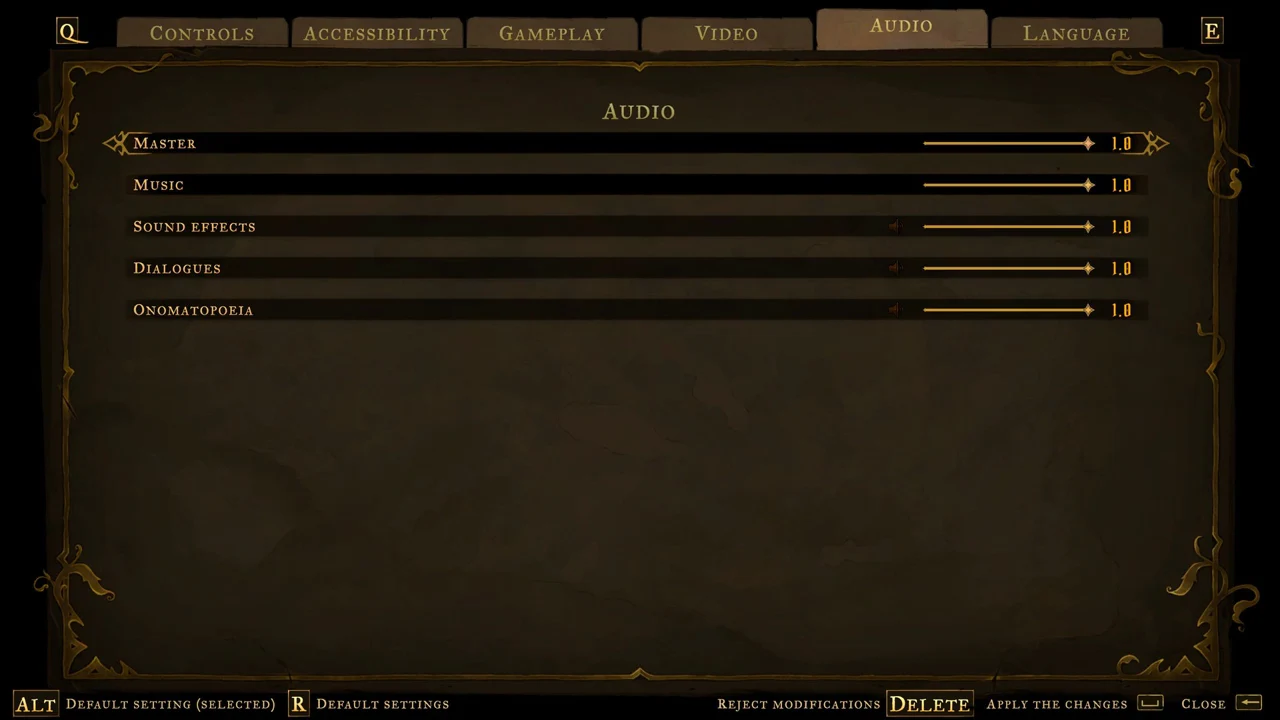
Five volume sliders, each starting at 1.0 with the slider pushed to its right end.
| Slider | Default |
|---|---|
| Master | 1.0 |
| Music | 1.0 |
| Sound effects | 1.0 |
| Dialogues | 1.0 |
| Onomatopoeia | 1.0 |
The Onomatopoeia slider is beside Dialogues, but controls a different volume from both Dialogues and Sound effects. That lets you turn it down on its own while keeping spoken lines unchanged. A small speaker symbol appears alongside each of the Sound effects, Dialogues and Onomatopoeia sliders.
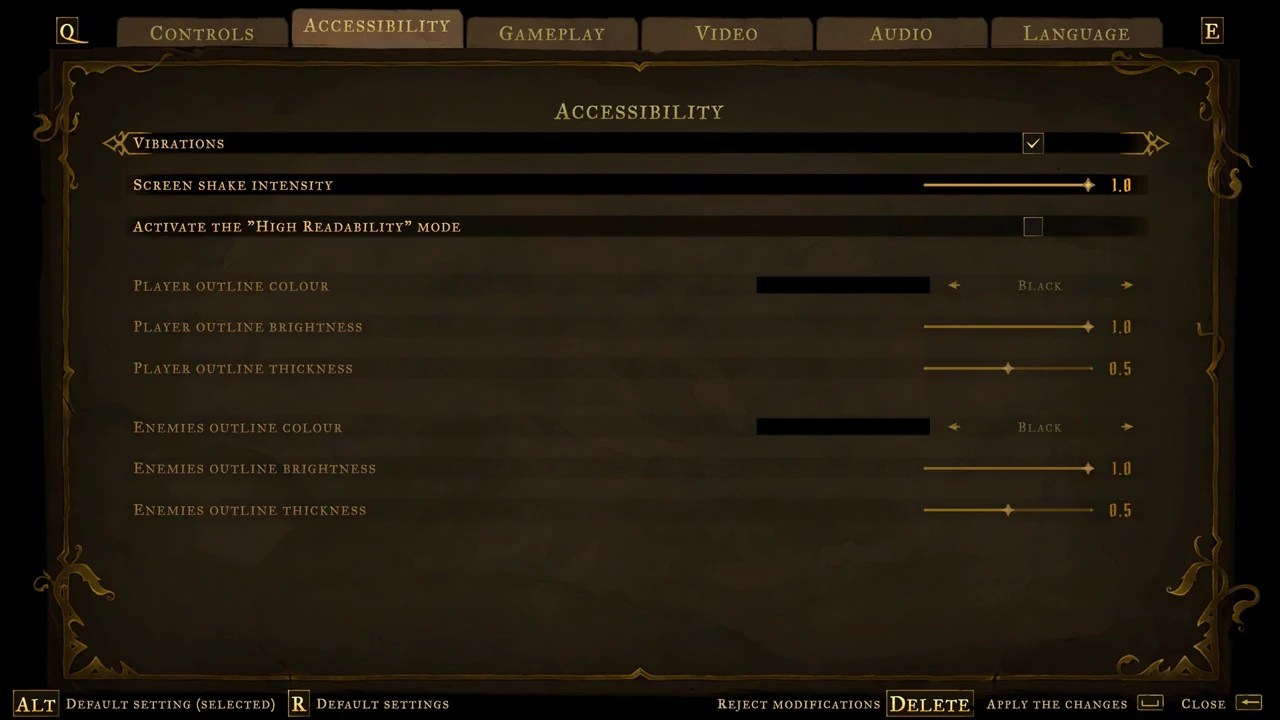
Accessibility tab: High Readability, outlines and screen shake
| Option | Default |
|---|---|
| Vibrations | On (ticked) |
| Screen shake intensity | 1.0 |
| Activate the “High Readability” mode | Off |
| Player outline colour | Black |
| Player outline brightness | 1.0 |
| Player outline thickness | 0.5 |
| Enemies outline colour | Black |
| Enemies outline brightness | 1.0 |
| Enemies outline thickness | 0.5 |
Vibrations is the controller rumble. Screen shake intensity runs from 1.0 and can be turned down, which helps if camera shake bothers you.
All six outline rows are unavailable until you enable “High Readability” mode. Afterward, you can configure outlines separately for Rose, the player and enemies. Choose a Colour with left/right input, starting at Black and shown with a colour swatch; adjust brightness and thickness using their sliders. The outline starts black and thin, so increasing its thickness can help Rose or enemies remain visible against busy backgrounds.
Gameplay tab: Deactivate tutorials and Custom Mode
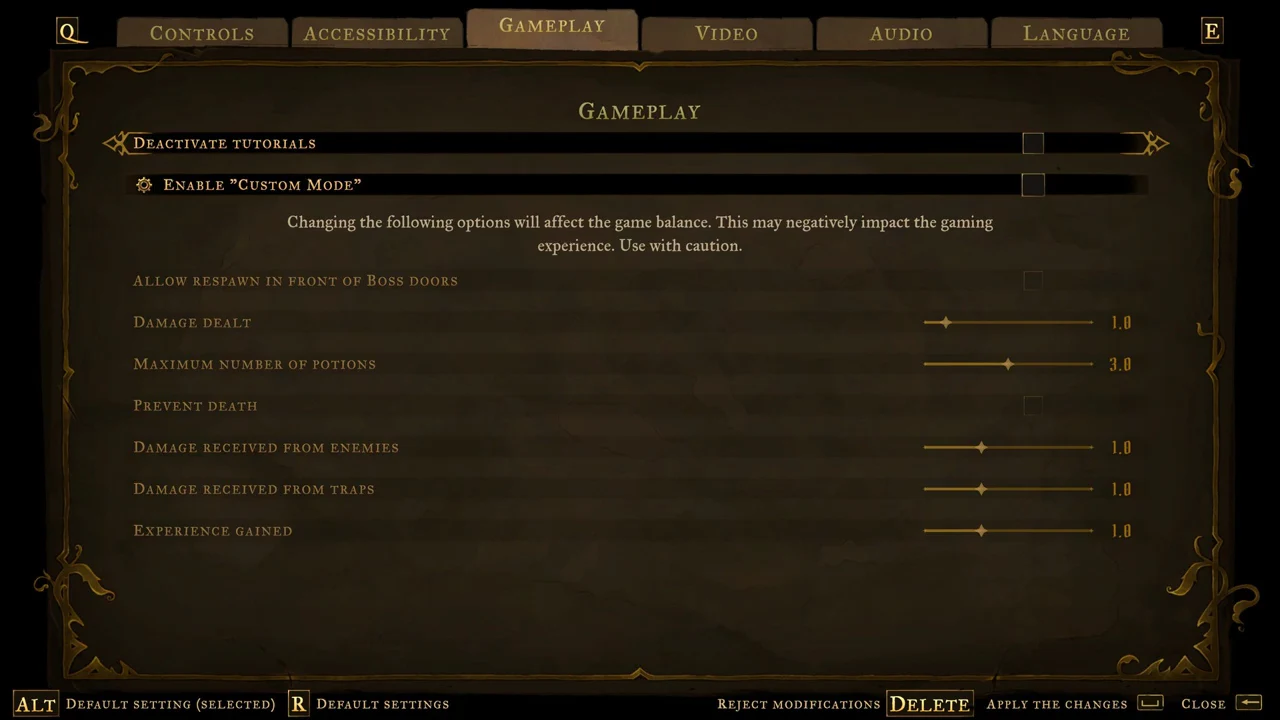
A “Deactivate tutorials” checkbox sits here, off by default. It turns off the tutorial prompts and is the same choice offered on the first-launch screen. Because those prompts teach moves as you first meet them, leave it off unless you already know the controls.
Below it is an “Enable “Custom Mode”” checkbox, also off, with the note “Changing the following options will affect the game balance. This may negatively impact the gaming experience. Use with caution.” Custom Mode is the game’s adjustable-difficulty switch, found here in Gameplay and changeable at any time from the System tab, with its options greyed out until the box is ticked.
Language tab options and defaults
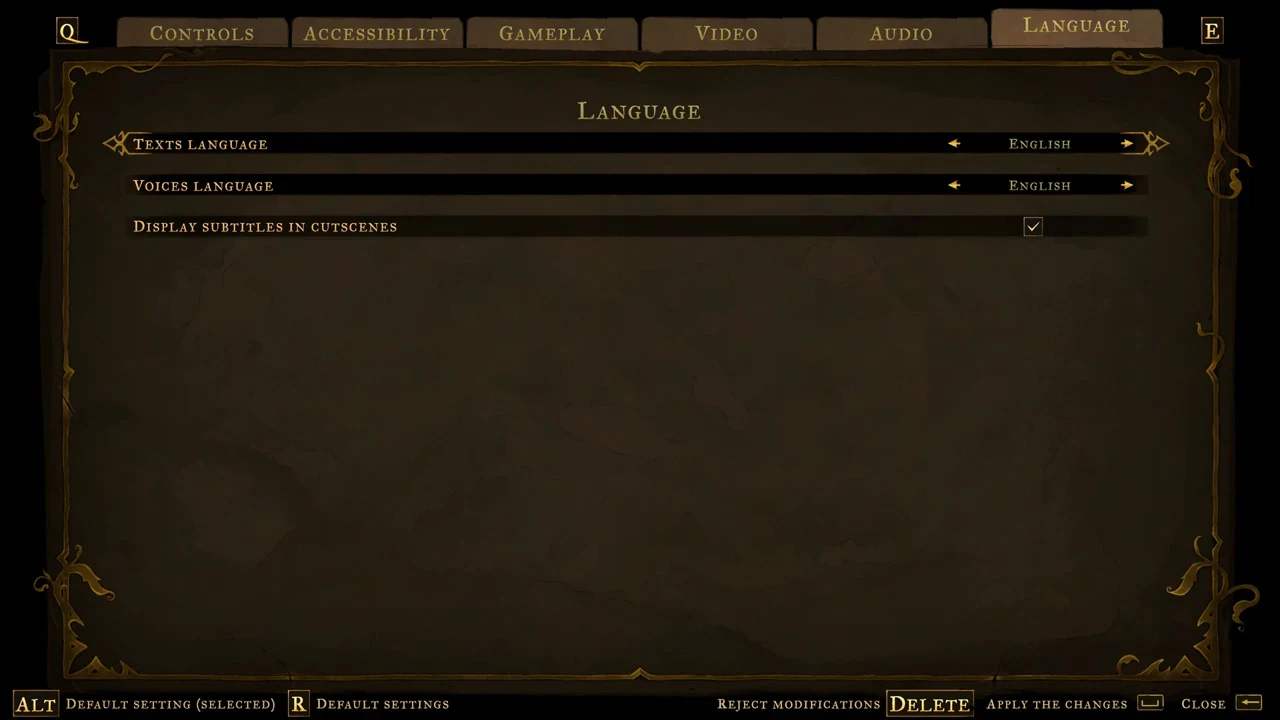
| Option | Default |
|---|---|
| Texts language | English |
| Voices language | English |
| Display subtitles in cutscenes | On (ticked) |
Texts and voices are set separately, so the game can show one language on screen while speaking another. The “Display subtitles in cutscenes” checkbox is ticked by default.
Controls tab
The CONTROLS tab has CONTROLLER and KEYBOARD AND MOUSE sub-tabs, selected with keys 1 and 3. On the keyboard, WASD moves, Space jumps, Shift dodges, the left mouse button attacks, R casts spells, the right mouse button uses the Arcane Whip, C activates Holy Light, the arrow keys observe, E interacts, X heals, Tab opens the map and Esc opens equipment. Controller settings include Motion sensitivity and Eye sensitivity sliders, both at 0.75, plus the “USE B TO VALIDATE” checkbox. Every key and the full controller layout are in the Castlevania: Belmont’s Curse PC controls guide.
Which settings to change first
- Enable “Deactivate tutorials” only when you’re already familiar with the controls.
- Reduce Screen shake intensity to make the camera shake less noticeable.
- If busy scenery makes Rose or enemies hard to distinguish, enable High Readability and increase outline thickness.
- Turn Onomatopoeia down on its own if you want it quieter while keeping dialogue unchanged.
- Use the Brightness EDIT row when dark areas are hard to read.