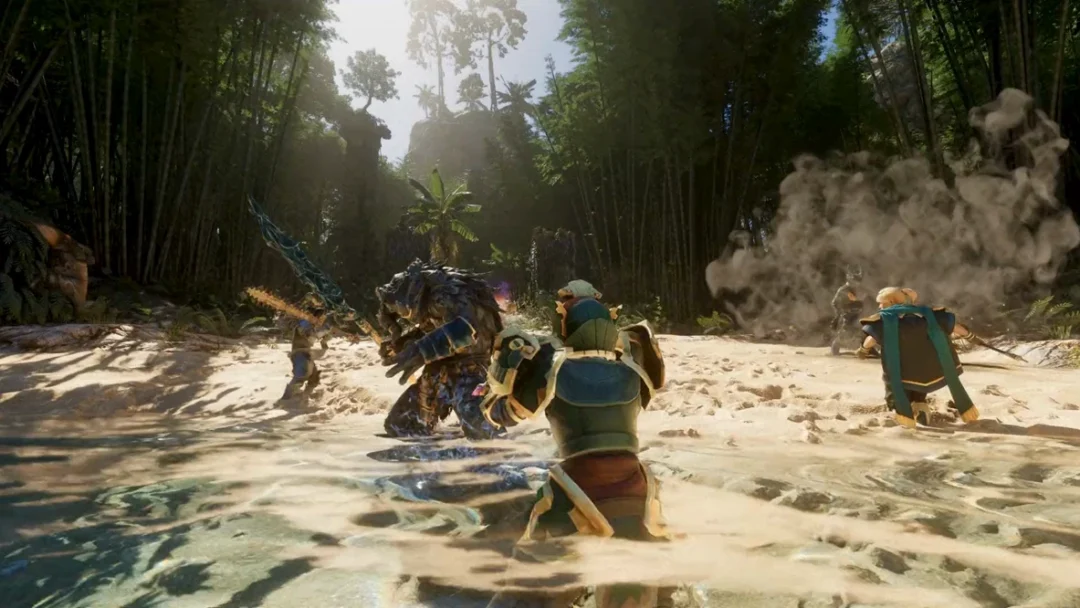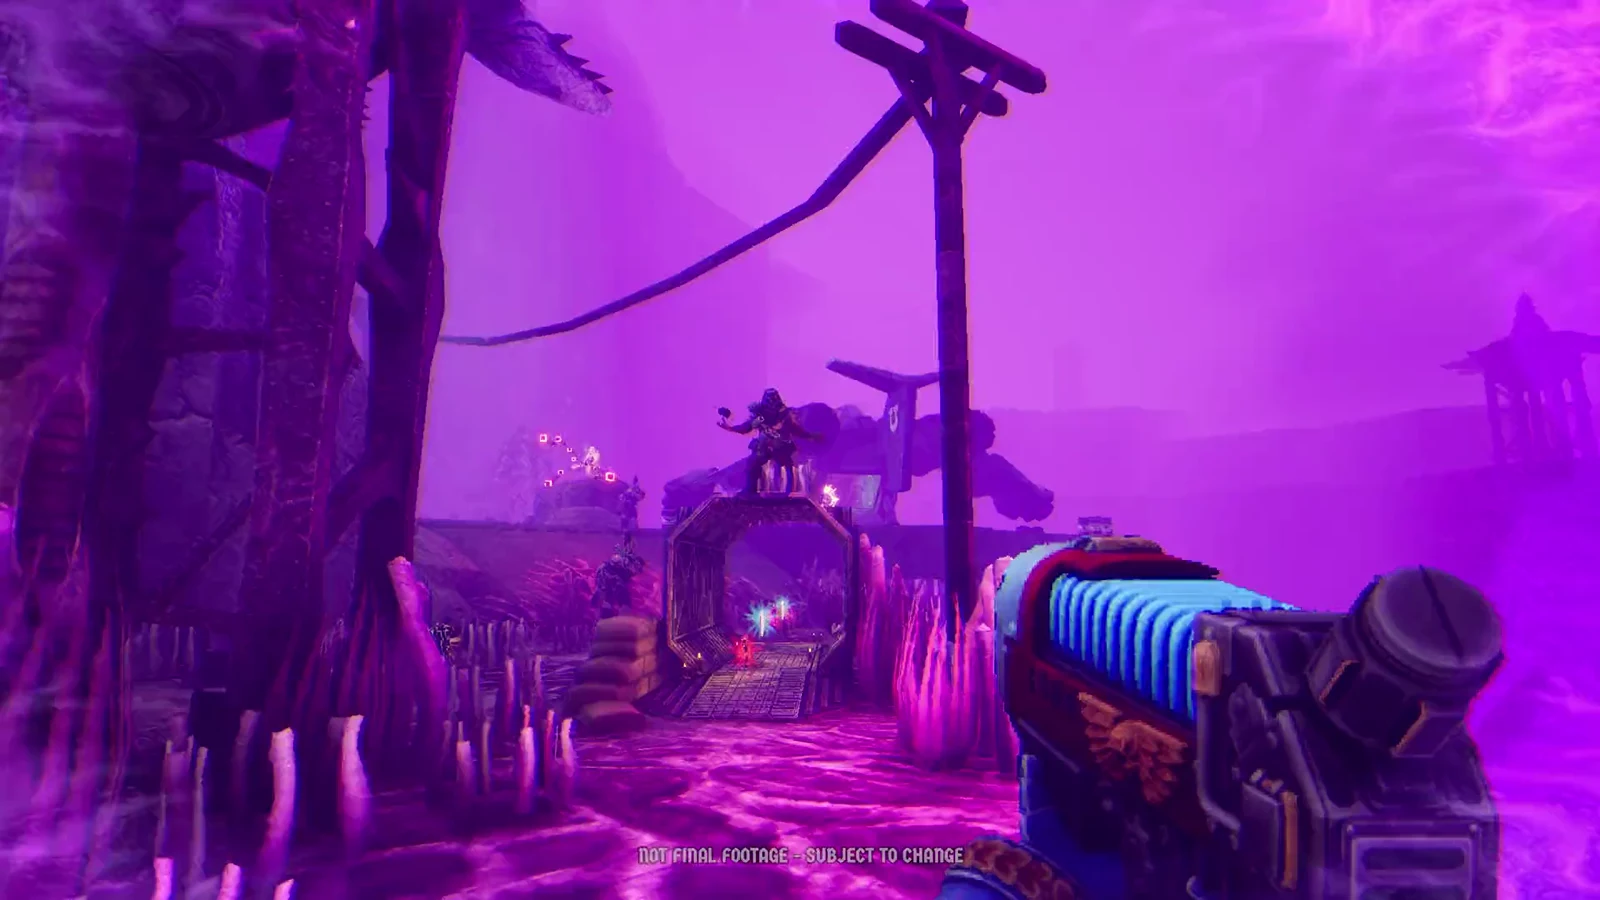
The Vile Root is a jungle-world level in Warhammer 40,000: Boltgun 2 with four Secrets and one Purity Seal tucked across its root-covered caverns, courtyards and bell structure. Each Secret gives you a munition or power-up, and the Purity Seal requires a short shooting puzzle rather than a simple pickup.
Quick answer: Collect all 4 Secrets (Machine Spirit, Feel No Pain, Aura of Doom, Munitions Beacon) and 1 Purity Seal. Watch the Secrets counter climb to 4/4 and the Seal counter reach 1/1.
All collectibles in The Vile Root
Here is every pickup in the level and where it sits. The route below follows the natural level flow, so you can grab them in one clean run.
| Collectible | Reward | Location |
|---|---|---|
| Secret 1/4 | Machine Spirit upgrade | Crevice before the purple door |
| Secret 2/4 | Feel No Pain | Toxic depression below the narrow root path |
| Secret 3/4 | Aura of Doom | Behind the cracked wall near the red door |
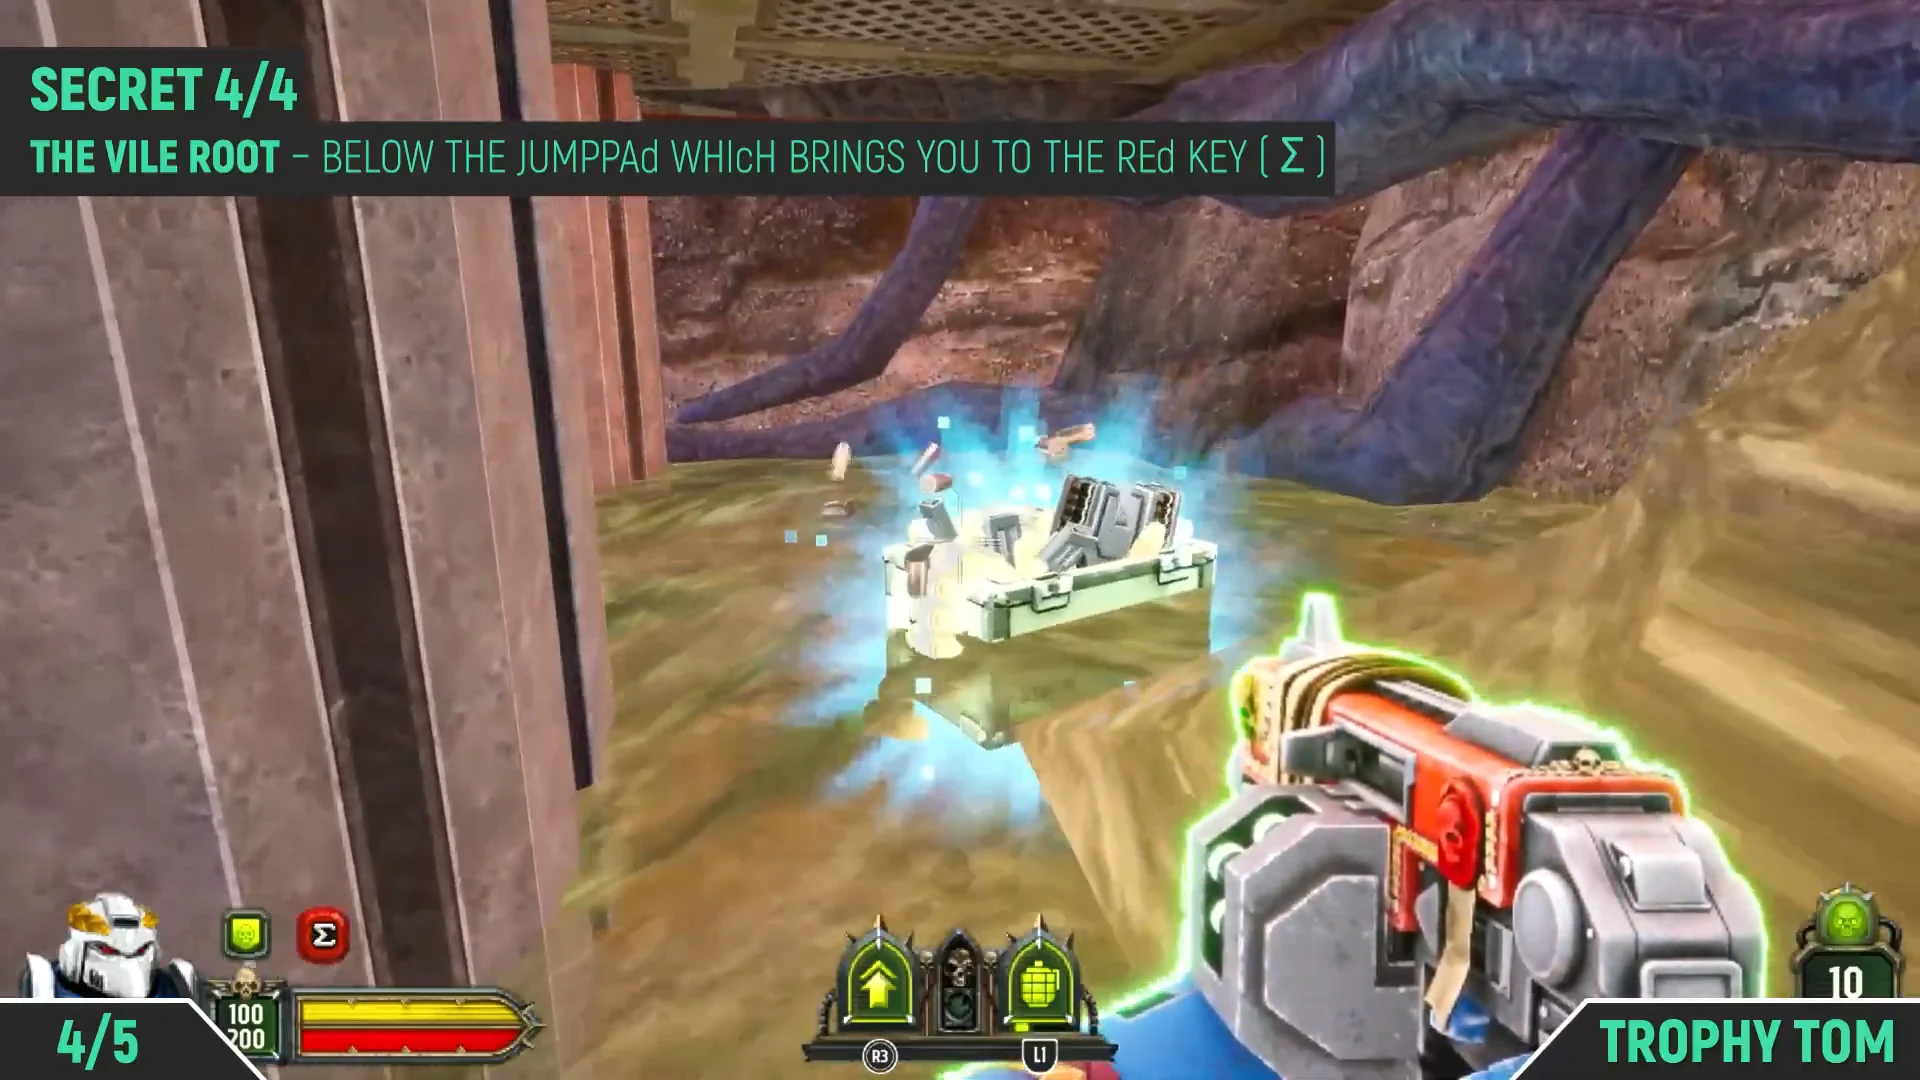
| Secret 4/4 | Munitions Beacon | Under the jump pad to the red key |
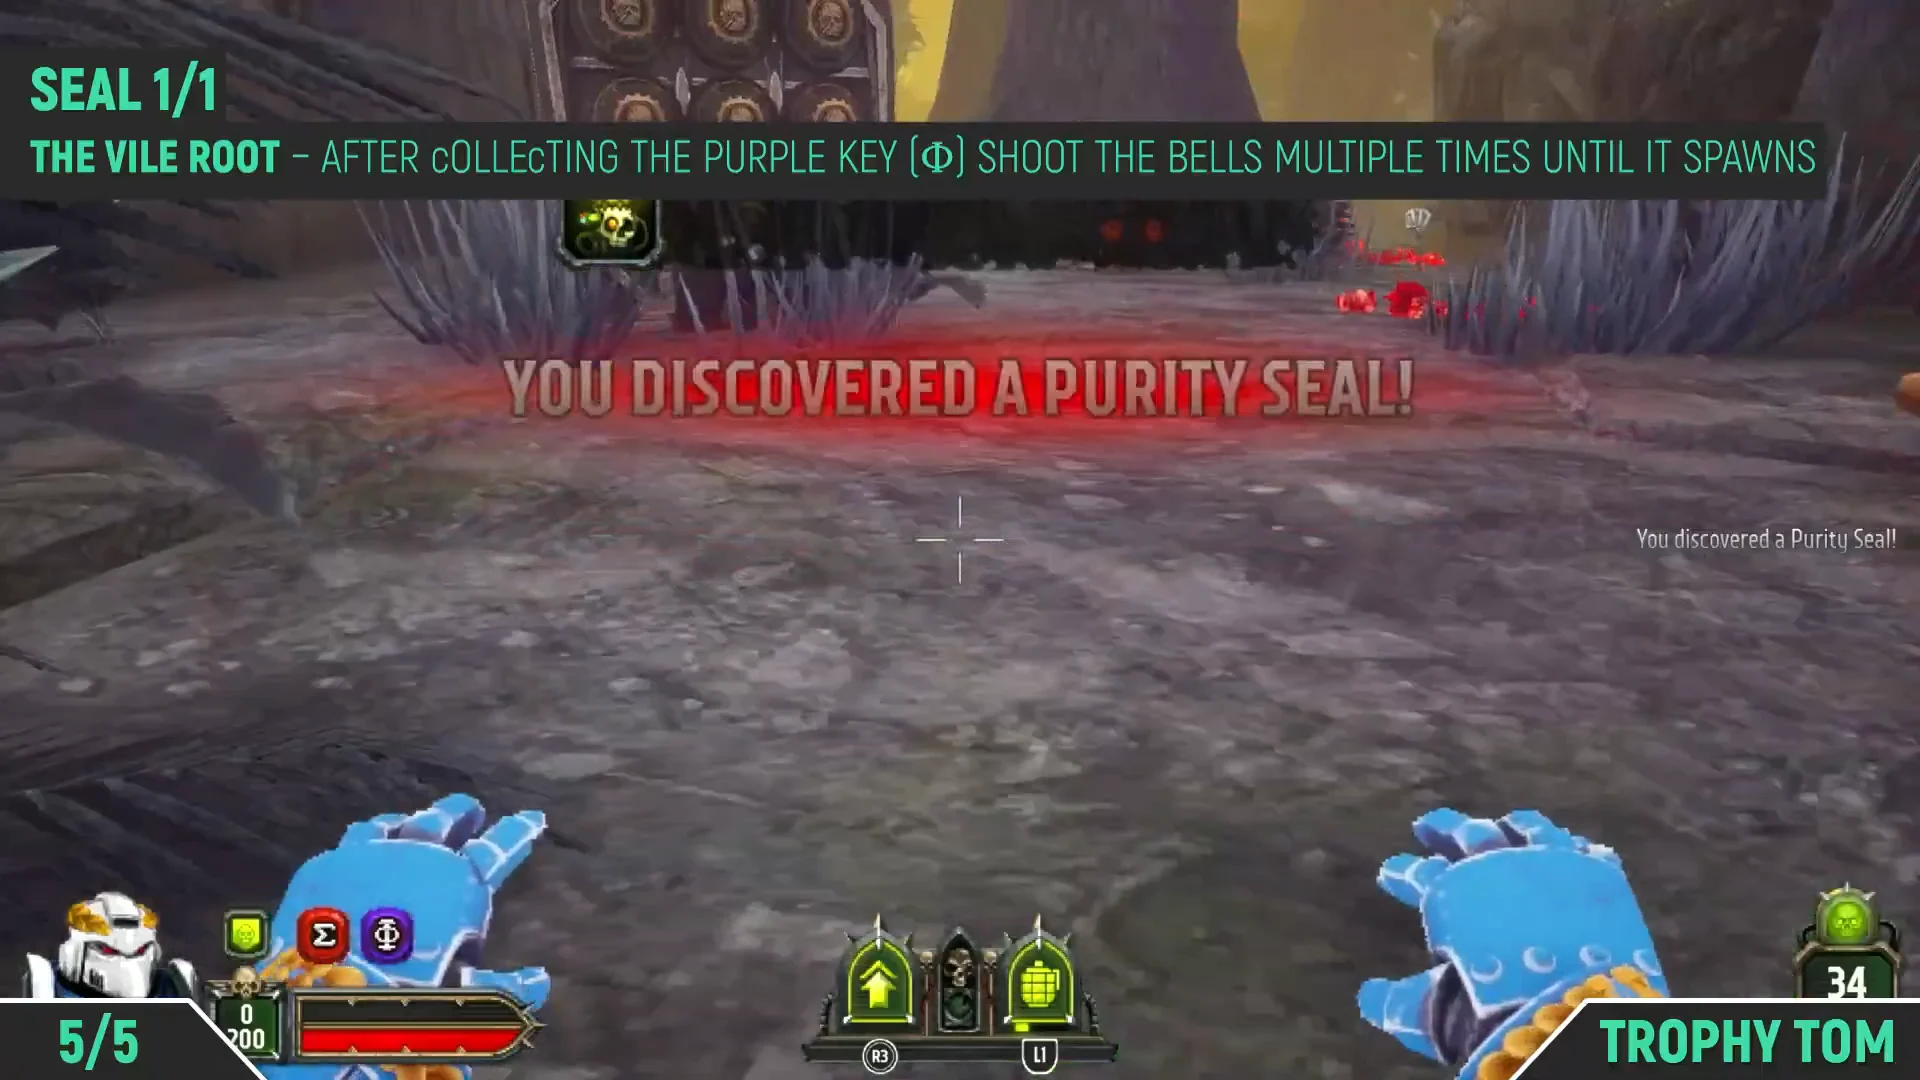
| Seal 1/1 | Purity Seal | Bell structure by the purple key |
Secret locations
Secret 1/4 – Machine Spirit upgrade
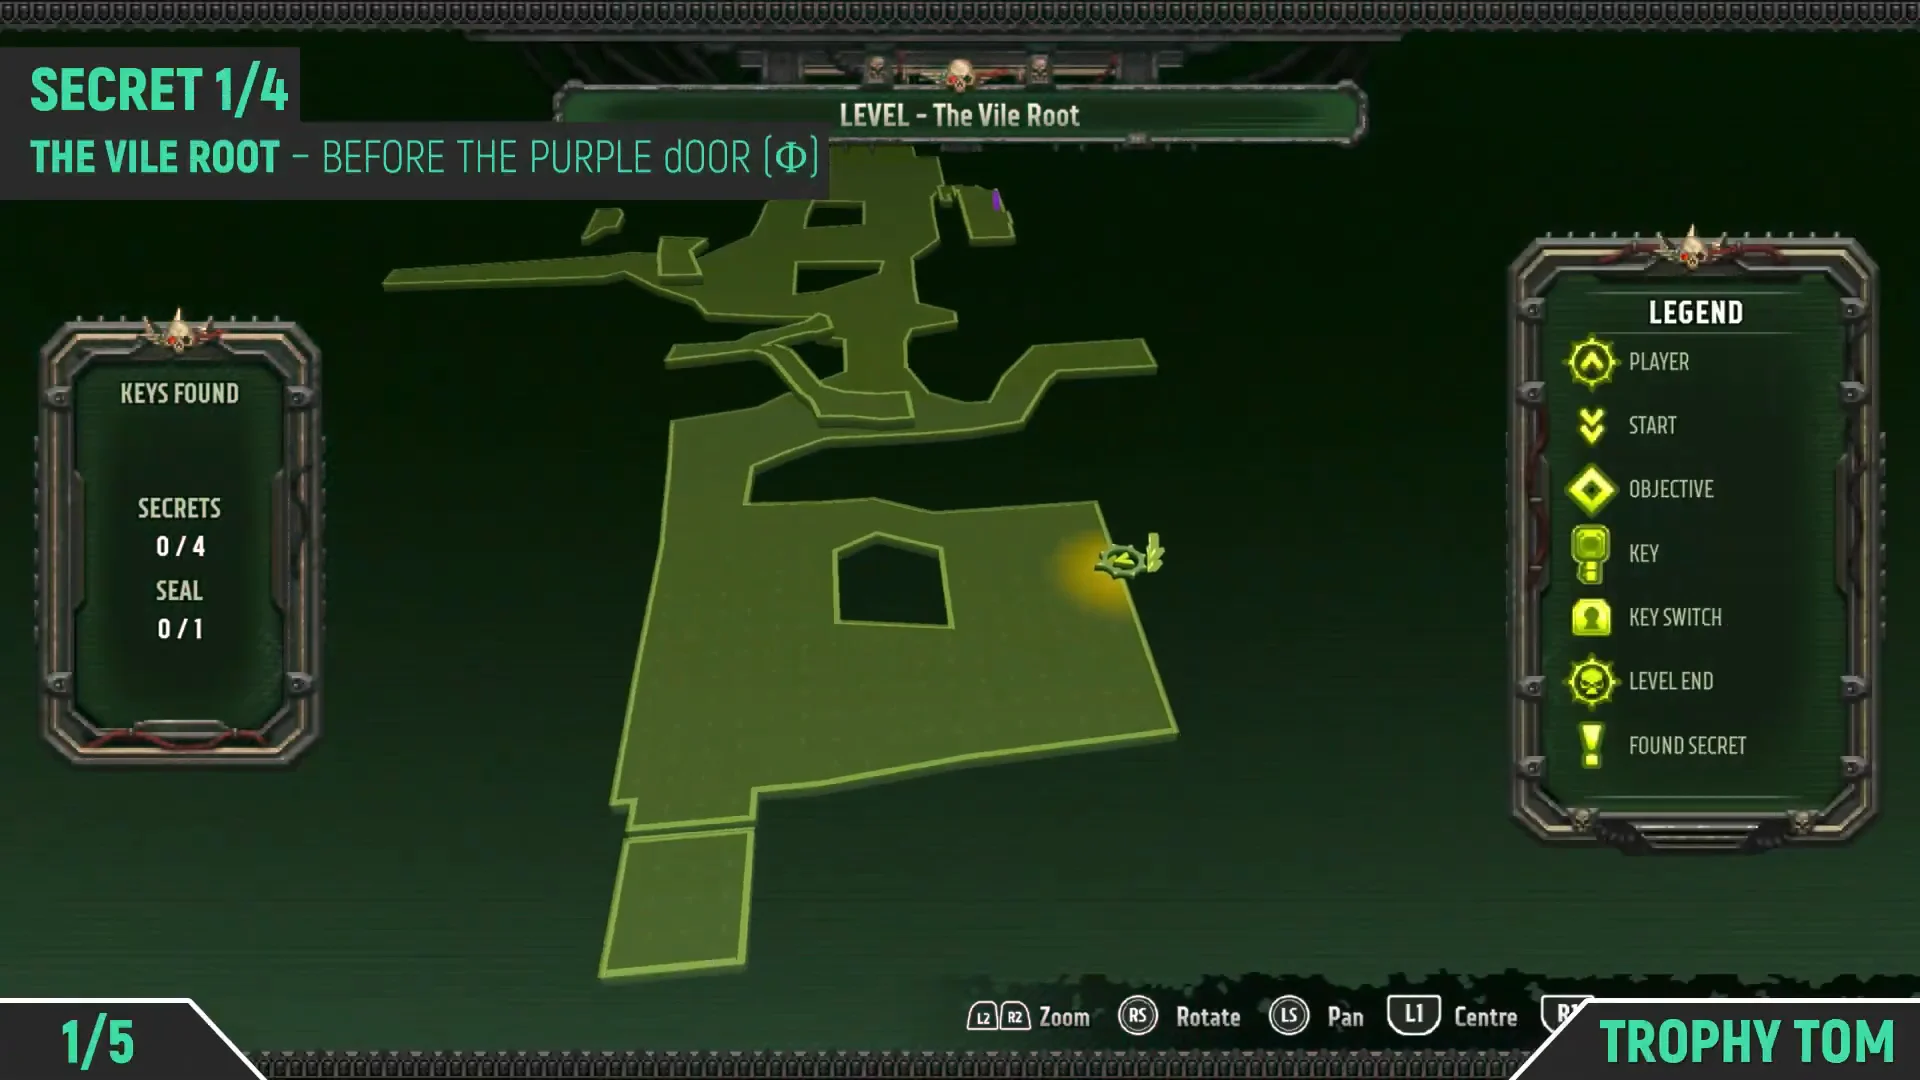
Follow the path heading toward the locked purple door. Before you reach the door itself, turn right into a narrow crevice set between the root-covered rock walls. The Machine Spirit upgrade is waiting inside that gap, and the on-screen prompt reads “Machine Spirit: Praise the Omnissiah!” when you grab it.
Secret 2/4 – Feel No Pain
After you take the narrow path down across the large roots, stop and look over the edge. Drop carefully onto the lower root outcroppings and continue down into the misty, toxic depression below. The Feel No Pain power-up sits in an alcove just ahead on the ground.
Secret 3/4 – Aura of Doom
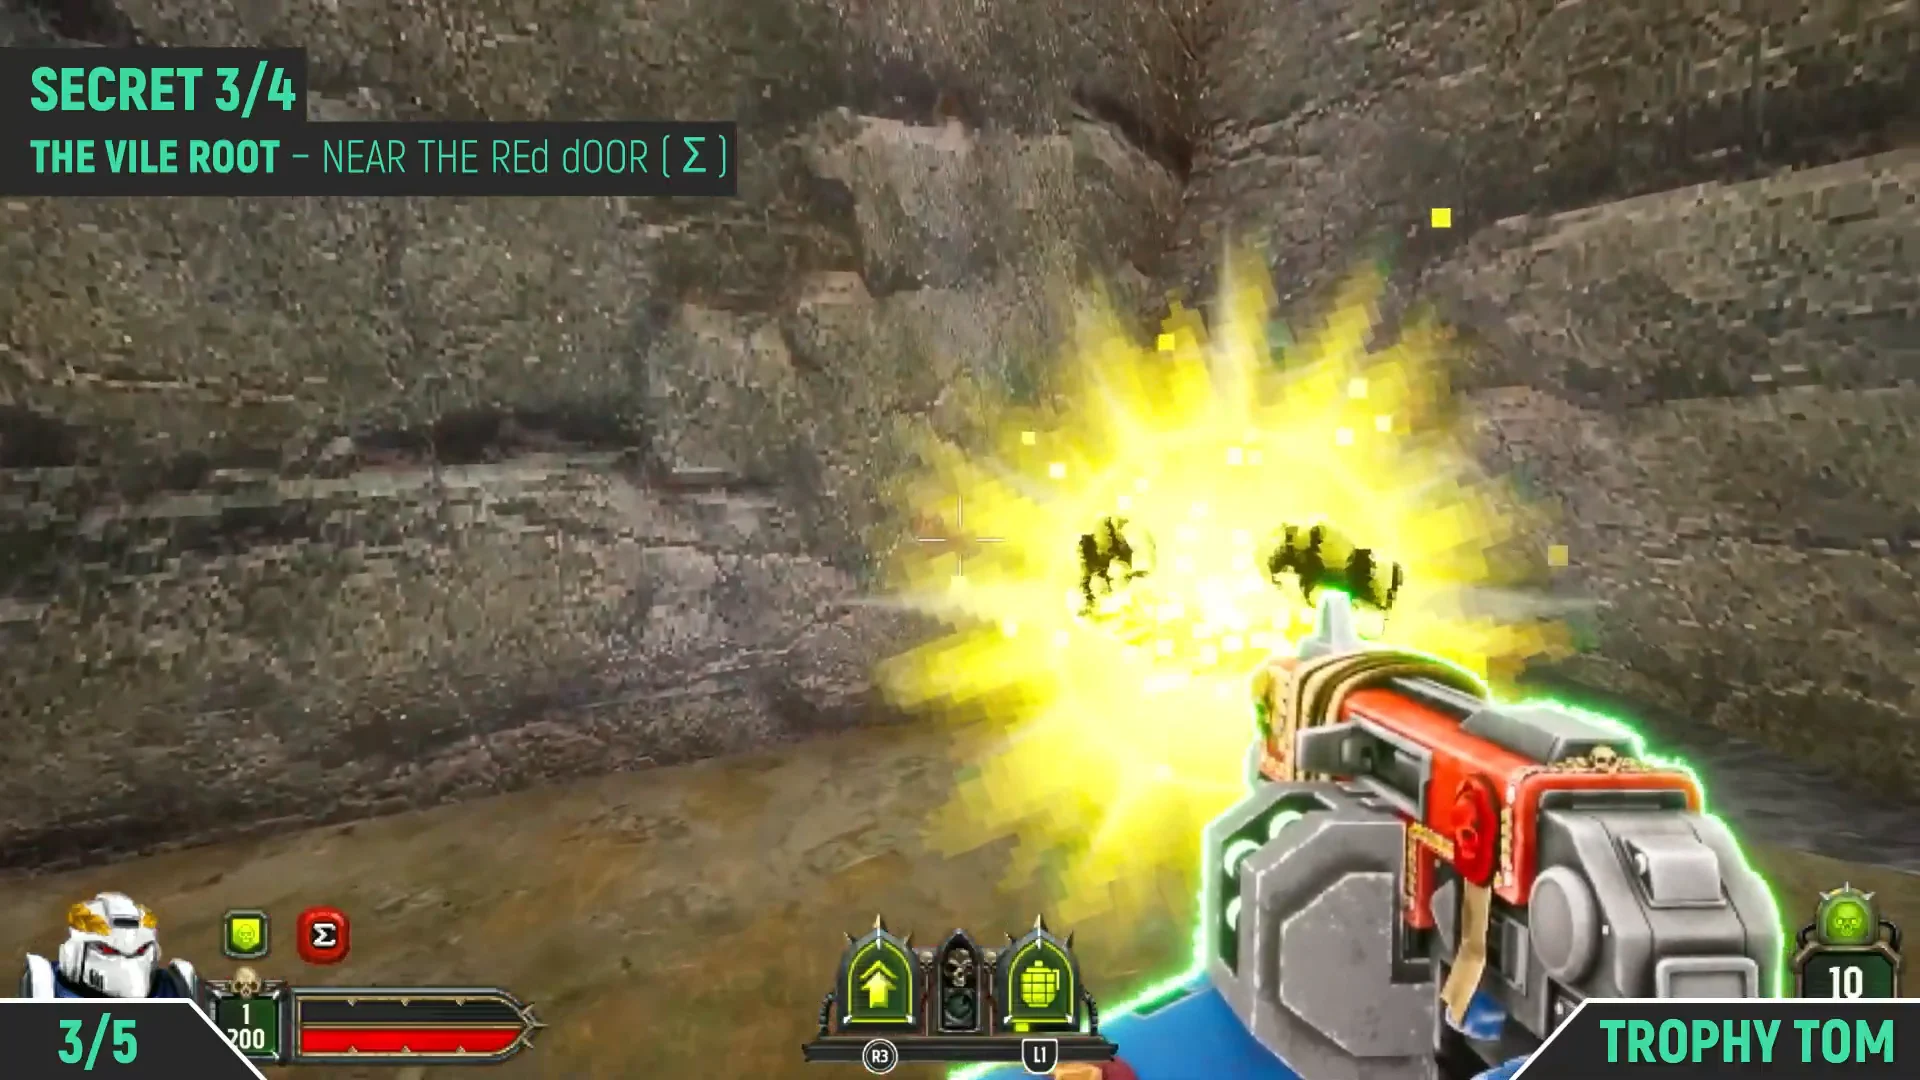
In the courtyard near the red door, check the small corner alcove marked with an Aquila painted on the wall. An explosive servitor skull is wedged in that corner. Shoot the skull so the blast destroys the cracked rock wall, which opens a hidden alcove holding the Aura of Doom pickup.
Secret 4/4 – Munitions Beacon
Find the jump pad that launches you toward the red key. Instead of stepping on the pad, walk over the right-hand metal edge and drop down safely to the ground directly beneath the platform. The Munitions Beacon is stored there, and the pickup text reads “Munitions Beacon: Lock and load!”
Purity Seal 1/1 – shoot the hanging bells
The level’s single Purity Seal does not sit on the ground. You trigger it at the bell structure where the purple key is picked up, by shooting the rusted bells overhead until it spawns.
How to confirm you got everything
The level tracker updates each time you collect an item. You are finished when it reads Secrets 4/4 and Seal 1/1. Each Secret also flashes a “Secret Discovered” badge as you pick it up, and the Purity Seal shows its own “You discovered a Purity Seal!” banner.
Clear the Secrets during your first pass and save the bells for last, since the Purity Seal is tied to the purple key you need anyway.
Once The Vile Root is complete, the story continues to Dilapidated Prison, where the Archenemy has overrun an Imperial prison complex in the jungle. If you jump in through Level Select instead, the next entry in the list is The Trenches on Path B.