Festering Bog: All 4 Secrets and the Purity Seal in Boltgun 2
Exact routes to every hidden pickup and the breakable wall that holds the Purity Seal.
Exact routes to every hidden pickup and the breakable wall that holds the Purity Seal.
by AllThingsHow Staff
Festering Bog hides four Secrets and a single Purity Seal across its swampy platforming stretches. All five tie to level landmarks you already pass through, so you can grab them on a normal run without backtracking the whole map. Each one lights up with a confirmation banner the moment you touch it.
Quick answer: Collect the Emperor’s Visage after the red bridge, the skull after the first bridge activation, the Munitions Boon on the way to the red key, and the Grenade Boost plus the Purity Seal before the purple key.
Festering Bog collectibles overview
The level holds four Secrets and one Purity Seal. Here is where each sits and what you pick up.
Collectible
Pickup
Area
Secret 1/4
Emperor’s Visage
After the red bridge
Secret 2/4
Skull emblem
After the first bridge activation
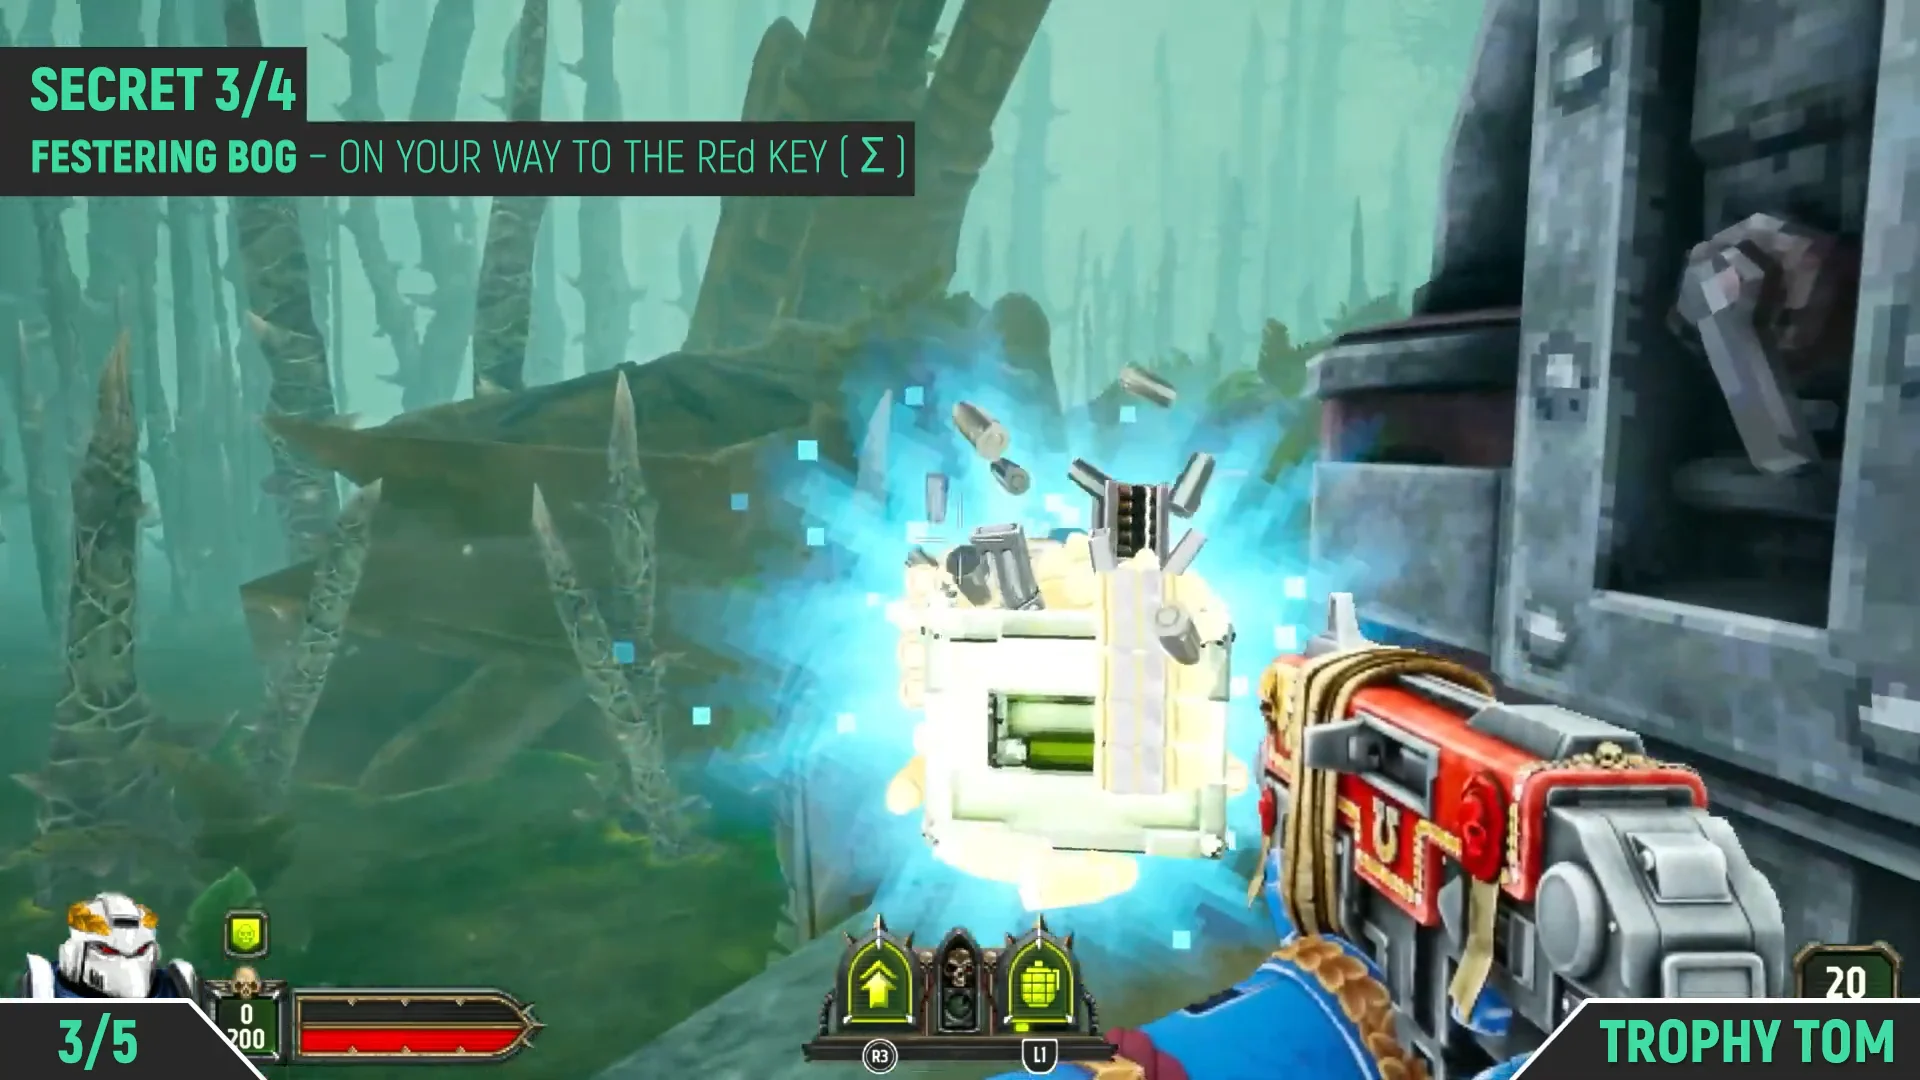
Secret 3/4
Munitions Boon
On the way to the red key
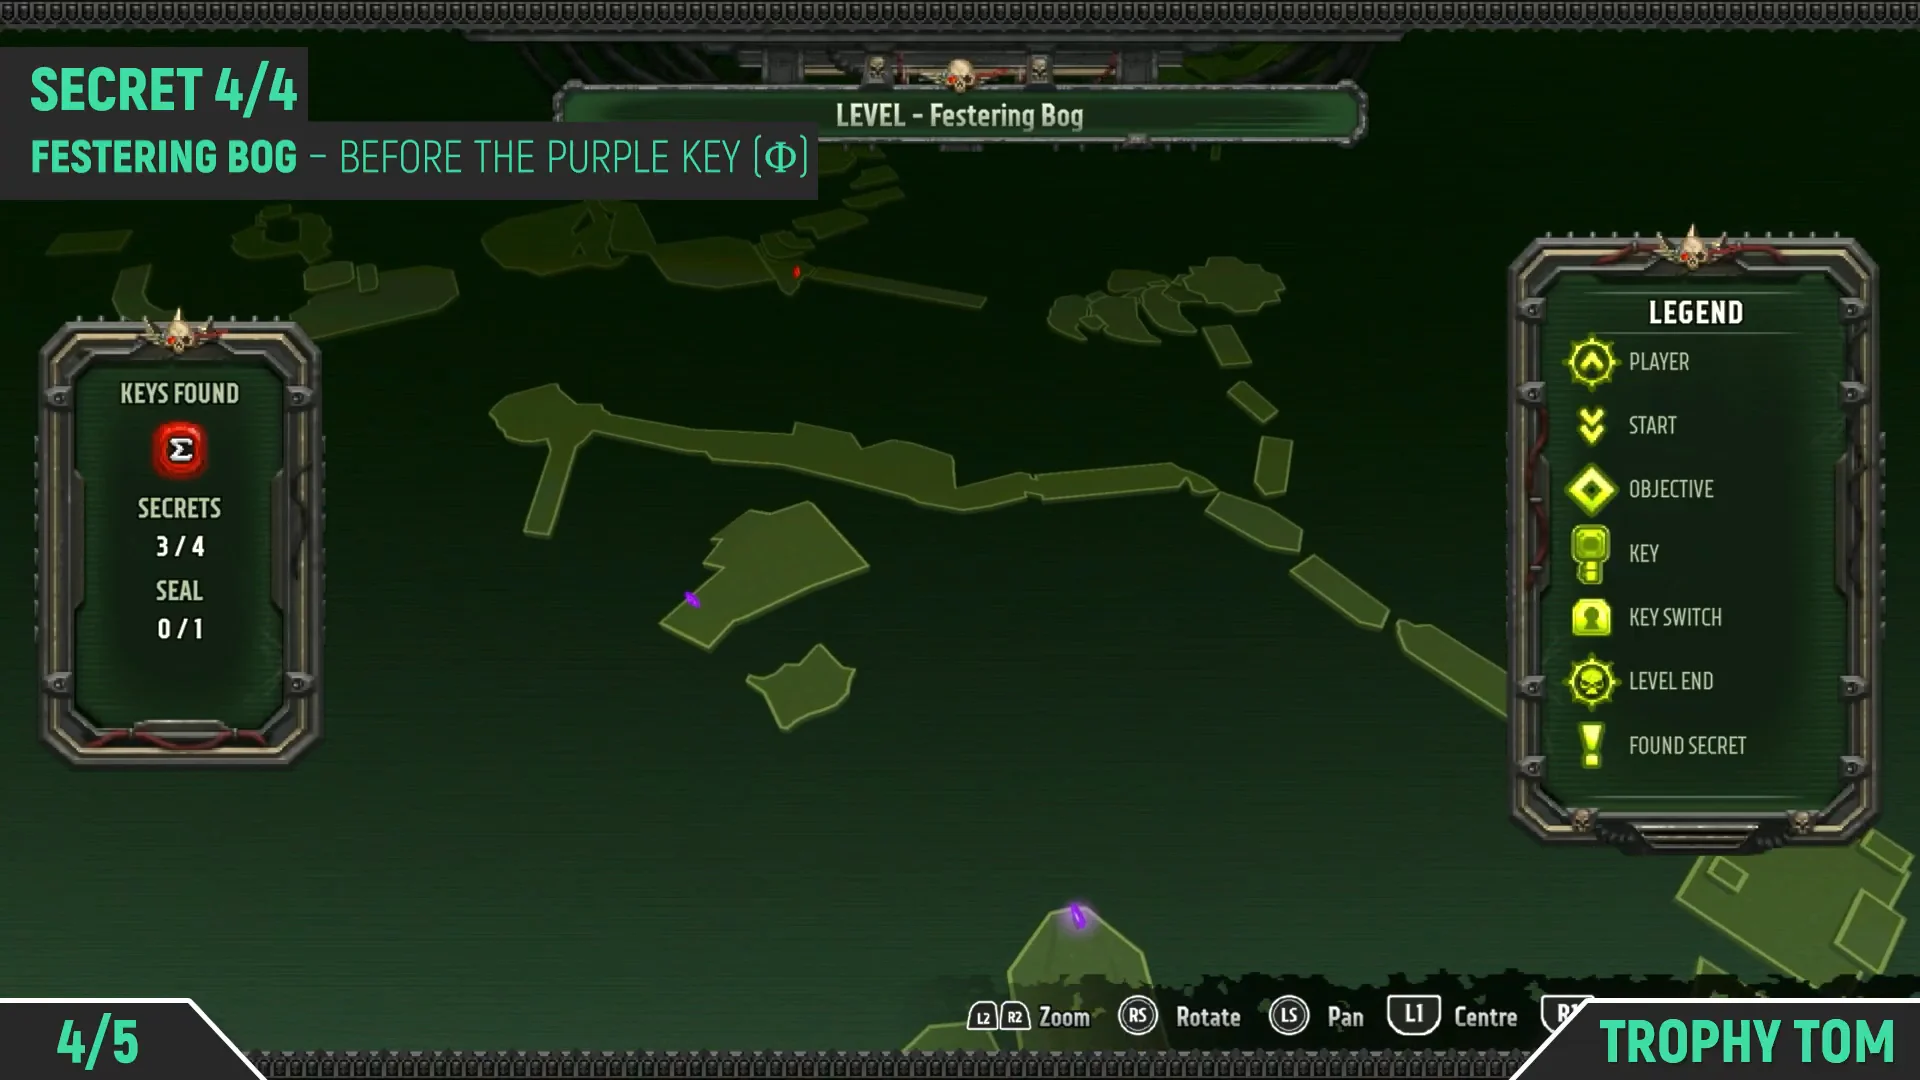
Secret 4/4
Grenade Boost
Before the purple key
Seal 1/1
Purity Seal
Before the purple key
Secret 1/4: Emperor’s Visage after the red bridge
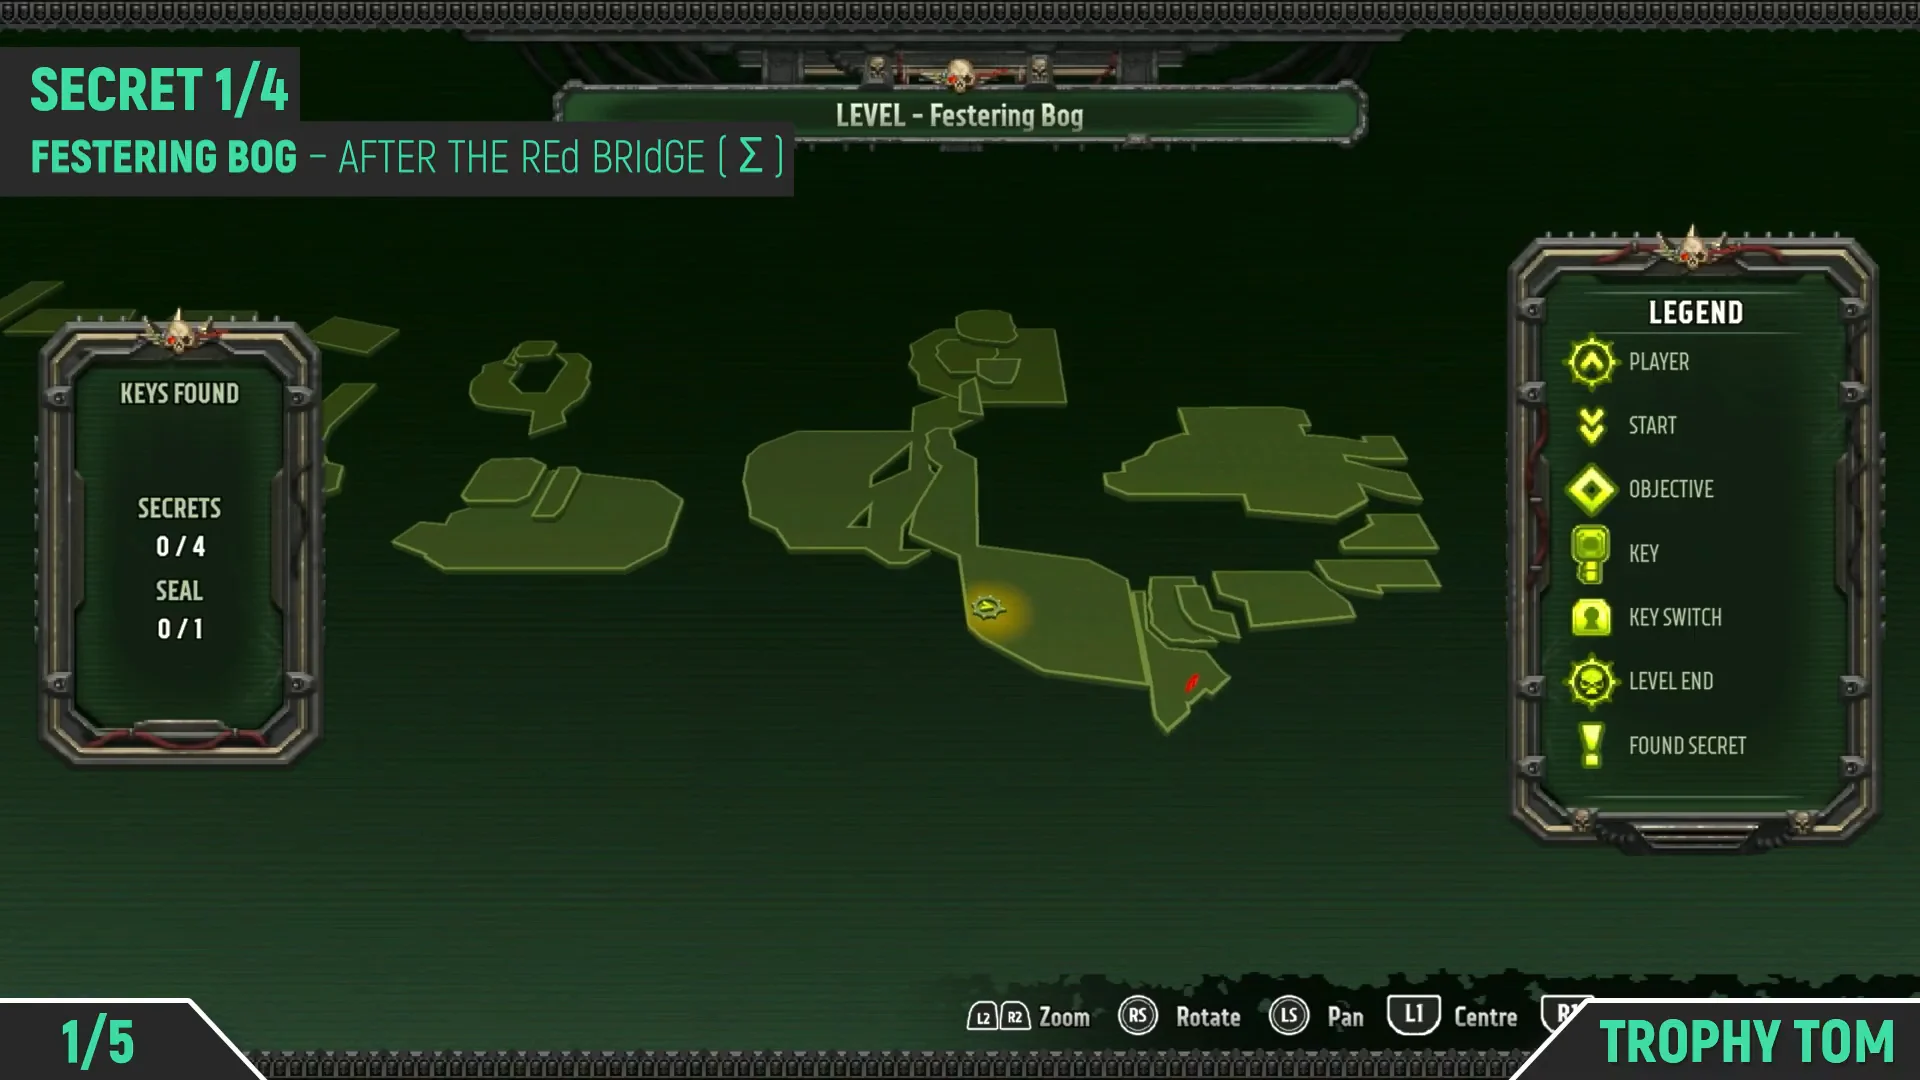
This Secret sits above a maintenance room in the clearing just past the red bridge.
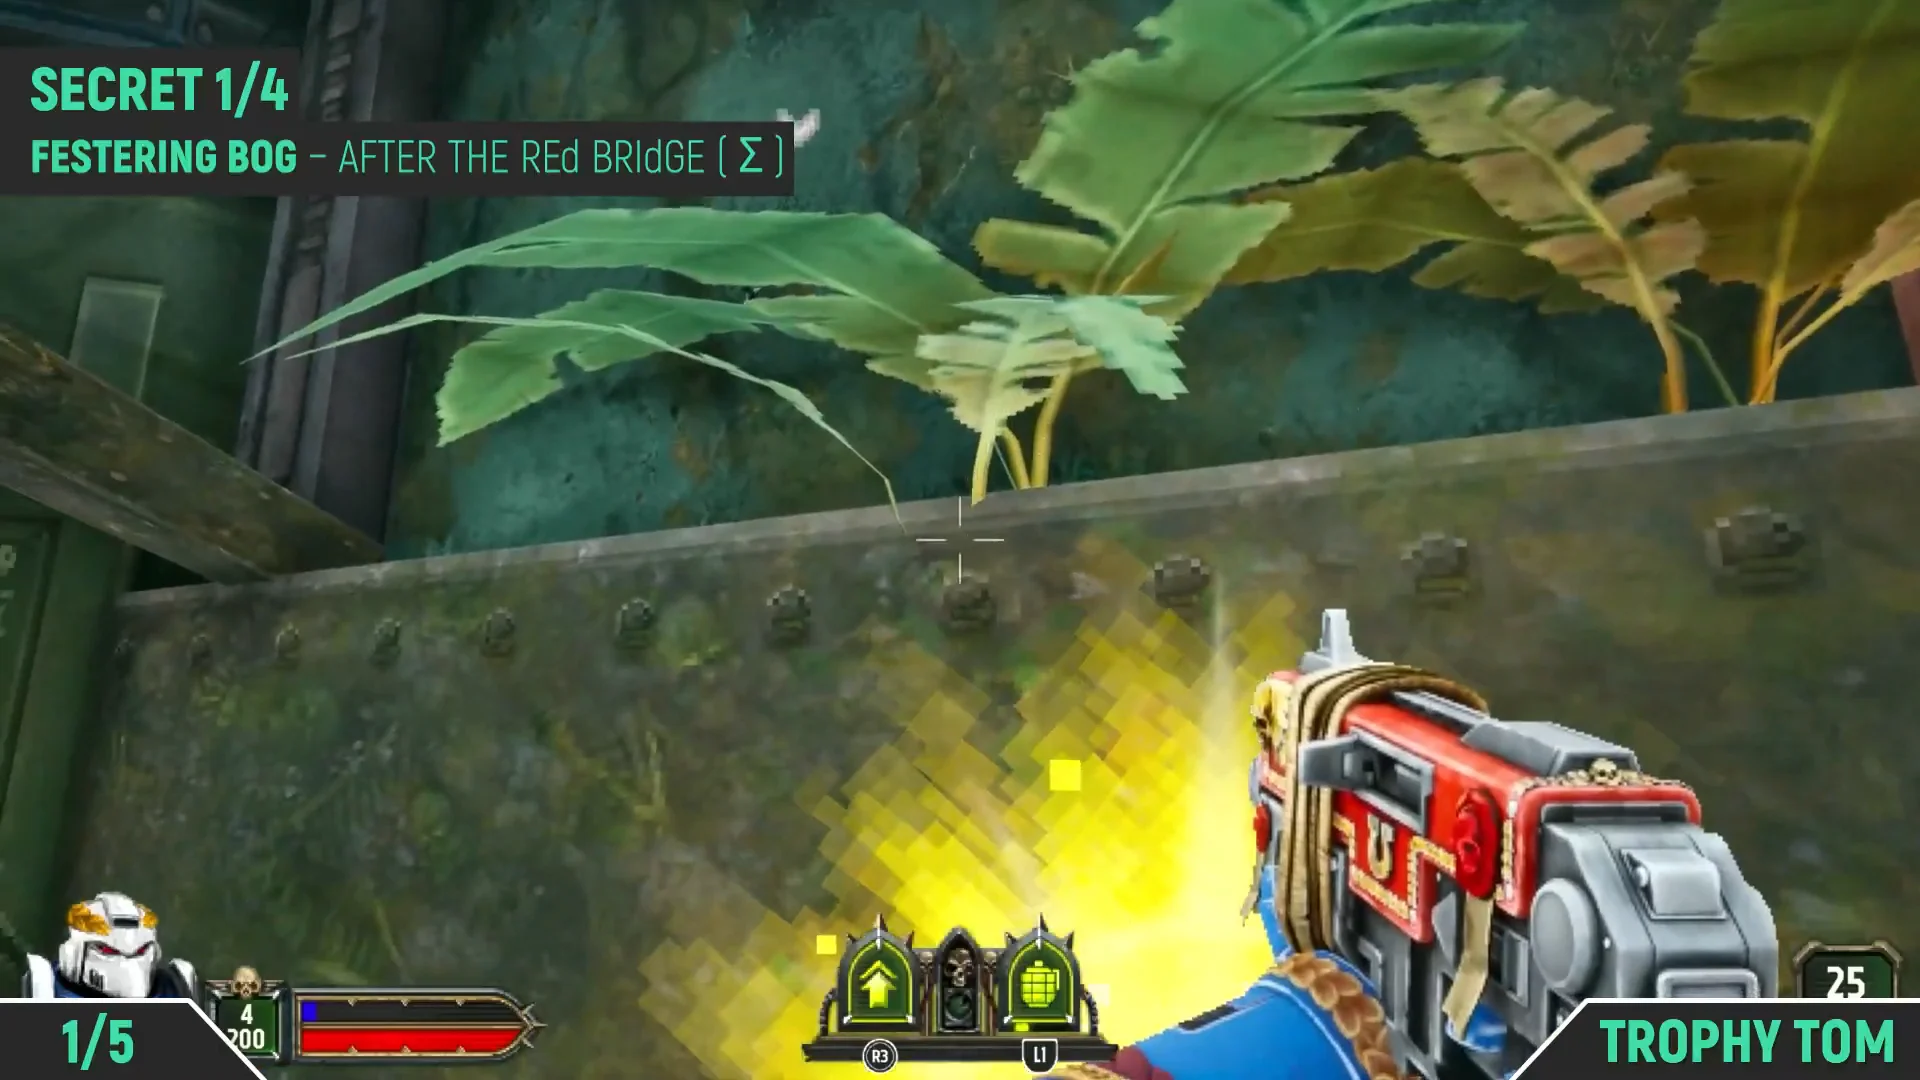
Climb from the crates and piping onto the elevated ventilation ledge, then collect the glowing Emperor’s Visage. The banner reads “EMPEROR’S VISAGE! HIS LIGHT SHINES UPON YOU!” and your Secrets count advances to 1/4.
00:28Secret 1/4 CollectionThe Emperor's Visage glows yellow on the upper ventilation ledge above the maintenance room. Shown at 00:28 in Trophy Tom’s video. Image: Focus Entertainment
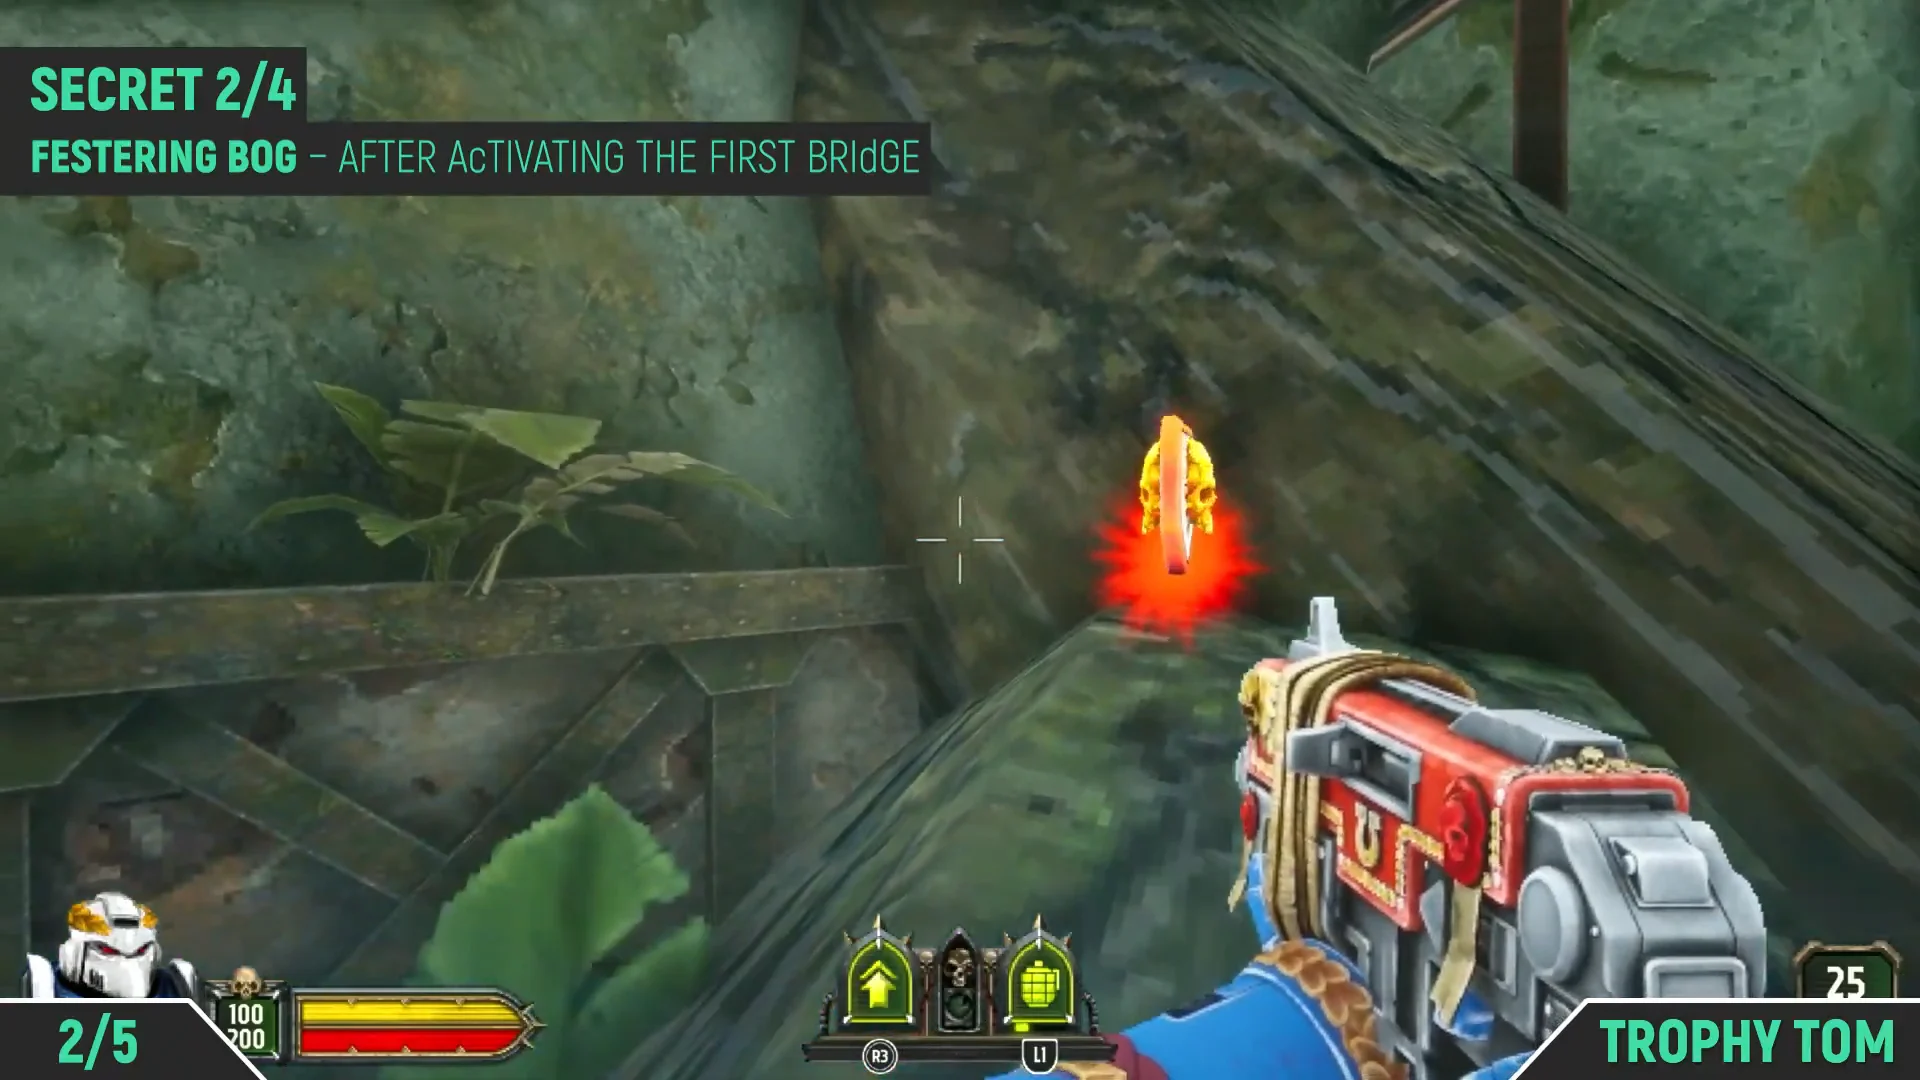
Secret 2/4: Skull emblem after the first bridge
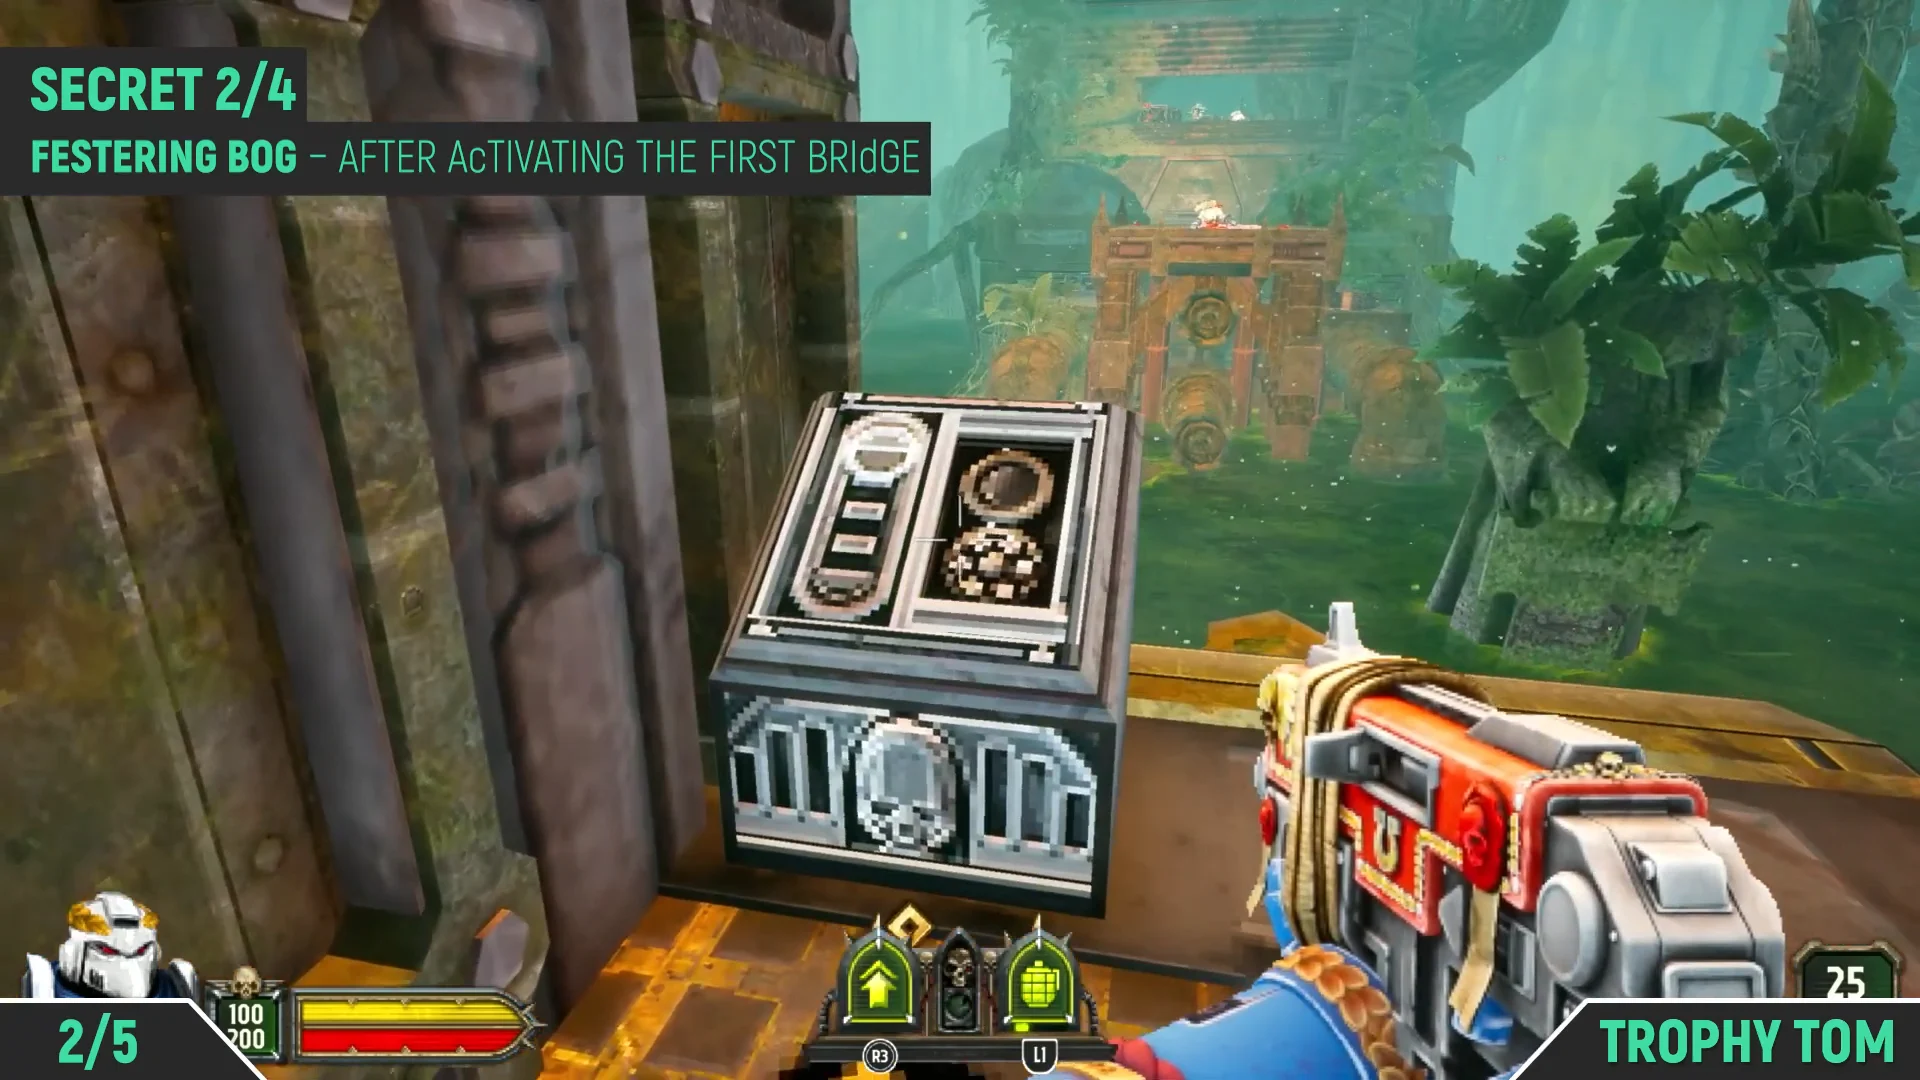
This one requires you to raise the first bridge, then slip around the side of the stone structure on the far bank.
Climb onto the crane and hop up to the winch mechanism; from there, leap behind the machine onto the stone pillar’s ledge. Collect the crate to trigger the “MUNITIONS BOON. LOCK AND LOAD!” banner.
Go into the alcove in the corridor on your right and strike the glowing green wall switch. Its prompt says “Press [Square] to Activate”; activating it lowers a tree barrier outside.
Double back to the open edge of the bog, where tree trunks protrude from the liquid. Hop from trunk to trunk to reach the floating green Grenade Boost on a hollow stump and trigger the “You discovered a Grenade Boost!” message.
Shoot the wall marked by cracks and impact fractures to smash through it. The concealed chamber contains the Purity Seal; the “YOU DISCOVERED A PURITY SEAL!” banner confirms the find, and the Seal counter reaches 1/1.
Clear both pickups before you take the purple key. Once you leave the area the lower path and the cracked wall are easy to skip past without noticing.
With all four Secrets and the Purity Seal collected, the level tracker reads Secrets 4/4 and Seal 1/1, which marks Festering Bog as fully cleared of its hidden pickups.