Gaming Guide

Valor Mortis: How to Complete The Lost Boy Quest in Vale of Wrath

Read Mirek's Note, grab the Cellar Key from his body in the cave, then open the cellar to finish the Chapter 5 side quest.

Read Mirek’s Note, grab the Cellar Key from his body in the cave, then open the cellar to finish the Chapter 5 side quest.

Image: One More Level

The Lost Boy is a side quest in Vale of Wrath that opens up early in Chapter 5, around the Wolfsbane Field area. It follows a young man named Mirek who left home to join the resistance, and it asks you to track down what happened to him. The quest runs over four journal steps and has a single ending.

Quick answer: Read Mirek’s Note inside the house in Wolfsbane Field, cross to the cave opposite to find his body and the Cellar Key, then return and unlock the cellar to complete the quest.


Where The Lost Boy quest starts

The quest begins in the Vale of Wrath region, inside the house you pass through along the story path in Wolfsbane Field. From the Wolfsbane Field Lantern, head down the slope toward the house on the western side. You can recognize it by the white painting beside a locked door and the wagon wheel above the other door. There are enemies around the building, so clear them before you go in.

Enter through the unlocked door to find the note that starts everything. Reading it triggers The Lost Boy as a new side quest, and the character you play, William, reacts to it in dialogue.
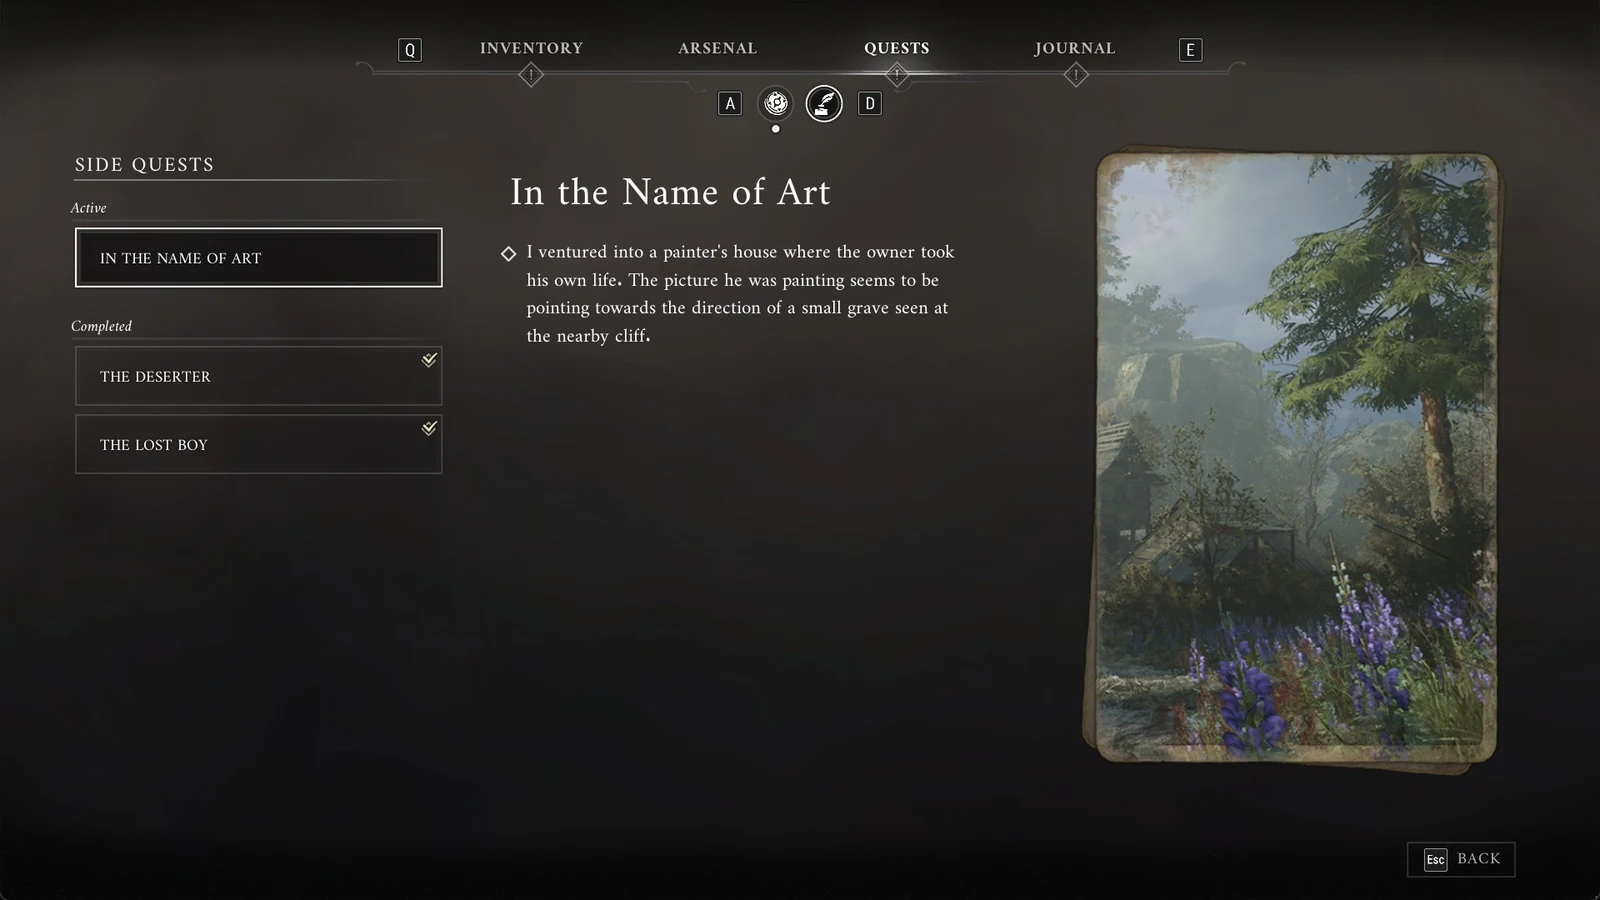
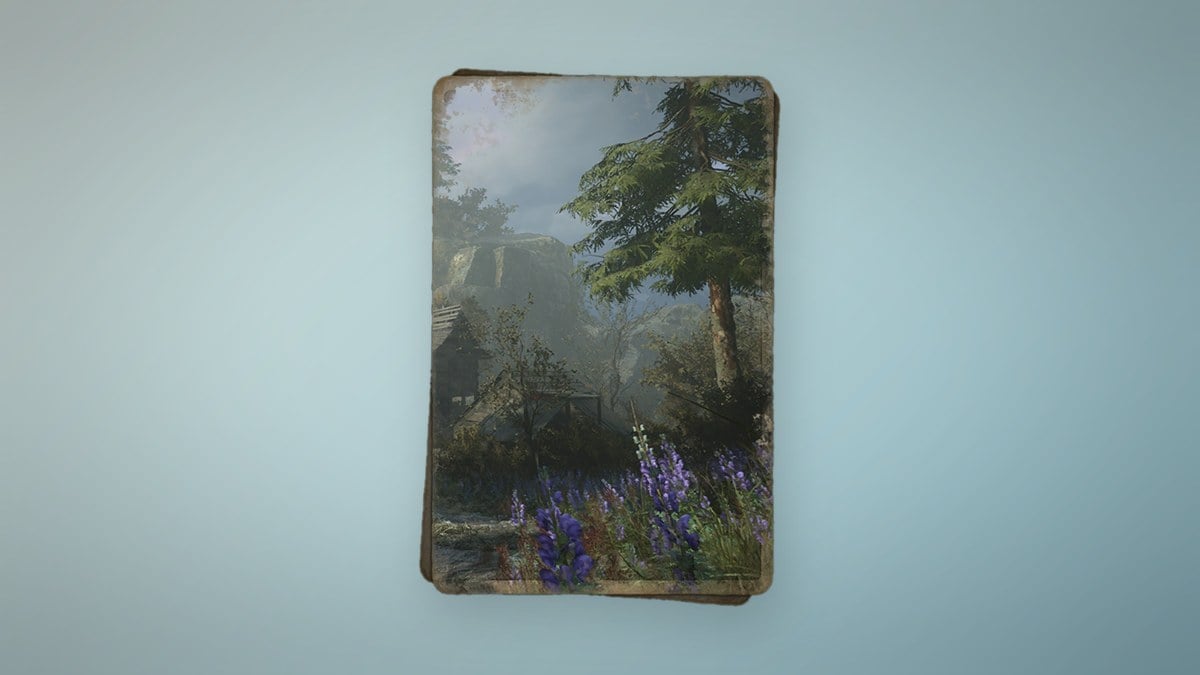
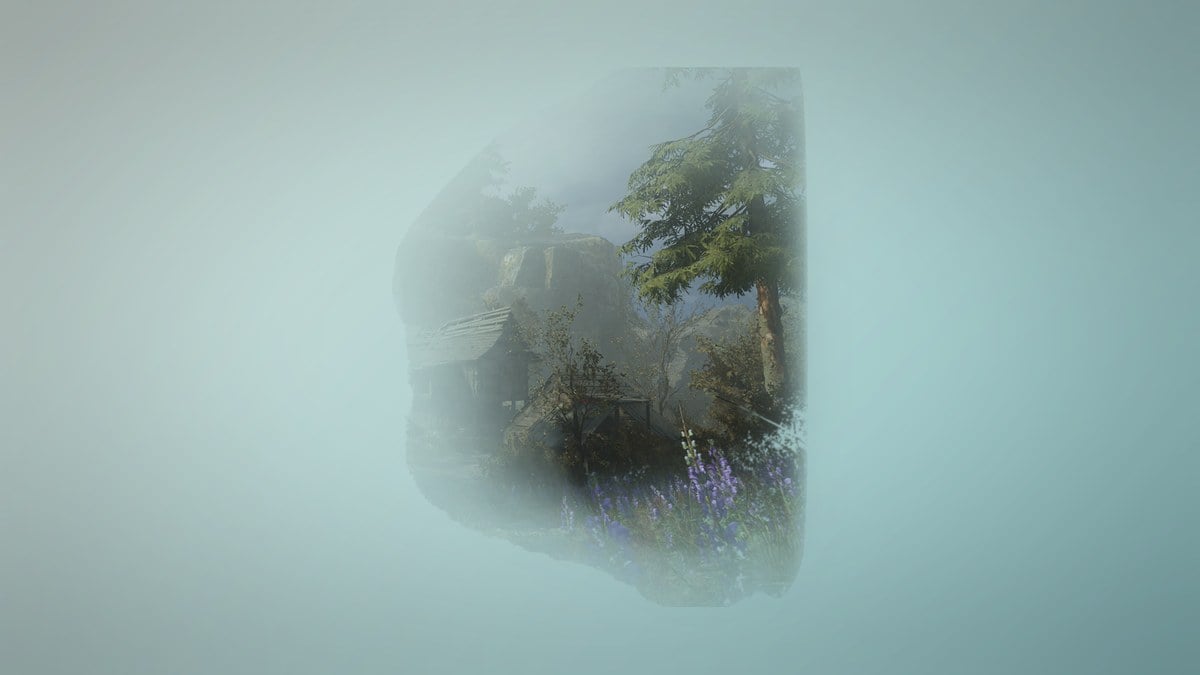
Quest log menu listing side quests, with In the Name of Art selected and its description beside a forest landscape card.
The Quests tab of the journal shows the Side Quests list, with In the Name of Art active and The Deserter and The Lost Boy completed.

How to complete The Lost Boy

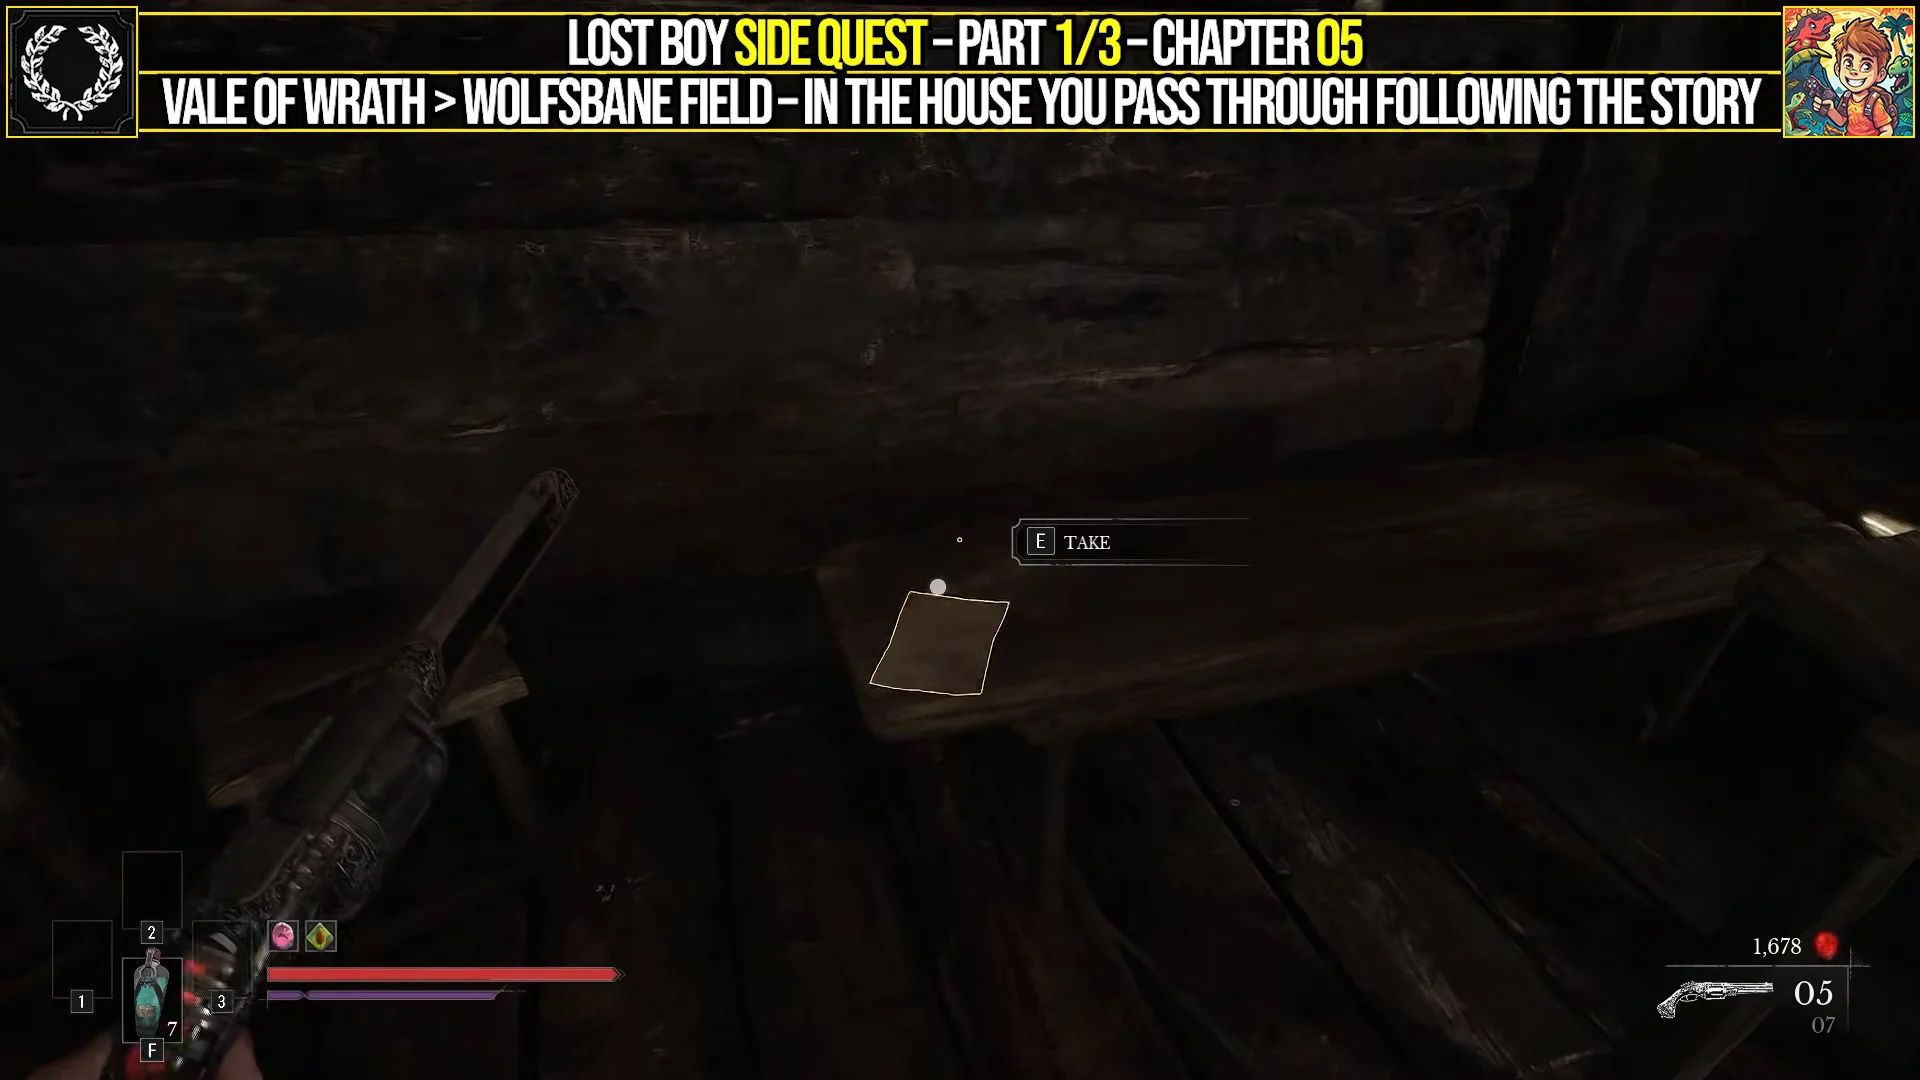
Go inside the house and pick up Mirek’s Note from the wooden bench next to the dead body. It is a short letter to his parents saying he is leaving to help the resistance and will be back the next day. Reading it starts the quest.
The Lost Boy
The Lost Boy. Image: One More Level
Finding Mirek's Note (Part 1/3)00:19Finding Mirek's Note (Part 1/3)
Mirek's Note sits on the bench inside the Wolfsbane Field house; take it to start the quest. Shown at 00:19 in Game Guides Channel’s video. Image: One More Level
Leave the house and make your way toward the cave opposite the house area, north of where you read the note. You need to get around the body of water to reach it. Cross the broken bridge, deal with the soldiers blocking the path, and move past the stacked crates where another enemy is waiting.
Before entering the cave, shoot the glowing red bulb to knock a tree down and open a shortcut back toward the lantern. This gives you a quick route back if you die to what is ahead. Use your Grapple ability to cross the gap into the cave.
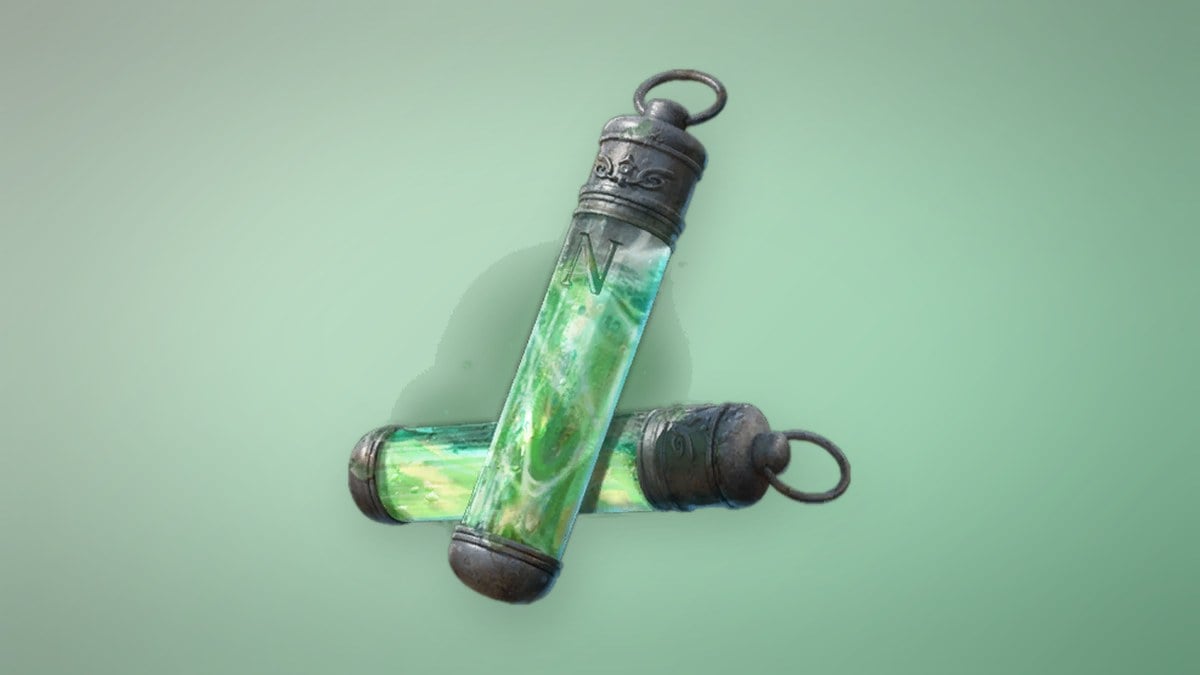
Inside, grapple to the next platform and fight the flaming elite enemy. It can summon minions that throw fireballs and it may set you on fire, so bring a Cleansing Vial to clear the Ignite status and hand grenades to burn down its health quickly.
After the fight, climb the stone ramp at the back of the cave. It looks like a dead end, but there is a small gap at the top you can crawl through. On the other side is a red chest holding 1 Pure Blade Material and 2 Cleansing Vials.
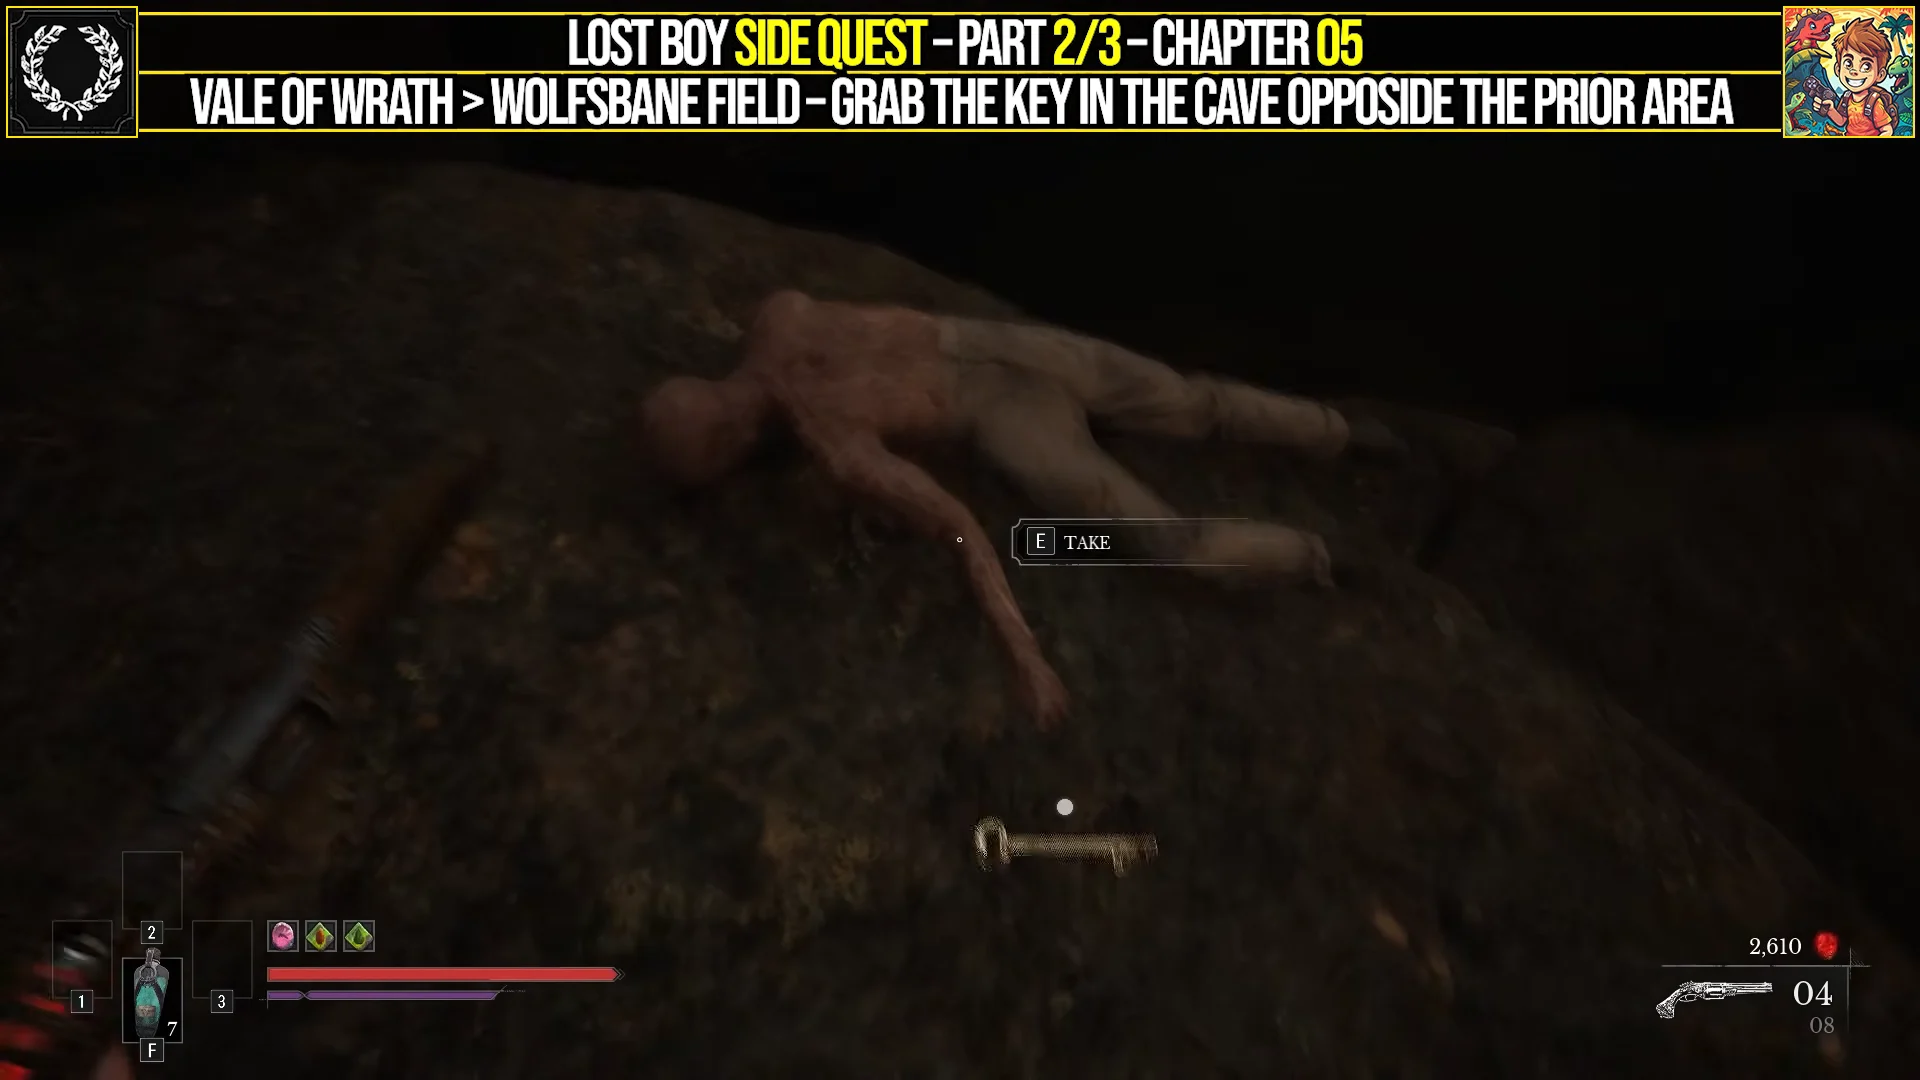
Descend the rock ledge behind the chest and peer over its edge. On the lower rock, you’ll find Mirek’s body with the Cellar Key beside it. Search the corpse and take the key to advance the quest.
Retrieving the Cellar Key (Part 2/3)01:25Retrieving the Cellar Key (Part 2/3)
The Cellar Key rests next to Mirek's body below the ledge; take it to update the quest. Shown at 01:25 in Game Guides Channel’s video. Image: One More Level
Head back to the house in Wolfsbane Field and find the locked cellar door, the one marked with the bird (Shrike) symbol next to the white painting. Use the Cellar Key to open it and go down into the cellar. Read the note on the desk to finish the quest.

In the cellar, open the chest beside the desk with the note to find the Wound that Heals Amber. It gradually restores your health, reducing how often you need Ferrofluid Flasks.


How to know the quest is complete

Interacting with the cellar door shows the message that it was opened with the Cellar Key. Once you read the note on the desk inside, the journal fills in its final entry, which reveals that the rebels followed the Shrike’s orders to poison the water of a nearby army camp in order to intercept valuable cargo. The Lost Boy then moves from your Active list to Completed.
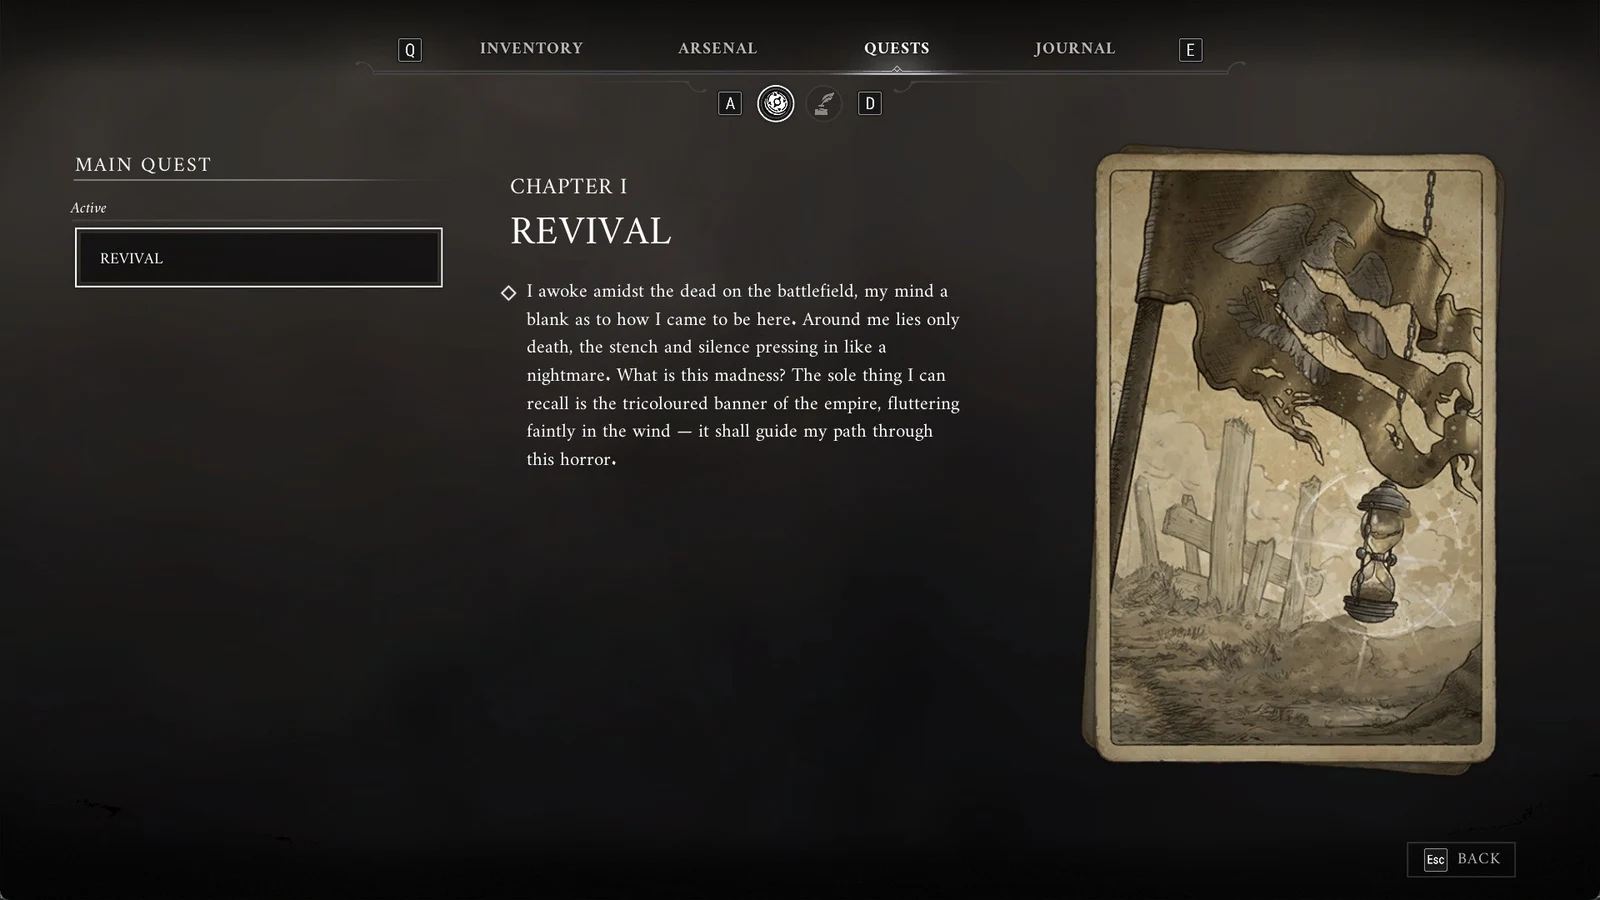
Quest log menu showing the main quest Revival, Chapter I, with a text entry and a sepia illustrated card of a banner and hourglass.
The Quests tab of the journal shows the active main quest “Revival” from Chapter I, with its story entry and illustrated card.

The quest grants no item, Amber, or Catalyst reward of its own; its payoff is the story it tells and the loot you pick up along the way.


Cave chest loot: Pure Blade Material and Cleansing Vial

The red chest in the cave is worth the climb for the materials inside. Here is what each one does and what it is worth.
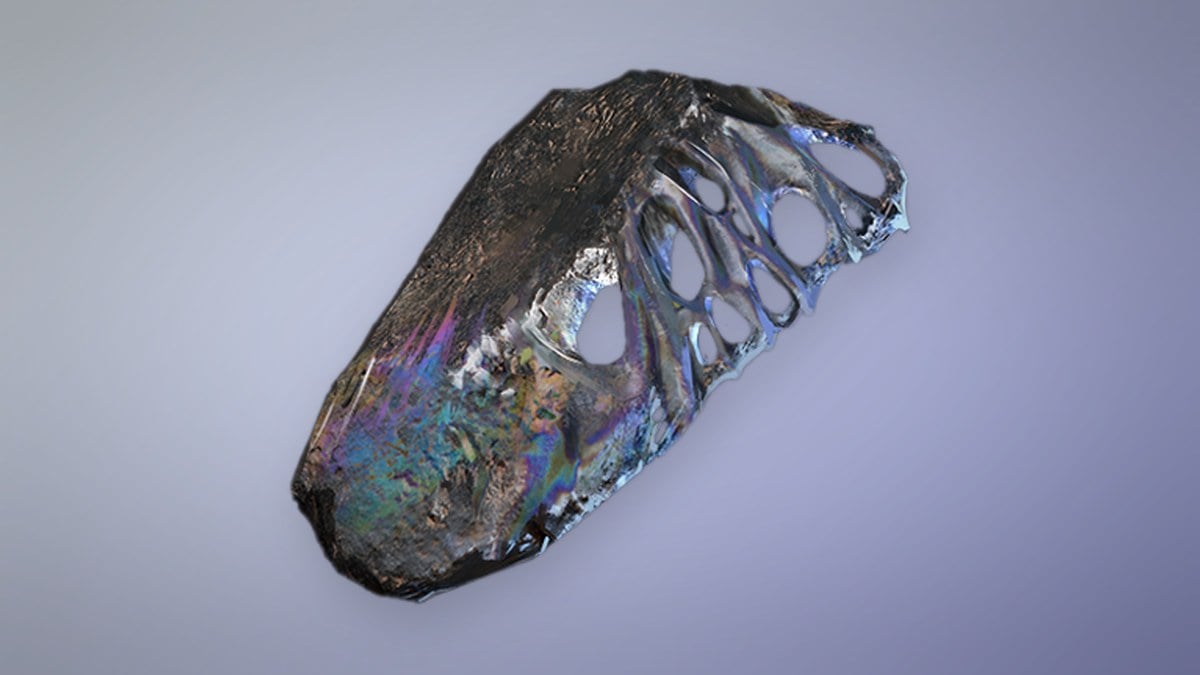
Pure Blade Material
Pure Blade Material. Image: One More Level
ItemPriceMax carriedUse
Pure Blade Material$3,000—Upgrade material for Blades
Cleansing Vial1,2003Cleanses Ignite and Stasis

Pure Blade Material upgrades your melee weapons at the higher levels. A Saber, Rapier, or Claymore needs one for level 5, two for level 6, and three for level 7, so saving it for a weapon you actually use pays off. You can also buy it from James’s Iron Bench, with one in stock from Chapter 5 and two in stock from Chapter 9.

Cleansing Vial clears the Ignite and Stasis statuses, which is exactly the effect the flaming enemy in this cave puts on you. You can hold up to three at a time, and Louis’s Laboratoire stocks them from Chapter 5 if you burn through your supply. Bringing a couple into the cave fight keeps the fire damage off you while you focus on the enemy.