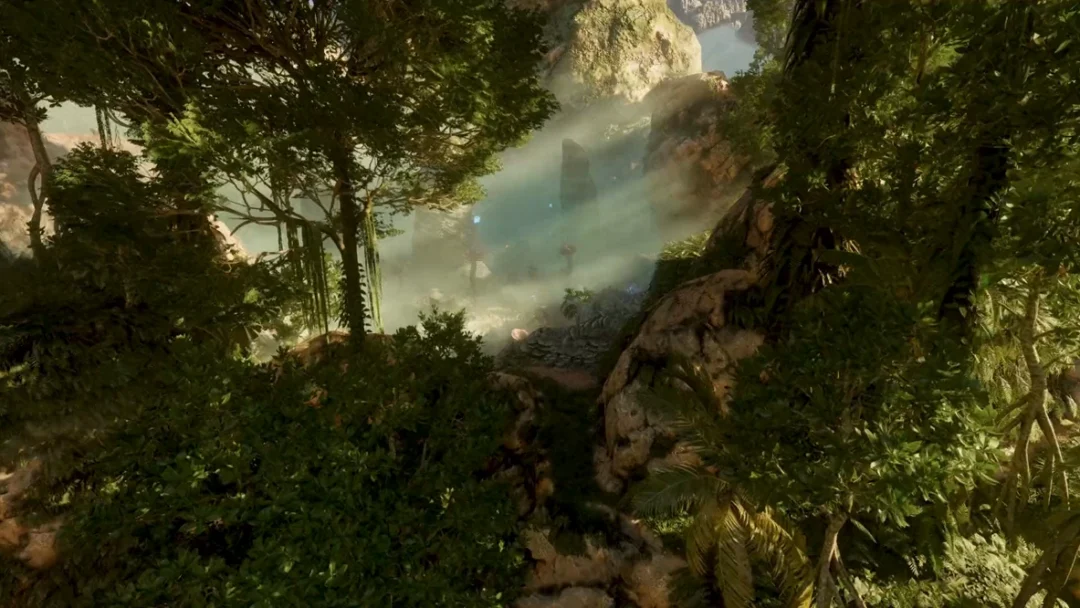
Springlands Ancient Spire in Enshrouded: All Chests and Puzzles (Full Walkthrough)
Clear every switch puzzle and trap to collect all six hidden chests and light the flame for fast travel.
Clear every switch puzzle and trap to collect all six hidden chests and light the flame for fast travel.
by AllThingsHow Staff
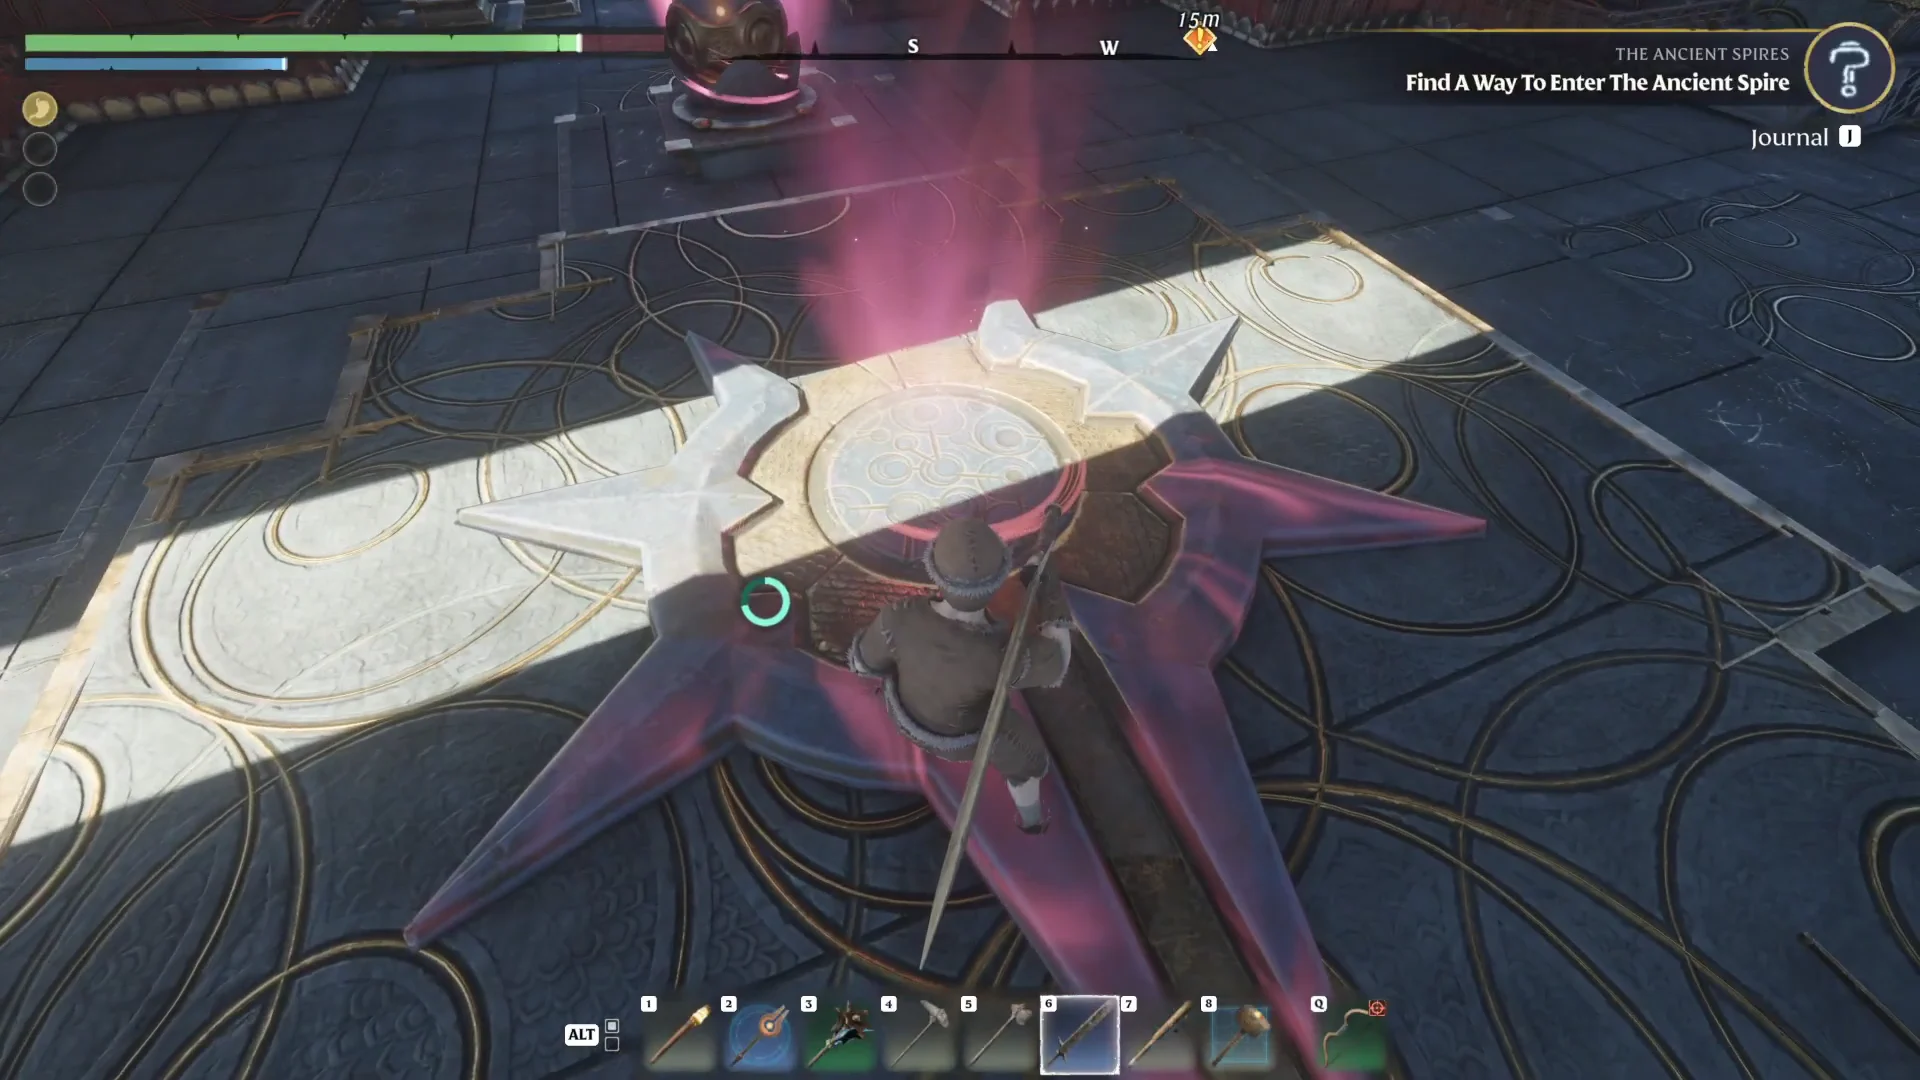
In Enshrouded, your first climb to a fast travel tower is the Springlands Ancient Spire, located just north of Braelyn Bridge. Six concealed chests lie inside, past doors sealed with glyphs, spike traps, swinging blades, and lava gaps. A blue glyph marks each locked door; trigger the corresponding yellow switch to open it, and match the door’s glyph count with the number of switches you must activate.
Quick answer: Use the teleport pads to ascend Floors 1 through 3, activating yellow switches to unlock glyph-sealed doors and collect the six chests. On Floor 4, commune with the flame to set the fast travel point.
How to reach the Springlands Ancient Spire
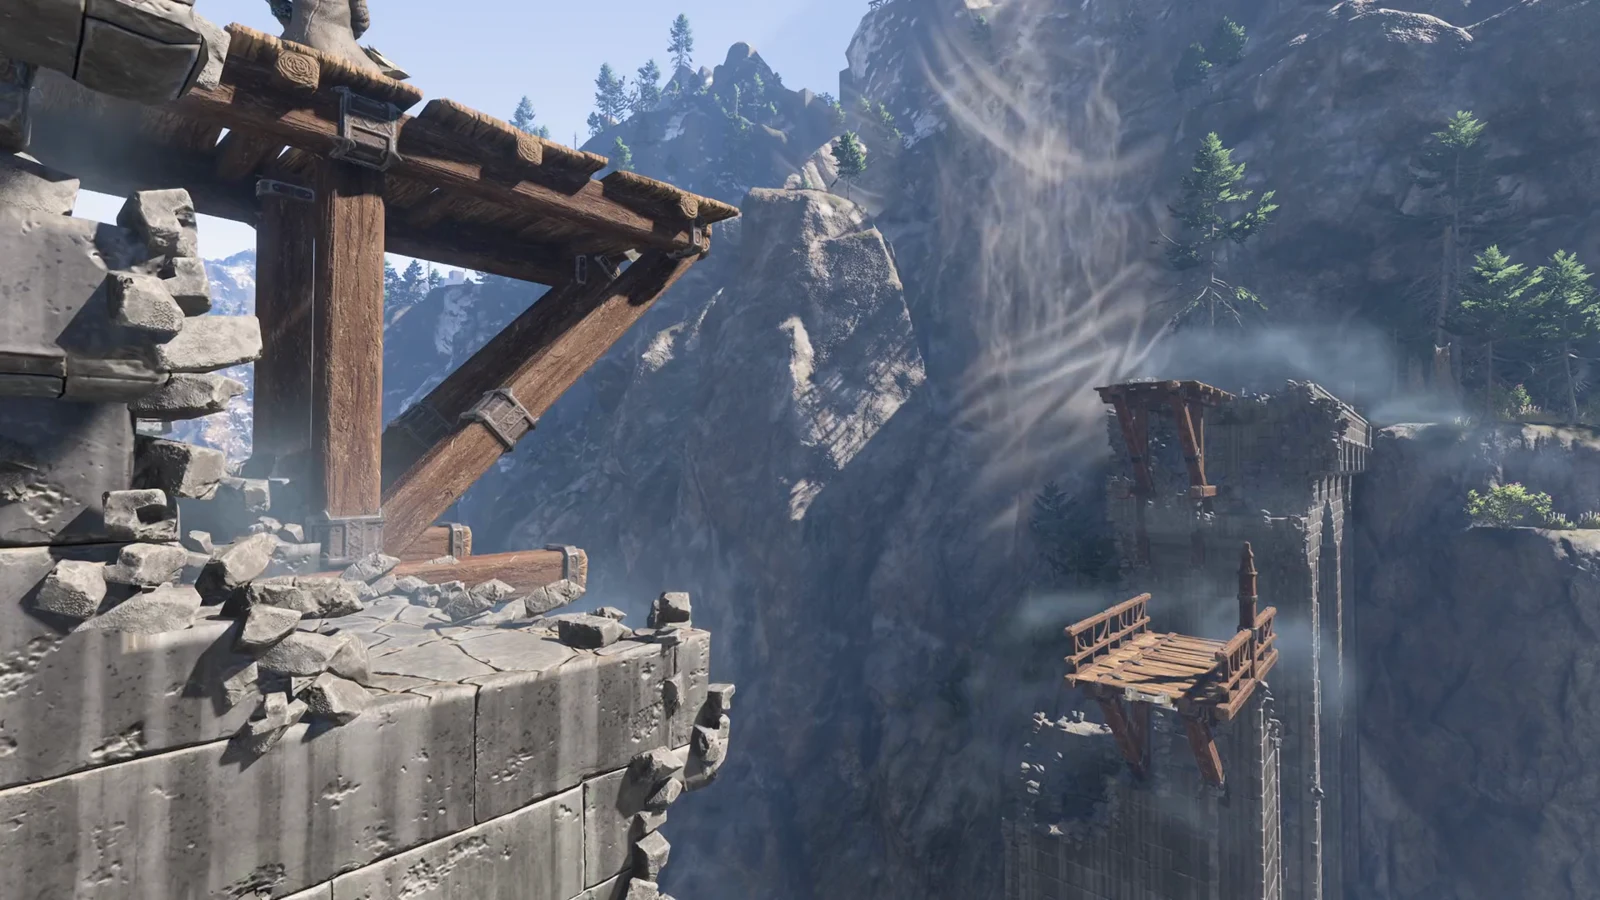
The Blacksmith gives you the main story quest “The Ancient Spires,” which sends you to the tower. Use the grappling points to get over Braelyn Bridge, then head north along the dusty trail and make your way up the slope to the structure. Bring a grappling hook you crafted beforehand; you need it along the way. To make one, gather 4 Metal Scraps, 7 String, and 10 Shrouded Spores.
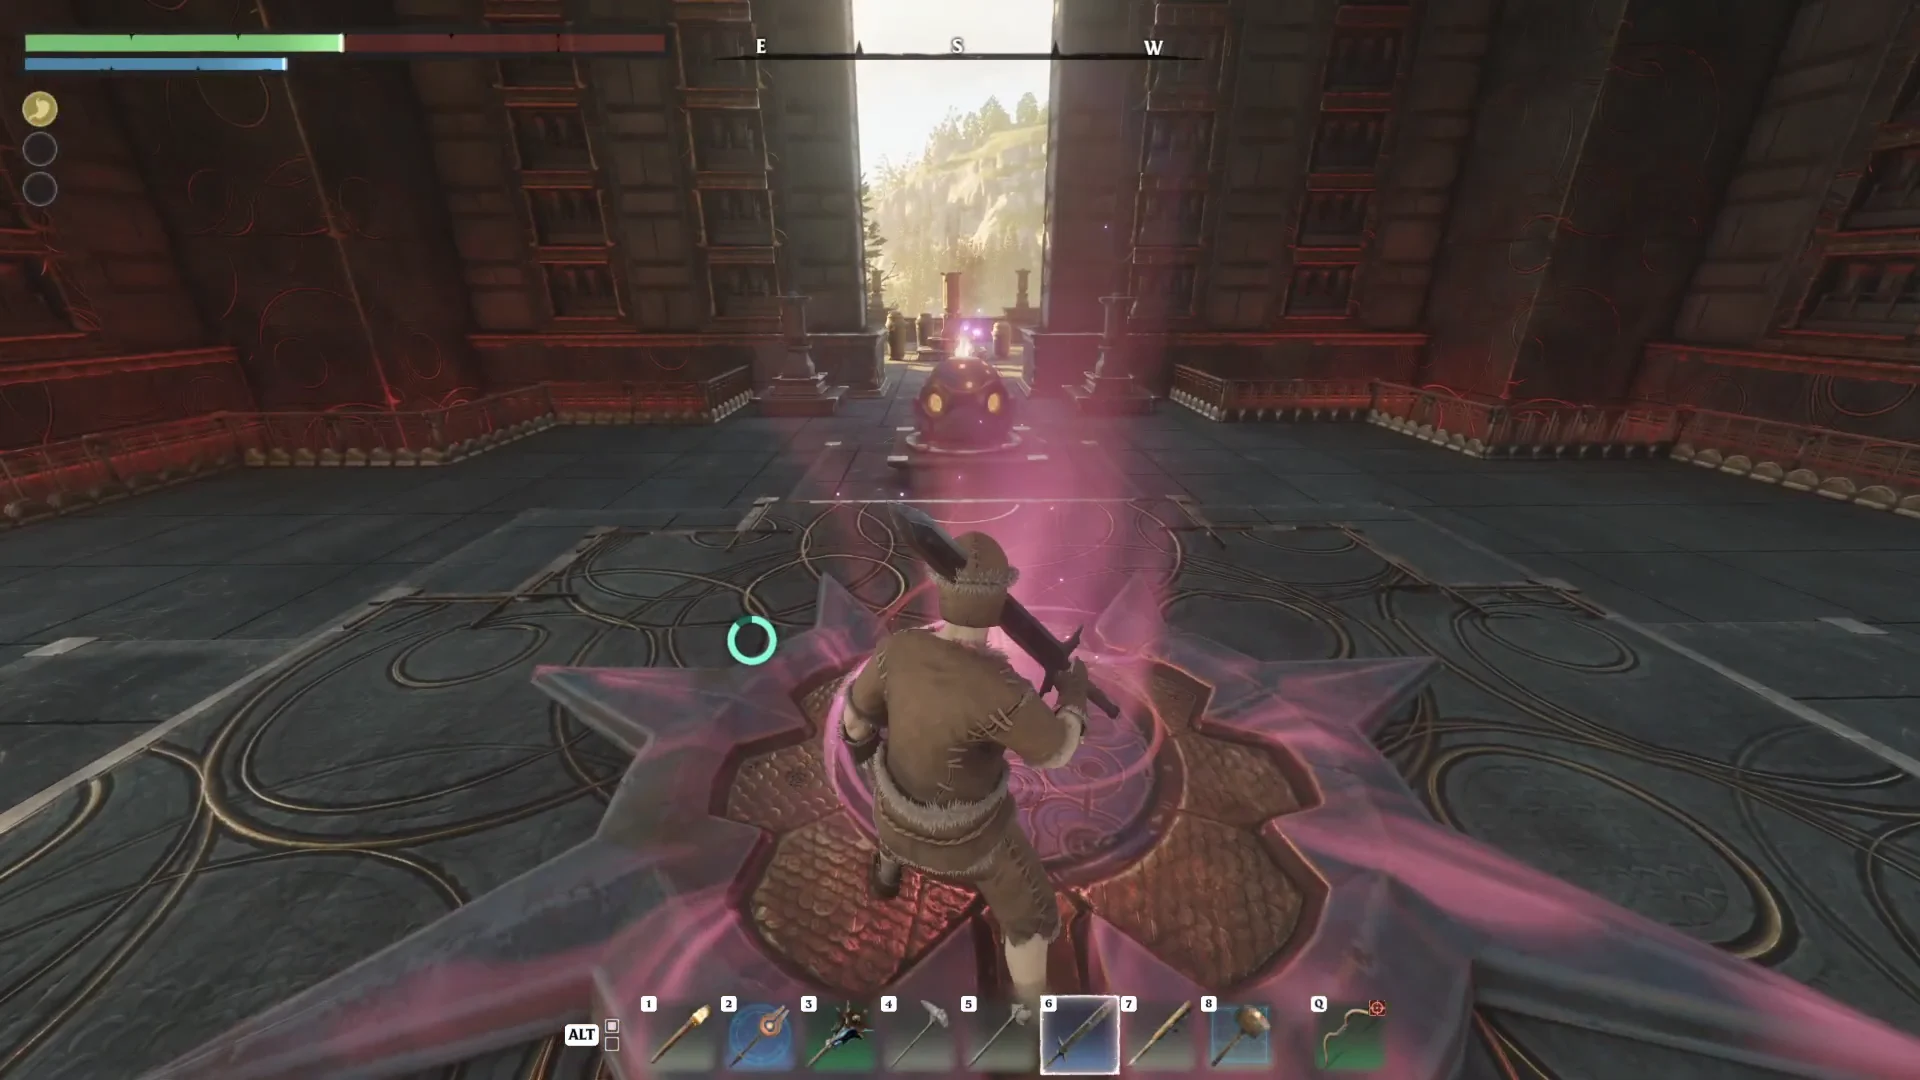
A short way along the trail, a small enemy force holds a barricade. Grapple across, clear them out, and check beyond the gate for an optional note and chest. At the summit, the stairs lead to a respawn orb beside a red teleport pad. Step onto it to enter the dungeon, where traps and puzzles are the only hazards. There are no enemies inside.
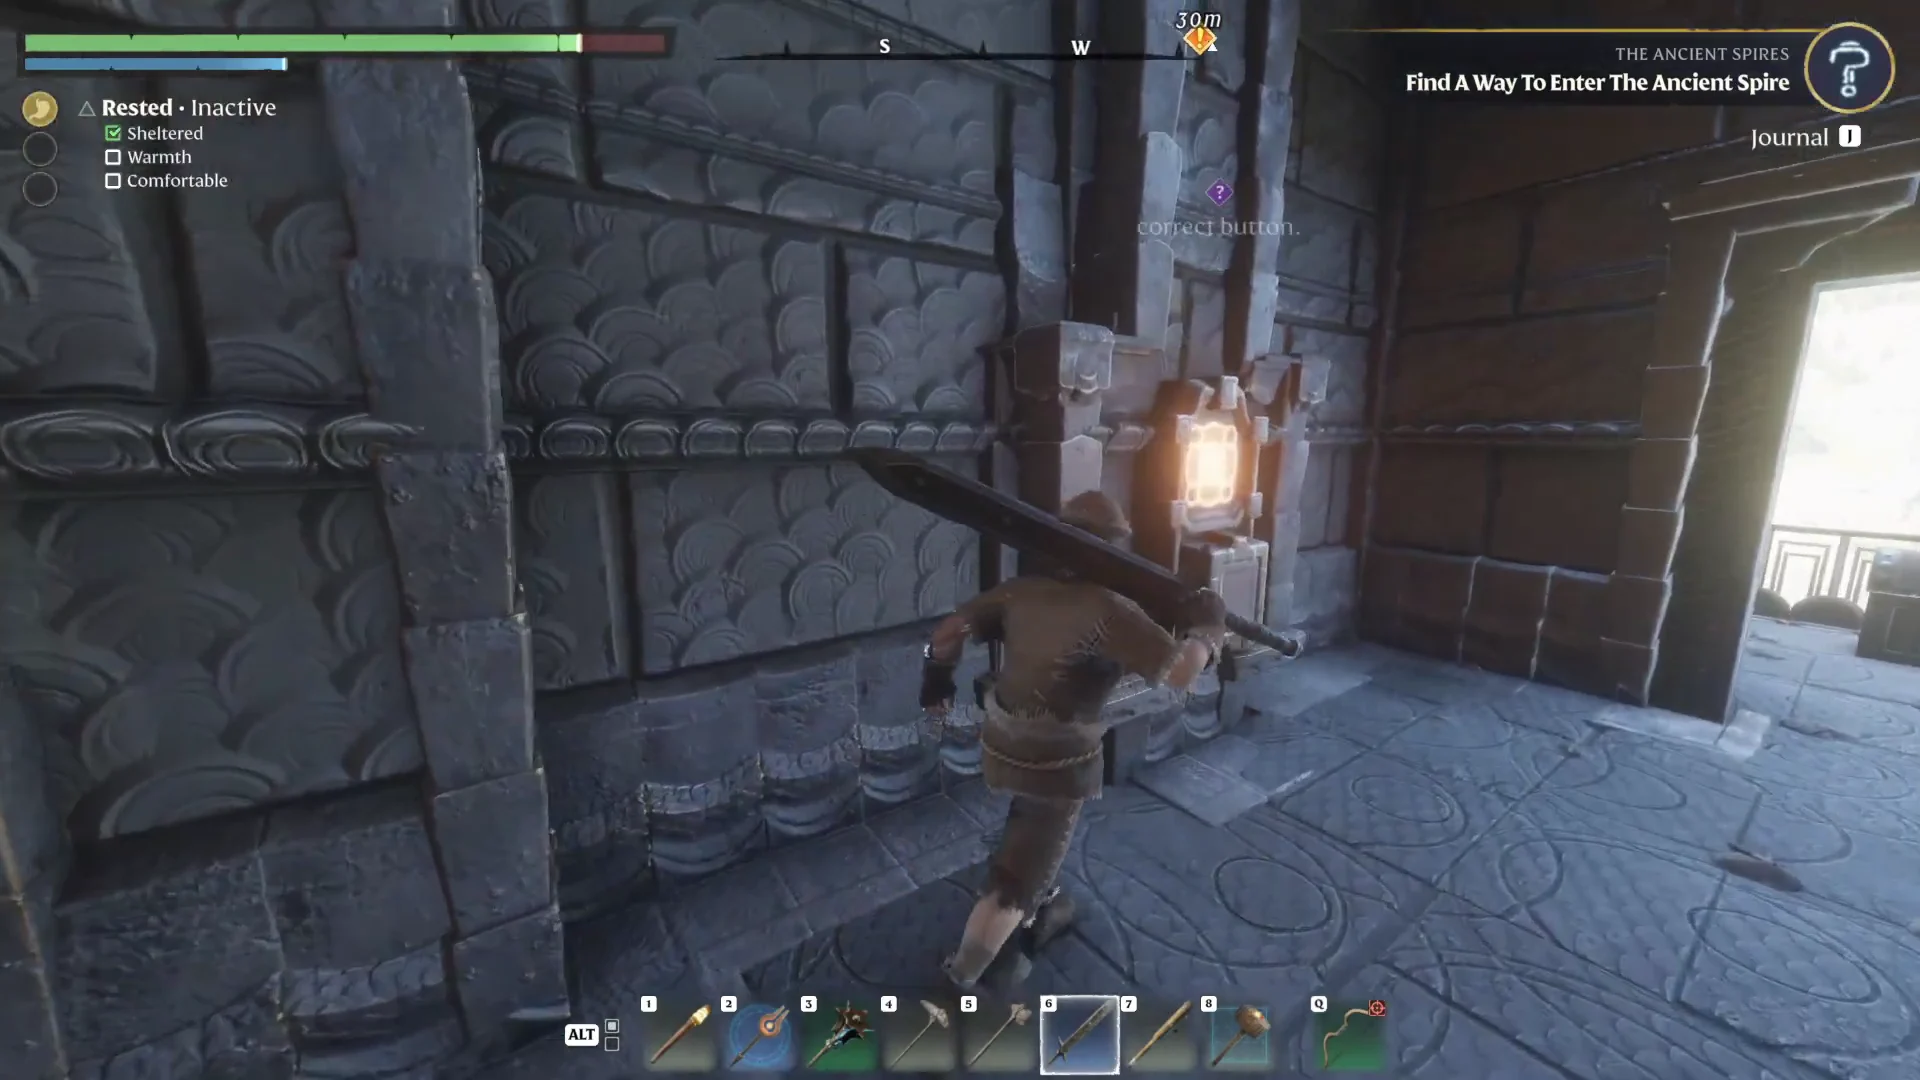
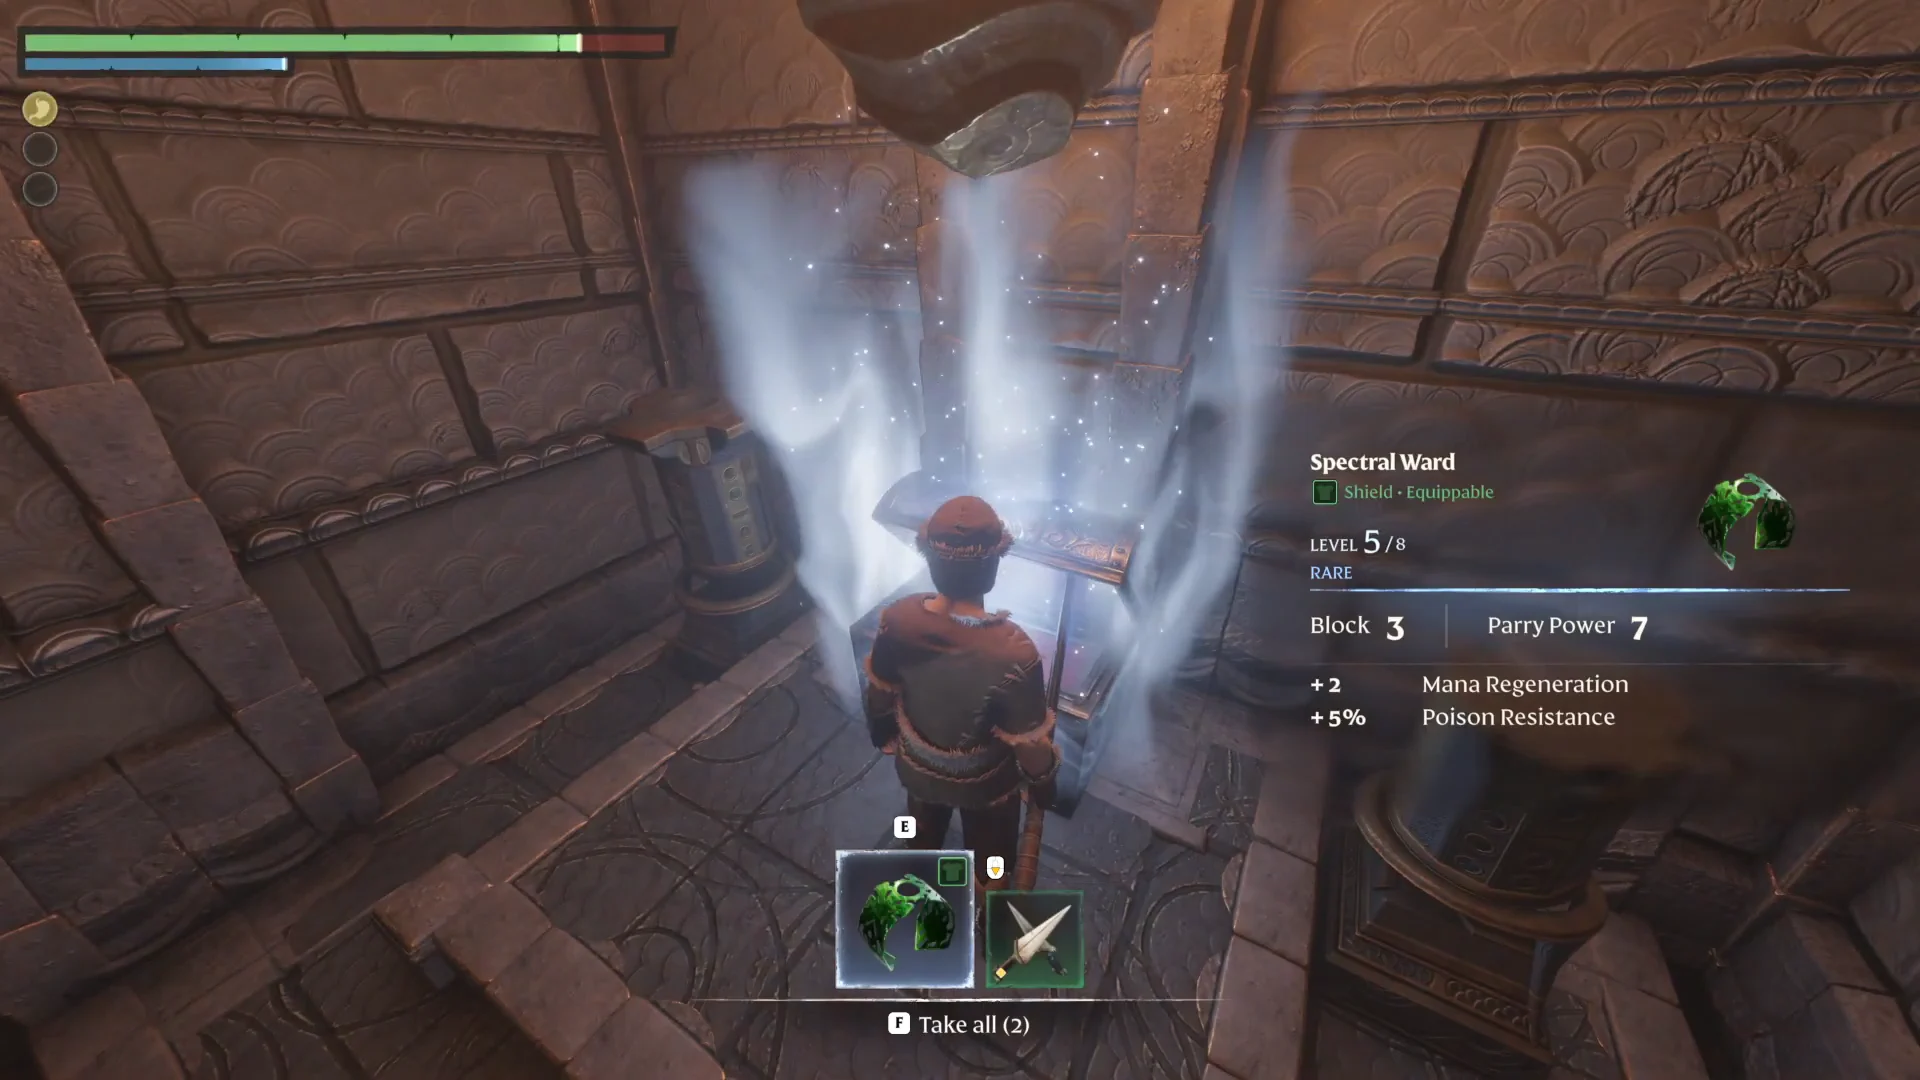
At the entrance teleport, go around the corner toward the southwest. Find the door with one blue glyph overhead; its switch is mounted on the right-hand wall. Activate it to lift the gate, then open the silver chest for the Spectral Ward shield and Shivs daggers.
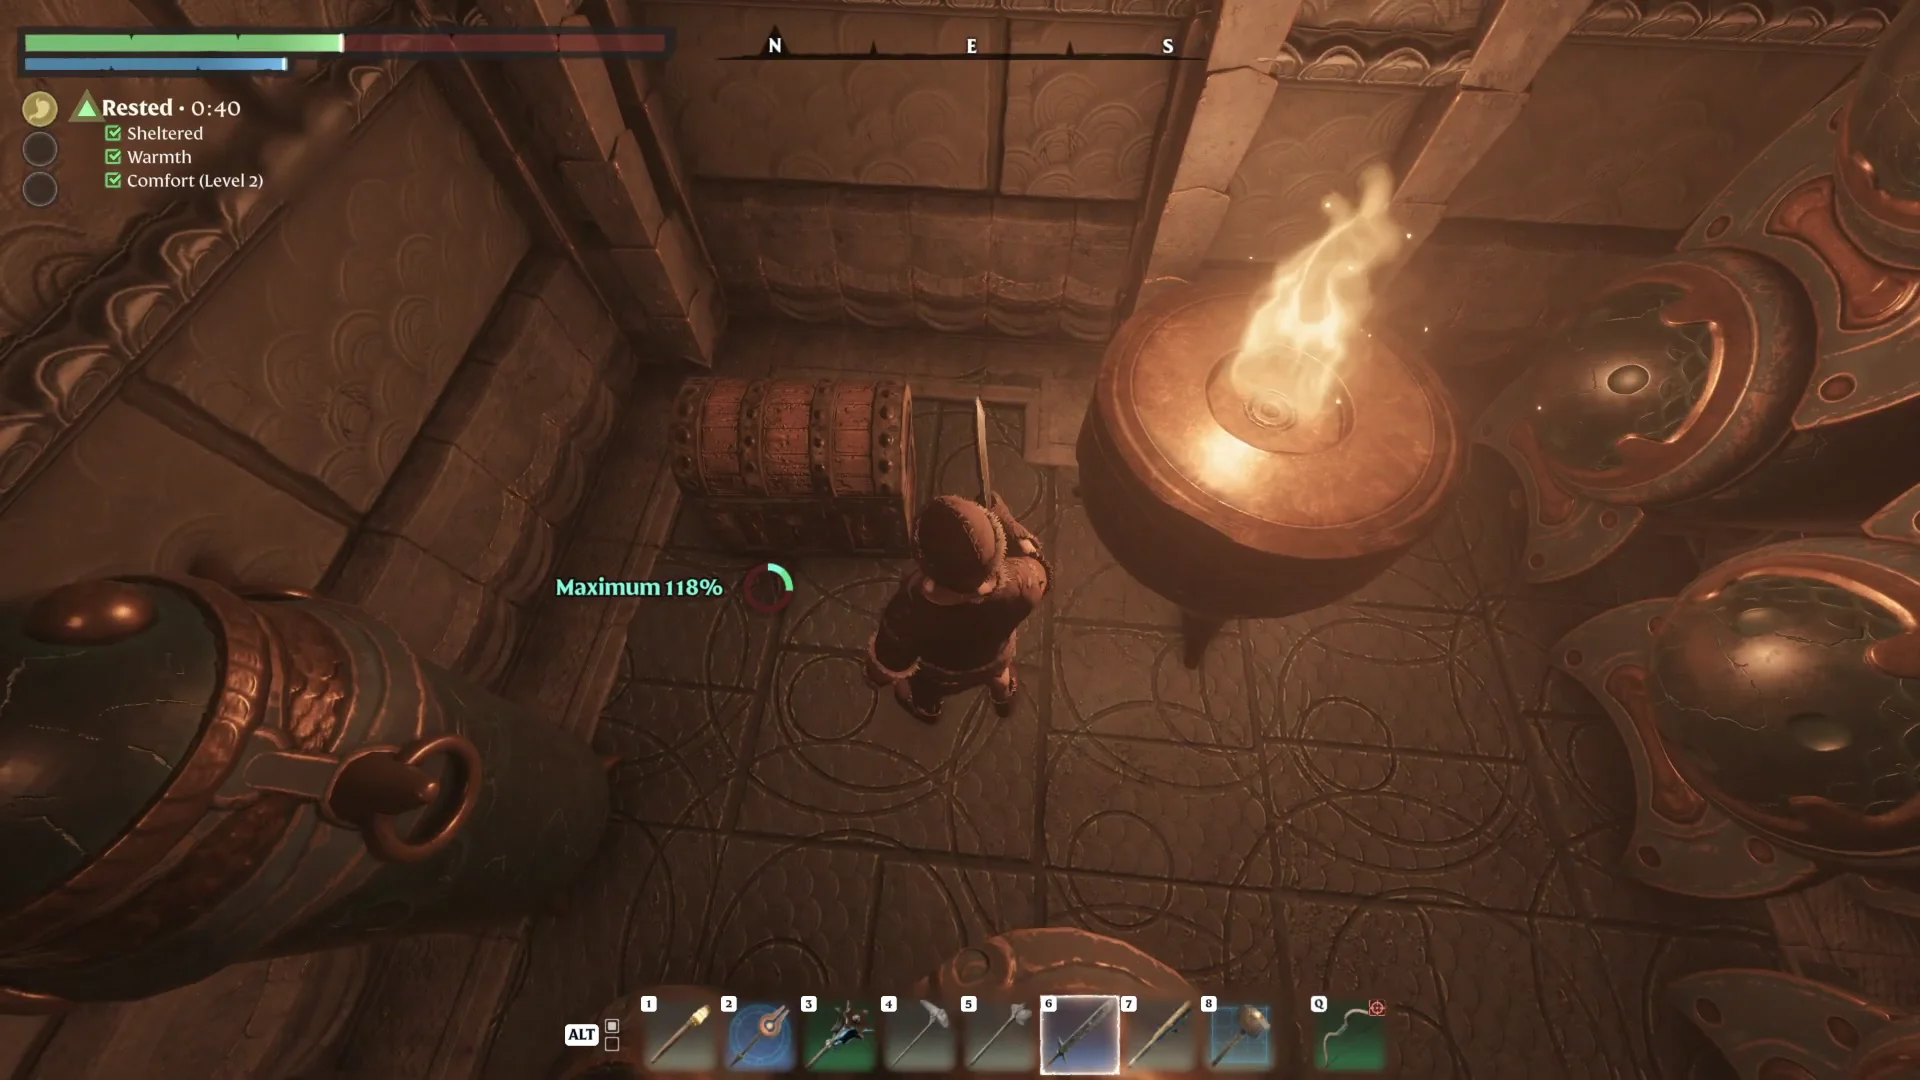
Return indoors, follow the lower path by the spinning saw blade traps, and descend the stairwell. A third chest sits near the lit urns; it contains a Health Potion and Heal Channel staff charges.
Return to the central area and turn west. Run up to speed, then jump onto the small platform over the lava; follow with a short hop through the western doorway. Climb the stairs to the next pad and teleport onward to Floor 3. Having trouble with the jump? Fall back to the pad, climb the frame, and drop onto that same platform.
Floor 3: spike floor, lava room, and the two-glyph door
At the beginning, a retracting spike trap spans the floor and causes damage plus a brief stun. Wait until the spikes lower, dash around the bend, and take cover in the small brazier room to the east. When they sink once more, dash to the door and open it.
The corridor past the door has an entrance at each end, one north and one south; start with the north one. Across the way, a door bearing two glyphs requires two switches. Go right down the corridor, climb the stairs to the mesh frame, then climb it, get past the spike trap, and activate the first switch. Jump across the gap to pick up the regular chest tucked behind the pillar, then drop down.
Head back into the corridor, then pass through its southern doorway. Around the bend is a lava-filled room with three stone pillars rising over the molten floor. Climb the mesh structure in the northeast and activate switch two, completing the door’s requirement for two glyphs.
Drop down onto the platform close to your lava-room entrance. The newly unlocked door is directly in front of you. Past it, find a sarcophagus chest containing the Guillotine two-handed axe, with a standard chest alongside.
Open the standard chest on the balcony beyond the teleport pad. Afterward, dash across the lava by jumping between the pillars until you reach the pad, then activate it to go to Floor 4.
Landing in the lava kills you, so commit to each pillar jump rather than stopping short.
Floor 4: light the flame to unlock fast travel
The final teleport places you on the open-air roof of the spire. Walk forward to the central flame brazier and interact with it to commune with the Flame. You will see a level-up notification, a “Quest Updated” prompt, and the surrounding map area reveal itself.
The world map confirms completion by showing the spire as a fast travel point. You can teleport there whenever you like afterward, provided you are outside the Shroud. Communing with the Flame uncovers nearby Ancient Obelisks across the biome; interacting with those obelisks then reveals Shroud Roots and Flame Shrines.
Chest loot and stats
The chest contents and their item figures are listed below to help you choose what to equip as you climb.
Item
Type
Rarity
Key stats
Spectral Ward
Shield (Mage)
Uncommon
Parry Power 1, Mana Regeneration 2, Poison Resistance 5%
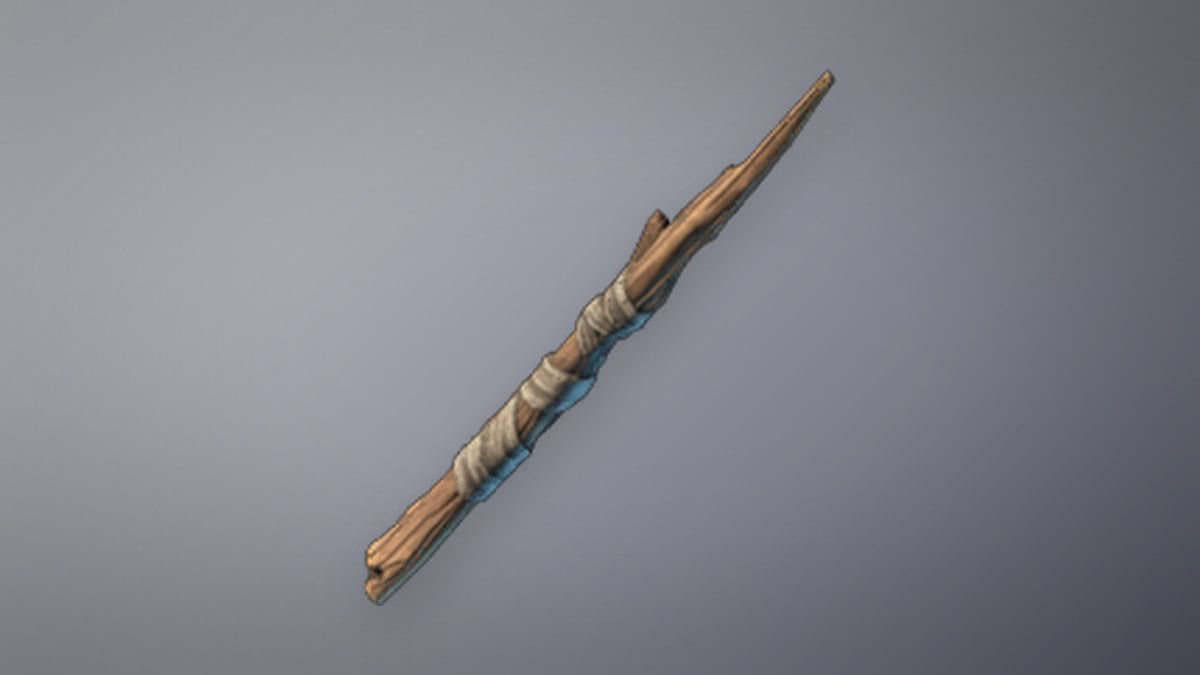
The Spectral Ward is a one-handed shield for blocking and parrying physical attacks, with poison resistance and several perks aimed at Mages. For casters, the Apprentice Wand is a dependable early option: it shoots ice projectiles and can raise its damage through Overcharge, up to 12%. Warriors can use the Guillotine, a two-handed axe built around critical hits; the Legendary Shivs dagger set is suited to Rangers and comes with a parry. Heal Channel charges found on Floor 1 supply a healing staff, while the Scrap Arrows and Health Potion replenish your supplies during the climb.


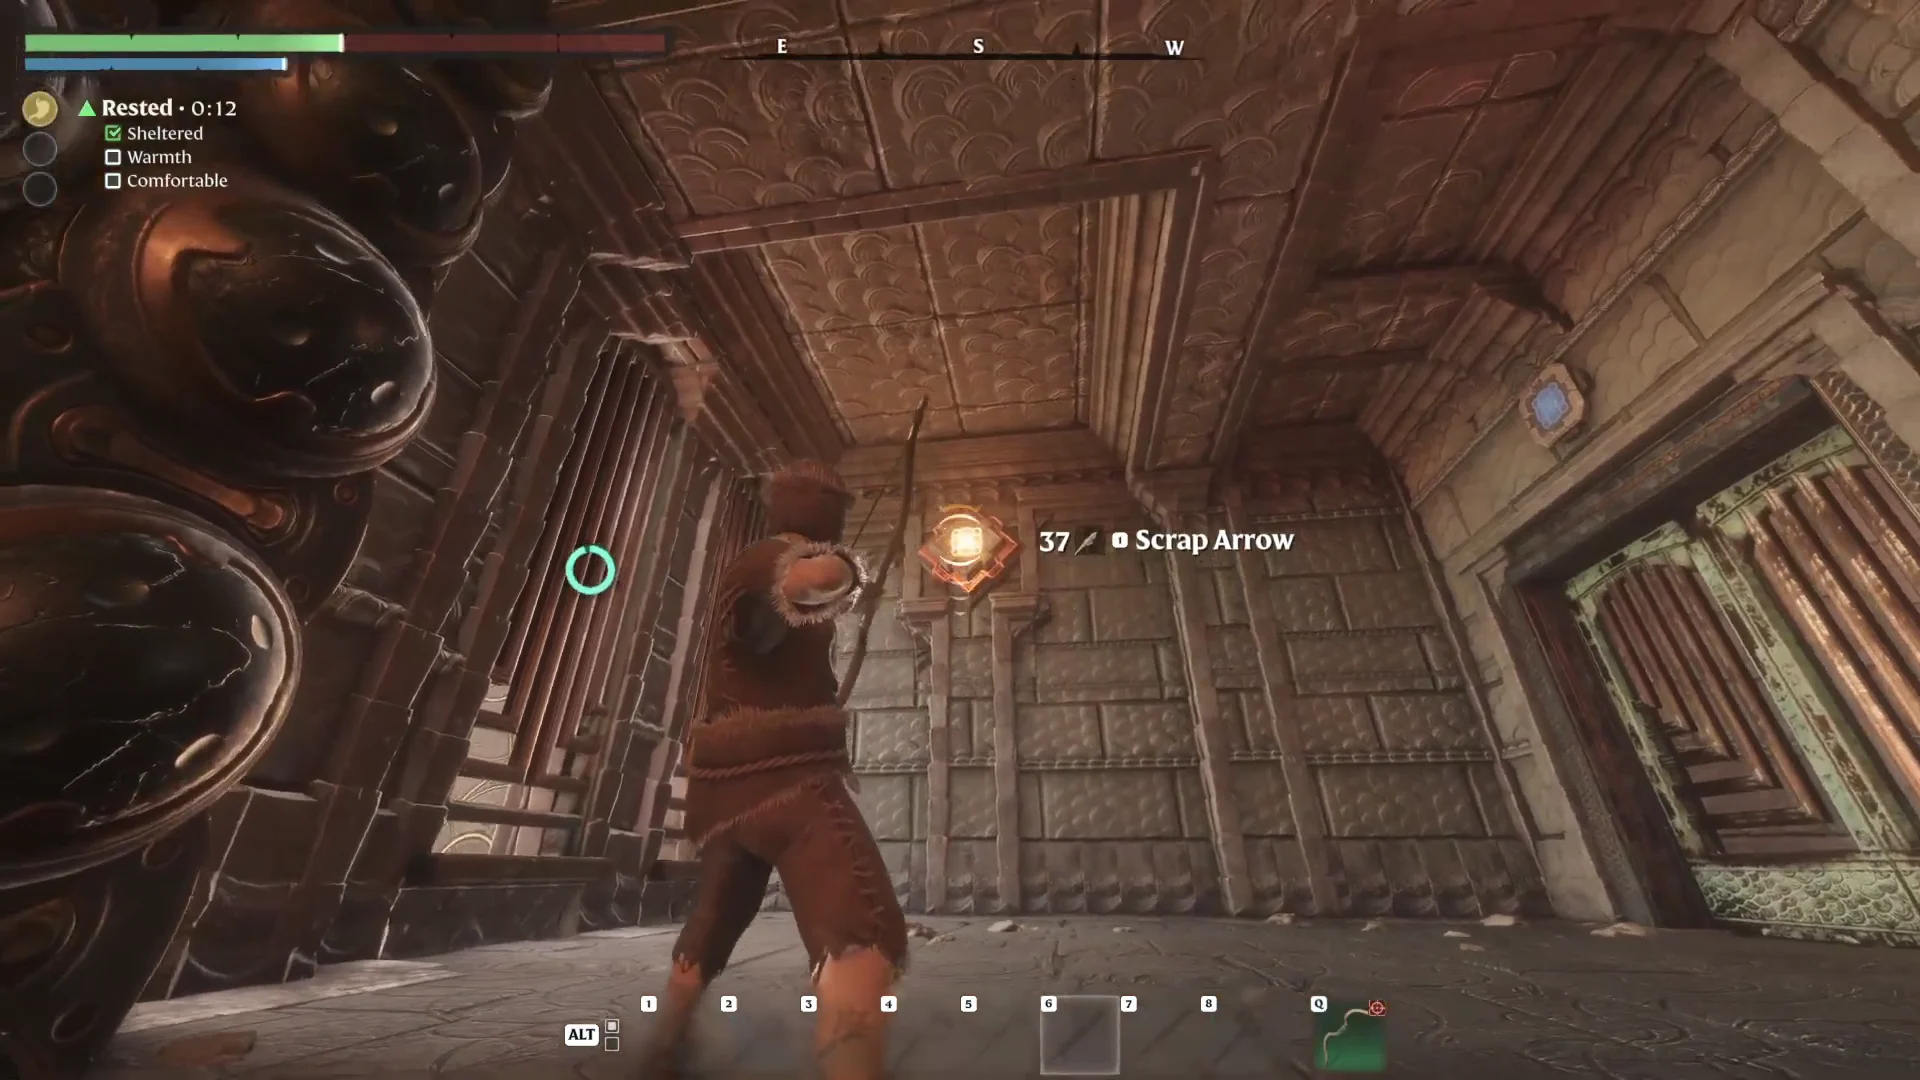
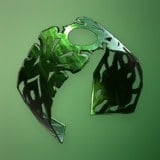 Spectral Ward
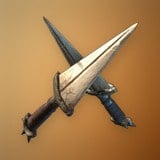 Shivs
Shivs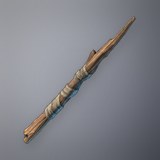 Apprentice Wand
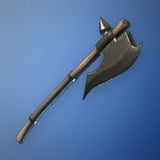 Guillotine
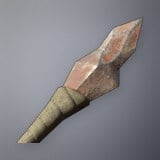 Scrap Arrow
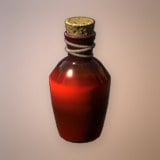 Health Potion