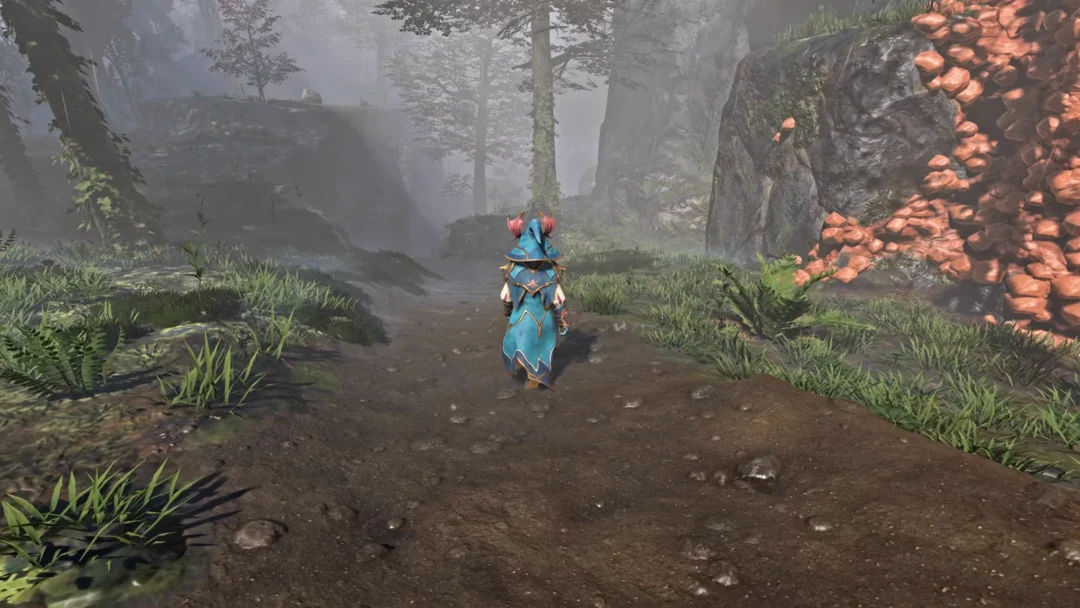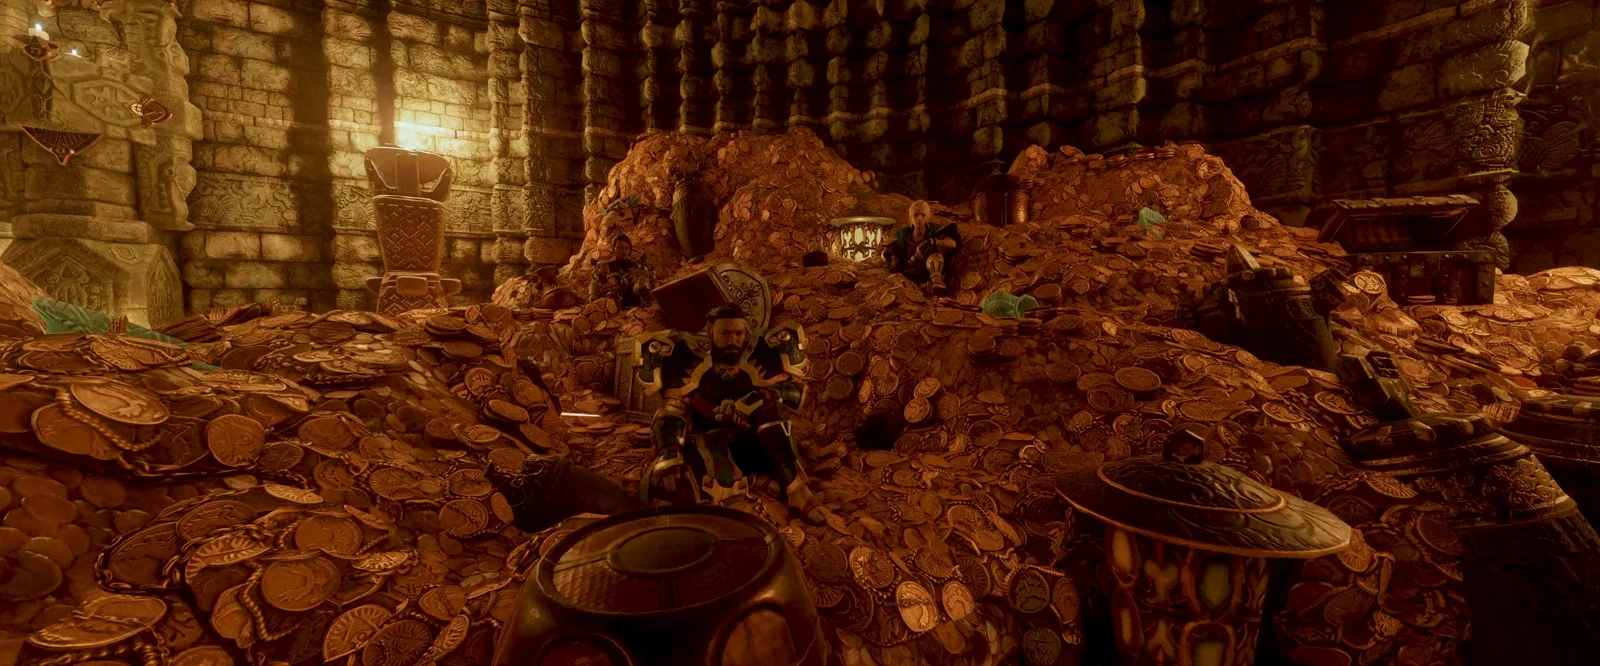
Find the Sleeping Survivor is the quest that hands you your first craftsman in Enshrouded: the Blacksmith, Oswald Anders. The Flame points you across a Shroud-filled valley to a sealed vault, where a survivor waits inside a glowing pod. Wake him, carry his soul home, and place him in the world with a Summoning Staff to finish the job.
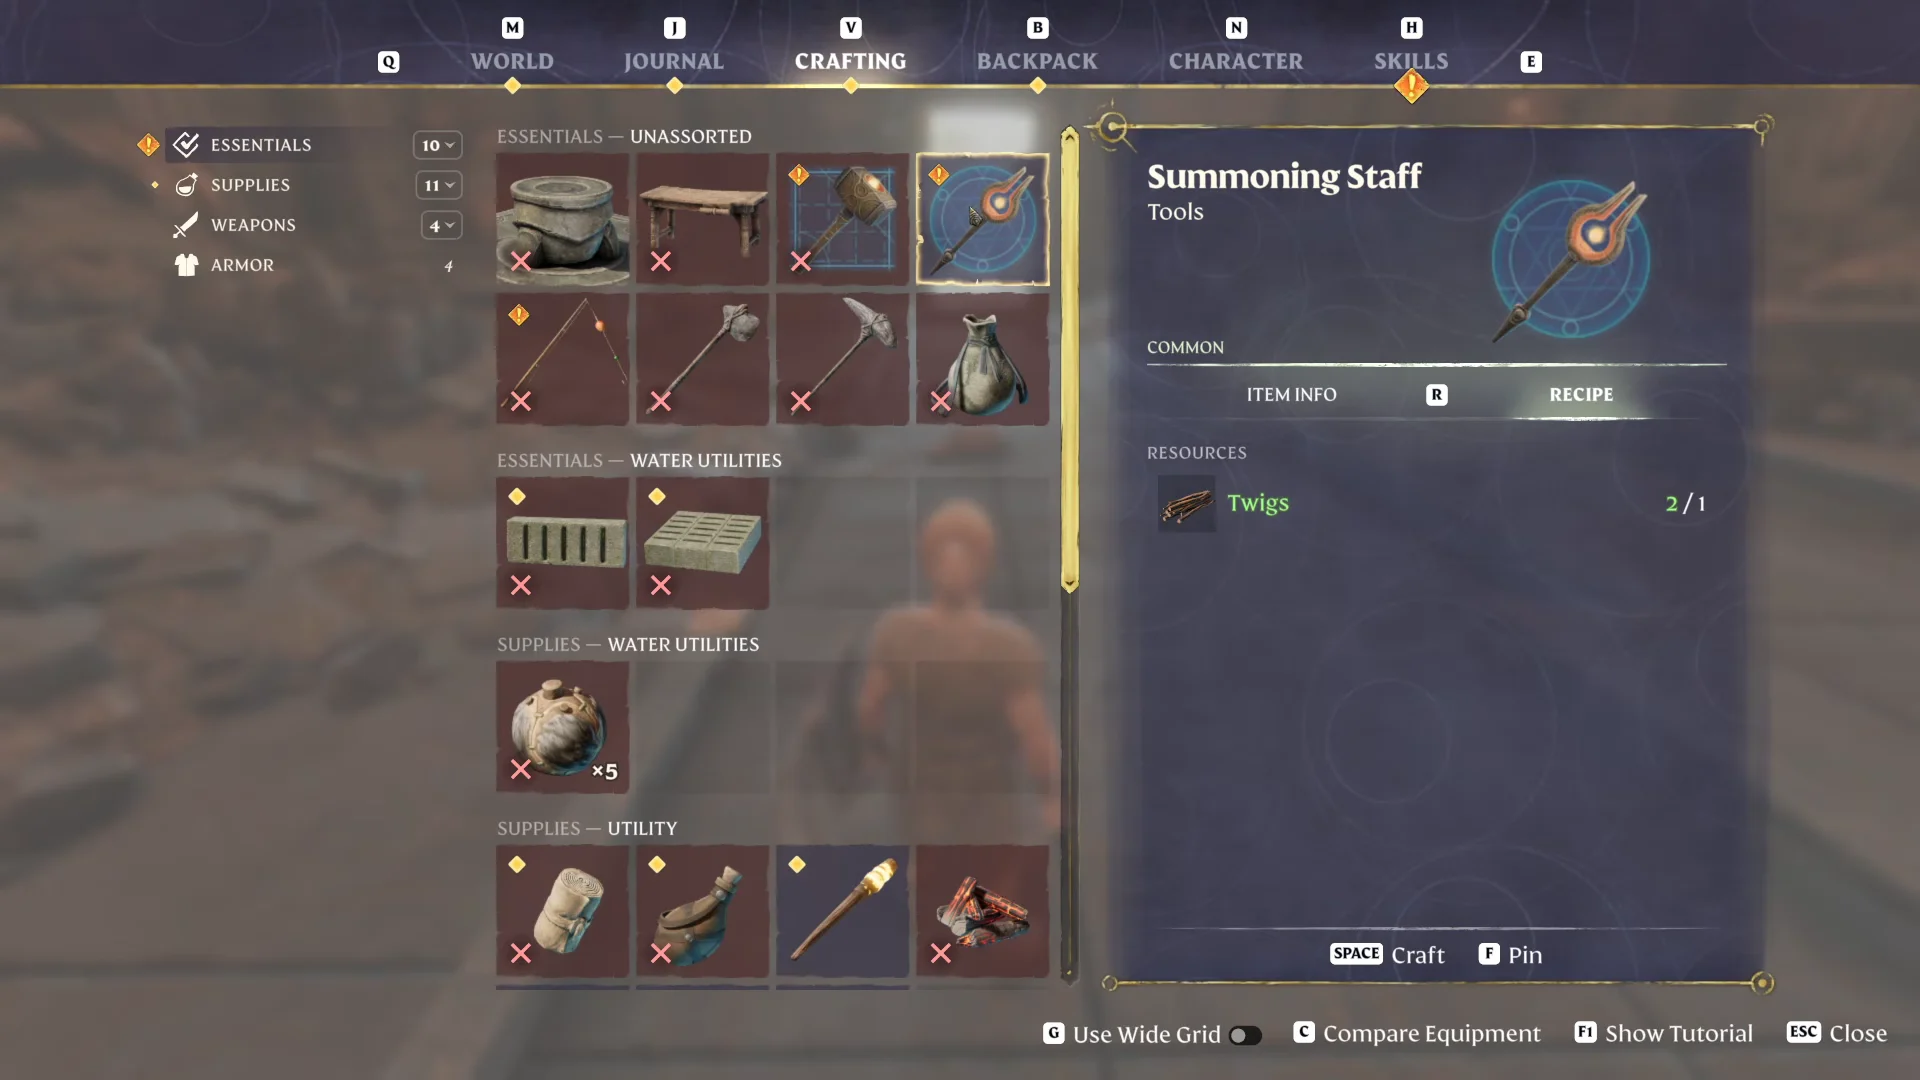
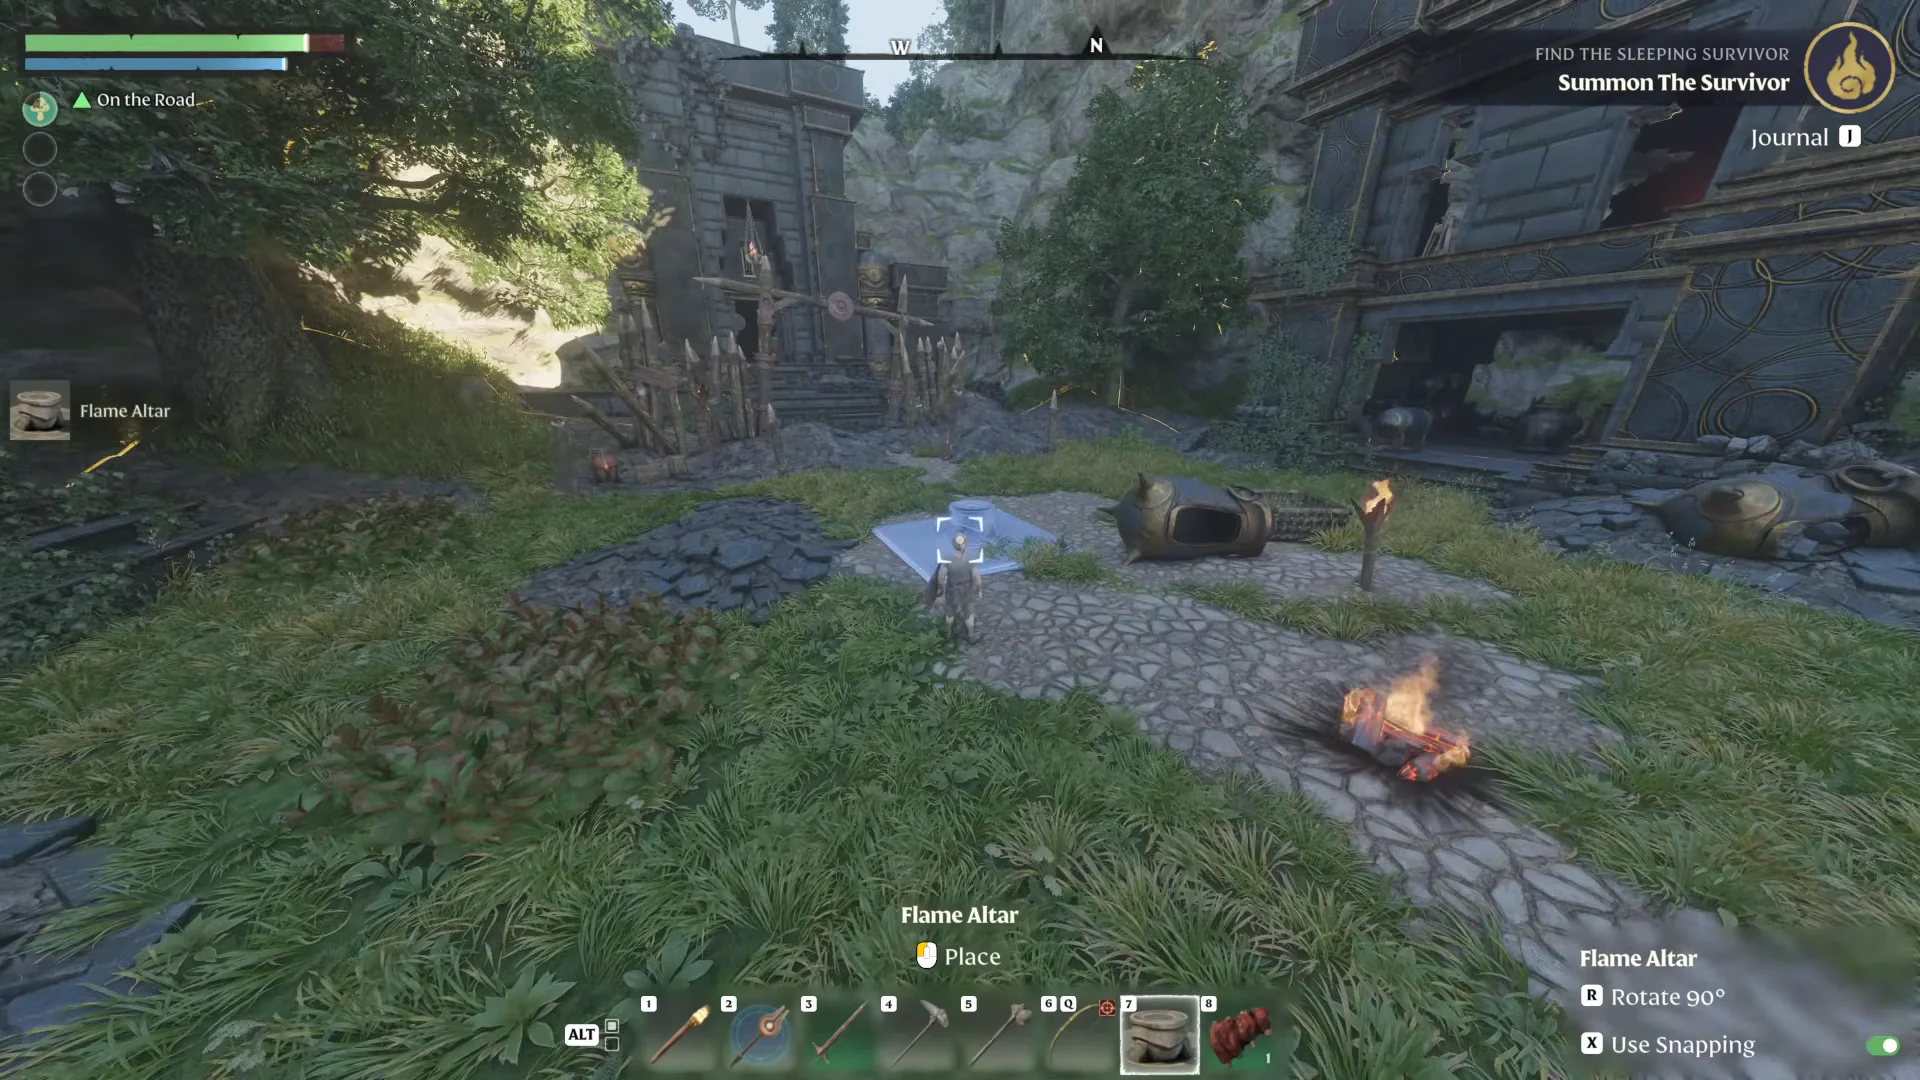
Quick answer: Travel through the Shroud to the Ancient Vault – Blacksmith, interact with the lit pod inside to wake Oswald Anders, then craft a Summoning Staff (one Twig) at your base and place him near the Flame Altar.
Before you cross the Shroud
The trip runs through fog that drains a timer and past enemies that hit hard for your starting gear. Sort out the basics first so you are not caught out halfway there.
- A weapon equipped, plus food, Bandages, or anything that heals.
- Full health before you step into the fog.
- A quick scan for String, Twigs, Wood Logs, and Stone around your base for tools and a shield.
With your early armor offering little protection, cross the Shroud only when healthy and armed; don’t try to clear the area.
Cross the Shroud to the Ancient Vault – Blacksmith
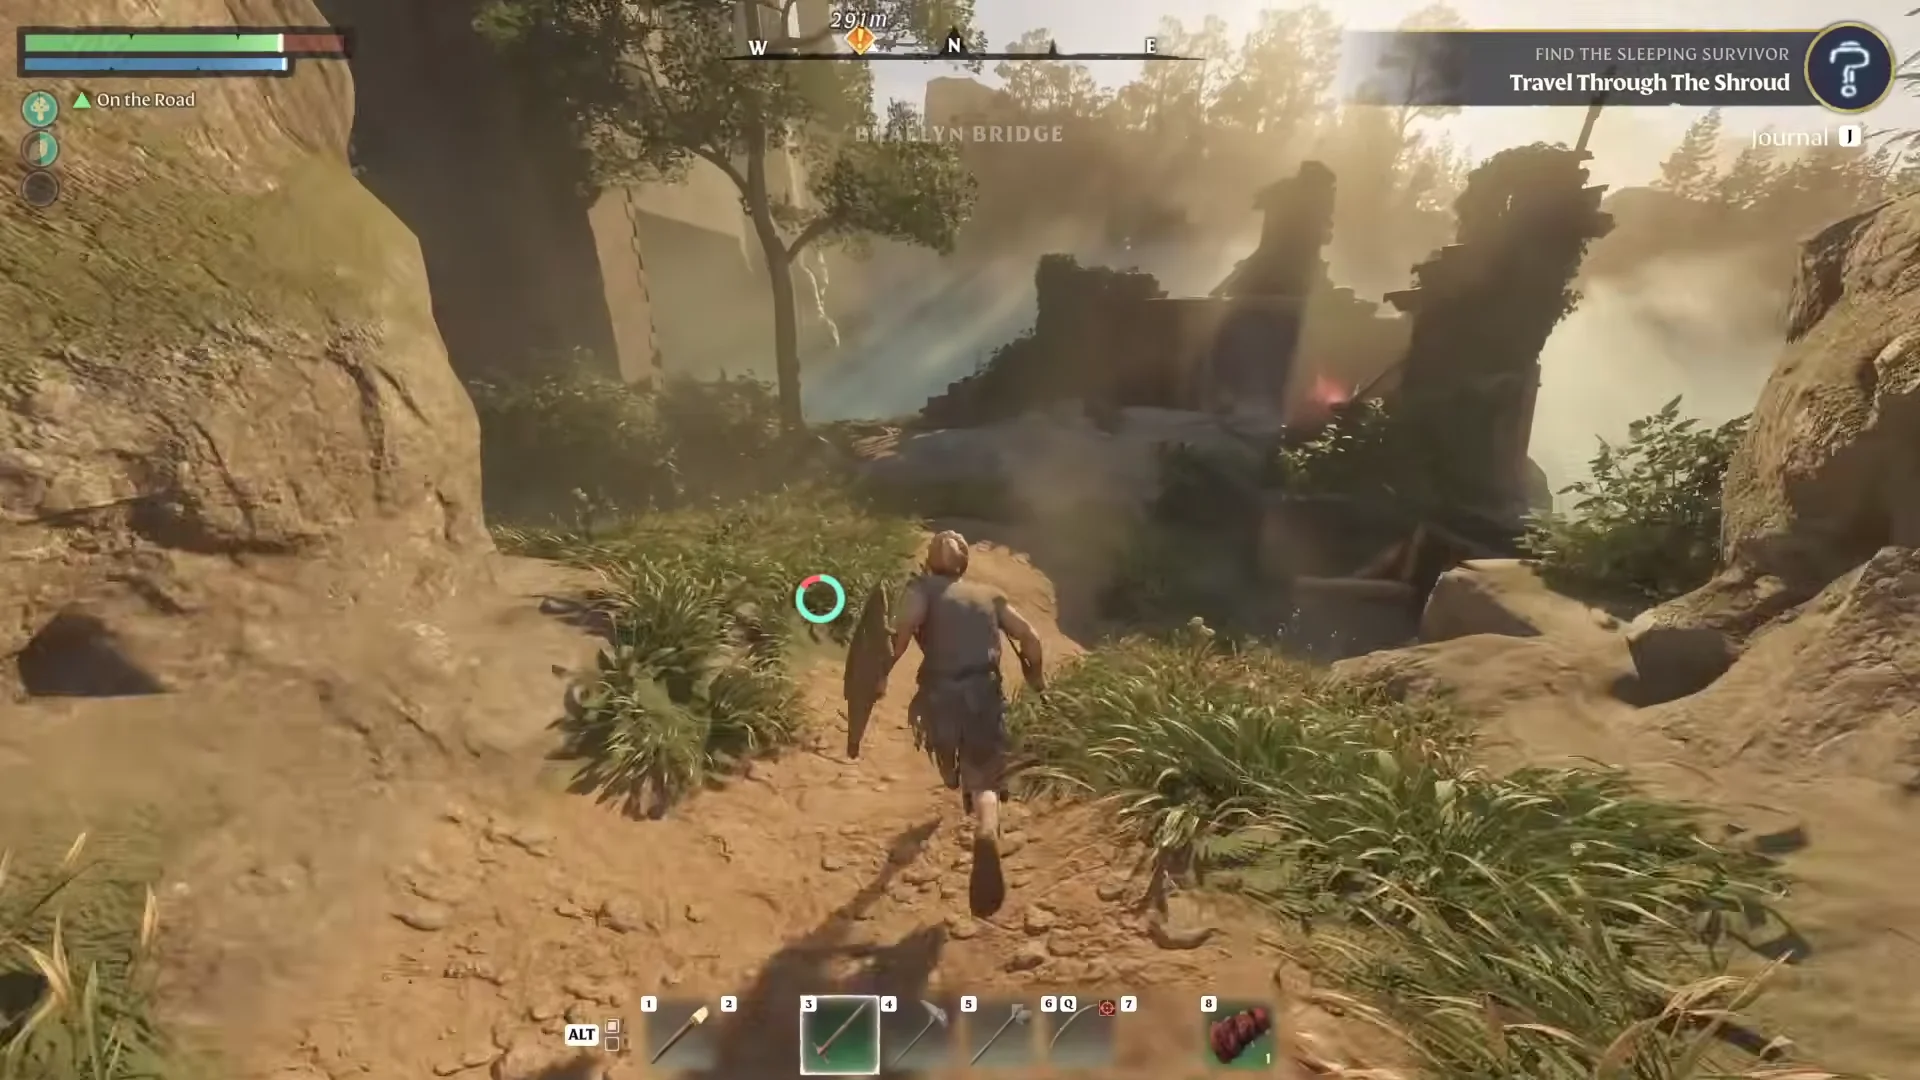
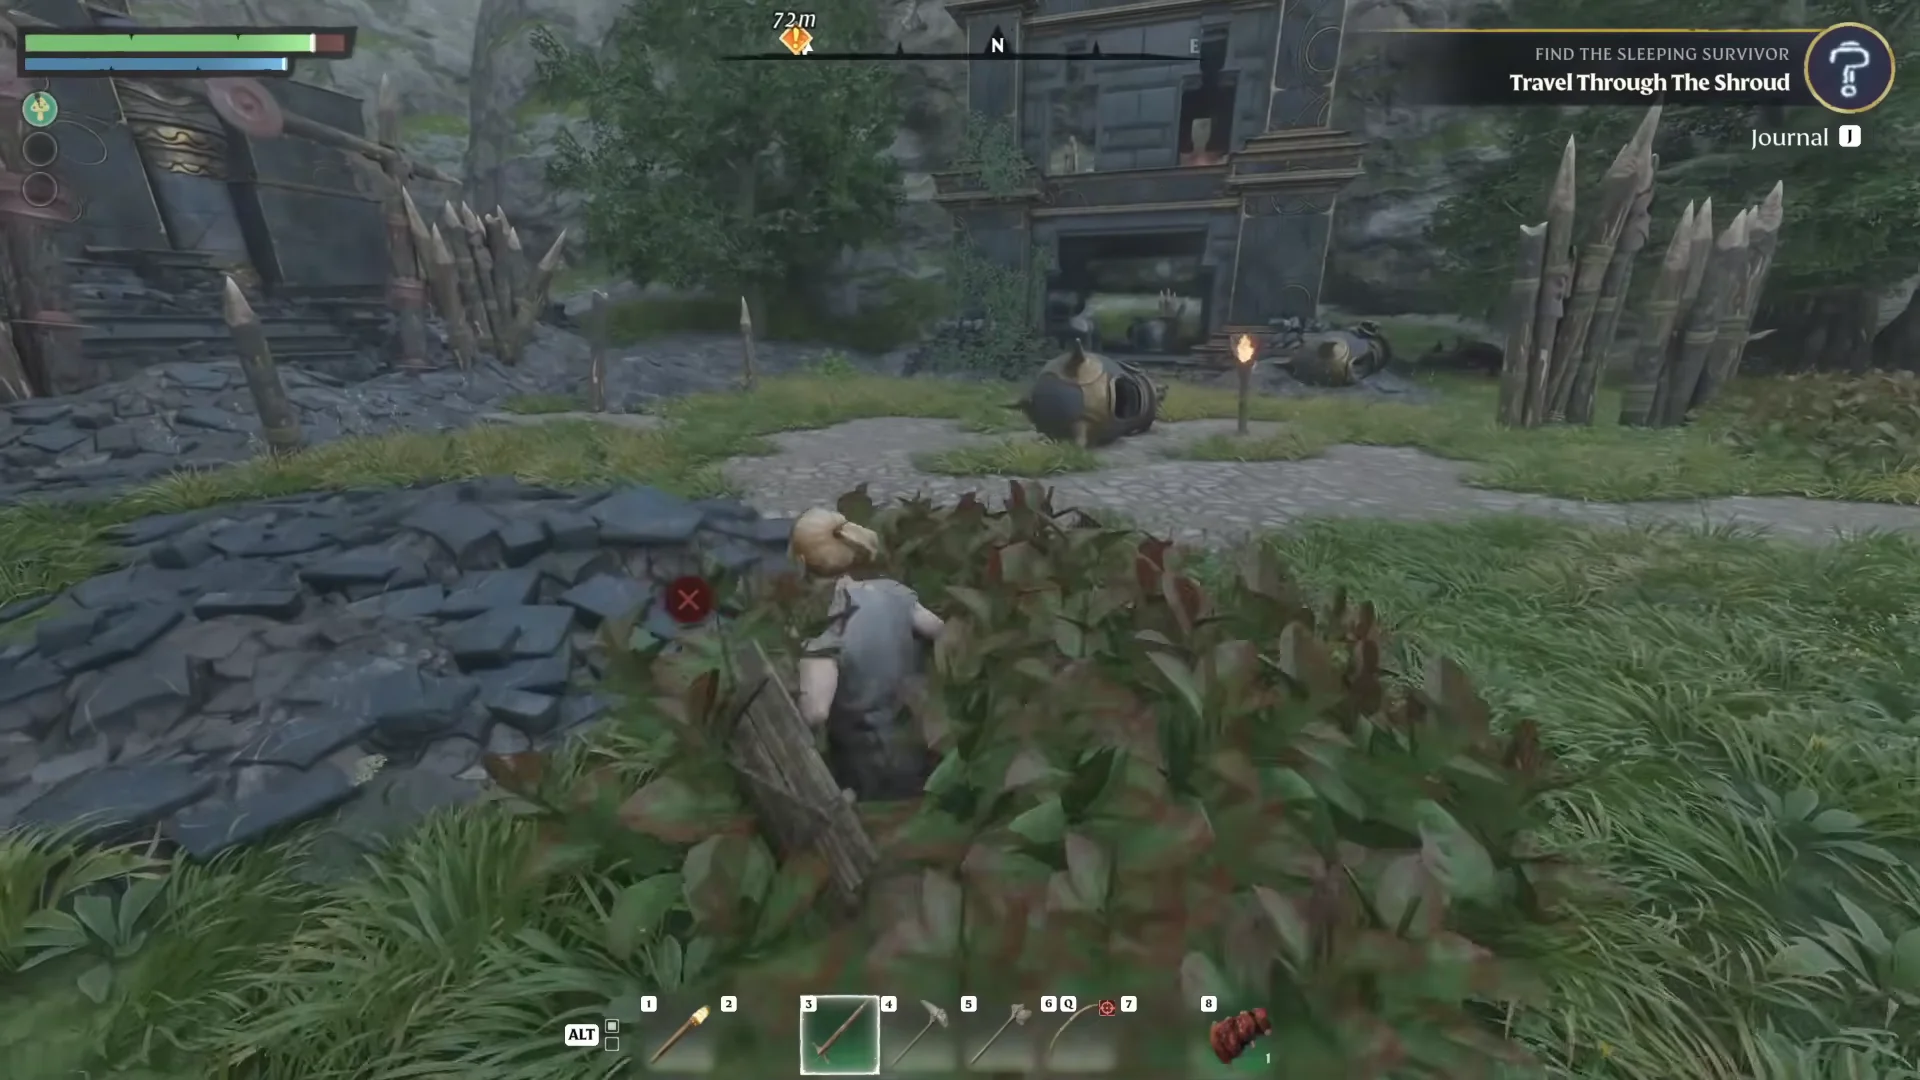
Awaken Oswald Anders inside the vault
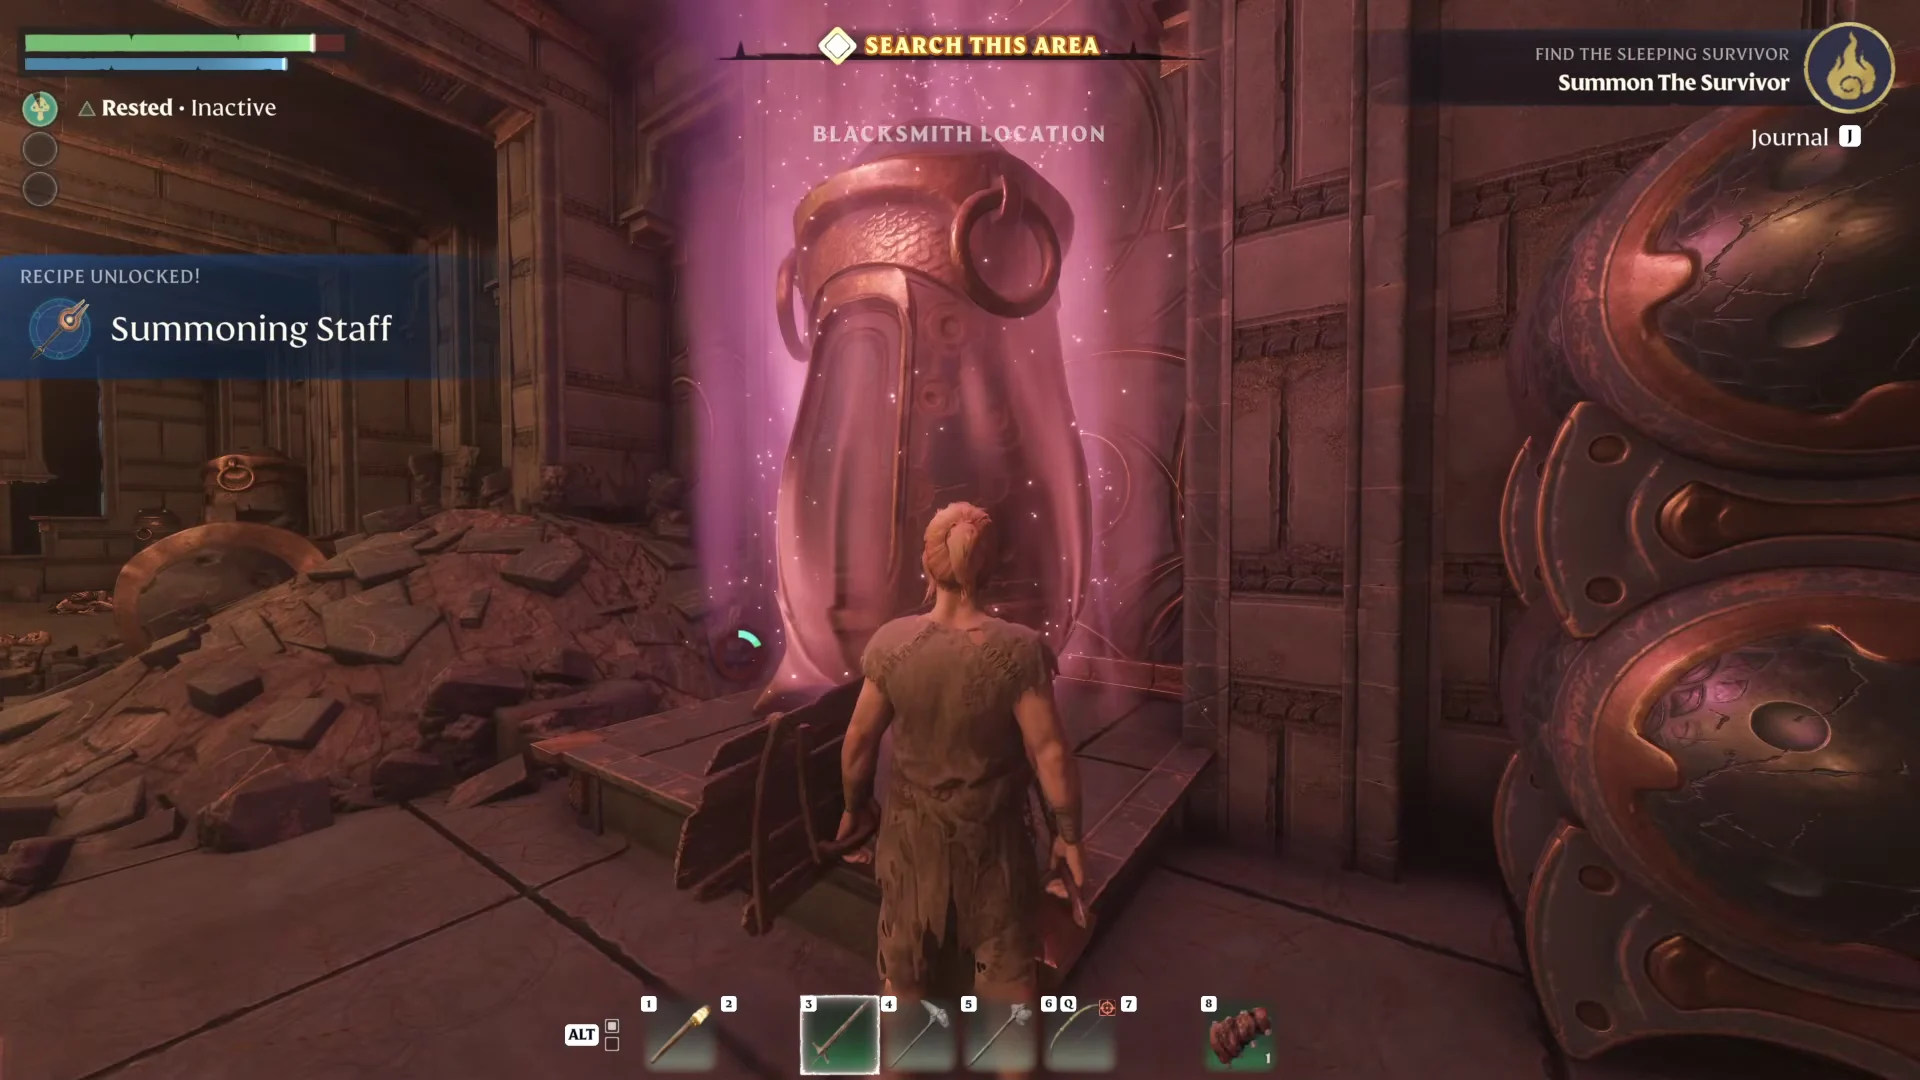
Step inside and deal with the enemies patrolling the hall, including a fast sickle-wielder in the main chamber. The survivor is held in the only pod that is lit up, over in the left alcove near a desk.

Interact with the glowing pod (the Cinder Vessel) and press the prompt to Awaken Survivor. A banner reads SOUL DISCOVERED! OSWALD ANDERS, the quest updates to Summon The Survivor, and you unlock the Summoning Staff recipe. Check the wall across from his pod for a hidden door that hides a legendary chest.
Summon the Blacksmith at your base
How to confirm the quest is done
The moment Oswald Anders appears, you see QUEST COMPLETED! Find the Sleeping Survivor along with a level-up and skill points to invest. The reward is the Blacksmith himself plus 150 XP. He also unlocks a batch of recipes at his workstation, including the Watering Can and more.
Talk to him to open his crafting options and pick up follow-up work. In his own words, he introduces himself with a cheerful “At long last – I return! I am a humble blacksmith, at your service,” then sets you on the next thread: “seek the Elixir Well with your new gear and raze the root of our misery!” That points you straight at the Clear the Elixir Well quest.

Early-game items you’ll pick up on the way
The route to the vault is littered with loot from chests, Shroud creatures, and Scavengers. Here are the ones worth keeping and what they do, so you know what to hang onto while you run.
| Item | Rarity | What it does |
|---|---|---|
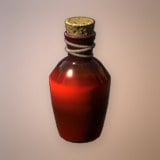 Health Potion Health Potion | Common | Restores 200 Health instantly |
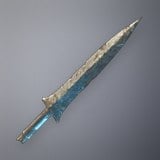 Rusty Short Sword Rusty Short Sword | Common | One-handed Cutting blade, 0.6s attack speed |
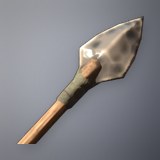 Flint Arrow Flint Arrow | Common | Piercing ammo, stacks to 500 |
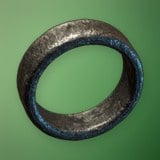 Sigil Ring of the Elder Guard Sigil Ring of the Elder Guard | Uncommon | +25 Health, +2 Health Regeneration |
 Mysterious Flask Mysterious Flask | Uncommon | +10% Damage against Fell for 1800s |
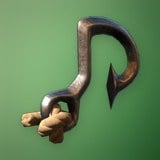 Grappling Hook Grappling Hook | Uncommon | Crosses chasms, 40 Stamina cost |
 Shroud Spores Shroud Spores | Common | Crafting material, stacks to 250 |
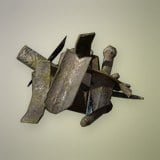 Metal Scraps Metal Scraps | Common | Crafting material, stacks to 250 |
Pick up every Metal Scraps drop from the crossbow-wielding enemies near the bridge. You will need them shortly for the Blacksmith’s early crafting, and the enemies on the way to the vault keep dropping more.
With Oswald Anders settled in and his anvil running, you have a steady source of weapons, armor, and metal tools. From here, the Flame hands you Clear the Elixir Well, which lets you upgrade your Flame Altar and open up the next stretch of Embervale.