The DPS Sorcerer PvP build in AION 2 is a burst setup. You stack every damage buff you have, fire a Hellfire into the enemy group, and then work to get that window back as fast as possible. Almost every choice in the build serves that loop. Skill specialties shave seconds off Hellfire and Wish of Concentration, gear stacks Attack, Cooldown Reduction and Combat Speed, and the Frost kit buys the time to cast.
Quick answer: Macro Element Enhancement › Wish of Concentration › Divine Burst › Hellfire › Firestorm onto one key. Open with Flame Arrow, press the macro, then follow with Ice Chain.
How the Hellfire burst loop works
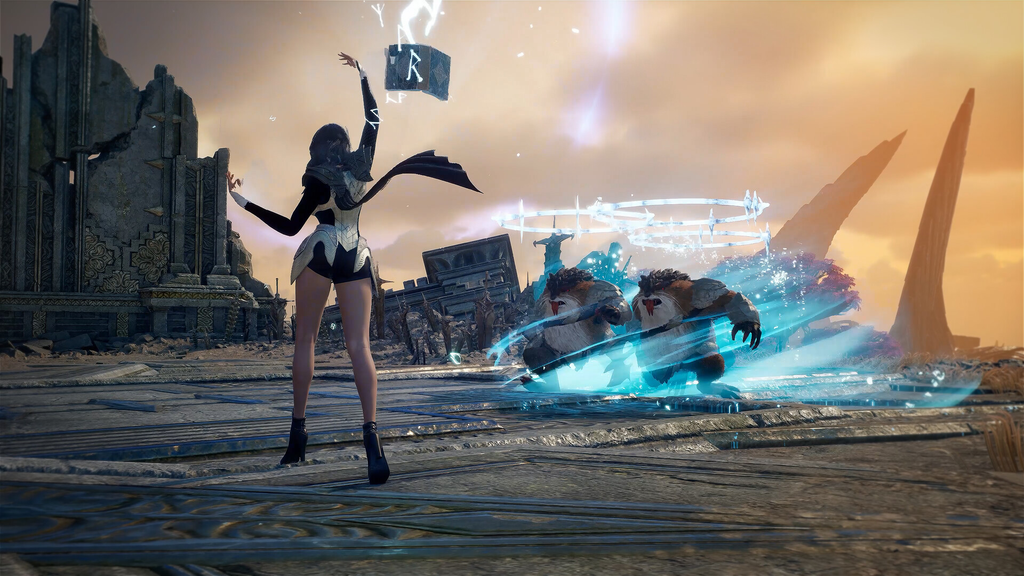
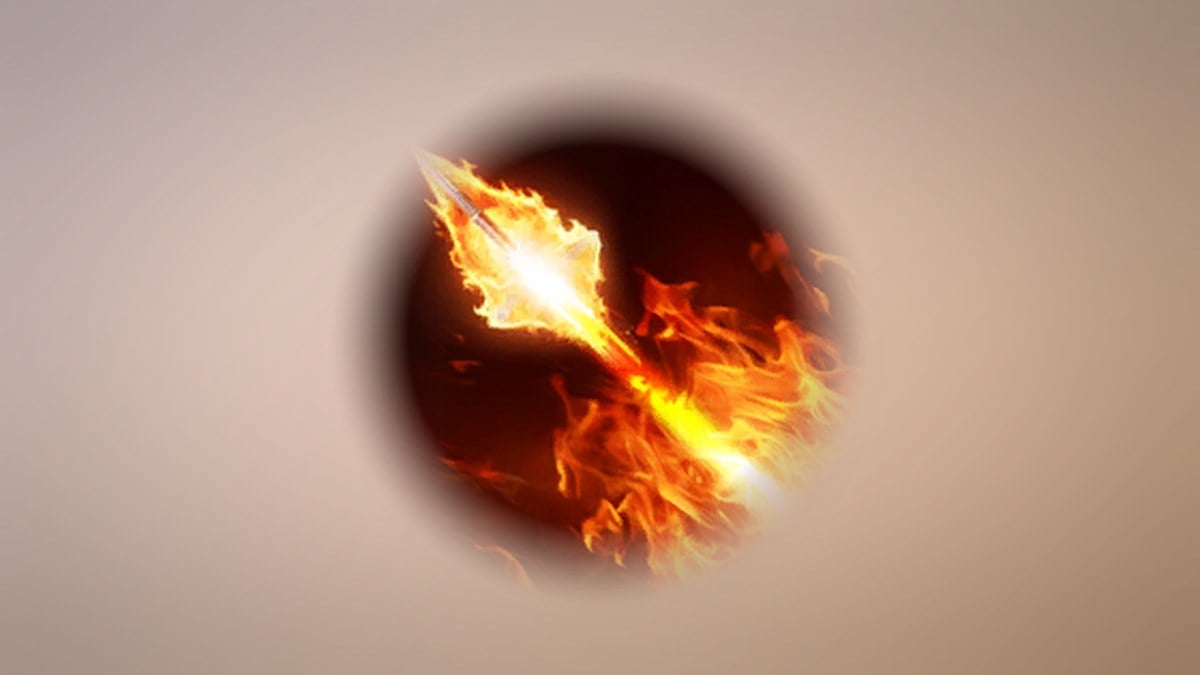
Hellfire is the payoff. It is a charge skill with up to three charge levels. It hits up to 4 enemies within 4m of a target up to 20m away and deals 20 to 35 Stagger Gauge Damage. Its base cooldown is 45 seconds, so the rest of the kit exists to shorten that wait and make each cast hit harder.

Wish of Concentration is the personal buff. It costs 100 MP, has a 60-second cooldown and raises your Attack by 10 percent and Accuracy by 100 for 10 seconds. That 10-second window is when Hellfire and Firestorm should land.

Four specialty links tie the loop together:
- Hellfire’s own level 16 specialty cuts its cooldown by 15 seconds.
- Firestorm’s level 12 specialty takes 2 seconds off Hellfire’s cooldown per fireball.
- Wish of Concentration’s level 16 specialty removes 10 seconds from all skill cooldowns.
- Blaze’s level 16 specialty cuts 3 seconds off Wish of Concentration’s cooldown on every hit.
Firestorm and Blaze both run on 5-second cooldowns, so they keep feeding these reductions between bursts. Blaze only works on a target carrying Fire Mark, and it restores 100 MP when it lands. Flame Arrow restores 100 MP as well, which is why it opens the combo.
Sorcerer PvP macro and combo order
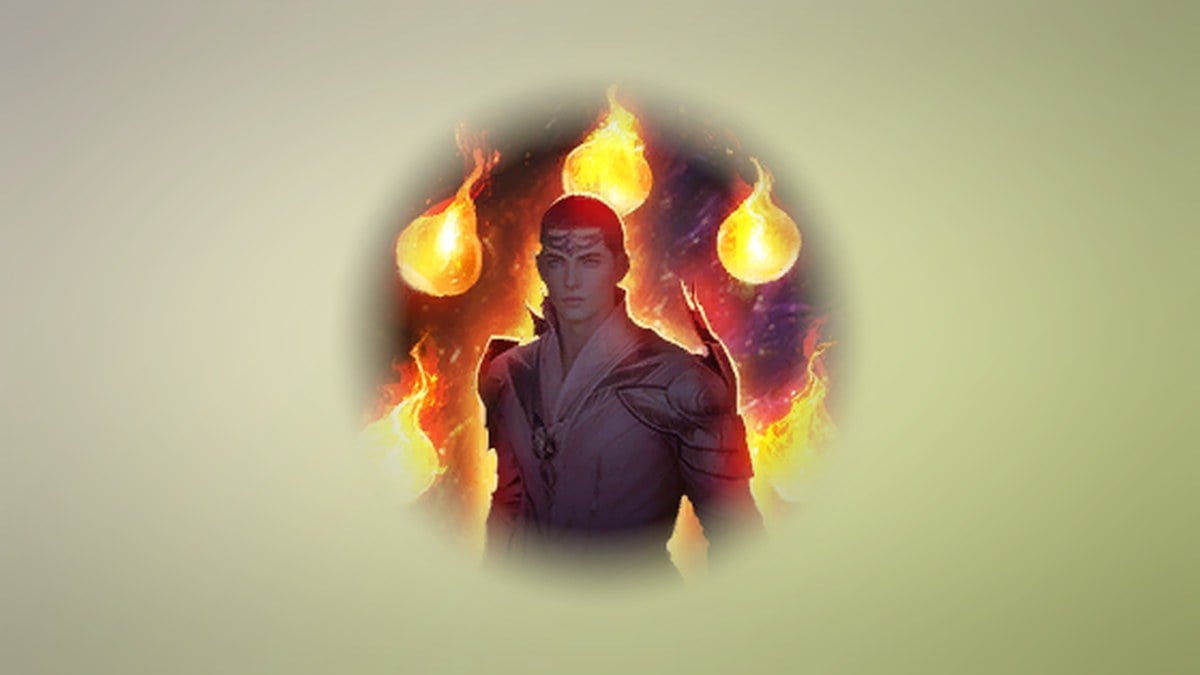
The burst lives on a single macro, bound to E in the reference setup. The fire skills are ordered so that every buff is active before Hellfire goes out. Firestorm comes last so it still benefits from those buffs.
| Sequence | Skill order |
|---|---|
| E key macro | Element Enhancement › Wish of Concentration › Divine Burst › Hellfire › Firestorm |
| Full combo | Flame Arrow › E macro › Ice Chain |
| Defense | Arctic Armor › Steel Barrier |
| Crowd control | Bittercold Wind › Frost › Winter’s Shackles › Frost Burst |
Set the macro’s Display MS to half of your current ping. Group the macro skills next to each other on your hotbar so you can fire any of them on its own when you need just one.
The crowd control chain is about pinning a target, not killing it. Ice Chain hits up to 4 enemies and slows them by 40 percent for 5 seconds. Bittercold Wind summons a 2-second field that hits up to 4 enemies with a chance to root. Frost has a 50 percent chance to freeze a player target for 3 seconds. Frost Burst then only works on a target that is already frozen.


Active skill levels and specialties
Specialty slots open at skill level 8, 12 and 20, giving you one, two and then three equipped specialties. The level targets below line up with those slots. Flame Scattershot, Frost and Frost Burst stay at level 5 and run without specialties.
| Skill | Level | Specialties |
|---|---|---|
 Hellfire | 20 | +30% Skill Speed, Changes to mobile skill, -15s cooldown |
 Blaze | 20 | Delayed Damage after 3s, Multi-Hit on hit, -3s Wish of Concentration cooldown |
 Wish of Concentration | 16 | Attack increases by an extra 10%, and all skill cooldowns are 10s shorter. |
 Firestorm | 14 | +20% Skill Speed, -2s Hellfire cooldown per fireball |
 Ice Chain | 14 | Gain 20% Skill Speed; landing a hit reduces Winter’s Shackles’ cooldown by 1s. |
 Bittercold Wind | 14 | Pull effect, Changes to mobile skill |
 Winter’s Shackles | 14 | Changes to mobile skill, +20% PvE / +10% PvP Damage Boost for 5s |
 Flame Arrow | 9 | +50% Multi-Hit on hit |
 Flame Scattershot | 5 | None |
 Frost | 5 | None |
 Frost Burst | 5 | None |
Making Hellfire mobile matters more in PvP than anywhere else. A stationary charge is an open invitation to melee classes, and the mobile version lets you keep repositioning while it builds. The Bittercold Wind pull drags targets into your Frost follow-up. The Winter’s Shackles damage boost lasts 5 seconds after it lands, so landing it just before the macro adds to the burst.

Stigmas and passive skills
All four stigmas sit at level 20. Two of them go into the burst and two of them keep you alive.
- Element Enhancement opens the macro as the first damage buff.
- Divine Burst fires right before Hellfire as an extra large hit.
- Arctic Armor is the first defensive layer.
- Steel Barrier follows Arctic Armor as the second layer.
For passives, run Fire Mark, Robe of Earth, Cold Snap, Robe of Flame, Absorb Essence, Grace of Resistance, Robe of Cold and Vitality Evaporation at level 15. Revitalization Contract sits at level 14 and Grace of Enhancement at level 20. Those levels come from gear and Arcana bonuses, not from skill points.
Sorcerer PvP gear and soul binds
The main stats to chase are Attack, Cooldown Reduction and Combat Speed. Every piece below takes the same Superior Abyssal Manastones, which are PvP Attack, PvP Damage Boost, PvP Critical Hit and PvP Accuracy.
Weapon, off-hand and armor
| Slot | Item | Soul Bind stats | Skill level |
|---|---|---|---|
| Weapon | Enraged Kromede Spellbook | Might, Combat Speed, Damage Boost | Hellfire, Blaze |
| Off-hand | Nuakum Guard | Might, Combat Speed, Precision | Hellfire |
| Helmet | Nuakum Helm | Attack Increase, Attack, Endurance |  Fire Mark |
| Shoulder | Nuakum Pauldrons | Critical Damage Boost, Attack, Accuracy |  Robe of Earth |
| Chest | Nuakum Breastplate | Damage Boost, Attack, Accuracy |  Cold Snap |
| Gloves | Nuakum Gloves | Combat Speed, Perfect Chance, Attack |  Robe of Flame |
| Pants | Nuakum Greaves | Attack Increase, Damage Tolerance, Attack |  Absorb Essence |
| Boots | Nuakum Boots | Move Speed, Defense Increase, Attack |  Grace of Resistance |
| Cape | Nuakum Cloak | Attack Increase, Attack, HP |  Robe of Cold |
The Enraged Kromede Spellbook carries 398 to 442 Attack and 100 Critical Hit, with the Traufnir’s Courage Theostone. The Nuakum Guard adds 177 Attack and 50 Critical Hit and takes Sif’s Knowledge. Each skill-level soul bind is worth one level.
Accessories
| Slot | Item (alternative) | Skill level |
|---|---|---|
| Necklace |  Splendent Star Dragon Lord Necklace (Enraged Kromede Necklace) | Grace of Enhancement |
| Earring 1 |  Splendent Star Dragon Lord Earrings (Enraged Kromede Earrings) | Grace of Enhancement |
| Earring 2 | Splendent Star Dragon Lord Earrings (Enraged Kromede Earrings) | Vitality Evaporation |
| Ring 1 |  Splendent Star Dragon Lord Ring (Enraged Kromede Ring) | Blaze |
| Ring 2 | Splendent Star Dragon Lord Ring (Enraged Kromede Ring) | Hellfire |
| Bracelet | Ascension Bracelet or Pilgrim Bracelet | None |
| Amulet |  Revelation Amulet (Unique) | None |
The necklace, earrings and rings all share Attack Increase, Attack and Critical Hit soul binds. The necklace and rings add Might, and the earrings add Move Speed. The Revelation Amulet brings 10 percent Weapon Damage Boost, 5 percent Perfect Chance, 700 Penetration and a 40 Power Shard Bonus. The Ascension Bracelet has more Attack than the Pilgrim Bracelet, 65 against 55.
Wings, titles and Genus Insight
- Talisra Wings give Attack, Defense and Accuracy bonuses plus Cooldown Reduction.
- Treading on White Wings (offensive title) adds PvP Damage Boost, PvP Attack and PvP Accuracy.
- Saint of Altgard (defensive title) adds Defense Bonus, Damage Tolerance and Block.
- Through Hell and Back (utility title) adds Cooldown Reduction, HP and Stamina.
Every Genus Insight tree follows the same nine-step order. That order is Attack Bonus, HP Increase, Critical Hit, a fourth pick, Attack Bonus, Critical Hit, Critical Hit, HP Increase and Critical Hit. The fourth pick is Damage Boost for Cogni, Fera and Special, Multi-Hit Chance for Natura, and Status Effect Chance for Varian.
Pantheon and Arcana setup
Pantheon stats go in this priority order: Destruction, Illusion, Death, Space, Time. Both factions use Zikel’s Apparition as the Colossus. The statues are Transcendent Bakarma, Kibelisk, Asahr’s Mirror and Fortress Guardian Notun. Fire Temple, Krao, Urugugu and Ferocious Horn Den fill the shared Artwork row.
| Faction | Faction Artworks |
|---|---|
| Asmodian | Immortal Gartua, Visionary Karuka, Executioner Barthien, Dark Shadow Vishwada |
| Elyos | Eternal Gartua, Centurion Demiros, Black Tentacle Lawa, Sentinel K’nash |
Arcana runs the Magic Armor 4-piece set with five cards. Those are Chalice of Magic (Space, Israphel), Parchment of Magic (Destiny, Marchutan), Compass of Magic (Death, Triniel), Bell of Magic (Destruction, Zikel) and Mirror of Magic (Wisdom, Lumiel). The deity stats to look for are Destruction, Time, Illusion, Destiny, Freedom and Justice.
Magic Armor restores 1500 MP when your HP falls to 20 percent or less, on a 30-second cooldown. It also grants +1000 PvE Defense while MP stays at 50 percent or higher. In a fight, that refill can be enough to land one more burst before you go down. Target these sub skills on the cards: Blaze Lv. 4, Hellfire Lv. 4, Wish of Concentration Lv. 2 and Grace of Enhancement Lv. 4.

Daevanion board priorities
Each of the four main boards has its own pair of stat nodes. After those, every board picks up skill nodes in the same order: Hellfire, Firestorm, Flame Arrow, Blaze.
| Board | First priority | Second priority |
|---|---|---|
| Nezekan | Cooldown Reduction | Combat Speed |
| Zikel | Damage Boost | Damage Tolerance |
| Vaizel | Critical Damage Boost | Critical Damage Tolerance |
| Triniel | Multi-Hit Chance | Multi-Hit Resist |
| Azphel (PvP) | PvP Damage Boost | PvP Damage Tolerance |
On Azphel, Status Effect Chance comes third and PvP Attack/Defense fourth. Nezekan is the first Sorcerer board. It unlocks at level 12, has 88 nodes and takes 134 points to complete. On every board, grab all of the Hellfire, Blaze and Wish of Concentration skill levels as you path toward the stat nodes. Those levels push each skill toward the specialty thresholds the burst loop depends on. You will also open most nodes over time through normal progression.