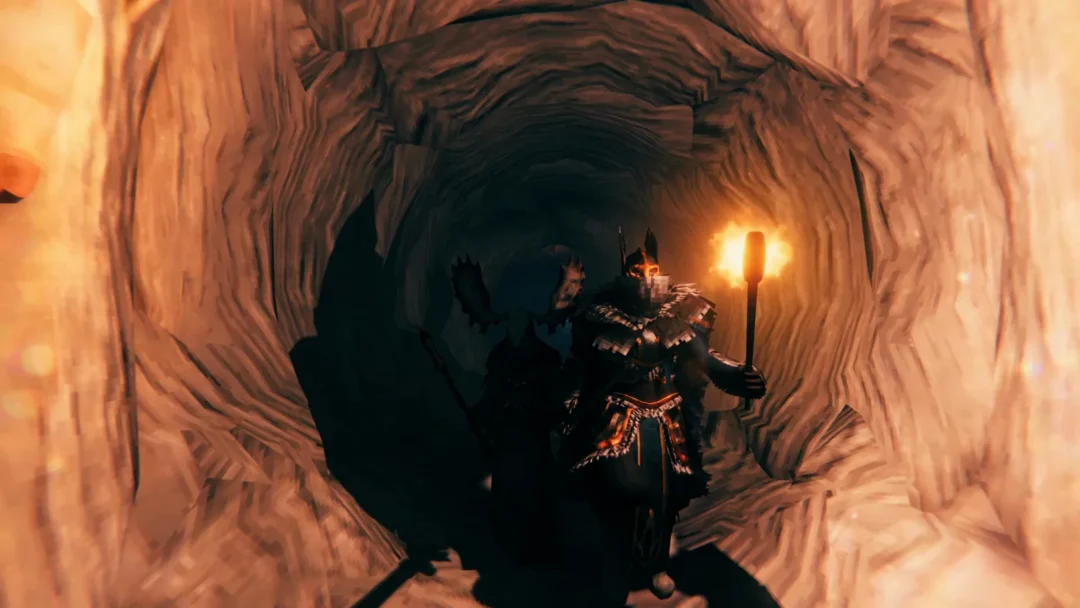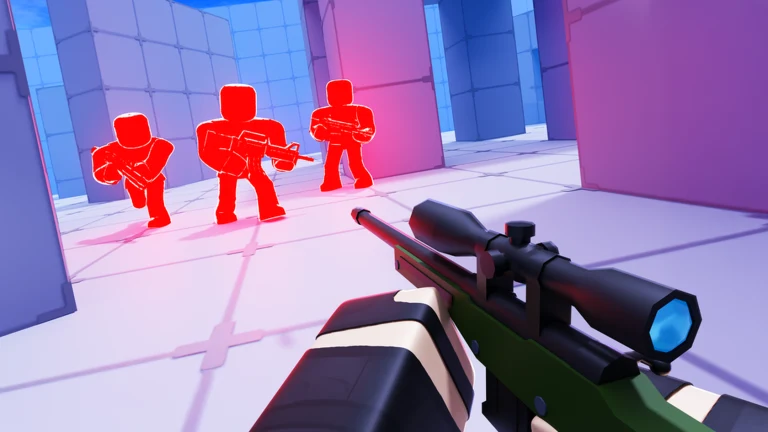
In Roblox Rivals, Zombie Tower has returned as a limited-time PvE mode for the 2026 Spooky Event, with few changes since its 2025 debut. Players must clear every wave across 17 floors to open the route upward. The Giant Chombie, with 5,000 HP, waits at the summit. Ammunition is limited, healing comes from drops, and one Explosive Zombie can kill a solo player in a single hit. There is no shop or checkpoint; dying sends you back to the cave entrance.
Quick answer: Use the Revolver first and prioritize headshots. Pick up a Shotgun or Assault Rifle from weapon drops, use Fists against Ghosts and Reapers, and attack the Giant Chombie only after its third slam.
Zombie Tower rewards and unlock requirements
Each cosmetic is earned through a different kind of tower escape. Zombie Tower awards neither Candies nor keys, leaving these three cosmetics as its only rewards.
| Reward | Type | Requirement |
|---|---|---|
| Chombie Head | Charm | Escape the tower |
| Zombie Wrap | Wrap | Escape the tower alive |
| Towerstone Fists | Skin | Escape the tower solo |
The charm is awarded for a team escape, even if you were knocked down during the run. To earn the wrap, you must still be alive when the team gets out. The skin requires a solo escape. For 2026, that reward is Towerstone Fists. In 2025, the equivalent solo-clear reward was a Towerstone Handgun.
Run the tower with a team a few times before going solo. You learn the late-floor layouts and Reaper patterns without having to restart from floor 1 each time.
How to start a Zombie Tower run
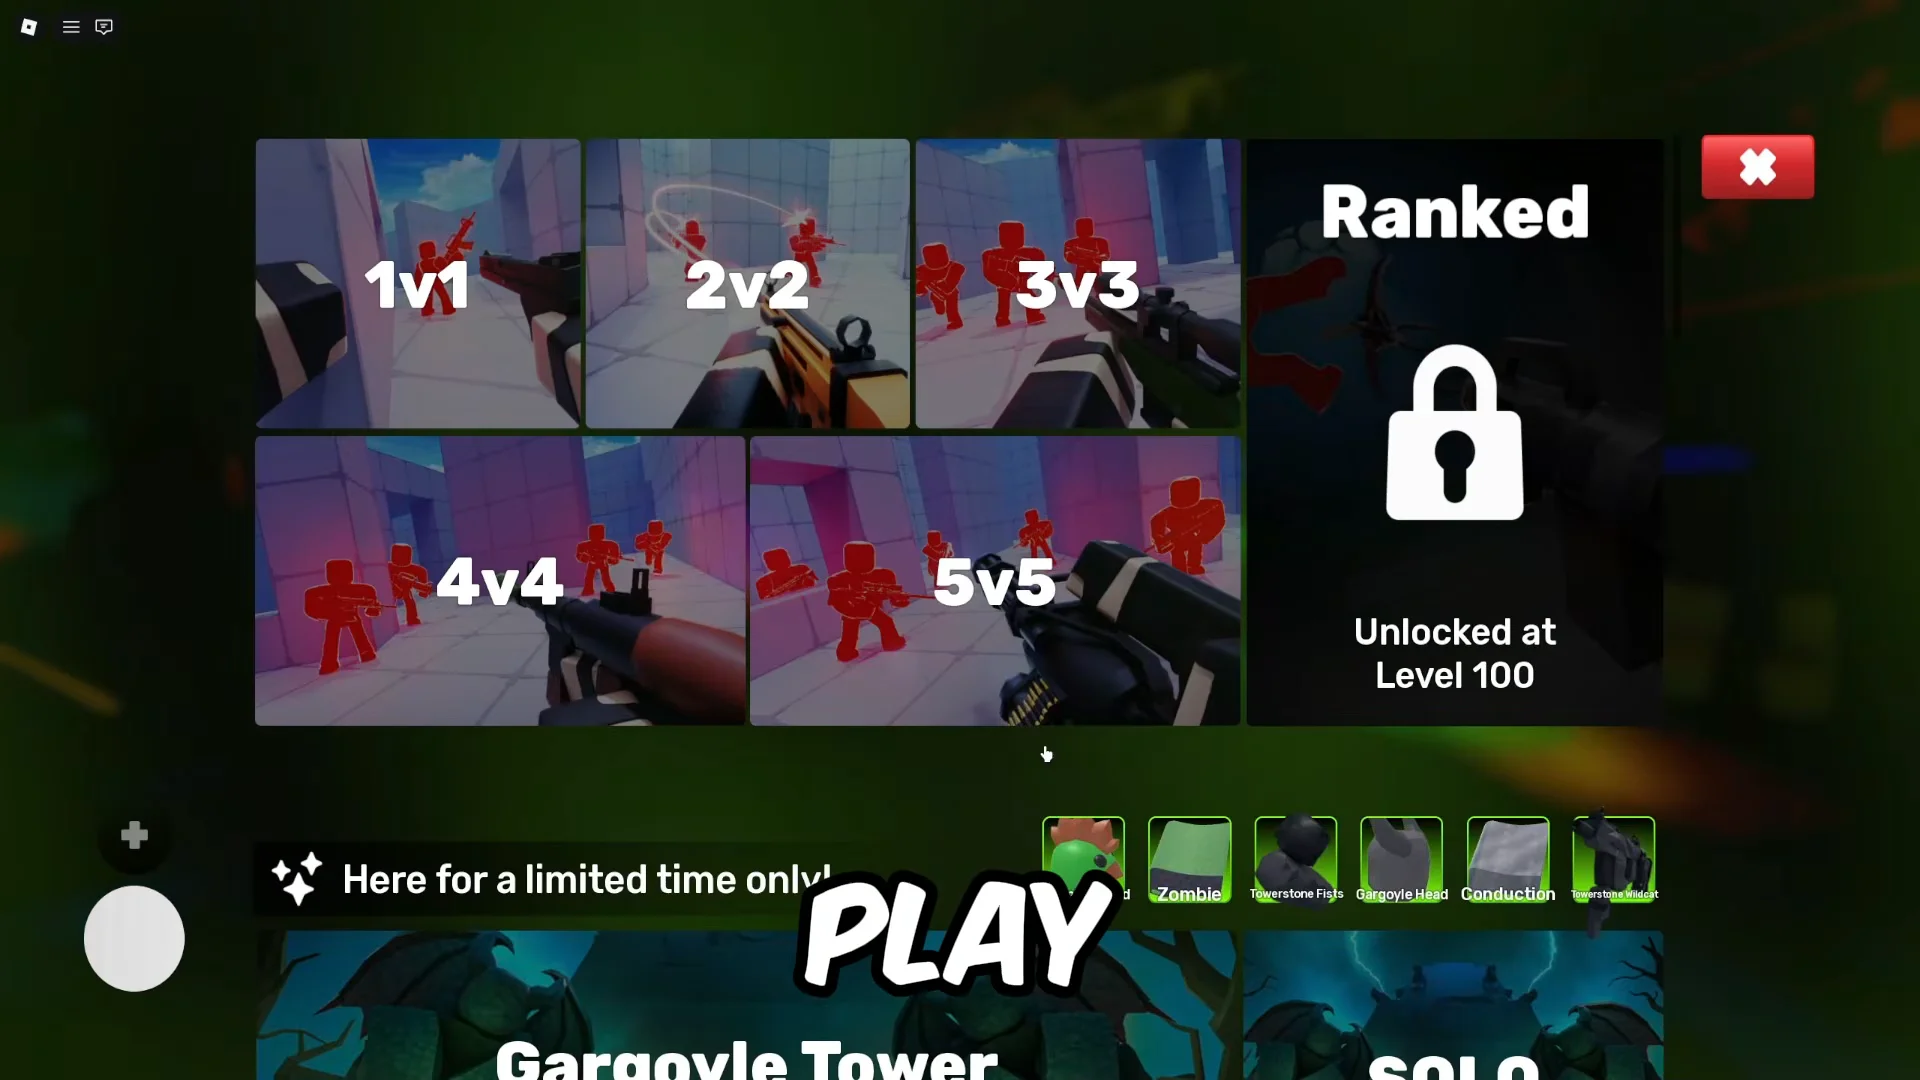
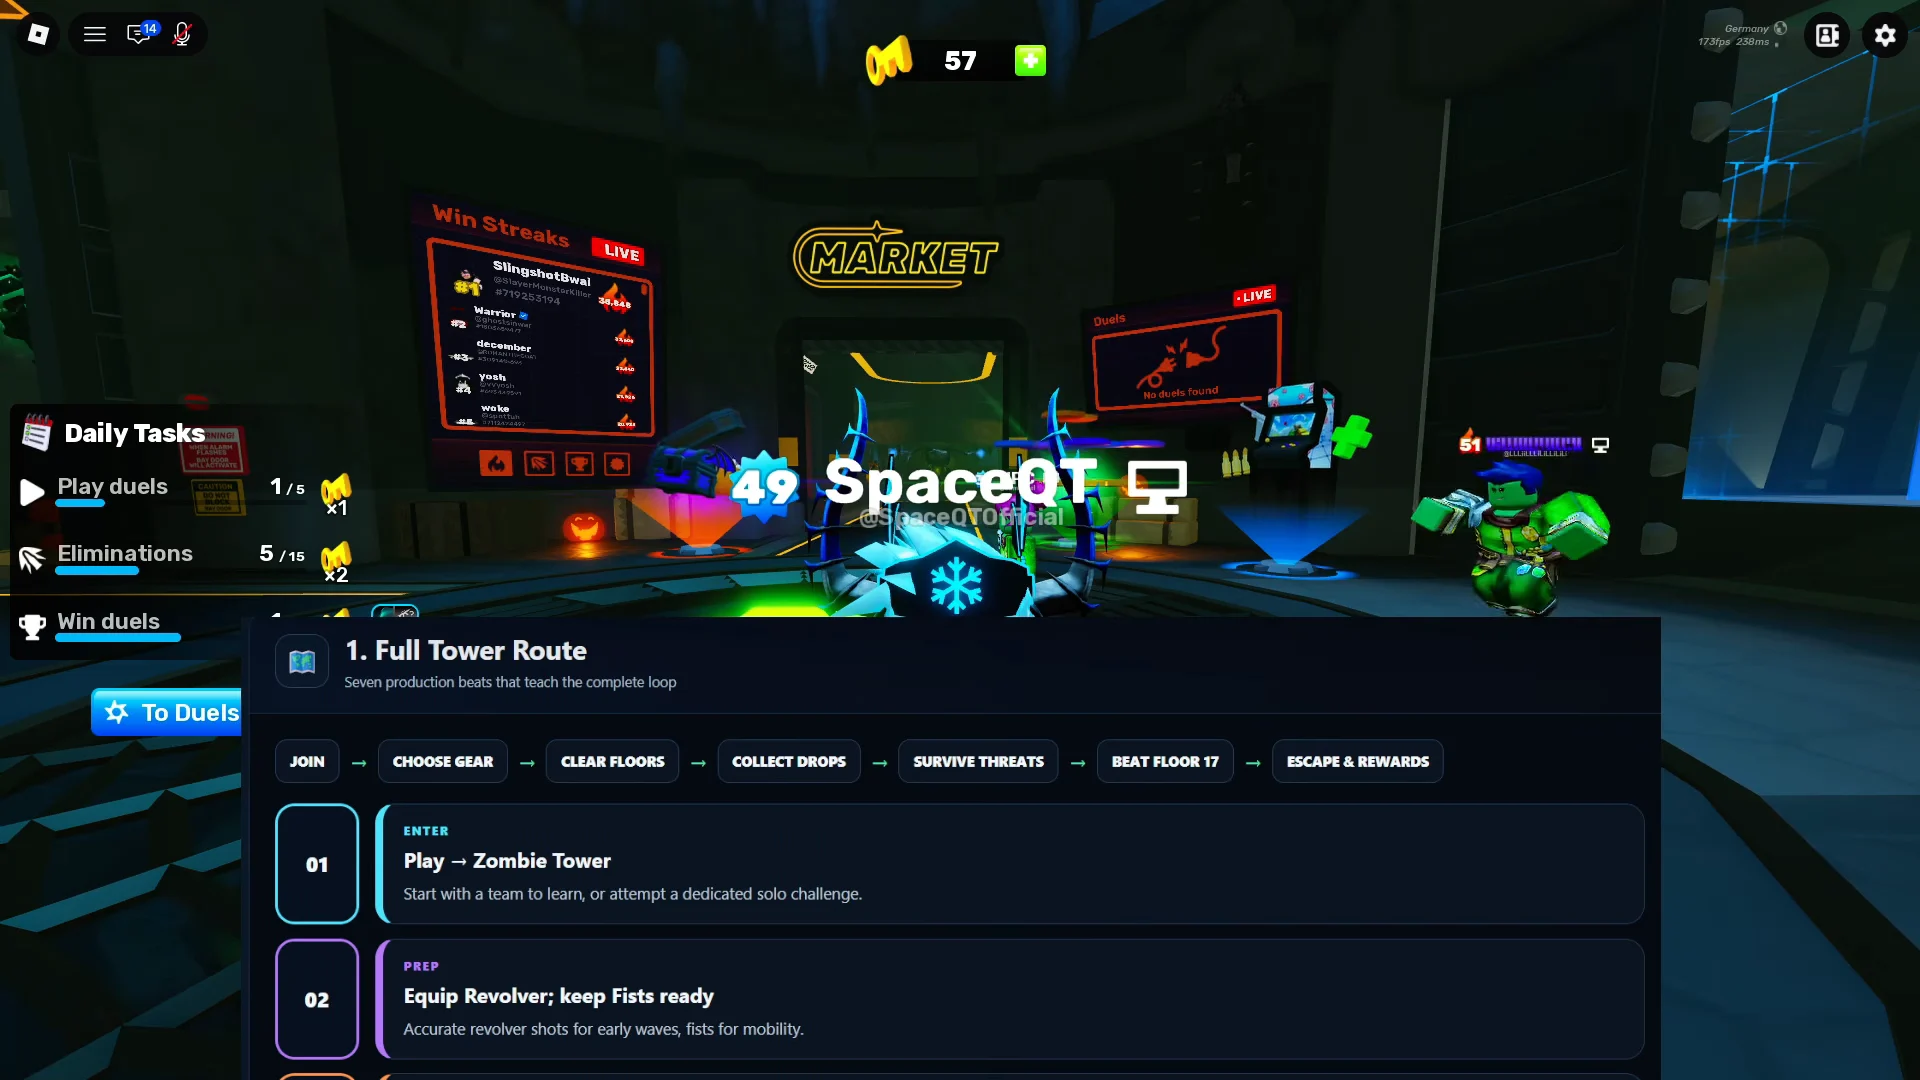
Zombie Tower rules: Waves, drops, and ammo
Several waves await on each floor. The path to the next one remains blocked until the last enemy is defeated, so even a straggler tucked into a corner stops your progress. Supplies don’t replenish between floors; you must rely on enemy drops for everything you spend.
- Ammo drop refills all ammo, but only for the weapon you’re holding.
- Heal drop appears as a green plus. Touching it restores 50 HP.
- Weapon drop appears as a weapon symbol hovering above the ground. Use Q to collect it, then choose one of three weapons or Random.
- Team heal drop brings all dead teammates back to life. It does not appear in solo runs.
Ammo drops replenish only the weapon you’re holding, so equip the gun with the least ammo before collecting one. If your weapons are already full, leave the drop for later.
Staying mobile is your strongest defense. Slides and slide-jumps help you avoid attacks, while Fists let you move faster. Since zombies appear in scattered locations, circle the room to gather them into one group, then shoot into its center or use a grenade. Getting trapped in a dead end is a common way to lose a run.
Once you are more than three floors below your team, Reapers may appear anywhere, including on floors below 10.
Best weapons from Zombie Tower weapon drops
Weapon drops pull from a fixed pool, and the three options rotate each time.
| Slot | Weapons in the pool |
|---|---|
| Primary | Distortion, plus Grenade Launcher, plus Minigun, plus Paintball Gun, plus Assault Rifle, plus Bow, plus Burst Rifle, plus Crossbow, plus Gunblade, plus RPG, plus Shotgun, plus Sniper |
| Secondary | Exogun, plus Slingshot, plus Flare Gun, plus Handgun, plus Revolver, plus Shorty, plus Spray, plus Uzi |
The first weapon pickup tends to appear after the initial waves. On early floors, the Minigun automatic is much more effective than the Revolver against groups.
For the upper floors, aim to finish with Shotgun or Distortion: each can clear several enemies quickly, even close to the top. The Assault Rifle offers the best all-purpose flexibility. RPG and Grenade Launcher deal heavy damage but become less useful later in the climb. Their splash can push Reapers in your direction, so treat them as reserves rather than your final weapon.
Zombie Tower enemies and how to counter them
The tower has nine enemy types, one of them the boss. Health is listed in two tiers.
| Enemy | Health | Damage | First floor |
|---|---|---|---|
| Zombie | 75 / 150 | 25 | 2 |
| Helmet Zombie | 75 / 150 | 25 | 2 |
| Brute Zombie | 300 / 600 | 40 | 3 |
| Explosive Zombie | 75 / 150 | 150 | 4 |
| Ghost | 50 / 100 | 25 | 5 |
| Skeleton | 100 / 200 | 25 | 6 |
| Hunter Zombie | 75 / 150 | 25 | 6 |
| Reaper | 250 / 500 | 50 | 10 |
| Giant Chombie | 5000 / 10000 | 70 | 17 |
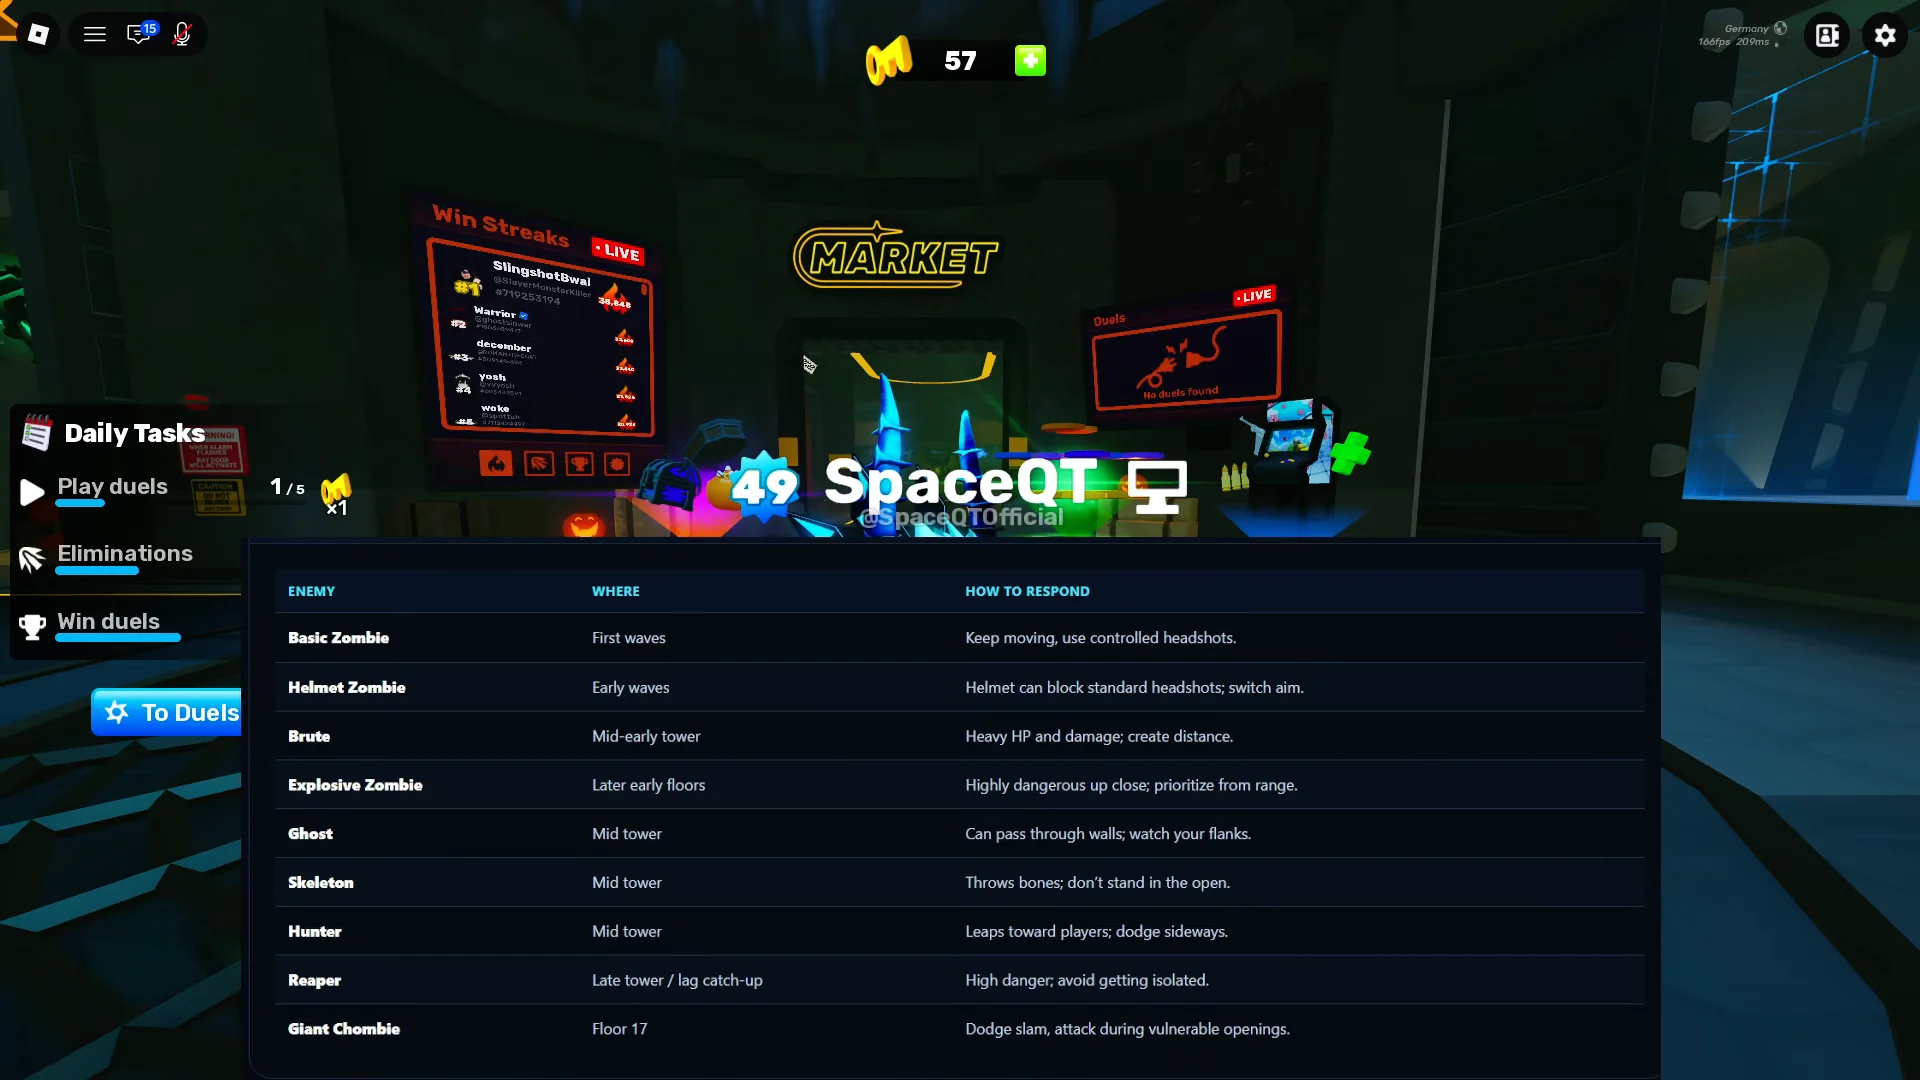
Zombie attacks only when you get close, and a headshot is the cheapest way to drop one. Helmet Zombie blocks headshots, so aim for the body unless your weapon can get past a Riot Shield. Brute Zombie is faster than a regular zombie and closes distance quickly. Shoot it first and from range, or finish it with a Shorty blast.
Explosive Zombie rushes you and detonates, dealing enough damage to kill anyone nearby in one hit; take it down before it gets close. Ghost passes through walls but has little health, making Fists effective against it. Skeleton stays mostly still and hurls bones from the far side of the room. Hunter Zombie jumps directly toward your location, so maintain distance or use a grenade. Reaper has more health and hits harder than a Ghost, making it the tower’s most dangerous regular enemy.
Flag zombies appear on some of the later floors as well. Their deaths give nearby zombies a speed boost, so eliminate one before the surrounding group gets close.
How to beat Zombie Tower floors 1 to 16
The challenge varies from floor to floor: some offer a break, while others can stop a run. Recognizing the easier and harder sections helps you decide where to conserve ammo and where to use it.
| Floor | What spawns | How to play it |
|---|---|---|
| 1–2 | Regular zombies | Fists are enough |
| 3 | First special zombies | Body-shot Helmet Zombies |
| 4 | Explosive Zombies in wave 3 | Shoot from range |
| 5 | Ghosts only | Fists, moving in a line |
| 6 | Hunter Zombies, Skeletons | Grenades or keep distance |
| 7 | Early Explosive Zombie rush | Keep moving, use grenades |
| 8 | Ghosts, zombies, Skeletons, flag zombies | Position carefully |
| 9 | Ghosts | Fists |
| 10 | Piñata, first Reapers | Control distance, Shotgun |
| 11 | Zombies rising from water | Watch the water |
| 12 | Hunters from both sides, Reapers | Kill Hunters first |
| 13 | Lava zone, Skeletons, Reapers | Back-step and punch Reapers |
| 14 | Wide map, Reapers in wave 1 | Survive the first wave |
| 15 | Heavy Reaper waves | Fists, clear Skeletons fast |
| 16 | Many waves, Reapers last | Guns early, Fists at the end |
Floors 1 to 9
Floor 1 is forgiving. Zombies are harmless while emerging from their spawn points, so walk up and punch them. On the next few floors, use rock pillars to gather small zombies close together for one grenade. Floors 5 and 9 are good places to conserve bullets because Fists can kill Ghosts. Slide-jump through the group and punch on the way past.
Floors 10 to 12
Breaking the Piñata on floor 10 releases every kind of zombie at once, along with the first Reapers. The map is large enough to kite the whole pack while you work through it. Floor 11 has zombies rising out of the water, so keep an eye on it. On floor 12, Hunters come from both sides around a central lava pool. Kill them and the Skeletons first, then circle the pool to line Reapers up for Fists.
Floors 13 to 16
Of all the floors, 13 and 15 end the most runs. Reapers angle diagonally toward your movement. Take one straight step backward to make them approach in a line; then move forward while swinging Fists, as you would against a Ghost. If bullets run dry on 13, keep retreating and punching Reapers until ammunition drops appear, then use a grenade on the remaining Skeletons. Circling the pillars also draws the Reapers together into one group.
The broad layout of floor 14 puts Reapers in its opening wave, making that wave the key obstacle. On floor 15, waves 1 and 2 contain only Reapers. Skeletons join in wave 3 at the back of the map; defeat them before the Reapers close in. You can also knock Skeletons into the lava.
Floor 16 is less demanding. Ghosts join the Reapers only in the last wave, so use ammo without holding back in the earlier waves and finish with Fists. Be careful around the narrow alley sections, where it’s easy to lose your footing.
How to beat the Giant Chombie on floor 17
The Giant Chombie has 5,000 HP, making it unlikely that your remaining ammo will be enough to shoot it down. It has a single move: it jumps into the air, then lands on your position and deals 70 damage per hit.
What happens when you escape or die in Zombie Tower
Defeating the Giant Chombie completes the escape, and the rewards follow the conditions above. Escaping at all earns the Chombie Head charm, surviving to the end adds the Zombie Wrap, and doing it alone adds Towerstone Fists.
After you die, a “ROUND LOST” screen identifies what killed you. The available choices are Rematch, followed by Play Again, then Leave, and finally To Hub. Nothing carries over between attempts, so start again at the cave entrance and choose a fresh starting weapon.