In Castlevania: Belmont’s Curse, Joan is the second boss. This corrupted Joan of Arc guards Roof of the Tower in Paris Streets and is associated with the Warrior arcana card. Defeating her awards a fire spell and one of the three keys for the Catacombs door. A few steps beyond the arena, you also unlock Holy Light, which removes chaos shard barriers and lets Rose parry.
Quick answer: Jump over Joan and hit her from behind. Stand between the falling fireballs, and grapple the arena anchors when fire waves cover the floor. Then walk down the tower stairs to unlock Holy Light.
Joan boss stats, location, and immunities
Joan has a small health pool, and her attacks are slow enough to punish. Her stat line explains why patient chip damage works better here than big spell combos.
| Field | Joan |
|---|---|
| Health | 1800 |
| Attack | 24 |
| XP | 600 |
| Area / district | Paris Streets / Roof of the Tower |
| Fought in | Paris Streets, Notre-Dame |
| Arcana card |  The Warrior The Warrior |
| Rewards | Infernal Pyre, The Warrior’s Key |
Joan is immune to freeze, petrify, launch into the air, and slam down. She also shrugs off several arcana effects, including the Chains of Justice root and stun, the Chronomantic Dive slow, the Freezing Path link, and the Infernal Pyre launch. Most of the crowd control in Rose’s kit does nothing to her, so plain weapon damage does the work. Her record has no burn or bleed immunity. Her second appearance at Notre-Dame is a separate rematch later in the game.
Getting to the Roof of the Tower arena
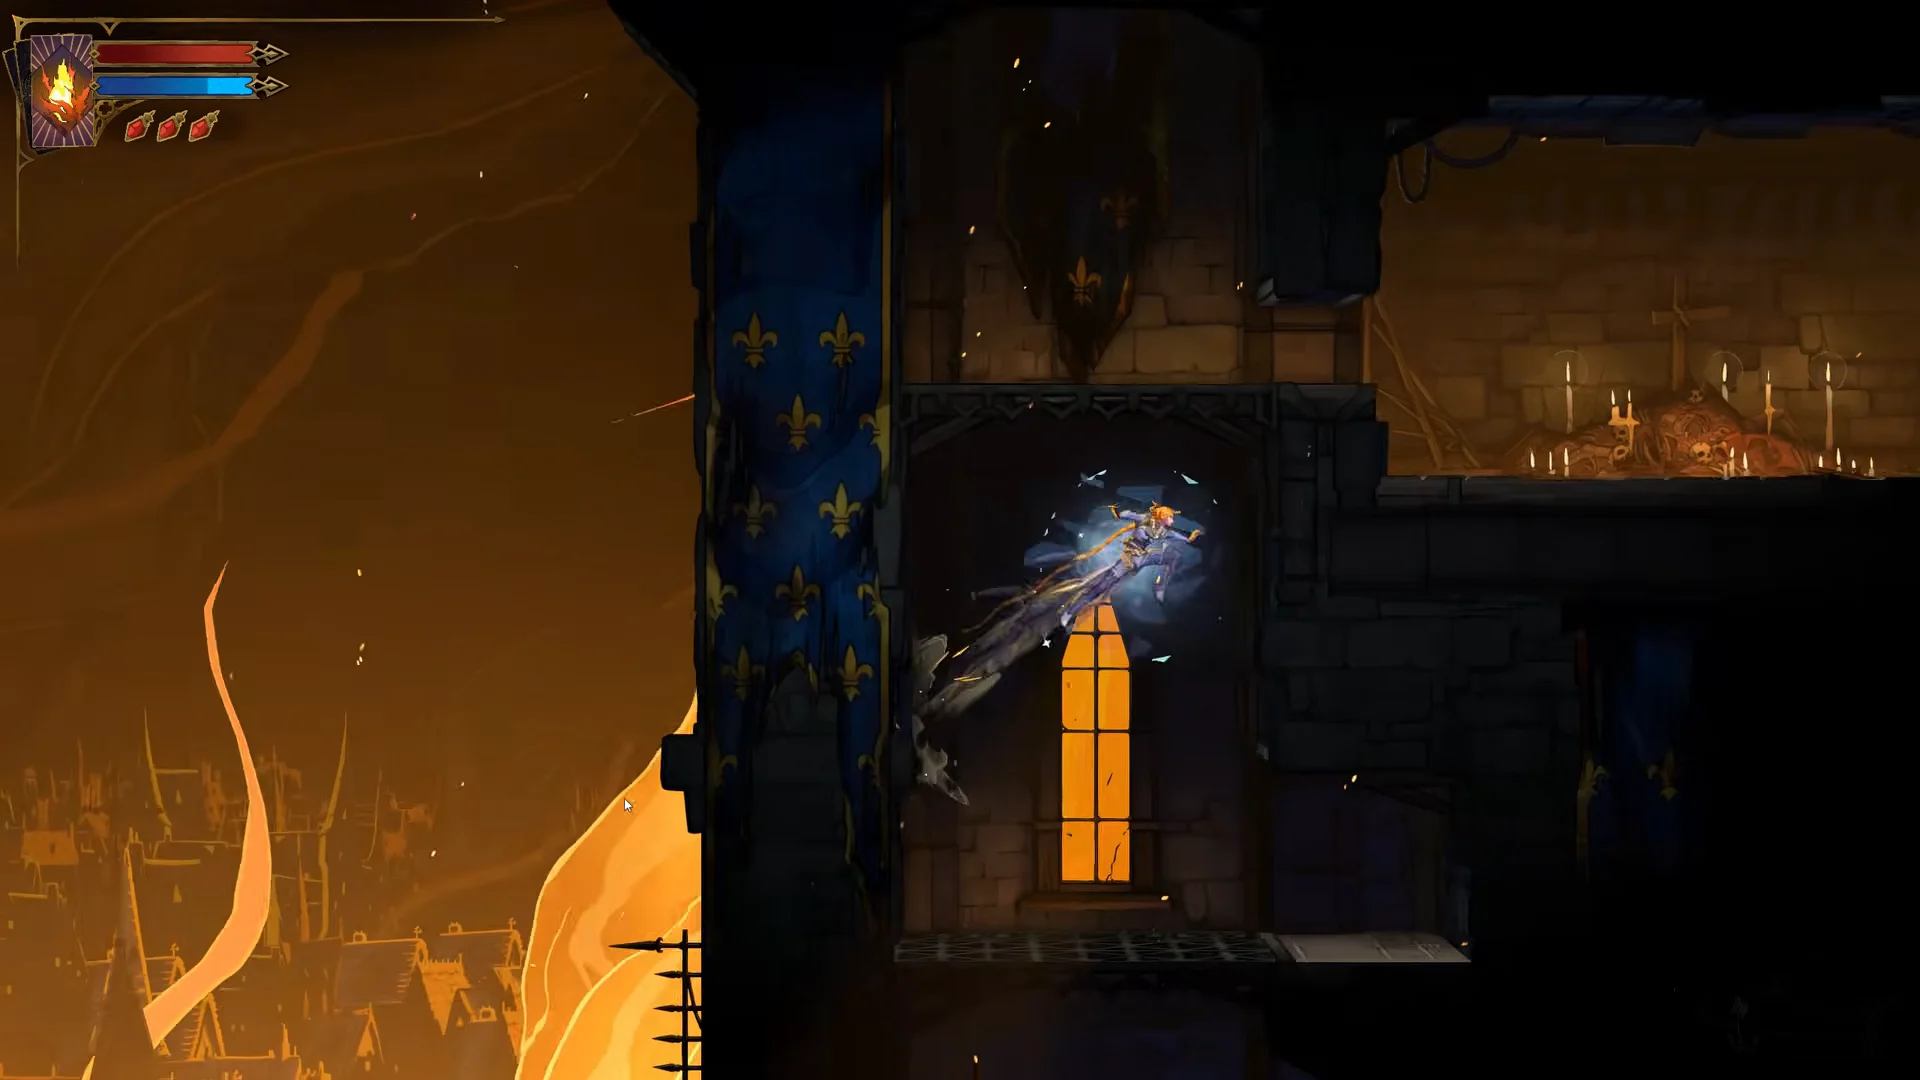
Starting on the Prison Tower side of Paris Streets, ride the elevator through Upper Tower. When it stops, go outside to Roof of the Tower. Before the boss door, strike the exterior wall along the way to break it open and reveal hidden food. This provides a free heal just before the fight.
How to beat Joan
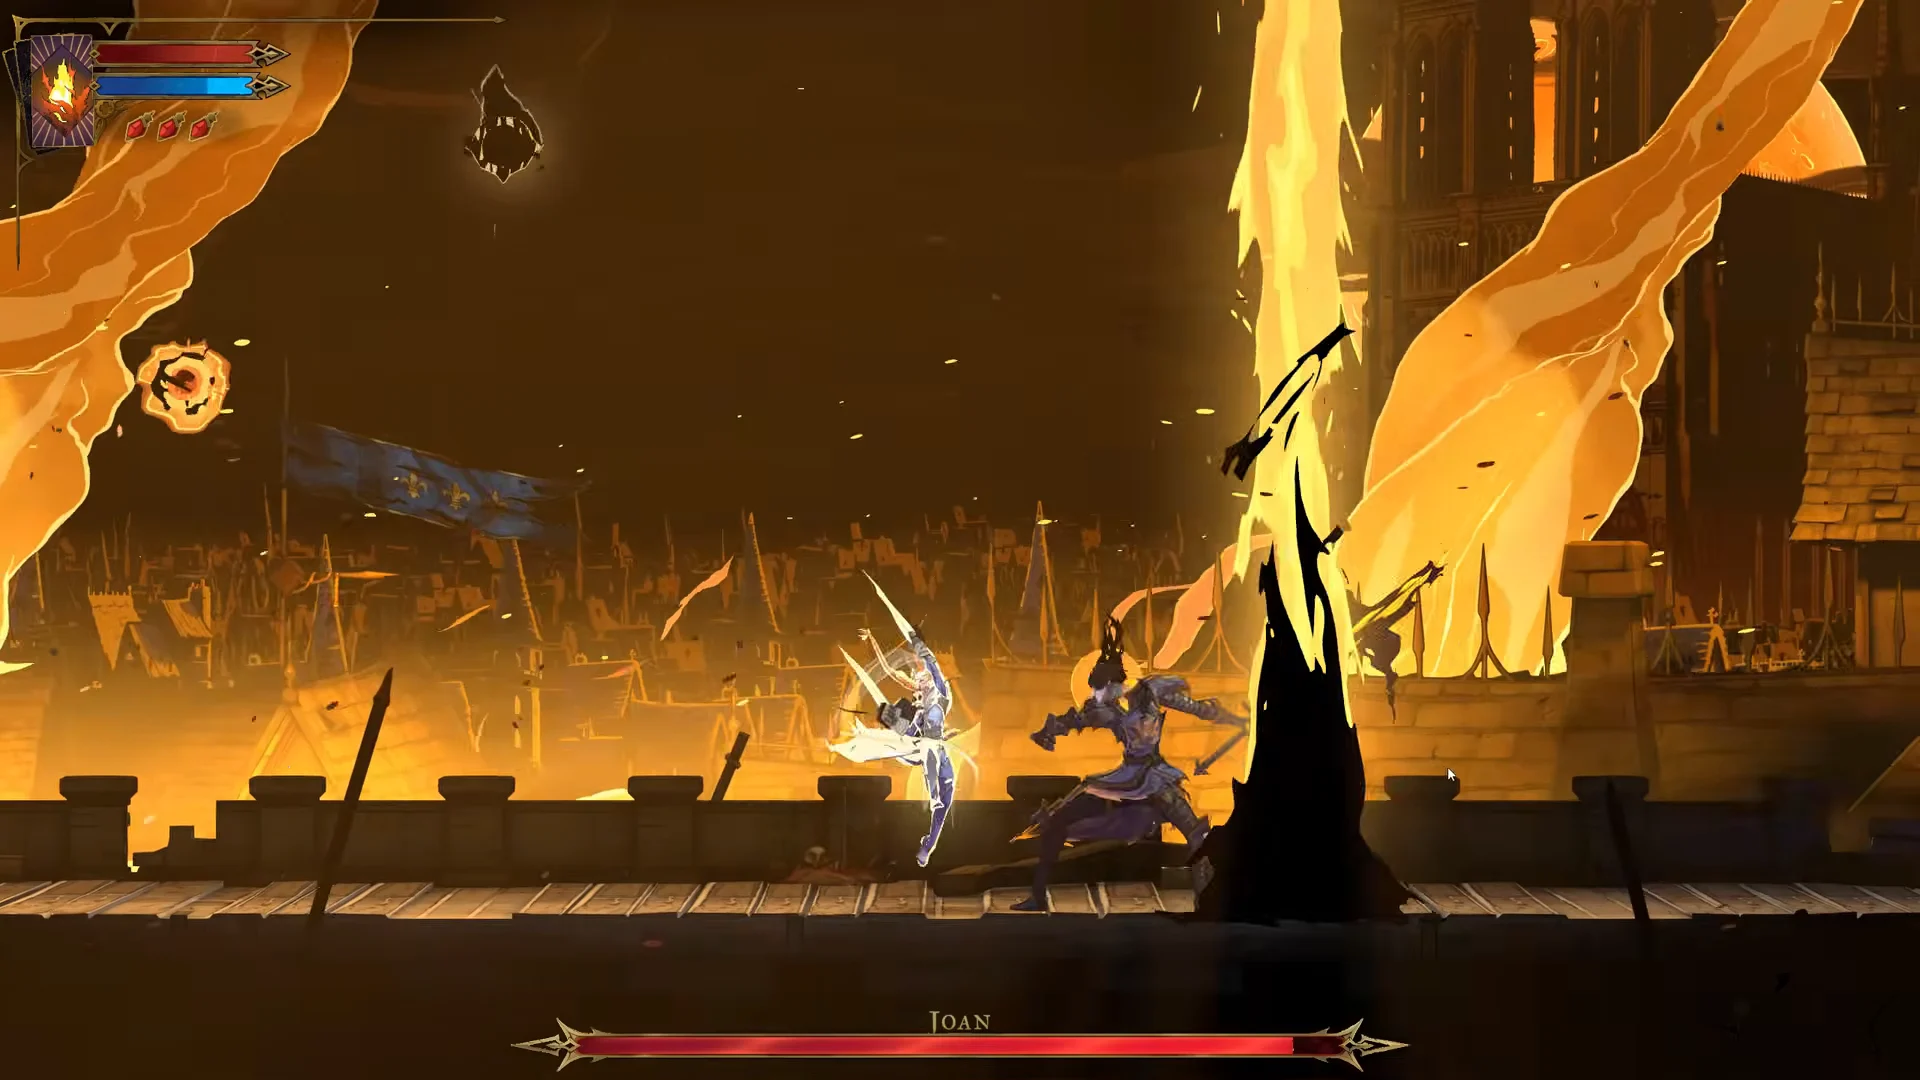
The whole fight runs on one habit. When Joan lunges forward or drags her sword along the floor, get to her back and hit her there. Jumping over her is more reliable than sliding underneath. A fast weapon makes the most of each opening.
Phase 1: sword lunges and falling fireballs
- Leap over her forward lunges and ground drags, then land behind her and strike her from the back.
- Watch for her backward sword thrust. It is the one attack that punishes you for standing behind her.
- Her broad horizontal slashes travel high, so crouching under them keeps you in range for low counters.
- Land one or two clean hits per opening, then reset. Long combos get you caught.
At intervals, a row of fireballs appears in the air above the arena. When Joan raises her arm and shouts “Flames take you!”, they all drop at once. Stand in a gap between them instead of trying to outrun the row. The drop also gives you a safe moment to heal or throw a Holy Cross at her.
Phase 2: fire waves and the anchors
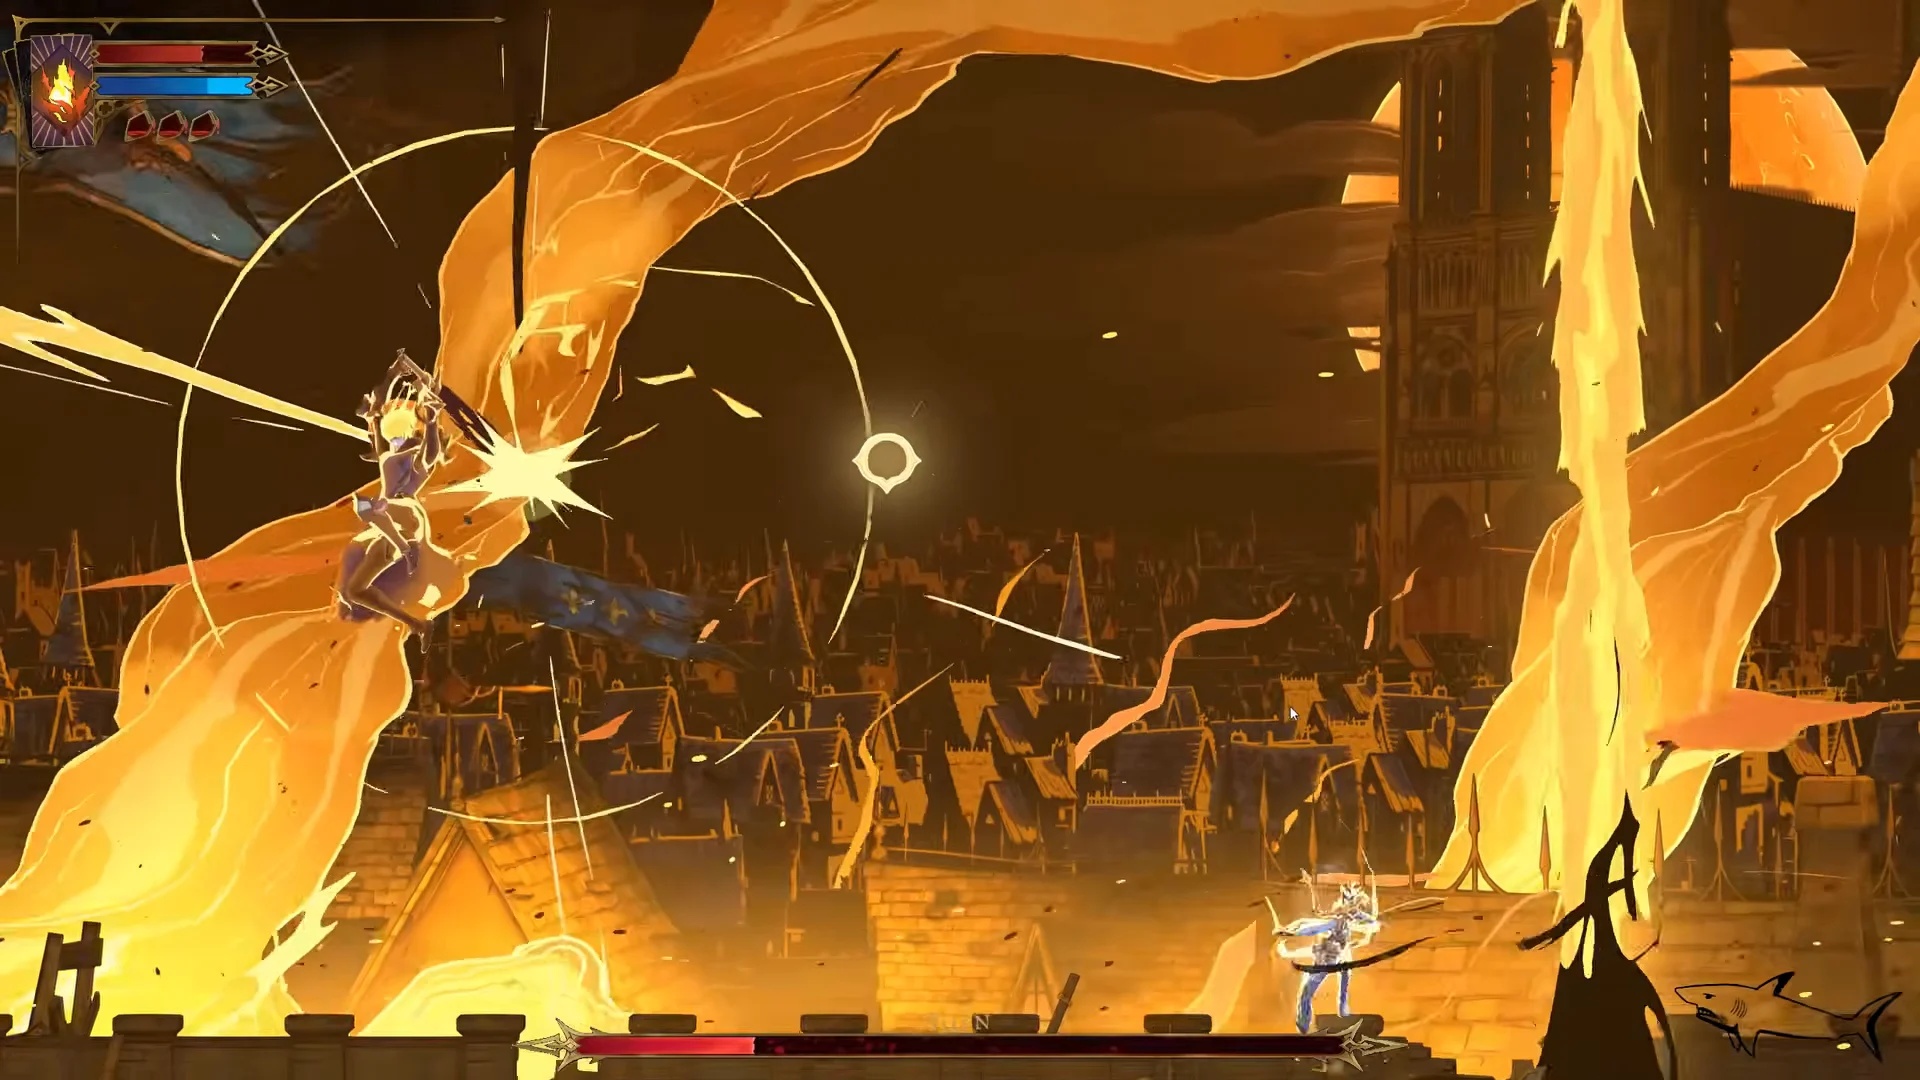
At half health, Joan leaps high with her sword gripped in both hands. When she lands, tall waves of fire erupt along the left and right sides of the floor. Use the Arcane Whip on one of the two glowing anchors hanging above the arena and swing toward the centre to stay off the burning ground. Each anchor is briefly sealed by black flames after you latch onto it, so you can’t hang from the same one twice in a row.
She also speeds up in this half. Her recovery gets shorter and her swings chain together faster. When she starts a rapid flurry, back off and dodge until she commits to a heavy slash you can jump over or duck under. Then go back to hitting her from behind until she falls.
Rose’s two starting weapons both work here. The Cestus gets stronger the more you hit with it, which suits short, repeated punishes from behind.
| Weapon | Attack power | Stagger power | Mana per hit |
|---|---|---|---|
 Cestus (Fists) Cestus (Fists) | 12 | 30 | 2 |
 Whip Whip | 24 | 30 | 3 |
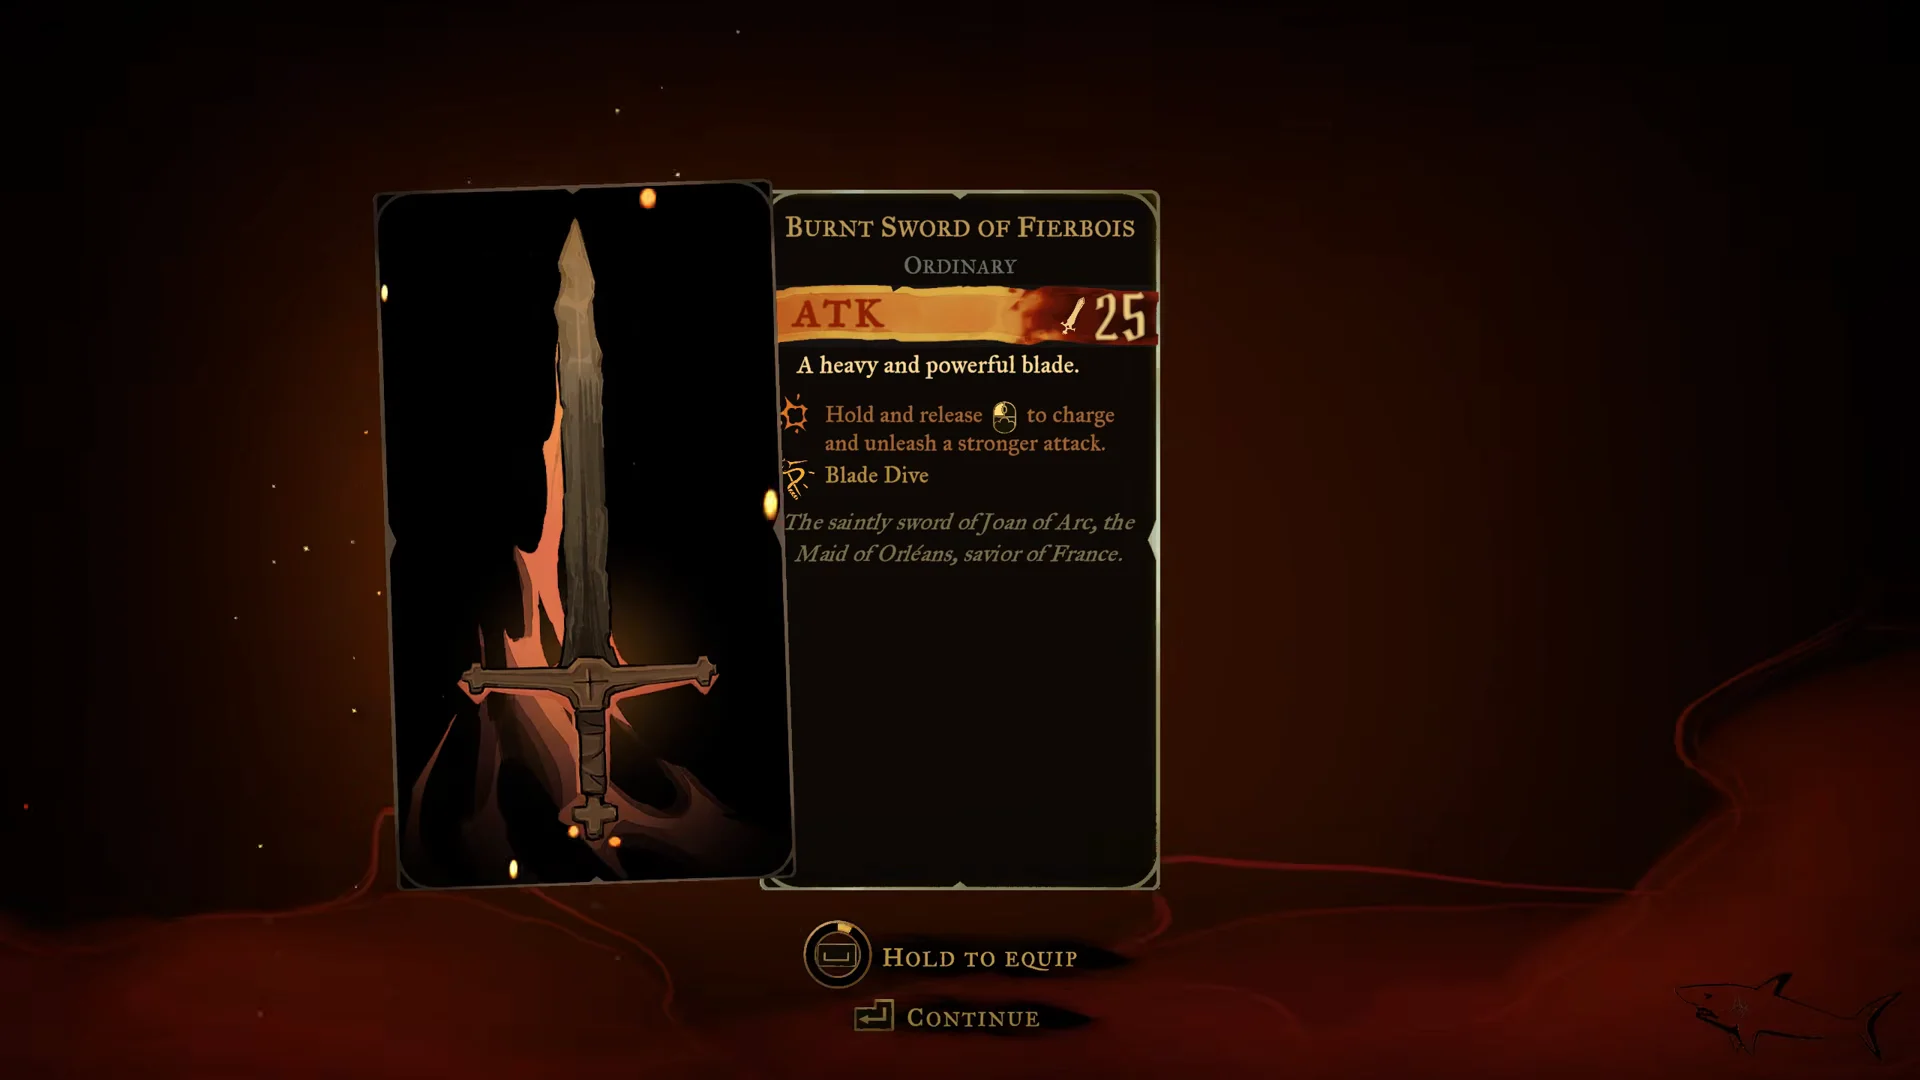
 Burnt Sword of Fierbois (Two-handed sword) Burnt Sword of Fierbois (Two-handed sword) | 25 | 30 | 5 |
The Whip doesn’t turn up until the Catacombs of Paris, and Joan drops the Burnt Sword herself. That leaves the Cestus as the practical pick for this fight. Its combo finisher is Uppercut.
Joan rewards: The Warrior’s Key, Infernal Pyre, and the Burnt Sword of Fierbois
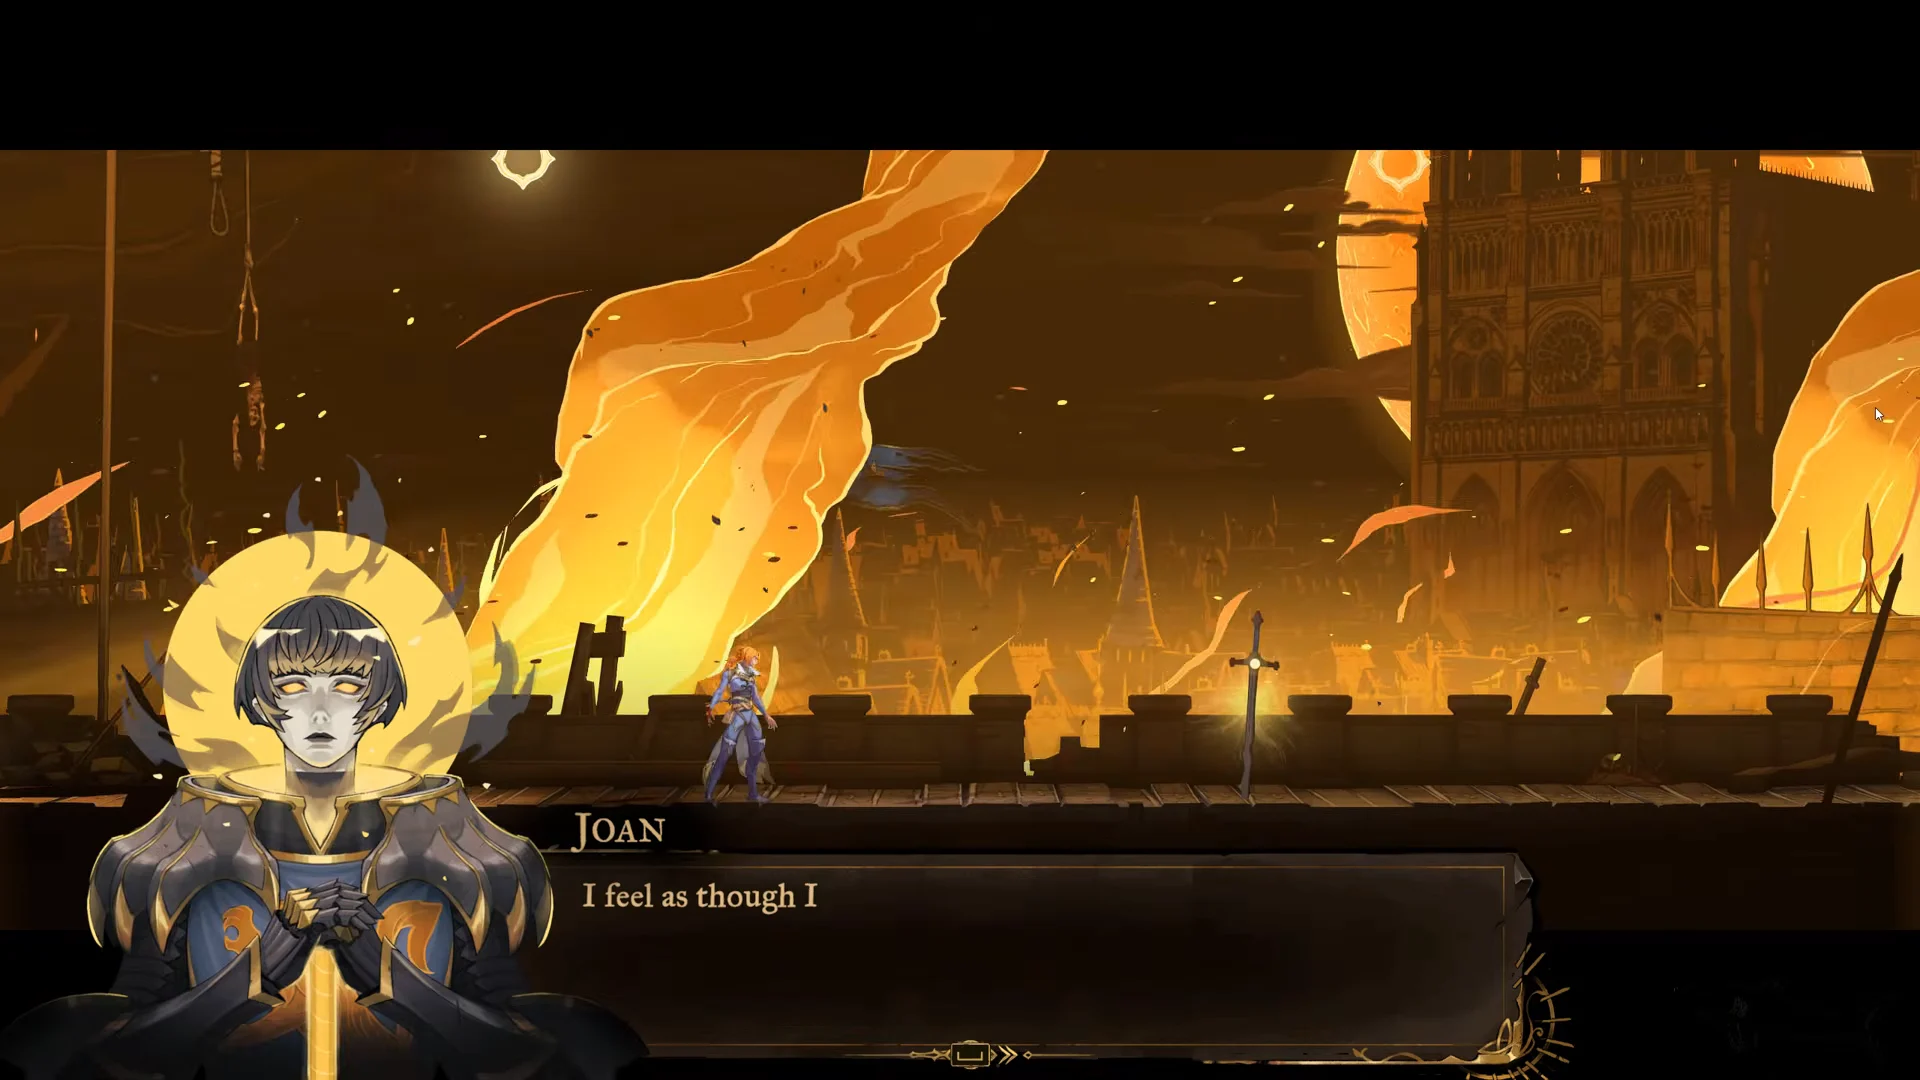
You’ll know the fight is over when a LEVEL UP! notice pops and a card screen appears showing The Warrior with Infernal Pyre. The key item follows. In the cutscene after the fight, Rose remarks, “Another key. And Joan now appears on the ‘Warrior’ card.” Joan, freed from the curse, says, “I feel as though I’ve woken from a terrible, terrible nightmare.”
| Reward | Type | Key figures |
|---|---|---|
 The Warrior’s Key The Warrior’s Key | Key item | 1 of 3 Catacombs keys |
 Infernal Pyre Infernal Pyre | Spell (The Warrior) | 40 attack power, 80 mana |
| Burnt Sword of Fierbois | Weapon, Ordinary, tier 1 | 25 attack power, 30 stagger |
The Warrior’s Key
The Catacombs of Paris’ sealed entrance requires three keys; this one is among them. It advances the “Unlock the Gate to the Catacombs” objective that remains with you through Paris Streets. Leon drops another key, the Fallen’s Key.
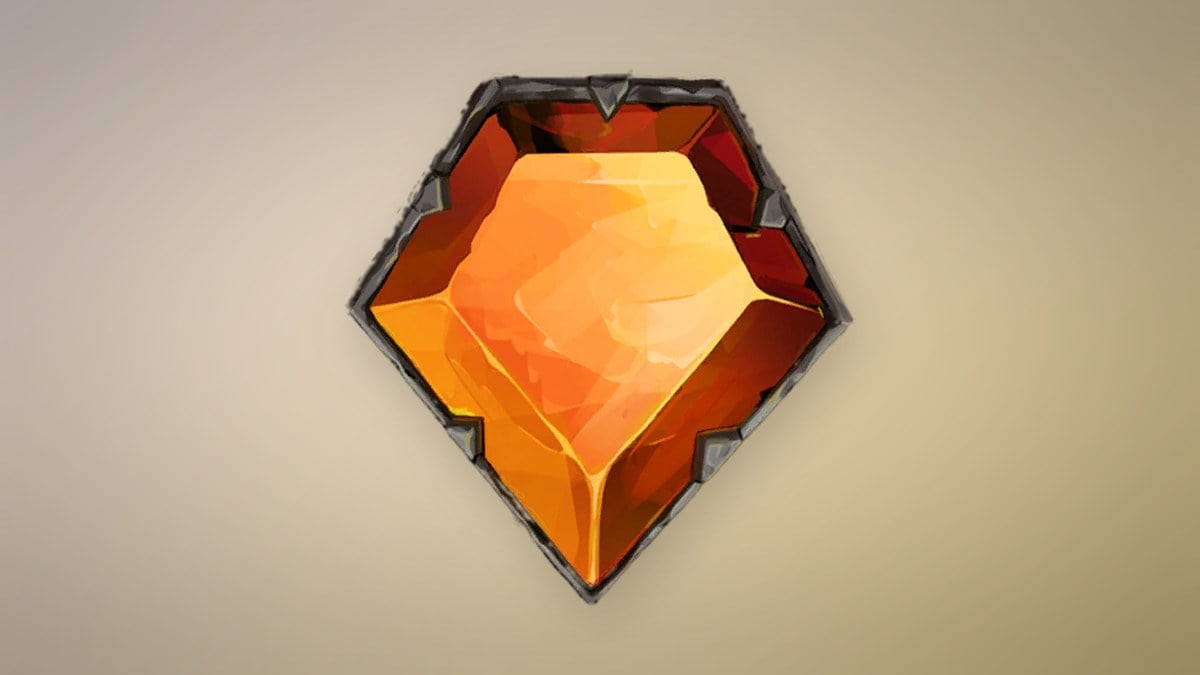
Infernal Pyre and The Warrior arcana
Infernal Pyre sets the area surrounding Rose ablaze, scorching nearby foes and sending them skyward. Each cast uses 80 mana. The Warrior is arcana number 3, with 2 clues, and combines this spell with the Holy Light ability. Its gifts and Works of Mercy appear below.
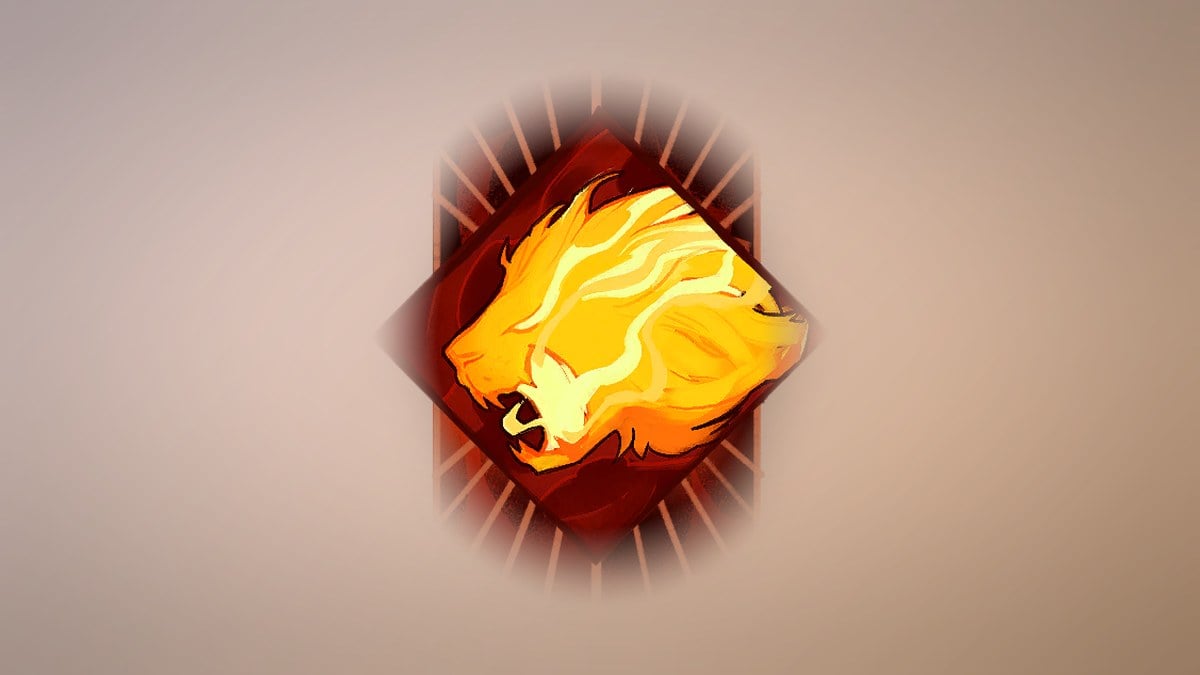
- Gift: every enemy caught by the central explosion refunds 25% of the mana cost, starting from the second enemy.
- Gift: enemies hit by the spell are thrown high in the air.
- Gift: weapon hits on a burning enemy keep the fire going longer.
- Work of Mercy: parry 15 attacks with Holy Light.
- Work of Mercy: reach a sacred place so Joan can pray.
- Work of Mercy: ignite five enemies simultaneously.
Every boss in the game except Saint Louis is immune to the Infernal Pyre launch. Against bosses, the spell’s value is its fire damage, not the juggle.
Burnt Sword of Fierbois
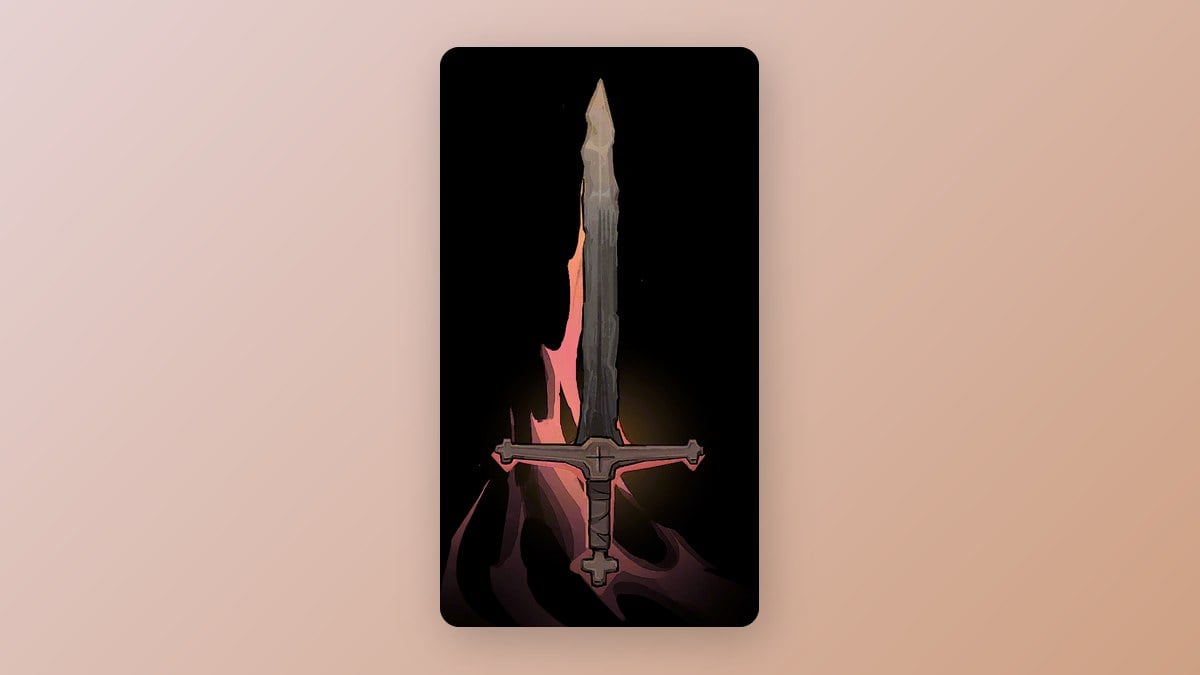
Pick up Joan’s sword in the arena after the cutscene. It is a heavy two-handed blade. Hold and release Attack to charge a stronger hit, and its combo finisher is Blade Dive. You can inspect it and equip it from the Armoury screen.
How to get Holy Light after beating Joan
Holy Light doesn’t drop in the arena. It is granted in the Stairs to the Tower Roof district of Paris Streets, just below where you fought Joan.

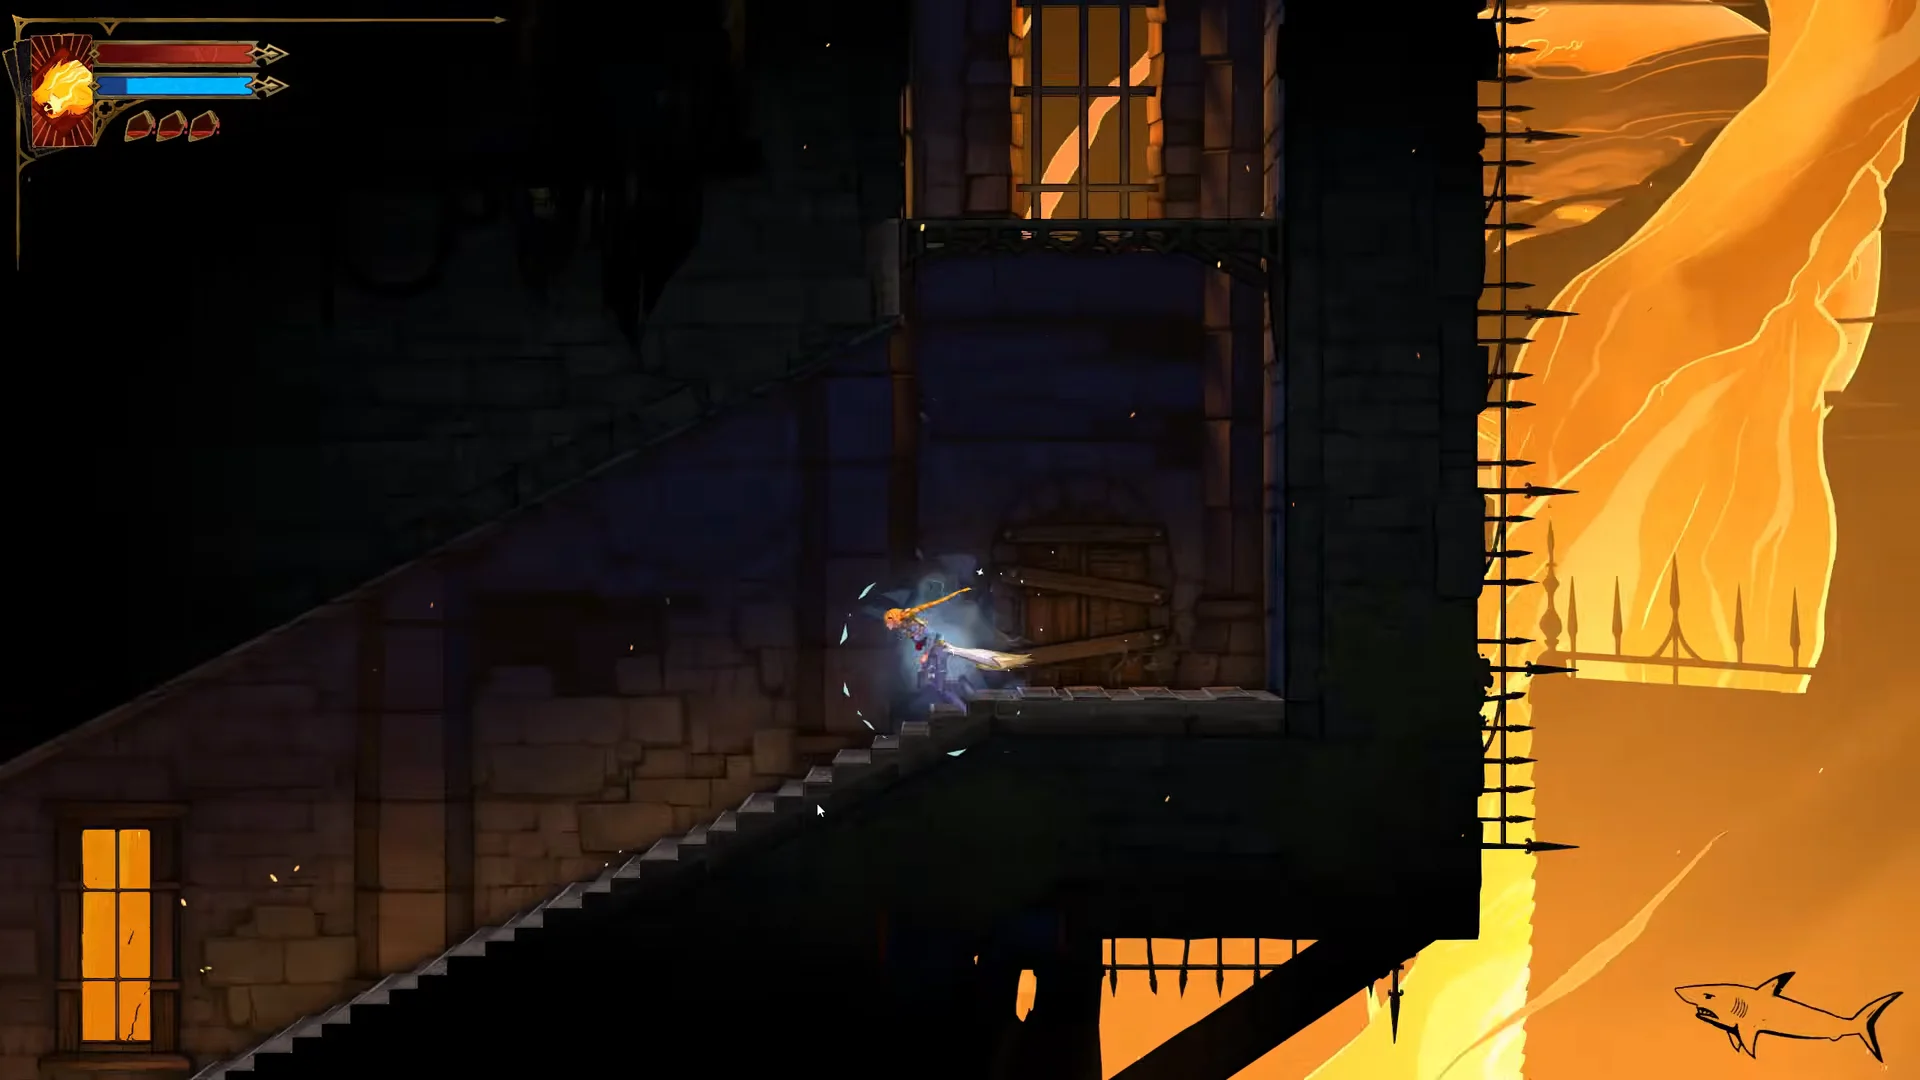
Parries count toward The Warrior’s Works of Mercy, which ask for 15 successful Holy Light parries. Practising the timing on regular enemies around Paris Streets fills that counter. It also prepares you for later bosses like Isaac, whose attacks hit hard but are clearly telegraphed.