The Smouldering Tomb is the Black Forest dungeon in Hildir’s quest chain. A burning skeleton miniboss named Brenna waits at the end of it. When she dies, she drops Hildir’s Brass Chest, and you have to carry that chest back to Hildir’s camp to expand her shop. The fight is not hard if you prepare for it. Bring a mace and a shield, carry a fire resistance drink, and clear the tomb one skeleton at a time.
Quick answer: Use the map table at Hildir’s camp to mark a Smouldering Tomb. Clear its skeletons with a blunt weapon and parries, then drink Fire Resistance Barley Wine and kill Brenna for the Brass Chest.
How to find a Smouldering Tomb with Hildir’s map
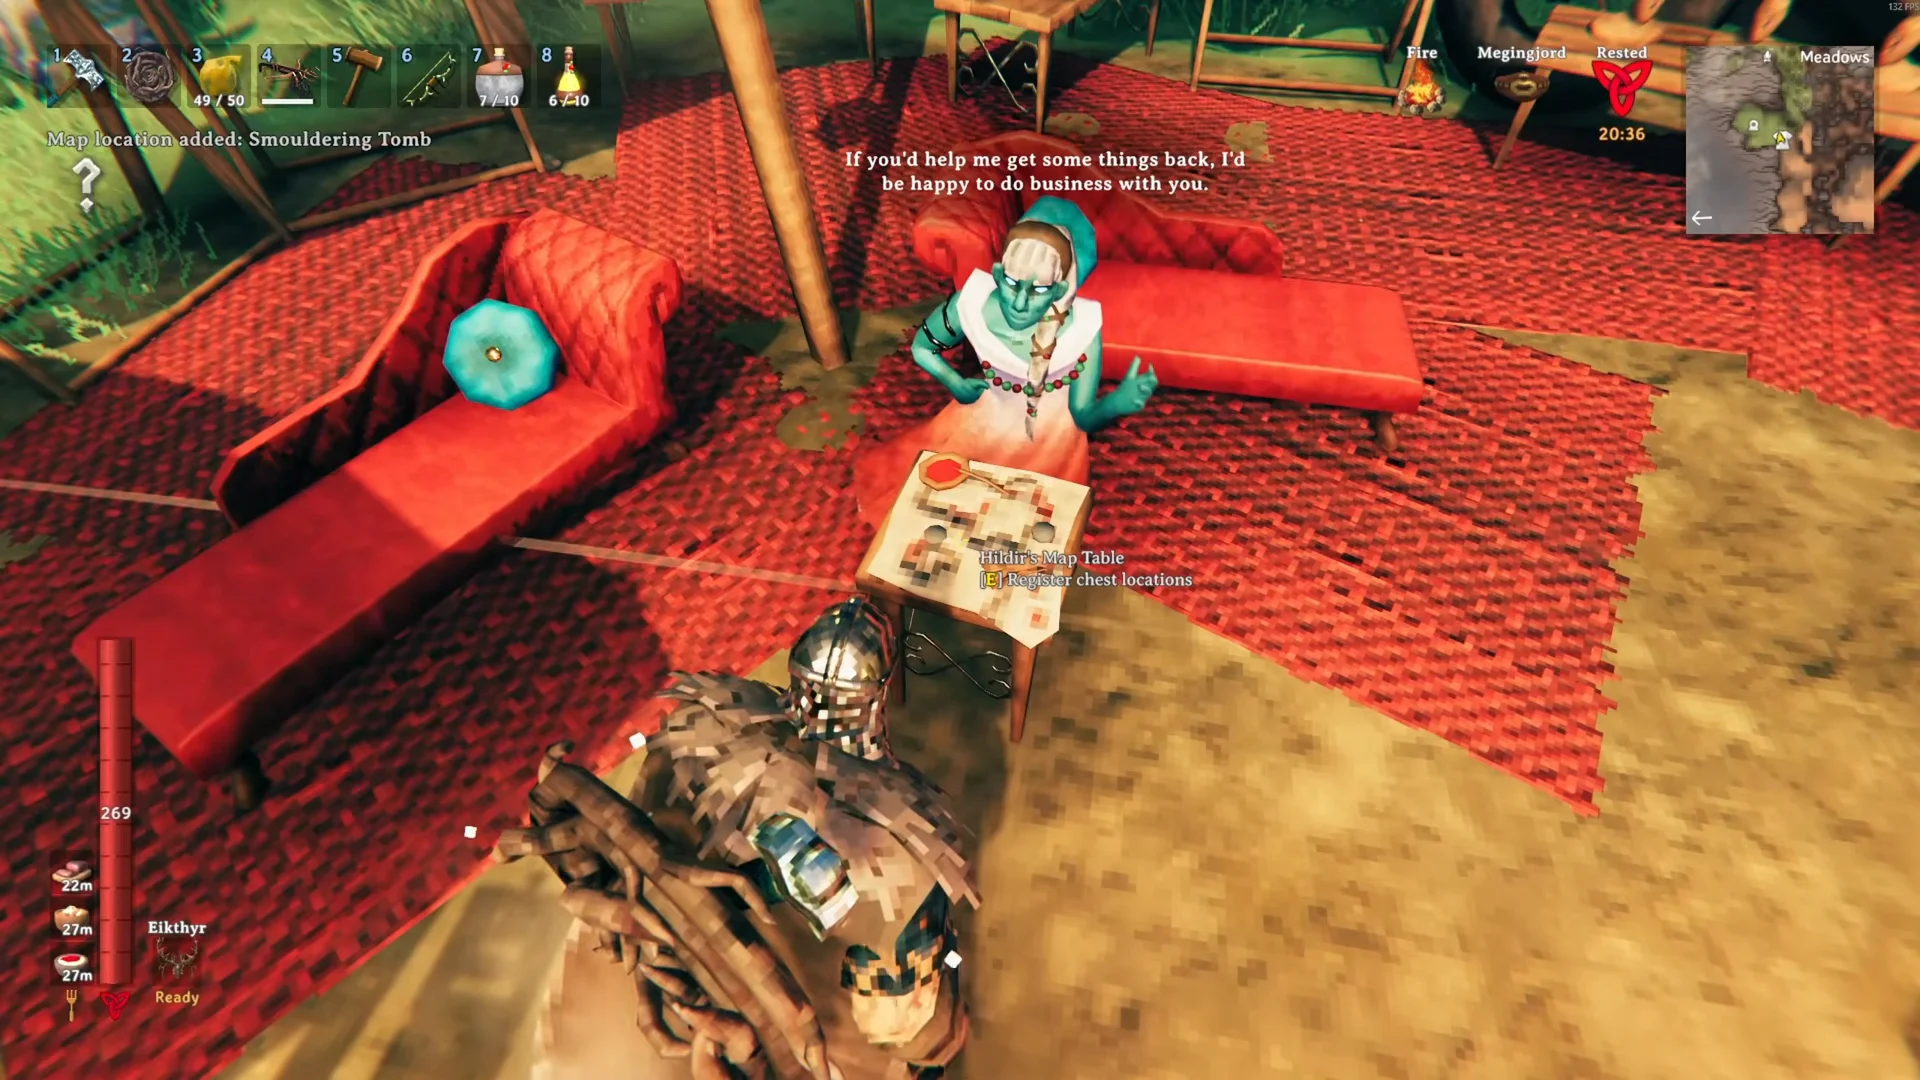
The Black Forest is not where you’ll find Hildir: her camp always appears in the Meadows, 3,000 to 8,000 meters from the world center. Building is prohibited within the camp. Check the map table before Hildir to see the locations of all three quest dungeons: the Smouldering Tomb, the Howling Cavern, and the Sealed Tower.
Go to Hildir’s wagon camp and interact with the map on the small table in front of her. A notification confirms each pin as it lands on your map, for example “Map location added: Smouldering Tomb.” Several tombs can be marked at once, but you only need to clear one. Pick the tomb closest to Hildir, because you will be hauling the chest back to her afterward.
A Smouldering Tomb looks almost exactly like a regular Burial Chamber. You can tell it apart by the torches around its entrance. When you reach the right one, Hugin shows up at the entrance and warns that this dungeon is tougher than usual.
What to bring into the Smouldering Tomb
Every enemy inside is a skeleton, so pick gear that targets their weaknesses. The video run that this route follows uses Troll leather armor, a one-handed mace, and a round shield. That kit is enough for the whole dungeon.
- A blunt weapon such as a mace. Both the skeletons and Brenna are weak to blunt damage.
- A shield for parrying. It is also your answer to the skeleton archers.
- Fire Resistance Barley Wine to drink before the Brenna fight.
- A Torch or Dverger Circlet, because the tomb is dark.
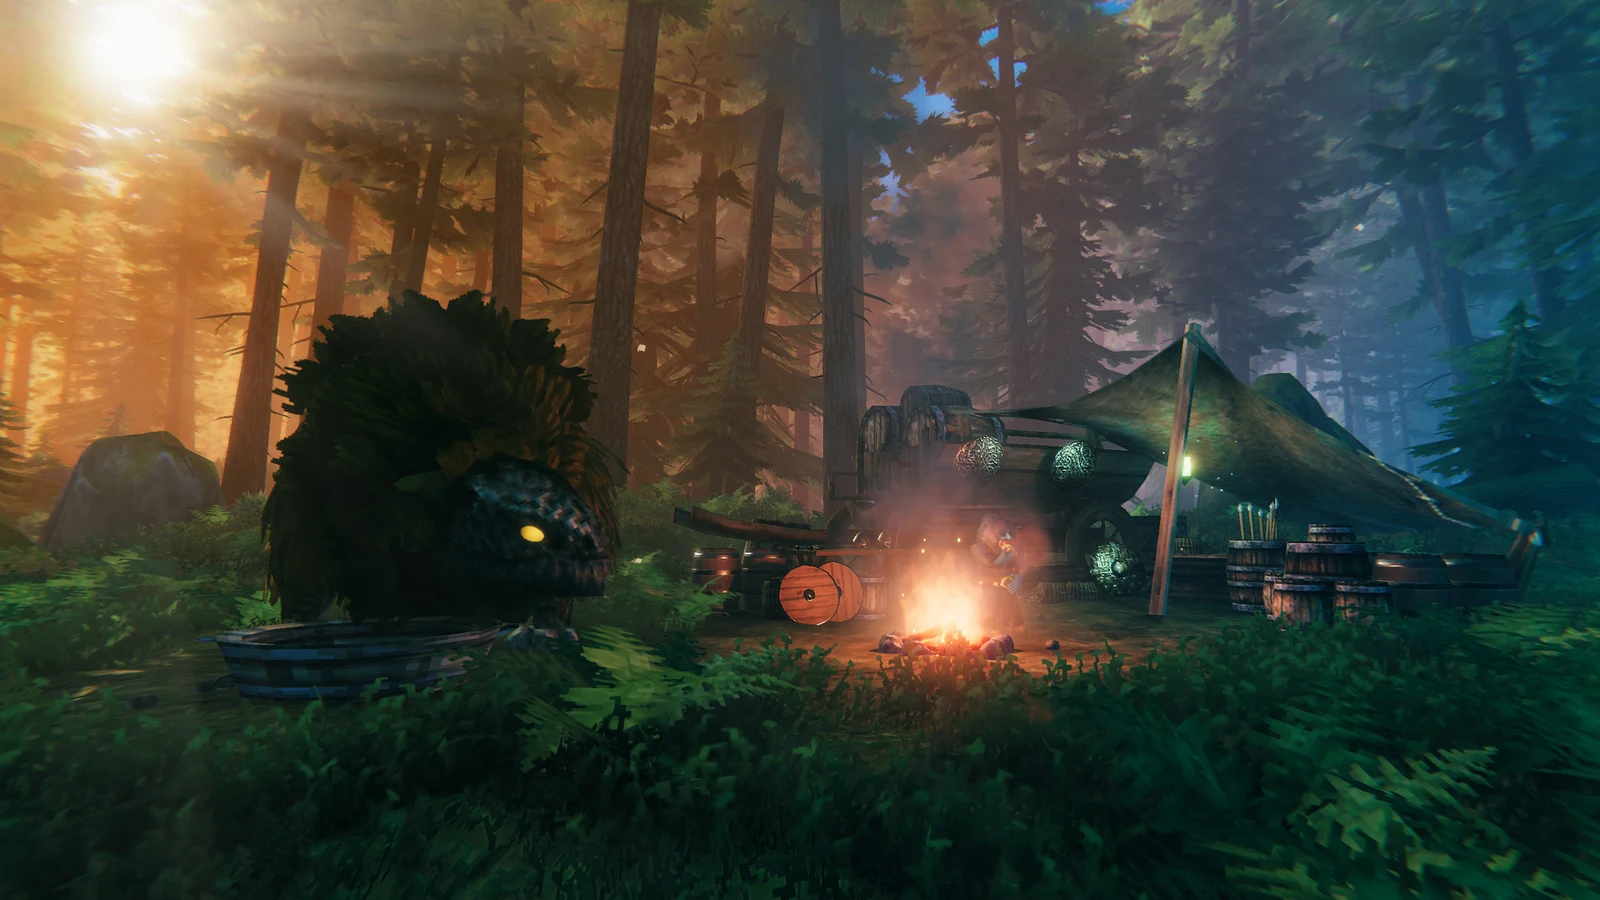
- Materials for a Campfire. You can place one on the raised platform near the entrance to refresh your Rested buff.
- A Megingjord if you have one. The extra carry weight makes the chest much easier to move.
Fire Resistance Barley Wine is made at a Fermenter. Ferment Barley Wine Base: Fire Resistance for 40 minutes to get six bottles. The bottles stack to 10 and weigh 1 each. Start the batch before you set out so it is ready when you need it.
Clearing the Smouldering Tomb skeletons
The tomb is packed with 1-star skeletons, and some of them carry bows. They are dangerous mainly when several reach you at once. The goal on every stretch is to fight them one at a time.
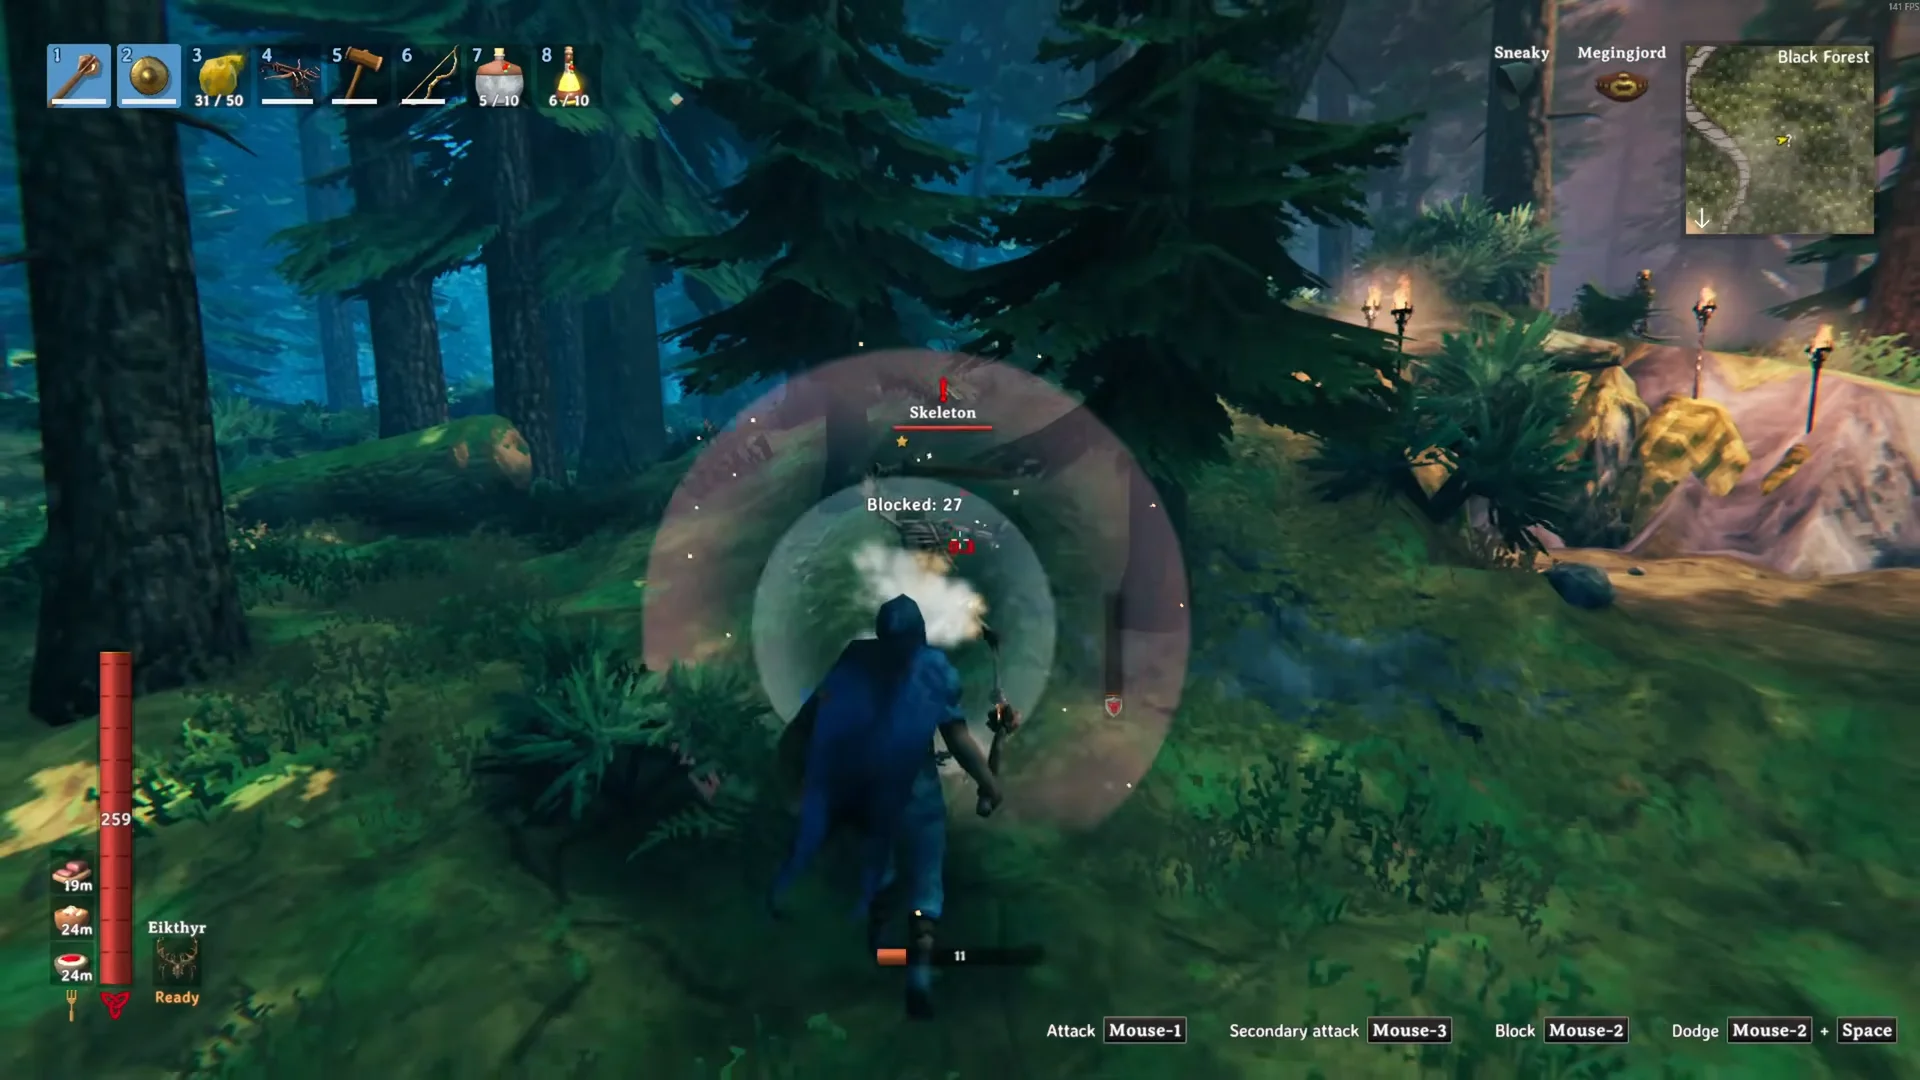
[E] Enter prompt to load into the tomb. Once inside, place your Campfire near the entrance if you want a spot to refresh Rested later.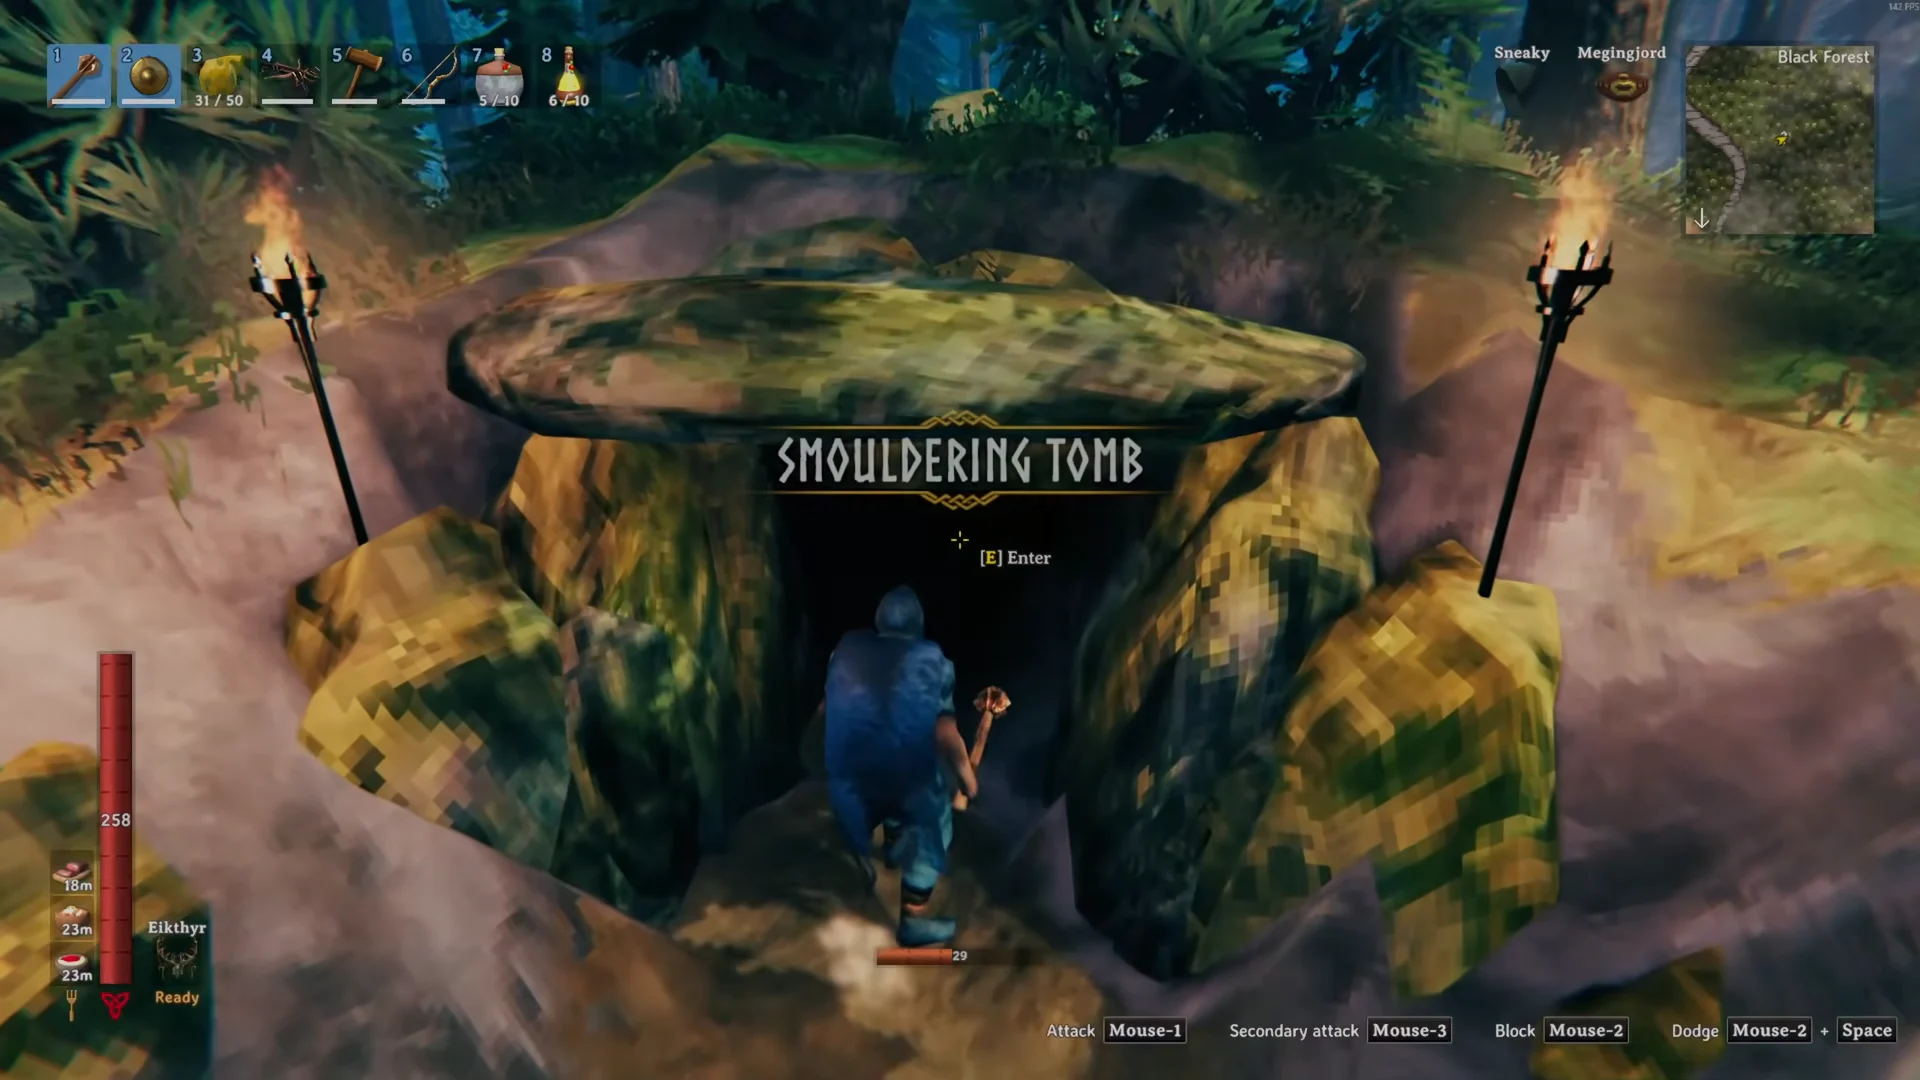
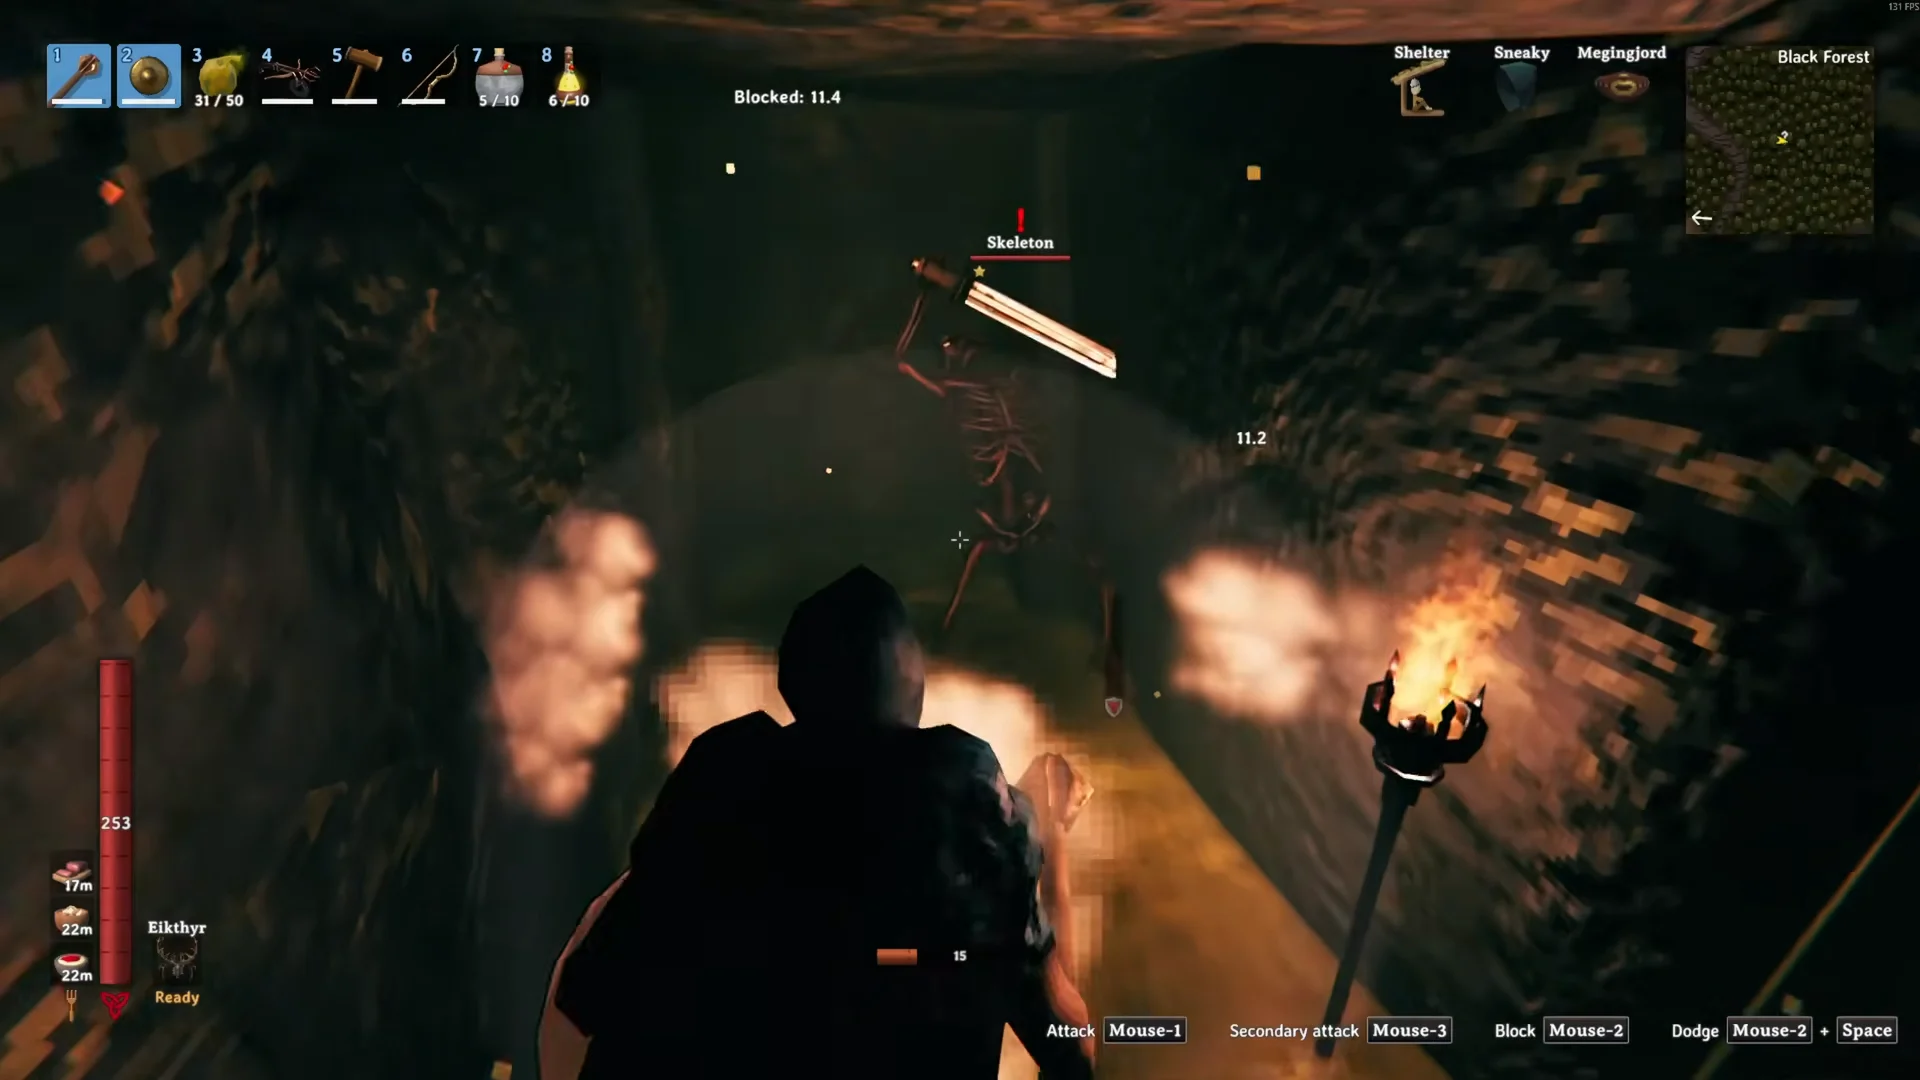
How to beat Brenna
Brenna is a burning skeleton with a flaming sword. She has two attacks. The first is a melee slash that mixes slash and fire damage. The second is an area attack that deals pure fire damage and sets you burning. She fights alongside skeleton minions, archers included, so you will be watching more than one enemy.

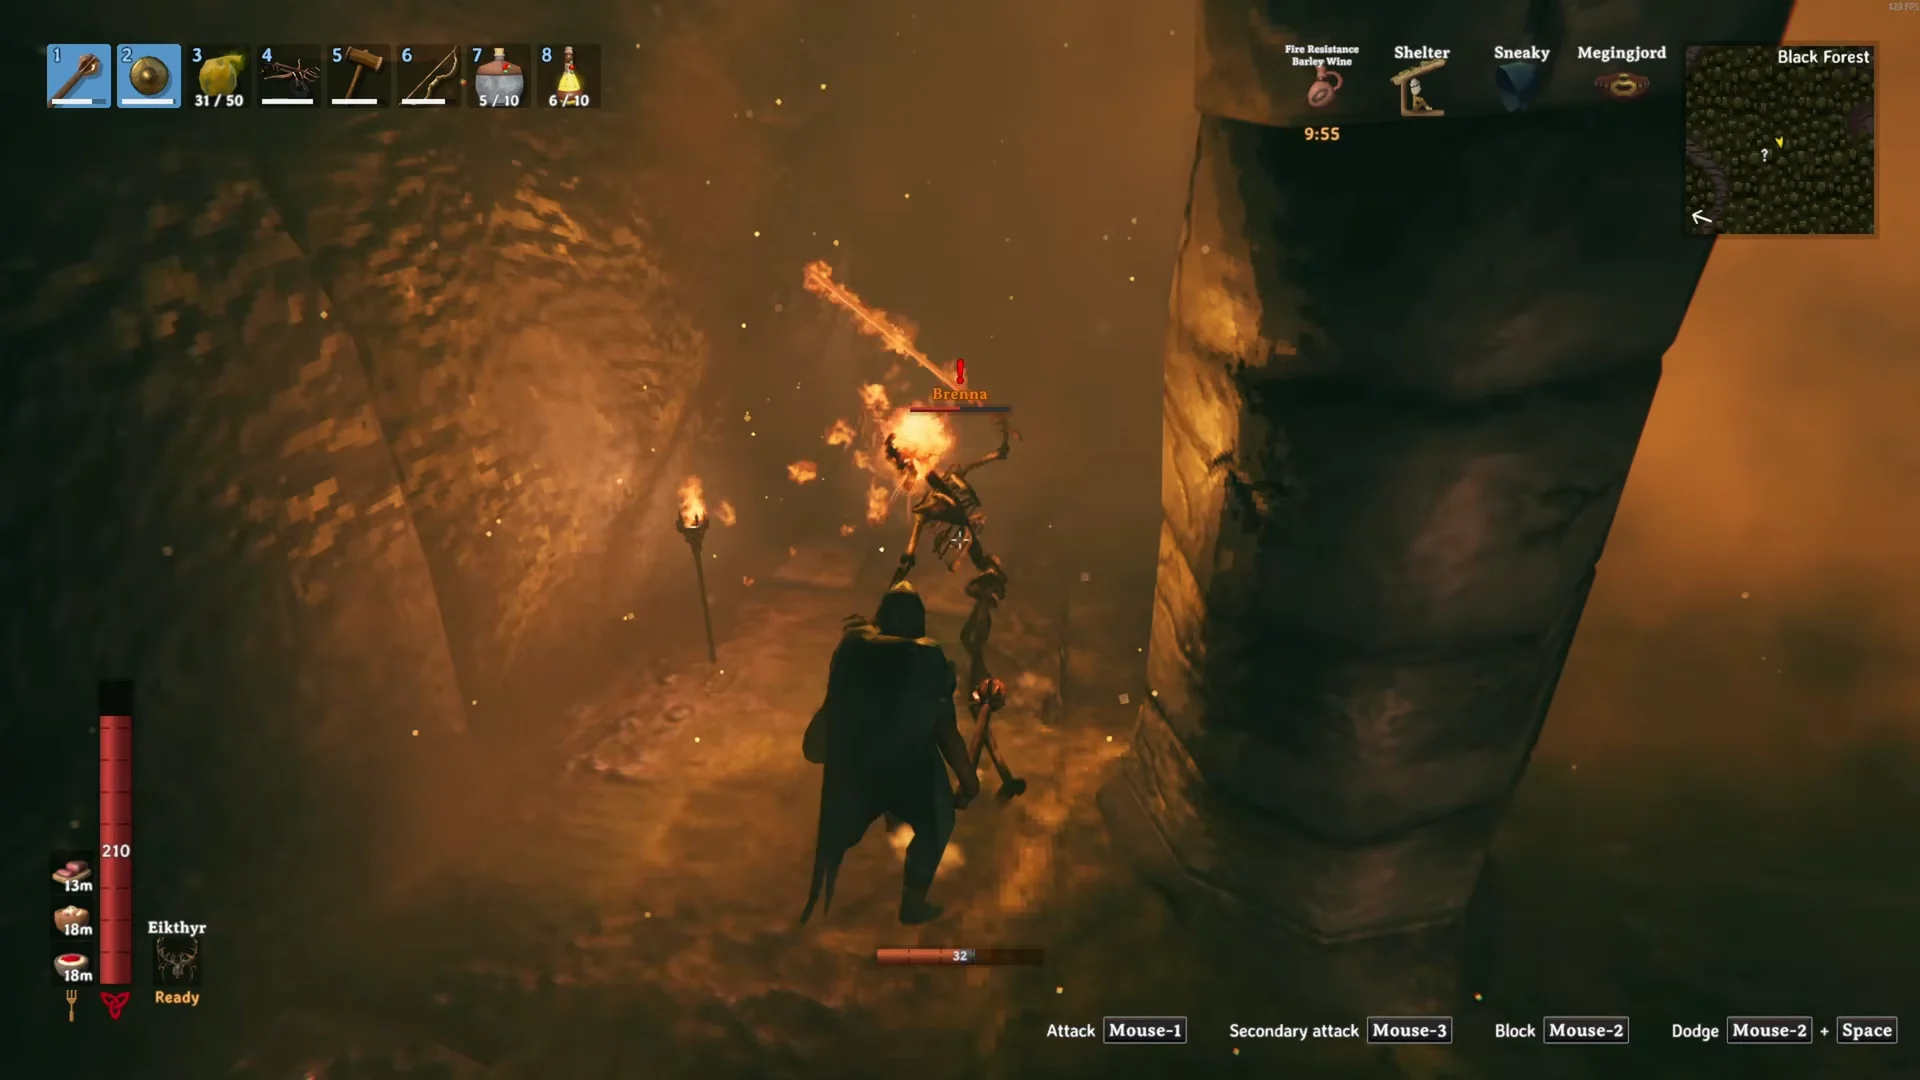
Don’t bring fire or pierce weapons. Brenna is immune to fire and resistant to pierce, so arrows and fire attacks do little. Frost damage works against her as well as blunt does.
Smouldering Tomb enemy stats: Brenna and Skeleton
These are base figures for the Brenna that lives in the tomb and for the standard Skeleton found inside Smouldering Tombs. The 1-star skeletons you actually meet in the tomb are tougher than the base numbers below.
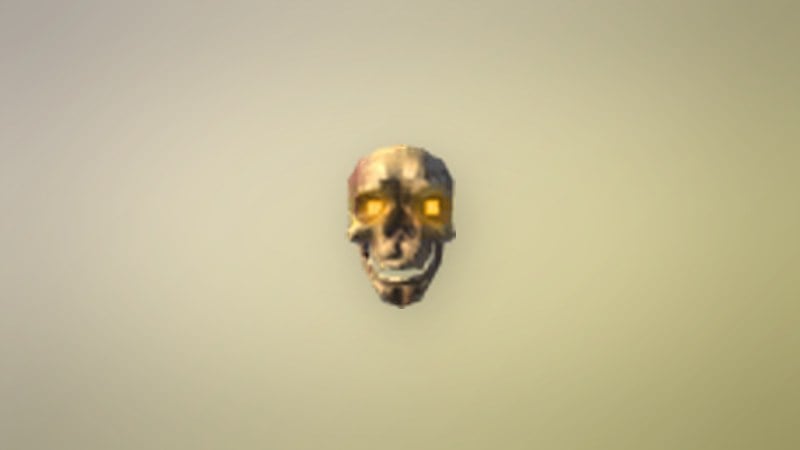
| Stat | Brenna | Skeleton |
|---|---|---|
| Health | 1200 | 40 |
| Attacks | 60 slash + 20 fire; 75 fire | 25 slash; 20 pierce |
| Weak to | Blunt, frost | Blunt, fire |
| Resistant to | Pierce | Pierce, frost |
| Immune to | Fire, poison |  Poison Poison |
| Stagger threshold | 50% of max health | 50% of max health |
| Drops | Hildir’s Brass Chest (100%), Brenna Trophy (100%) | Bone Fragments (100%), Skeleton Trophy (10%) |
Both enemies share the same blunt weakness, which is why a single mace handles the whole run. Their fire values point in opposite directions, though. Fire hurts ordinary skeletons more, but it does nothing to Brenna. Chop and pickaxe damage don’t affect either of them.
Returning Hildir’s Brass Chest
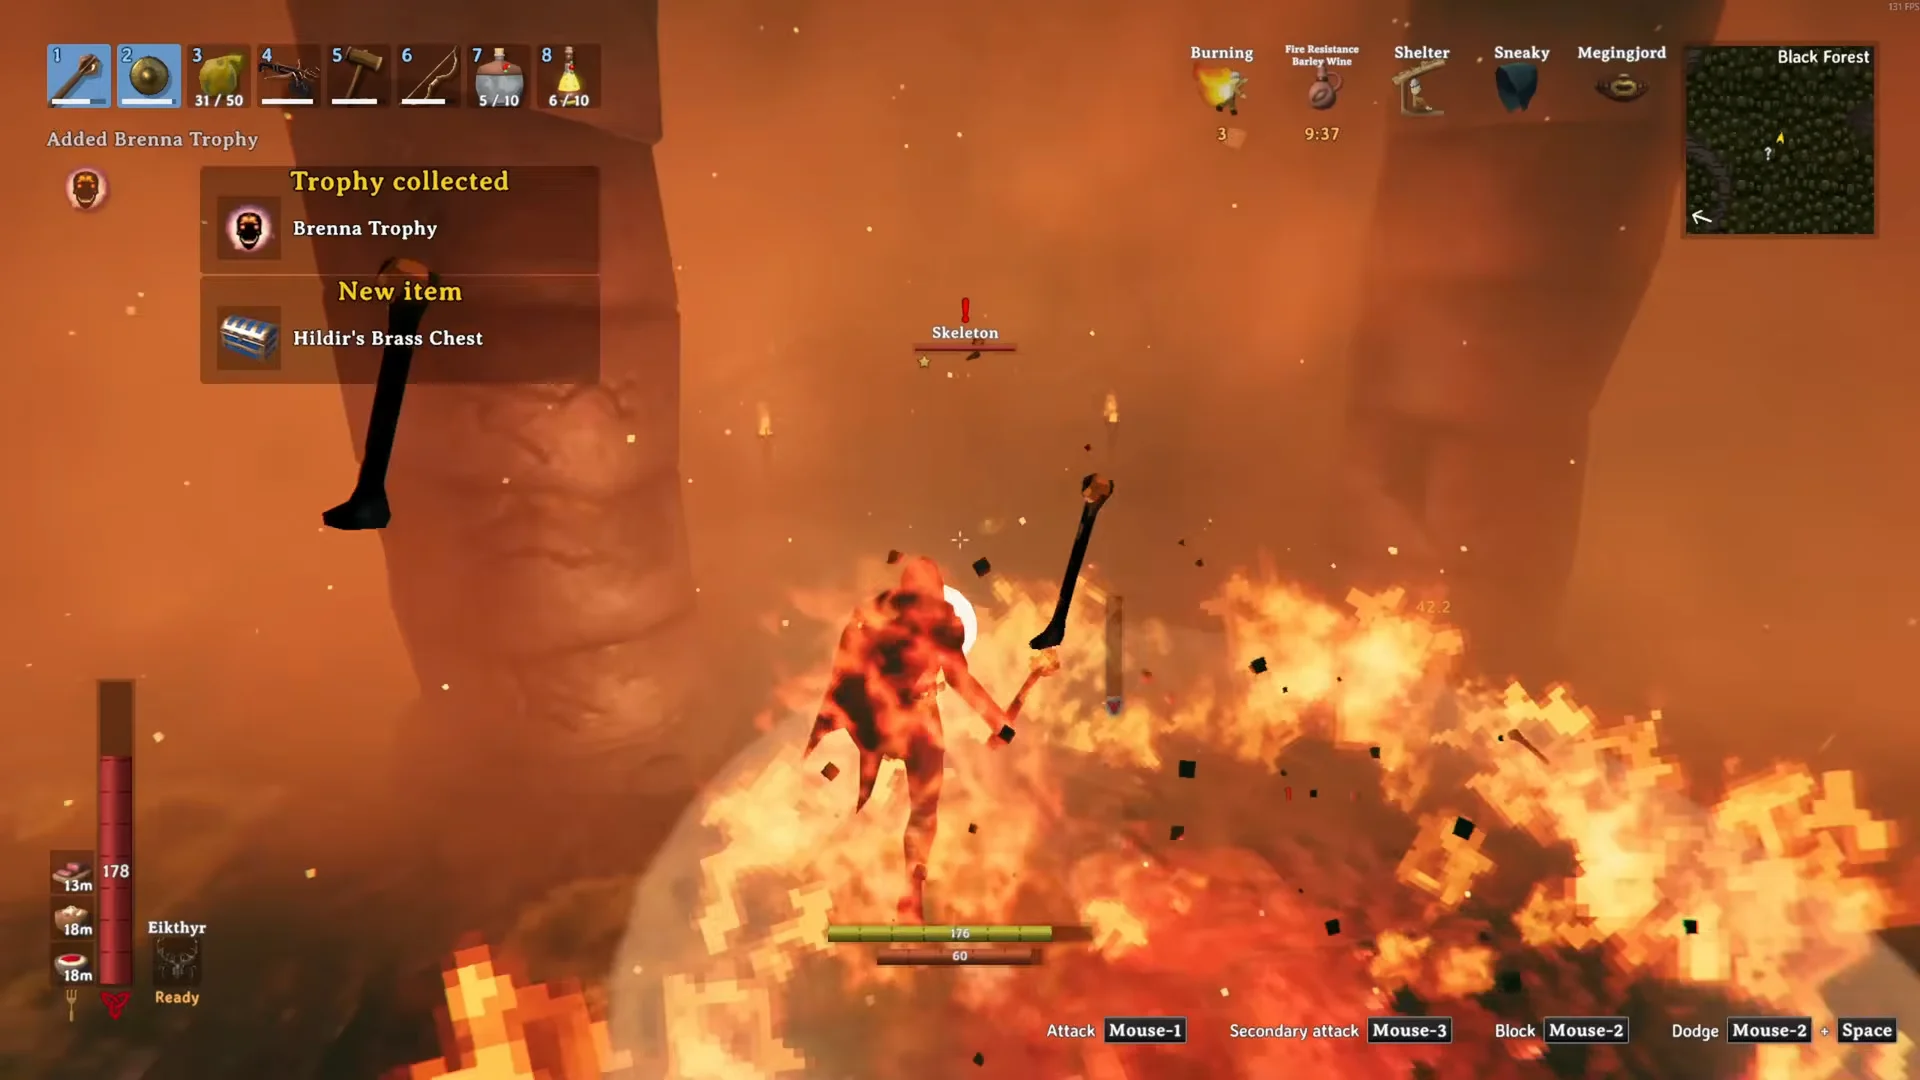
You’ll know the kill counted when the “Trophy collected” notification appears. The Brenna Trophy and Hildir’s Brass Chest then show up in your inventory, and the chest carries a “NEW ITEM” tag. The chest is heavy. Make room in your inventory or wear a Megingjord before you pick it up.
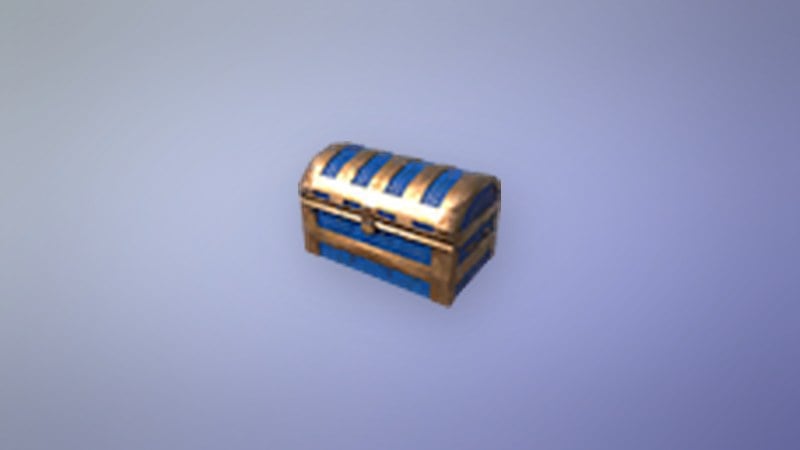
Hildir’s chests cannot pass through a regular wooden portal. Plan to bring the Brass Chest back by ship or on foot. A portal near the tomb still helps you recover your body if you die, but the chest has to travel the long way.
Bringing the Brass Chest back to Hildir adds a new set of clothing and cosmetics to her stock, so check her shop to confirm the turn-in worked. It also changes the world around you. From then on, Brenna can show up at your base during the “She’s hot on your tail!” raid event. That raid version has 600 health, and she arrives with skeletons and Rancid Remains, so keep your base defenses ready.