Gaming Guide

Castlevania: Belmont’s Curse Sinister Rune Location

The Sinister Rune sits in a chest in the Clock Tower's Eastern Access Shaft, a short run from the Mechanic's Ascent mirror.

The Sinister Rune sits in a chest in the Clock Tower’s Eastern Access Shaft, a short run from the Mechanic’s Ascent mirror.

Sinister Rune

The Sinister Rune is a relic in Castlevania: Belmont’s Curse that rewards Rose for opening a fight with a clean hit. It sits in a metal chest on a hidden lower ledge in the Clock Tower. To reach it, you climb a vertical gear shaft and then drop back down a narrow gap that is easy to miss.

Quick answer: Fast travel to the Mechanic’s Ascent Mirror of Life and head right through Tower Gallery into the Eastern Access Shaft. Climb to the gated landing, then drop down the right wall to the chest.


Where the Sinister Rune is in the Clock Tower

The relic is in the Eastern Access Shaft district of the Clock Tower, inside Dracula’s Castle. It isn’t sitting out in the open. The chest rests on a secluded platform below the shaft’s upper gated landing, tucked beside a giant cog wheel on the right side of the room. You only see it if you drop down from above.

The closest starting point is the Mechanic’s Ascent Mirror of Life. Use it to fast travel into the Clock Tower. From there, the route runs east through three districts in a row: Mechanic’s Ascent, Tower Gallery, and Eastern Access Shaft.

  • Area: Clock Tower, Dracula’s Castle
  • District: Eastern Access Shaft
  • Container: metal chest on a lower ledge
  • Nearest fast travel: Mechanic’s Ascent Mirror of Life
  • Threats on the way: harpies, red-clad sword guards, sawblades, gears

Route from the Mechanic’s Ascent mirror to the Eastern Access Shaft
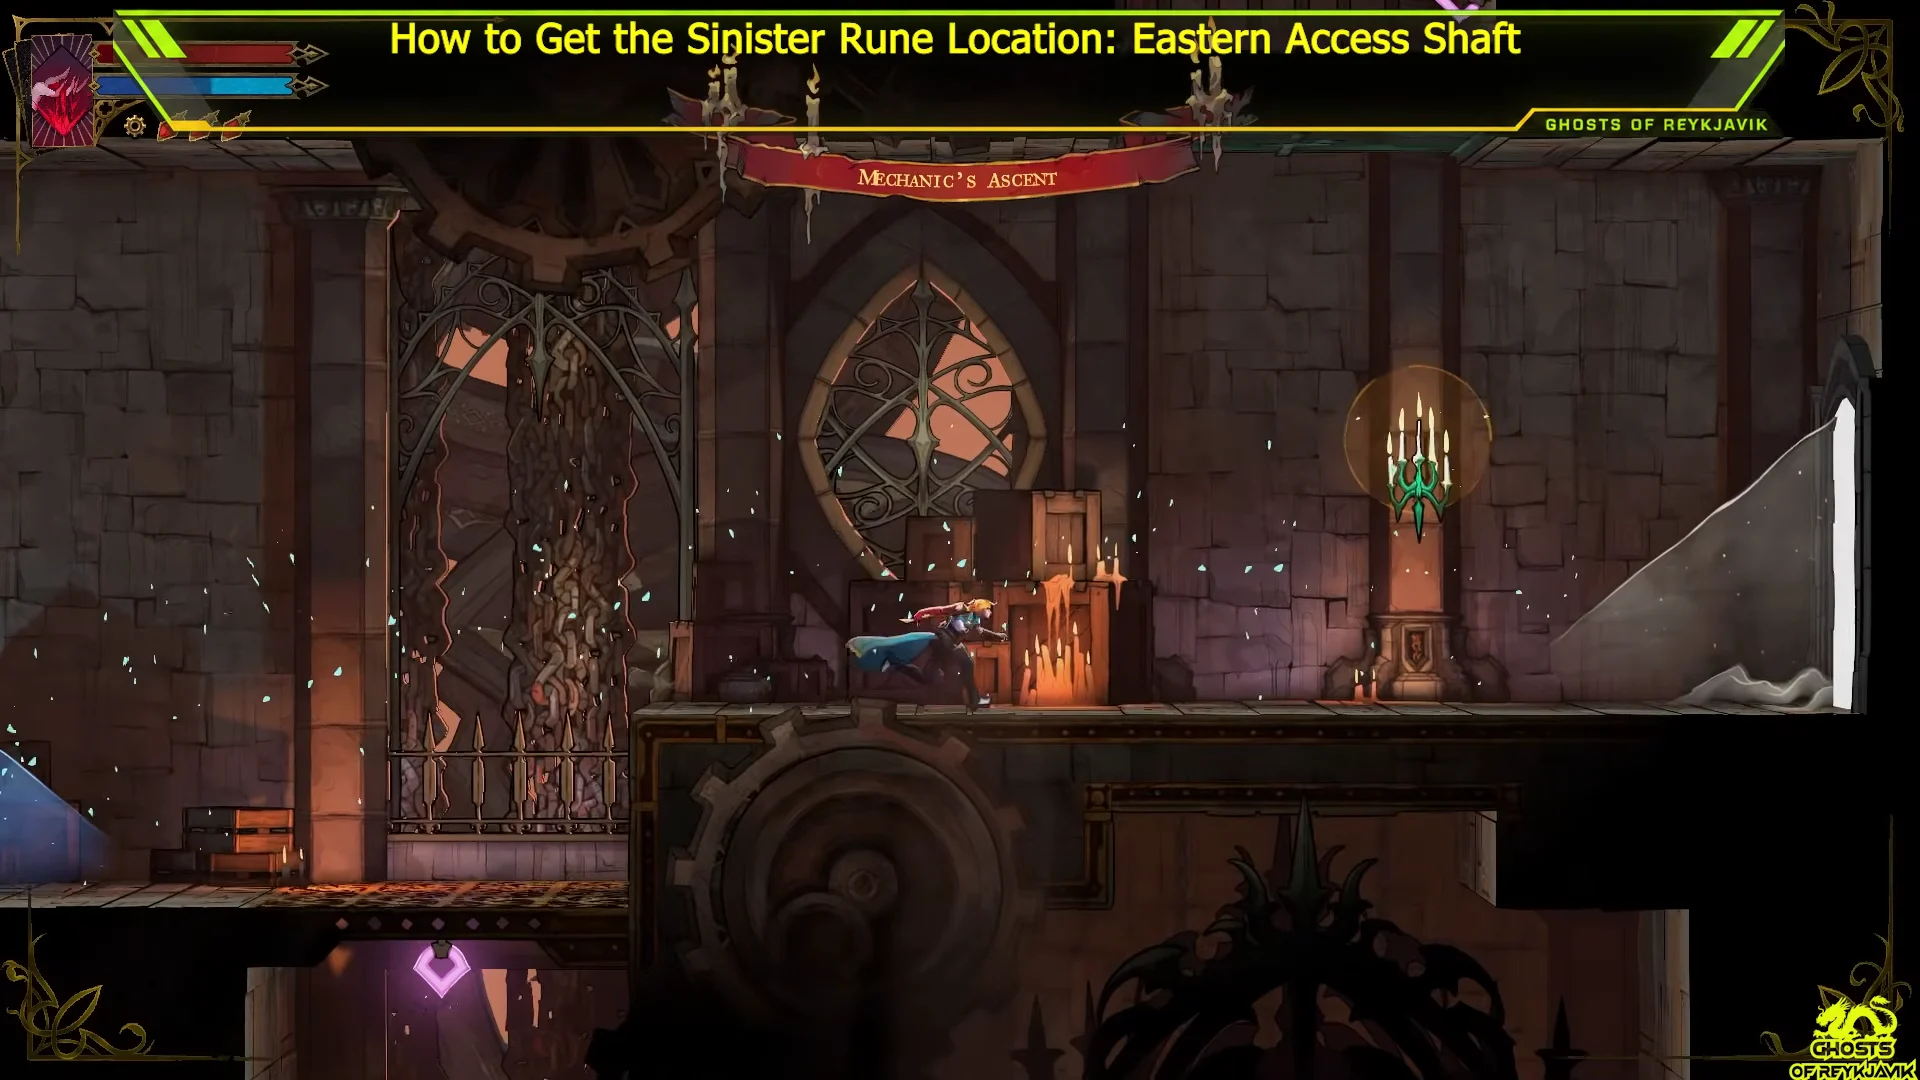
Travel to the Mechanic’s Ascent Mirror of Life in the Clock Tower. If you want to confirm your bearings, open the map. It shows the Clock Tower layout with Mechanic’s Ascent marked as your current district.
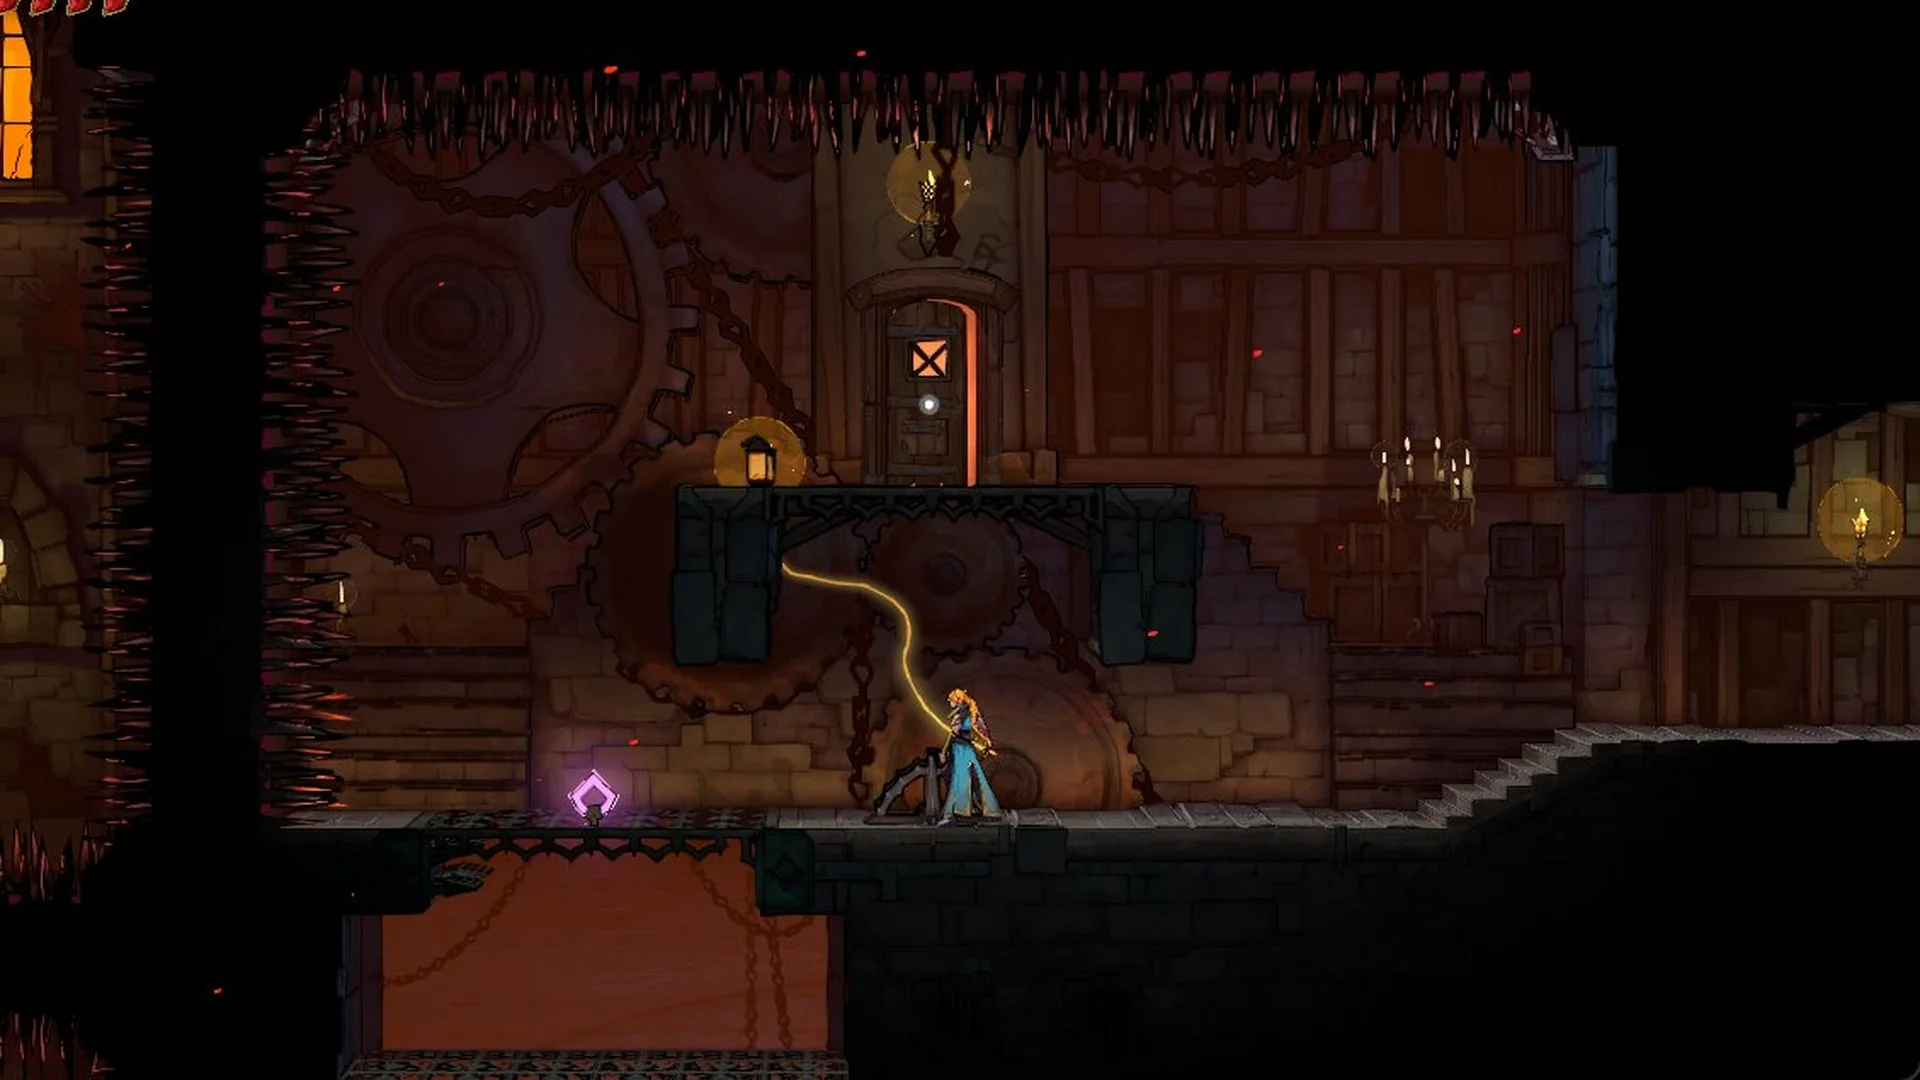
Leave the mirror room through the exit on the right. Cross the platforms that sit over the spinning gears, and keep heading right.
Mechanic's Ascent Traversal00:10Mechanic's Ascent Traversal
Head right out of the mirror room and across the gear platforms in Mechanic's Ascent. Shown at 00:10 in Ghosts of Reykjavik’s video. Image: KONAMI
Slide and jump through the interior corridor lined with gears and switches. Take the exit on the right side to move into the next district.
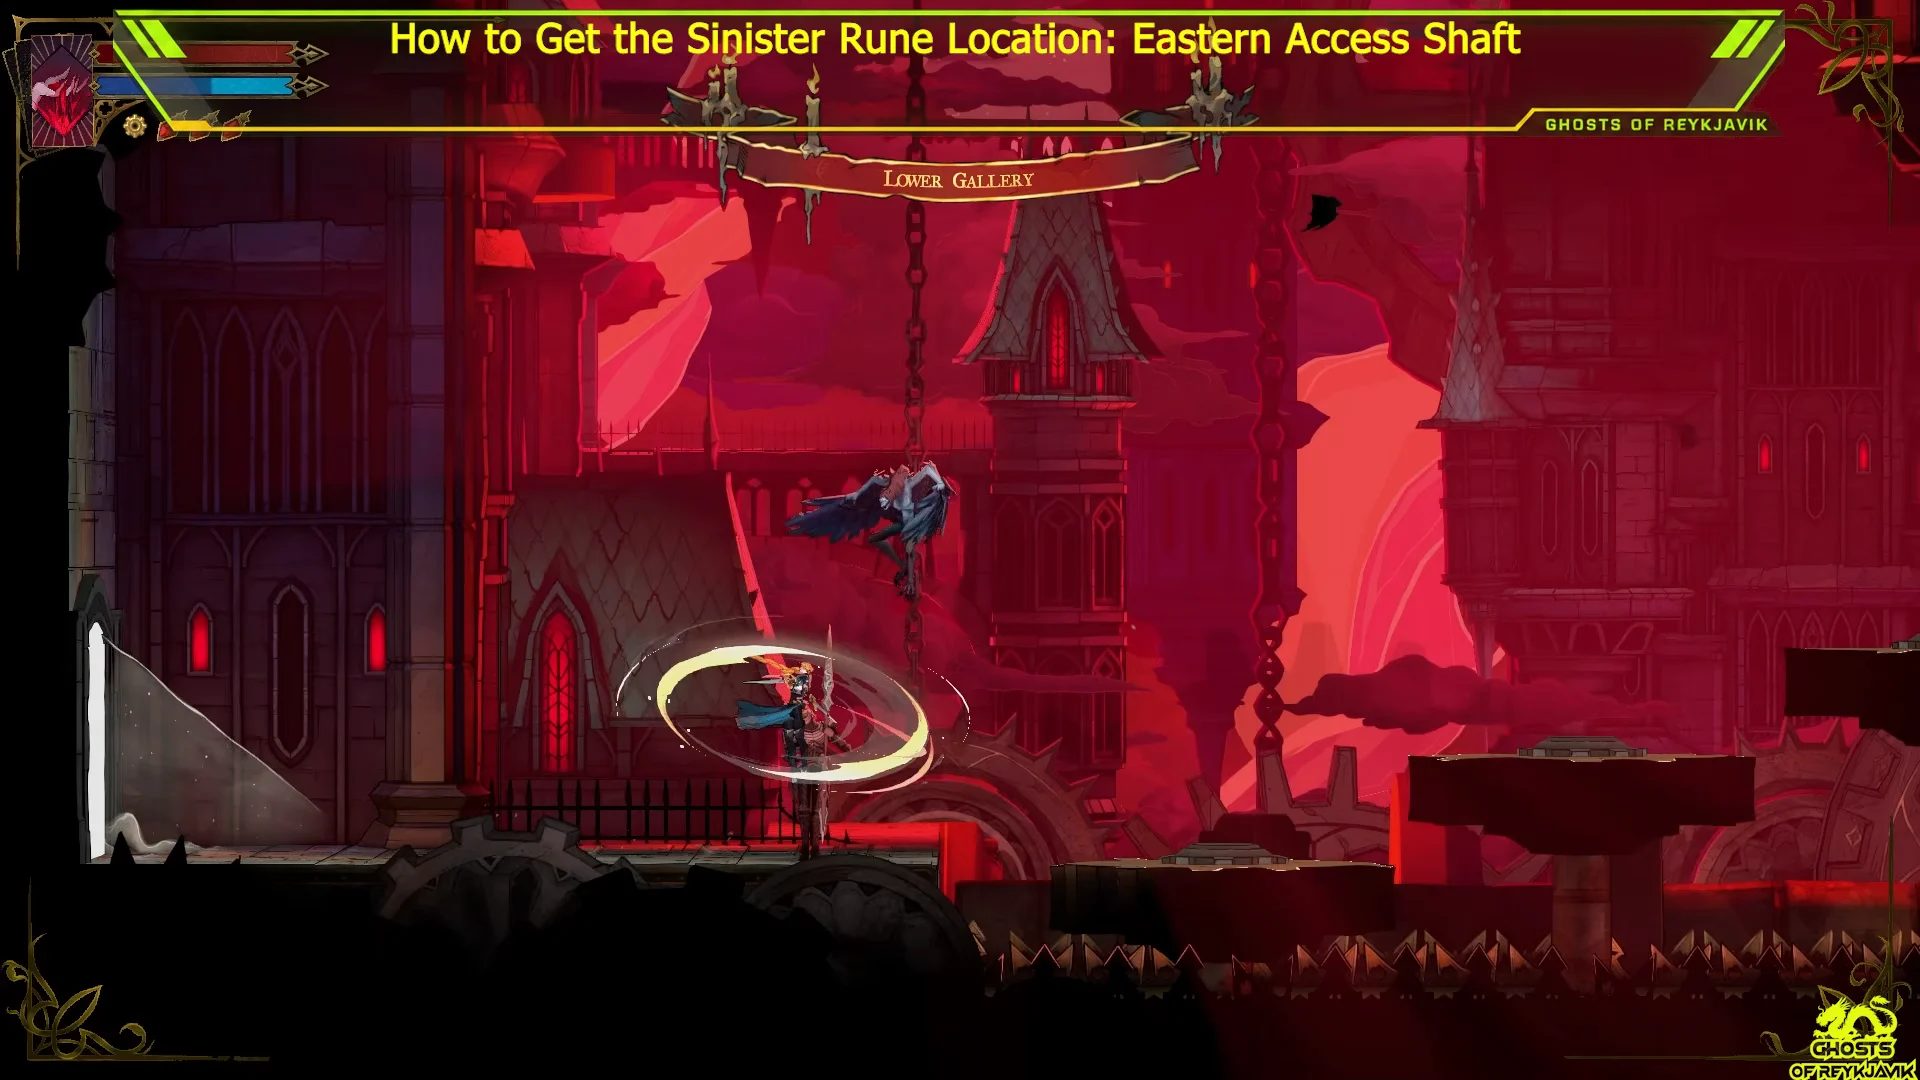
In Tower Gallery, deal with the harpies that swoop in under the red sky. You can kill them or slip past them, but clearing them first makes the jumps ahead less stressful.
Tower Gallery Platforming00:24Tower Gallery Platforming
Harpies patrol Tower Gallery and can knock you off the platforms. Shown at 00:24 in Ghosts of Reykjavik’s video. Image: KONAMI
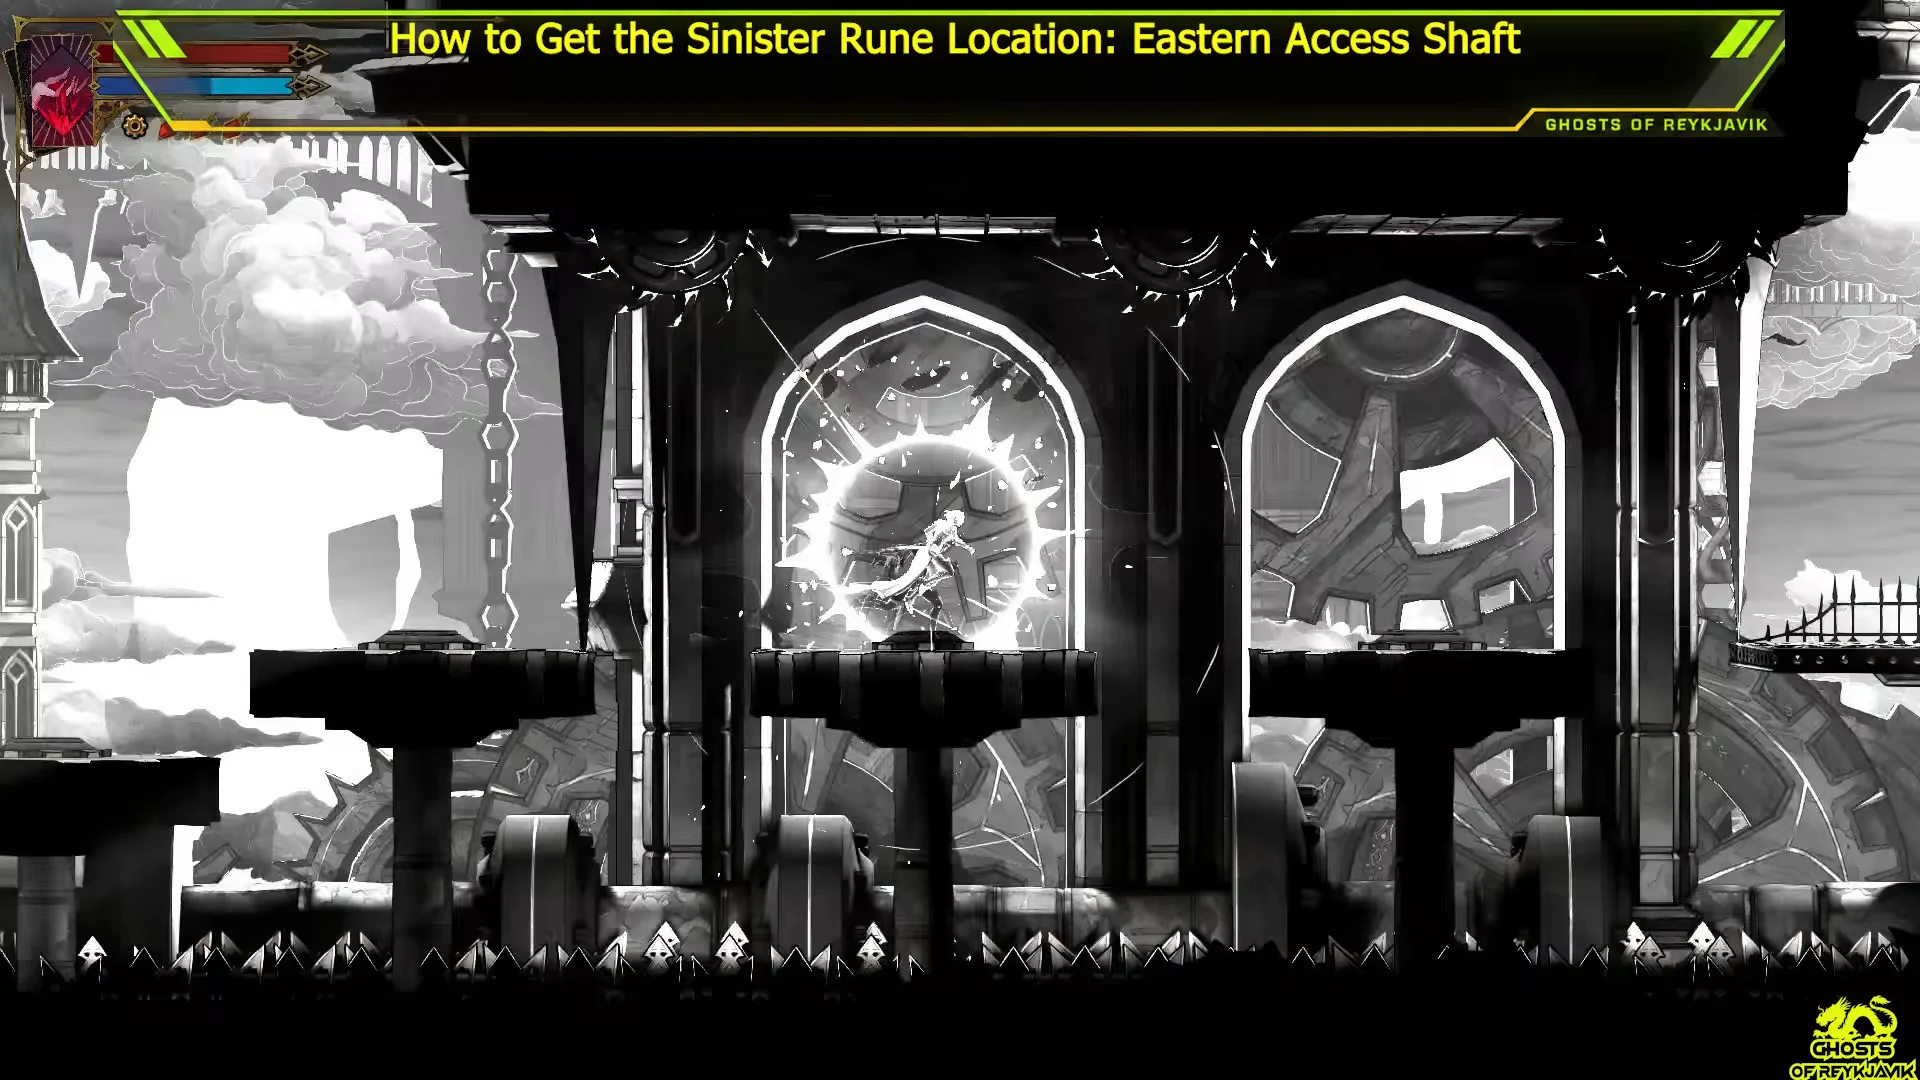
Cross the row of stone pillars flanked by rotating sawblades. Double-jump and dash between pillars, and time each move around the blades.
Sawblade Obstacle Course00:36Sawblade Obstacle Course
The sawblade pillars in Tower Gallery call for double jumps and dashes. Shown at 00:36 in Ghosts of Reykjavik’s video. Image: KONAMI
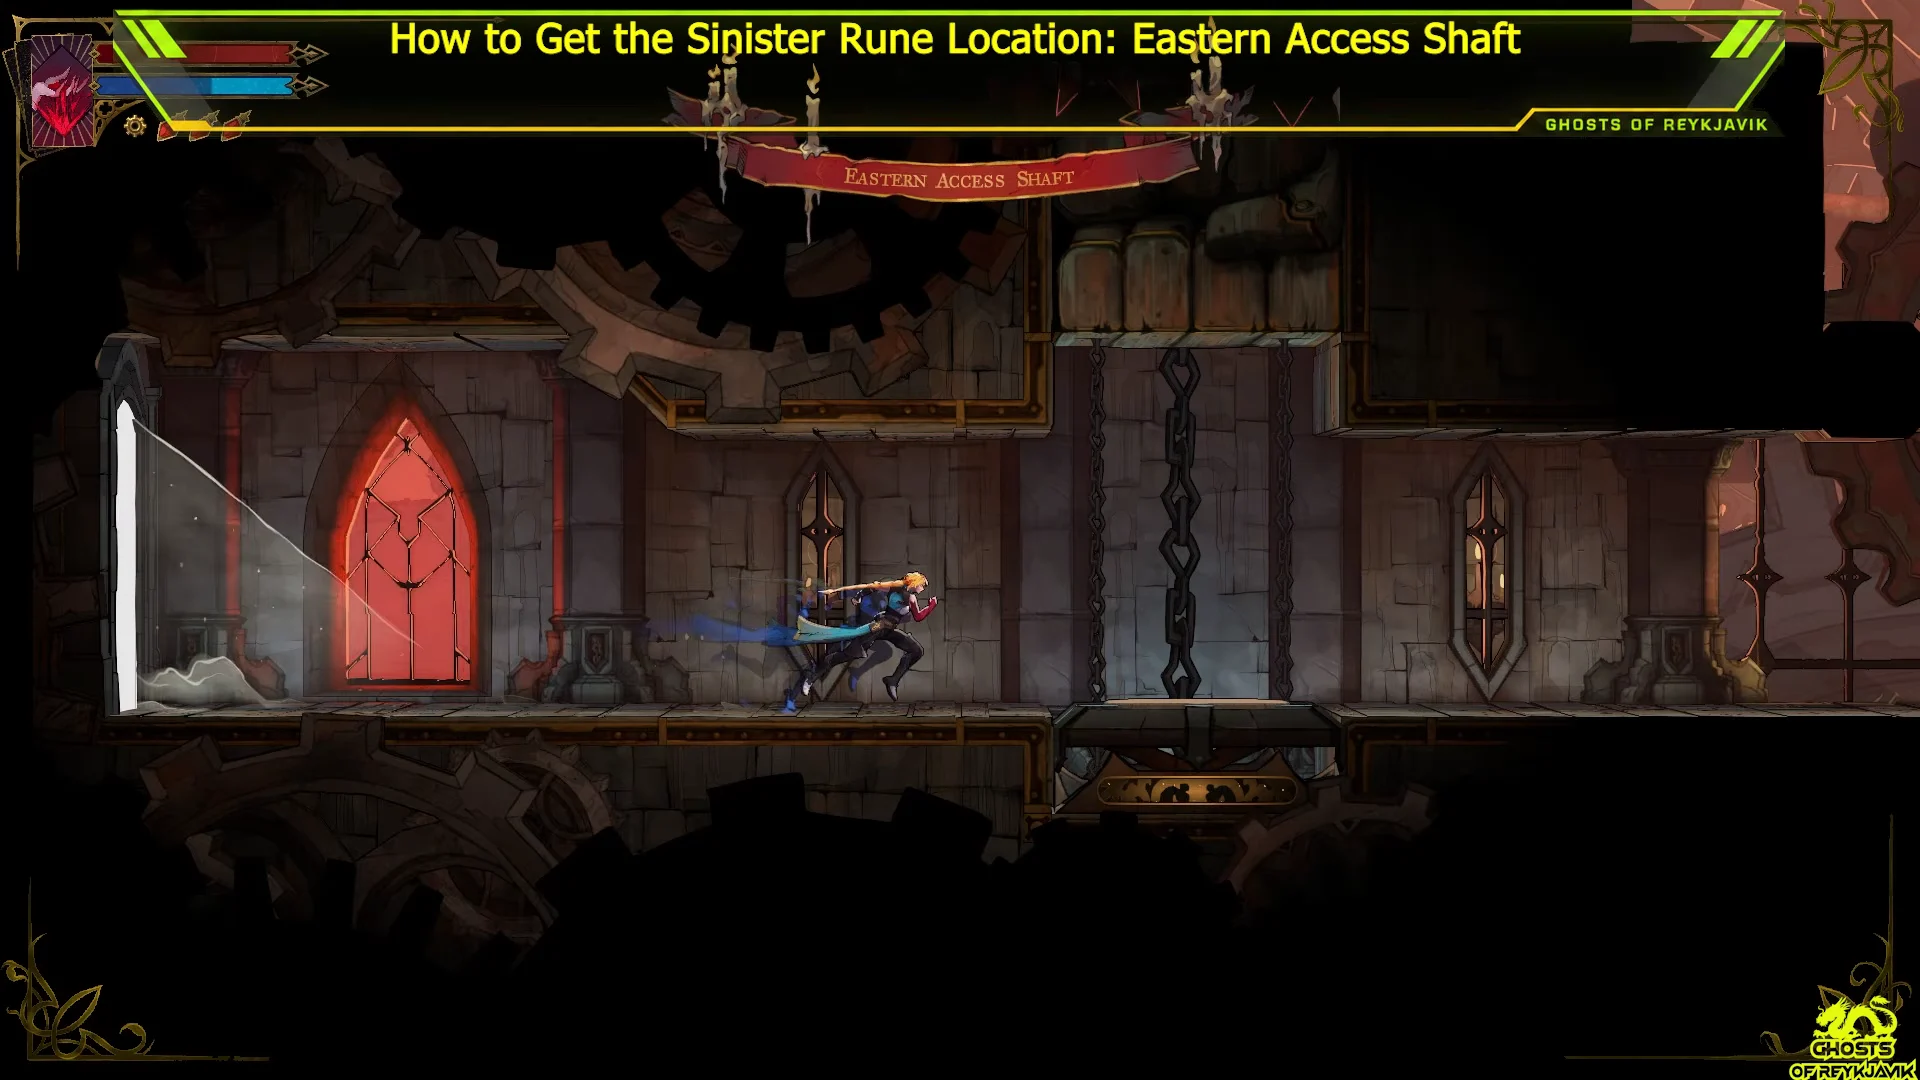
Keep moving right until you pass through the exit into the Eastern Access Shaft. The district name appears on screen as you enter.
Entering Eastern Access Shaft00:46Entering Eastern Access Shaft
Entering the Eastern Access Shaft, the district that holds the Sinister Rune. Shown at 00:46 in Ghosts of Reykjavik’s video. Image: KONAMI

Climbing the Eastern Access Shaft to the hidden chest

The shaft is a vertical climb. You go up first, then come back down a short way on the far side to reach the chest.
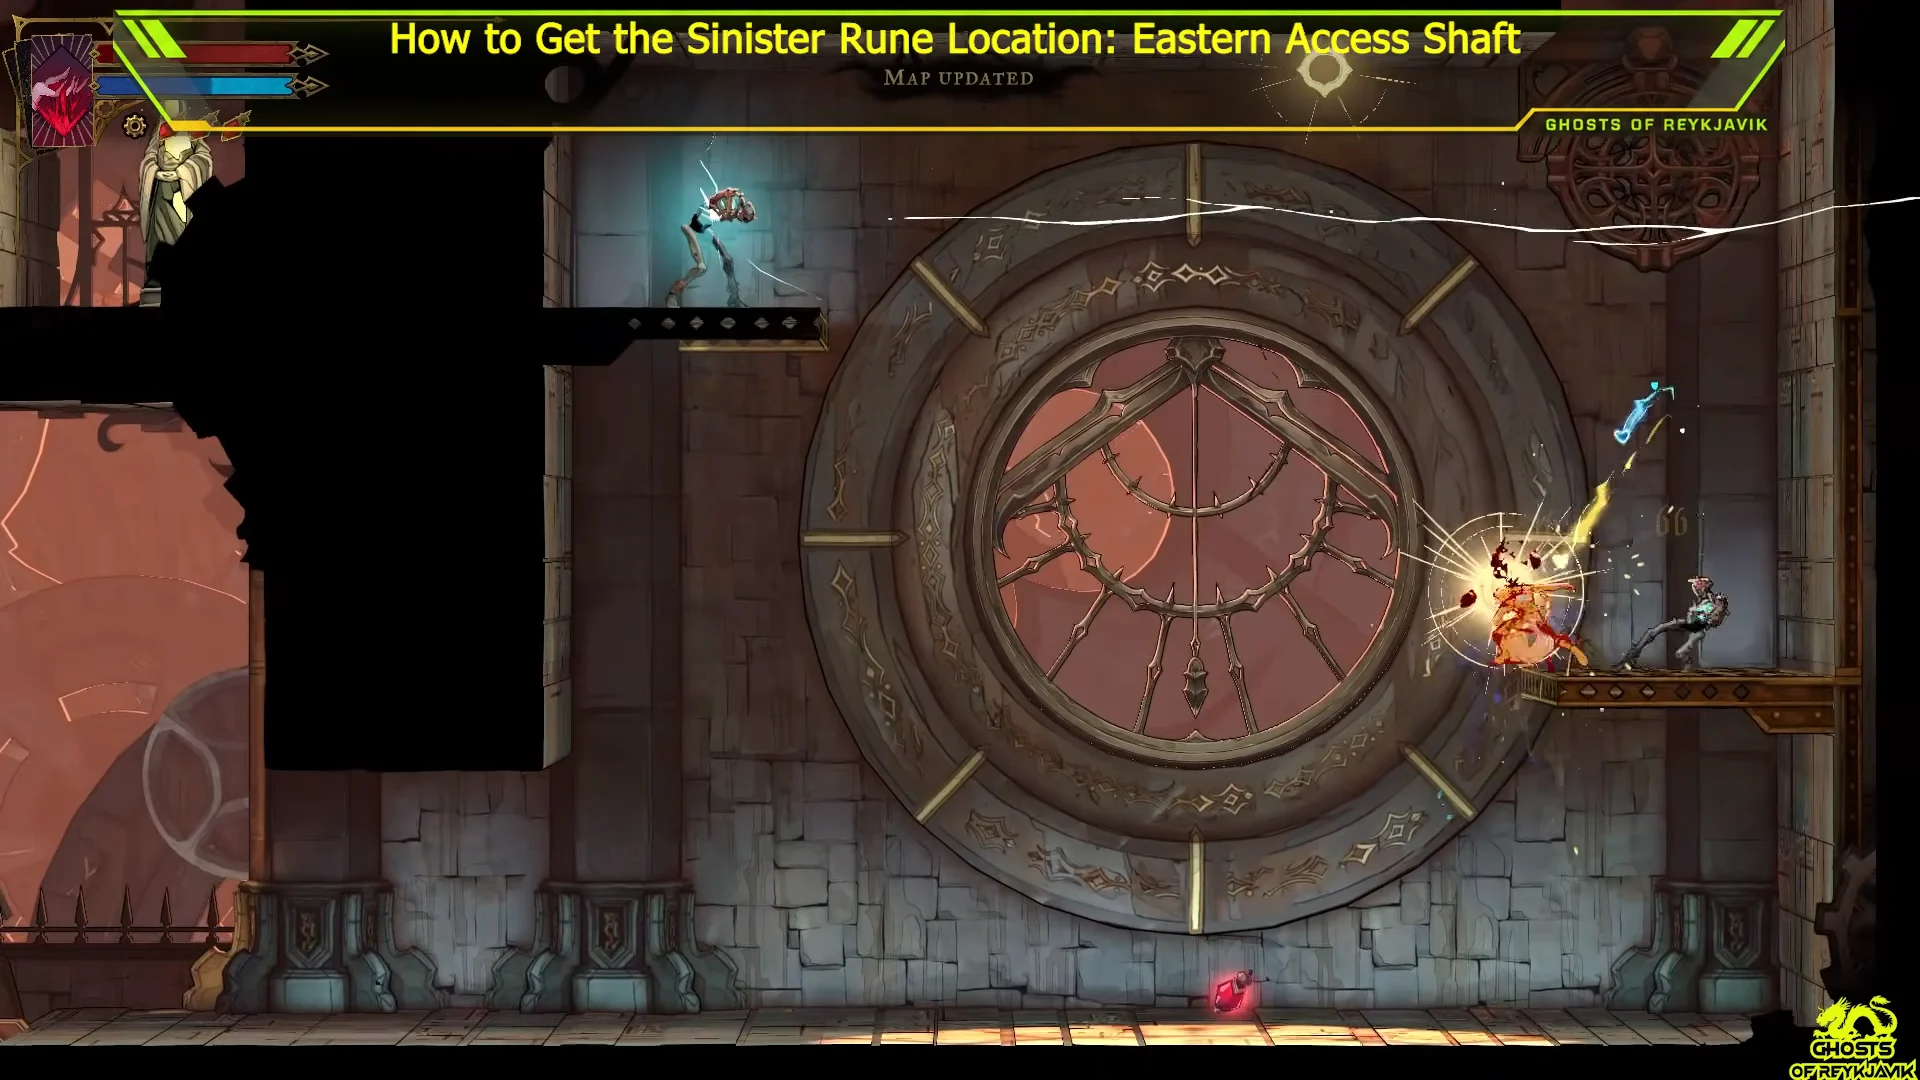
Go up the wooden platform tiers at the bottom of the shaft. Two red-clad sword guards stand in your way, so defeat them before you keep climbing.
Continue past the giant clock face. A harpy attacks here, and it’s easiest to knock it down with your whip or a ranged attack before you wall-jump higher.
Giant Clock Face u0026 Harpy Encounter01:11Giant Clock Face u0026 Harpy Encounter
Clear the attacker near the giant clock face before climbing further up the shaft. Shown at 01:11 in Ghosts of Reykjavik’s video. Image: KONAMI
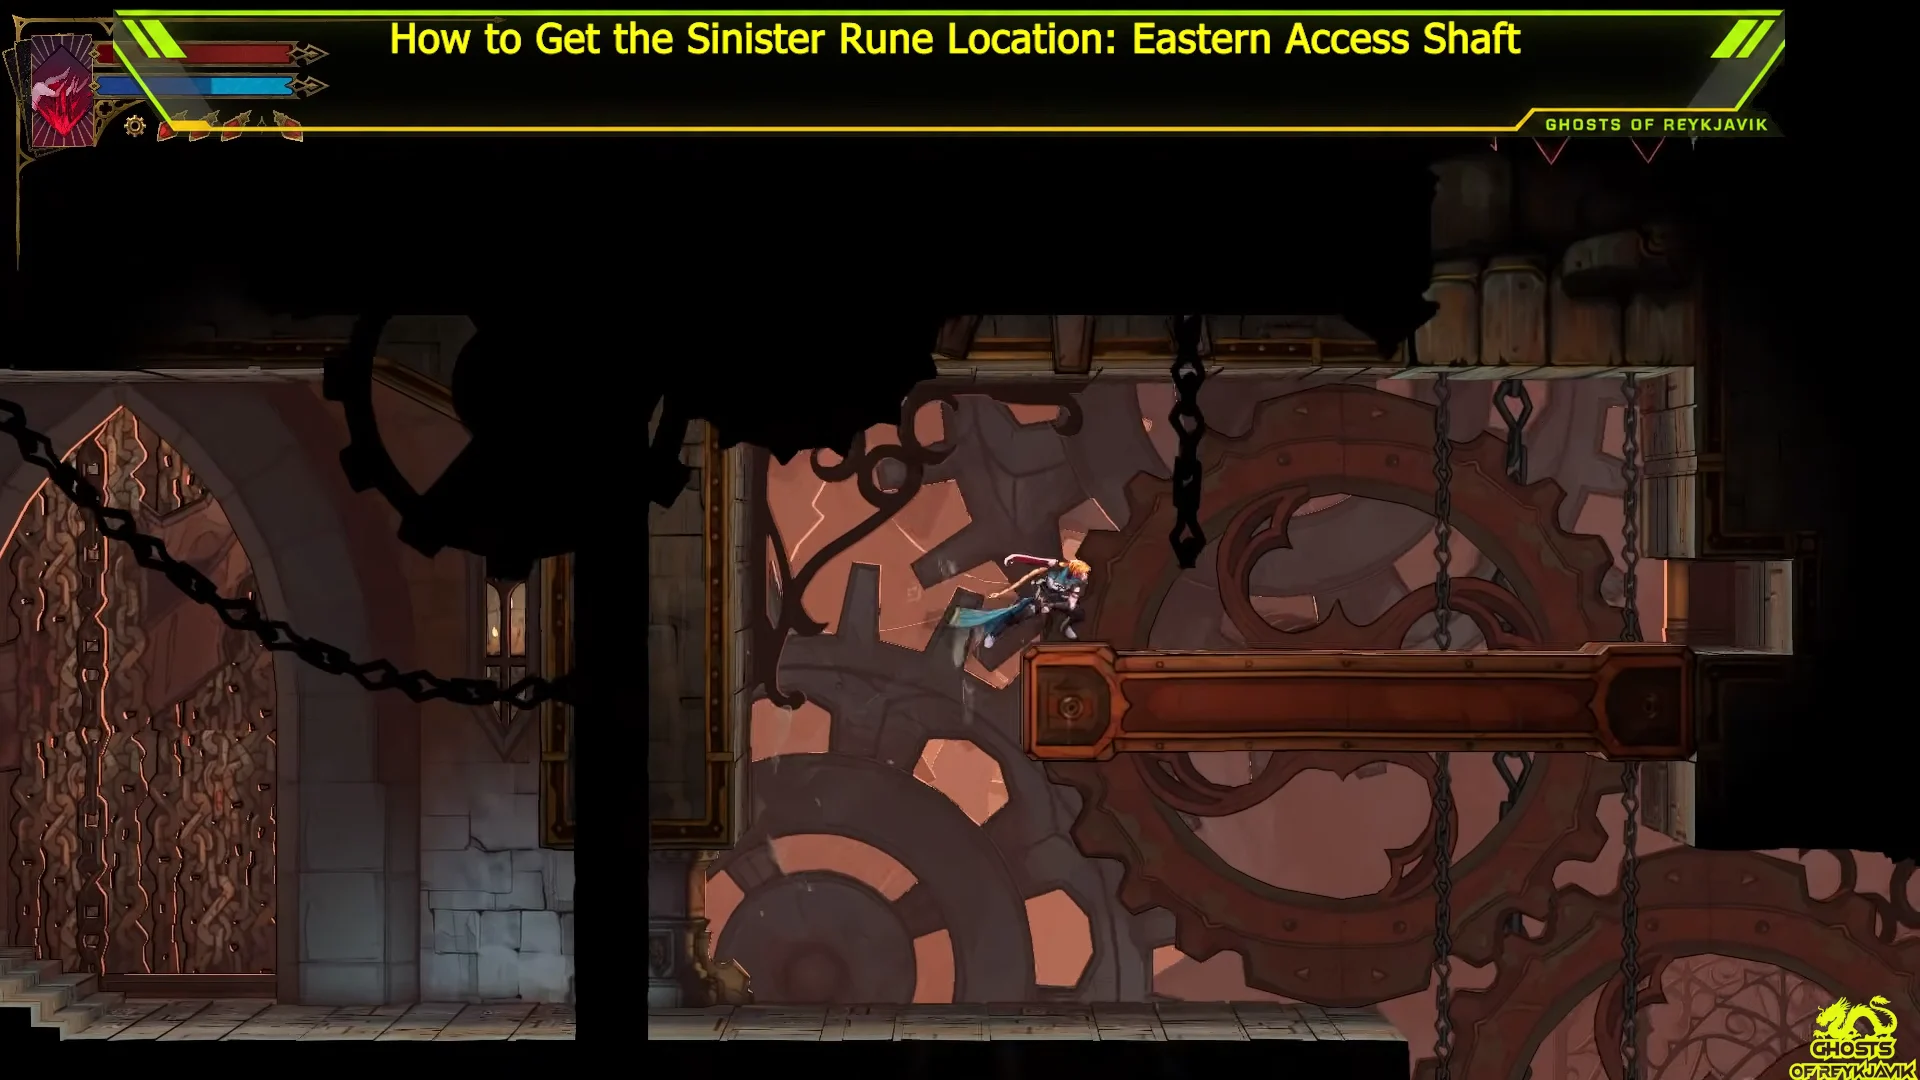
Climb the interior gear shaft by jumping across the moving gears and platforms. Wait for each platform to line up before you leave the one you’re on.
Vertical Gear Shaft Ascent01:27Vertical Gear Shaft Ascent
The vertical gear shaft uses moving platforms to carry you toward the upper landing. Shown at 01:27 in Ghosts of Reykjavik’s video. Image: KONAMI
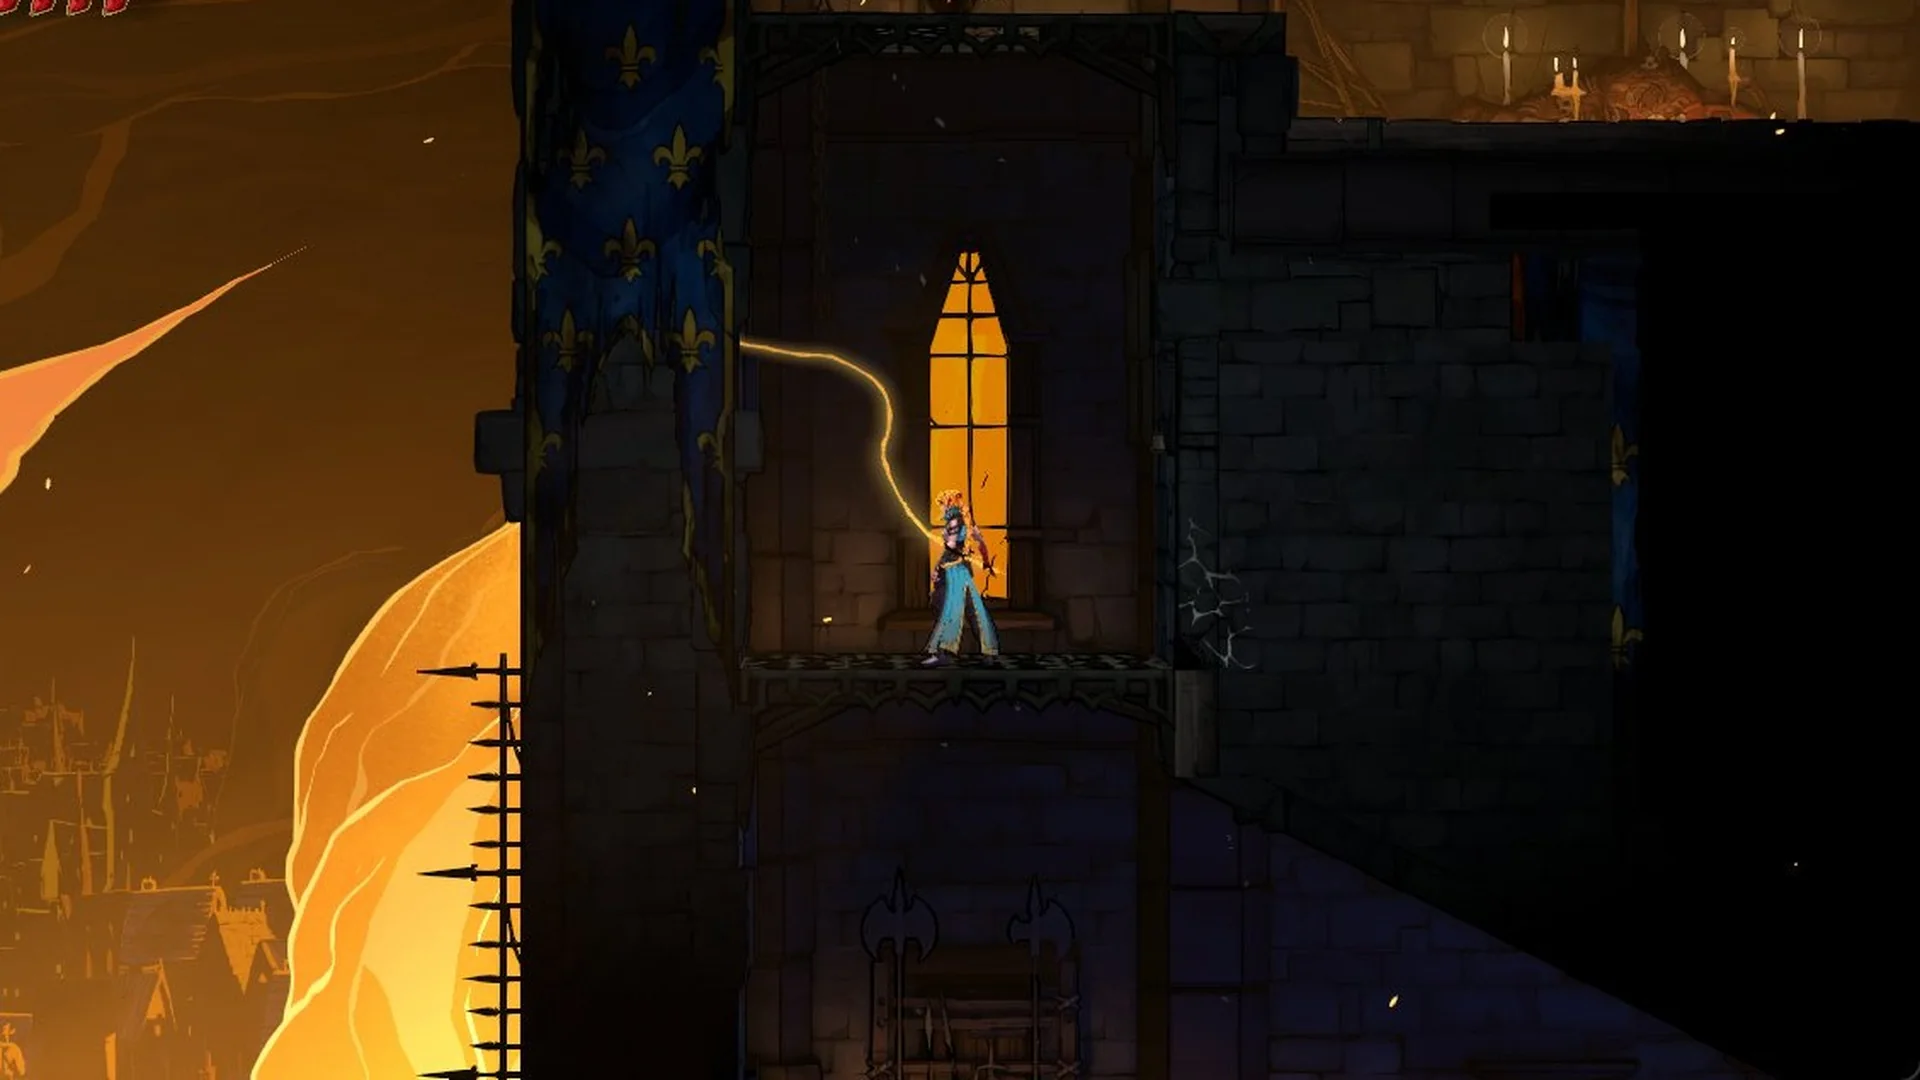
Work your way along the higher platforms next to the large serrated gear wheels. Stop when you reach a landing with a gated archway.
Fight off the group of harpies that ambush you on the gated landing. Don’t try the drop until they’re gone, since a hit mid-fall can throw off your landing.
Jump across to the far right side of the landing. Drop down carefully along the right wall, past the giant rotating cog.
Land on the small secluded platform below and walk up to the metal chest. Press the interact button (RB on a controller) to open it.

Confirming the pickup and equipping the Sinister Rune

Opening the chest brings up a description card titled SINISTER RUNE, with the relic’s effect and its lore line: “Broken in an old conflict, this weapon fragment still bears a hastily carved Greek symbol.” If that card appears, the relic is yours.

The card lets you equip the relic right away by holding Y, or you can dismiss it with A and set it later. The effect only works while the Sinister Rune is in one of Rose’s three relic slots. Carrying it in your inventory does nothing.


Sinister Rune effect and reference values

The Sinister Rune adds 40% damage to any hit Rose lands on an enemy that is still at full health. In practice, the bonus applies to your opening strike on a fresh enemy. Once a target has taken any damage, it no longer qualifies.

Here are the shipped values for the relic and the fast travel point used to reach it.

RecordTypeLocationValue
Sinister RuneRelicClock Tower+40% damage vs. full-health enemies
Mechanic’s Ascent Mirror of LifeMirror of LifeClock Tower, Mechanic’s AscentFast travel point in Dracula’s Castle

Because the bonus depends on the enemy’s health rather than Rose’s, it pays off most when you’re picking off groups of fresh enemies one at a time, like the harpies and sword guards along this route. Against a single enemy that takes many hits to kill, only the first blow gets the extra damage.