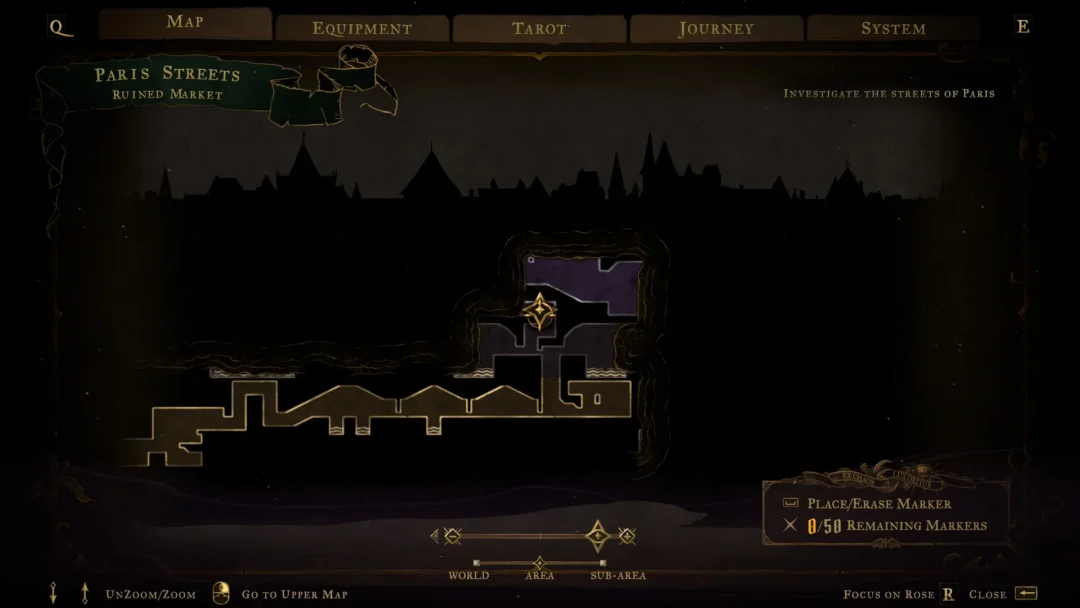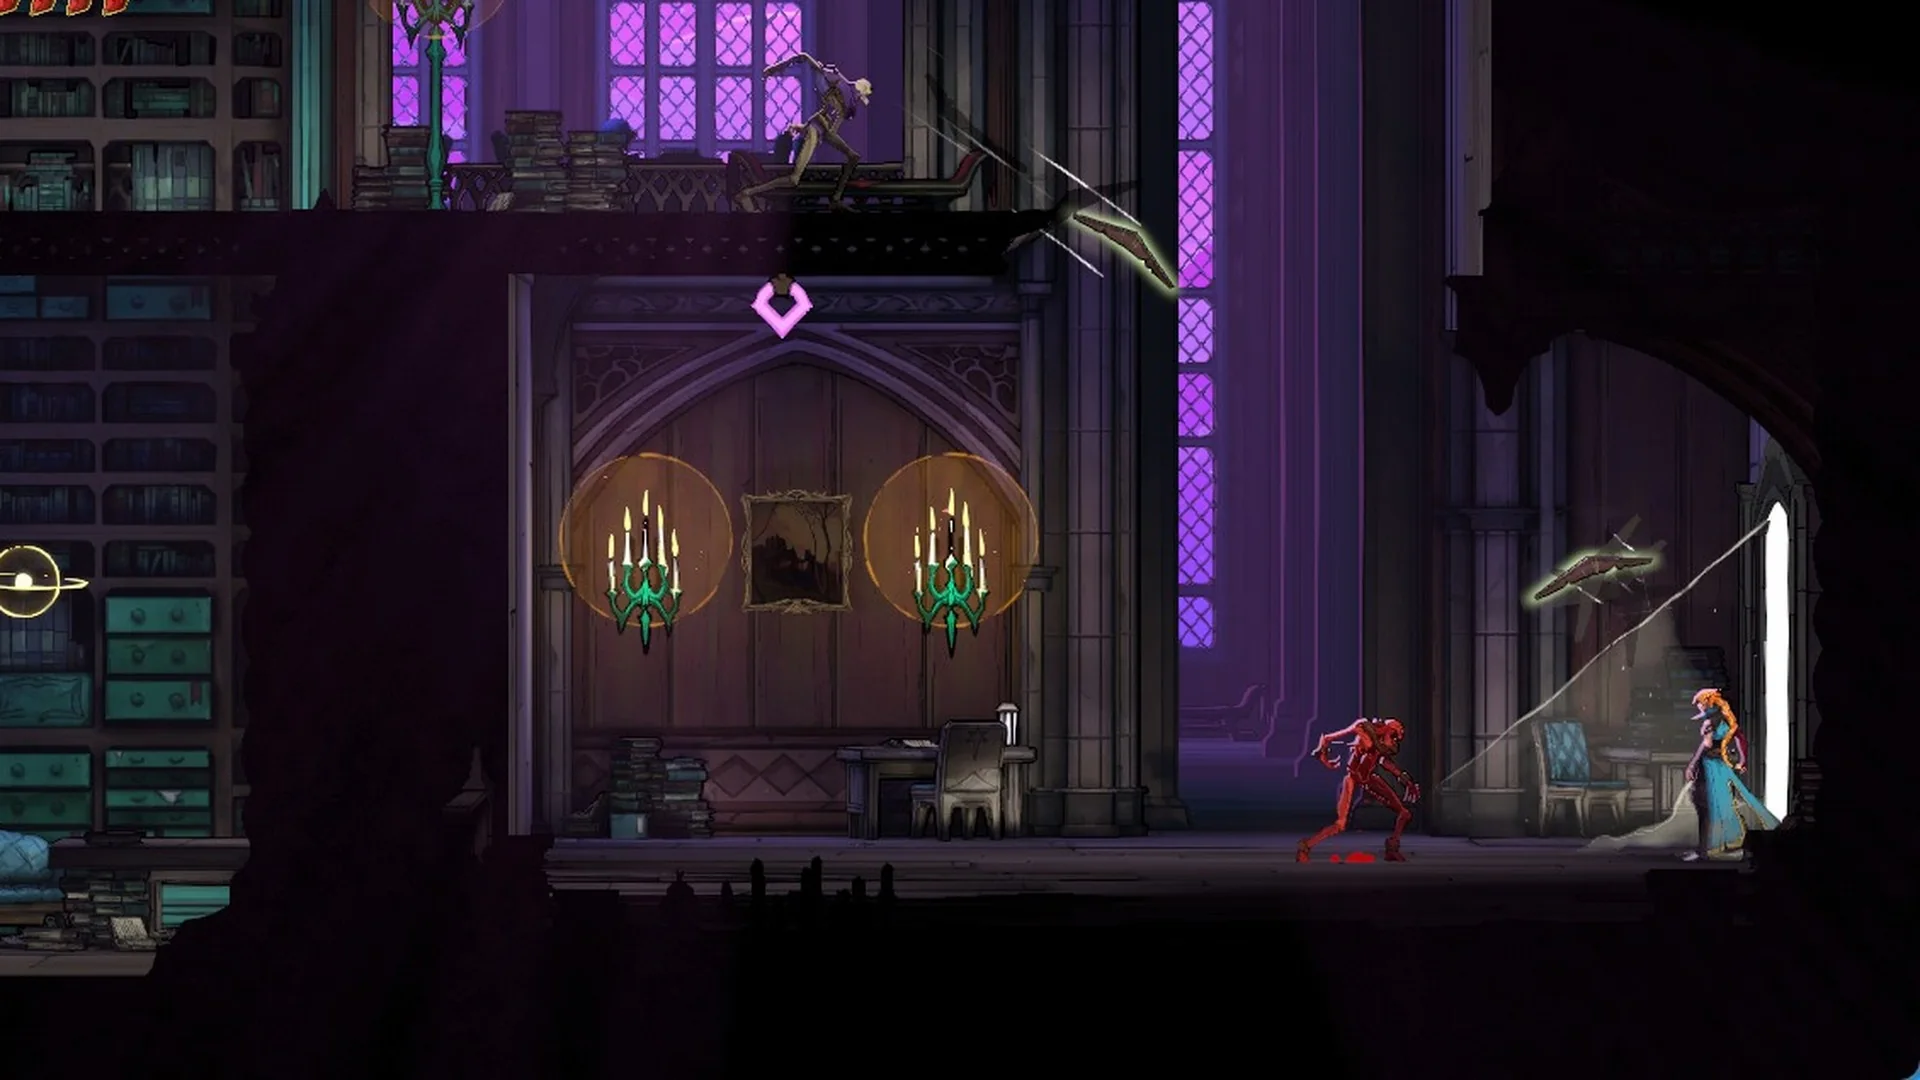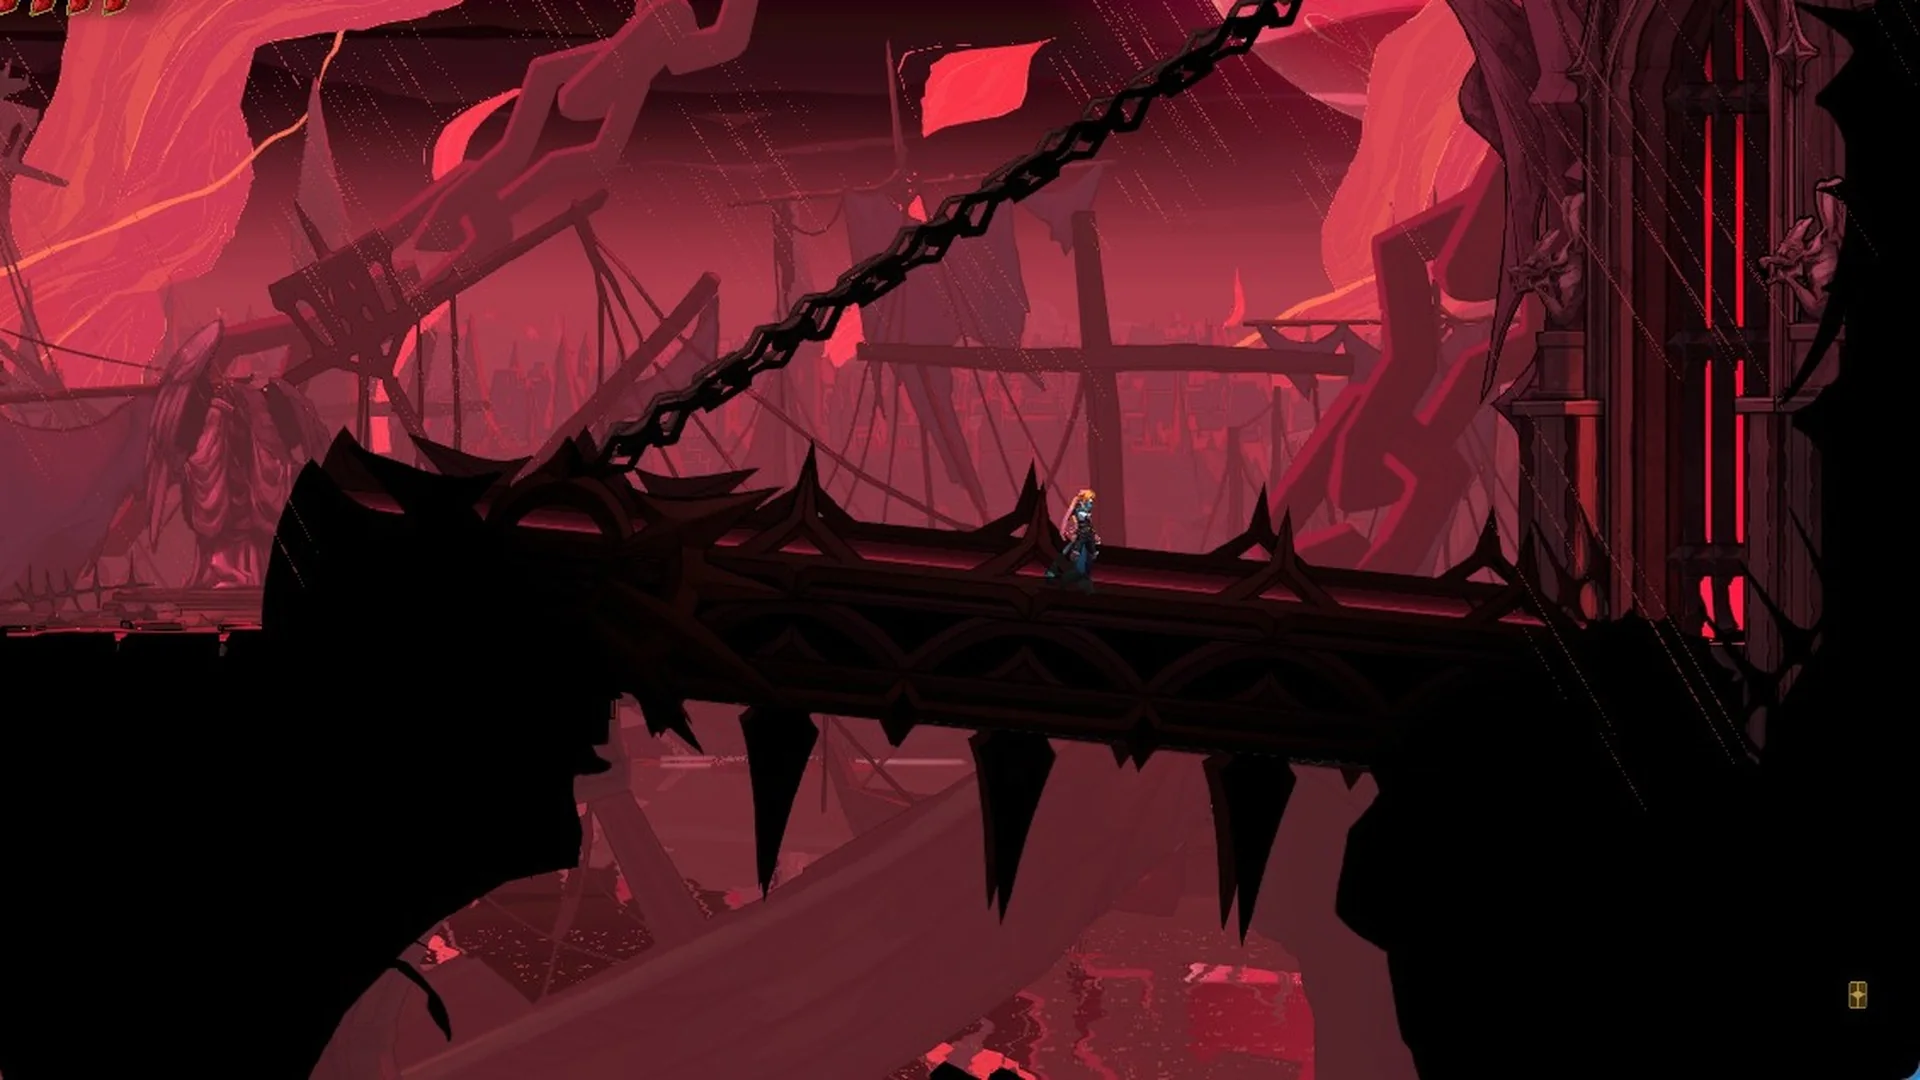
Beating The Fallen in Castlevania: Belmont’s Curse opens a larger stretch of the map. The boss drops the first of three keys for the sealed Catacombs gate, and the game hands you a grappling tool. From there the path climbs out of the sewers, crosses the city, and drops deep under a cemetery to reach the next key holder.
Quick answer: Take the Arcane Whip after the fight, then travel to the Holy Innocents’ Cemetery and work down to the Serpents’ Lair. Medusa waits there and drops the second key.
The Fallen’s Key and the Catacombs gate
When The Fallen goes down, you absorb the boss and learn the Holy Cross spell. You also receive The Fallen’s Key, which carries this description:
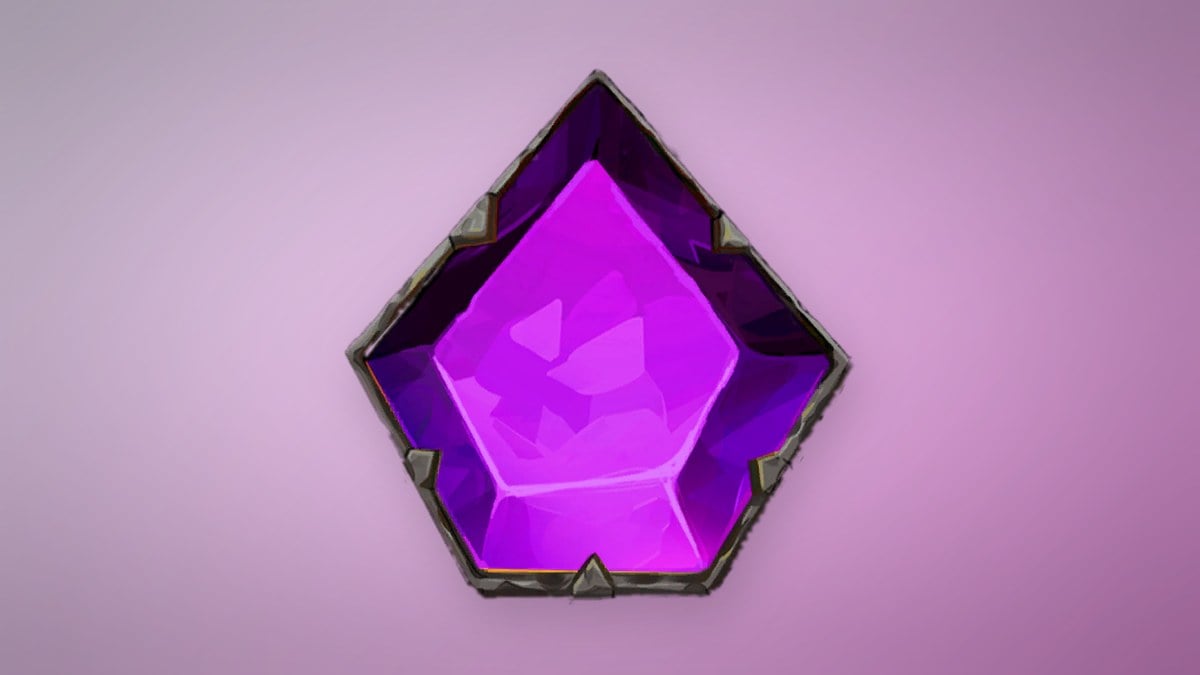
One of three keys needed to open the sealed door to the Catacombs. Obtained by defeating The Fallen.
Use the key on the large gate in the boss chamber. A new objective appears, “Unlock the gate to the Catacombs”, and the gate stays shut until you return with the other two keys. Walk right into the sewer tunnels to begin the trip. How the three-key gate works is in how to open the Gate to the Catacombs, and the fight itself is in our The Fallen boss guide.
| Key | Holder | Location |
|---|---|---|
| The Fallen’s Key | The Fallen | Sewers |
| The Prophetess’s Key | Medusa | Serpents’ Lair, Holy Innocents’ Cemetery |
| The Warrior’s Key | Joan | Prison Tower roof |
You pass through the Prison Tower on the way to Medusa, and Joan sits on its roof. She can be fought later, so the route below heads for Medusa.
Arcane Whip: How the new traversal tool works
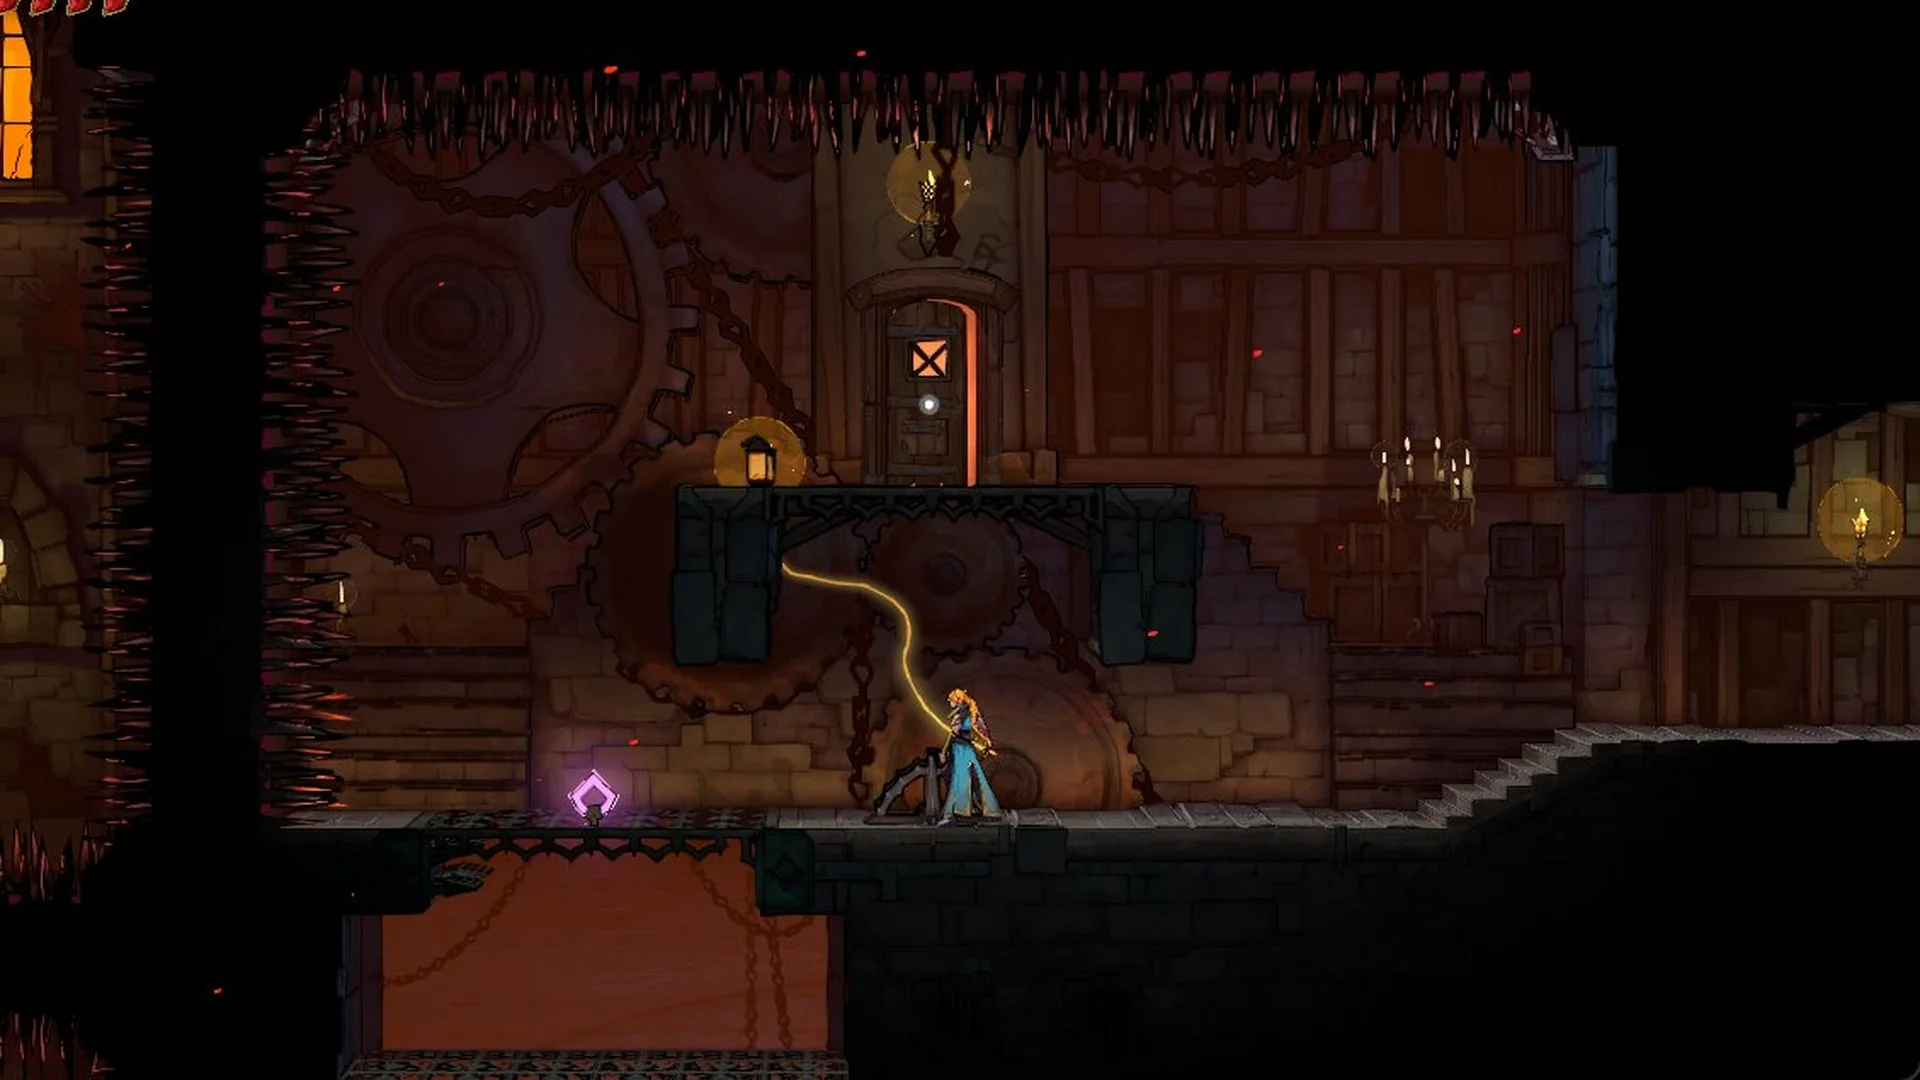
The conversation right after the fight gives you the Arcane Whip. The tutorial screen reads:
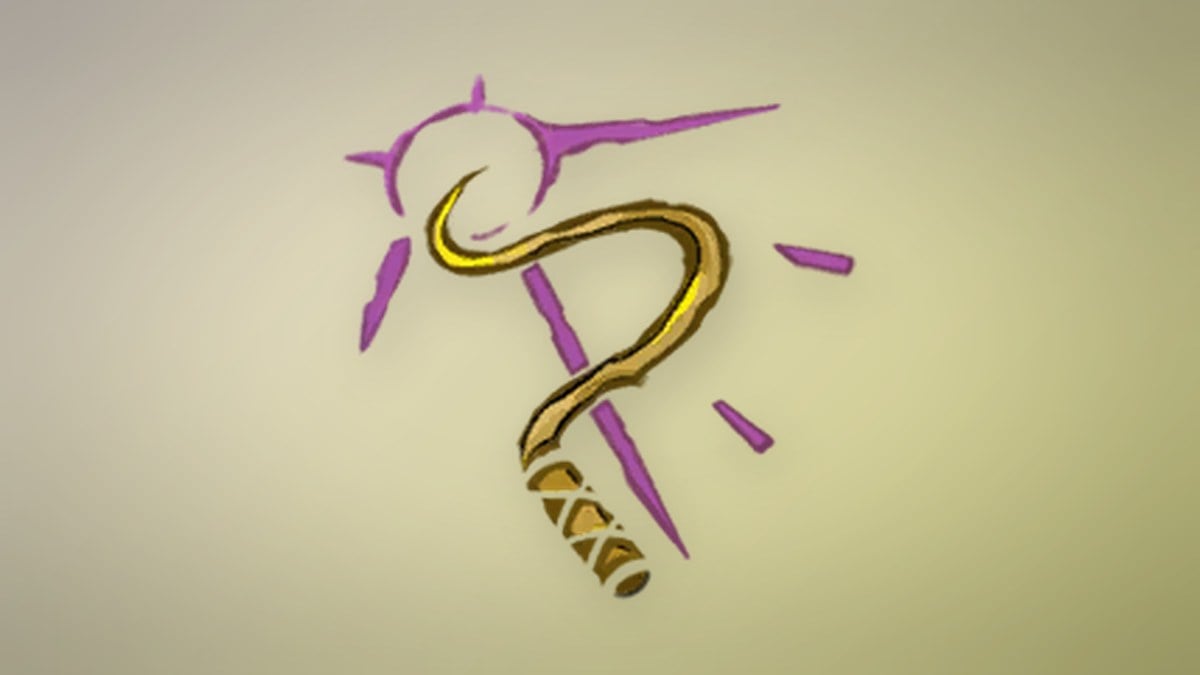
Arcane Whip. Aim with [right stick] then press [R2] to hook onto Luminous Anchors or Enemies and reach new areas.
- Round anchors: hold R2 to swing.
- Sharpened anchors: press R2 to pull yourself straight to them.
Much of the path to Medusa depends on these anchors.
Route from the sewers to the Holy Innocents’ Cemetery
Holy Innocents’ Cemetery down to Medusa
Beating Medusa awards The Prophetess’s Key, the second of the three keys for the Catacombs gate. With it in hand, Joan on the Prison Tower roof holds the last one. The next leg is in where to go after Medusa.