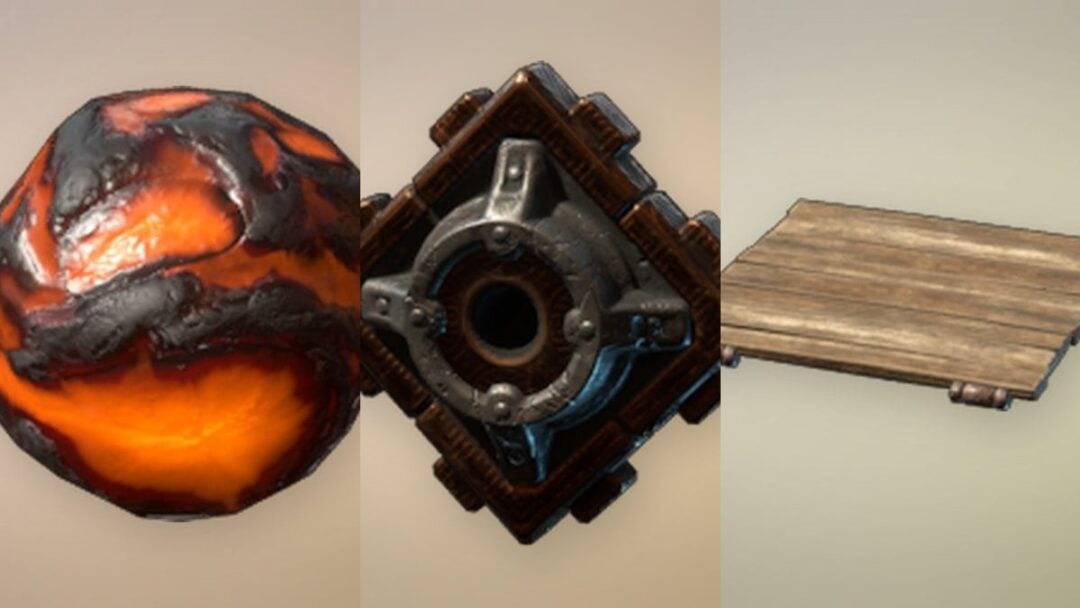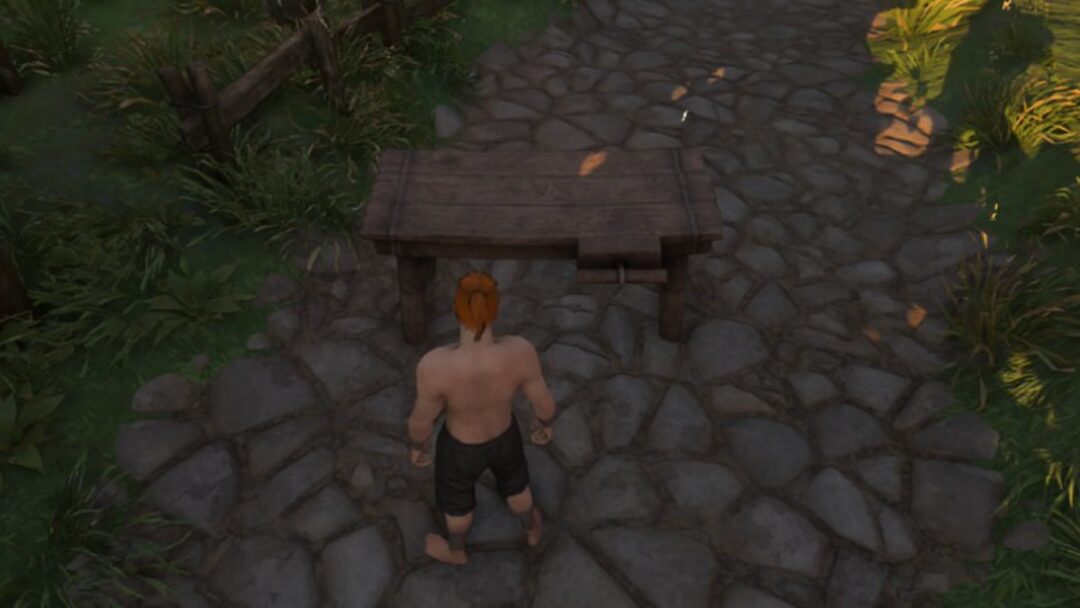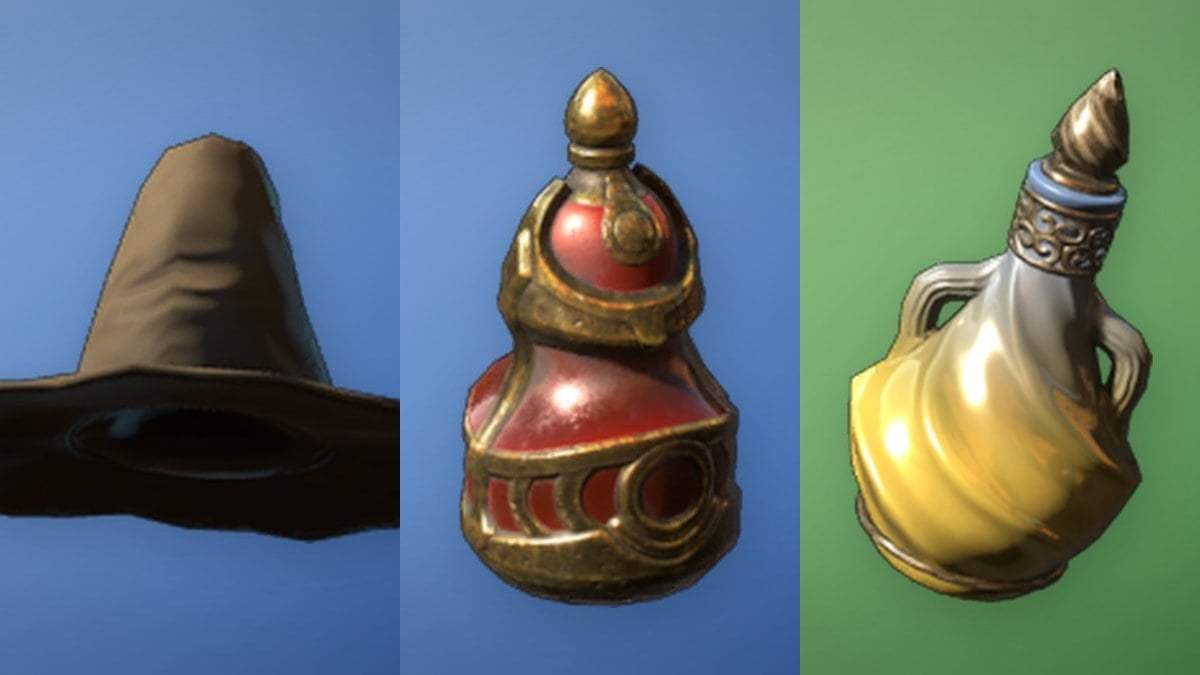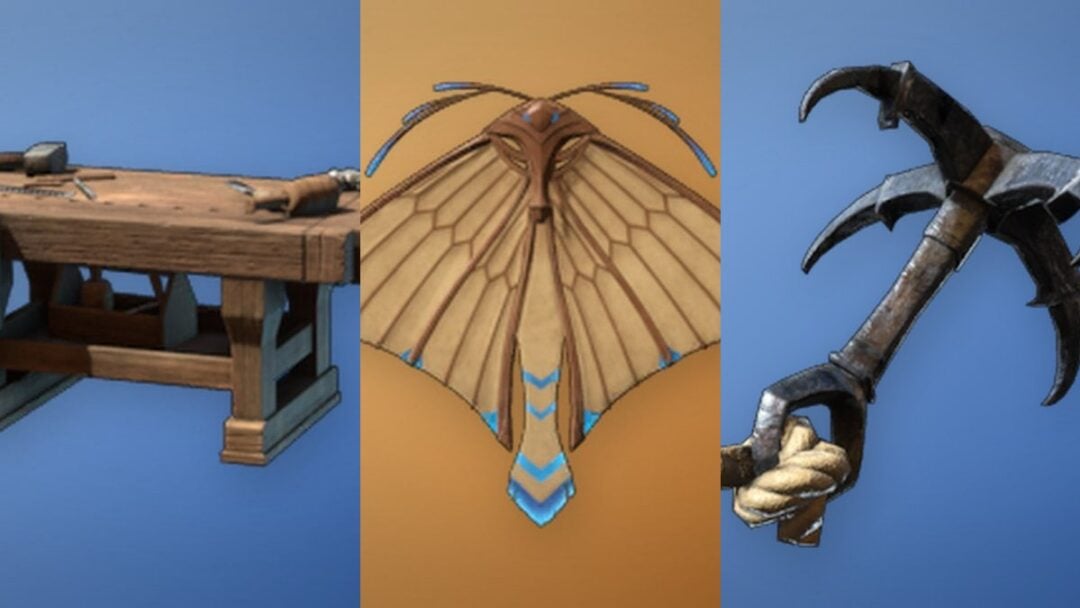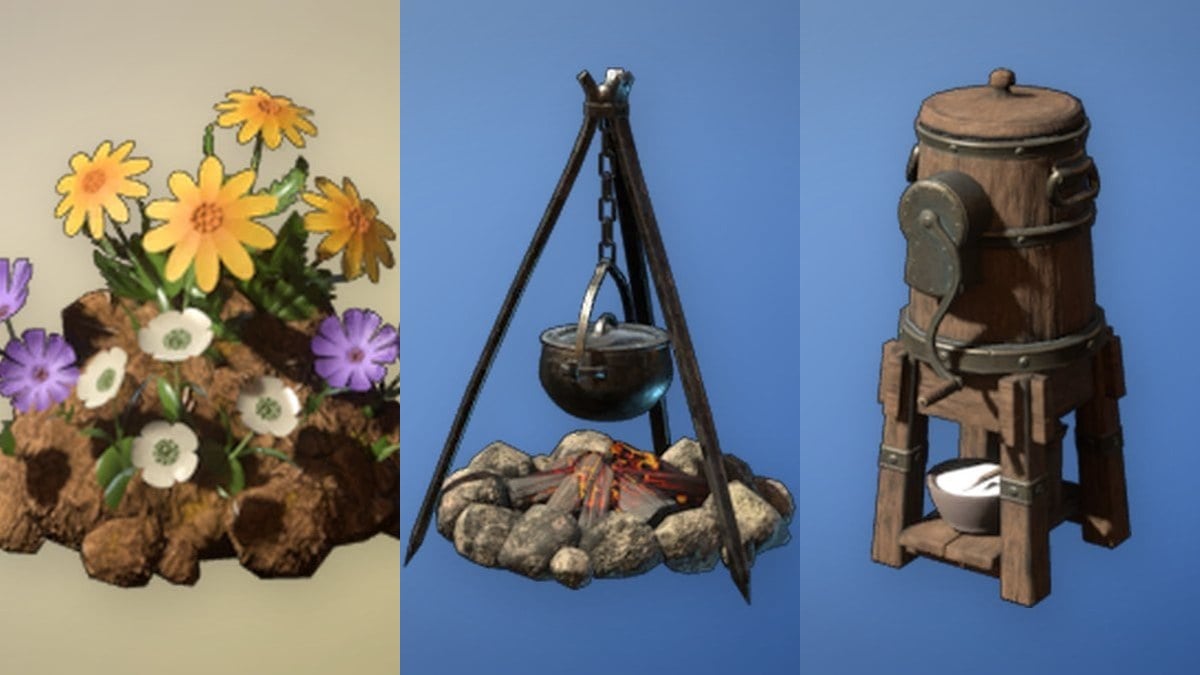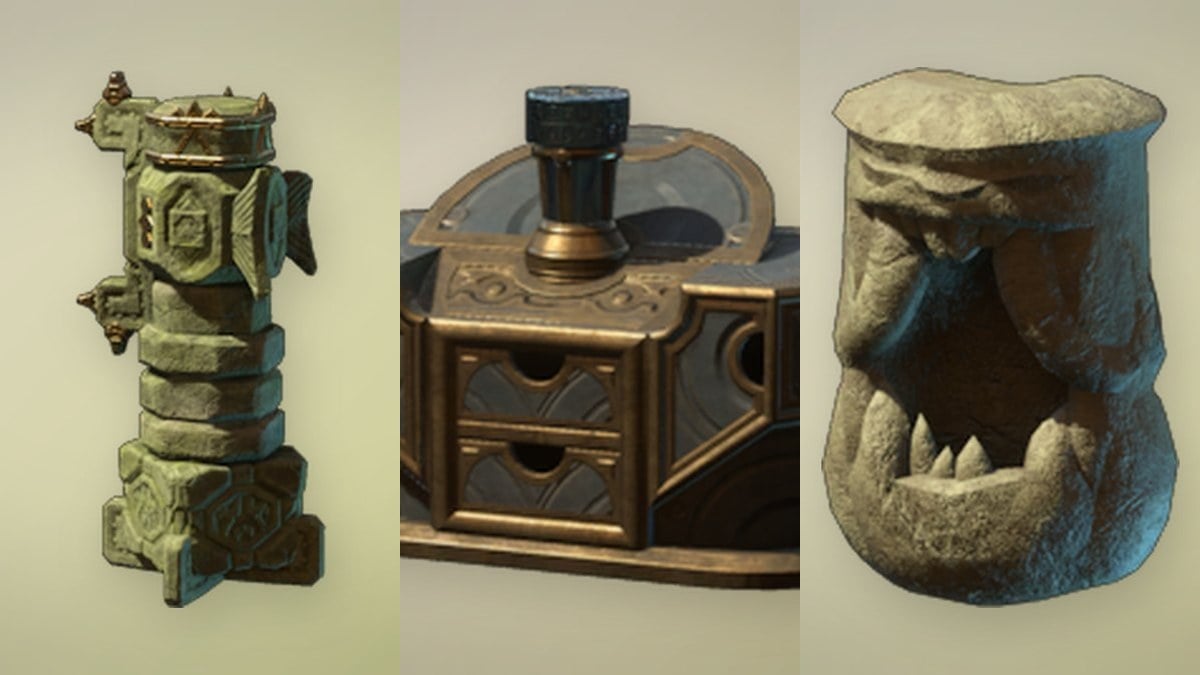
In Enshrouded 1.0 on PC, the Decoration Workbench is where your base gets its fences, weapon racks, statues, coffins, vases and stacks of tableware. It holds 319 recipes, not counting upgrade recipes, and every one of them makes a decorative placeable. The bench itself comes from the Carpenter. About half of its recipes also need a second station placed somewhere at your base.
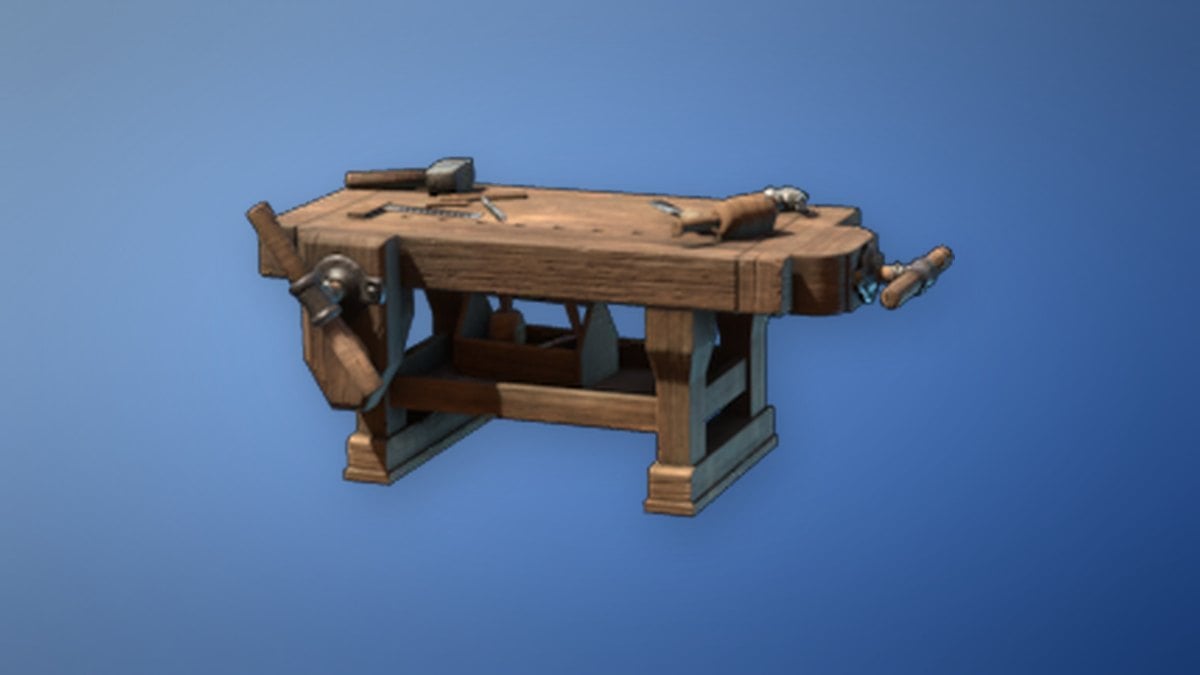
Quick answer: Craft the Decoration Workbench at the Carpenter (all Carpenter recipes) for 10 Wood Logs, 2 Nails and 2 Metal Scraps. It unlocks 319 decorative recipes, and 153 of them also need Masonry Tools, a Table Saw or another placed station.
The recipes split into twelve groups:
| Group | Recipes |
|---|---|
| Fences, gates and room dividers | 64 |
| Tableware, kitchenware and decorative ovens | 46 |
| Columns, arcs and Ancient pieces | 41 |
| Vases, vats and urns | 35 |
| Crates, barrels, sacks and cages | 28 |
| Weapon wall mounts, racks and mannequins | 21 |
| Statues, totems and shrines | 21 |
| Farm, market and workshop props | 21 |
| Coffins, crypts and tombstones | 18 |
| Wig heads and salon pieces | 9 |
| Books | 8 |
| Ornaments and clutter | 7 |
How to get the Decoration Workbench
Bring 10 Wood Logs, 2 Nails and 2 Metal Scraps back to your base. The Carpenter, Cade Hawthorn, has to be living there before his recipes open up.
The Carpenter also crafts his own furniture set, including beds, chairs, tables, lamps and doors. Those stay in his menu and do not show up at the Decoration Workbench.
The item text of the bench reads: “Equipped with woodworking and stone masonry tools, this workbench lets you craft beautiful decorative pieces for your home with the Carpenter’s help.”
How Decoration Workbench recipes work
Most recipes appear once you have picked up a linked material or tool, for example Conifer Logs, Wood Planks, Metal Scraps, Celestium Bars, Moonstone or Masonry Tools. 153 of the 319 recipes also need a station or tool placed at your base, shown as a requirement on the recipe:
| Requirement | Recipes | Made by |
|---|---|---|
| Masonry Tools | 102 | Blacksmith |
| Table Saw | 27 | Carpenter |
| Forge | 9 | Blacksmith |
| Kiln | 6 | Carpenter |
| Smelter | 5 | Blacksmith |
| Smelter and Forge | 3 | Blacksmith |
| Smithing Tools | 1 | Blacksmith |
The Carpenter crafts the Table Saw and the Kiln; Masonry Tools, Smithing Tools, the Forge and the Smelter come from the Blacksmith (see all Blacksmith recipes).
You can craft every Decoration Workbench recipe without a sheltered spot or Water. The Big Clay Vat alone has a crafting duration, set to 1:00; all other recipes list no time.
The “x” number next to each item is how many one craft gives you. Cups come in fives. Bowls, platters, pots and pans come in threes. Jugs and most room dividers come in pairs, and nearly everything else is one per craft.
Recipes from the other benches and craftspeople are in our other 1.0 recipe lists: Workbench and hand crafting, Carpenter, Blacksmith, Alchemist, Hunter, Farmer, Bard, Collector and Fisher and processing stations. The Coloring Station palettes and Sparkworks Workbench recipes has its own list.
Decoration Workbench recipes
Each table lists what one craft gives you and its full cost. Any station requirement appears after the materials as “(requirement: …)”.
Fences, gates and room dividers
This is the largest group. It runs from cheap paling fences made of Wood Planks up to Gold and Celestium pieces and the iron crypt fences that need both a Smelter and a Forge.
| You get | It takes |
|---|---|
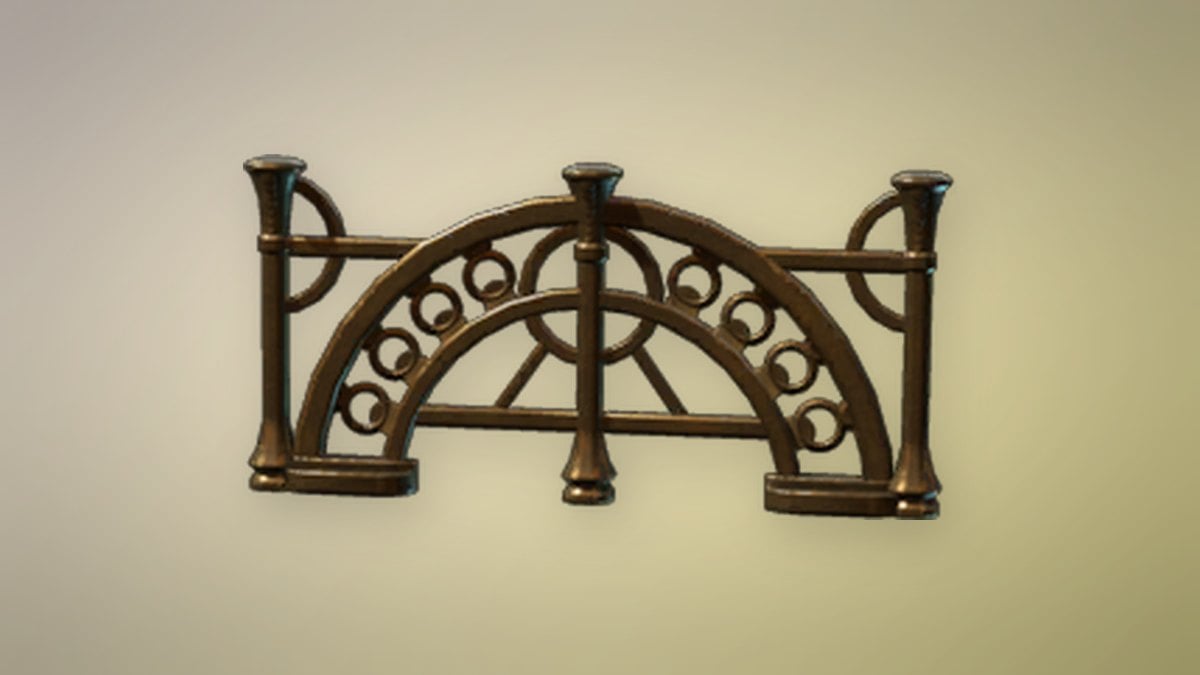
| Ancient Fence x1 | 1 Gold Bars, 1 Celestium Bars |
| Bamboo Fence Pole x1 | 3 Bamboo Logs, 1 String |
| Bamboo Fence With Ropes I x1 | 6 Bamboo Logs, 2 String |
| Bamboo Fence With Ropes II x1 | 6 Bamboo Logs, 2 String |
| Bamboo Room Divider I x2 | 5 Bamboo Logs, 4 Paper Reed, 4 String |
| Bamboo Room Divider II x1 | 10 Bamboo Logs, 6 Paper Reed, 6 String |
| Boreal Wood Garden Fence Door x1 | 5 Conifer Logs, 2 Nails, 2 Wood Logs (requirement: Table Saw) |
| Boreal Wood Garden Fence I x1 | 5 Conifer Logs, 1 Wood Logs (requirement: Table Saw) |
| Boreal Wood Garden Fence II x1 | 5 Conifer Logs, 1 Wood Logs (requirement: Table Saw) |
| Boreal Wood Garden Fence Pole x1 | 1 Conifer Logs, 1 Wood Logs (requirement: Table Saw) |
| Carved Tropical Wood Fence Pole x1 | 3 Tropical Wood |
| Carved Tropical Wood Fence with Ropes I x1 | 6 Tropical Wood, 2 String |
| Carved Tropical Wood Fence with Ropes II x1 | 6 Tropical Wood, 4 String |
| Copper Fence x1 | 3 Charcoal, 3 Copper Bars |
| Crypt Fence x1 | 10 Charcoal, 10 Iron Bars (requirement: Smelter and Forge) |
| Fine Hardwood Fence x1 | 6 Hardwood (requirement: Table Saw) |
| Fine Hardwood Fence Pole x1 | 3 Hardwood (requirement: Table Saw) |
| Fine Hardwood Handrail x1 | 6 Hardwood (requirement: Table Saw) |
| Fine Stone Fence x1 | 6 Stone (requirement: Masonry Tools) |
| Fine Stone Fence Pole x1 | 4 Stone (requirement: Masonry Tools) |
| Fine Stone Handrail x1 | 6 Stone (requirement: Masonry Tools) |
| Fine Wooden Fence x1 | 4 Wood Planks (requirement: Table Saw) |
| Fine Wooden Fence Pole x1 | 4 Wood Planks (requirement: Table Saw) |
| Golden Curved Palisade x1 | 1 Gold Bars, 1 Celestium Bars (requirement: Masonry Tools) |
| Golden Fence x1 | 1 Gold Bars, 1 Celestium Bars |
| Graveyard Fence x2 | 4 Limestone, 1 Copper Fence (requirement: Masonry Tools) |
| Graveyard Fence Broken I x2 | 4 Limestone, 1 Copper Fence (requirement: Masonry Tools) |
| Graveyard Fence Broken II x2 | 4 Limestone, 1 Copper Fence (requirement: Masonry Tools) |
| Graveyard Fence Pole x1 | 6 Limestone (requirement: Masonry Tools) |
| High Paling Fence I x1 | 10 Wood Planks |
| High Paling Fence II x1 | 10 Wood Planks |
| High Paling Fence III x1 | 10 Wood Planks |
| Iron Fence x1 | 3 Charcoal, 3 Iron Bars (requirement: Smelter) |
| Limestone Fence x1 | 6 Limestone (requirement: Masonry Tools) |
| Low Paling Fence I x1 | 6 Wood Planks |
| Low Paling Fence II x1 | 6 Wood Planks |
| Pinewood Fence Gate I x1 | 12 Conifer Logs (requirement: Table Saw) |
| Pinewood Fence Gate II x1 | 12 Conifer Logs (requirement: Table Saw) |
| Pinewood Fence I x1 | 6 Conifer Logs (requirement: Table Saw) |
| Pinewood Fence II x1 | 6 Conifer Logs (requirement: Table Saw) |
| Pinewood Fence Pole x1 | 4 Conifer Logs (requirement: Table Saw) |
| Pinewood Room Divider I x2 | 10 Conifer Logs |
| Pinewood Room Divider II x2 | 10 Conifer Logs |
| Pinewood Room Divider III x2 | 10 Conifer Logs |
| Pinewood Room Divider IV x2 | 10 Conifer Logs |
| Prison Fence x1 | 3 Charcoal, 3 Iron Bars (requirement: Forge) |
| Prison Fence Gate x1 | 5 Charcoal, 5 Iron Bars (requirement: Forge) |
| Prison Fence Pole x1 | 1 Charcoal, 1 Iron Bars (requirement: Forge) |
| Prison Room Divider I x2 | 2 Iron Bars, 4 Metal Scraps |
| Prison Room Divider II x2 | 2 Iron Bars, 4 Metal Scraps |
| Room Divider I x2 | 8 Hardwood, 2 Conifer Logs |
| Room Divider II x2 | 8 Hardwood, 2 Conifer Logs |
| Room Divider III x2 | 8 Hardwood, 2 Conifer Logs |
| Sandstone Fence x1 | 6 Sandstone (requirement: Masonry Tools) |
| Sandstone Fence Pole x1 | 3 Sandstone (requirement: Masonry Tools) |
| Simple Tropical Wood Fence with Ropes I x1 | 6 Tropical Wood, 2 String |
| Simple Tropical Wood Fence with Ropes II x1 | 6 Tropical Wood, 2 String |
| Simple Wooden Fence x1 | 8 Wood Planks (requirement: Table Saw) |
| Simple Wooden Handrail x1 | 8 Wood Planks (requirement: Table Saw) |
| Simple Wooden Pole x1 | 4 Wood Planks (requirement: Table Saw) |
| Steel Fence x1 | 4 Steel Bars |
| Steel Fence Pole x1 | 2 Steel Bars |
| Steel Handrail x1 | 4 Steel Bars |
| Tall Crypt Fence x1 | 20 Charcoal, 20 Iron Bars (requirement: Smelter and Forge) |
Each Graveyard Fence recipe uses up a finished Copper Fence, which is in the same table.
Weapon wall mounts, racks and mannequins
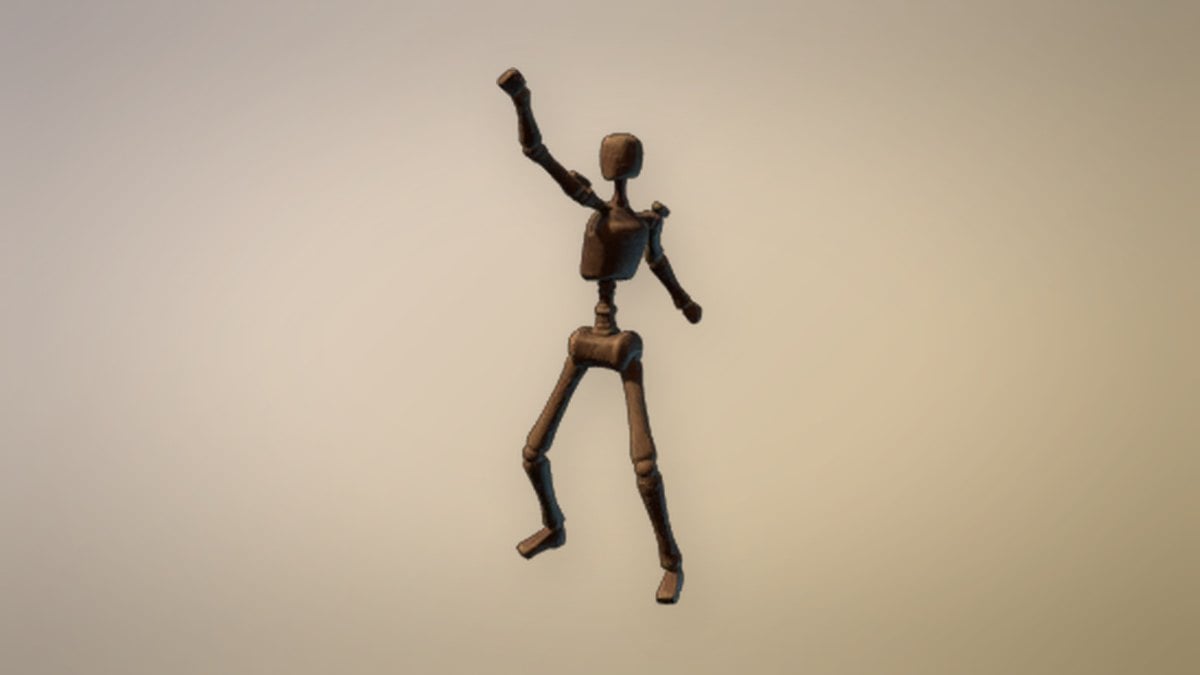
Everything in this group is made from Wood Logs plus either Nails or Metal Scraps. None of it needs a second station. All six mannequin poses cost the same.
| You get | It takes |
|---|---|
| Bow Weapon Rack x1 | 2 Wood Logs, 1 Nails |
| Bow and Arrow Wall Mount x1 | 1 Wood Logs, 1 Nails |
| Dagger Wall Mount x1 | 1 Wood Logs, 1 Nails |
| Daggers Weapon Rack x1 | 2 Wood Logs, 1 Nails |
| Mannequin “Back Off” x1 | 5 Wood Logs, 3 Metal Scraps |
| Mannequin “Here I Come” x1 | 5 Wood Logs, 3 Metal Scraps |
| Mannequin “Let Me Serve You” x1 | 5 Wood Logs, 3 Metal Scraps |
| Mannequin “Look At Me” x1 | 5 Wood Logs, 3 Metal Scraps |
| Mannequin “Strike A Pose” x1 | 5 Wood Logs, 3 Metal Scraps |
| Mannequin “Victory” x1 | 5 Wood Logs, 3 Metal Scraps |
| One-Handed Melee Weapon Rack x1 | 4 Wood Logs, 4 Nails |
| One-Handed Melee Weapon Wall Mount x1 | 1 Wood Logs, 1 Nails |
| Shield Rack x1 | 2 Wood Logs, 2 Nails |
| Shield Wall Mount x1 | 1 Wood Logs, 1 Nails |
| Staff Wall Mount x1 | 1 Wood Logs, 1 Nails |
| Staff Weapon Rack x1 | 4 Wood Logs, 4 Nails |
| Sword and Shield Rack x1 | 4 Wood Logs, 5 Nails |
| Two-Handed Melee Weapon Rack x1 | 4 Wood Logs, 4 Nails |
| Two-Handed Melee Weapon Wall Mount x1 | 1 Wood Logs, 1 Nails |
| Wand Wall Mount x1 | 1 Wood Logs, 1 Nails |
| Wand Weapon Rack x1 | 3 Wood Logs, 3 Nails |
Wig heads and salon pieces
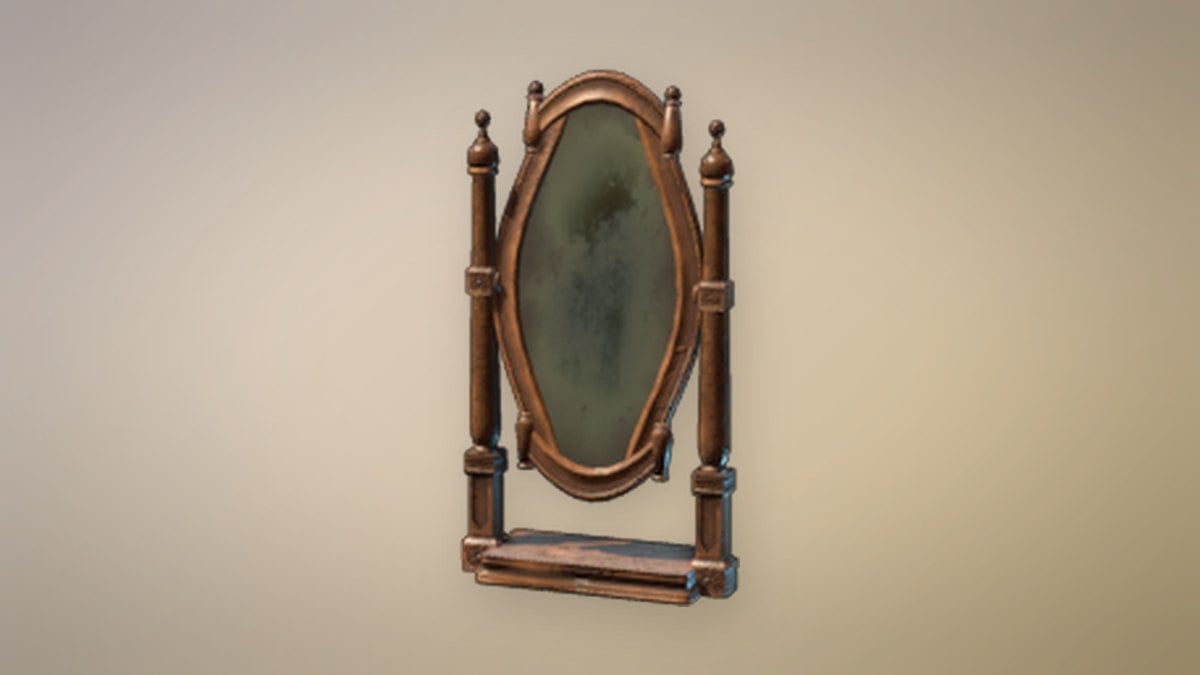
Wig heads take any type of log. The Salon Sign is the only Decoration Workbench recipe that needs Smithing Tools.
| You get | It takes |
|---|---|
| “Afro” Wig Head x1 | 5 Wood Logs (any log type) (requirement: Table Saw) |
| “Braid” Wig Head x1 | 5 Wood Logs (any log type) (requirement: Table Saw) |
| “Cowlick” Wig Head x1 | 5 Wood Logs (any log type) (requirement: Table Saw) |
| “Hanfu Ponytail” Wig Head x1 | 5 Wood Logs (any log type) (requirement: Table Saw) |
| “Slick Fade” Wig Head x1 | 5 Wood Logs (any log type) (requirement: Table Saw) |
| Barber’s Favorite Wig Head x1 | 5 Wood Logs (any log type) (requirement: Table Saw) |
| Large Salon Mirror x1 | 2 Conifer Logs, 5 Nails, 1 Silver Bars, 2 Obsidian (requirement: Table Saw) |
| Salon Sign x1 | 2 Nails, 2 Steel Bars, 2 Coal (requirement: Smithing Tools) |
| Small Salon Mirror x1 | 1 Conifer Logs, 2 Nails, 1 Silver Bars, 1 Obsidian (requirement: Table Saw) |
Tableware, kitchenware and decorative ovens
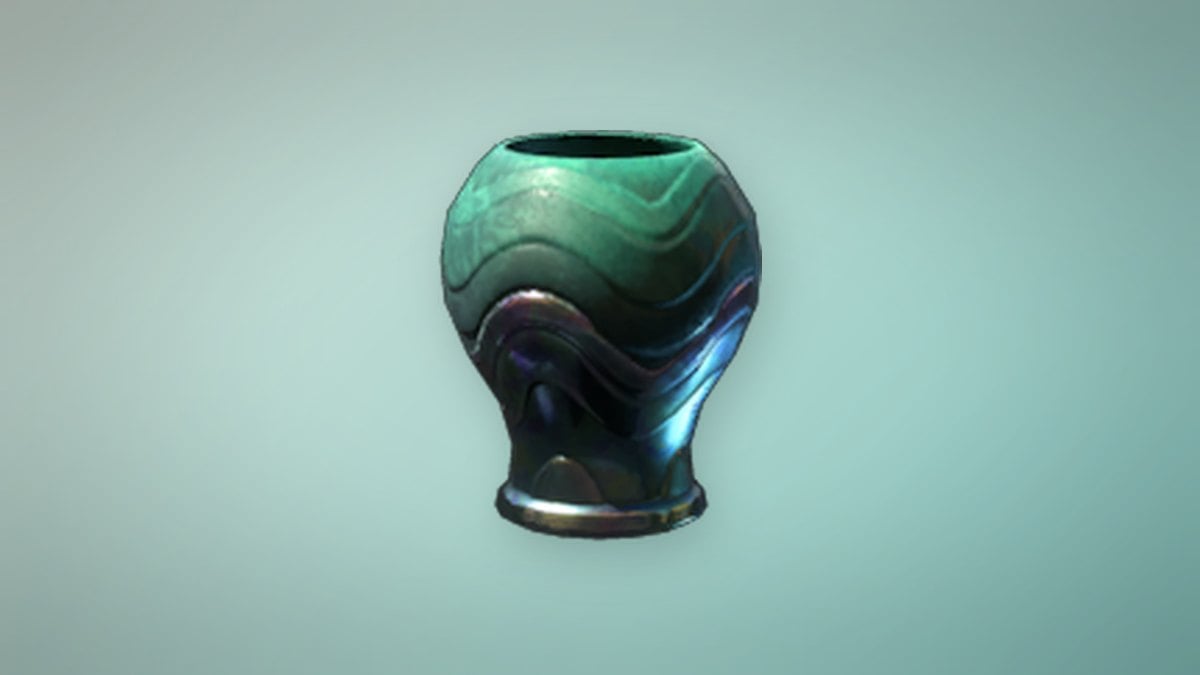
Tableware comes in sets per material, and the bowls, cups, jugs and platters in a set share a cost. A single Metal Scraps makes three Scrap Bowls or five Scrap Cups.
| You get | It takes |
|---|---|
| Bembel Pitcher x3 | 2 Plant Fiber, 2 Lump of Clay, 2 Indigo Plant (requirement: Kiln) |
| Bronze Bowl x3 | 1 Bronze Bars, 1 Charcoal (requirement: Smelter) |
| Bronze Cup x5 | 1 Bronze Bars, 1 Charcoal (requirement: Smelter) |
| Bronze Jug x2 | 1 Bronze Bars, 1 Charcoal (requirement: Smelter) |
| Bronze Platter x3 | 1 Bronze Bars, 1 Charcoal (requirement: Smelter) |
| Celestium Bowl x3 | 1 Celestium Bars, 1 Charcoal |
| Celestium Cup x5 | 1 Celestium Bars, 1 Charcoal |
| Celestium Jug x2 | 1 Celestium Bars, 1 Charcoal |
| Celestium Platter x3 | 1 Celestium Bars, 1 Charcoal |
| Clay Bowl x3 | 1 Wood Logs, 1 Lump of Clay (requirement: Kiln) |
| Clay Cup x5 | 1 Wood Logs, 1 Lump of Clay (requirement: Kiln) |
| Clay Jug x2 | 1 Lump of Clay, 1 Wood Logs (requirement: Kiln) |
| Clay Platter x3 | 1 Wood Logs, 1 Lump of Clay (requirement: Kiln) |
| Clay Tea Cup x5 | 1 Wood Logs, 1 Lump of Clay (requirement: Kiln) |
| Copper Bowl x3 | 2 Copper Bars, 2 Charcoal |
| Copper Cup x5 | 2 Charcoal, 2 Copper Bars |
| Copper Jug x2 | 2 Copper Bars, 2 Charcoal |
| Copper Platter x3 | 2 Copper Bars, 2 Charcoal |
| Crystal Bowl x3 | 2 Glass, 1 Charcoal |
| Crystal Cup x5 | 2 Glass, 1 Charcoal |
| Crystal Jug x2 | 2 Glass, 1 Charcoal |
| Crystal Platter x3 | 2 Glass, 1 Charcoal |
| Decorative Oven I x1 | 6 Fired Bricks, 4 Lump of Clay, 2 Metal Scraps |
| Decorative Oven II x1 | 4 Fired Bricks, 2 Lump of Clay, 2 Metal Scraps |
| Decorative Oven III x1 | 4 Fired Bricks, 2 Lump of Clay, 2 Metal Scraps, 1 Copper Bars |
| Iron Bucket x1 | 1 Iron Bars, 1 Charcoal |
| Scrap Bowl x3 | 1 Metal Scraps |
| Scrap Bucket x1 | 2 Metal Scraps, 2 Charcoal |
| Scrap Cup x5 | 1 Metal Scraps |
| Scrap Jug x2 | 1 Metal Scraps |
| Scrap Ladle x3 | 1 Metal Scraps |
| Scrap Pan I x3 | 2 Metal Scraps, 1 Charcoal |
| Scrap Pan II x3 | 2 Metal Scraps, 1 Charcoal |
| Scrap Platter x3 | 1 Metal Scraps |
| Scrap Pot I x3 | 4 Metal Scraps, 3 Charcoal |
| Scrap Pot II x3 | 5 Metal Scraps, 3 Charcoal |
| Scrap Pot III x3 | 3 Metal Scraps, 3 Charcoal |
| Scrap Pot IV x3 | 3 Metal Scraps, 3 Charcoal |
| Scrap Pot V x3 | 3 Metal Scraps, 3 Charcoal |
| Scrap Pot VI x3 | 4 Metal Scraps, 3 Charcoal |
| Silver Bowl x3 | 1 Silver Bars, 1 Charcoal |
| Silver Cup x5 | 1 Silver Bars, 1 Charcoal |
| Silver Jug x2 | 1 Silver Bars, 1 Charcoal |
| Silver Platter x3 | 1 Silver Bars, 1 Charcoal |
| Small Mortar x3 | 1 Limestone (requirement: Masonry Tools) |
| Steel Bucket x1 | 2 Steel Bars, 2 Coal (requirement: Forge) |
Vases, vats and urns
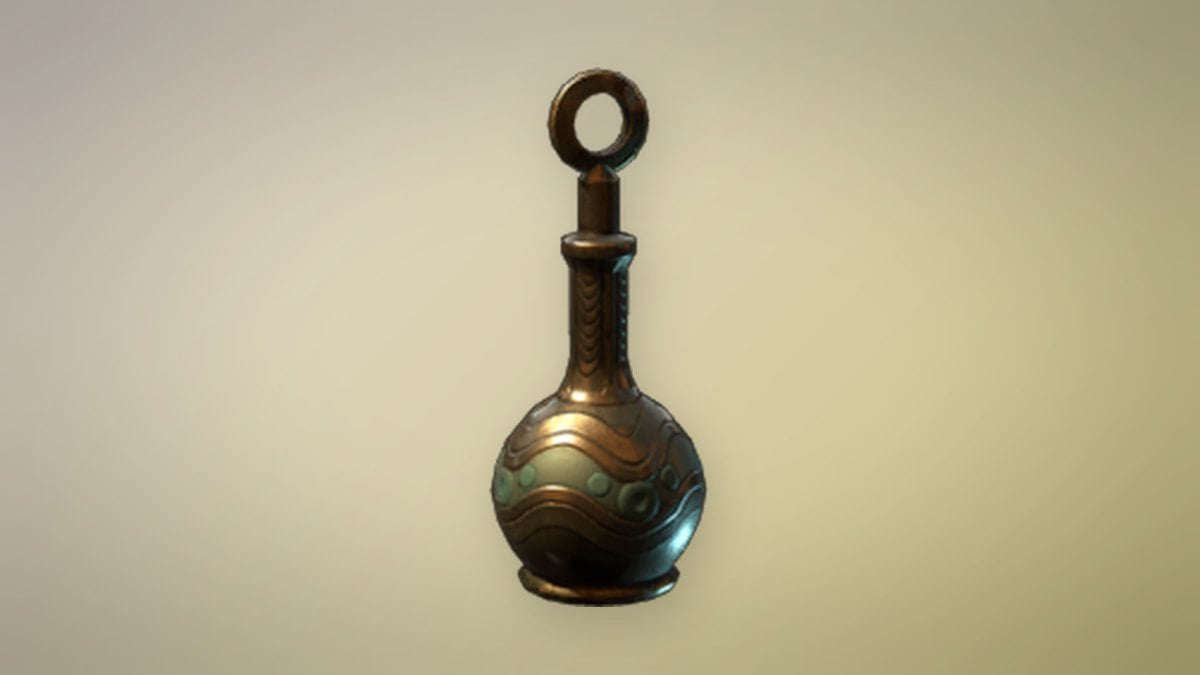
Most pieces in this group skip the station requirement. The three Carved Limestone Vases are the exception and need Masonry Tools.
| You get | It takes |
|---|---|
| Big Clay Vat x1 | 10 Lump of Clay, 5 Wood Logs, 3 Limestone (crafting time 1:00) |
| Carved Limestone Vase I x1 | 5 Limestone (requirement: Masonry Tools) |
| Carved Limestone Vase II x1 | 5 Limestone (requirement: Masonry Tools) |
| Carved Limestone Vase III x1 | 5 Limestone (requirement: Masonry Tools) |
| Drak Temple Vase I x1 | 1 Gold Bars, 5 Shell Limestone |
| Drak Temple Vase II x1 | 1 Gold Bars, 5 Shell Limestone |
| Drak Temple Vase III x1 | 1 Gold Bars, 5 Shell Limestone |
| Drak Temple Vase IV x1 | 1 Gold Bars, 5 Shell Limestone |
| Drak Temple Vase V x1 | 1 Gold Bars, 5 Shell Limestone |
| Drak Temple Vase VI x1 | 1 Gold Bars, 5 Shell Limestone |
| Drak Temple Vase VII x1 | 1 Gold Bars, 5 Shell Limestone |
| Golden Vase Of The Ancients I x1 | 1 Gold Bars, 2 Moonstone |
| Golden Vase Of The Ancients II x1 | 1 Gold Bars, 2 Moonstone |
| Golden Vase Of The Ancients III x1 | 1 Gold Bars, 2 Moonstone |
| Ornamented Vase I x1 | 1 Lapislazuli, 4 Lump of Clay |
| Ornamented Vase II x1 | 1 Lapislazuli, 4 Lump of Clay |
| Ornamented Vase III x1 | 1 Lapislazuli, 4 Lump of Clay |
| Ornamented Vase IV x1 | 1 Lapislazuli, 4 Lump of Clay |
| Ornamented Vase V x1 | 1 Lapislazuli, 4 Lump of Clay |
| Ornamented Vase VI x1 | 1 Lapislazuli, 4 Lump of Clay |
| Scrap Vat I x1 | 5 Metal Scraps, 2 Charcoal |
| Scrap Vat II x1 | 4 Metal Scraps, 2 Charcoal |
| Vase Of The Ancients I x1 | 1 Gold Bars, 4 Moonstone |
| Vase Of The Ancients II x1 | 1 Gold Bars, 4 Moonstone |
| Vase Of The Ancients III x1 | 1 Gold Bars, 4 Moonstone |
| Vase Of The Ancients IV x1 | 1 Gold Bars, 3 Moonstone |
| Vase Of The Ancients V x1 | 1 Gold Bars, 3 Moonstone |
| Vase Of The Ancients VI x1 | 1 Gold Bars, 3 Moonstone |
| Vat I x1 | 6 Wood Planks, 2 Metal Sheets, 2 Charcoal |
| Vat II x1 | 2 Wood Planks, 1 Metal Sheets, 1 Charcoal |
| Vat III x1 | 5 Wood Planks, 2 Metal Sheets, 2 Charcoal |
| Vat Of The Ancients I x1 | 1 Gold Bars, 4 Moonstone |
| Vat Of The Ancients II x1 | 1 Gold Bars, 4 Moonstone |
| Vat Of The Ancients III x1 | 1 Gold Bars, 4 Moonstone |
| Vat Of The Ancients IV x1 | 1 Gold Bars, 4 Moonstone |
The Moonstone pieces vary in cost. Golden Vases need 2 Moonstone, while plain Vases Of The Ancients need 3 or 4.
Ornaments and clutter

| You get | It takes |
|---|---|
| Blue Globe x1 | 3 Bronze Bars, 3 Charcoal, 5 Lapislazuli |
| Crystal Ball x1 | 2 Bronze Bars, 2 Charcoal, 5 Ectoplasm Fragment |
| Fire Bowl x1 | 2 Bronze Bars, 2 Charcoal (requirement: Forge) |
| Jewelry Box x1 | 2 Bronze Bars, 2 Charcoal (requirement: Forge) |
| Medium Flask x1 | 1 Charcoal, 1 Glass |
| Small Flask x2 | 1 Charcoal, 1 Glass |
| Urn x1 | 2 Bronze Bars, 2 Charcoal (requirement: Forge) |
Crates, barrels, sacks and cages
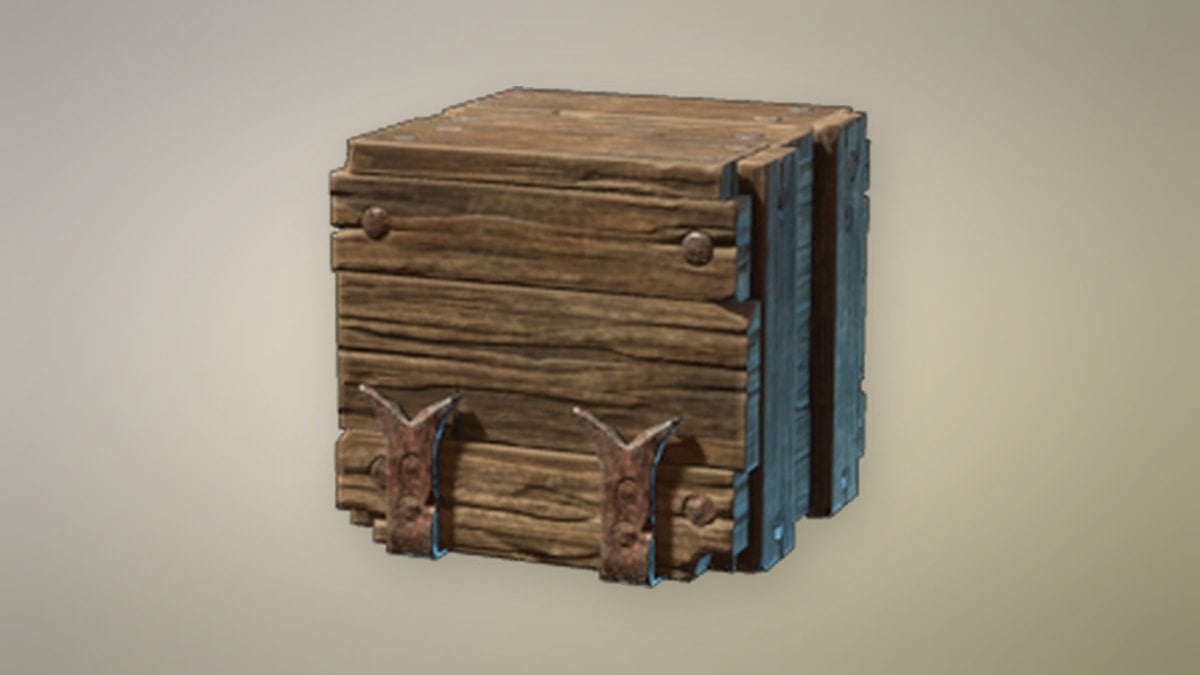
Every bamboo piece in this group needs Masonry Tools. The leather, wood and cloth pieces need no station at all.
| You get | It takes |
|---|---|
| Bamboo Cage I x1 | 4 Paper Reed, 4 String, 8 Bamboo Logs (requirement: Masonry Tools) |
| Bamboo Cage II x1 | 4 Paper Reed, 4 String, 10 Bamboo Logs (requirement: Masonry Tools) |
| Bamboo Container I x1 | 4 Paper Reed, 4 String, 4 Palm Leaves, 6 Bamboo Logs (requirement: Masonry Tools) |
| Bamboo Container II x1 | 4 Paper Reed, 4 String, 4 Palm Leaves, 8 Bamboo Logs (requirement: Masonry Tools) |
| Bamboo Crate I x1 | 4 Bamboo Logs, 4 String (requirement: Masonry Tools) |
| Bamboo Crate II x1 | 4 Bamboo Logs, 4 String (requirement: Masonry Tools) |
| Big Leather Crate x1 | 6 Leather, 2 Linen, 1 Metal Scraps |
| Big Steel Barrel x1 | 6 Steel Bars, 6 Coal (requirement: Forge) |
| Big Wooden Crate x1 | 5 Wood Planks, 3 Nails |
| Bronze Barrel x1 | 4 Bronze Bars, 4 Charcoal (requirement: Smelter and Forge) |
| Half Wooden Barrel x1 | 2 Wood Planks, 1 Metal Sheets, 1 Charcoal |
| Large Bamboo Crate x1 | 6 Bamboo Logs, 4 String (requirement: Masonry Tools) |
| Leather Bag x1 | 2 Leather, 2 Linen |
| Leather Crate x1 | 4 Leather, 2 Linen, 1 Metal Scraps |
| Lying Wooden Barrel x1 | 6 Wood Planks, 2 Metal Sheets, 2 Charcoal |
| Palm Leaf Basket x1 | 4 Paper Reed, 4 String, 4 Palm Leaves (requirement: Masonry Tools) |
| Resource Bundle I x1 | 4 Torn Cloth, 2 String |
| Resource Bundle II x1 | 8 Torn Cloth, 4 String |
| Scrap Cage x1 | 3 Metal Scraps, 3 Charcoal |
| Scrappy Crate x1 | 5 Metal Sheets, 3 Charcoal |
| Small Steel Barrel x1 | 4 Steel Bars, 4 Coal (requirement: Forge) |
| Standing Wooden Barrel x1 | 4 Wood Planks, 2 Metal Sheets, 2 Charcoal |
| Supply Sacks I x1 | 4 Torn Cloth, 2 String |
| Supply Sacks II x1 | 2 Torn Cloth, 1 String |
| Supply Sacks III x1 | 2 Torn Cloth, 1 String |
| Supply Sacks IV x1 | 2 Torn Cloth, 1 String |
| Supply Sacks V x1 | 4 Torn Cloth, 2 String |
| Wooden Crate x1 | 3 Wood Planks, 2 Nails |
Columns, arcs and Ancient pieces
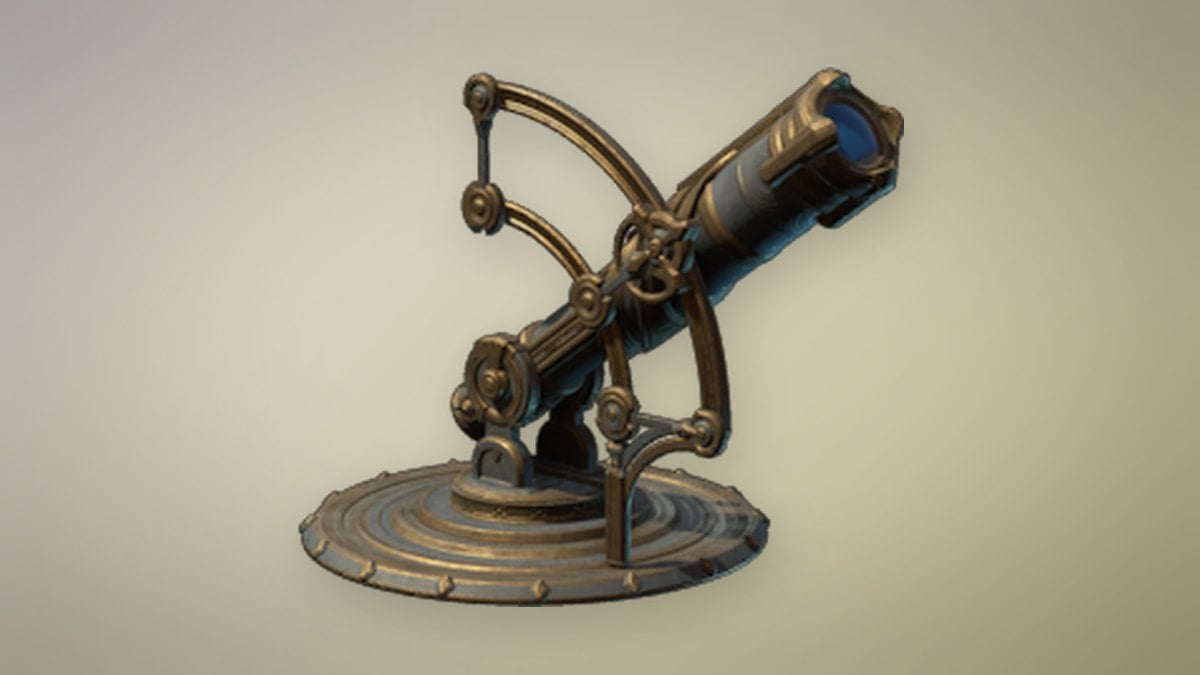
Masonry Tools are needed for almost the whole group. The two Golden Room Dividers are the only exceptions. The Giant Telescope takes 10 Gold Bars and 10 Celestium Bars.
| You get | It takes |
|---|---|
| Ancient Ceiling Mobile I x1 | 1 Gold Bars, 1 Celestium Bars (requirement: Masonry Tools) |
| Ancient Ceiling Mobile II x1 | 1 Gold Bars, 1 Celestium Bars (requirement: Masonry Tools) |
| Ancient Ceiling Mobile III x1 | 1 Gold Bars, 1 Celestium Bars (requirement: Masonry Tools) |
| Ancient Centrifuge x1 | 1 Gold Bars, 1 Celestium Bars (requirement: Masonry Tools) |
| Ancient Colum Base I x1 | 10 Basalt (requirement: Masonry Tools) |
| Ancient Colum Base II x1 | 10 Basalt (requirement: Masonry Tools) |
| Ancient Column x1 | 10 Basalt (requirement: Masonry Tools) |
| Ancient Column Block x1 | 10 Basalt (requirement: Masonry Tools) |
| Ancient Cooling Unit x1 | 1 Gold Bars, 1 Celestium Bars (requirement: Masonry Tools) |
| Ancient Microscope I x1 | 1 Gold Bars, 1 Celestium Bars (requirement: Masonry Tools) |
| Ancient Microscope II x1 | 1 Gold Bars, 1 Celestium Bars (requirement: Masonry Tools) |
| Ancient Microscope III x1 | 1 Gold Bars, 1 Celestium Bars (requirement: Masonry Tools) |
| Ancient Pipette x1 | 1 Gold Bars, 1 Celestium Bars (requirement: Masonry Tools) |
| Astronomy Desk I x1 | 2 Gold Bars, 2 Celestium Bars (requirement: Masonry Tools) |
| Astronomy Desk II x1 | 2 Gold Bars, 2 Celestium Bars (requirement: Masonry Tools) |
| Giant Telescope x1 | 10 Gold Bars, 10 Celestium Bars (requirement: Masonry Tools) |
| Globe x1 | 1 Gold Bars, 1 Celestium Bars (requirement: Masonry Tools) |
| Golden Dome x1 | 2 Gold Bars, 2 Celestium Bars (requirement: Masonry Tools) |
| Golden Room Divider x2 | 2 Gold Bars, 1 Celestium Bars |
| Large Ancient Arc x1 | 10 Basalt (requirement: Masonry Tools) |
| Large Ancient Prayer Beacon x1 | 4 Basalt, 1 Celestium Bars (requirement: Masonry Tools) |
| Large Ancient Temple Shelf x1 | 8 Basalt, 1 Celestium Bars, 1 Gold Bars (requirement: Masonry Tools) |
| Large Golden Room Divider x2 | 4 Gold Bars, 2 Celestium Bars |
| Large Red Marble Arc x1 | 10 Red Marble Fragment (requirement: Masonry Tools) |
| Large Stone Arc x1 | 20 Stone (requirement: Masonry Tools) |
| Measuring Device I x1 | 2 Gold Bars, 2 Celestium Bars (requirement: Masonry Tools) |
| Measuring Device II x1 | 2 Gold Bars, 2 Celestium Bars (requirement: Masonry Tools) |
| Medium Ancient Prayer Beacon x1 | 3 Basalt, 1 Celestium Bars (requirement: Masonry Tools) |
| Medium Ancient Temple Shelf x1 | 6 Basalt, 1 Gold Bars, 1 Celestium Bars (requirement: Masonry Tools) |
| Red Marble Column x1 | 10 Red Marble Fragment (requirement: Masonry Tools) |
| Red Marble Column Base I x1 | 10 Red Marble Fragment (requirement: Masonry Tools) |
| Red Marble Column Base II x1 | 10 Red Marble Fragment (requirement: Masonry Tools) |
| Small Ancient Arc x1 | 10 Basalt (requirement: Masonry Tools) |
| Small Ancient Prayer Beacon x1 | 2 Basalt, 1 Celestium Bars (requirement: Masonry Tools) |
| Small Ancient Temple Shelf x1 | 4 Basalt, 1 Celestium Bars, 1 Gold Bars (requirement: Masonry Tools) |
| Small Red Marble Arc x1 | 10 Red Marble Fragment (requirement: Masonry Tools) |
| Small Stone Arc x1 | 10 Stone (requirement: Masonry Tools) |
| Small Telescope x1 | 2 Gold Bars, 2 Celestium Bars (requirement: Masonry Tools) |
| Stone Column x1 | 10 Stone (requirement: Masonry Tools) |
| Stone Column Base x1 | 10 Stone (requirement: Masonry Tools) |
| Stone Column Block x1 | 10 Stone (requirement: Masonry Tools) |
Statues, totems and shrines
Each Drak totem needs one Drak Blood, one Drak Claws and one Drak Scales. The Vukah Shrine uses up a Vukah Brawler Head. The Statue of Queen Pikemead is the only piece in the group that skips Masonry Tools.

| You get | It takes |
|---|---|
| Big Blackmire Statue I x1 | 10 Blackmire Stone (requirement: Masonry Tools) |
| Big Blackmire Statue II x1 | 10 Blackmire Stone (requirement: Masonry Tools) |
| Big Stone Statue “Sword” x1 | 15 Limestone (requirement: Masonry Tools) |
| Blackmire Statue I x1 | 5 Blackmire Stone (requirement: Masonry Tools) |
| Blackmire Statue II x1 | 5 Blackmire Stone (requirement: Masonry Tools) |
| Blackmire Statue III x1 | 5 Blackmire Stone (requirement: Masonry Tools) |
| Blackmire Statue IV x1 | 5 Blackmire Stone (requirement: Masonry Tools) |
| Blackmire Statue V x1 | 5 Blackmire Stone (requirement: Masonry Tools) |
| Blackmire Statue VI x1 | 5 Blackmire Stone (requirement: Masonry Tools) |
| Drak Stone Totem I x1 | 5 Shell Limestone, 1 Gold Bars, 1 Drak Blood, 1 Drak Claws, 1 Drak Scales (requirement: Masonry Tools) |
| Drak Stone Totem II x1 | 5 Shell Limestone, 1 Gold Bars, 1 Drak Blood, 1 Drak Claws, 1 Drak Scales (requirement: Masonry Tools) |
| Drak Stone Totem III x1 | 5 Shell Limestone, 1 Gold Bars, 1 Drak Blood, 1 Drak Claws, 1 Drak Scales (requirement: Masonry Tools) |
| Drak Stone Totem IV x1 | 5 Shell Limestone, 1 Gold Bars, 1 Drak Blood, 1 Drak Claws, 1 Drak Scales (requirement: Masonry Tools) |
| Drak Stone Totem V x1 | 5 Shell Limestone, 1 Gold Bars, 1 Drak Blood, 1 Drak Claws, 1 Drak Scales (requirement: Masonry Tools) |
| Drak Wood Totem I x1 | 5 Tropical Wood, 1 Gold Dust, 1 Drak Blood, 1 Drak Claws, 1 Drak Scales (requirement: Masonry Tools) |
| Drak Wood Totem II x1 | 5 Tropical Wood, 1 Gold Dust, 1 Drak Blood, 1 Drak Claws, 1 Drak Scales (requirement: Masonry Tools) |
| Drak Wood Totem III x1 | 5 Tropical Wood, 1 Gold Dust, 1 Drak Blood, 1 Drak Claws, 1 Drak Scales (requirement: Masonry Tools) |
| Drak Wood Totem IV x1 | 5 Tropical Wood, 1 Gold Dust, 1 Drak Blood, 1 Drak Claws, 1 Drak Scales (requirement: Masonry Tools) |
| Drak Wood Totem V x1 | 5 Tropical Wood, 1 Gold Dust, 1 Drak Blood, 1 Drak Claws, 1 Drak Scales (requirement: Masonry Tools) |
| Statue of Queen Pikemead x1 | 15 Revelwood Stone, 15 Flintstone, 30 Hardwood |
| Vukah Shrine x1 | 4 Limestone, 1 Vukah Brawler Head (requirement: Masonry Tools) |
Coffins, crypts and tombstones
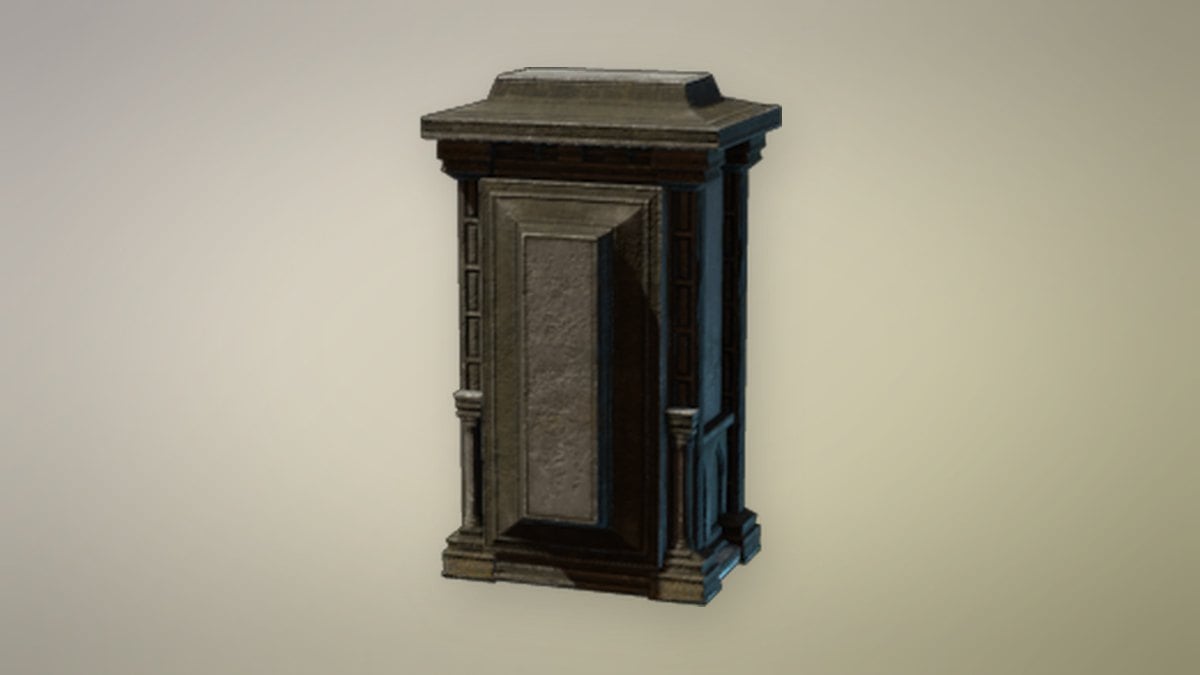
Every piece here is made from Limestone alone, and every one needs Masonry Tools. Lids are separate crafts from their coffins.
| You get | It takes |
|---|---|
| Big Coffin x1 | 12 Limestone (requirement: Masonry Tools) |
| Big Coffin Lid x1 | 8 Limestone (requirement: Masonry Tools) |
| Coffin x1 | 10 Limestone (requirement: Masonry Tools) |
| Coffin Lid x1 | 7 Limestone (requirement: Masonry Tools) |
| Large Crypt Coffin I x1 | 12 Limestone (requirement: Masonry Tools) |
| Large Crypt Coffin II x1 | 12 Limestone (requirement: Masonry Tools) |
| Large Crypt Coffin Lid x1 | 8 Limestone (requirement: Masonry Tools) |
| Large Crypt Mausoleum x1 | 20 Limestone (requirement: Masonry Tools) |
| Large Elevated Crypt Coffin I x1 | 15 Limestone (requirement: Masonry Tools) |
| Large Elevated Crypt Coffin II x1 | 18 Limestone (requirement: Masonry Tools) |
| Simple Coffin x1 | 8 Limestone (requirement: Masonry Tools) |
| Simple Coffin Lid x1 | 6 Limestone (requirement: Masonry Tools) |
| Standing Crypt Coffin x1 | 15 Limestone (requirement: Masonry Tools) |
| Tombstone “Always Loved” x1 | 7 Limestone (requirement: Masonry Tools) |
| Tombstone “Forever In Our Hearts” x1 | 5 Limestone (requirement: Masonry Tools) |
| Tombstone “In Loving Memory” x1 | 6 Limestone (requirement: Masonry Tools) |
| Tombstone “Together Again” x1 | 6 Limestone (requirement: Masonry Tools) |
| Tombstone “Until We Meet Again” x1 | 4 Limestone (requirement: Masonry Tools) |
The Large Crypt Mausoleum takes 20 Limestone and each tombstone 4.
Books
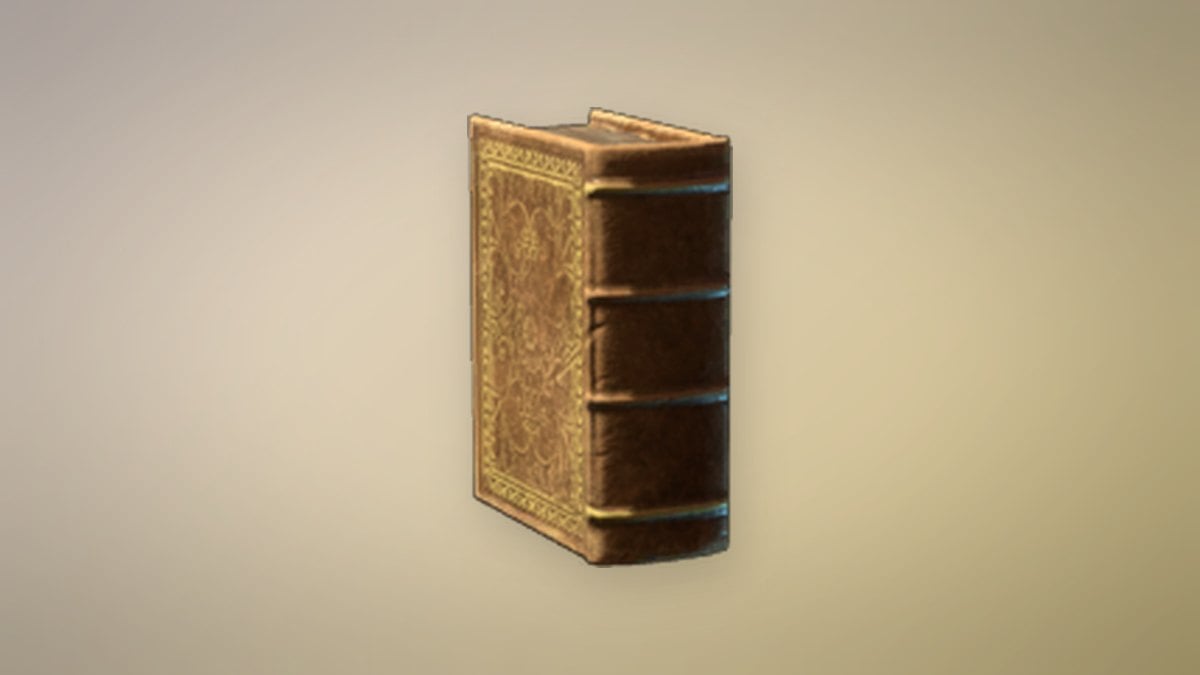
All eight book pieces share one recipe. Each takes 5 Old Books or Paper and needs no station.
| You get | It takes |
|---|---|
| Book I x1 | 5 Old Books or Paper |
| Book II x1 | 5 Old Books or Paper |
| Book III x1 | 5 Old Books or Paper |
| Book IV x1 | 5 Old Books or Paper |
| Book V x1 | 5 Old Books or Paper |
| Collection Of Books I x1 | 5 Old Books or Paper |
| Collection Of Books II x1 | 5 Old Books or Paper |
| Collection Of Books III x1 | 5 Old Books or Paper |
Farm, market and workshop props
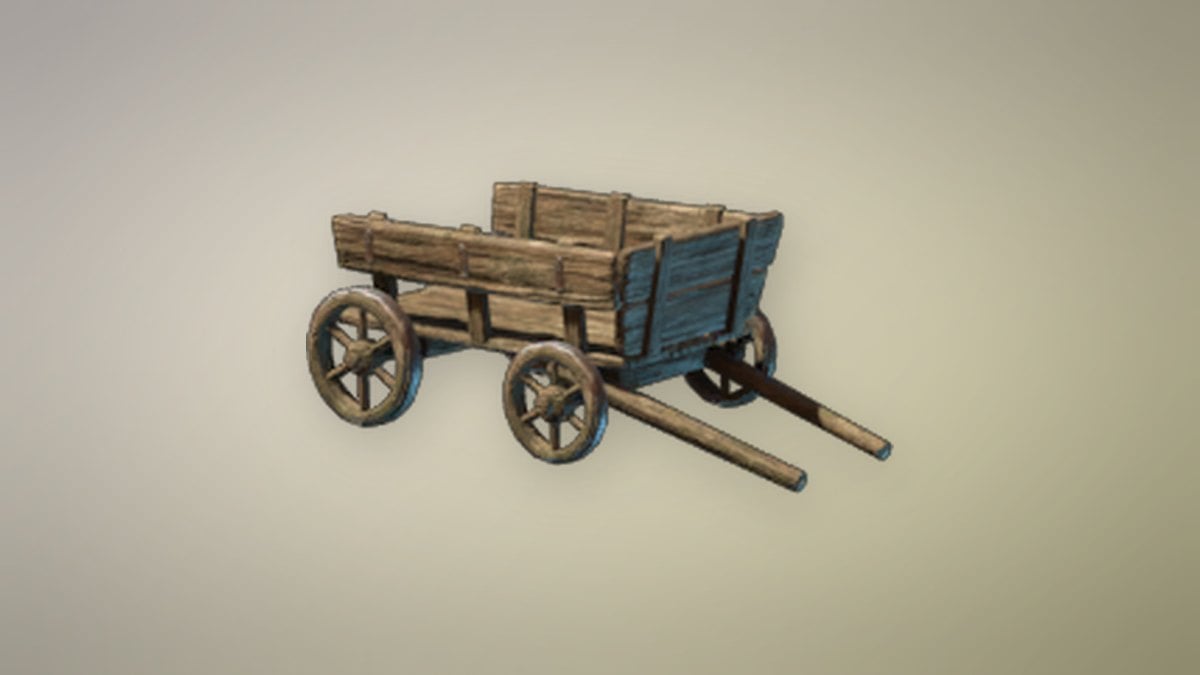
Most props here are wood and metal with no station requirement. The two Wooden Grates need a Table Saw, and the umbrella and drying rack need Masonry Tools.
| You get | It takes |
|---|---|
| Awning I x1 | 2 Wood Planks, 2 Fabric |
| Awning II x1 | 4 Wood Planks, 4 Fabric |
| Awning III x1 | 4 Wood Planks, 4 Fabric |
| Bamboo Palm Leaf Umbrella x1 | 8 Bamboo Logs, 6 Palm Leaves (requirement: Masonry Tools) |
| Big Waggon x1 | 10 Wood Planks, 4 Nails, 4 Metal Sheets |
| Ceiling Chain x1 | 1 Iron Bars, 2 Charcoal |
| Cultivation Rack x1 | 20 Cinder Rock, 10 Archaic Shards |
| Decorative Butter Churn x1 | 5 Wood Planks, 2 Metal Sheets, 2 Charcoal |
| Fish Drying Rack x1 | 2 Tropical Wood, 2 String (requirement: Masonry Tools) |
| Harrow x1 | 2 Wood Logs, 2 Wood Planks, 1 Metal Sheets, 2 Nails |
| Iron Grate x1 | 8 Iron Bars, 8 Charcoal |
| Notice Board x1 | 8 Wood Planks, 6 Nails |
| Plough x1 | 6 Wood Logs, 4 Nails, 4 Metal Sheets |
| Pulley x1 | 2 Iron Bars, 3 Charcoal, 2 Linen |
| Tarpaulin x1 | 4 Wood Planks, 4 Fabric |
| Tarpaulin Corner x1 | 1 Wood Planks, 2 Fabric |
| Waggon x1 | 8 Wood Planks, 4 Nails, 4 Metal Sheets |
| Water Trough x1 | 3 Wood Logs |
| Wheel Barrow x1 | 2 Wood Planks, 2 Wood Logs, 2 Nails |
| Wooden Grate I x1 | 10 Wood Planks (requirement: Table Saw) |
| Wooden Grate II x1 | 10 Wood Planks (requirement: Table Saw) |