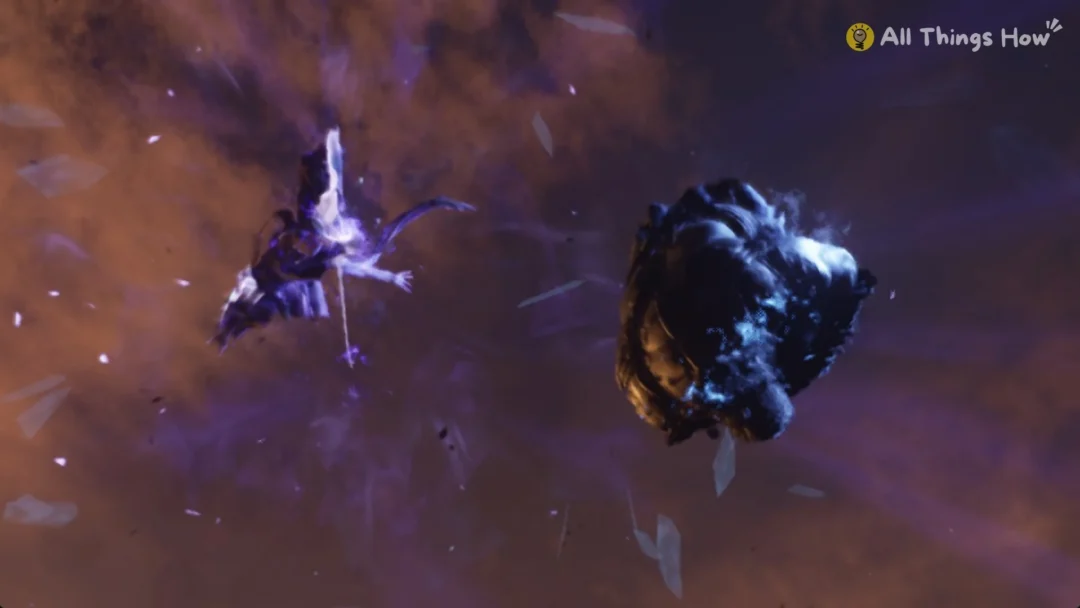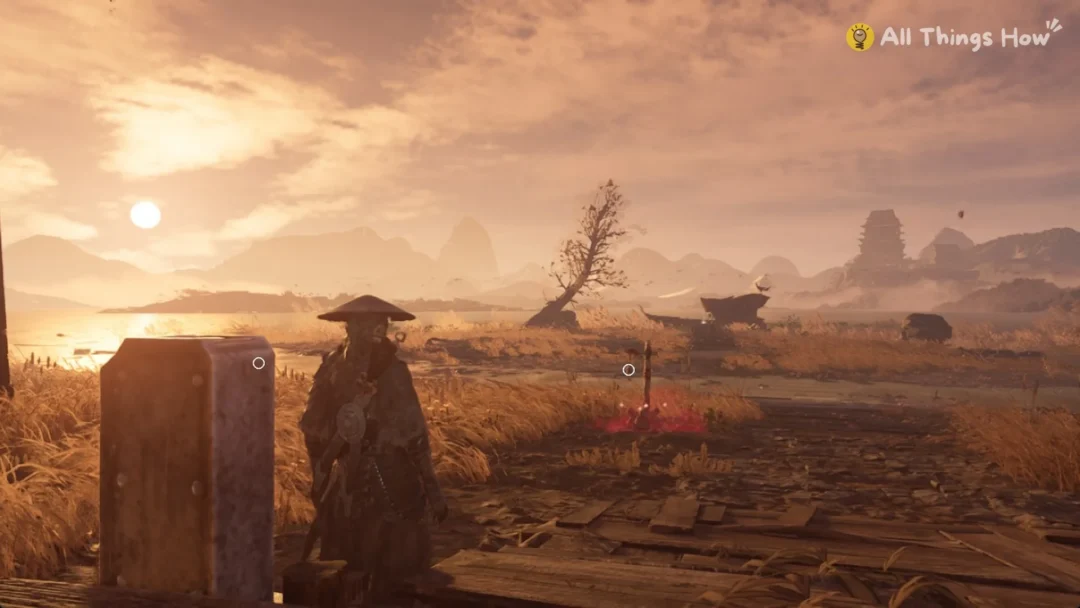
Every pet worth having in Steal a Pet sits in a cage somewhere down the long corridor outside your base. The corridor is divided into themed zones, and each one is a little meaner than the last. The game labels them with a face that gets less friendly as you go: a smile at the start and a grinning devil at the end. You run in, grab a cage, survive the boss that wakes up, and haul the pet home to hatch.
Quick answer: There are nine zones past the Safe Zone: Forest, Lake, Desert, Jungle, Snow, Volcano, Abyss Ocean, Prehistoric, and Cosmic. Hold E on a cage, then run back to the Safe Zone before the boss catches you.
All zones in Steal a Pet, in order
The zones run in a straight line from the SAFE ZONE outward, so you pass through every earlier zone to reach a later one. Each zone has a sign at its entrance, and the face on that sign is the game’s own difficulty hint.
| # | Zone | Sign face | What’s there |
|---|---|---|---|
| 1 | Forest | 🙂 | First stretch past the Safe Zone |
| 2 | Lake | 😐 | Outdoor corridor zone |
| 3 | Desert | 😐 | Outdoor corridor zone |
| 4 | Jungle | 😐 | Outdoor corridor zone |
| 5 | Snow | 🙁 | Last zone before the lava |
| 6 | Volcano | 🙁 | Lava flows, Legendary cages, three-headed fire boss |
| 7 | Abyss Ocean | 🙁 | First of the deep zones |
| 8 | Prehistoric | :O | Secret spawns are announced here |
| 9 | Cosmic | 😈 | Final zone |
The first five zones go by quickly at a sprint, and Volcano starts about 15 seconds out from the Safe Zone at a fast pace. Abyss Ocean, Prehistoric, and Cosmic sit beyond it, which means a longer run back with a boss on your heels.
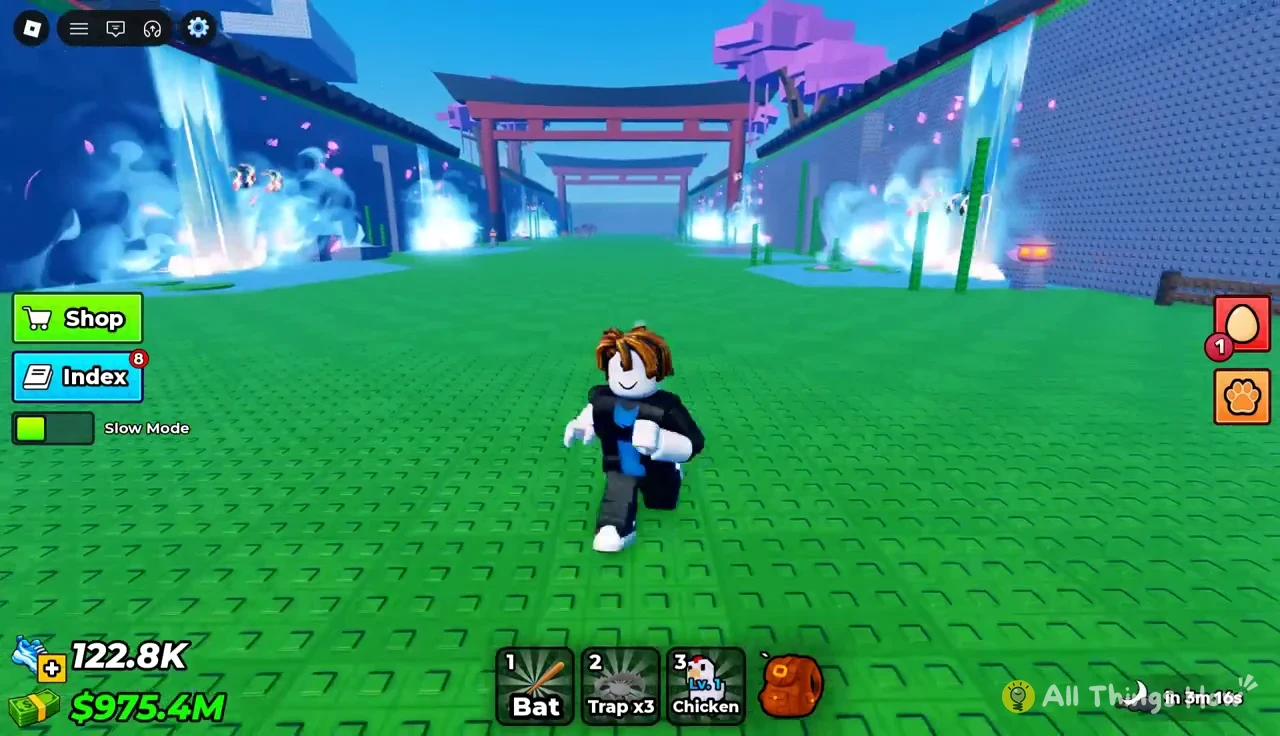
When a Secret pet appears, the whole server gets a banner reading “A Secret has spawned in Prehistoric!” along with an “ALL PETS RESET!” alert. Secret is the top rarity tier, above Cosmic, so that banner is your cue to head deep.
Rarity tiers, from lowest to highest, are COMMON, RARE, EPIC, LEGENDARY, MYTHIC, COSMIC, and SECRET.
What to carry before leaving the Safe Zone
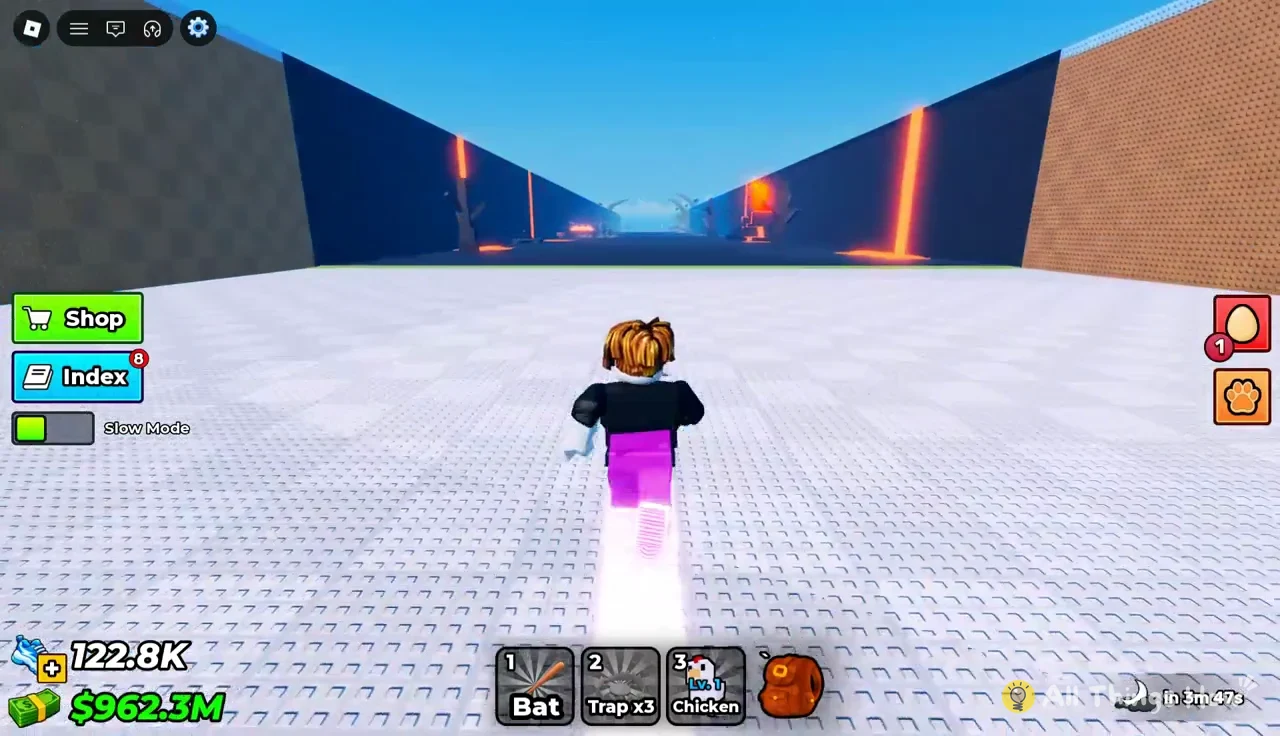
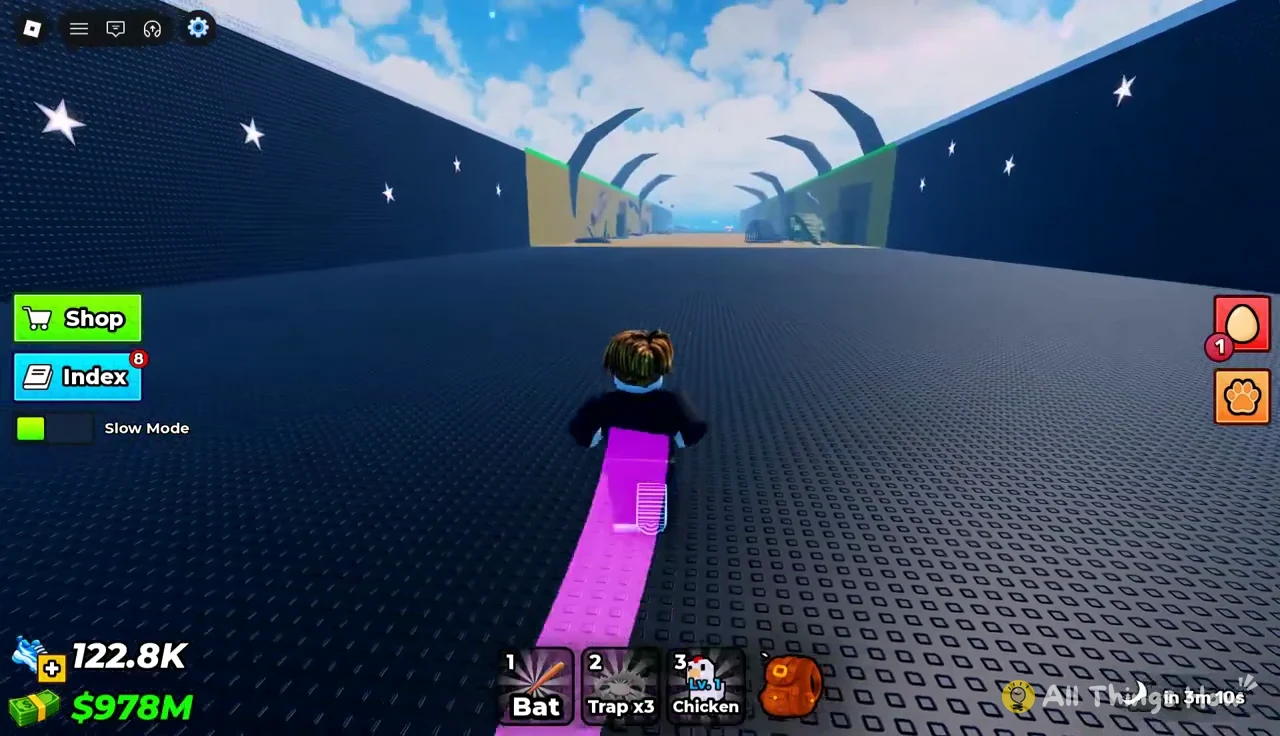
Your hotbar comes loaded with tools that go with you on every run. Check it before you step out:
- Bat, a held melee tool.
- Trap x3, three traps you can carry.
- Any pet you’ve equipped, such as a Chicken, which sits in its own hotbar slot.
- The green Slow Mode toggle on the left of the screen.
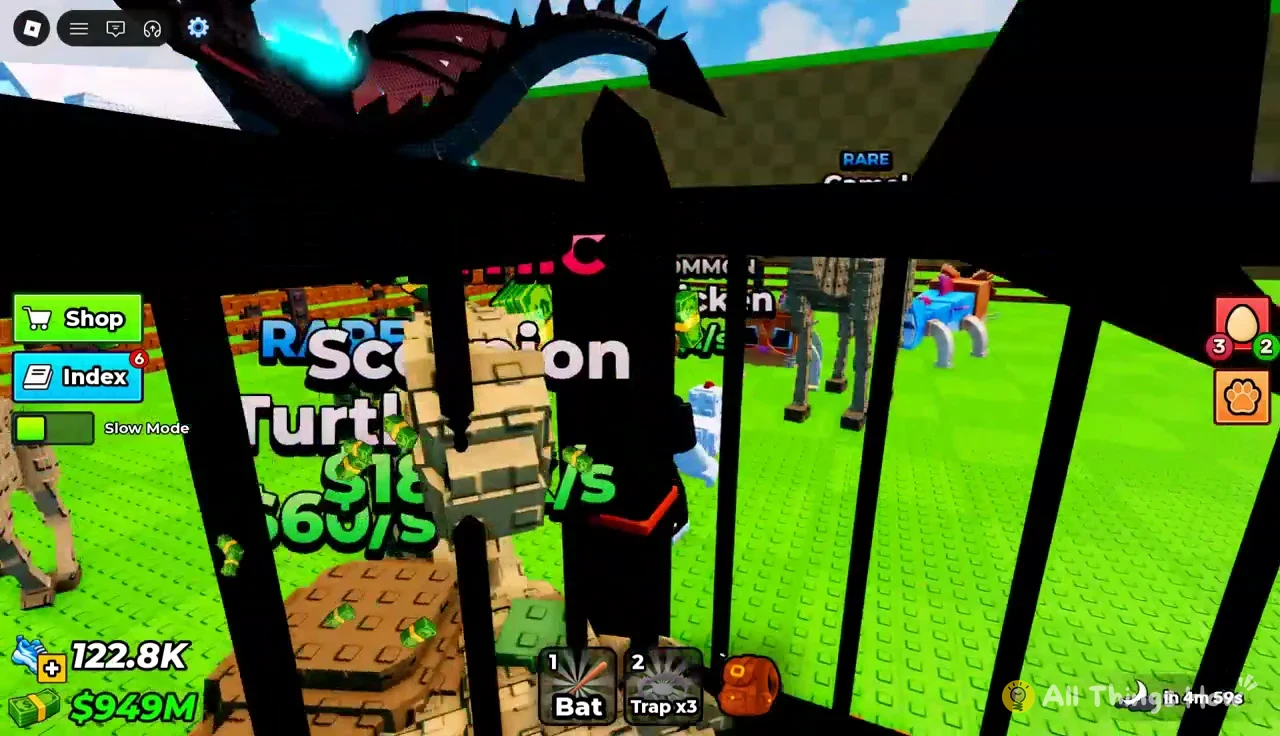
Speed matters more than anything else here, because the boss only stops chasing once you’re back across the Safe Zone line. More on training it below.
How to steal a caged pet from a zone
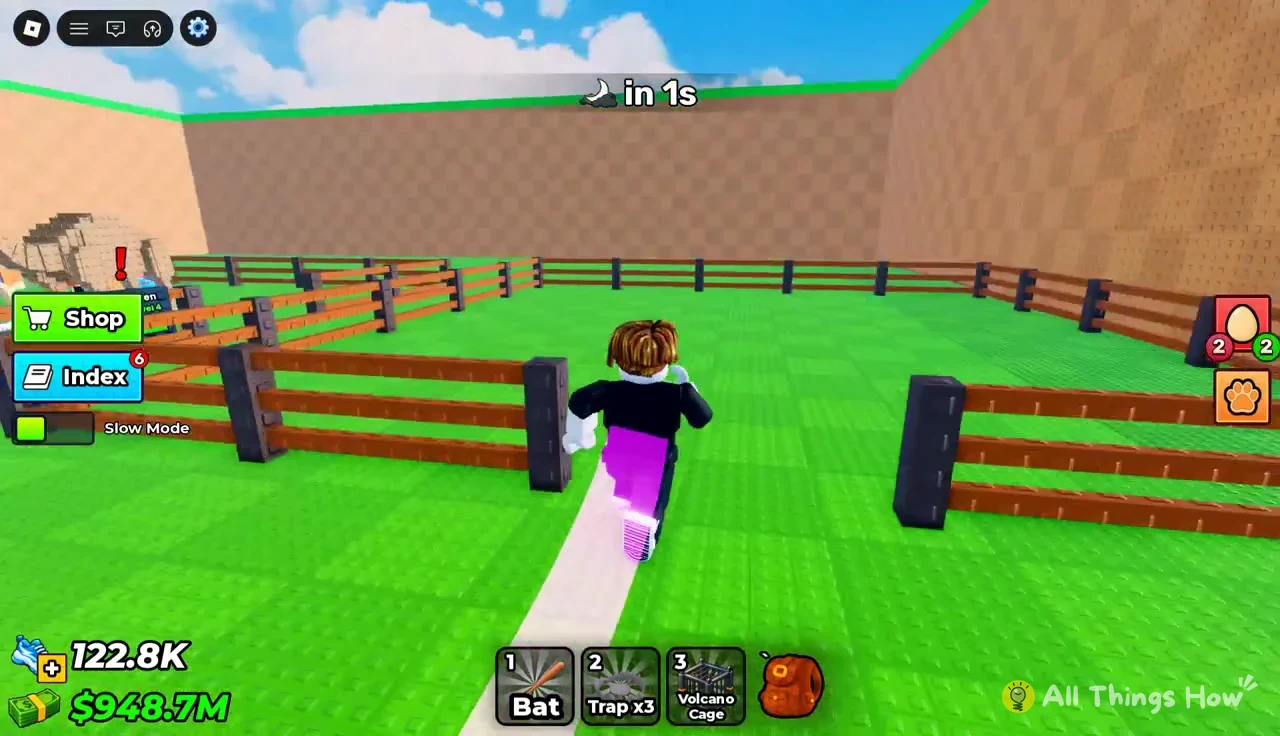
The Volcano run is the clearest example, and the same loop applies everywhere. Volcano holds Legendary cages like the Lava Iguana and the Flaming Bull, with other lava pets such as the Lava frog and Lava Gecko nearby.
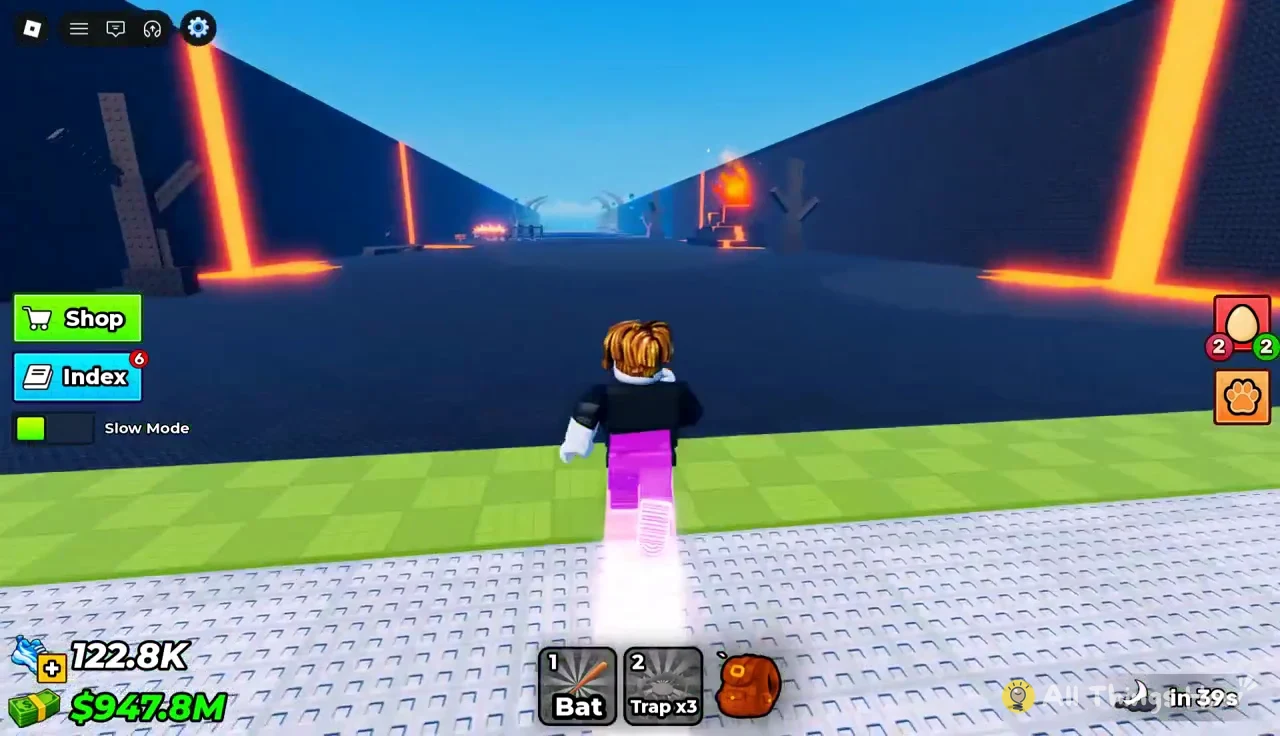
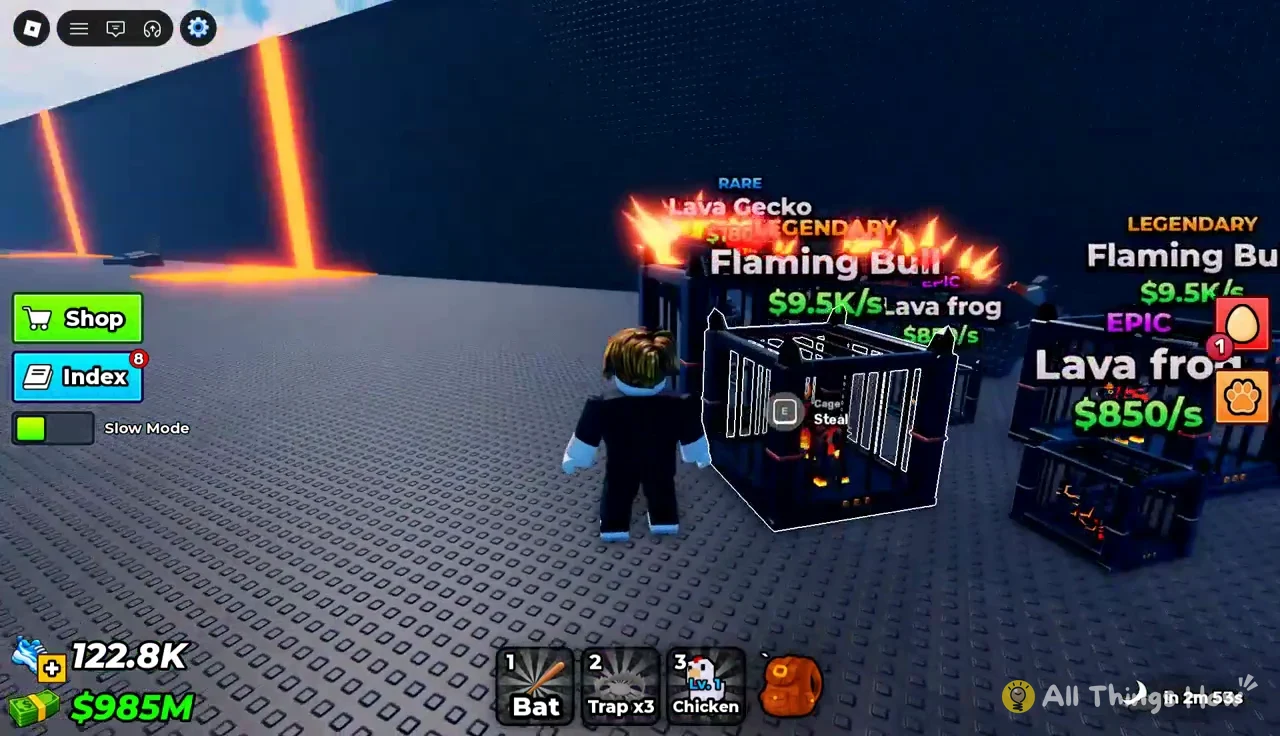
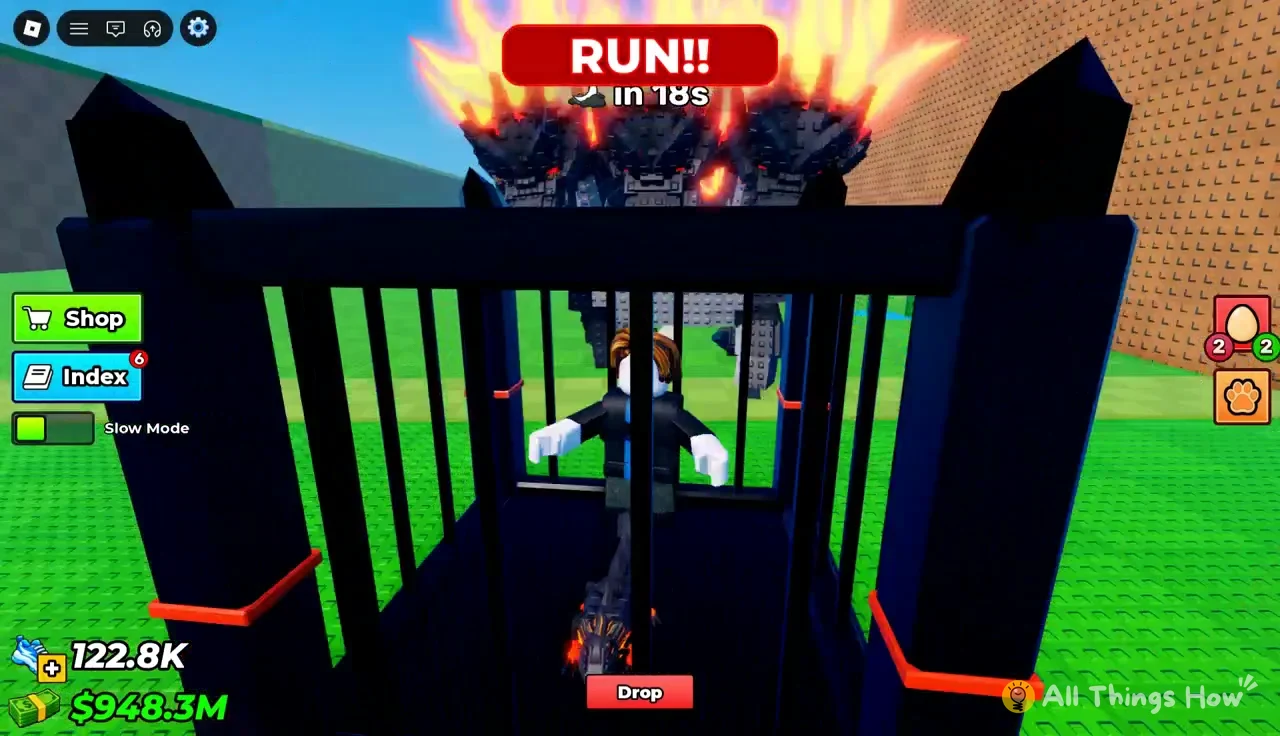
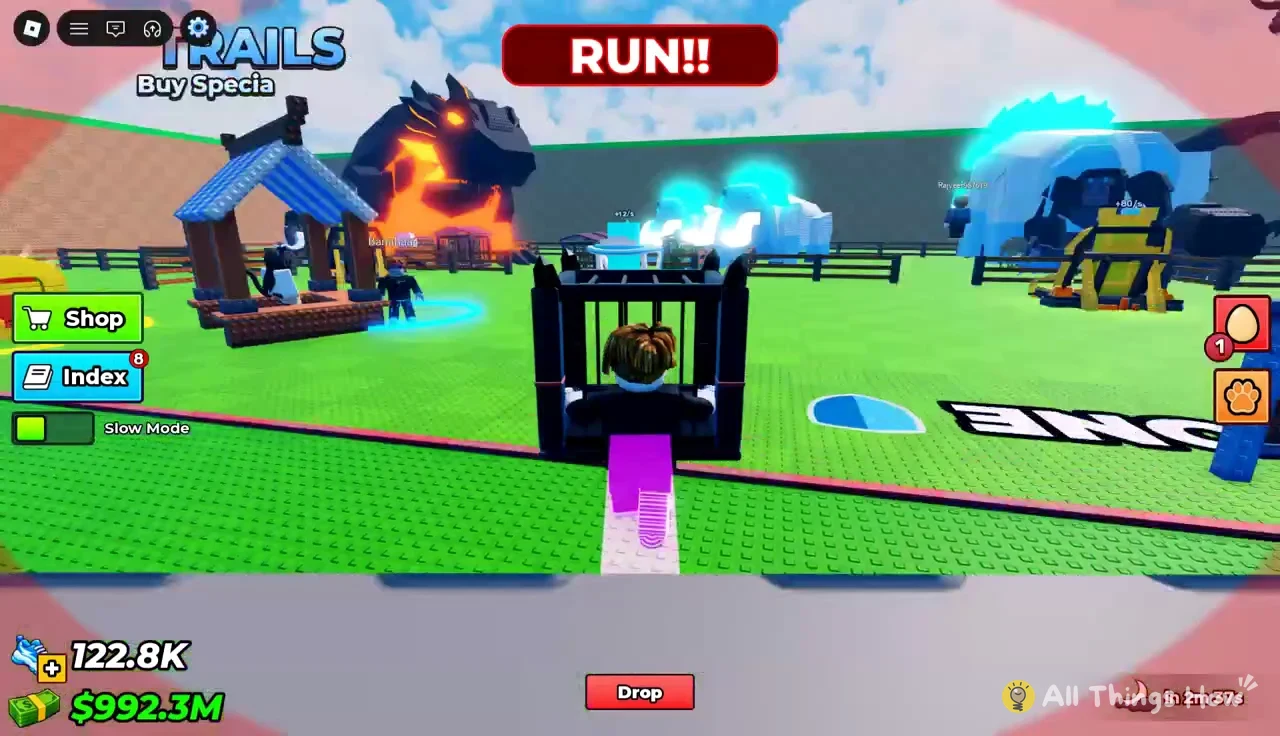
The red Drop button stays on screen the whole time you carry a cage. Pressing it lets go of the cage, so keep your thumb off it until you’re standing in your pen.
Hatching a stolen cage in your pen
A stolen cage isn’t a pet yet. Carry it into your own pen and place it there to start its timer. A Volcano Cage takes about 4 minutes to finish growing.
Finished cages are opened from the Growing Pets menu. Each completed cage gets an OPEN button, and Grow All sits in the same window. Opening a cage confirms the hatch by revealing the pet; two Volcano-era cages opened this way produced a Cosmic King Mammoth and a Legendary Gorilla. Use Equip Best or Unequip to manage which pets you’re holding.
What pets earn back at base
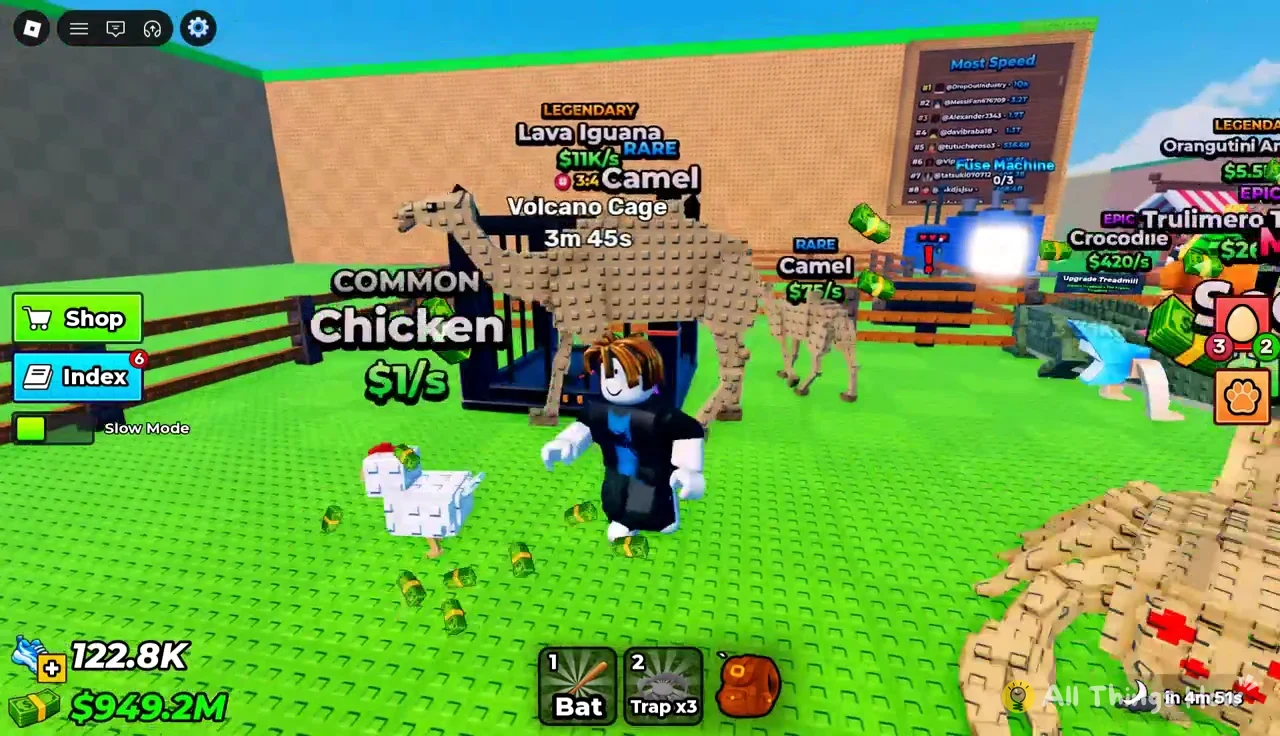
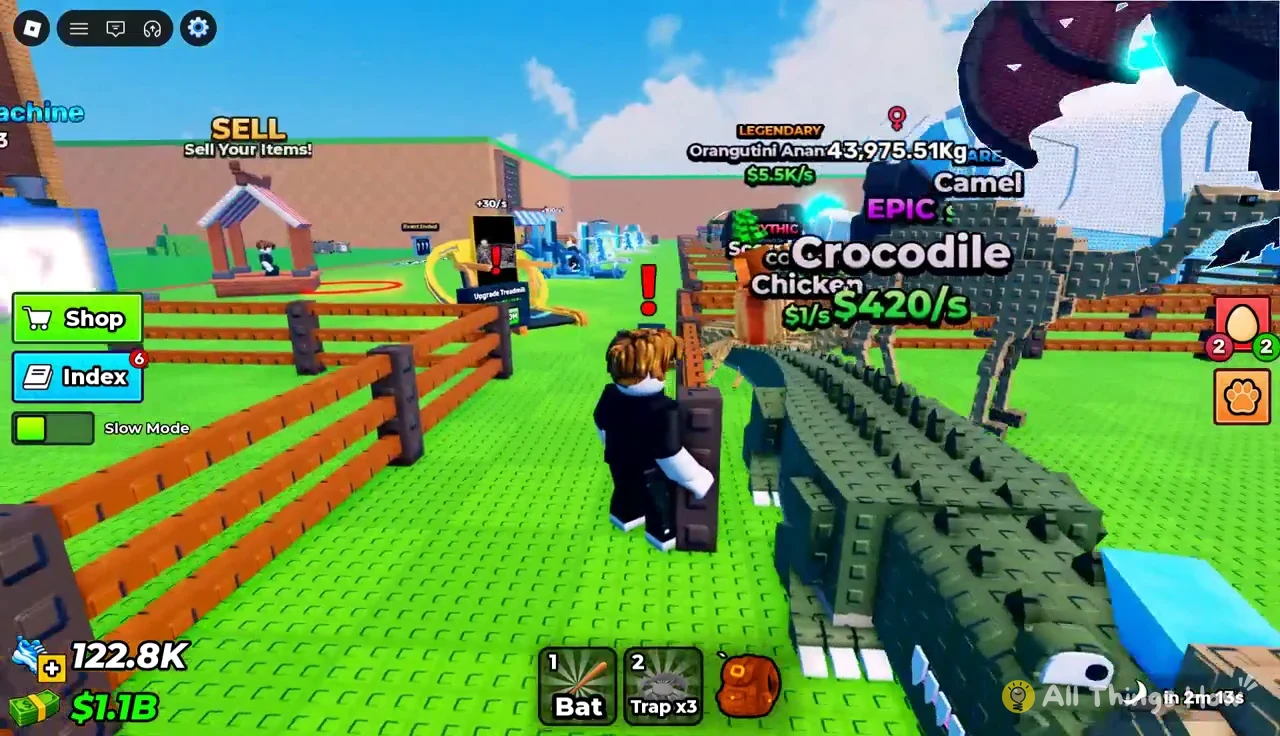
Every pet in your pen drops cash on a per-second rate shown above its head. You walk through the pen to scoop up the stacks. Deeper-zone pets pay dramatically more, which is the whole point of risking the long runs.
| Pet | Income |
|---|---|
| Chicken | $1/s |
| Turtle | $60/s |
| Camel | $75/s |
| Trulimero Trulicina | $260/s |
| Crocodile | $420/s |
| Gorilla | $4.8K/s |
| Orangutini Ananassini | $5.5K/s |
| Flaming Bull | $9.5K/s |
| Lava Iguana | $11K/s |
| Scorpion | $18.5K/s |
| King Mammoth | $400K/s |
The jump from the Volcano pets to the King Mammoth is enormous. One Cosmic pet out-earns dozens of Legendaries combined.
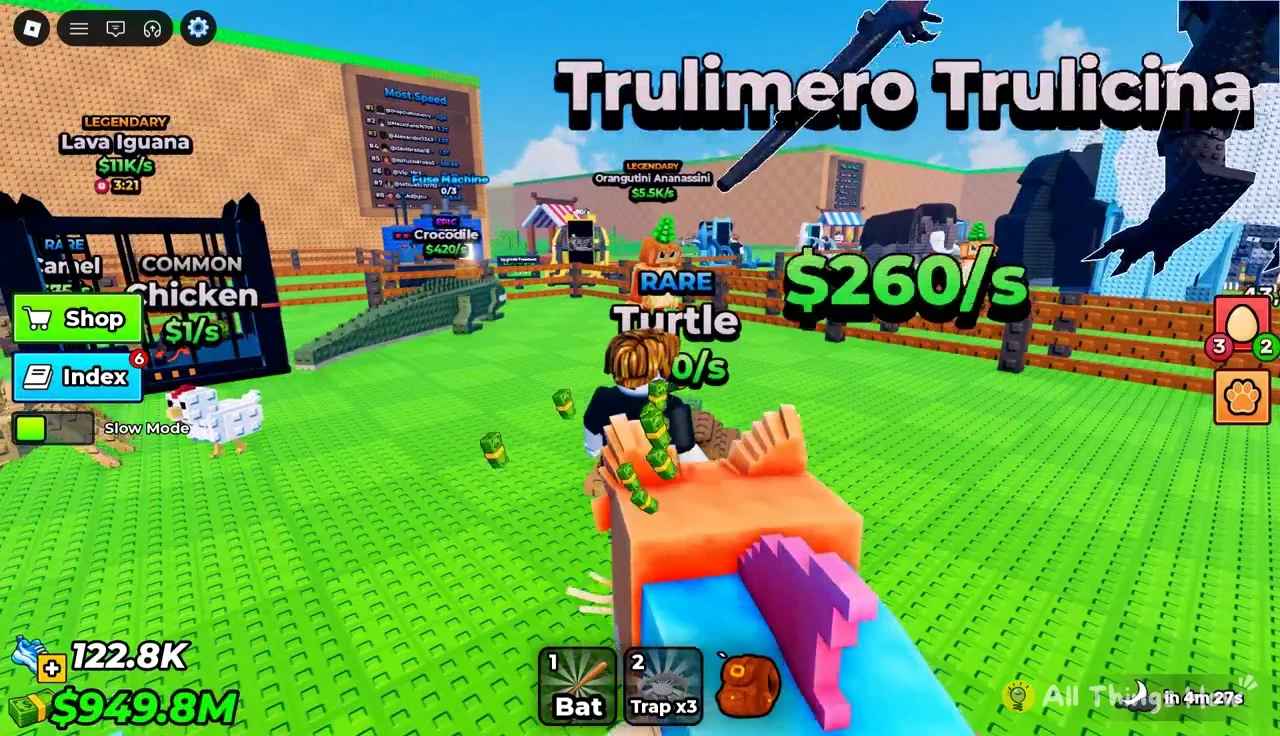
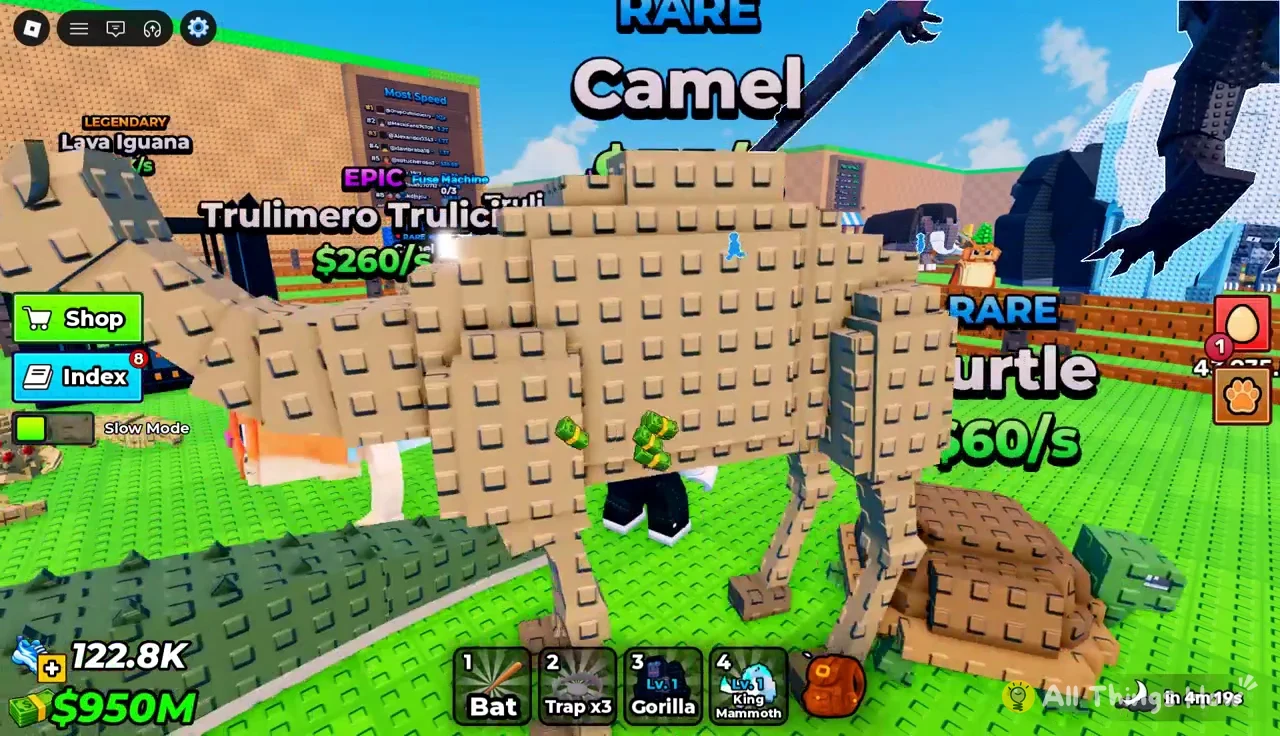
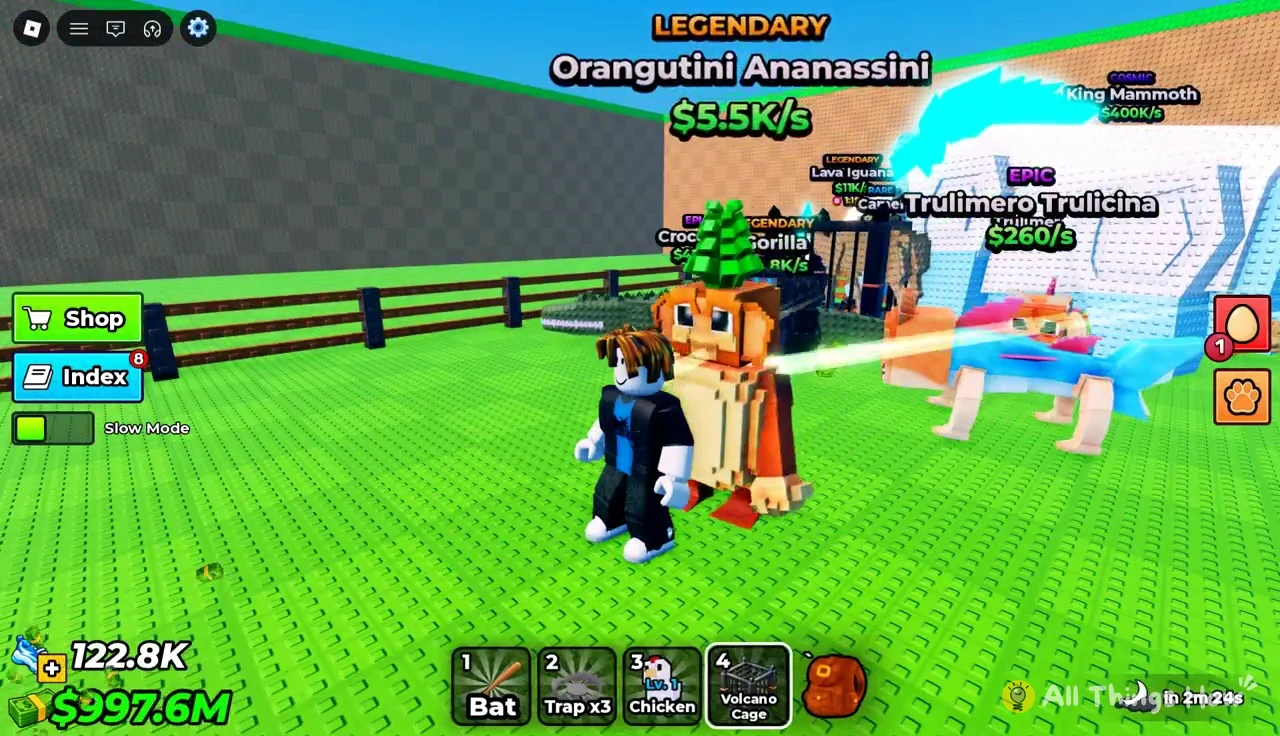
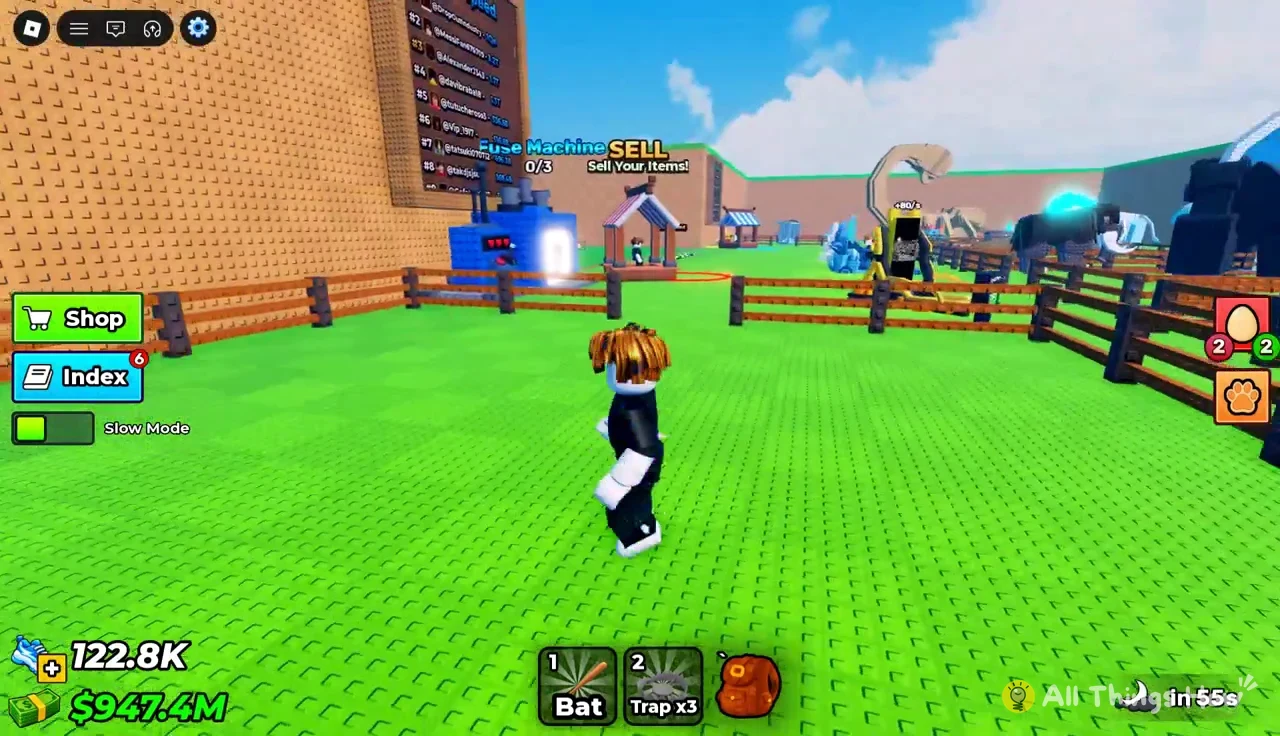
Fenced pens line the base, and each animal floats its name and earnings so you can spot your best producers at a glance. The Shop and Index buttons stay pinned on screen while you walk around.
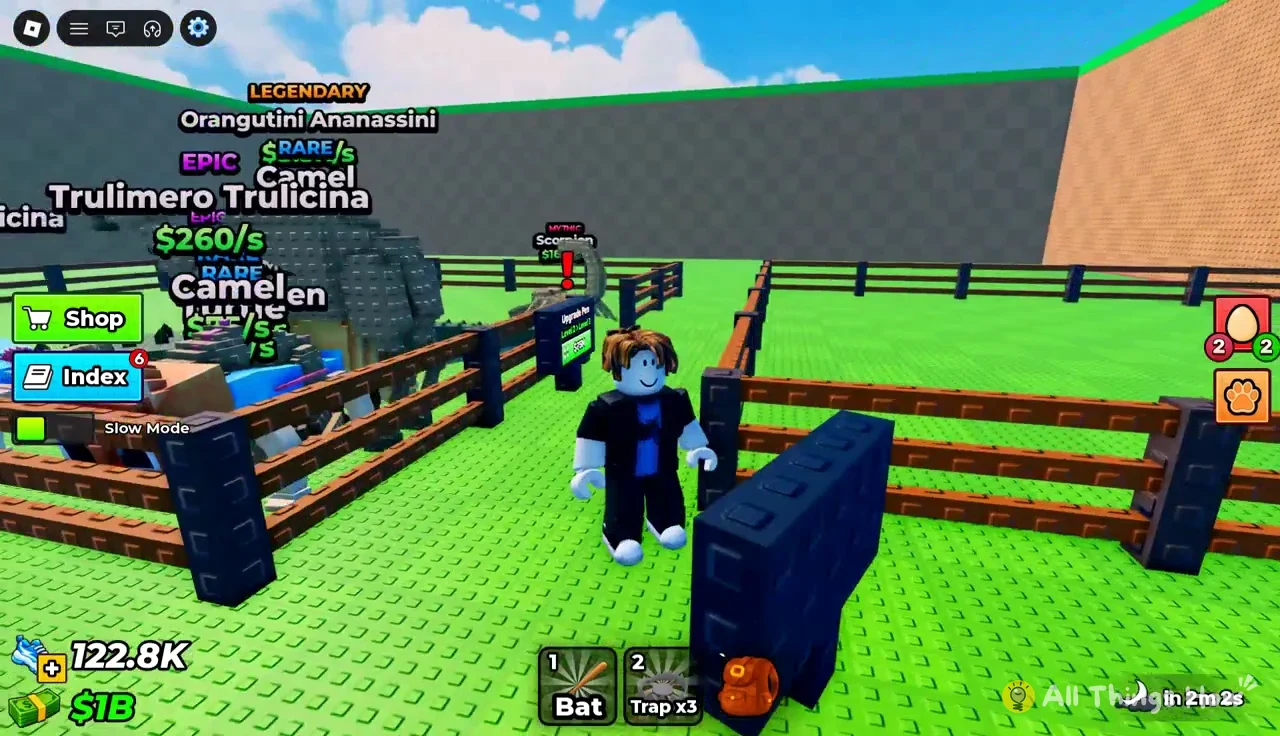
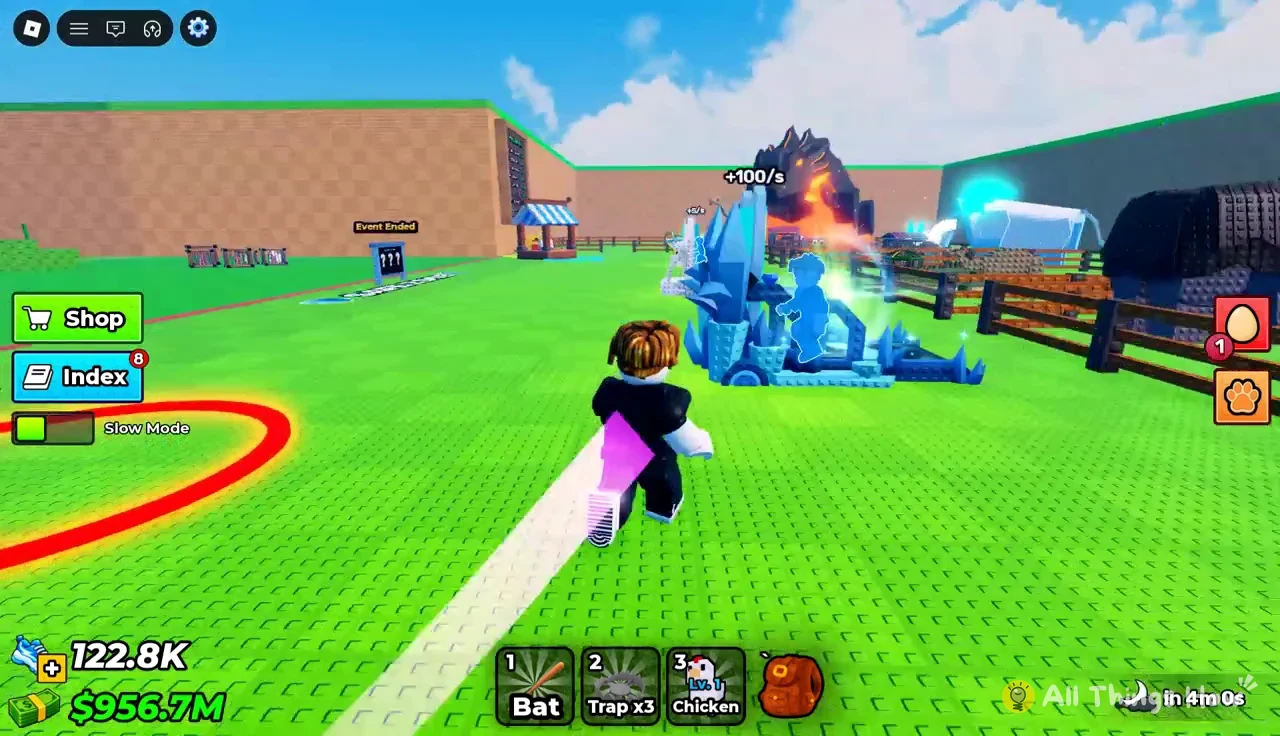
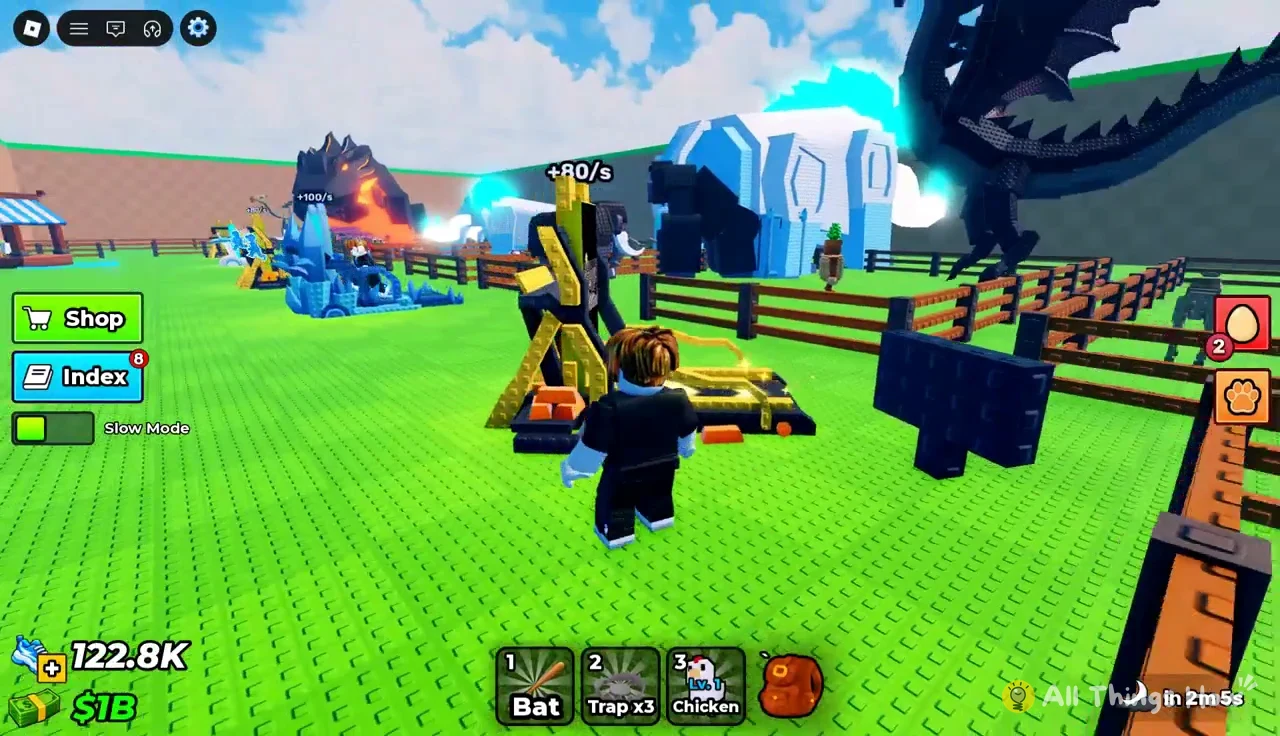
The base also has a SELL stall (“Sell Your Items!”), a Fuse Machine, a TRAILS shop for special trails, and a FREE REWARD stand.
Pen and treadmill upgrade costs
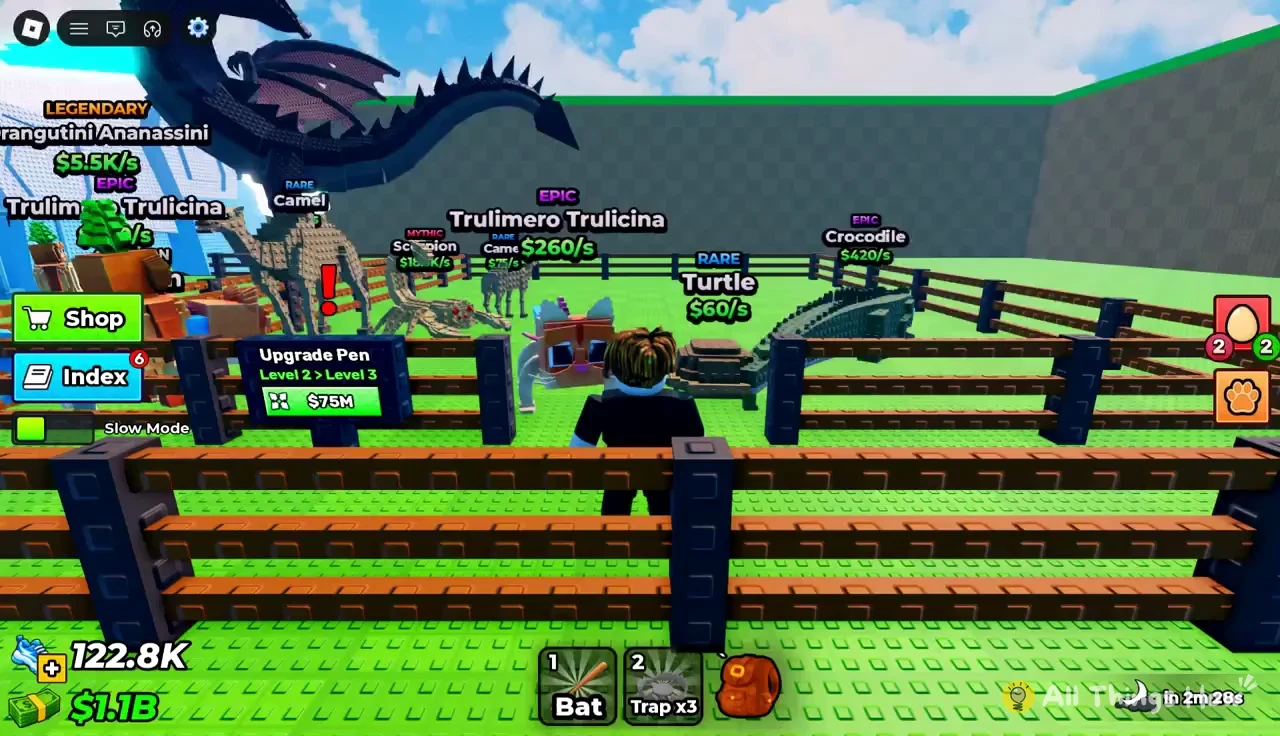
Cash goes into two things that decide how deep you can push: pen size and treadmill tier. Signs for both sit in your base, and a red exclamation point appears over a sign when an upgrade is available.
| Upgrade | From → To | Cost |
|---|---|---|
| Upgrade Pen | Level 2 → Level 3 | $75M |
| Upgrade Pen | Level 3 → Level 4 | $500M |
| Upgrade Treadmill | Celebrity Treadmill → Golden Treadmill | $120M |
| Upgrade Treadmill | Golden Treadmill → The Freeze Treadmill | $3B |
A pen upgrade gives you more room for pets and cages and raises your base level. You know it worked when the game shows a “Base Level 3!” message and the sign switches to the next tier’s price.
Training speed for the deeper zones
Standing on your treadmill adds speed passively, with numbers like +240, +480, and +960 popping up as you train. Clicking while you run applies multipliers, and the screen shows a hand prompt with a counter such as “3x” when tapping is active. An x2 Speed button sits beside the Shop button.
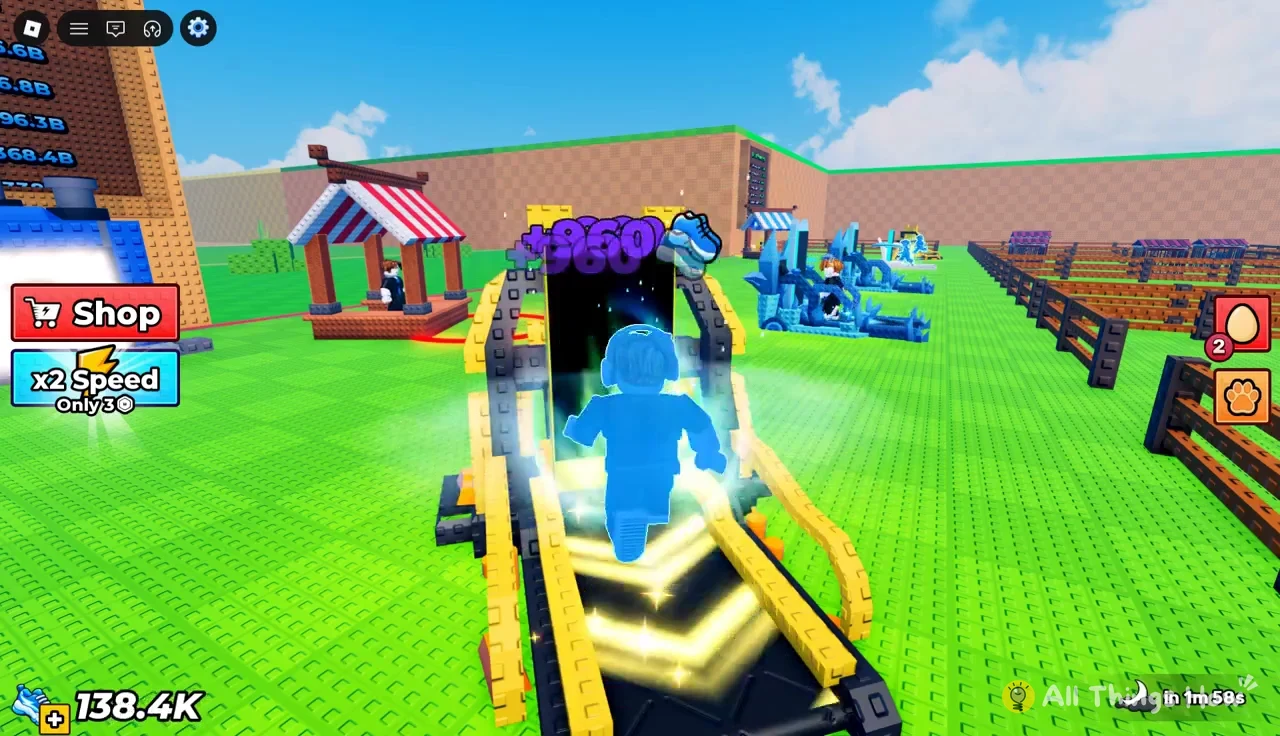
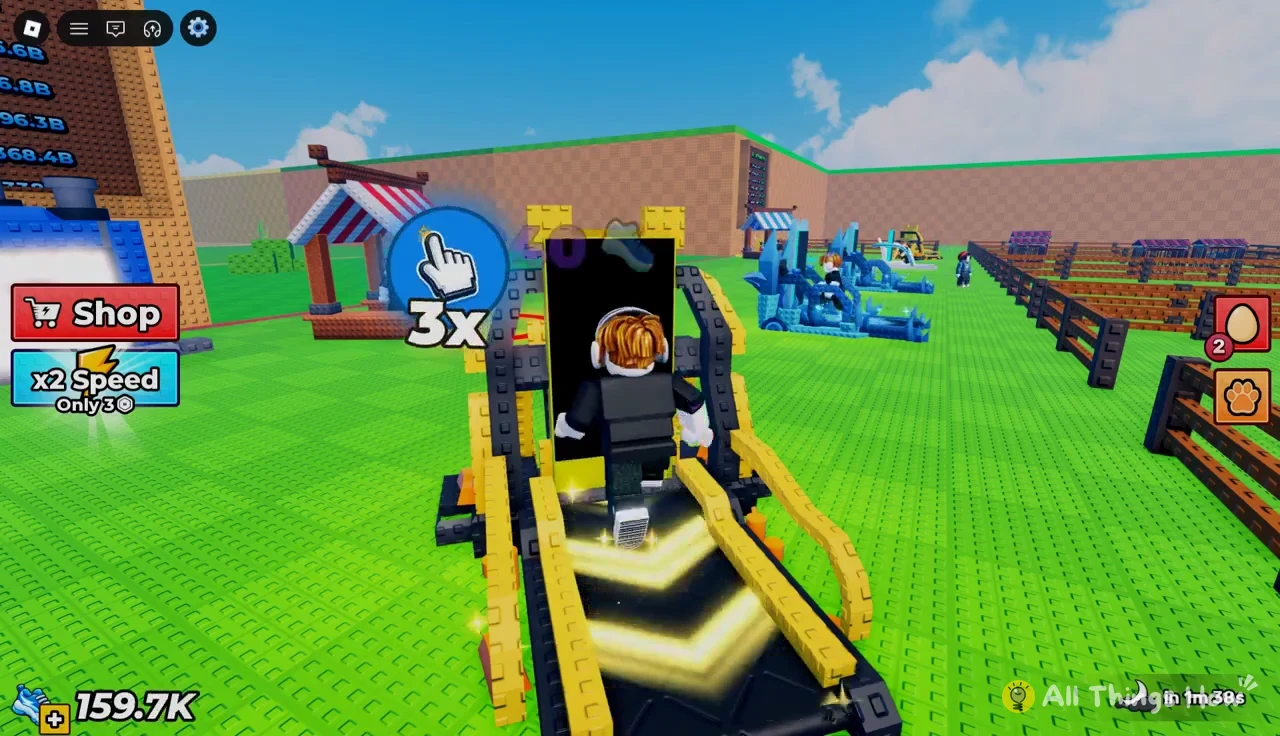
A good rhythm: drop a fresh cage in the pen, hop on the treadmill while its timer counts down, then open it and head back out. Each round makes the run to Abyss Ocean, Prehistoric, and eventually Cosmic a little less of a gamble.