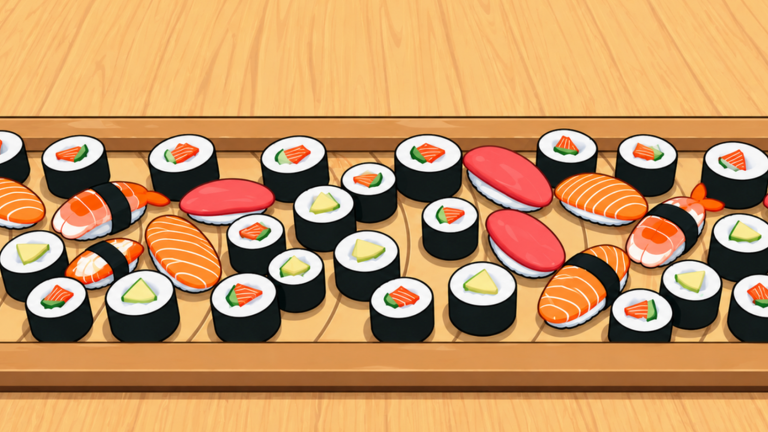
Sell a Million Sushi is a Roblox restaurant tycoon from Popular Marketplace. You spend in-game cash on fishermen, they catch fish, your chef turns the fish into sushi, and customers pay for it. You put the money back into more fishermen, merge them into better ones, and the restaurant grows. The first few minutes decide how quickly that loop starts paying for itself, so it helps to know where your early cash should go.
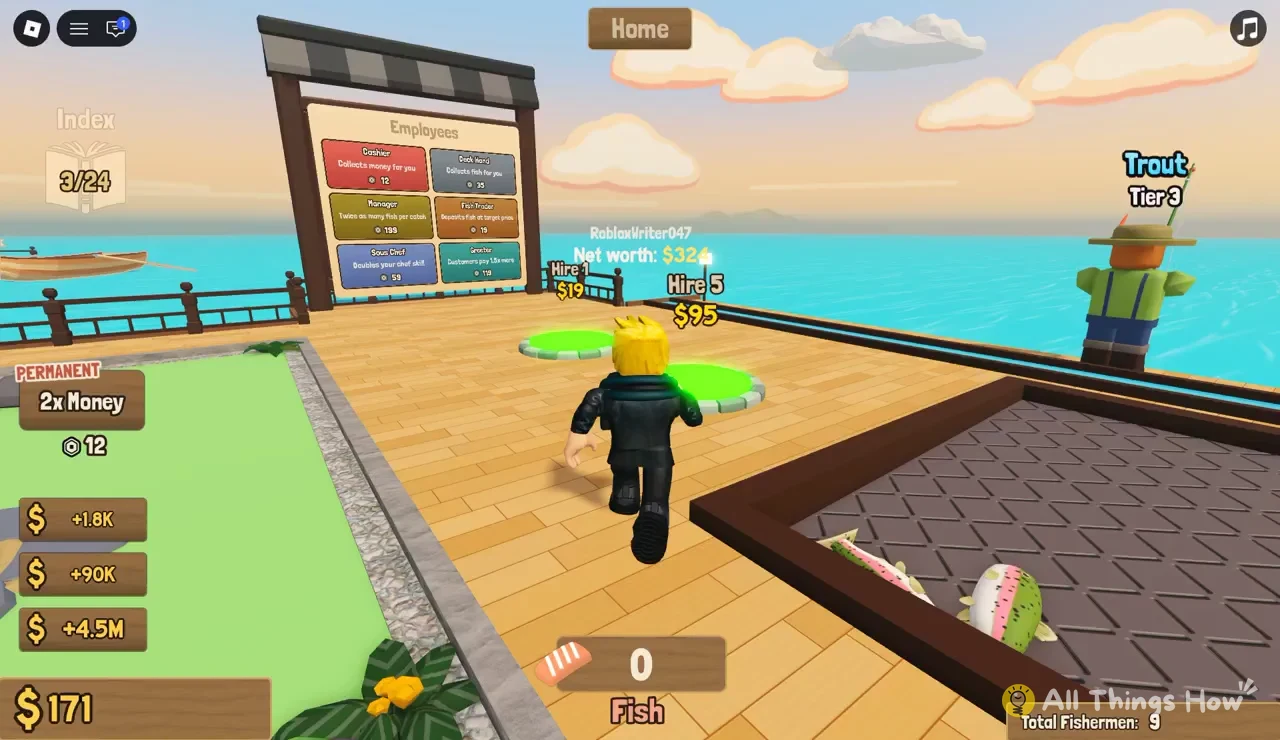
Quick answer: Step onto the green Hire 1 pad on the pier ($19), take the catch to your chef, collect the money customers pay, then keep hiring. Hire 5 costs $95.
How to start the sushi loop in Sell a Million Sushi
You don’t need gear or Robux to start. Your avatar spawns with a small amount of cash, and everything happens on the wooden pier. That’s where you’ll find the hiring pads, the fish holding pen, and the Employees board. Each step below feeds the next one, so do them in this order.
Then you repeat the loop. Every run through it should leave you with enough for another hire, and more fishermen means more fish going to the chef on each trip.
Hire 1 vs. Hire 5 fishermen cost
There are two hiring pads side by side on the pier. Both charge regular in-game cash, not Robux.
| Pad | Fishermen added | Cost | Cost per fisherman |
|---|---|---|---|
| Hire 1 | 1 | $19 | $19 |
| Hire 5 | 5 | $95 | $19 |
Hire 5 doesn’t come with a bulk discount. It costs exactly five times the single price. The only thing it saves you is walking back and forth across the pad. Early on, Hire 1 is usually the better choice, because you can start spending as soon as you’ve earned $19 instead of waiting until you have $95. Once your income is steady, Hire 5 is just a faster way to make the same purchase.
Merging fishermen and filling the fish Index
Hiring is only half of how your crew improves. Sell a Million Sushi lets you merge fishermen into better ones. Each fisherman is tied to a particular fish and tier, so merging is how you move from common catches toward better ones. Better fish means more valuable sushi coming out of the kitchen.
The Index button on the left side of the HUD keeps track of every fish species you’ve found. It shows your progress as a fraction, such as 3/24, which means three species discovered out of 24. A new entry appears there each time a merged fisherman starts bringing in a fish you haven’t seen before. That makes the Index the easiest way to check whether your merges are paying off.
Sell a Million Sushi HUD: What each number tracks
The screen packs in a lot of numbers. Here’s what each one tells you during the opening loop.
| HUD element | Example value | What it tracks |
|---|---|---|
| Cash | $171 | Money you can spend right now |
| Net worth | $324 | Total value of your restaurant |
| Fish | 0 | Fish you’re currently holding |
| Index | 3/24 | Fish species discovered |
| Total Fishermen | 9 | Fishermen on your crew |
Your net worth will often be higher than your cash, as in the $324 vs. $171 example above. Only the cash figure pays for hires, so check that one before you step onto a pad.
Employees board: Robux staff and what they automate
The Employees board on the dock lists six staff roles. Unlike fishermen, these are bought with Robux. You don’t need any of them to play. Each one either takes over a manual step in the loop or multiplies what you earn from it.
| Employee | Robux | Effect |
|---|---|---|
| Fish Broker | 10 | Deposits fish at target price |
| Cashier | 12 | Collects money for you |
| Deck Hand | 35 | Collects fish for you |
| Sous Chef | 59 | Doubles your chef skill |
| Greeter | 119 | Customers pay 1.5x more |
| Manager | 199 | Twice as many fish per catch |
The cheaper staff remove legwork. The Deck Hand handles fish pickup from Step 3, the Cashier handles money pickup from Step 5, and the Fish Broker deposits fish for you. The more expensive staff increase output instead. The Manager doubles each catch, the Sous Chef doubles your chef skill, and the Greeter raises what every customer pays.
There are more paid options on the left side of the HUD. A 2x Money pass, marked PERMANENT, costs 12 Robux. Below it are instant cash shortcuts that add +$1.8K, +$90K, or +$4.5M to your balance at once.
Robux staff and passes are optional. The basic loop of hiring with cash, collecting the catch, feeding the chef, and collecting payment works the same without them. You’ll just do more of the walking yourself.
Once the loop is running, the start of Sell a Million Sushi is mostly a routine. Spend cash on fishermen as soon as you can afford them, keep fish moving to the chef, collect what customers pay, and merge your crew whenever you can to unlock new Index entries. Every hire raises your income, and the higher income pays for the next hire.