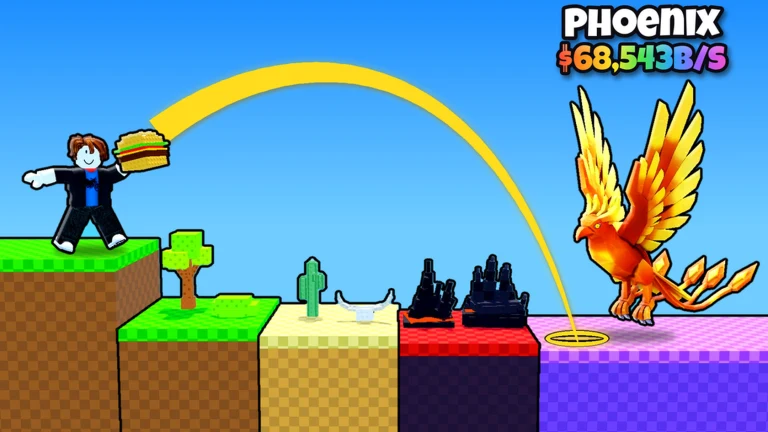
In Throw Food For Animals, two things decide what you catch. Throw Power decides how far your food flies, and that sets which zone it lands in. The food you have equipped decides which animals come to it. Late-game catches like the Shark and the Gold Velociraptor need both. You need a throw strong enough to clear Prehistoric Forest, and food good enough to pull rare animals once it lands.
Quick answer: Equip the Golden Apple ($120Qa), train on the Sapphire Bar until you’re around level 348, then land a Perfect throw at +19 or +20 to reach Deep Waters.
How food and Throw Power split the work
The game rests on a short loop. You throw food down a long runway, an animal from the zone where it lands comes to eat it, and you collect that animal and place it on your plot to earn cash every second. That cash pays for two separate upgrades, and they solve different problems.
- Throw Power sets distance. It rises by +5 every time your character levels up, and you level up by doing pull-ups on a workout bar.
- Food tier sets which animals you attract. Better food in the Food Shop draws rarer animals.
- Throw timing sets how much power one throw uses. A Perfect throw adds +19 or +20 power on top of your base stat.
- Distance also raises Luck. The multiplier climbs the farther down the runway your food lands.
Use the landing pattern to decide what needs work. When newly unlocked food still comes down in one zone, your Throw Power is too low, so return to the bar. If it reaches a farther zone but the catches are weak, upgrade your food.
Throw Food For Animals zones and Luck multipliers
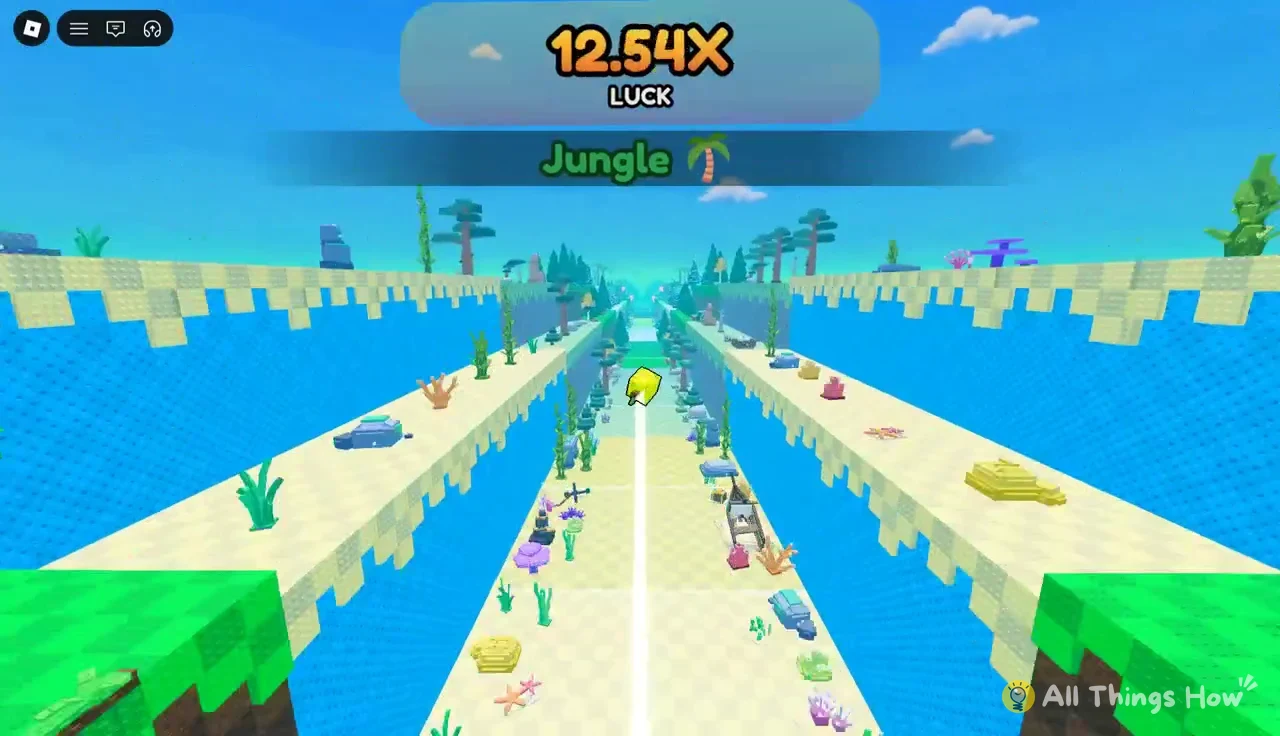
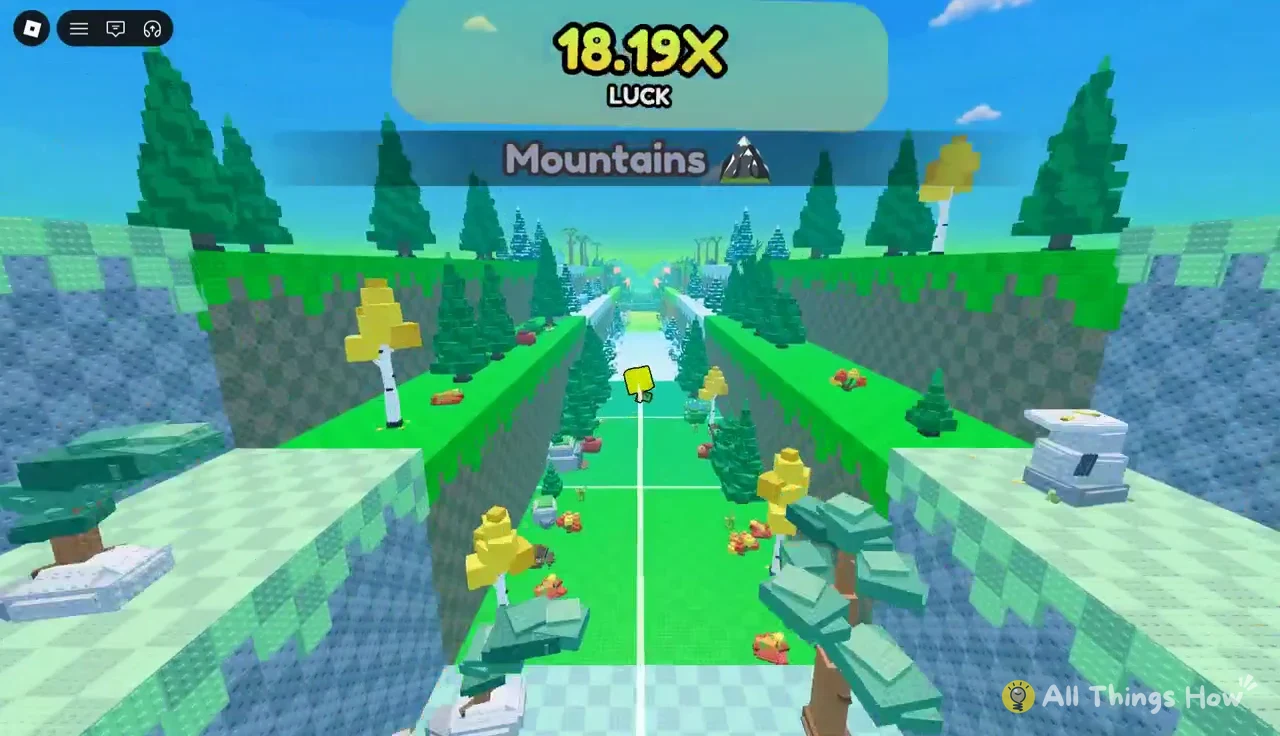
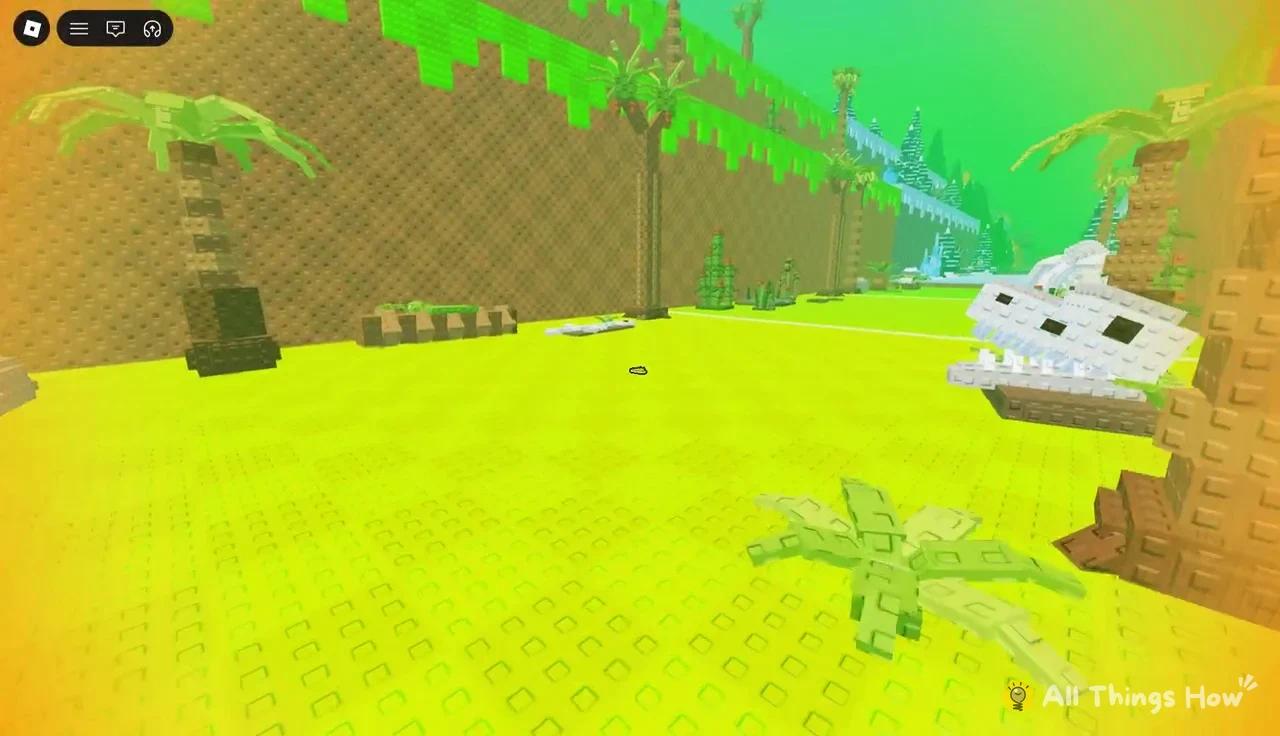
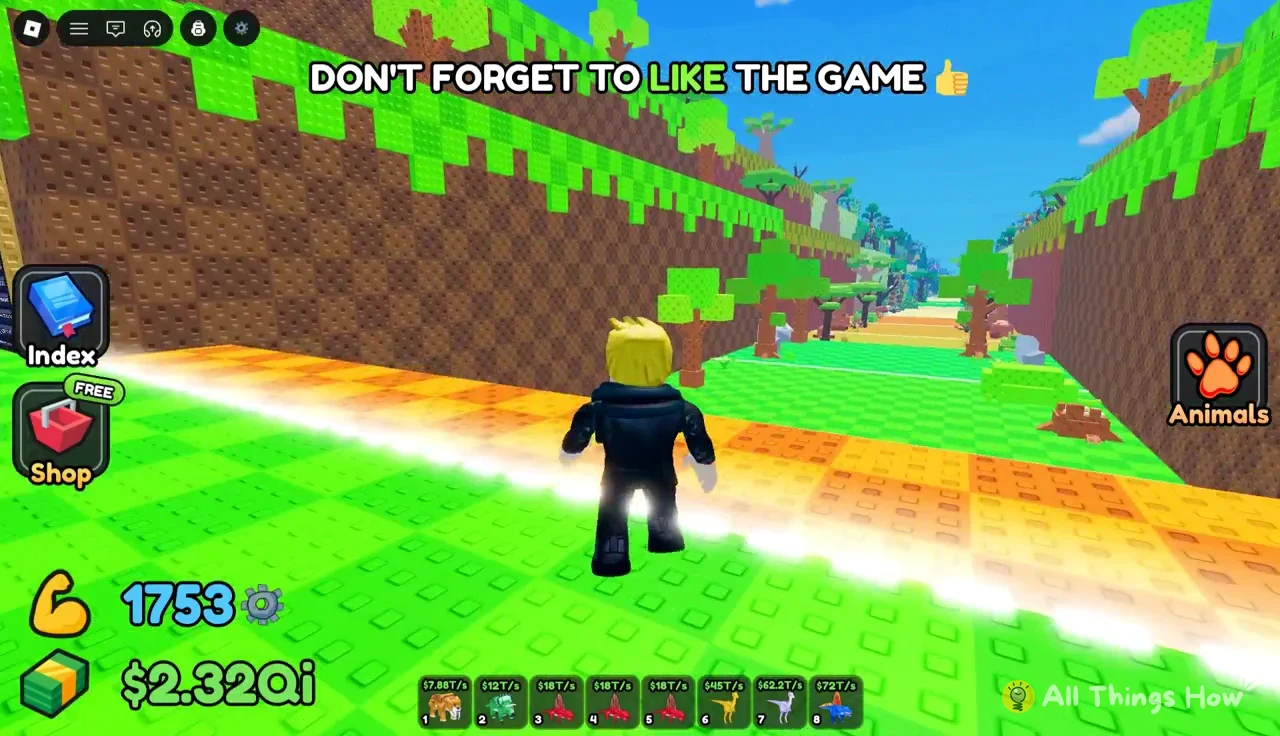
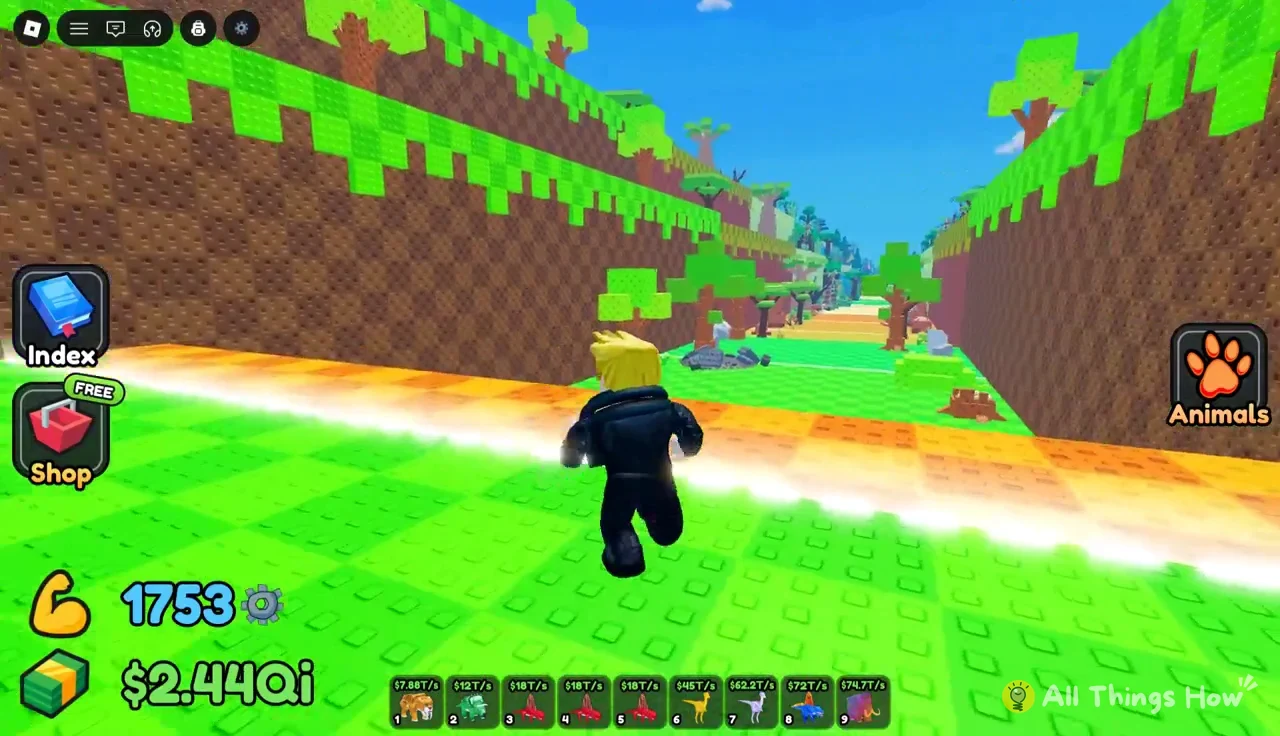
The runway passes through ten named zones: Savanna, Forest, Desert, Jungle, Ocean, Mountains, Taiga, Winter, Prehistoric Forest and Deep Waters. A strong throw flies over the early biomes one after another before it comes down. A late-game Royal Steak throw, for example, clears Savanna, Desert, Ocean, Mountains, Taiga and Winter before landing in Prehistoric Forest. A throw from a higher level carries on past Prehistoric Forest into Deep Waters.
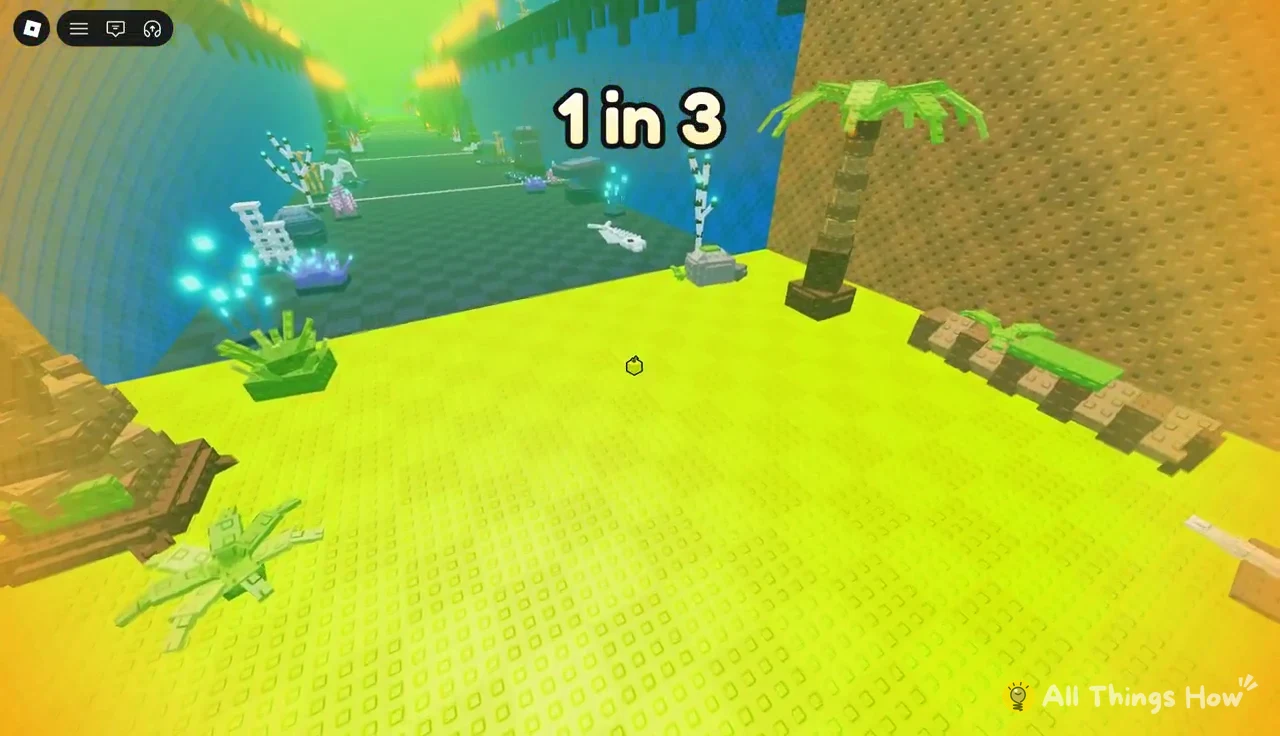
Luck goes up the farther you throw. The multiplier shows on screen while the food is in the air, so you can read it at any point on the course.
| Zone | Luck shown on landing or flyover |
|---|---|
| Jungle | 12.54x |
| Mountains | 18.19X |
| Prehistoric Forest | 27.48X to 27.90X |
| Deep Waters | 28.08X to 28.16X |
Luck also changes within a zone. Small gains in distance nudge the number up by a few hundredths, which is why two throws into Prehistoric Forest can show 27.48X and 27.90X.
Landing a Perfect throw
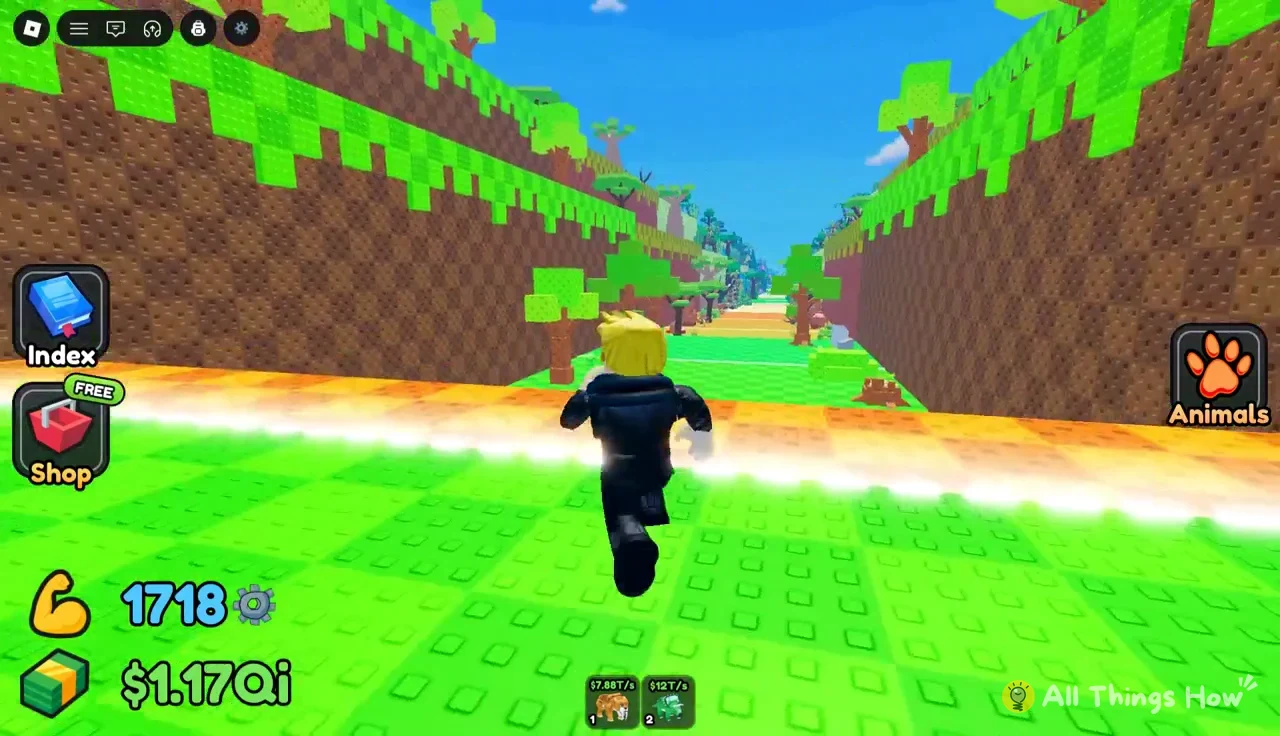
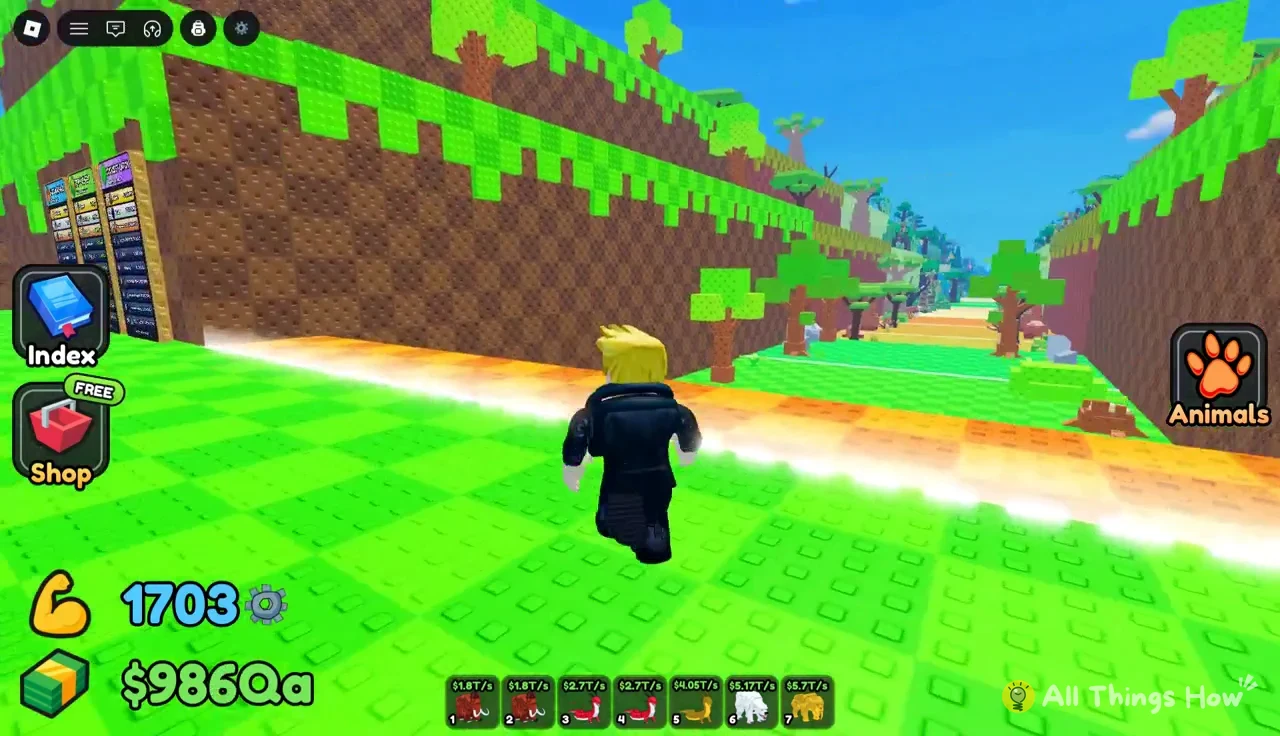
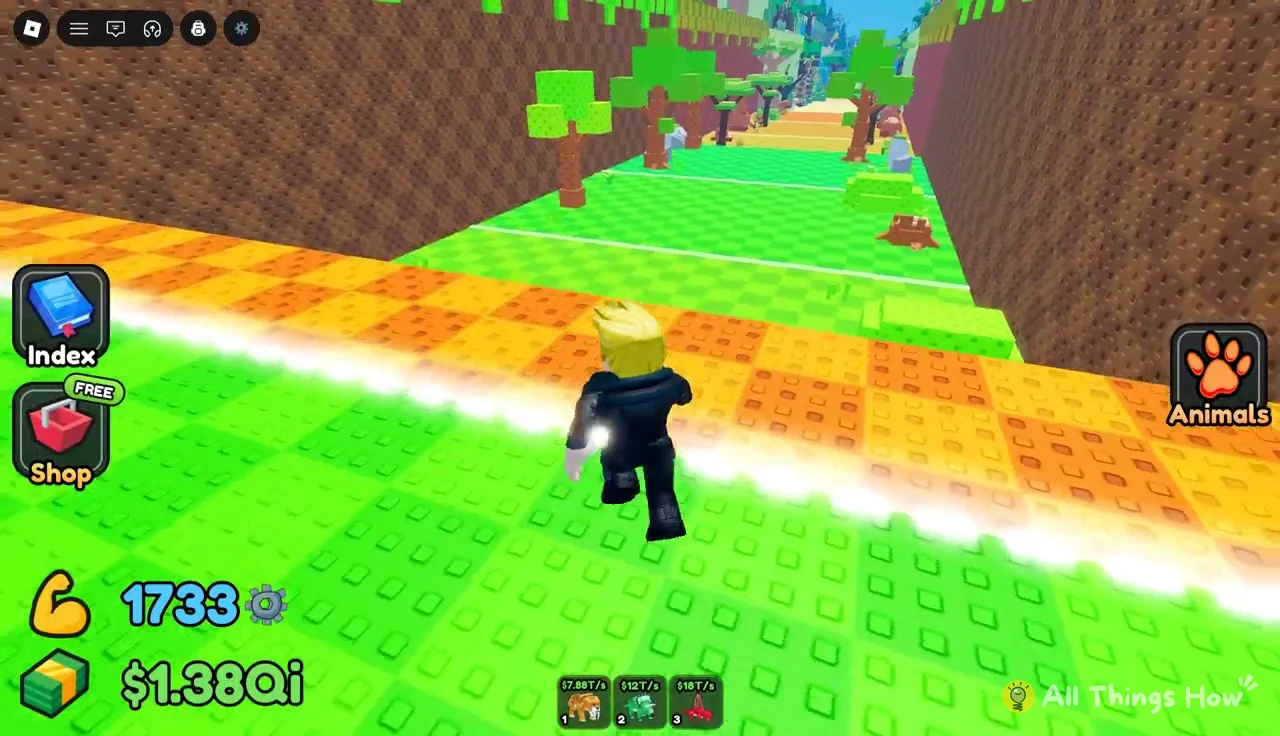
Every throw adds a timing bonus to your base Throw Power. Stopping the meter in the green section at the top gives a PERFECT! result, worth +19 or +20 power. Stopping just below it gives GREAT!, which is usually +17 or +18. That one or two points can be the difference between Prehistoric Forest and Deep Waters once you’re close to the edge of a zone.
Food Shop tiers and prices
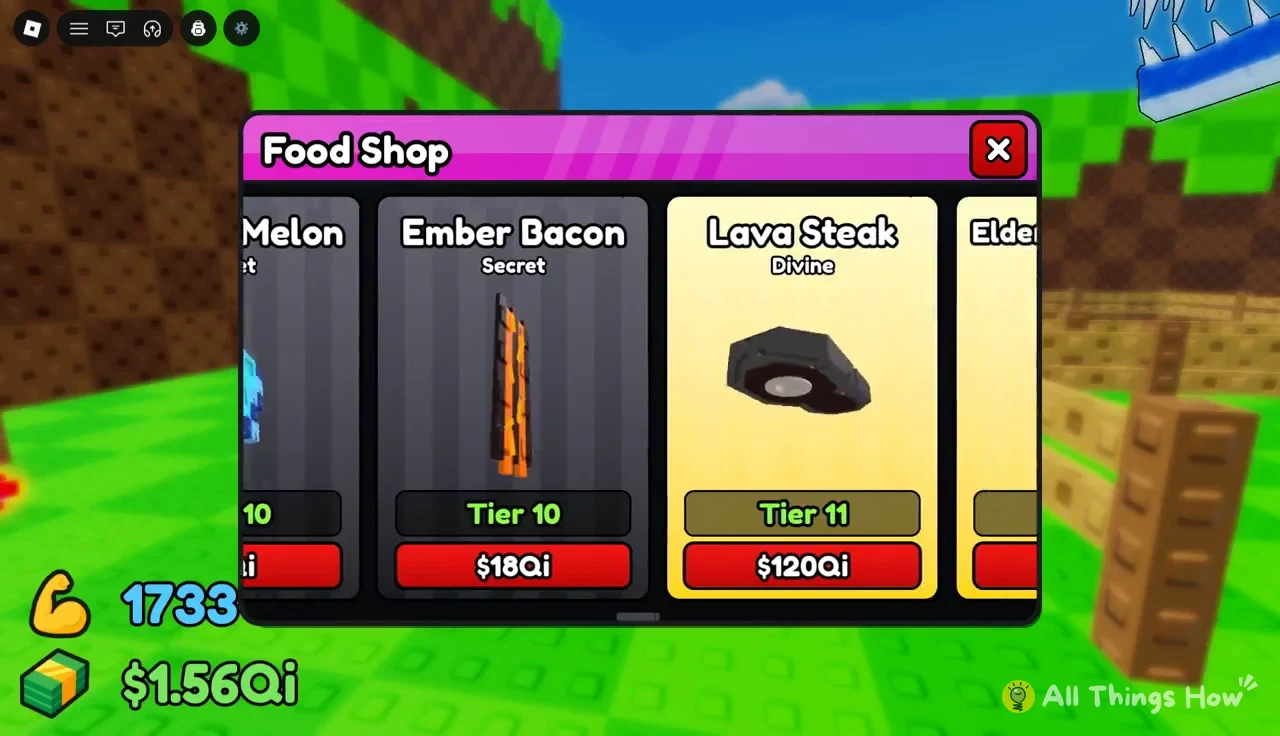
Each food in the Food Shop has a rarity label and a tier number. Prices go up steeply from tier to tier. At Tier 9, the Royal Steak (Mythic) is enough to catch dinosaurs in Prehistoric Forest. The Golden Apple is also Tier 9, but it’s a Secret food. Buying it equips it automatically, and it can still land a Big Gold Velociraptor or a Large Velociraptor in the same zone.
| Food | Rarity | Tier | Price |
|---|---|---|---|
| Steak | Mythic | 8 | — |
| Royal Steak | Mythic | 9 | — |
| Golden Apple | Secret | 9 | $120Qa |
| Crystal Melon | Secret | 10 | $4Qi |
| Ember Bacon | Secret | 10 | $18Qi |
| Lava Steak | Divine | 11 | $120Qi |
| Elder Strawberry | Divine | 11 | $700Qi |
| Phoenix Fillet | Divine | 12 | $4Sx |
| Star Jelly | Celestial | 12 | $27Sx |
| Dragon’s Apple | Celestial | 13 | $180Sx |
| Starlight Donut | Celestial | 13 | $450Sx |
| Glowshroom | Celestial | 13 | $1.4Sp |
| Sundae Tower | Celestial | 13 | $3.5Sp |
| Golden Corn | Eternal | 14 | $2.5Oc |
| Roast Turkey | Eternal | 14 | $28Oc |
| Caramel Apple | Eternal | 14 | $250Oc |
| Hot Cider | Eternal | 15 | $8.5Dc |
| Golden Pumpkin | Eternal | 15 | $75Dc |
| Ghost Chowder | Cosmic | 16 | $18Ud |
| Calamari Rings | Cosmic | 16 | $200Ud |
| Phantom Lobster | Cosmic | 16 | $1.8Dd |
| Toxic Donut | Supreme | 17 | $1.2Td |
| Mutant Melon | Supreme | 17 | $20Td |
The suffixes stack quickly. Qa comes before Qi, then Sx, Sp, Oc, Dc, Ud, Dd and Td. Within one tier, prices still vary a lot. Celestial Tier 13 alone runs from $180Sx for Dragon’s Apple to $3.5Sp for Sundae Tower.
To buy a food, open the Food Shop, scroll to the card you want and press its price button. The game confirms with a “Bought Golden Apple!” style message, and the new food becomes the one your next throw uses. Locked cards still show their tier and price, so you can see exactly how much you need before you can buy the next one.
Training Throw Power to reach farther zones
Pull-ups give XP, XP gives levels, and each level shows a “LEVEL UP! Throw Power +5” banner. A better bar gives more XP per rep, so you level faster without any extra effort. While you’re training, a purple x2 icon sometimes floats onto the screen. Click it for a temporary double XP boost.
| Bar | Upgrade cost | XP per rep |
|---|---|---|
| Starting bar | — | +65,536 |
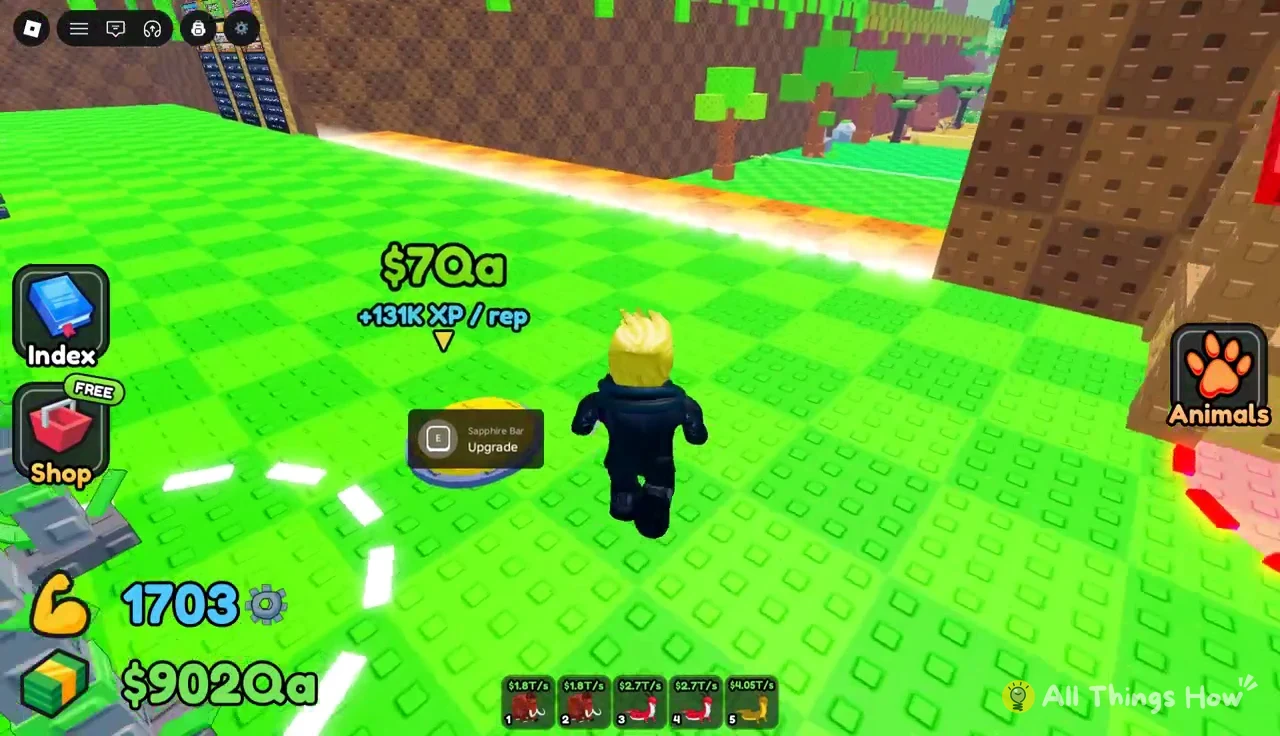
| Sapphire Bar | $7Qa | +131K |
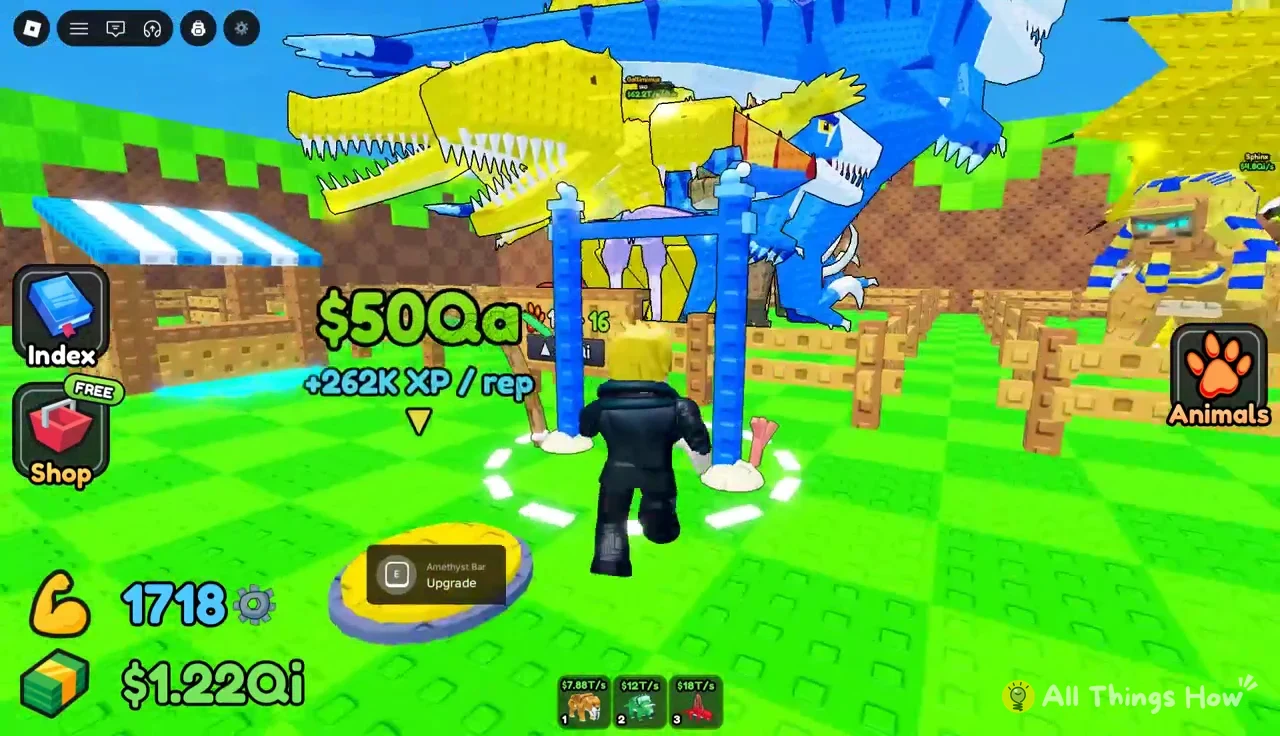
| Amethyst Bar | $50Qa | +262K |
Each step on this ladder doubles the XP per rep. A bar’s upgrade only shows up once you can buy it. A “NEW EQUIPMENT! YOU CAN NOW BUY” pop-up appears with the price and XP rate, and buying it unlocks the prompt for the next bar.
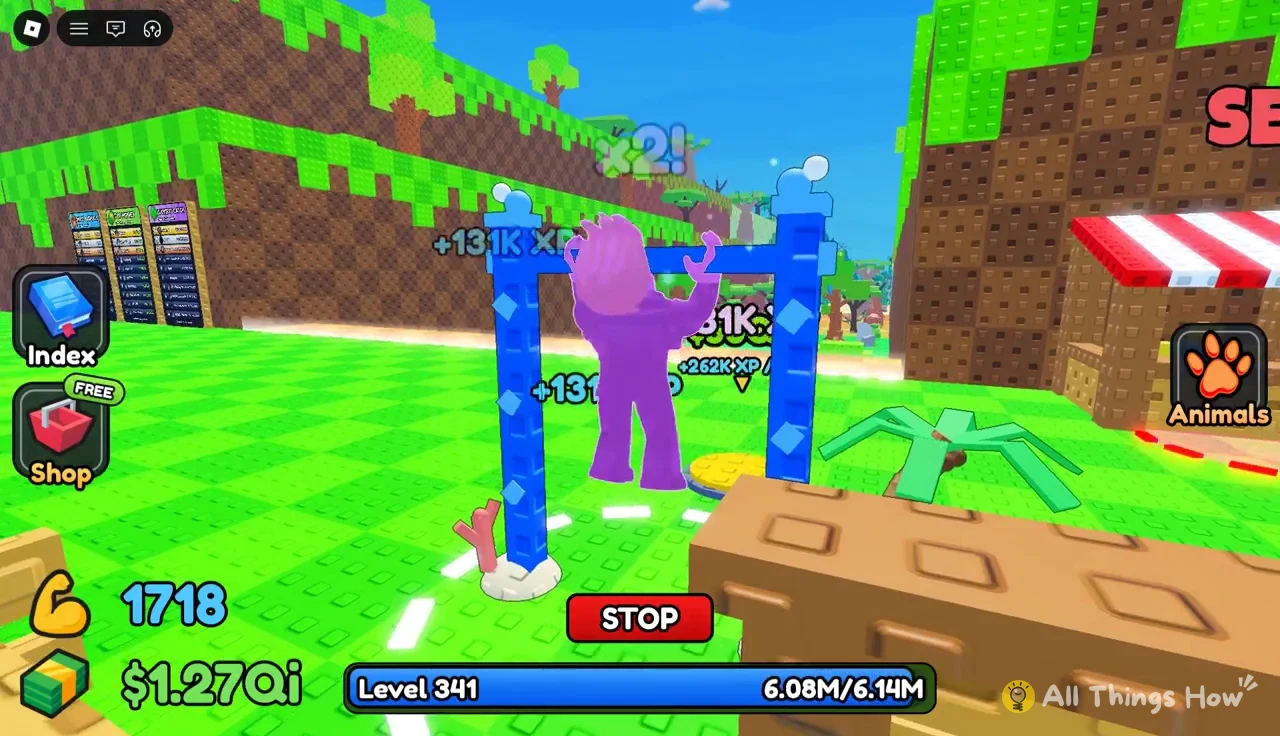
How many levels you need depends on your target zone. Levels in the high 330s were enough to land Royal Steak and Golden Apple throws in Prehistoric Forest. The first throw into Deep Waters came after training from level 344 to 348 and landing a +20 Perfect. Throws from around level 341 still came down in Prehistoric Forest.
Animals in Prehistoric Forest and Deep Waters
Prehistoric Forest gives dinosaurs and Deep Waters gives sea animals. Both come in normal, Big, Large and Gold versions, and those versions earn very different amounts even when they’re the same species. A Big T-Rex earns about twice as much as a regular one, and a Large Velociraptor out-earns every Gold dinosaur caught in the same zone.
| Animal | Zone | Income |
|---|---|---|
| Spinosaurus | Prehistoric Forest | $72T/s |
| Gold Spinosaurus | Prehistoric Forest | $108T/s |
| T-Rex | Prehistoric Forest | $110T/s |
| Gold T-Rex | Prehistoric Forest | $165T/s |
| T-Rex (Big) | Prehistoric Forest | $228T/s |
| Gold Velociraptor (Big) | Prehistoric Forest | $467T/s |
| Velociraptor (Large) | Prehistoric Forest | $646T/s |
| Swordfish | Deep Waters | $500T/s |
| Shark | Deep Waters | $750T/s |
| Gold Swordfish | Deep Waters | $750T/s |
Prehistoric Forest with Royal Steak or Golden Apple
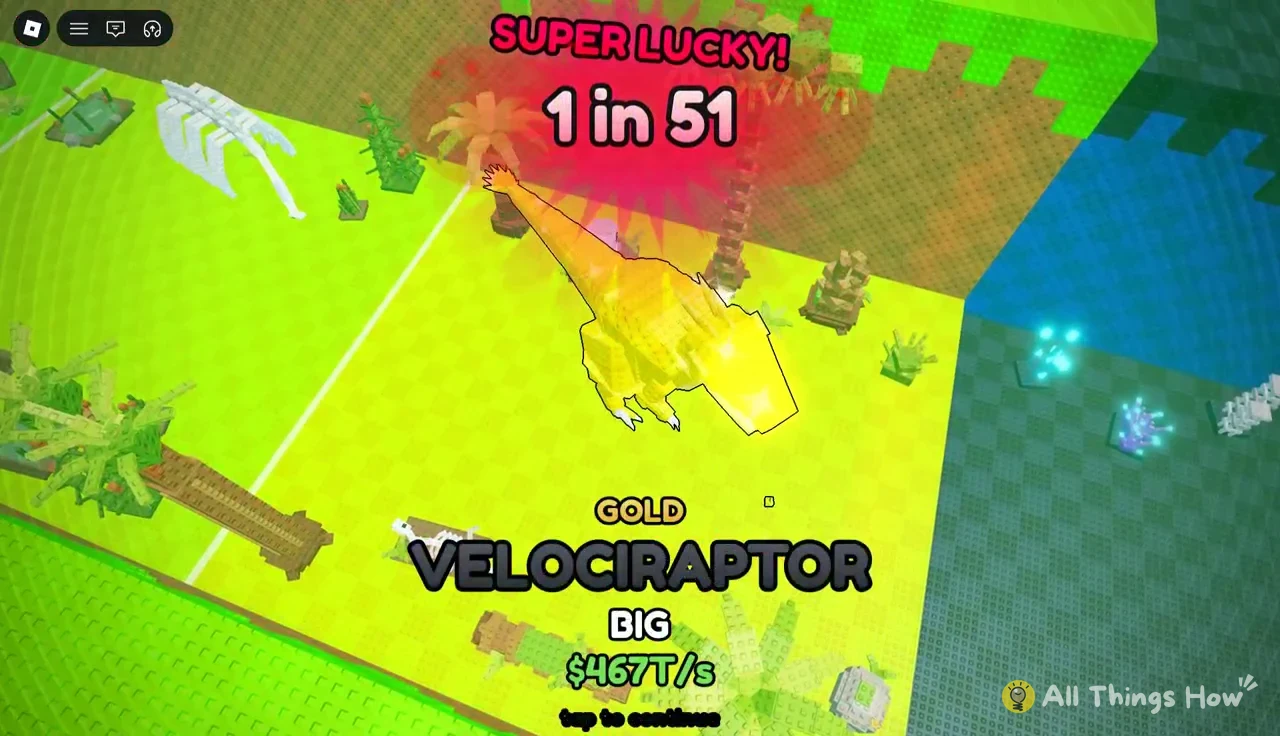
With Royal Steak equipped, Prehistoric Forest mostly gives regular and Gold T-Rex and Spinosaurus. With the Golden Apple, Velociraptors start appearing too, including a Big Gold Velociraptor from a 1 in 51 roll. Perfect throws at +18 to +20 all land here until your level goes up, so keep throwing for better size and variant rolls while you train.
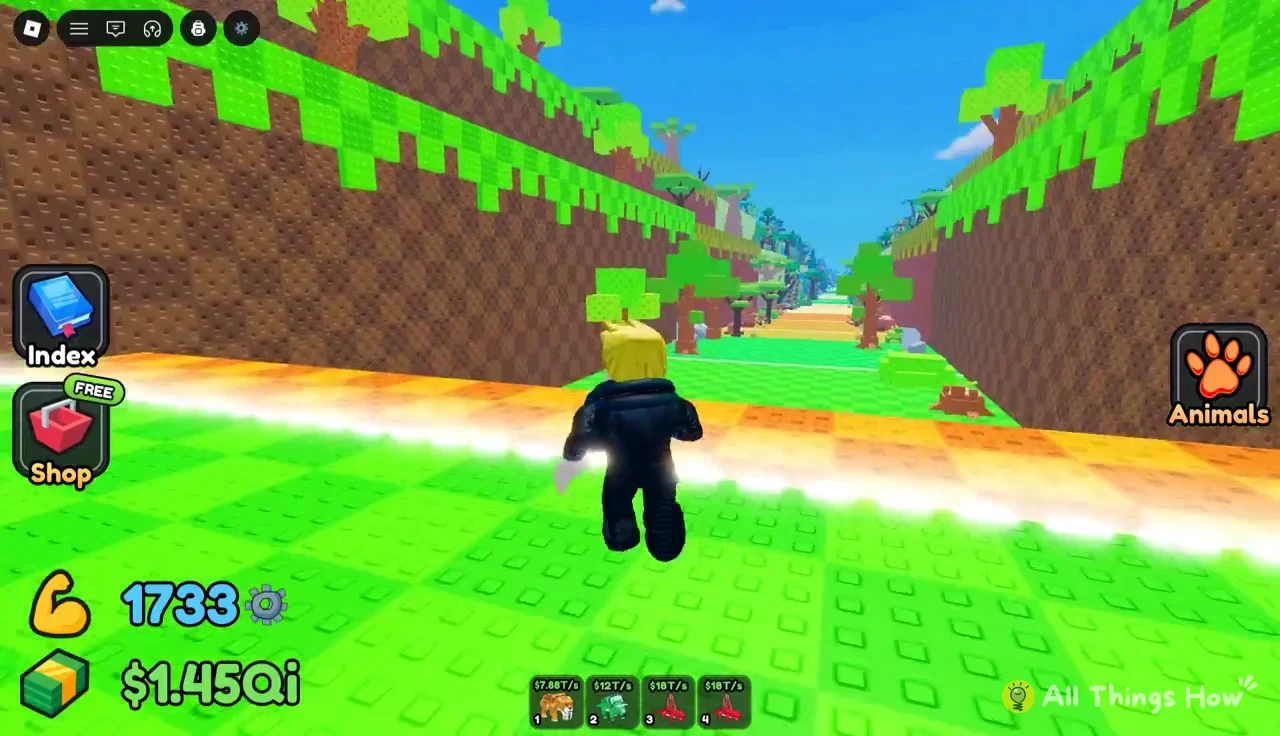
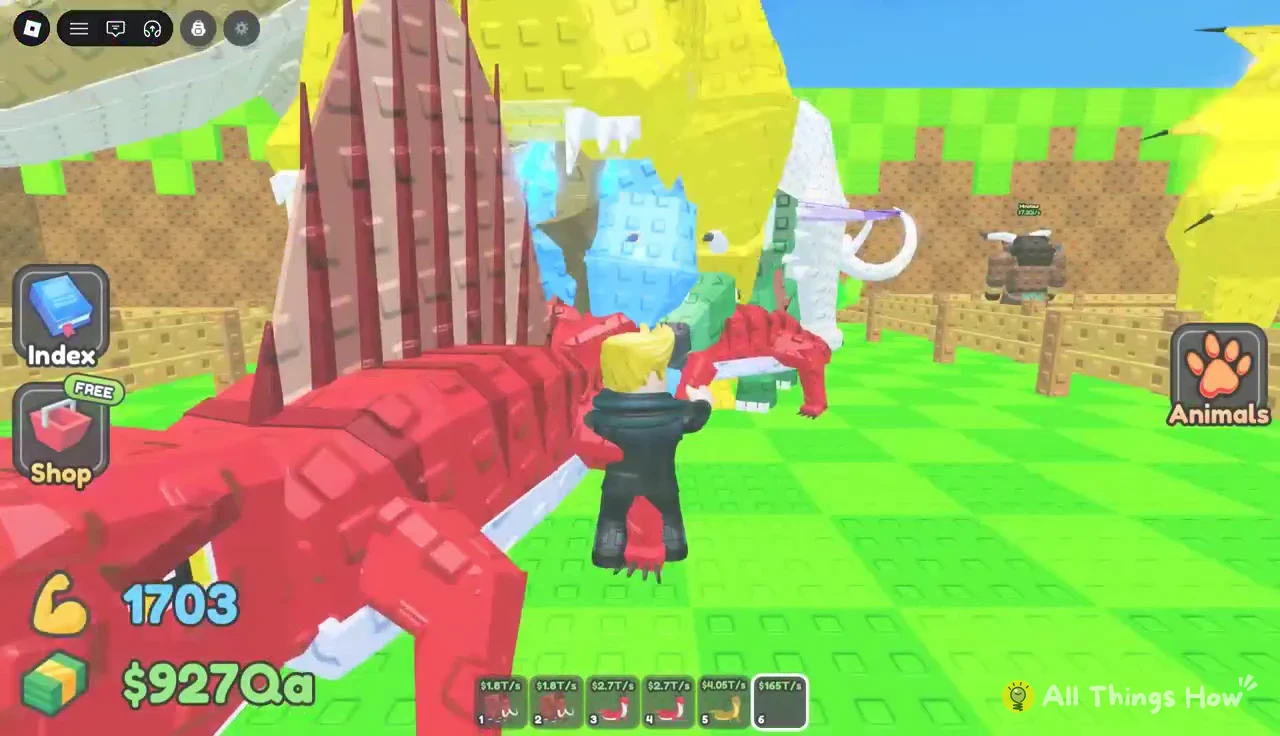
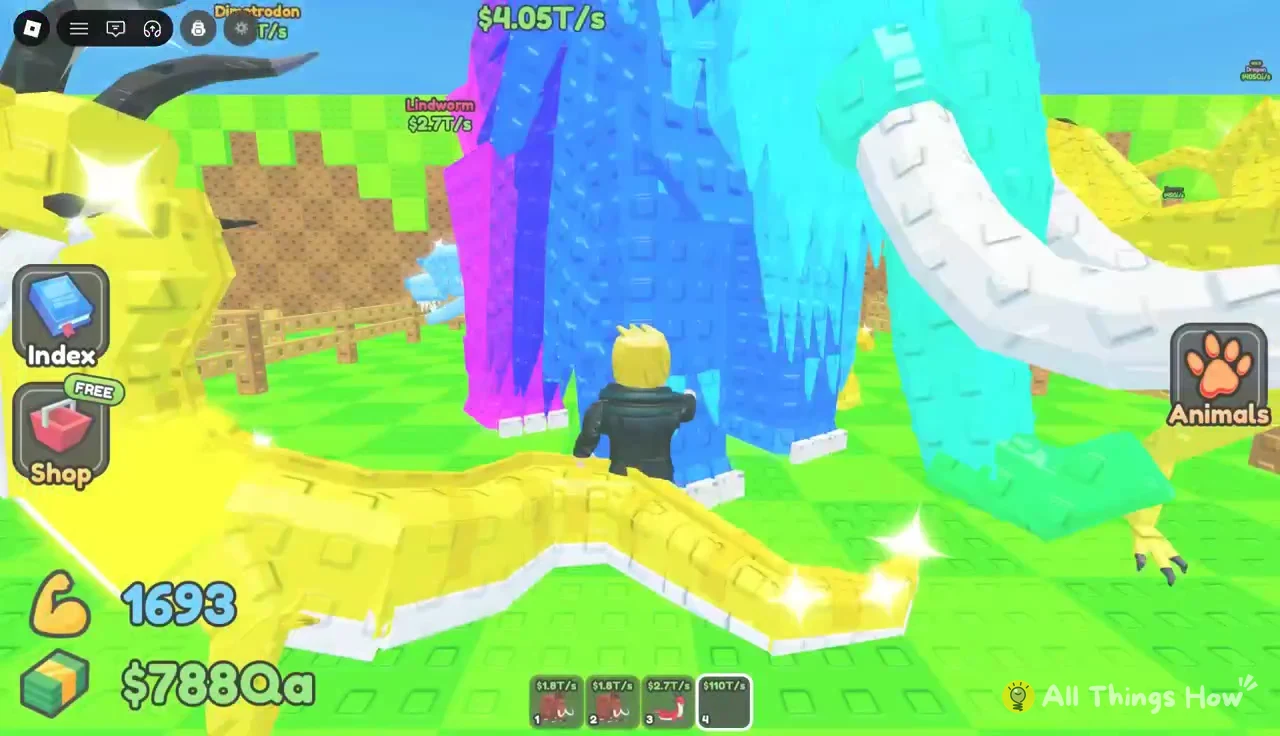
After the roll, your new animal walks out onto the course near you. You can see it on the field before you open the Animals menu to decide whether it goes on your plot.
Deep Waters with the Golden Apple
Deep Waters is just past Prehistoric Forest, and Luck there starts a little above 28X. With the Golden Apple and a level around 348, Perfect throws at +19 and +20 keep landing in Deep Waters. They give Swordfish and Shark, plus the occasional Gold Swordfish. Even a regular Swordfish earns more than any regular dinosaur in Prehistoric Forest.
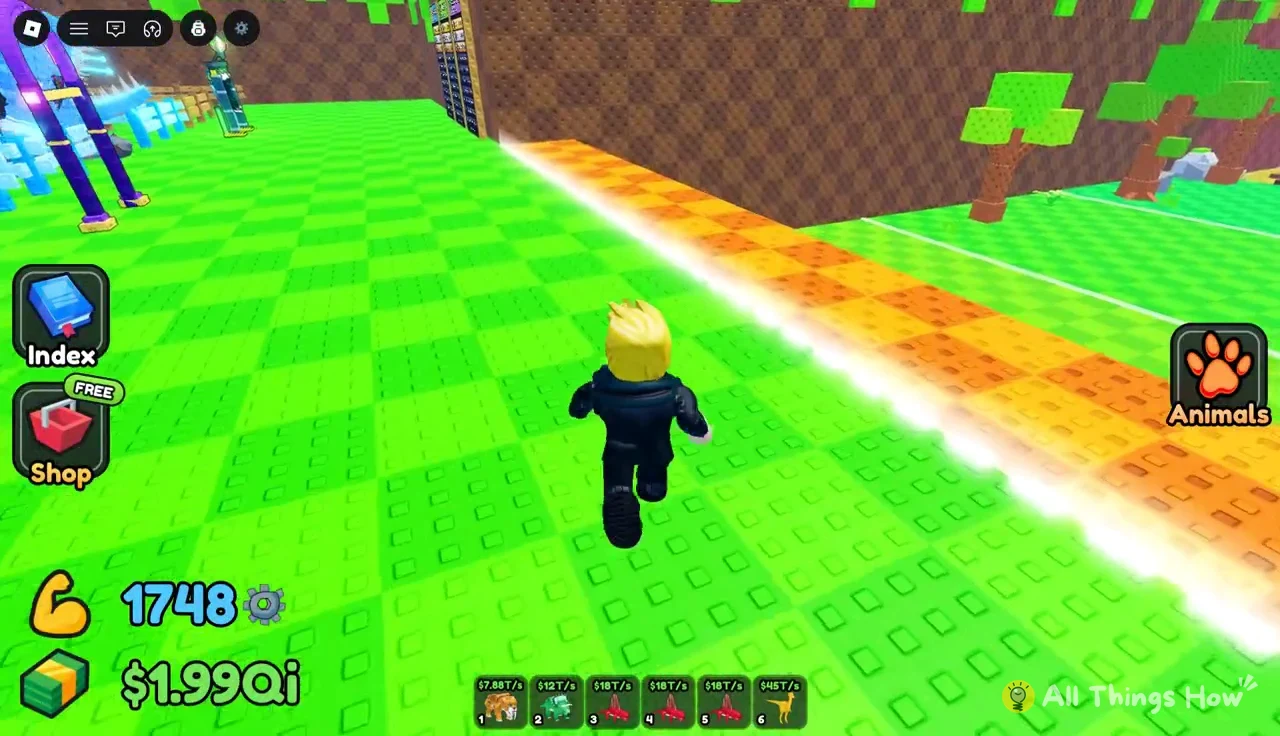
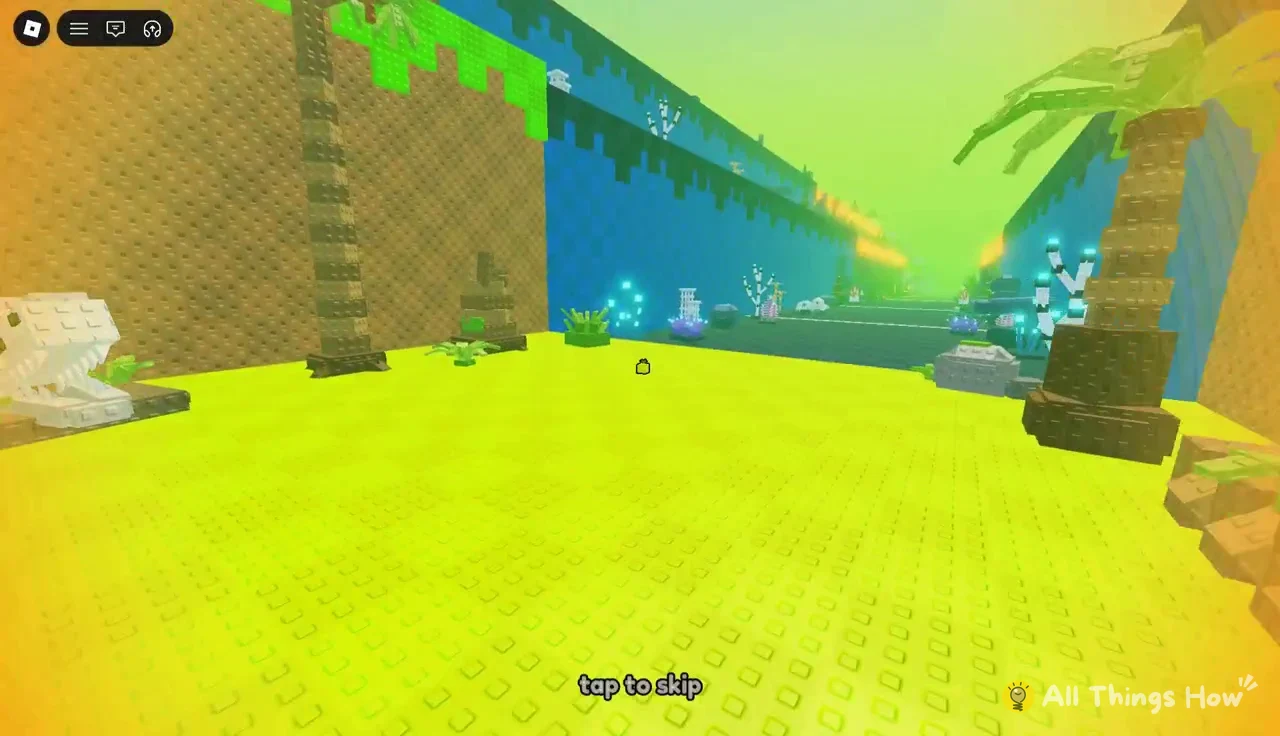
Deep Waters looks completely different from the rest of the runway. It’s a neon underwater arena, and a short scene with a tap to skip prompt can play as you arrive there.
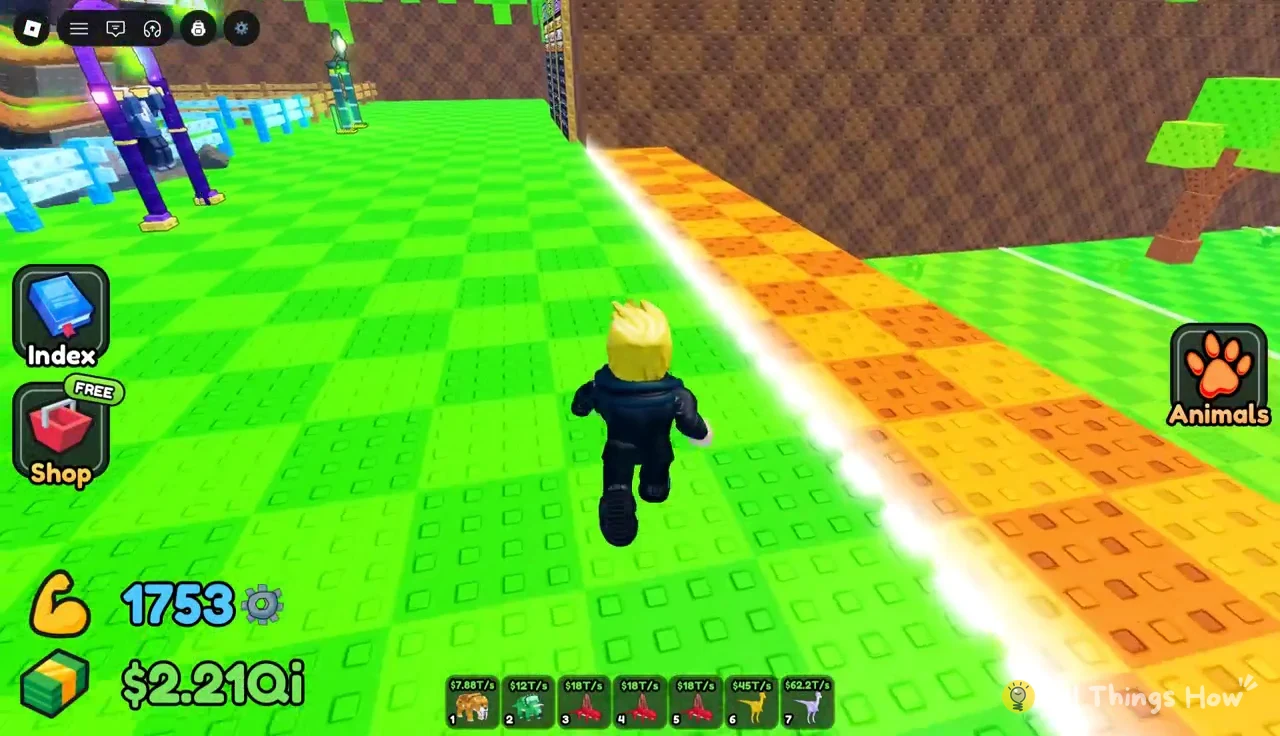
Pushing deeper into the zone moves Luck up by small steps, from 28.08X on a first arrival to about 28.16X on longer throws. Every extra Perfect is worth going for.
Placing and selling animals to fund the next food
Caught animals only earn money once they’re on your plot. They stand on the base with an overhead tag showing their income, such as $110T/s or $750T/s. Animals left in your backpack earn nothing until you place them or sell them.
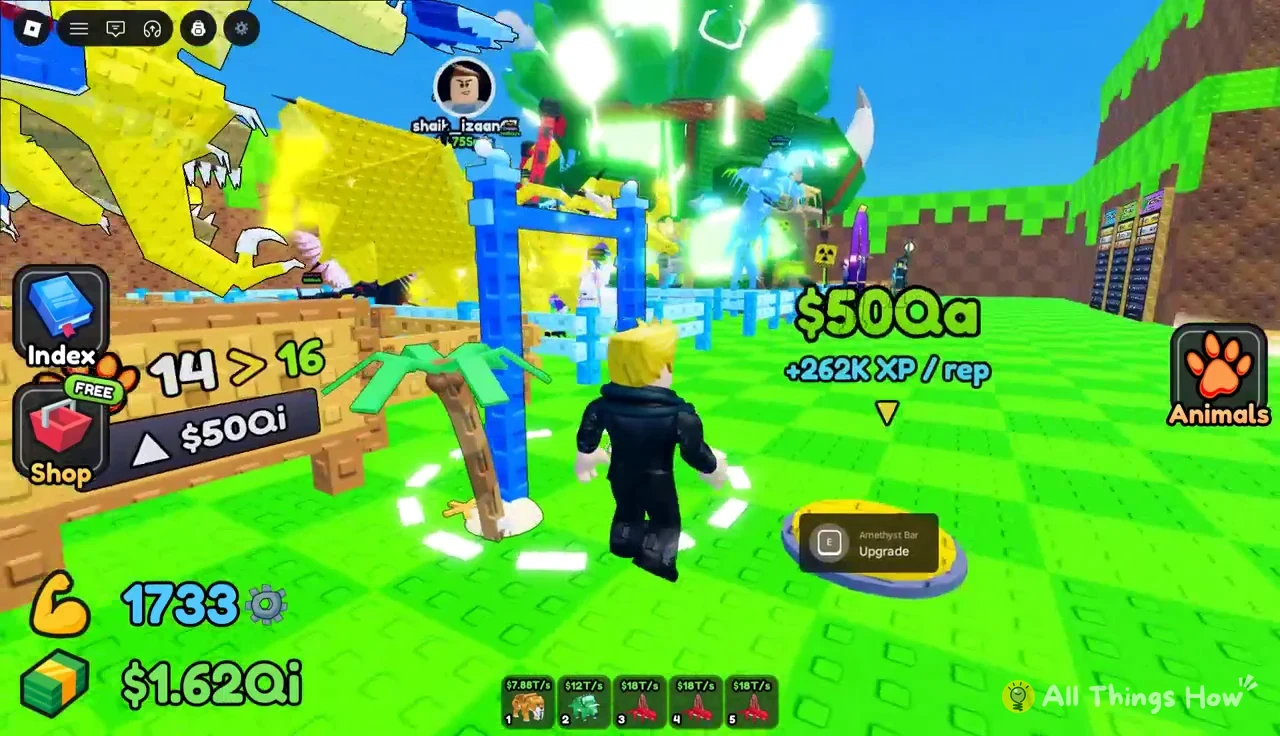
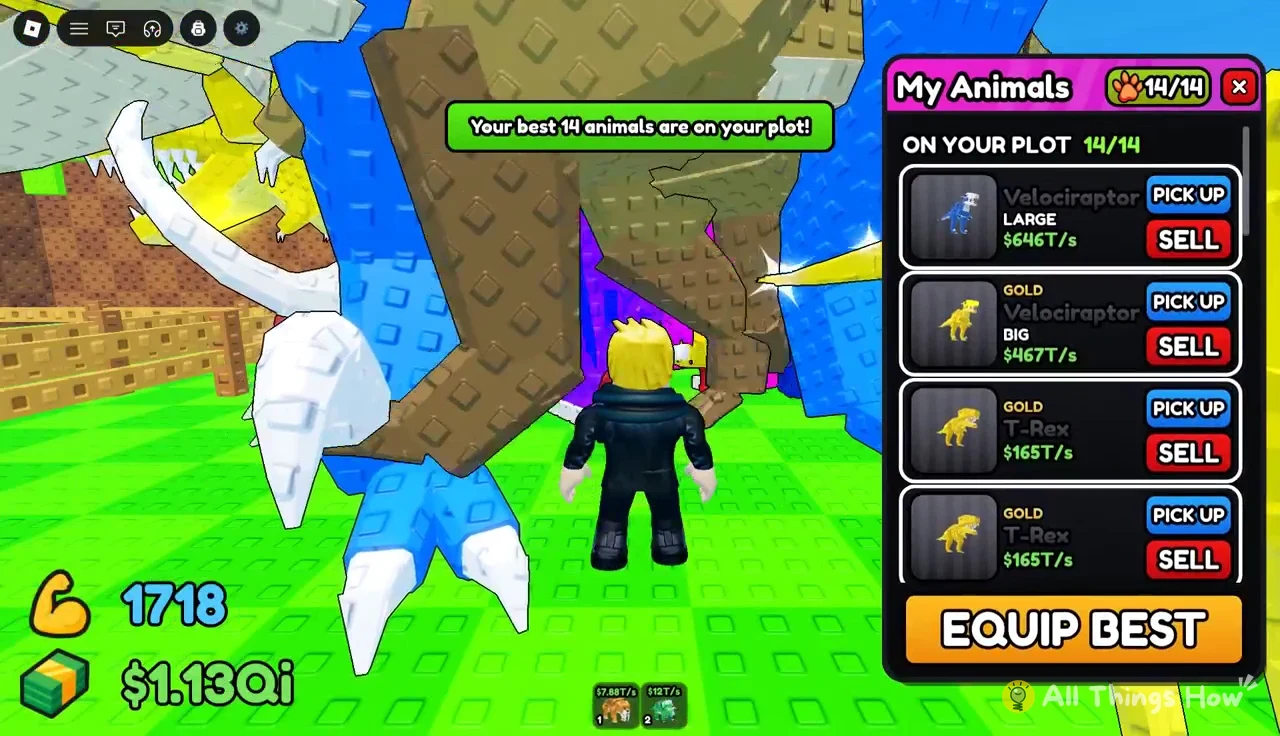
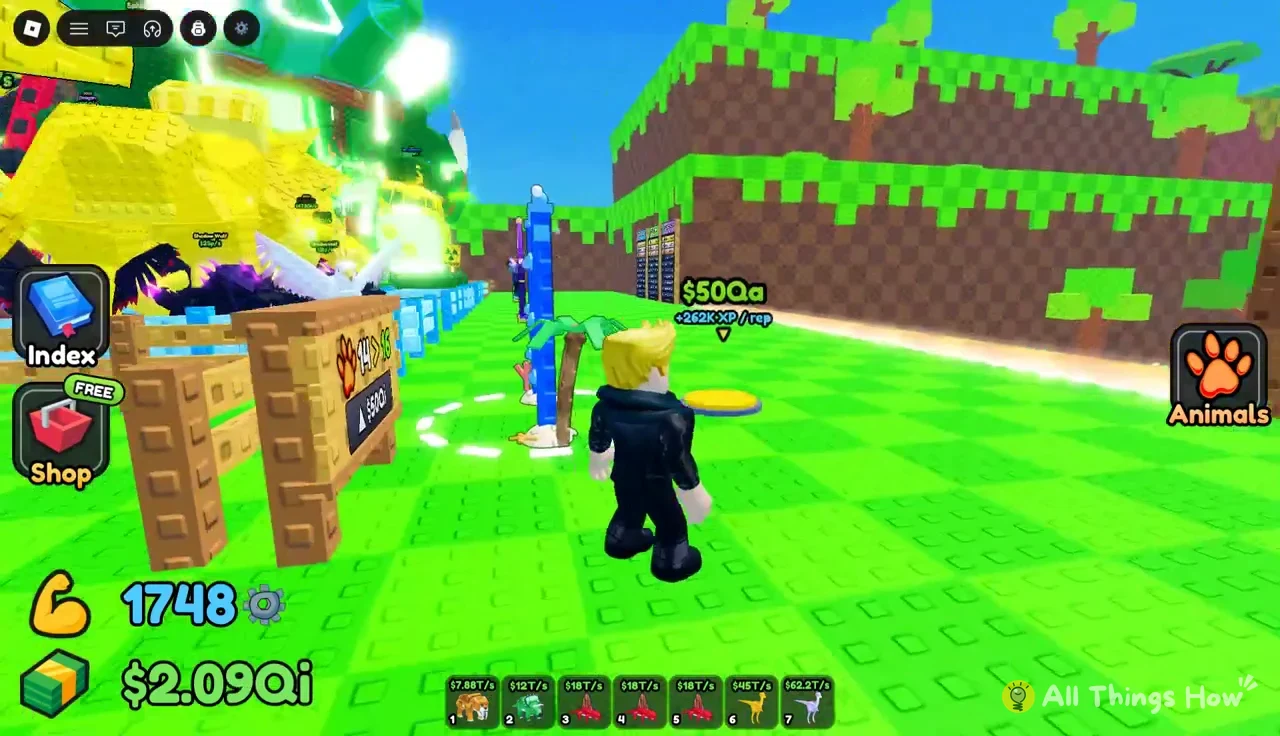
The plot has a limited number of slots, shown as a count like 14/14 at the top of the My Animals panel. Open it from the Animals button and press Equip Best. It fills the plot with your highest earners and moves weaker animals off. You’ll know it worked when your new catch shows up on the plot with its income tag.
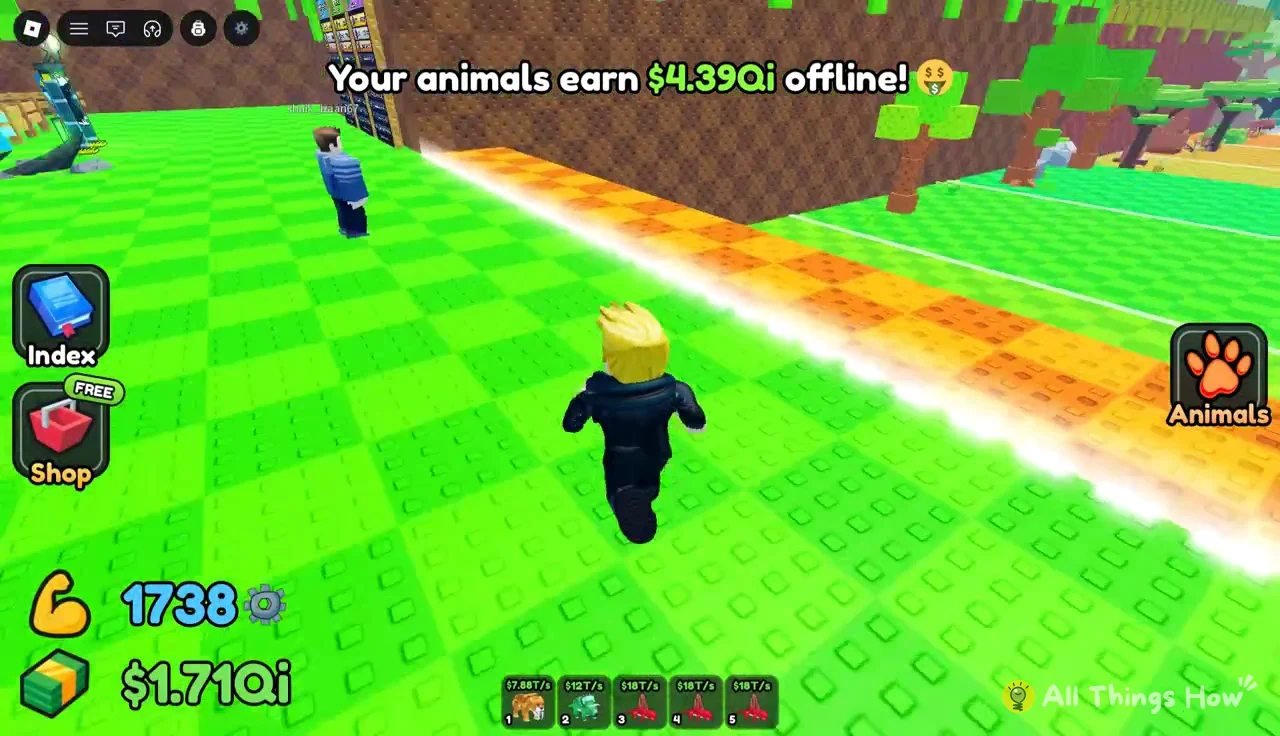
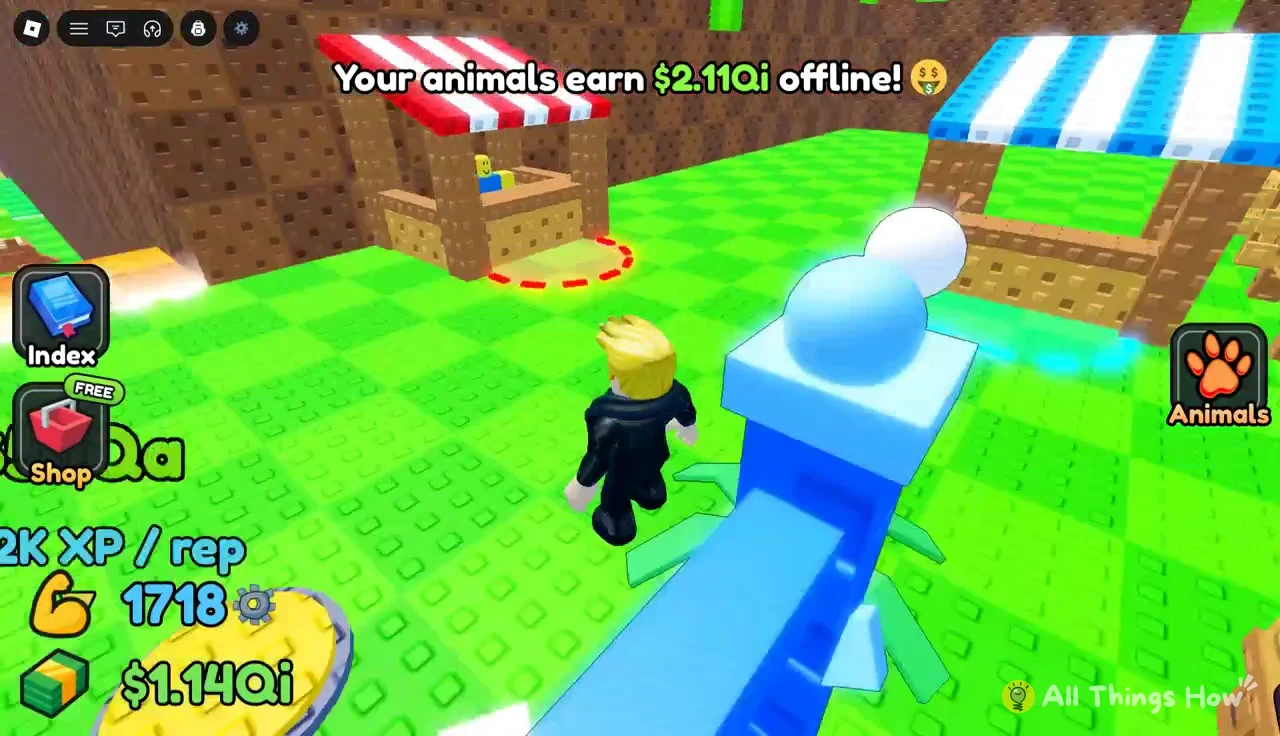
Your plot keeps earning while you’re offline. When you come back, a banner on the base shows your offline earnings. The base also has yellow purchase pads with a price on them, separate from the bar upgrade pad.
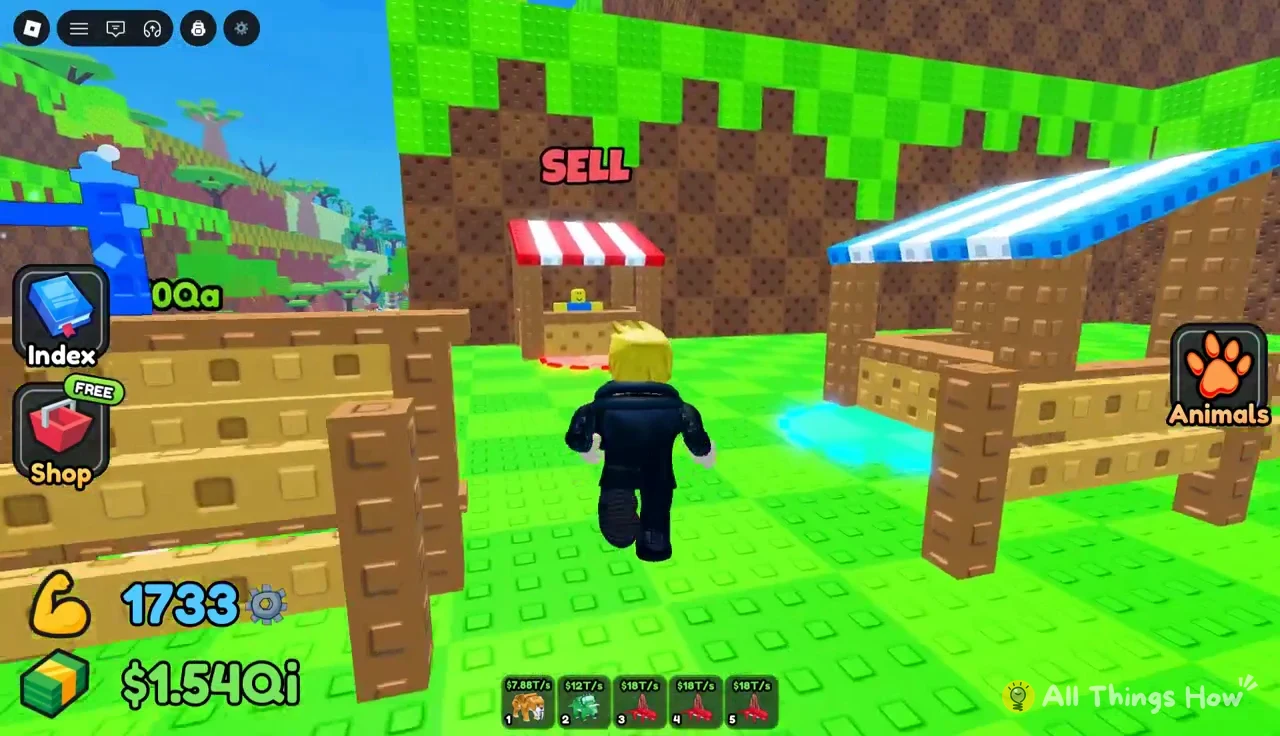
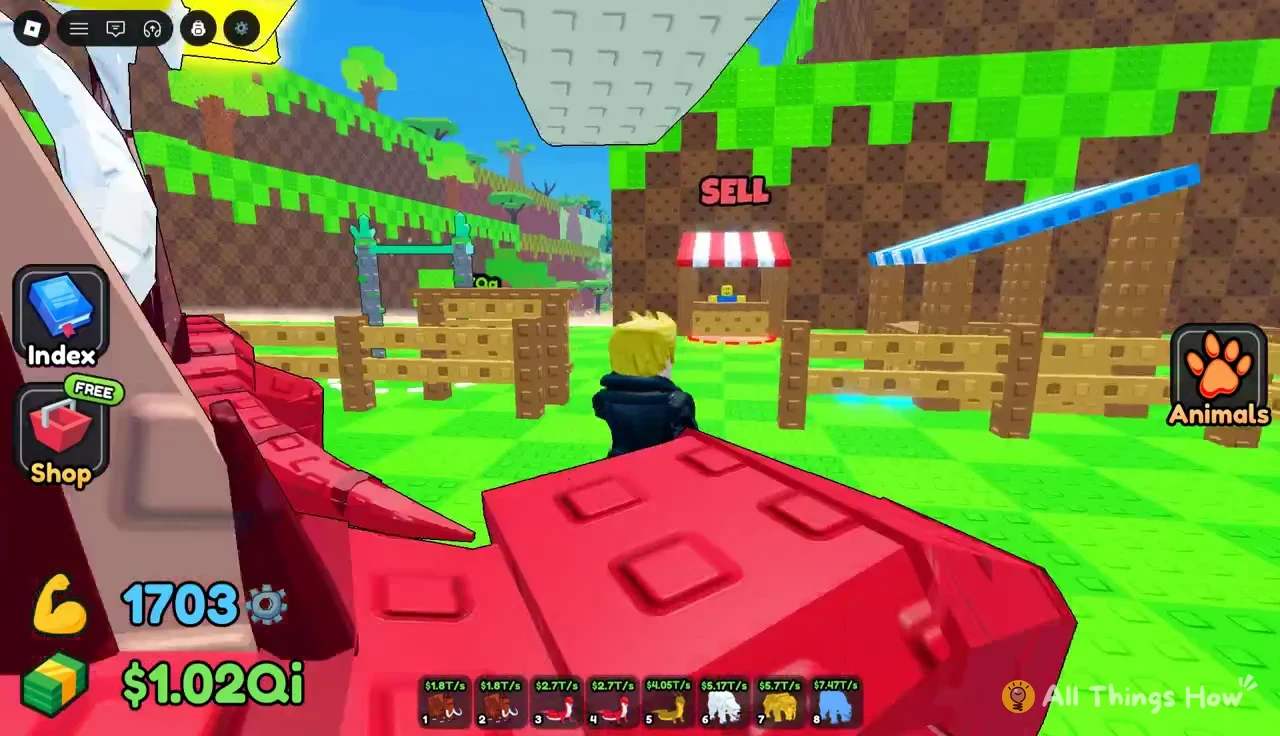
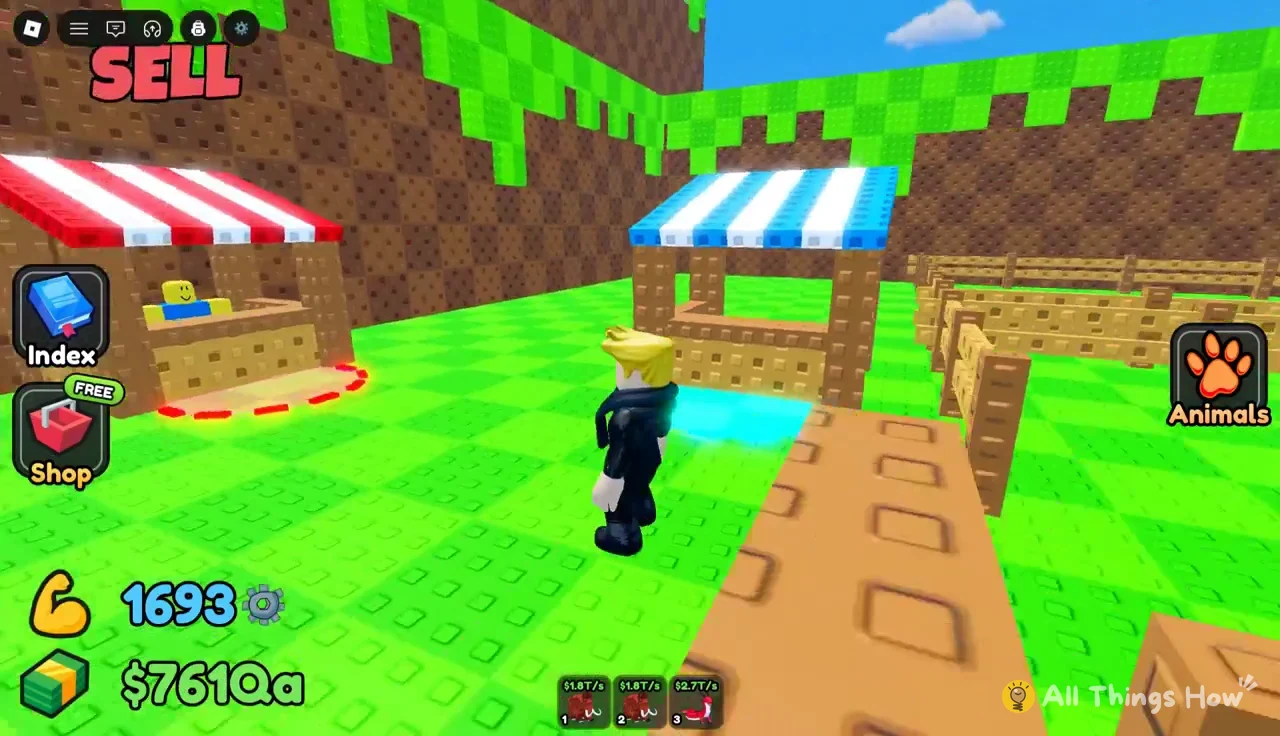
Sell everything that didn’t make the plot. The SELL stall is a red-and-white market booth with floating red SELL text and a ring marking the selling zone. Step into the ring to bulk-sell every animal in your backpack at once. One batch of eight late-game duplicates sold for $628T, which is a quick boost toward the next bar or food.
From here, the plan is simple. Use sell money and plot income to buy the Amethyst Bar at $50Qa, which speeds up the levels that push your throws deeper into Deep Waters. After that, save for Crystal Melon at $4Qi as your next food upgrade. You’ll know a step worked when you see the confirmation: the “Upgraded to” or “Bought” message, a higher Luck readout on landing, or a new animal on your plot with a bigger income tag. You can play it on its Roblox game page.