Rebirthing in Net a Fish moves you up a title ladder, from Deckhand to Angler to Netcaster. Each step raises the multiplier on the money your showcase fish earn and gives your dock a new look. The cost is your cash, which drops to $0 every time you rebirth. That makes the order of your purchases matter more than anything else.
Quick answer: Rebirth 2 (Angler) needs 48 fish caught all time and $30,000. Rebirth 3 (Netcaster) needs 240 fish and $225,000. Spend on your next net before confirming, because your money resets.
Net a Fish rebirth requirements and rewards
Each rebirth has two gates, and the Rebirth menu tracks both as live counters. One is your all-time fish caught total. The other is the cash you are holding right now. Hit both and the rebirth button becomes usable.
| Rebirth | Requirements | New title and base | Money multiplier |
|---|---|---|---|
| Start | None | Deckhand | x1.25 |
| Rebirth 2 | 48 fish, $30,000 | Angler, Lagoon base | x1.50 |
| Rebirth 3 | 240 fish, $225,000 | Netcaster, Coral Reef base | x1.75 |
The multiplier applies to the income your showcase fish generate on the pedestals at your dock. The base change is cosmetic but obvious. As an Angler, your fishing station turns into a lagoon, with the Lagoon floor replacing the plain dock. As a Netcaster, the pier picks up Coral Reef decorations.
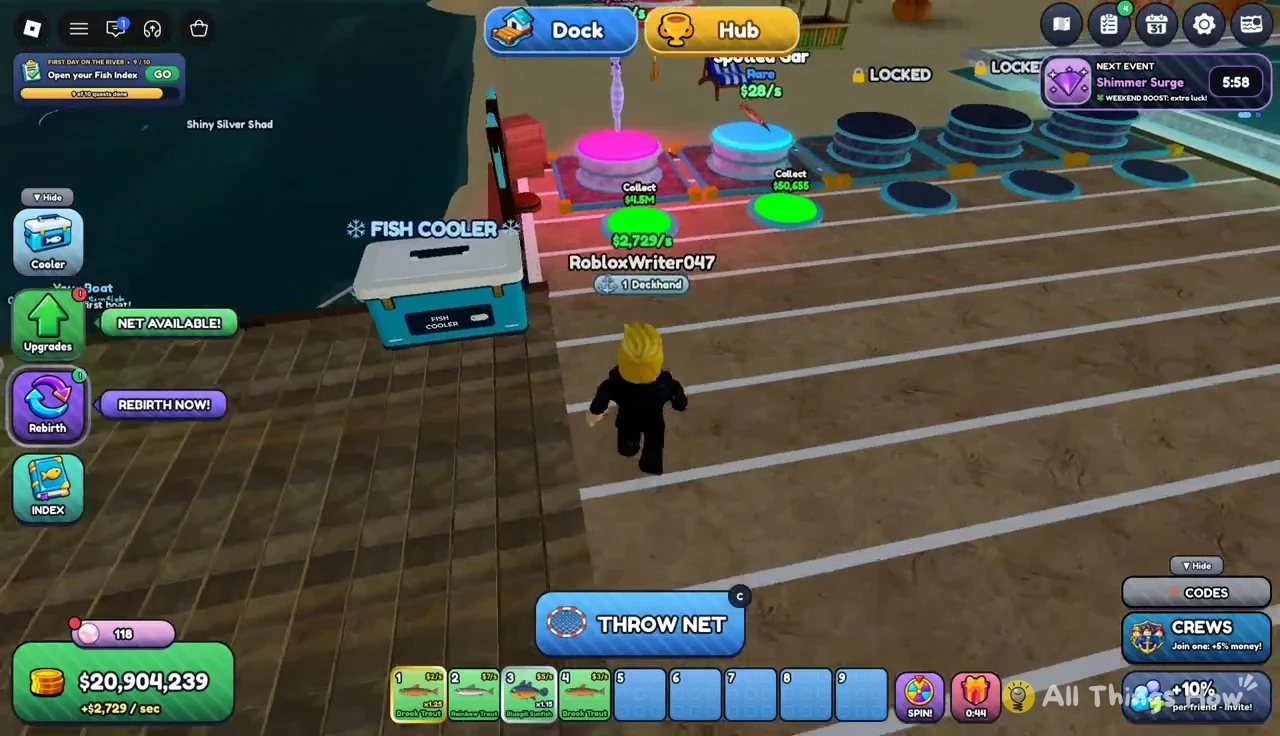
The fish requirement counts every fish you have ever caught, not just fish caught since your last rebirth. A player who arrives at the Netcaster menu with 257 fish already logged clears the 240 gate immediately, even though the Angler rebirth came earlier. Your cash, on the other hand, starts over from zero after every rebirth, so the money target is always earned fresh.
Any money you are holding when you confirm a rebirth is gone. Overshooting the target by millions earns you nothing extra, so spend the surplus first.
Which net to buy before each rebirth
The game itself puts a tip at the bottom of the Rebirth menu telling you which net to grab before you reset. Before Rebirth 2, it points you to the Braided Net for $1,500. Before Rebirth 3, it points you to the Steel Mesh Net for $10,000. Both are cheap compared with the cash target, and both carry over, so there is no reason to rebirth without them.
| Net | Tier | Price | Space and bonus |
|---|---|---|---|
| Nylon Net | 4 | $800 | 7-8, Area +6% |
| Braided Net | 5 | $1,500 | 8-10, Area +6%, +Rare |
| Reinforced Net | 6 | $4,000 | 10-12, Area +6% |
| Steel Mesh Net | 7 | $10,000 | 12-15, Area +7%, +Epic |
Nets are bought from the Upgrades menu, and they follow a straight line up from the starter Cotton Net. Space is how many fish a single throw can hold, so it directly controls how fast your all-time fish count climbs. The Braided and Steel Mesh tiers also widen the rarity pool, adding rare and epic fish respectively, which matters for showcase income. The Reinforced Net is a pure capacity upgrade that lets one throw hold up to 12 fish.
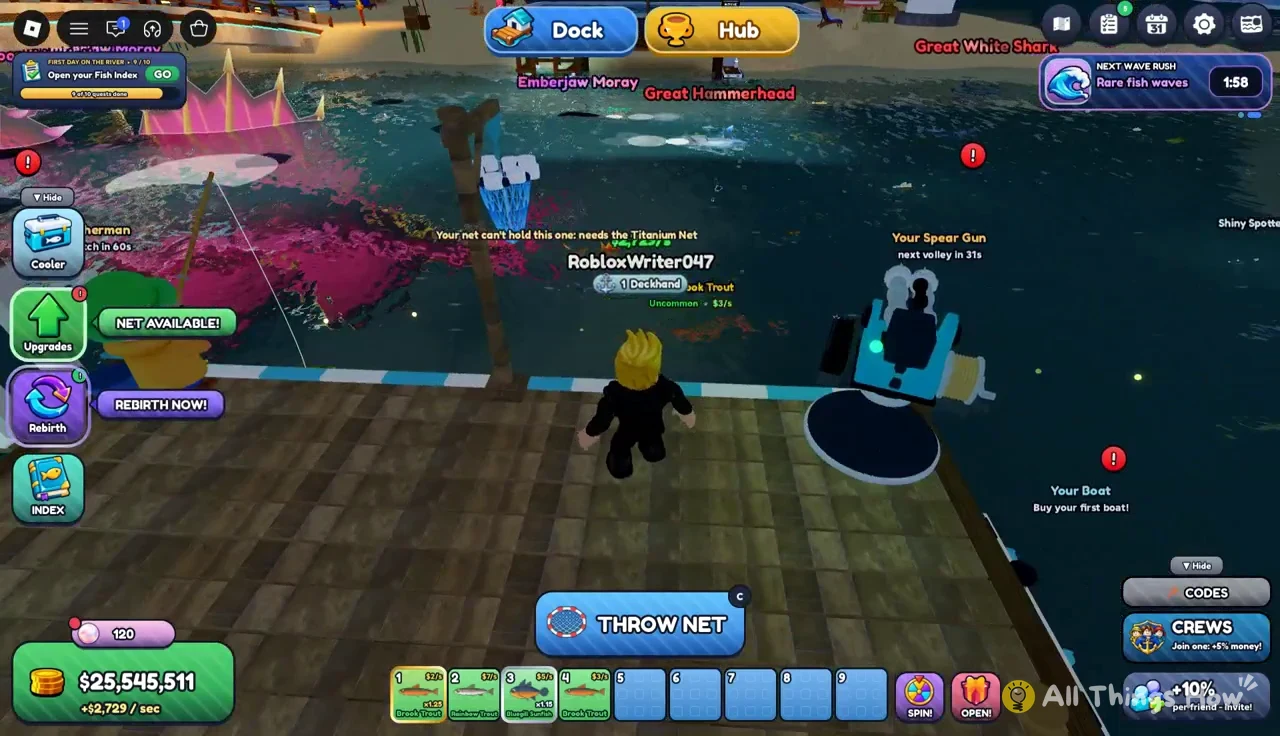
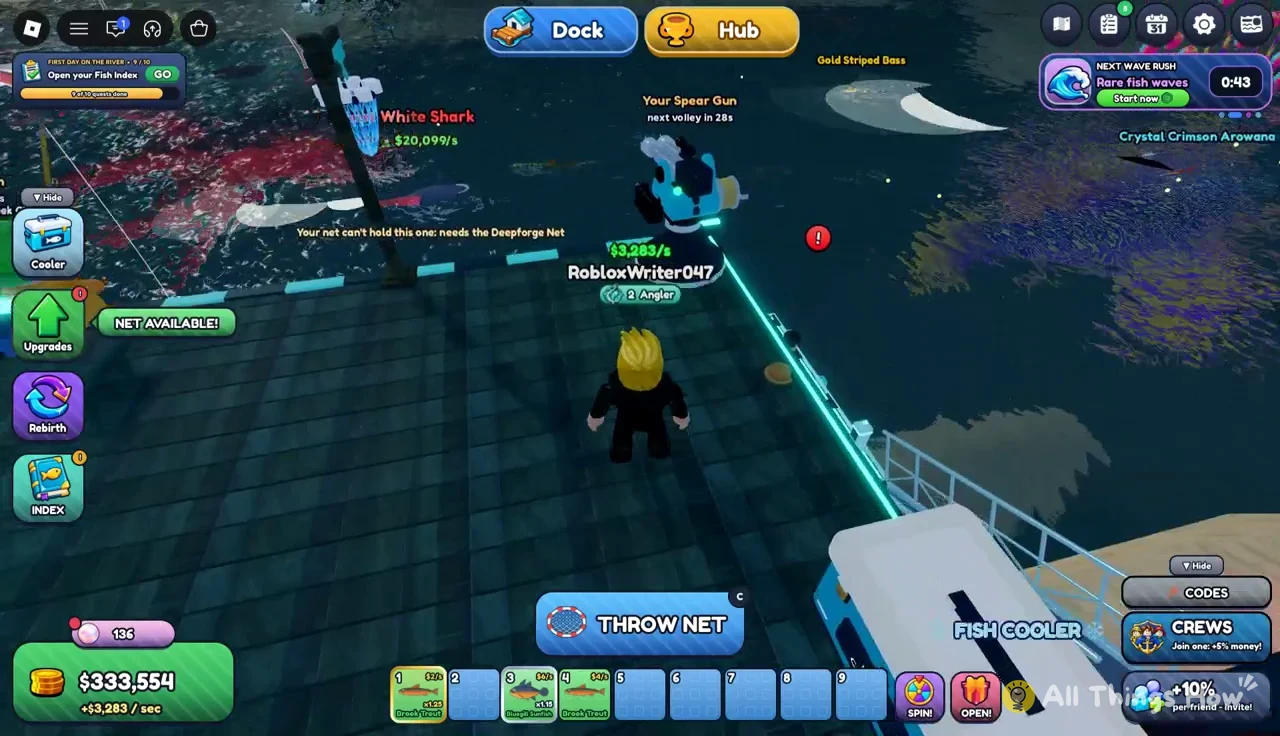
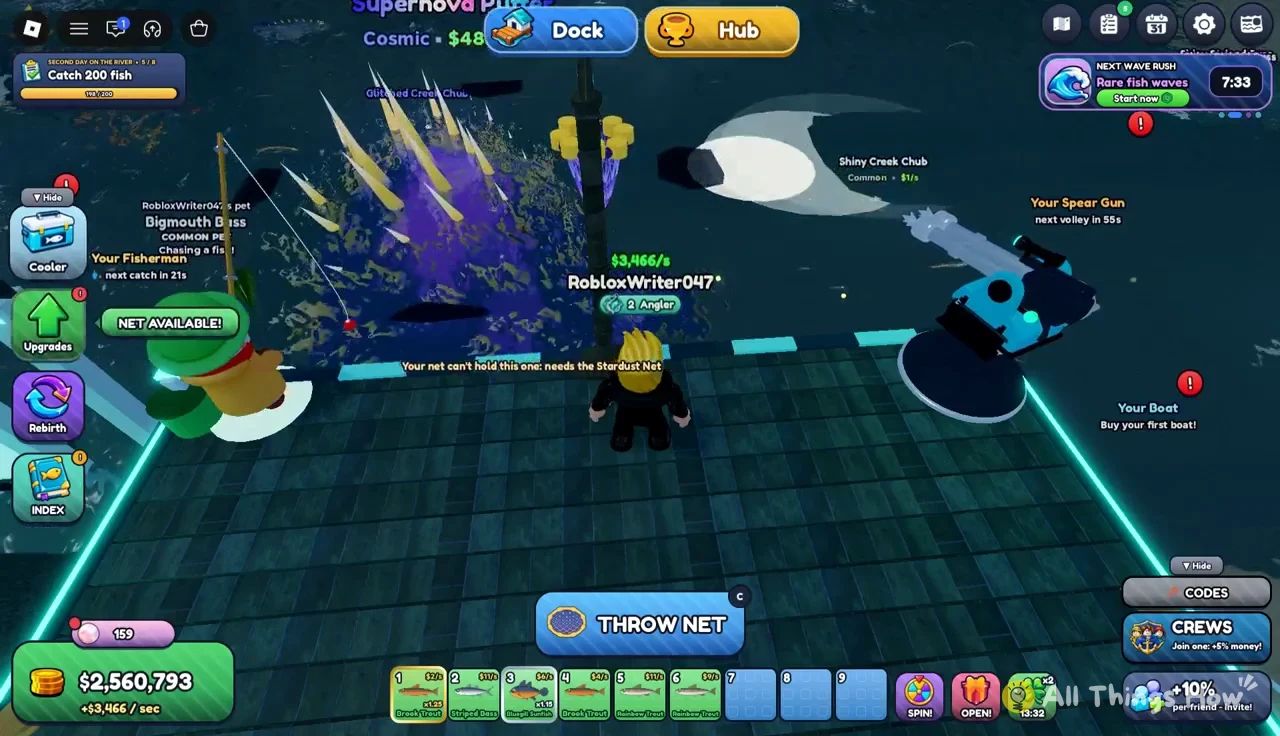
Some fish swimming near the dock are locked behind higher nets. When you aim at one of them, a warning names the net it requires, and your current net will not land it.
Farming fish caught and cash for the rebirth targets
Both rebirth gates come from the same loop. You throw your net to raise the fish count, then put your best catches on the showcase pedestals so they pay out cash over time. Everything else in the game feeds one of those two numbers.
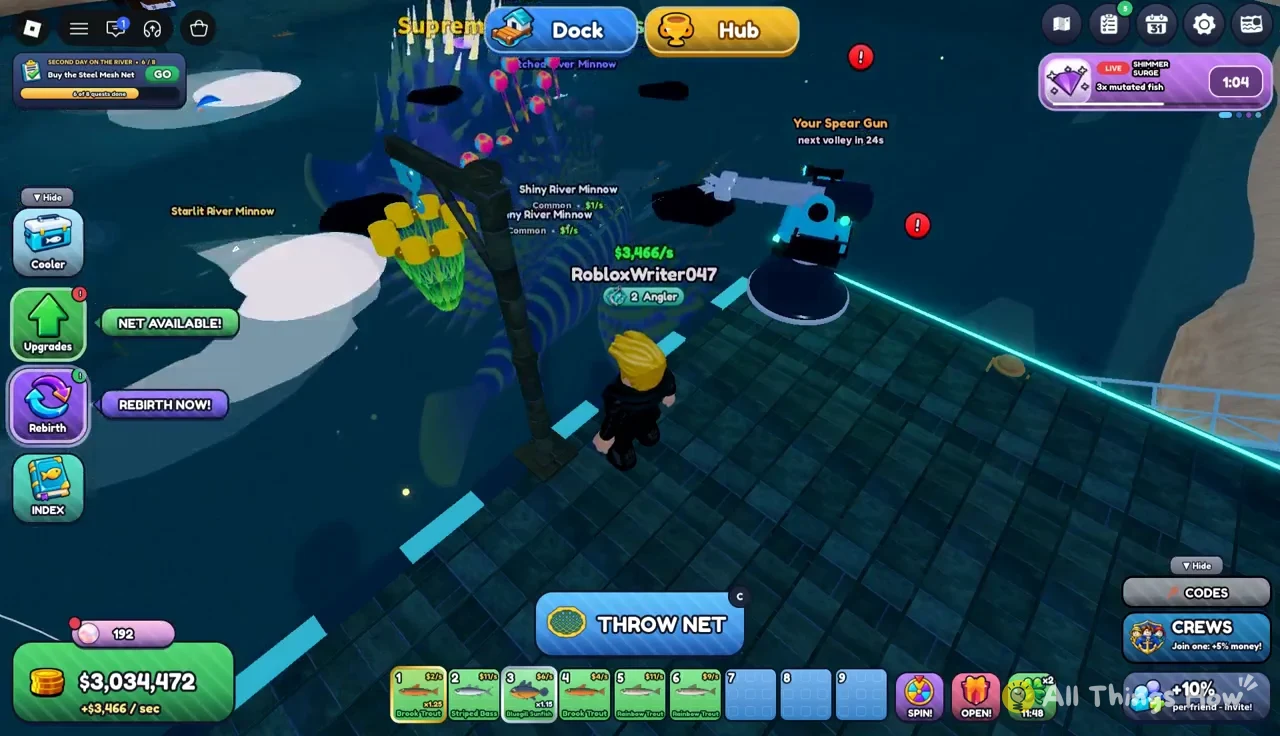
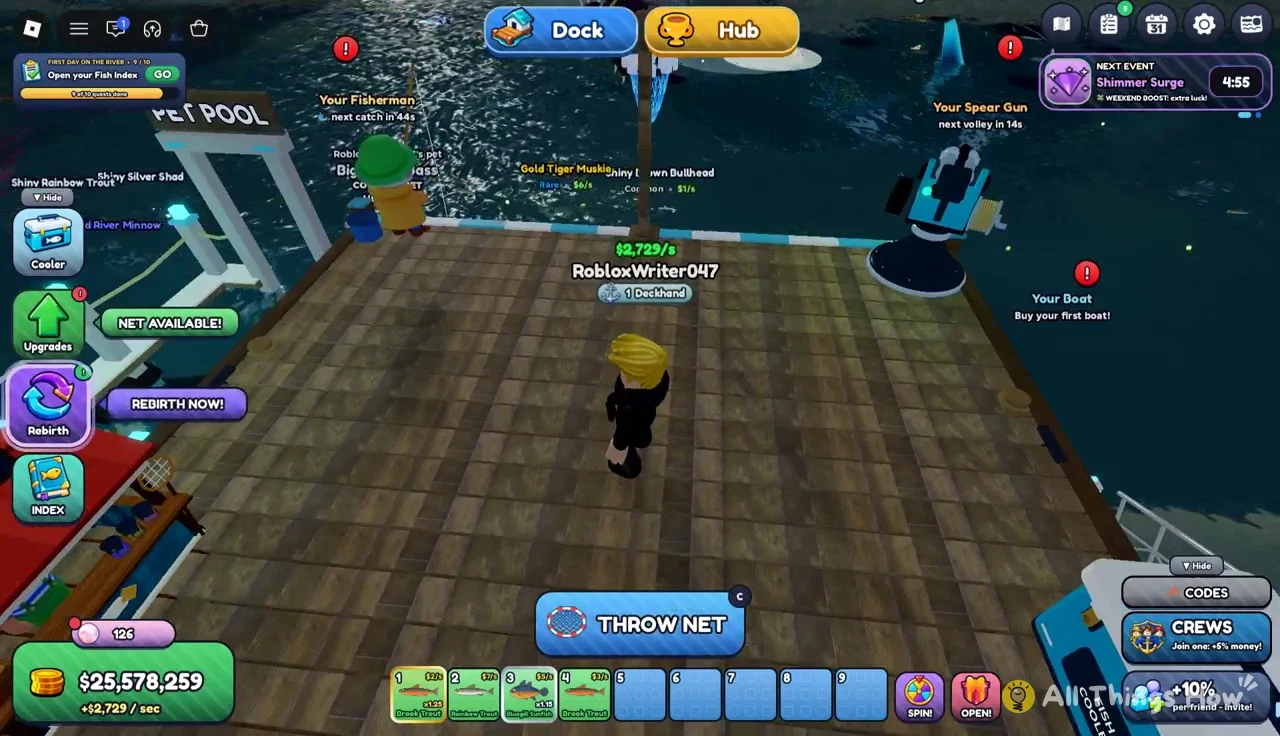
Throwing and reeling in the net
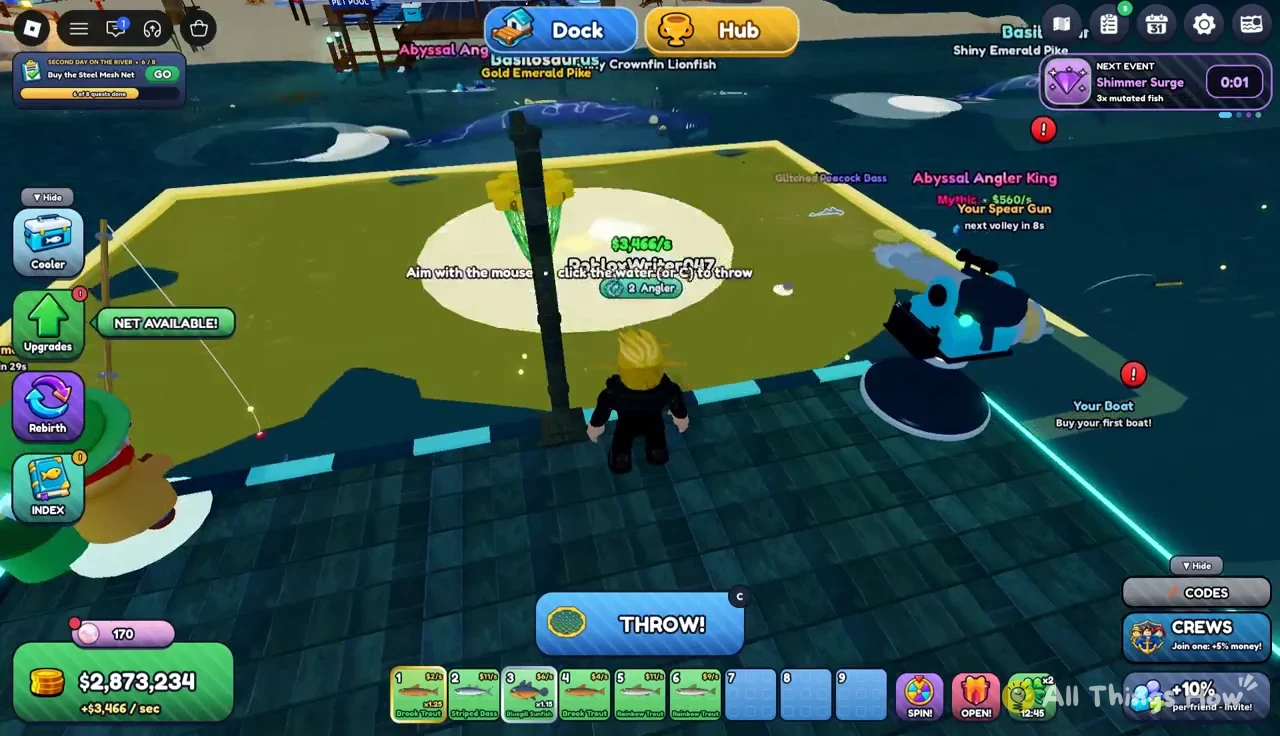
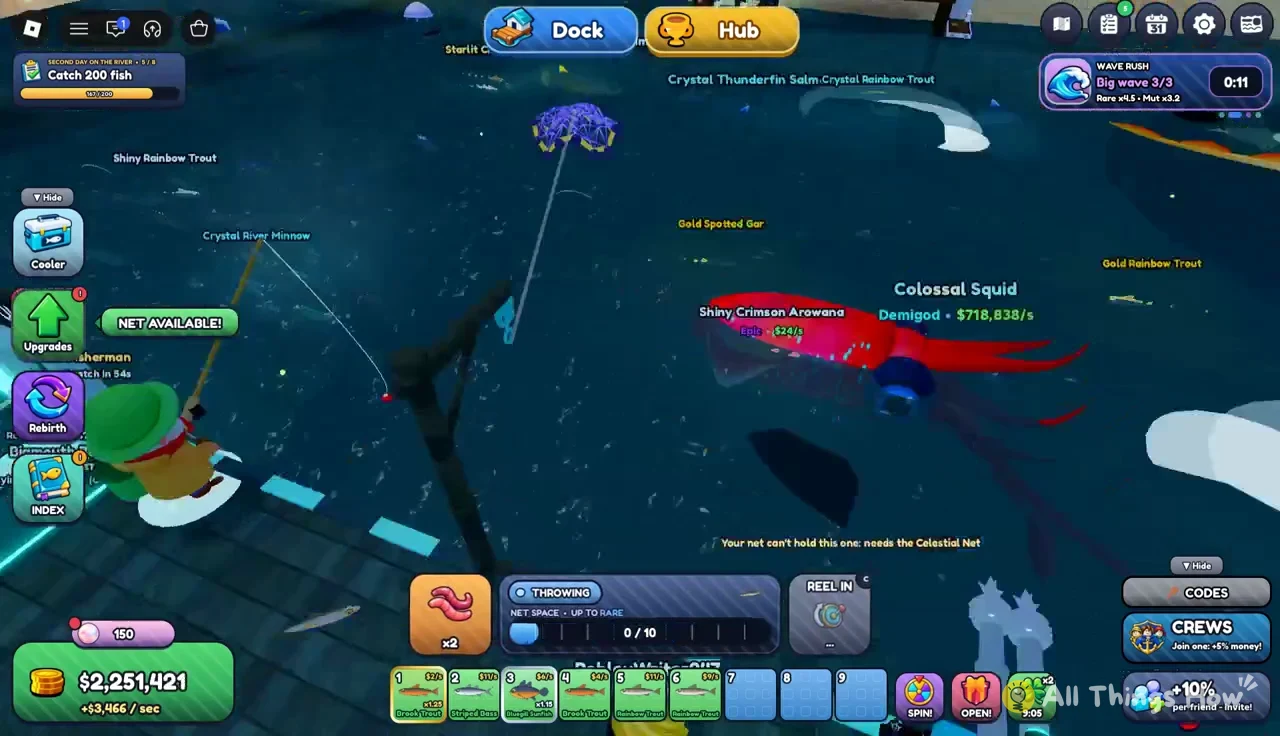
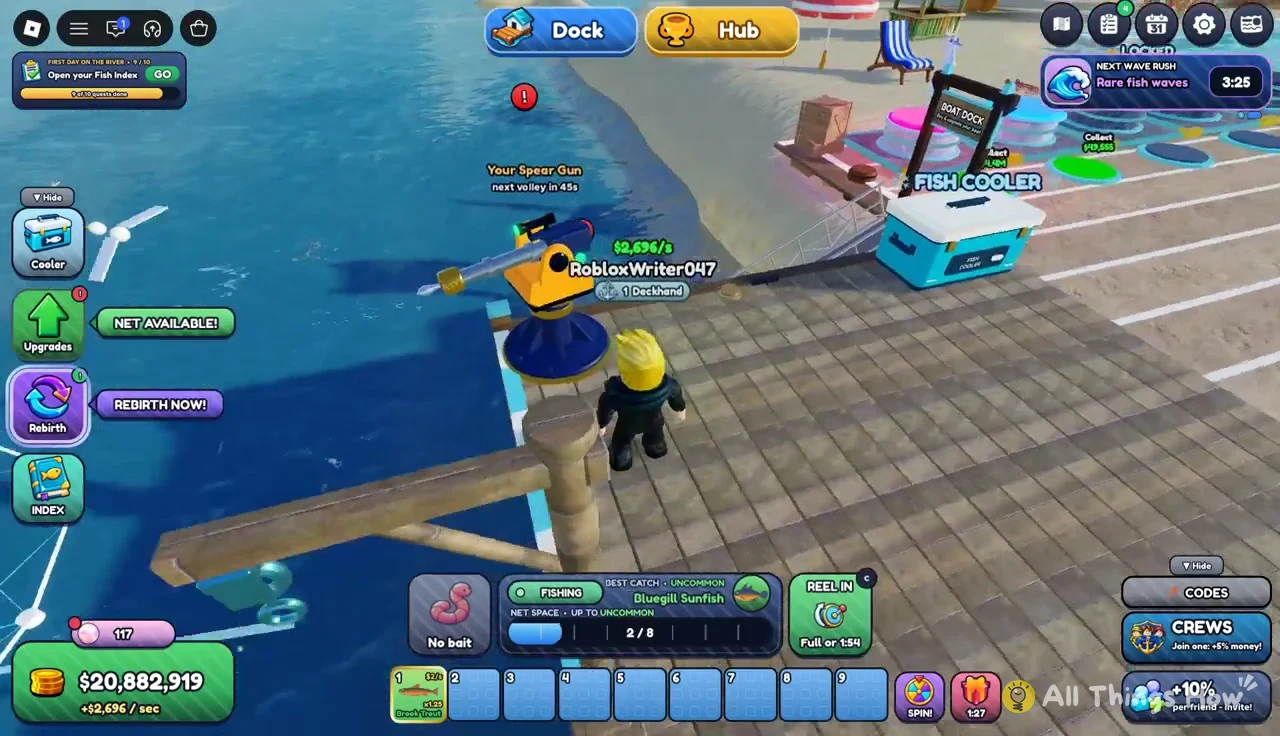
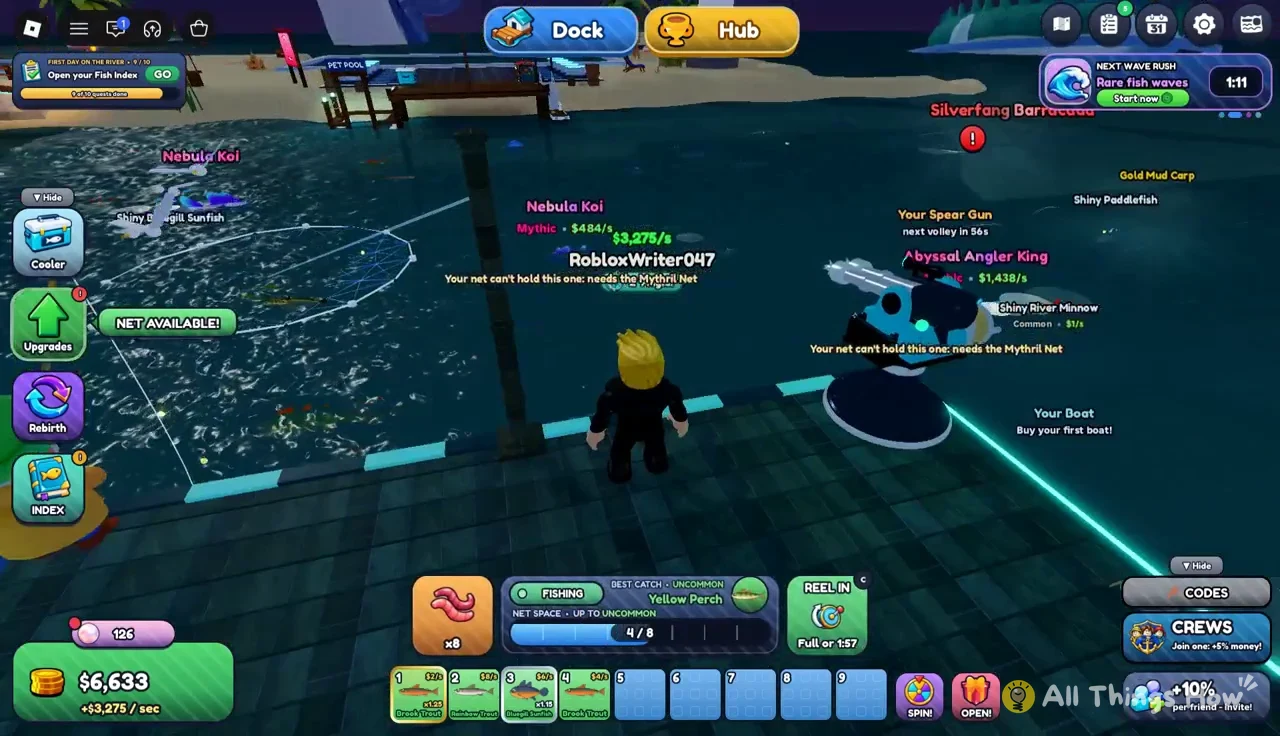
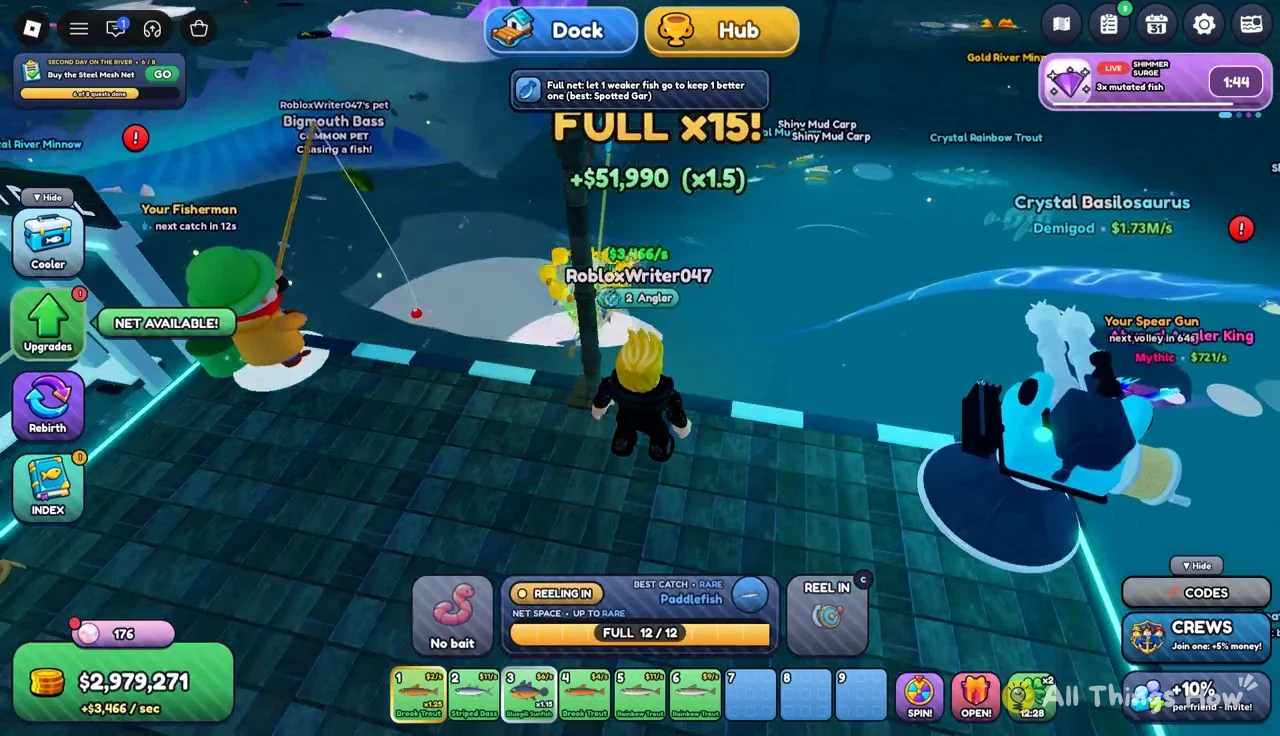
Repeat this until the fish counter in the Rebirth menu passes the target. Schools near the dock vary, from common river minnows to larger fish further out, so it is worth aiming at the densest group rather than the first fish you see.
Fish Cooler and showcase pedestals
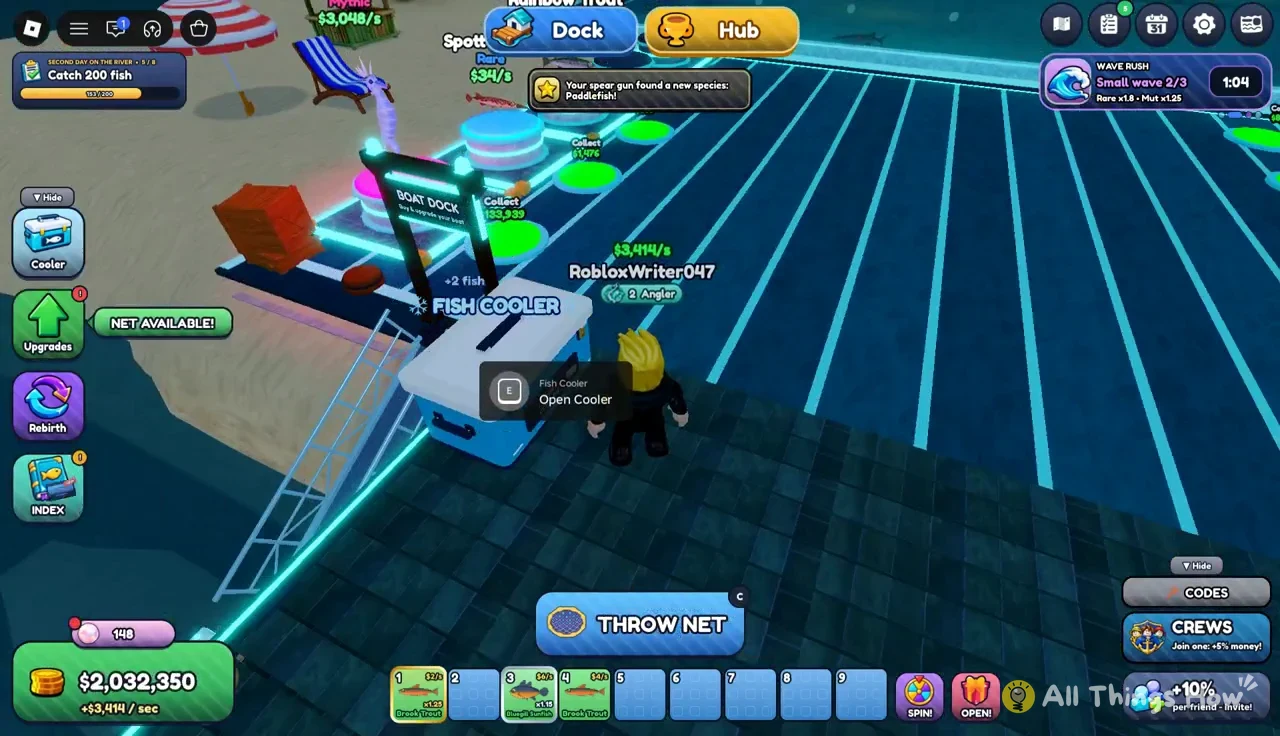
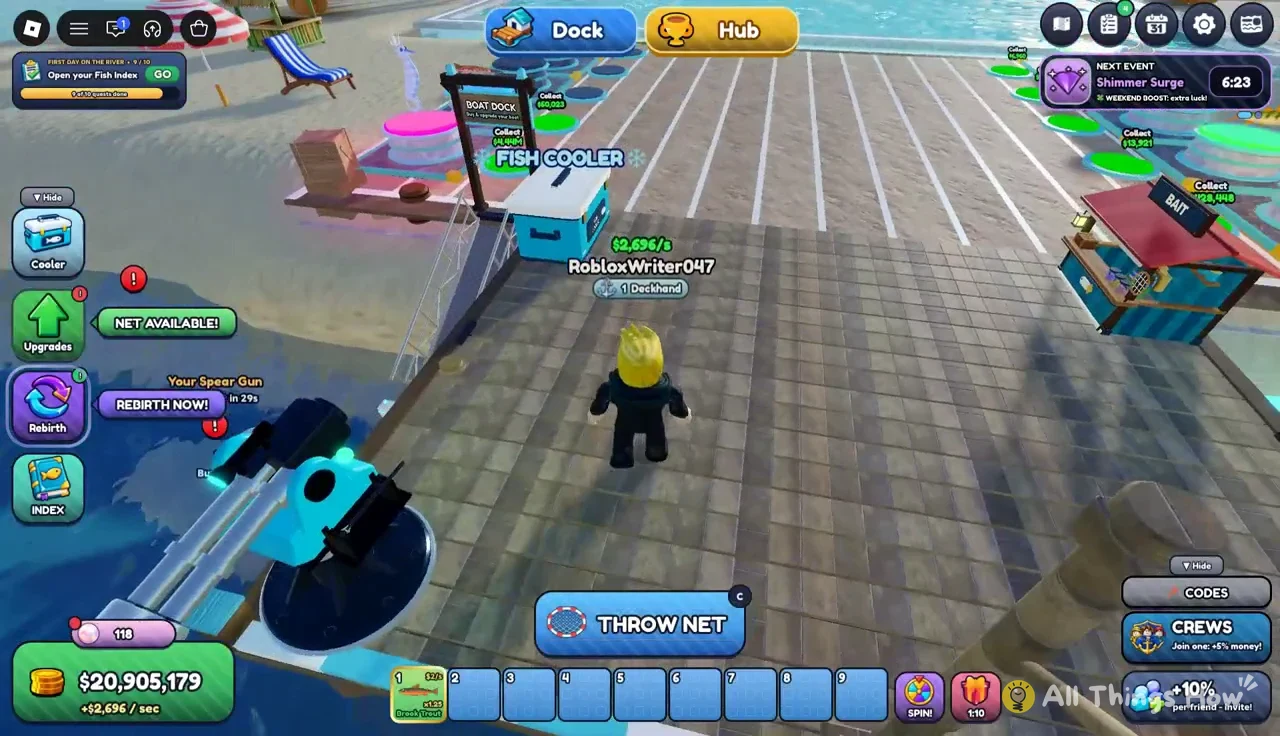
Caught fish go into the Fish Cooler, which sits on the dock. Walk up to it and press E to open it. Inside, the Equip Best button places your highest-value fish onto the showcase pedestals automatically, which is the fastest way to keep income maxed after a good haul.
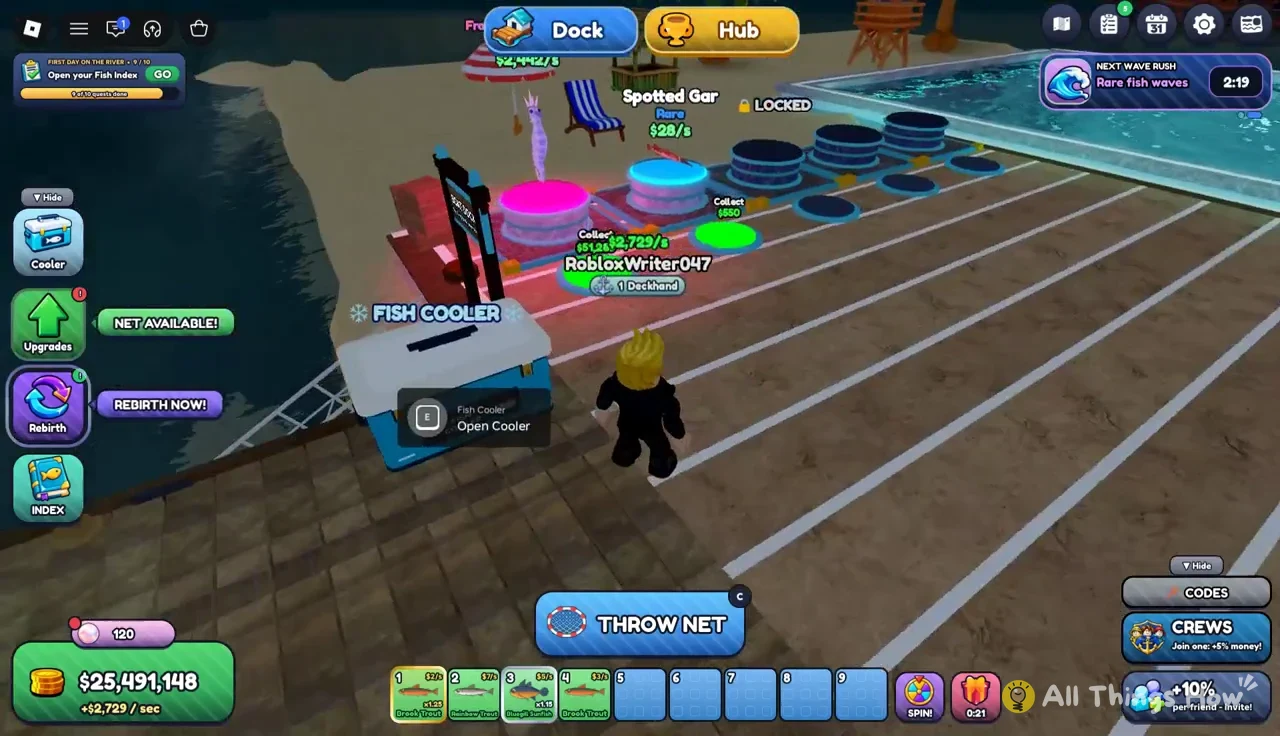
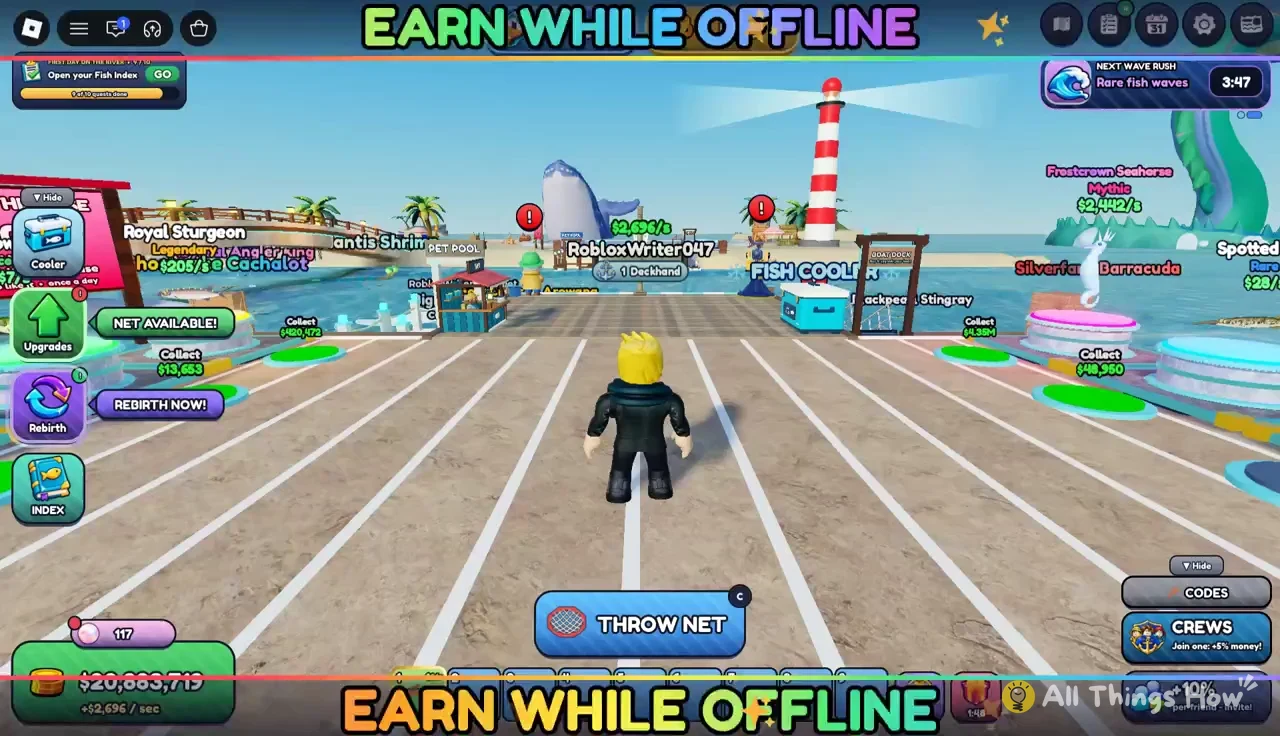
Pedestal earnings do not land in your wallet on their own. Walk across the colored circular pads in front of the dock to collect what each fish has generated. Do this every few throws, especially when you are close to the cash target.
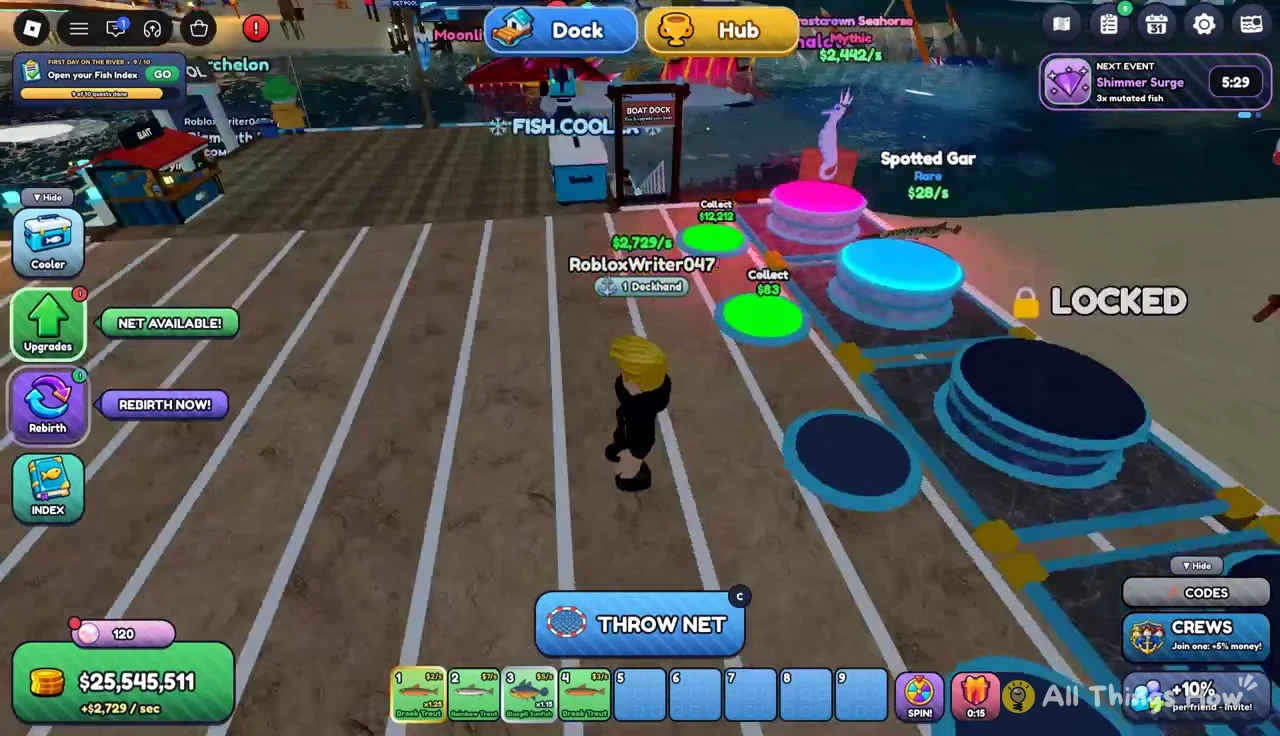
Check the cooler again after every net upgrade. A new tier pulls in rarer fish, and swapping them onto the pedestals raises your income immediately, multiplier included.
Bait Shop
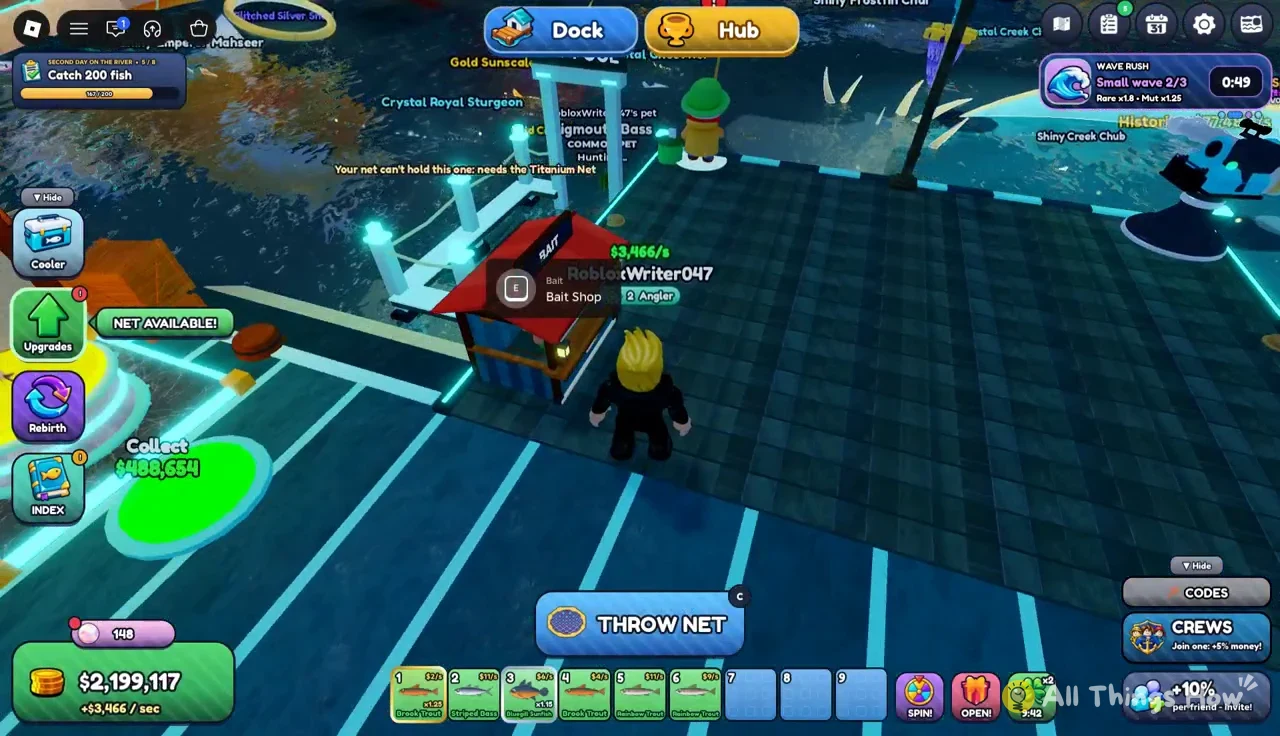
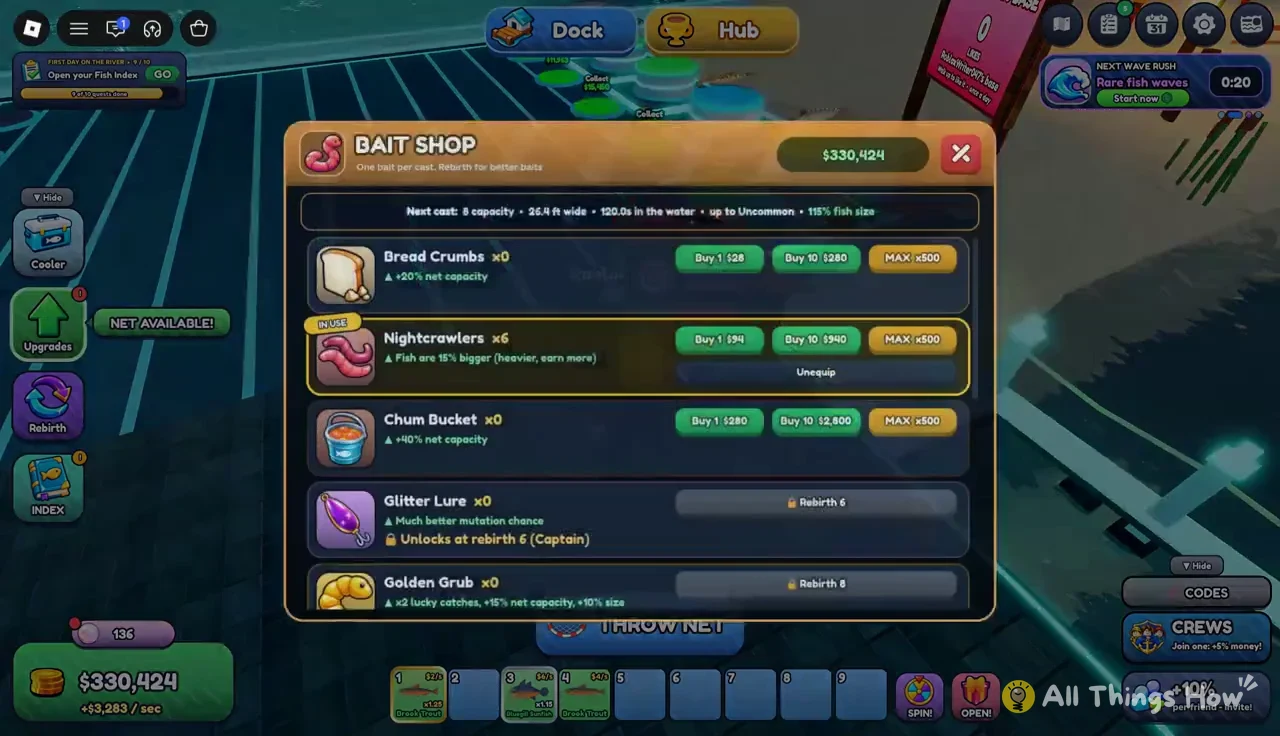
Bait is bought in packs of 10 at the Bait Shop on the dock, and the equipped bait is marked In Use. The shop stocks Bread Crumbs, Nightcrawlers, Chum Bucket, Glitter Lure and Golden Grub, with more options unlocking as you progress. Ten Nightcrawlers cost $940, and ten Chum Buckets cost $2,800.
Spear Gun and Fisherman upgrades
Two stations on the dock add catching power on top of your net. The Spear Gun fires volleys at fish. The Fisherman is an NPC helper that automatically catches duplicates of fish you already own.
| Station | Upgrade | Effect | Price |
|---|---|---|---|
| Spear Gun | Sharper Tips | Targets rarer fish | $2,400 |
| Spear Gun | Multi-Spear | More spears per volley | $1,300 |
| Spear Gun | Fast Reload | Shorter gap between volleys | $1,000 |
| Spear Gun | Range (Level 1) | Shoots further | $1,600 |
| Fisherman | Bigger Bucket | Larger bucket | $840 |
| Fisherman | Quick Hands | Faster catching | $690 |
| Fisherman | Range (Level 1) | Wider reach | $1,100 |
These are cheap relative to the Netcaster cash target, so they are the right place to dump spare money right before a rebirth, once your net is already sorted.
Wave Rush and the Fish Index
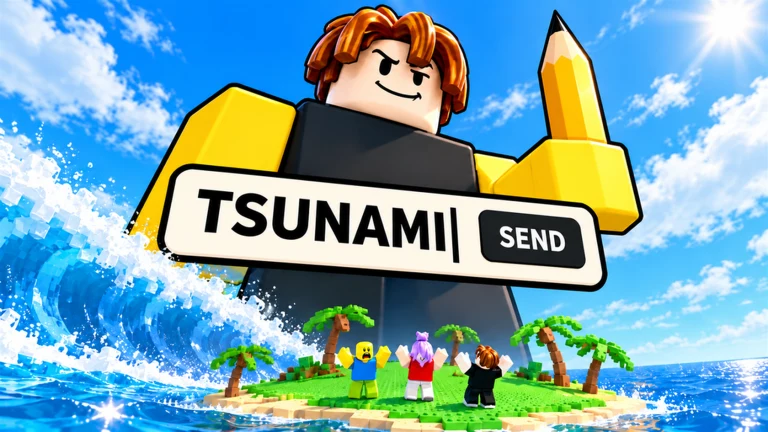
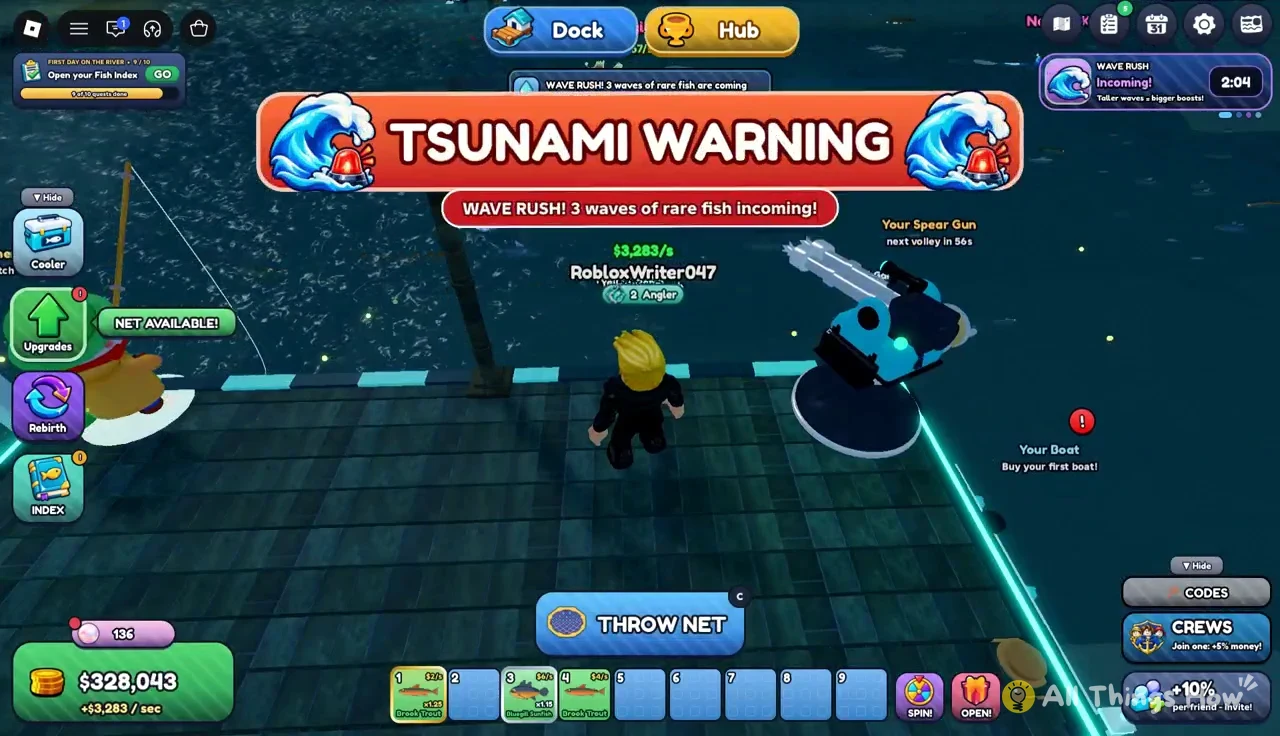
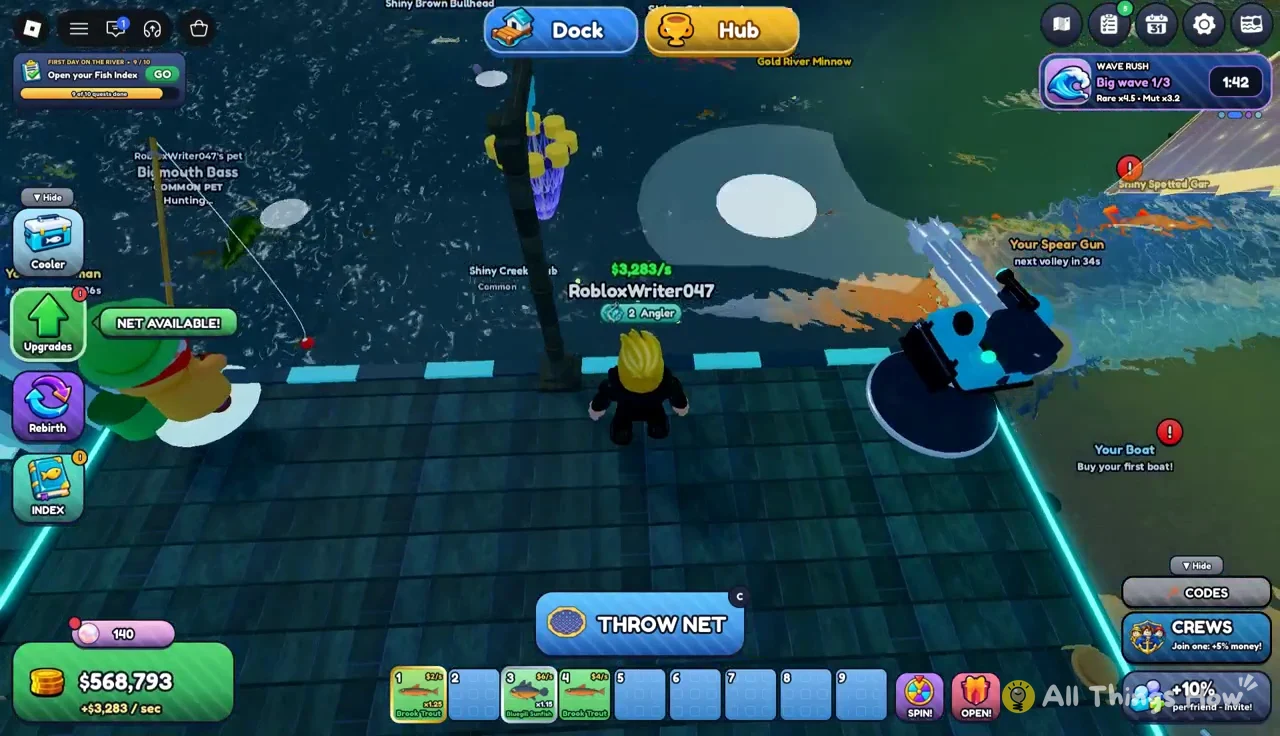
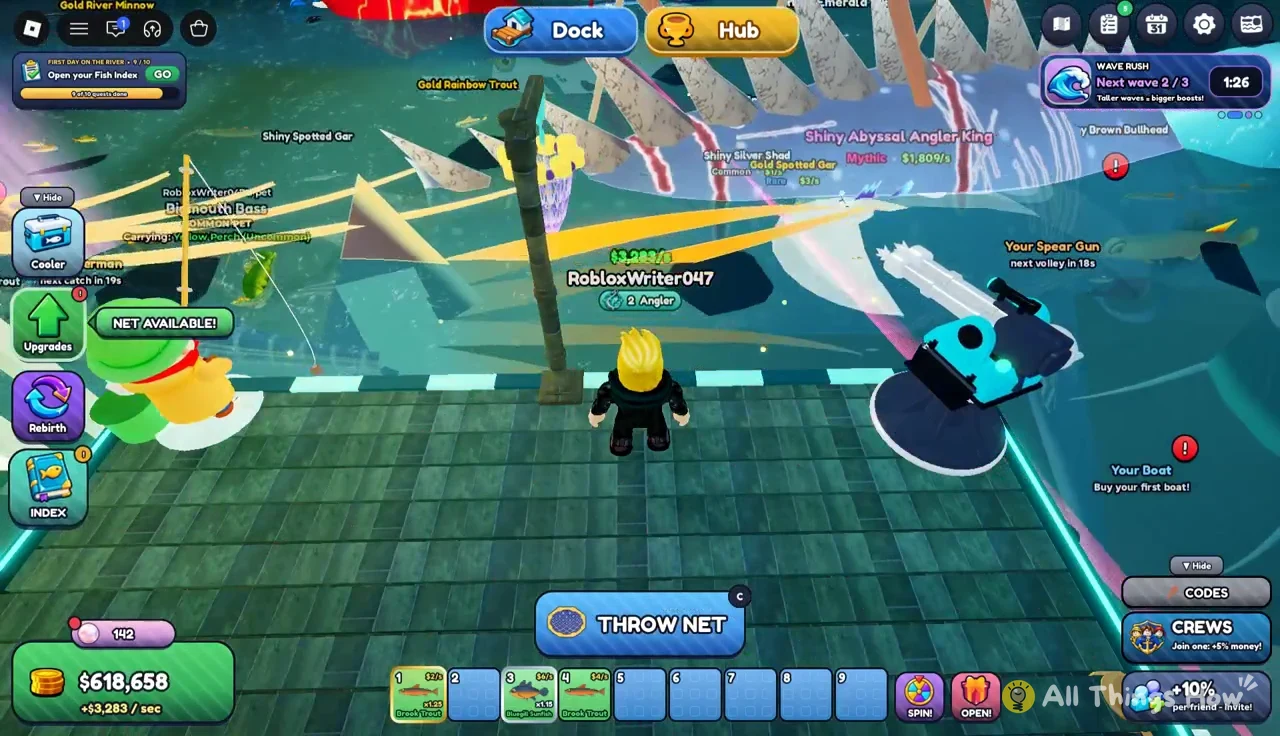
Every so often a TSUNAMI WARNING appears, announcing a Wave Rush with three waves of rare fish heading toward your dock. Keep throwing into those waves while they last. They are the quickest way to stack both fish count and high-value showcase fish at once.
The Fish Index tracks every species you have caught, grouped into category pages. Completing a page lets you claim a permanent account bonus, such as +2% money and +1% mutation chance for each finished common or uncommon set. Open the Index after a Wave Rush and claim anything that has filled in, because the money bonus stacks with your rebirth multiplier.
How to rebirth in Net a Fish
The process is the same for both rebirths. Launch Net a Fish on Roblox and load into your dock before starting.
You know it worked when the banner reads “REBIRTH! You are now a Angler x1.50 money” or “REBIRTH! You are now a Netcaster x1.75 money.” The title above your character changes, and the dock transforms into the Lagoon or Coral Reef base. From there, throw your new net from the rebuilt pier and start stacking cash toward the next target.
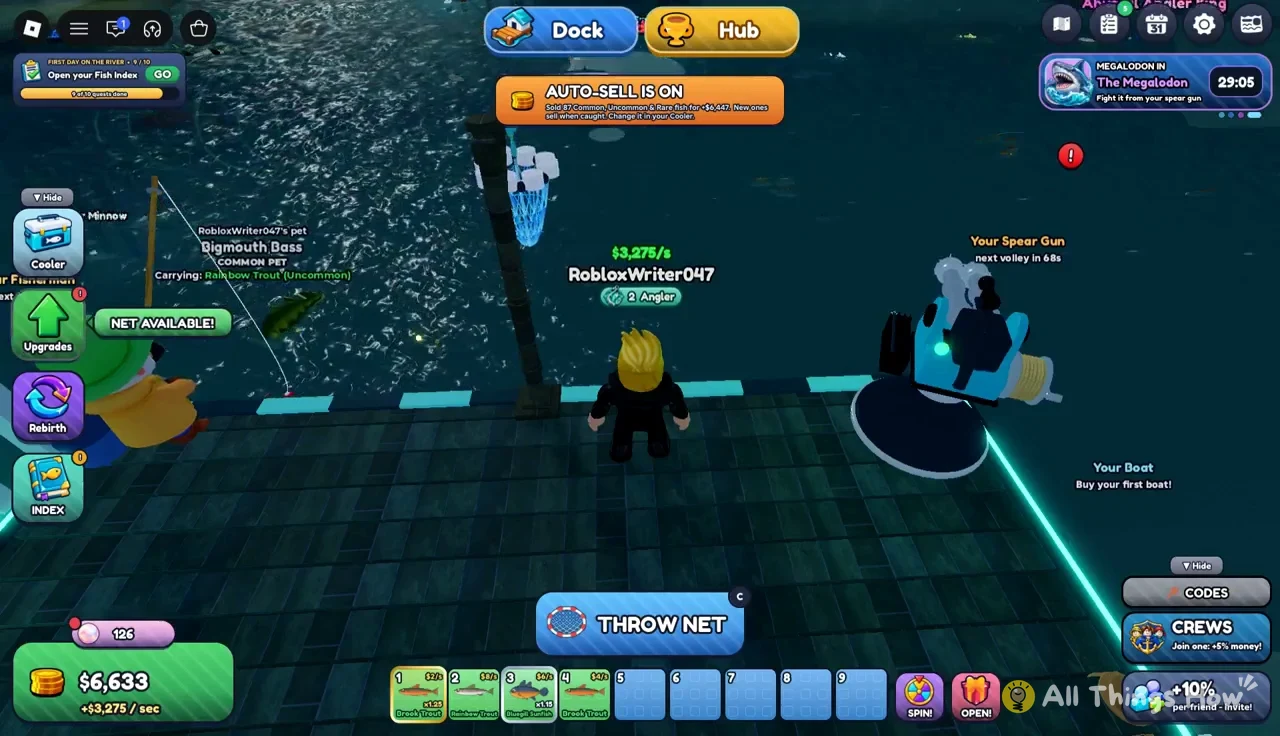
Because the fish count is all time, the climb from Angler to Netcaster is mostly a cash problem. Keep the pedestals stocked with your best fish, collect often, and save the last few thousand for the Steel Mesh Net before you confirm.