Julius is a companion in the Roblox tower defense game Vanguards. You unlock him by completing a short quest chain in the desert hub. The chain starts with a request for help, moves through a single item trade, and ends with a Limited Time Mode stage called Trail of the Saint – Ambush!. You only need to finish that stage once. When you win, Julius joins you, and the next lead in the chain opens.
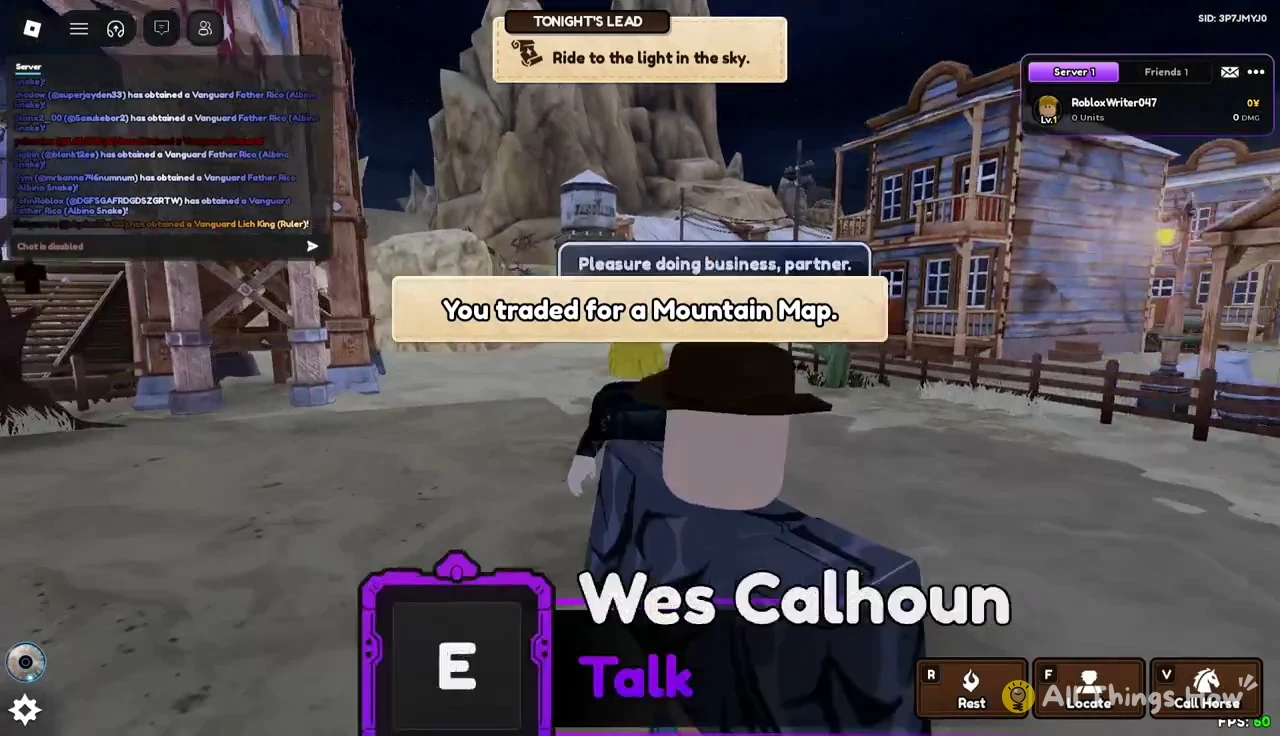
Quick answer: Accept Eli Thorne’s lead, trade 1 Horse Feed to Wes Calhoun for a Mountain Map, follow the sky beam, and clear “Trail of the Saint – Ambush!” on Normal by beating Mike on Wave 15.
What you need before starting the Julius quest
The quest has one hard requirement. You need a single bag of Horse Feed in your inventory. Everything else is handed out along the way, including the Mountain Map that opens the stage.
- 1 Horse Feed, which Wes Calhoun takes in exchange for the Mountain Map.
- Access to the desert hub town, where Eli Thorne, Wes Calhoun, and Ruth Mallory stand.
- Enough time for a full 15-wave run. Clearing it on Normal takes roughly a quarter of an hour.
If you don’t have Horse Feed, talk to Ruth Mallory in town. She greets you with “Keep your hands where I can see them, stranger.” She then offers a bag of Horse Feed through a “Trade for the Horse Feed” prompt. Check what she asks for on the confirmation screen before you accept the trade.
Starting the quest: Eli Thorne, Wes Calhoun, and the light in the sky
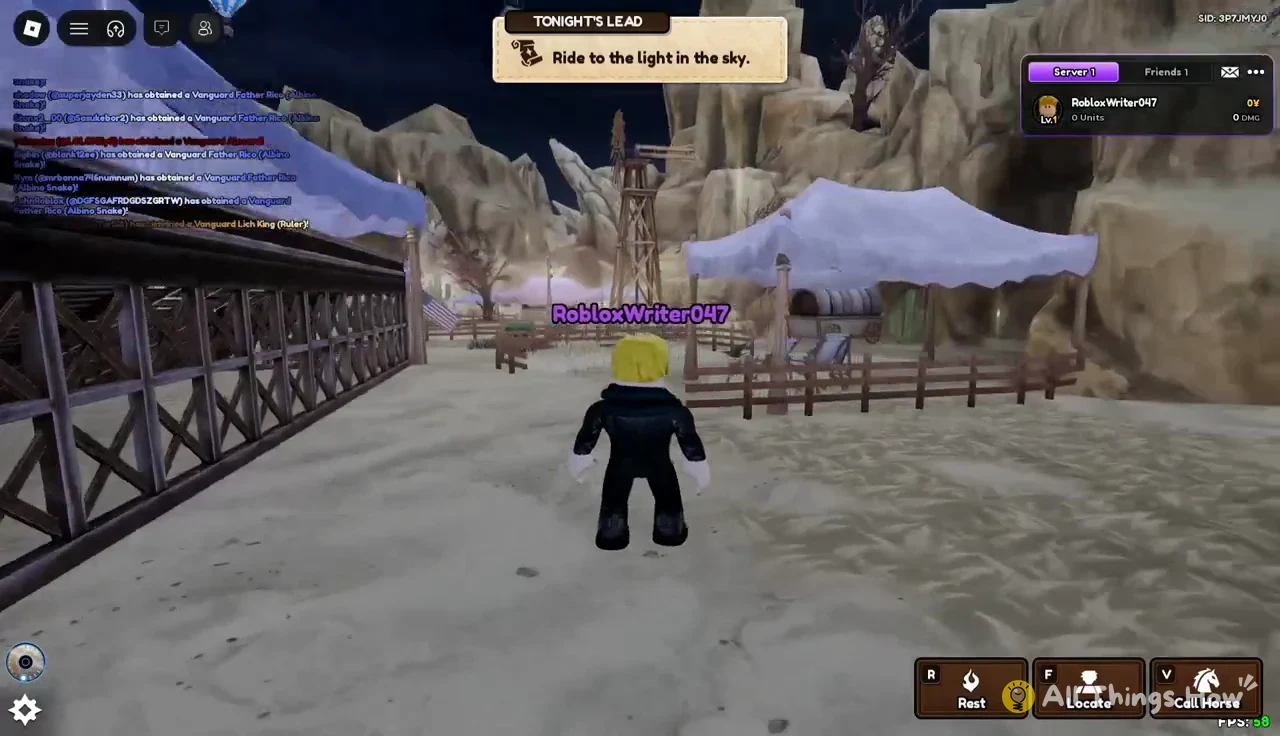
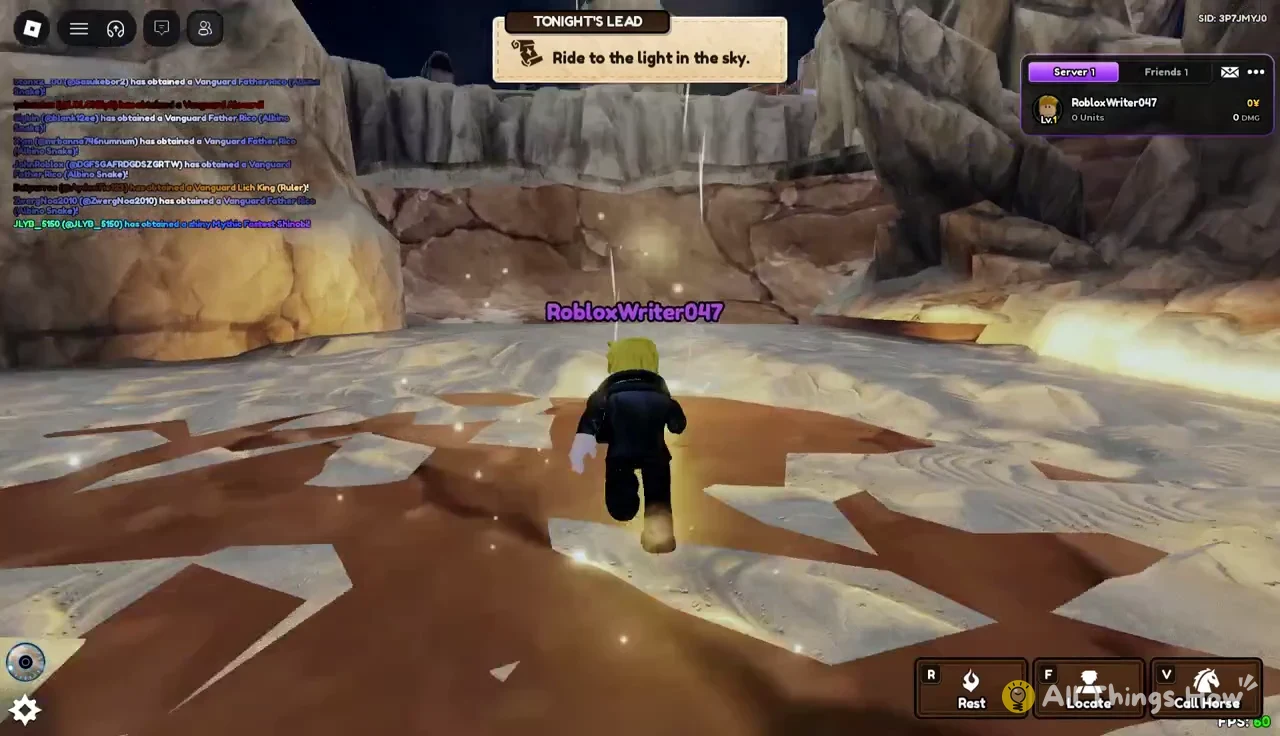
The first part of the chain takes place on foot in the hub. The game tracks each objective in a “TONIGHT’S LEAD” banner at the top of the screen, so you always know what it expects next. This banner is also the most reliable way to confirm that each step registered.
Trail of the Saint – Ambush! stage rules
The stage appears in the HUD as “LTM Trail of the Saint – Ambush! Normal.” It runs for 15 waves. Bandit mobs advance along a dusty town path, and you place units on the circles along the track to stop them. The stage also adds several mechanics that change how you set up your defense.
| Mechanic | What it does | How to respond |
|---|---|---|
| Sovereign Beacon | A pillar that pulls you in | Break it |
| Dig Chest | On-screen interaction prompt | Interact when it appears |
| Sturdy enemies | 80% damage reduction | Use Nature or Water |
| Enemy Mutators | Buffs on individual enemies | Focus extra damage on them |
| Fleetwood lock | No upgrades in this fight | Unlock Shell Act 1 first |
The Sovereign Beacon shows up early. A dark pillar rises with the warning “A pillar rose from the ground and is pulling you in. Break it!” Destroy it quickly so it can’t keep dragging you around the arena.
Sturdy enemies are the bigger threat to a weak lineup. They resist every element except Nature and Water. Nature and Water attacks also deal 40% more damage to them. If your roster has units of either element, place them where Sturdy enemies will pass.
Mutators are buffs that make a specific enemy tougher, and the game flags them with an “Enemy Mutators!” notice. Fleetwood (Shell) can be placed but stays at base strength for this stage. The game tells you that unlocking Shell Act 1 lets him grow.
Clearing waves 1 to 14
The units placed during a clean Normal run include Tempest Pirate (Navigator), Sprintwagon, Julius (Spinning) on horseback, and several Fleetwood (Shell) units along the track. Farm-type units generate currency between waves, which pays for more placements later. Getting income running early makes the second half of the stage much easier.
Opening waves and the Wave Skip panel
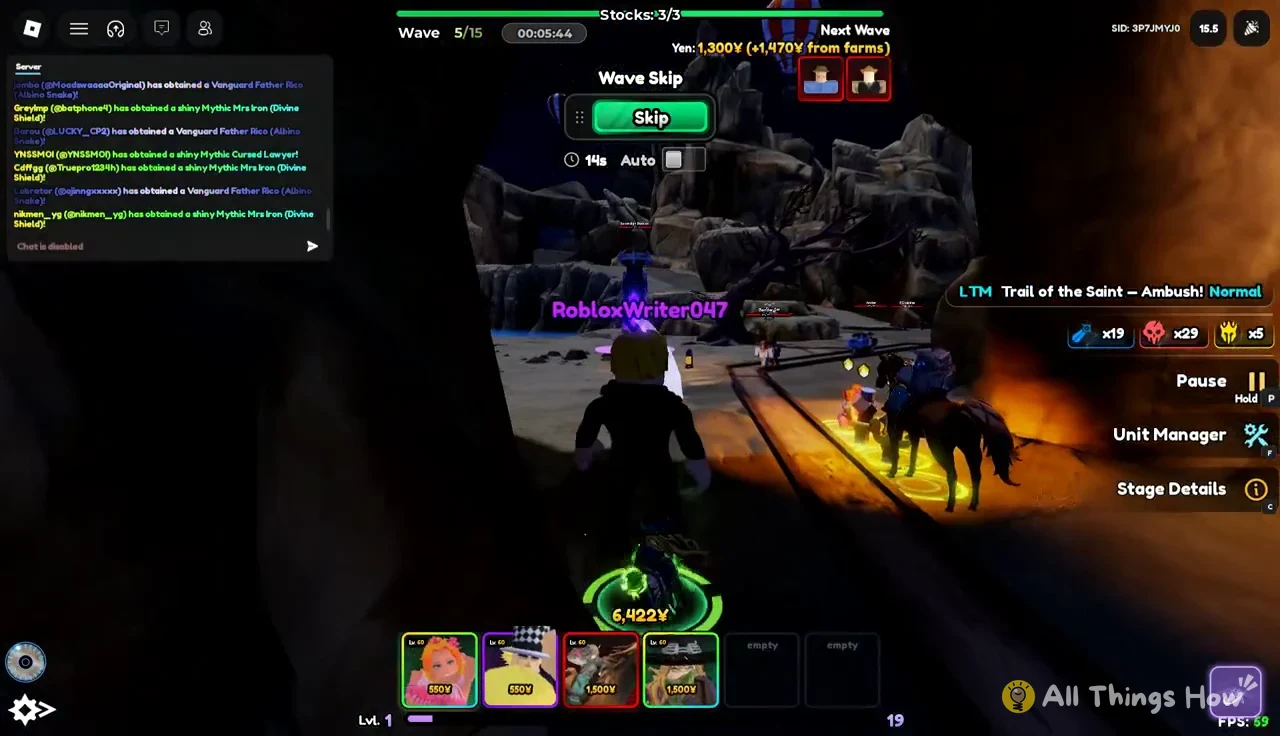
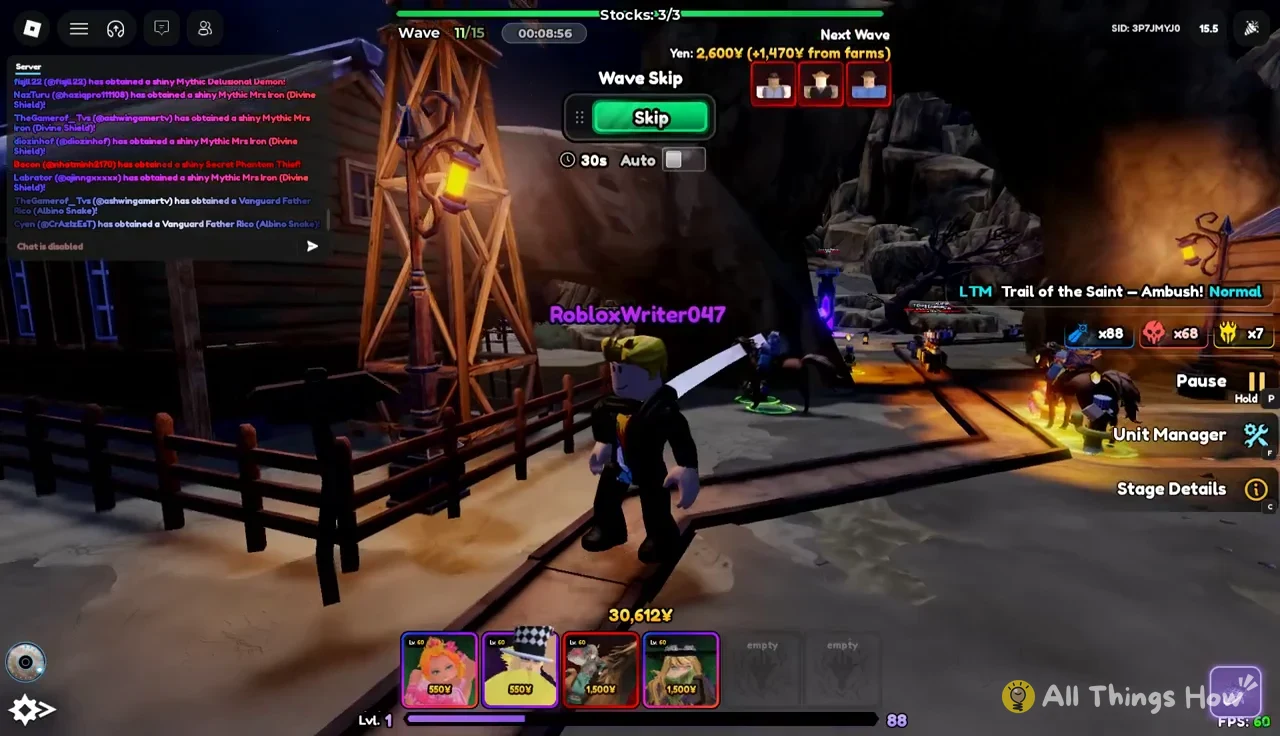
Put a damage unit near the track before Wave 1 starts. Tempest Pirate (Navigator) covers the opening well. Once a wave is under control, a Wave Skip panel lets you start the next wave early with its green Skip button. Skipping shortens the run, but only do it when your current units are already clearing enemies comfortably.
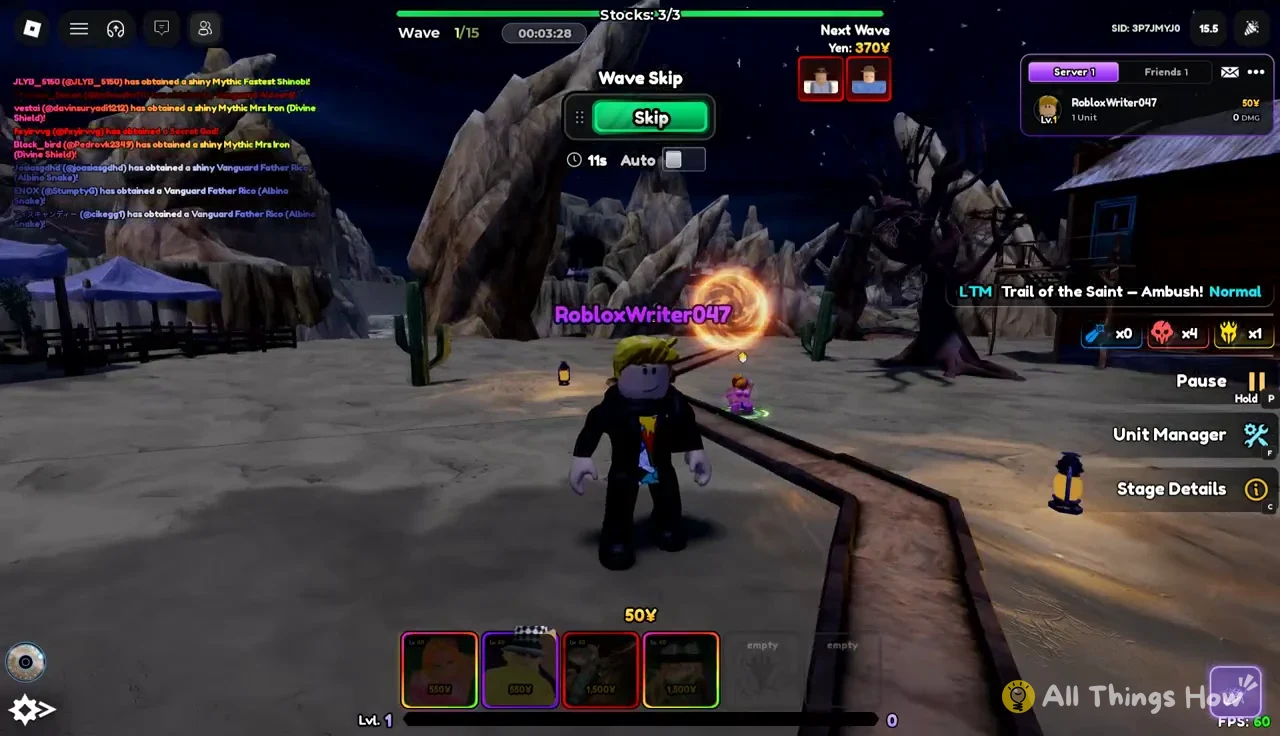
After Wave 1, interact with the Dig Chest prompt when it appears and add Sprintwagon to your line. A “Wave Completed” banner marks each cleared wave. Wave 3 is a sensible point to start adding heavier hitters.
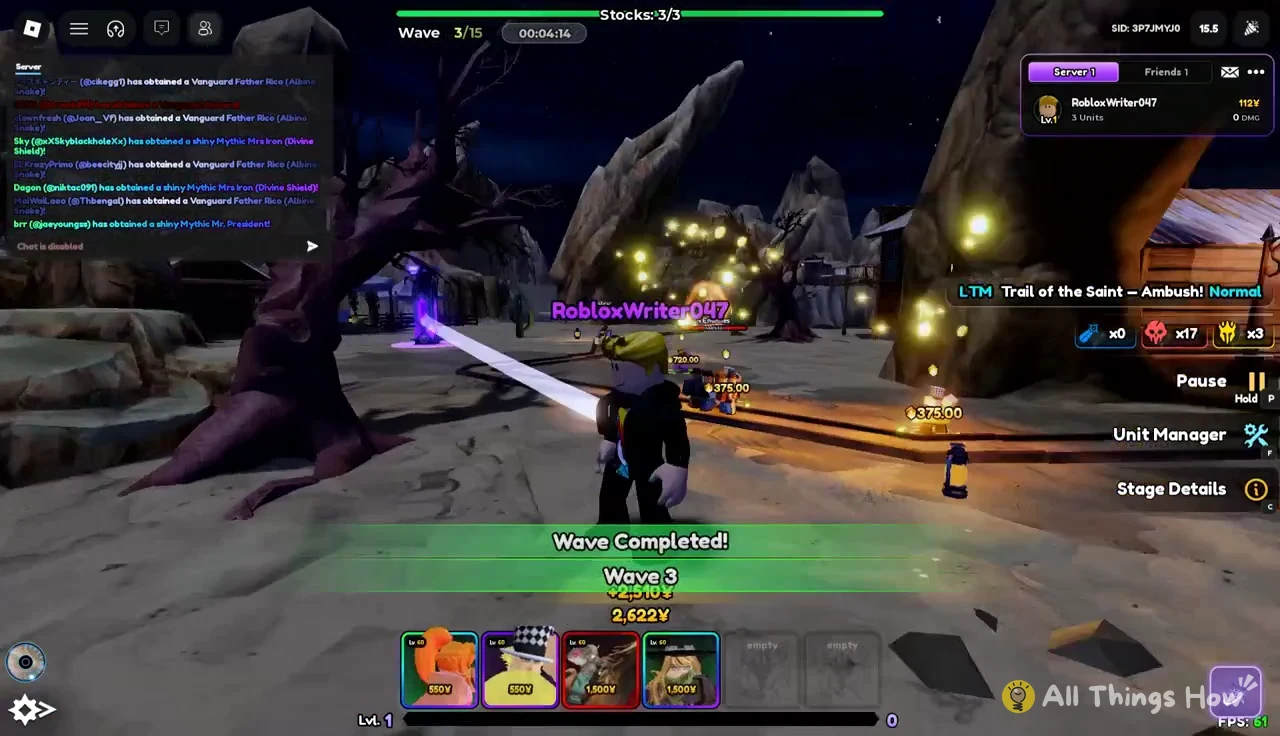
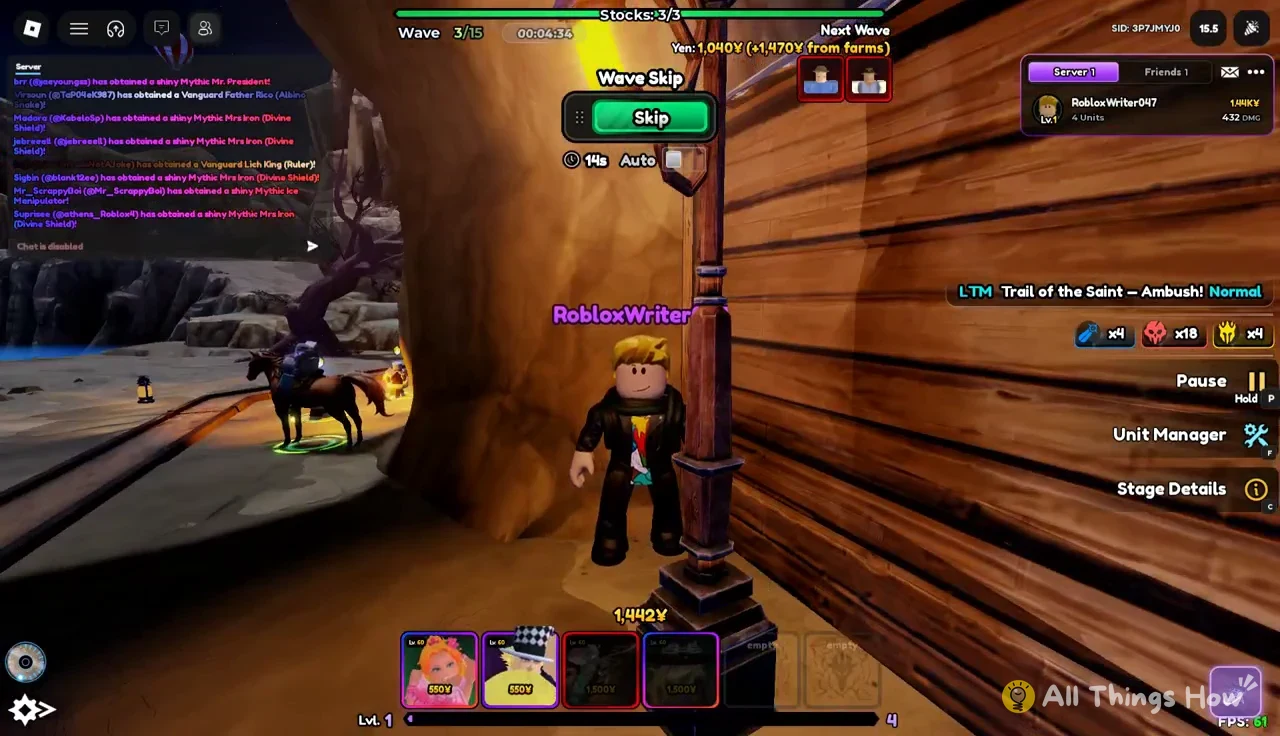
From Wave 3 you can skip forward and deploy Julius (Spinning) on horseback. This is the same character you are working to unlock as a companion.
Middle waves: building out the track
Waves 5 and 6 are a good point to place and configure Fleetwood (Shell) units along the path. Spread them out so enemies that slip past one group run into another.
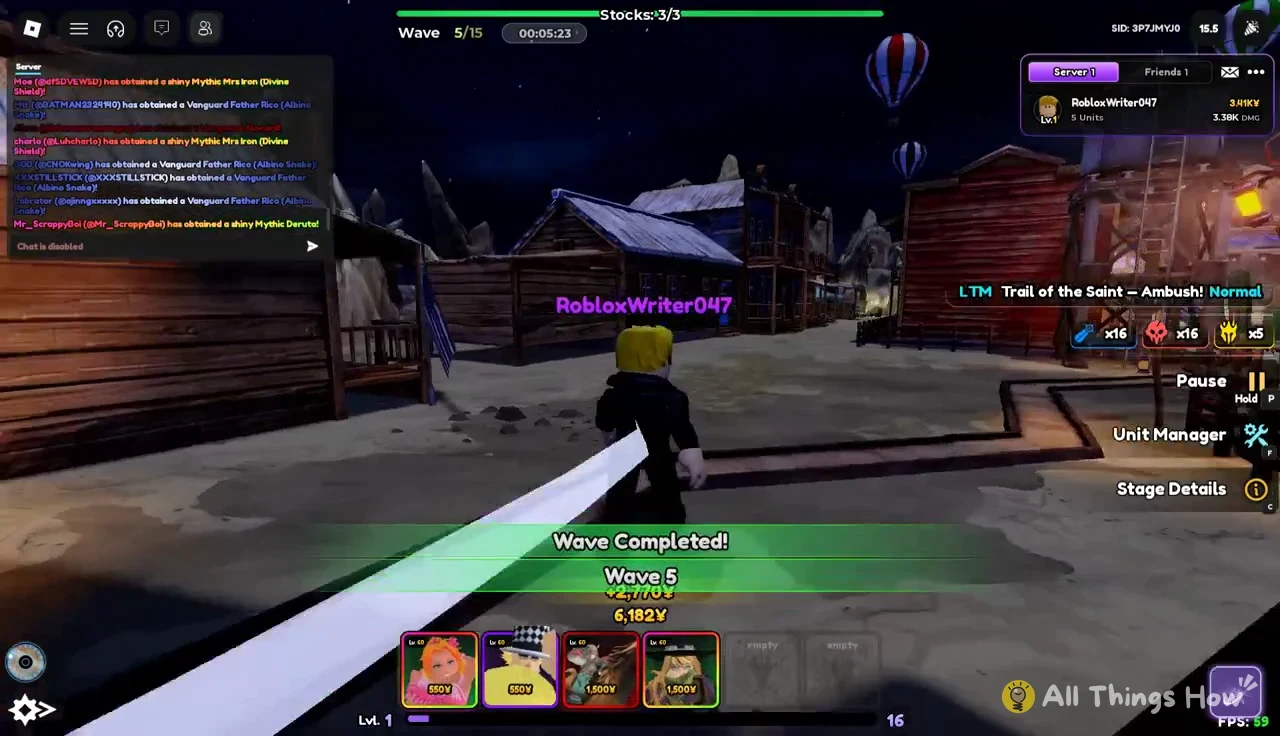
Keep using Wave Skip as long as nothing reaches the end of the path. If enemies start getting close, let the wave play out naturally and spend your currency instead.
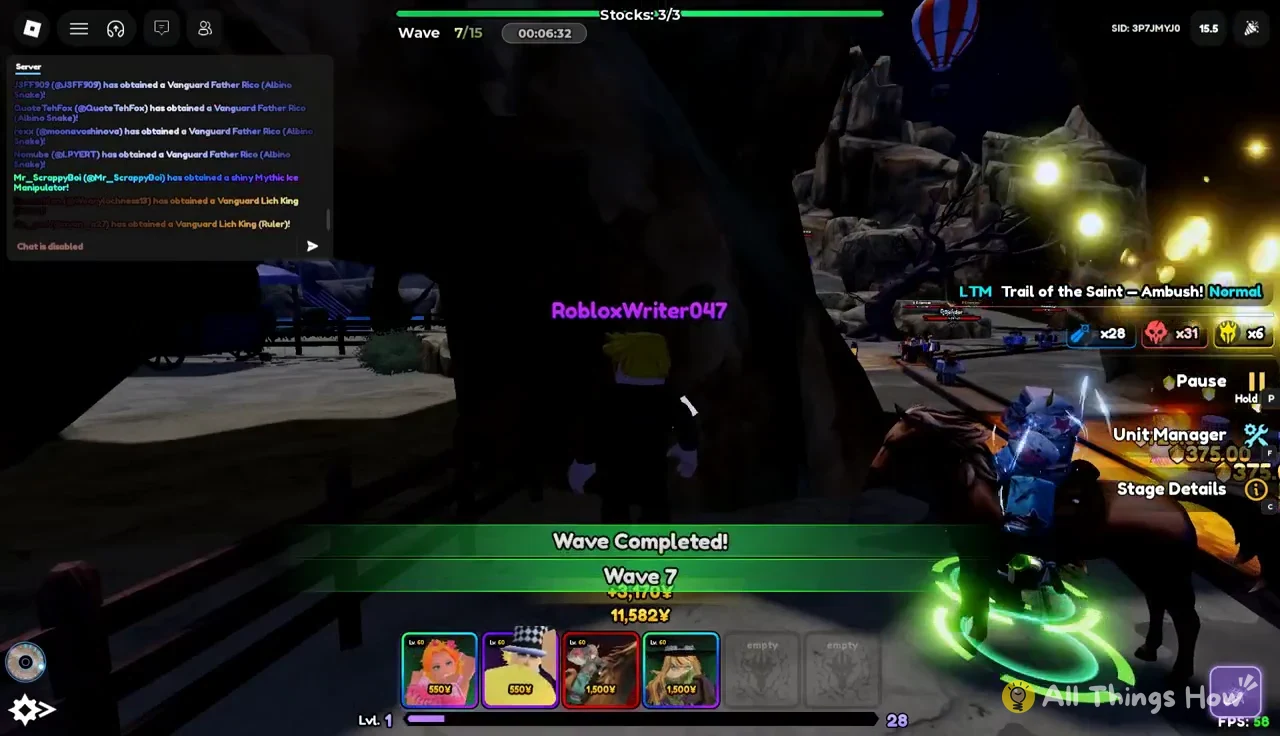
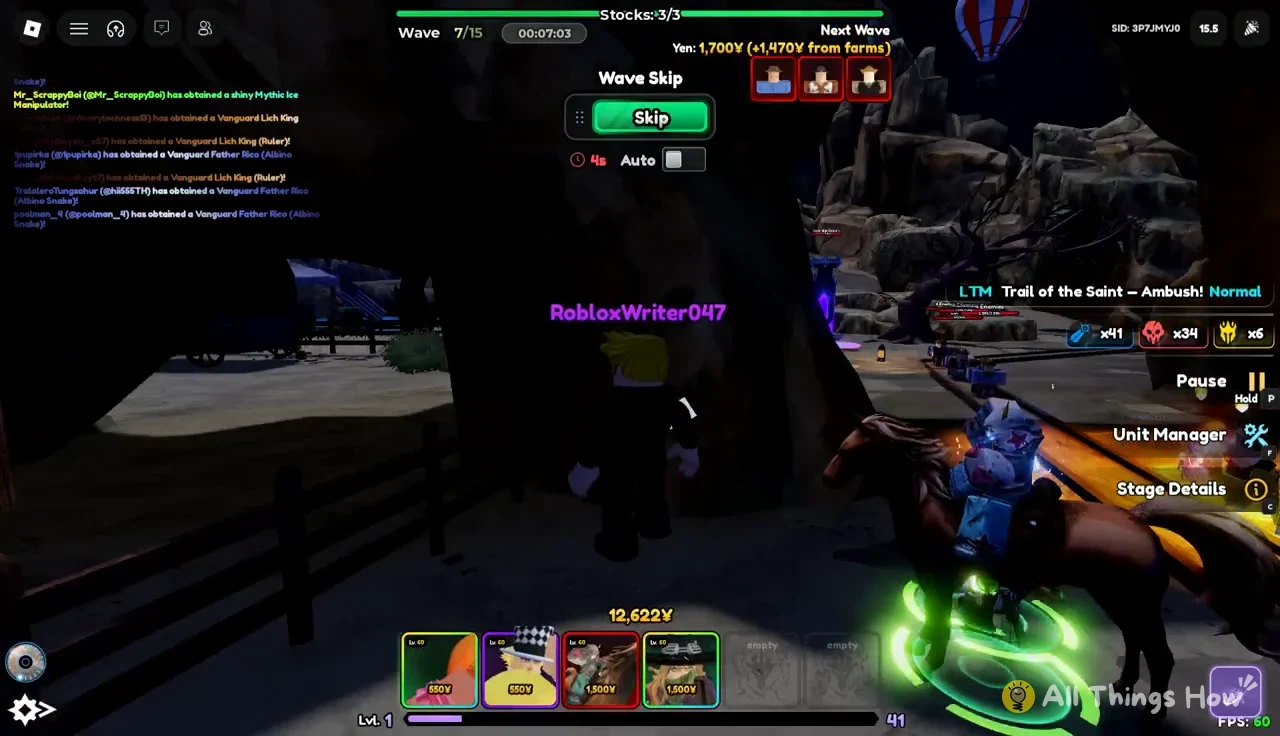
Waves 7 through 9 send larger bandit groups. By this point your farm units should be paying for most of your new placements.
Late waves: preparing for the boss
Waves 10 to 14 carry the fight across the town path toward the finale. Clearing Wave 10 also completes your Daily Waves progress. Use these waves to fill the remaining placement circles, because Wave 15 brings a boss with a large health pool.
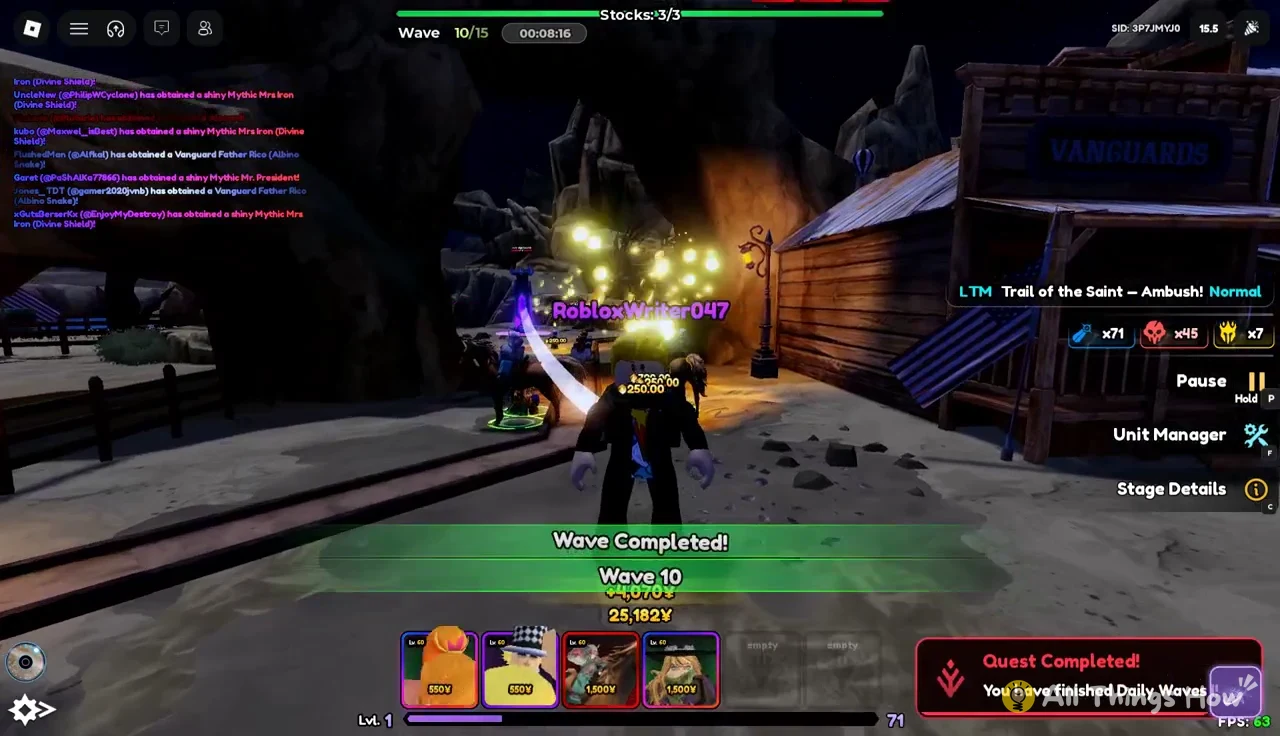
Only skip the late waves if your defense is already strong. Arriving at Wave 15 with gaps in your line is the easiest way to lose the run.
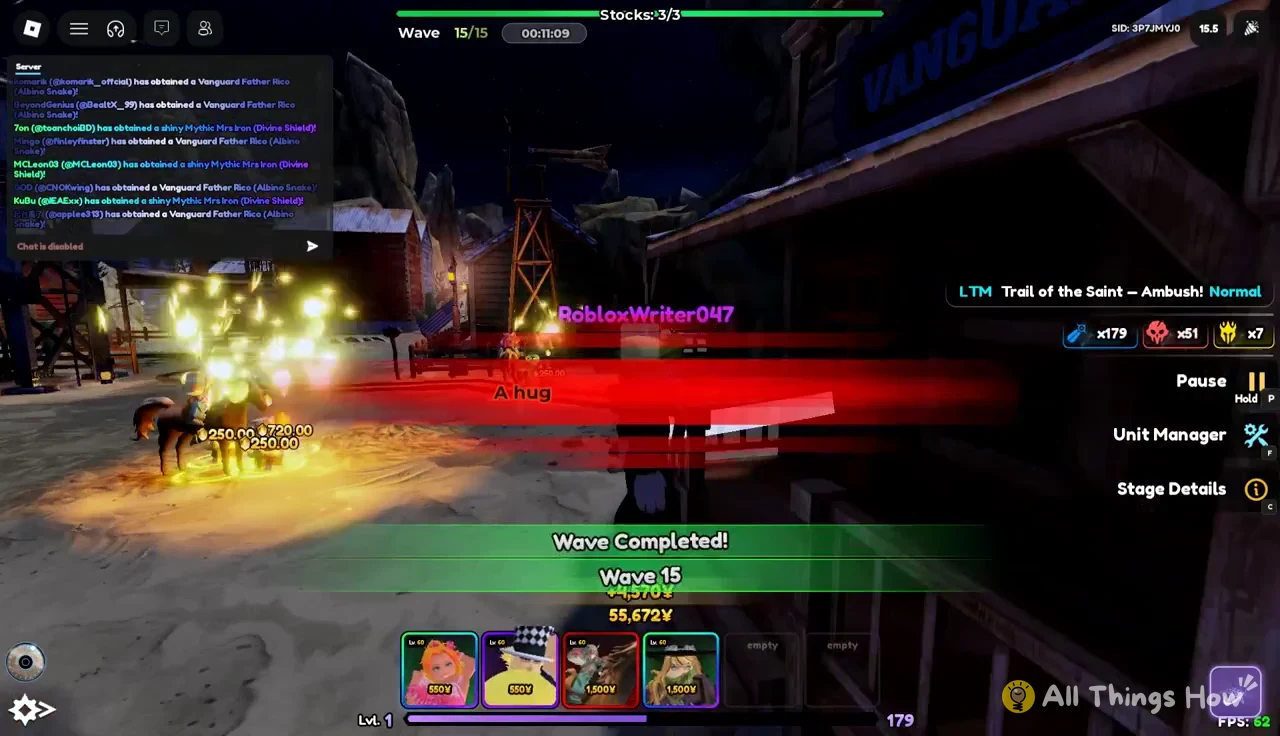
Defeating Mike on Wave 15
Wave 15 opens with the alert “A huge threat is approaching…” and then the stage boss arrives. Mike has 30.93K health and brings minions with him. He announces himself with a death sentence: “Your sentence to suffering is now repealed! Now! Immediately! You are to be executed!”
Spend everything you have saved on extra damage units within range of the path. Make sure some of that damage covers the minions so they don’t leak while your strongest units focus on Mike. The stage ends once Mike is eliminated and the final wave clears.
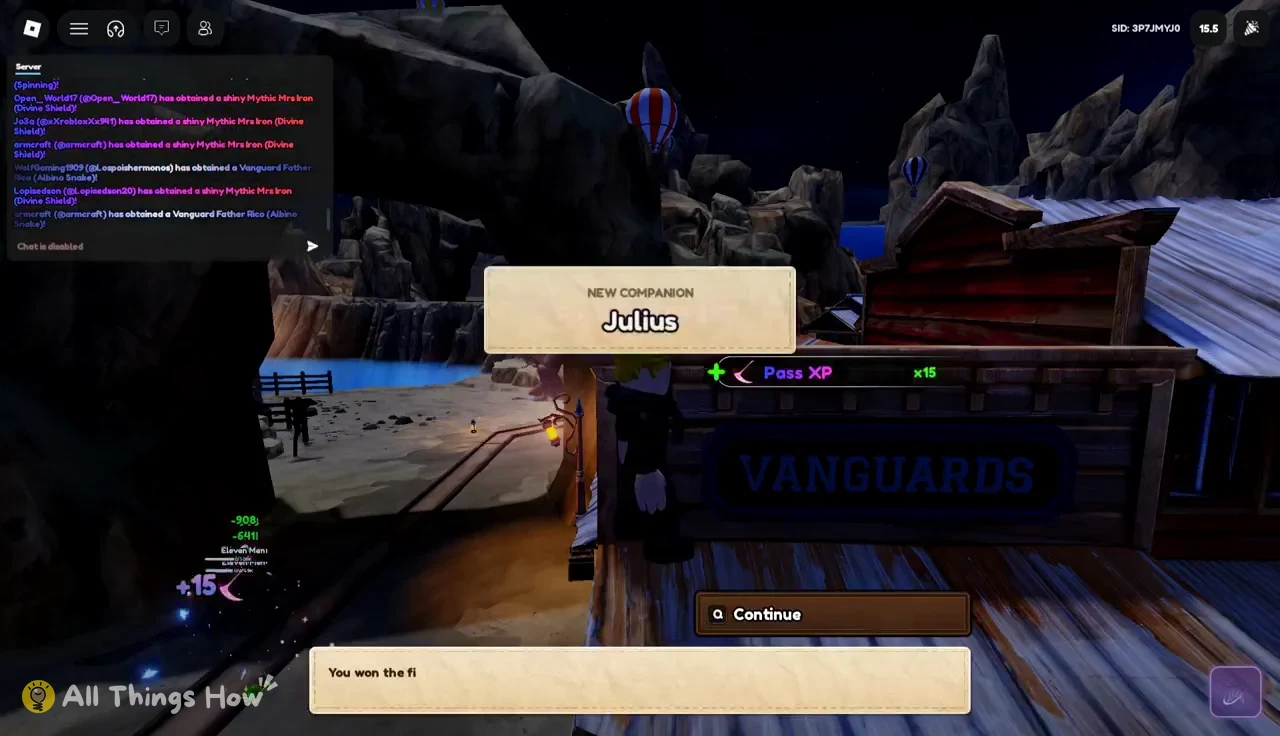
How to confirm Julius is unlocked
After the message “You won the fight!”, a reward screen appears. It lists “NEW COMPANION Julius” and +15 Pass XP. Select Continue to return to the hub.
Back in the hub, Julius speaks to you: “You got potential kid, stick with me and you’ll be able to master the spin. Ho!” Right after that line, the Tonight’s Lead banner switches to “Rest at the campfire for tomorrow’s race.” If you see that new objective, Julius is unlocked and the quest chain has moved on to its next lead.