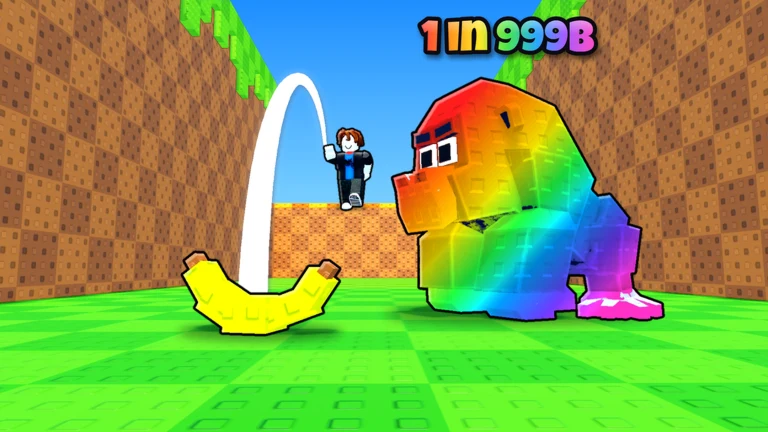
Every animal you catch in Throw Food for Animals comes with two extra rolls on top of its species. One is a size, such as BIG or LARGE. The other is a mutation, such as Gold or Diamond. Both are rolled when the animal reaches your food, and both change its cash per second. Two Cerberus can earn very different amounts, so the label matters as much as the name.
Quick answer: Sizes (BIG, LARGE) and mutations (Gold, Diamond) roll on every catch and can stack. Check the catch banner for the label, the odds and the new $/s figure.
Size and mutation income in the Hell biome
Hell’s top animals make the effect easy to see because the numbers are large. The same two species, Dullahan and Cerberus, earn noticeably different amounts depending on what they rolled.
| Catch | Modifiers | Income | Odds shown |
|---|---|---|---|
| Dullahan | None | $180Qa/s | None |
| Dullahan | Gold + BIG | $560Qa/s | 1 in 51 |
| Cerberus | Gold | $375Qa/s | None |
| Cerberus | BIG | $519Qa/s | None |
| Cerberus | Diamond | $750Qa/s | 1 in 31 |
| Cow | Gold + LARGE | Not shown | 1 in 220 |
Three things stand out. A size and a mutation can land on the same animal, as the BIG Gold Dullahan and the LARGE GOLD COW show. A Diamond mutation pushes Cerberus above every other Cerberus roll listed. And a mutation does not always beat a size: a Gold Cerberus earns less than a plain BIG Cerberus.
Gold and size rolls affect earnings, so matching names don’t guarantee identical payouts. Compare each animal’s $/s before selling anything.
Reading the catch banner
When food stops and an animal takes it, a banner shows the species in capitals with any size and mutation tags beside it, plus the income it will earn on your plot. Rare rolls add a luck callout with odds written as “1 in X.” These are the labels the game uses:
- NEW! appears the first time you catch that animal and roll combination.
- NEW BEST! appeared on the Gold Cerberus catch.
- LUCKY! marked the Diamond Cerberus at 1 in 31.
- SUPER LUCKY! marked the BIG Gold Dullahan at 1 in 51.
- INSANE LUCK! runs as a server-wide banner, as it did for a LARGE GOLD COW at 1 in 220.
The server banner names the player and the catch for everyone in your server. Seeing one is a reminder that rare combinations exist on common animals too, not only on Hell’s top species.
How to farm sizes and mutations in Hell
Every throw is a fresh roll, so farming variants comes down to throwing often with food that reaches the zone you want. In Hell, a Tier 11 Divine food is enough to land throw after throw in the zone with Dullahan and Cerberus as regular catches.
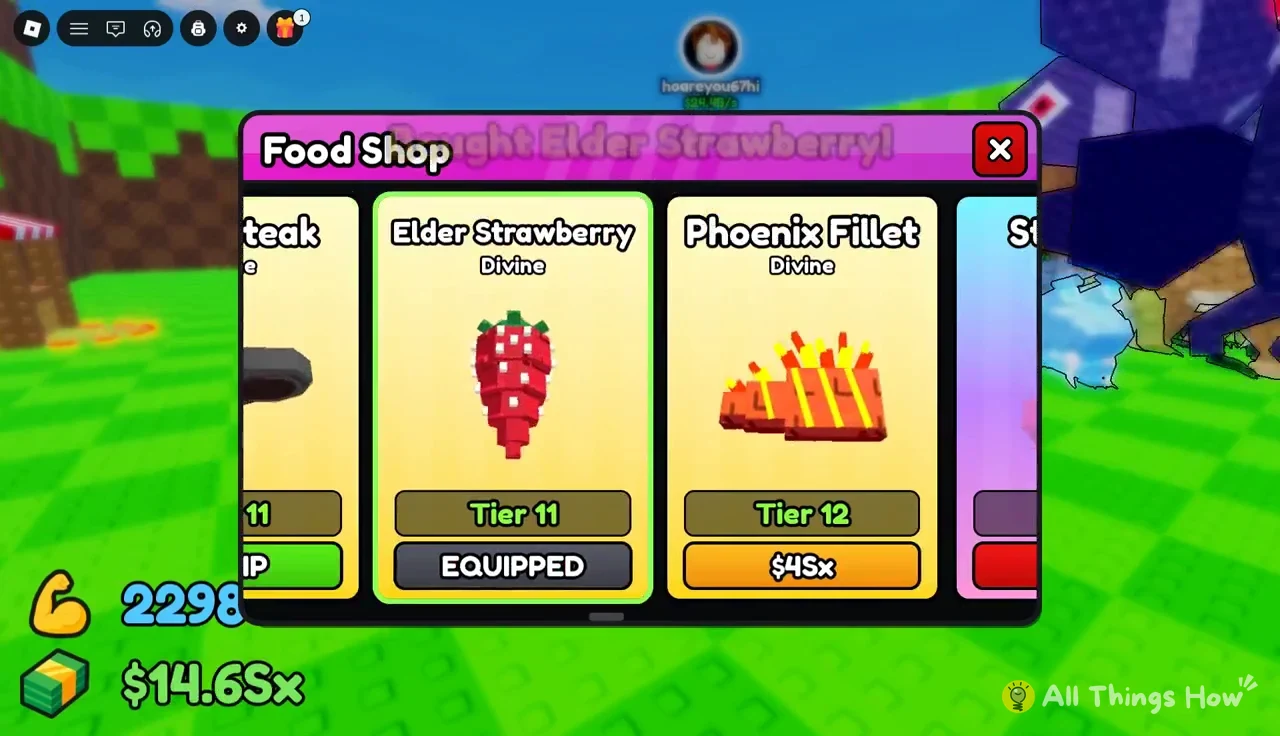
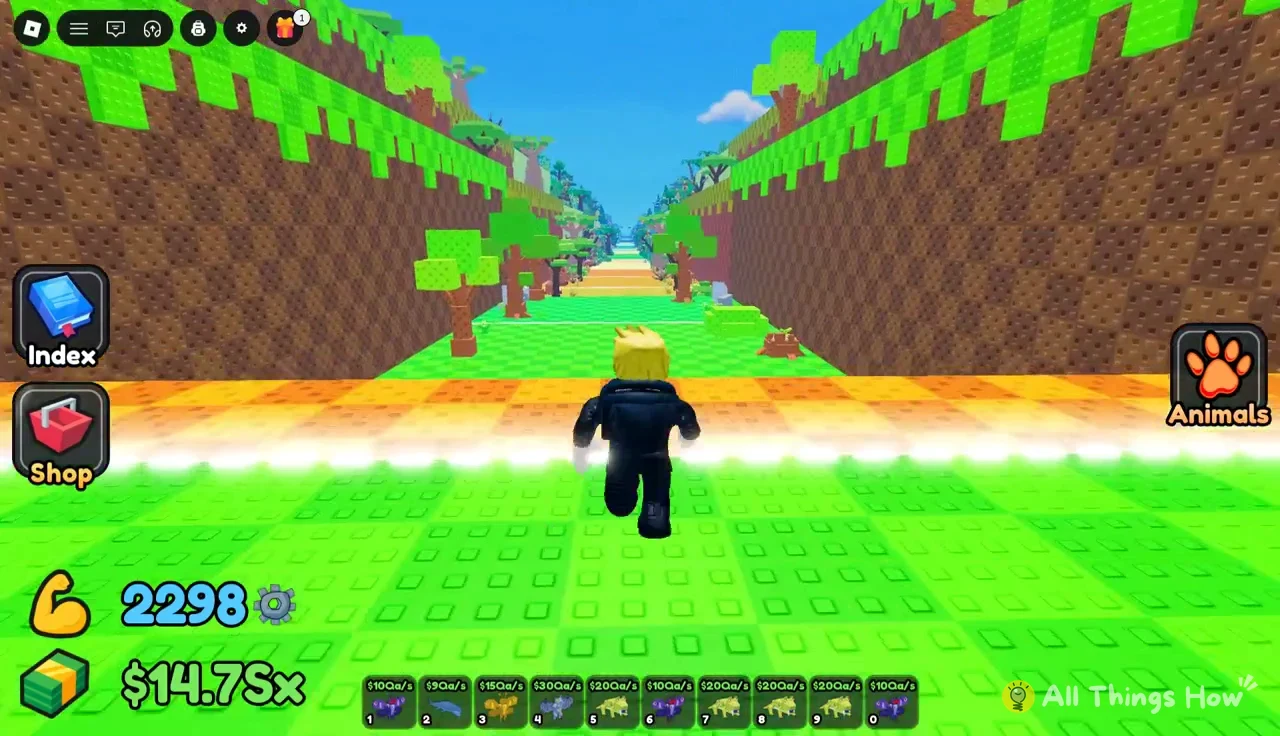
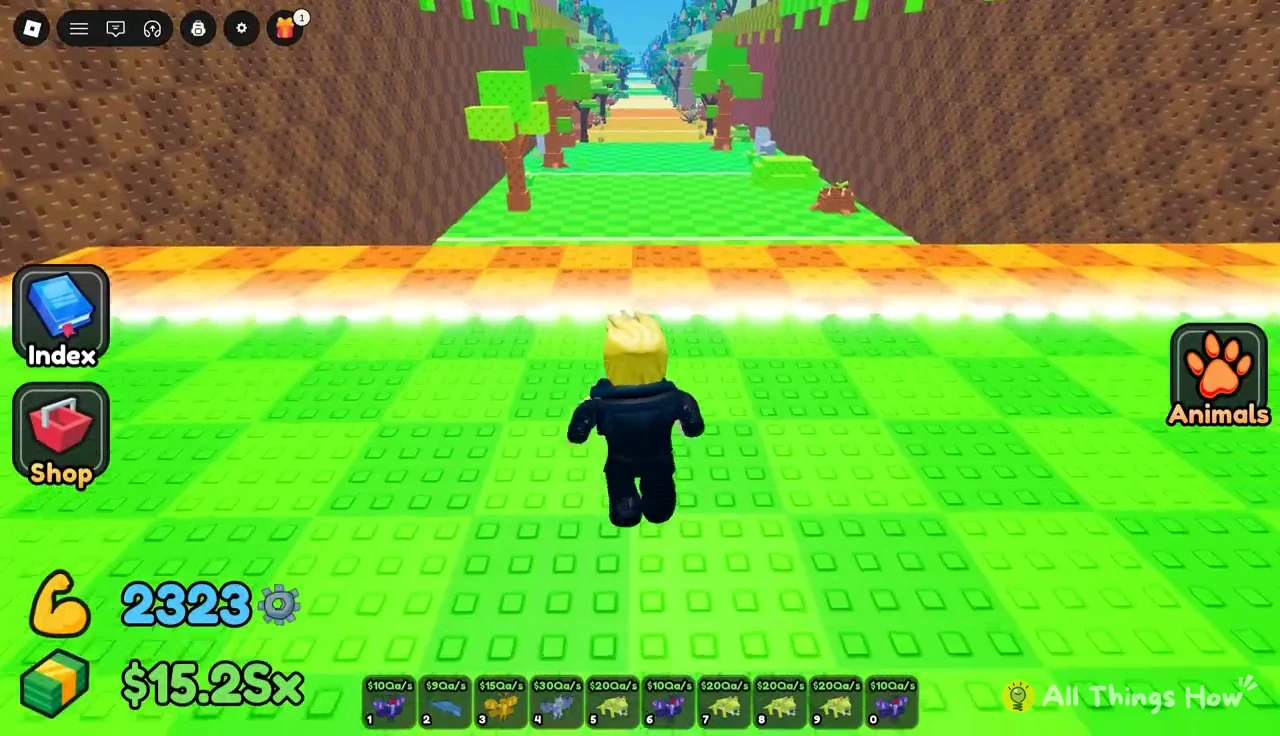
Further foods exist if you want to push past Hell. They cost far more, and their tier and rarity climb together:
| Food | Rarity | Tier | Price |
|---|---|---|---|
| Elder Strawberry | Divine | 11 | $700Qi |
| Phoenix Fillet | Divine | 12 | $45Sx |
| Star Jelly | Celestial | 12 | $275Sx |
| Dragon’s Apple | Celestial | 13 | $180Sx |
| Starlight Donut | Celestial | 13 | $450Sx |
| Glowshroom | Celestial | 13 | $1.4Sp |
| Golden Corn | Eternal | 14 | $2.5Oc |
The shop continues through Eternal, Cosmic, Supreme and Sovereign foods, ending at Black Sun Soufflé, a Tier 19 Sovereign item priced at $310Ocd.
Putting mutated animals on your plot
A rare roll earns nothing until it sits on your plot. Equipped animals stand around your base with their income rates floating above them, which makes it simple to spot a Gold Cerberus glowing yellow or a Diamond Cerberus in light blue next to plain versions. A typical Hell lineup mixes Dullahan, Cerberus, Chupacabra and Bunyip.
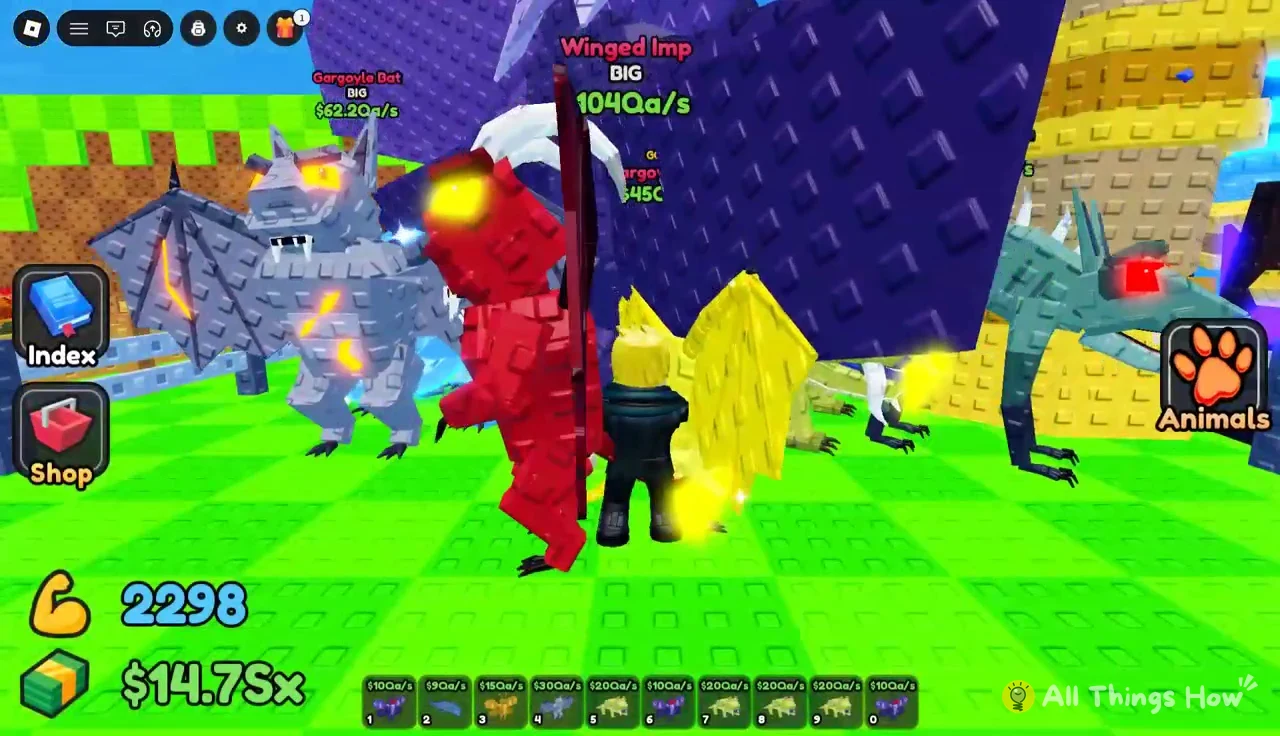
To swap in a new catch, press the Animals button on the right of the screen. The menu lists every animal on your plot with Pick Up and Sell buttons, and Equip Best fills your slots with your highest earners automatically. That last option matters for variants, since a BIG or Diamond roll may outrank an animal you would assume is better by name.
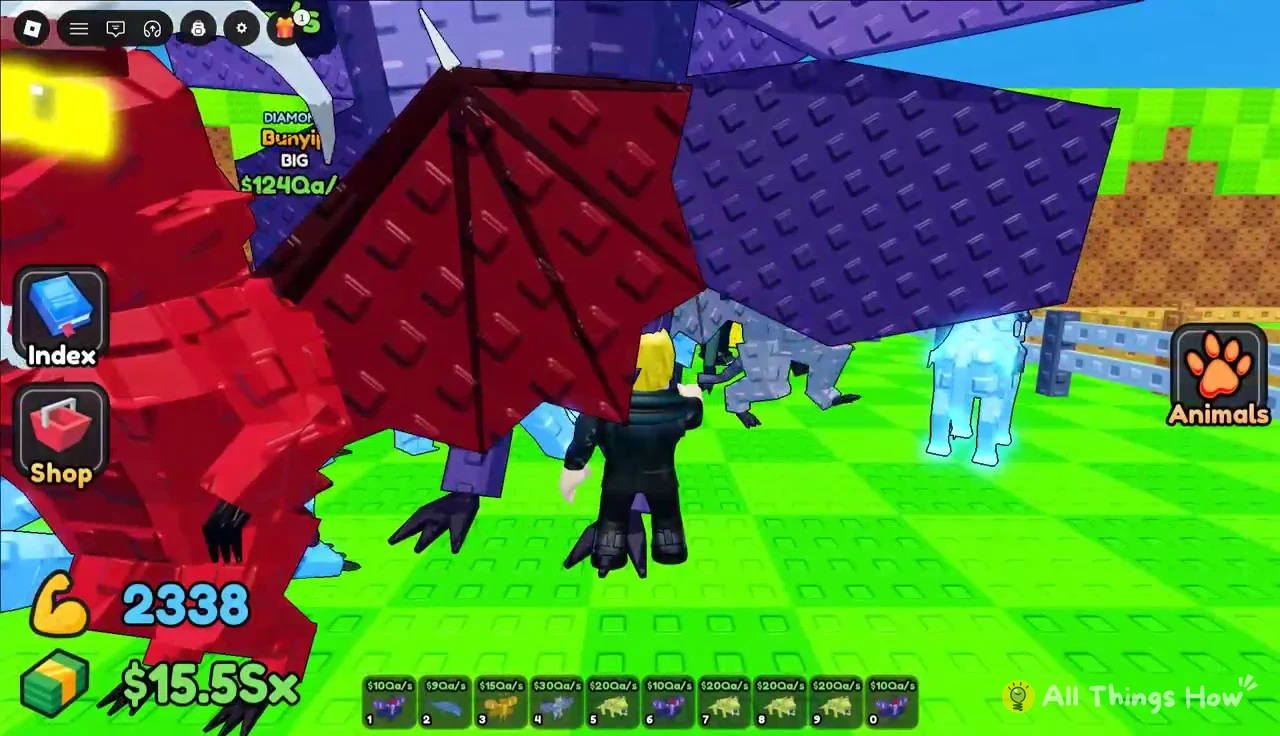
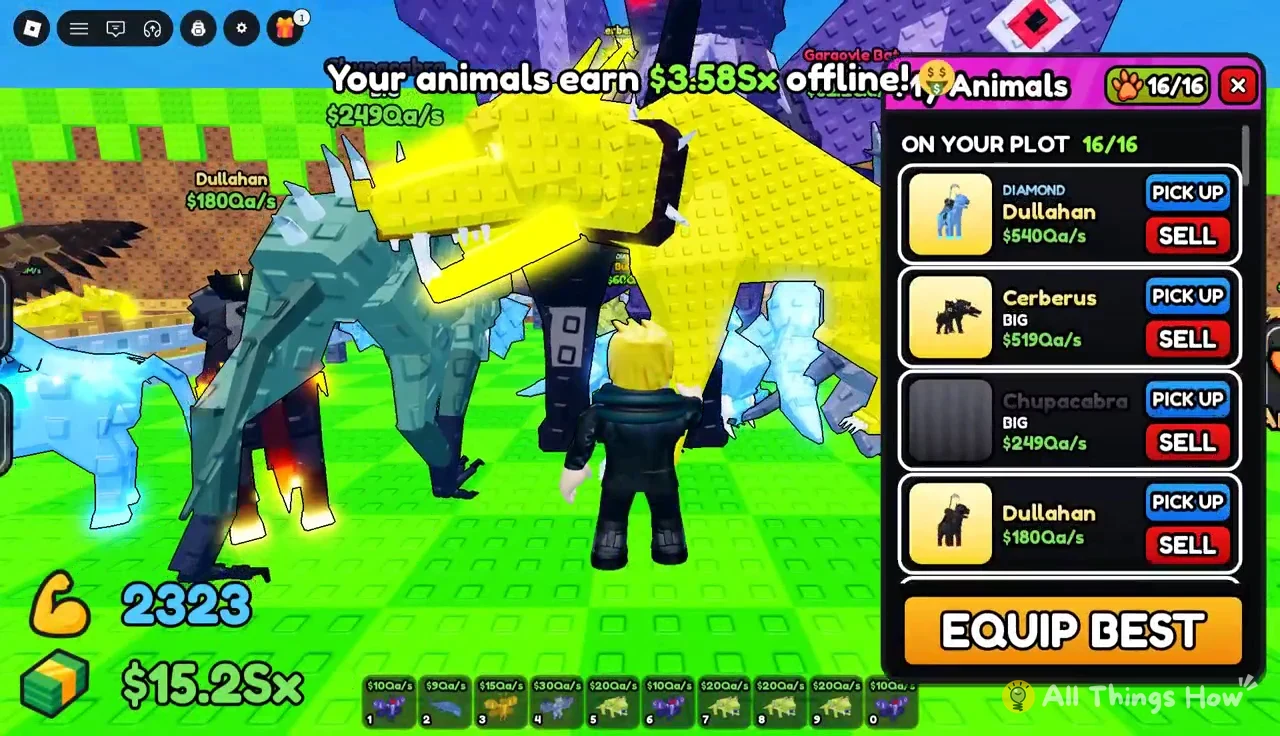
Mutations are not limited to the rarest species in a zone. The My Animals list can hold something like a Diamond Bunyip alongside your Cerberus and Dullahan, and each one’s income reflects its own rolls.
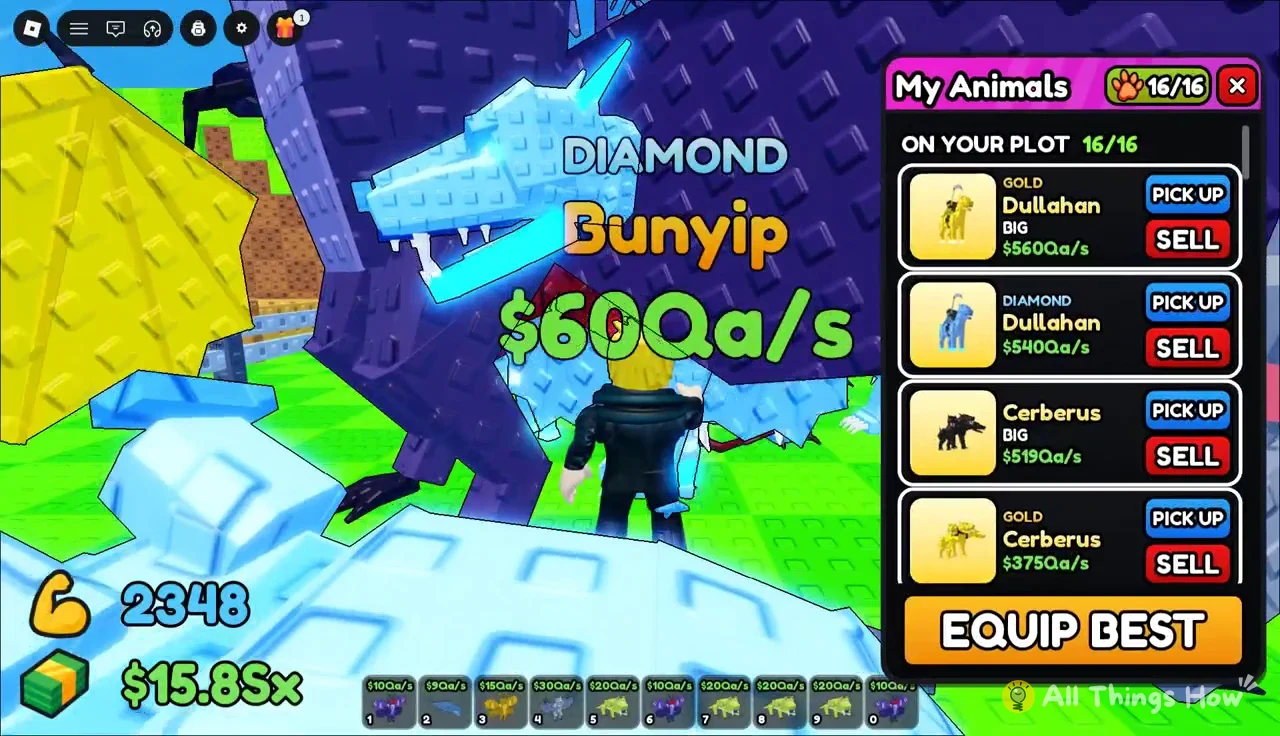
You know a new variant is working for you when it appears on the plot with its tagged income showing above it.
Training Throw Power between rolls
Food sets which animals show up, but Throw Power sets how far the food flies. Training on the pull-up bar between throws keeps your reach climbing, which is what eventually carries you past Hell and into new animal pools to roll on. Each level gained shows “LEVEL UP! THROW POWER +5.”
Stand in the dotted circle at the pull-up station to start reps. Floating “x2” circles appear during a set; clicking them doubles that rep’s reward. Press the red STOP button when you want to throw again.
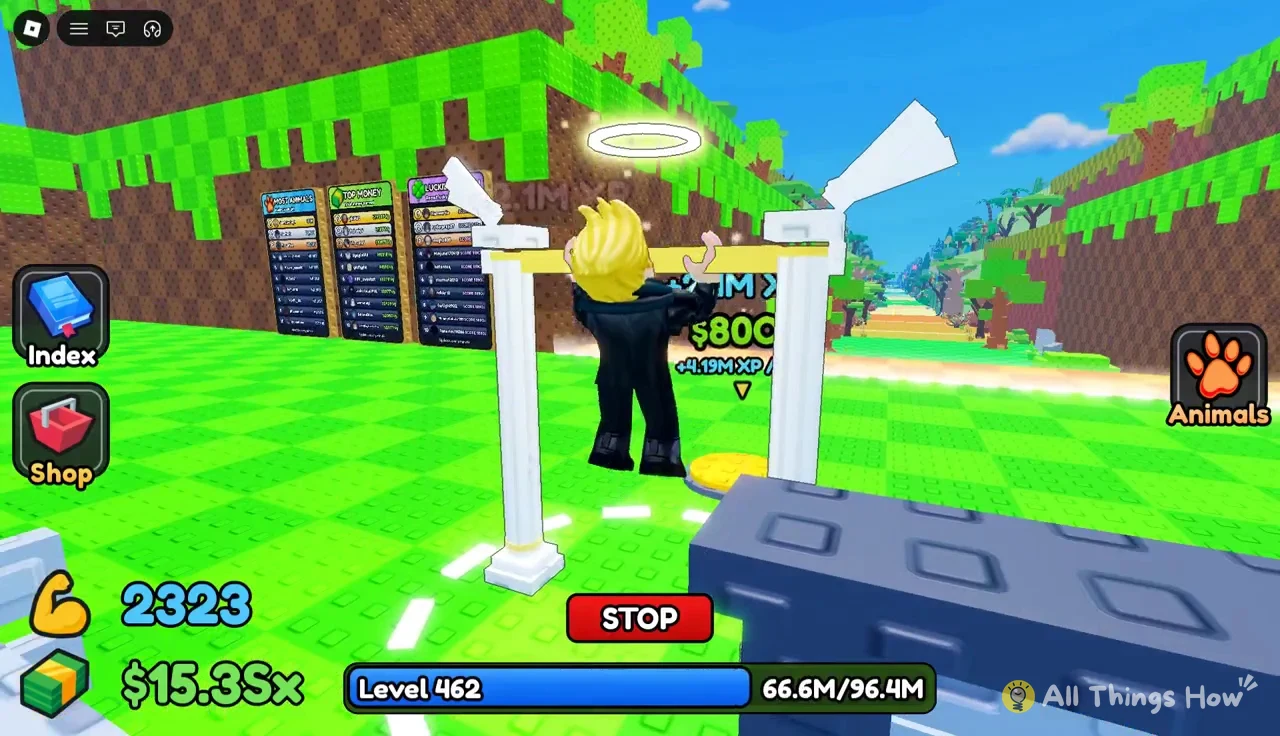
Upgrading the bar raises XP per rep. A “NEW EQUIPMENT!” popup tells you when the next bar is affordable, and you buy it from the yellow pad beside the station.
| Bar | Cost | XP per rep |
|---|---|---|
| Previous bar | Owned | +1.05M |
| Holy Bar | $12Qi | +2.1M |
| Celestial Bar | $80Qi | +4.19M |
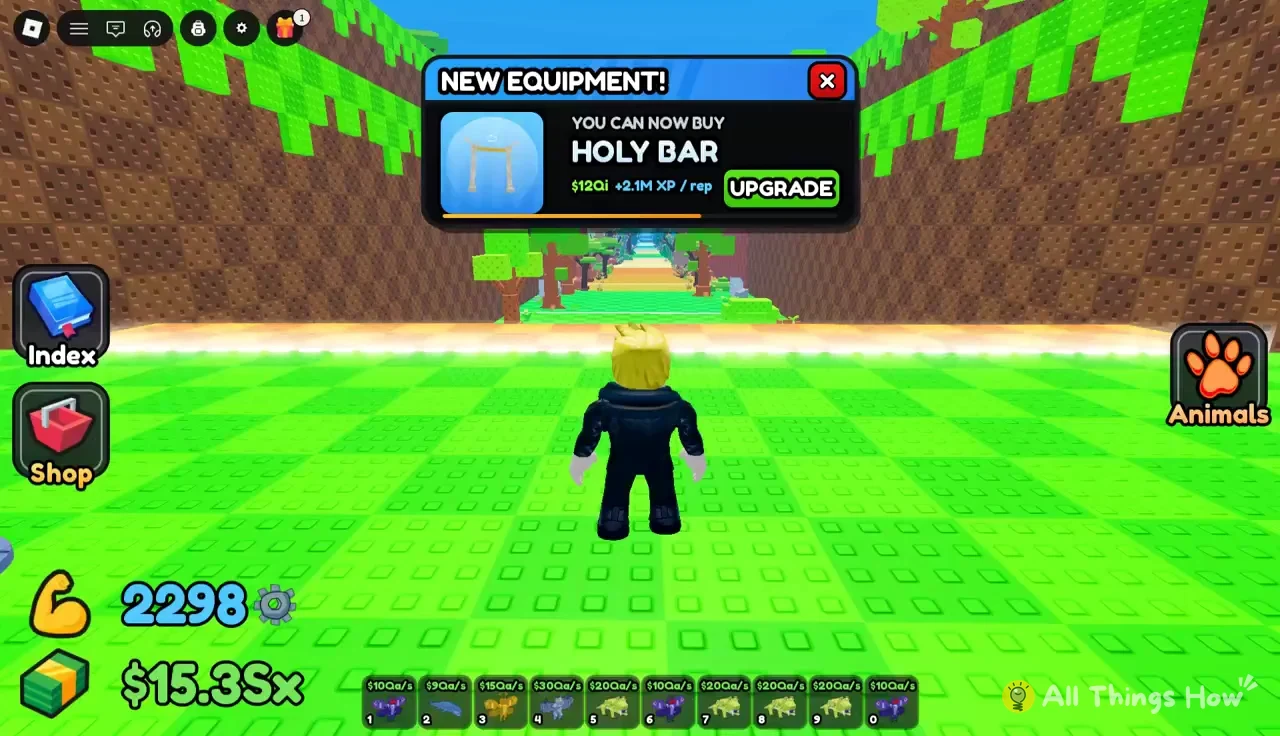
Walk up to the pad and press E at the “Holy Bar Upgrade” prompt to buy it. The game confirms with “Upgraded to Holy Bar!”, the rig turns into white marble pillars with wings, and your avatar gets a halo while training on it.
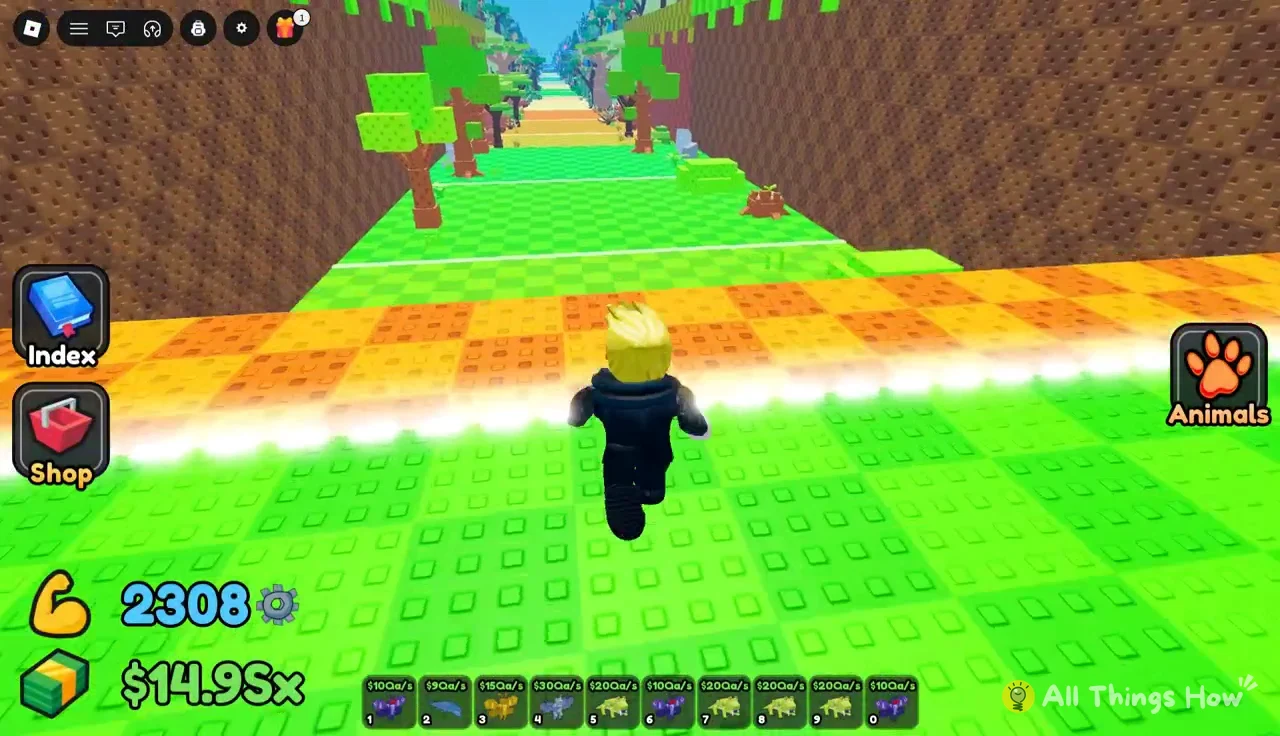
Buying the Holy Bar immediately opens the next prompt, “Celestial Bar Upgrade,” at $80Qi. The same E prompt on the new pillar buys it once you have the cash. In the Holy Bar’s range, a sustained session moves Throw Power from level 469 to 477, and every one of those levels adds distance to the next round of mutation rolls.