Every floor in Dandy’s World works the same way. You find the ichor extraction machines, fill them through a string of timed skill checks, and then get back into the elevator before it leaves. The examples here use Boxten, one of the two free starting Toons, on Floors 1 and 2, where each floor asks for two machines. That’s also where a lot of early runs end, when a Twisted catches a Toon that has run out of stamina.
Quick answer: Fill machines until the counter reads 2/2, then follow the white arrows to the elevator. You have 30 seconds to step onto the platform.
Dandy’s World controls and HUD for machine runs
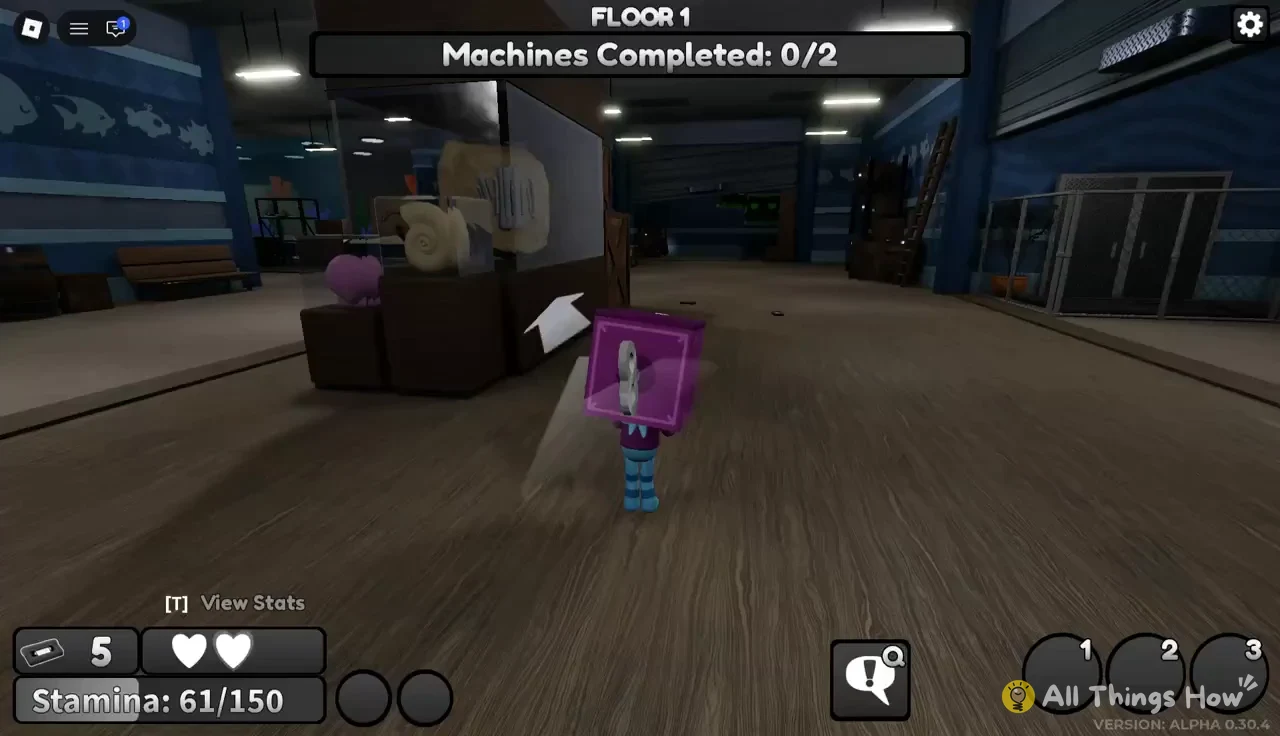
Before you leave the elevator, it helps to know which keys you’ll be pressing and what the screen is tracking. The “Machines Completed” counter at the top of the screen shows how many machines the floor needs and how many you’ve finished. Your hearts and stamina sit in the HUD too. Boxten has two hearts and a stamina bar that tops out at 150.
| Key | What it does |
|---|---|
| E | Interact with machines, pick up items |
| Space | Hit a skill check |
| T | View Stats |
| ESC | Resume (closes the menu) |
| R | Respawn |
| L | Leave |
Sprinting drains stamina, and an empty bar means you can’t sprint at all. That’s the main thing to watch once a Twisted is involved, so try not to burn stamina just getting across a quiet room.
How to complete ichor extraction machines
Floor 1 opens with the counter at “Machines Completed: 0/2.” The layout is generated fresh for each floor, so there’s no fixed spot to run to. You’ll have to walk the rooms, which on Floor 1 can include display cases, shelves and aquarium areas.
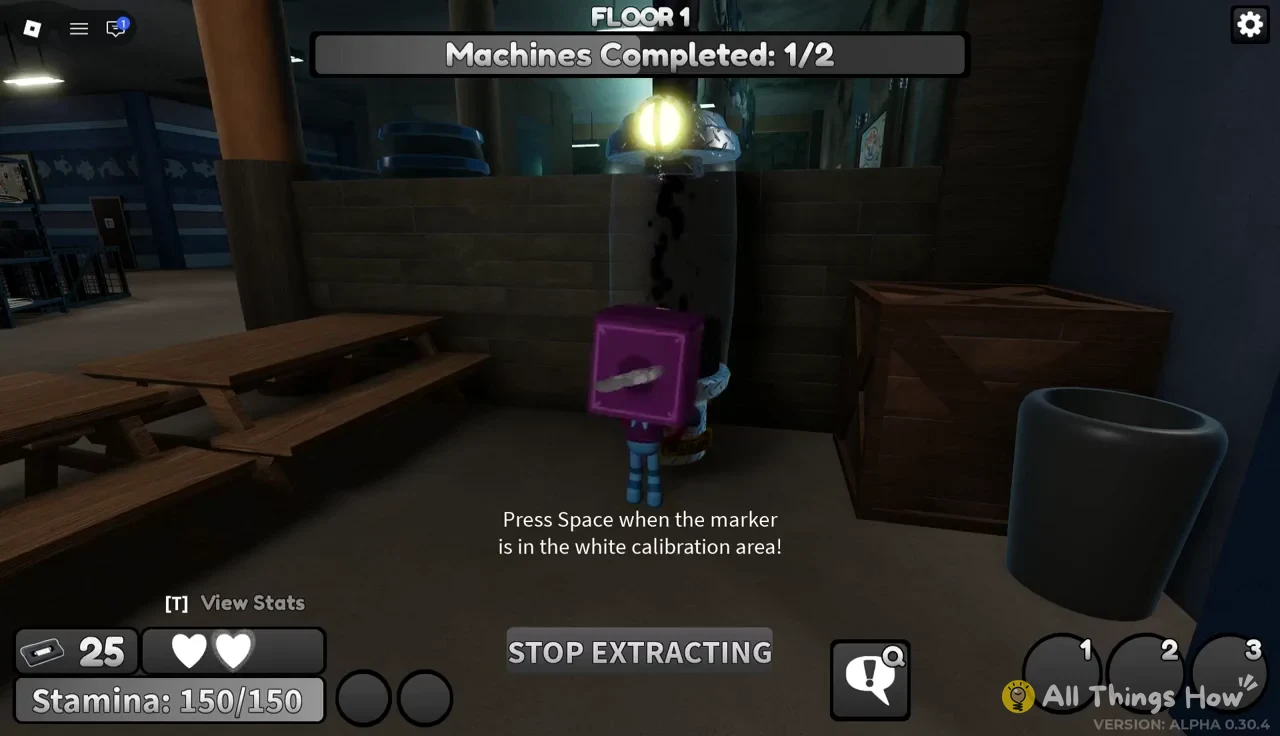
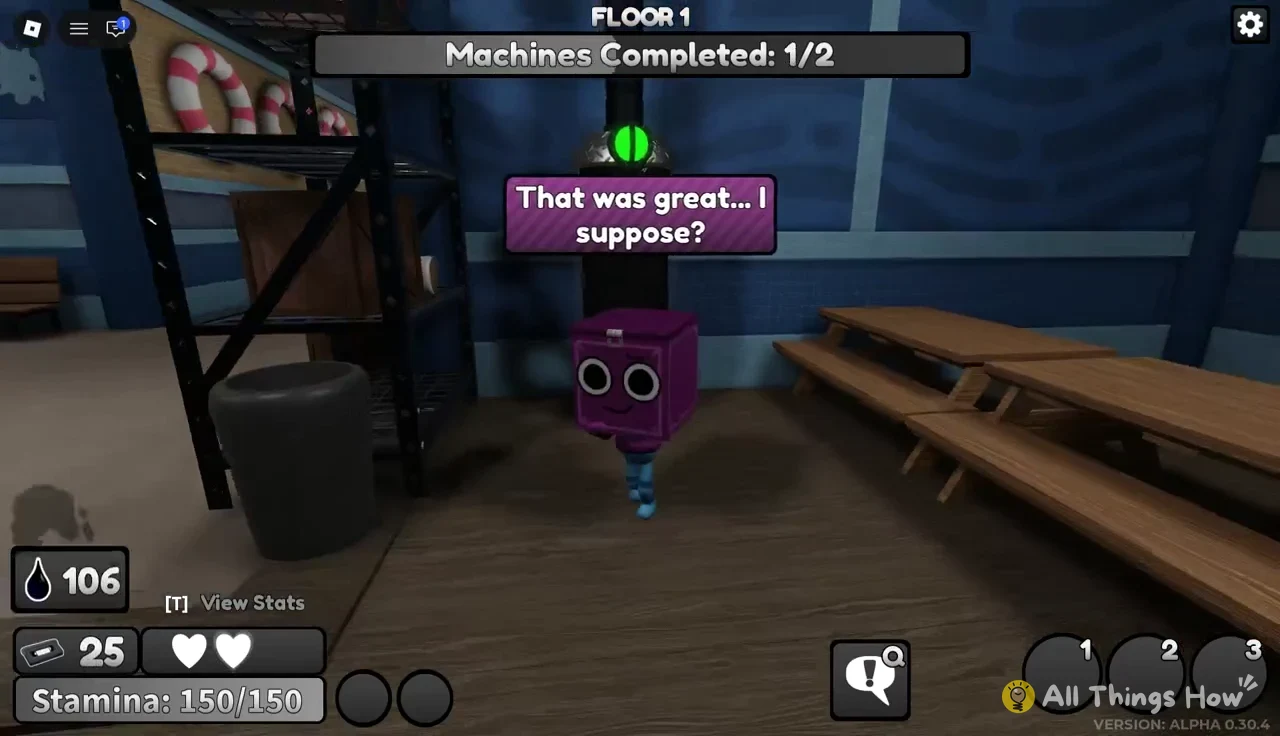
Clean hits give you “Good Job!” and better ones give you “Great Job!” Both speed the fill along. A missed check pauses the machine for a moment and can pull nearby Twisteds toward the noise. That’s why it’s worth checking the room before you start, rather than finding out halfway through a fill.
Leave the machine closest to the elevator for last. Finishing that one starts the escape timer, so the shorter the run back, the more of those seconds you get to keep.
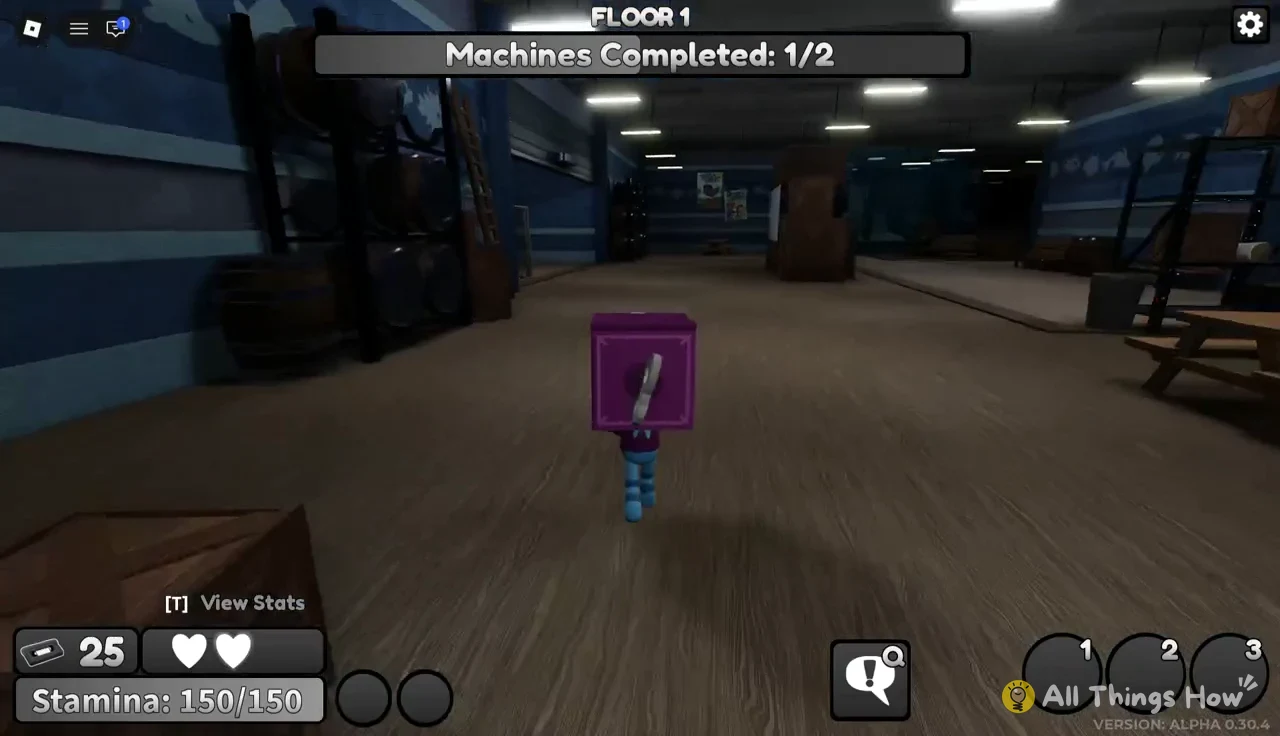
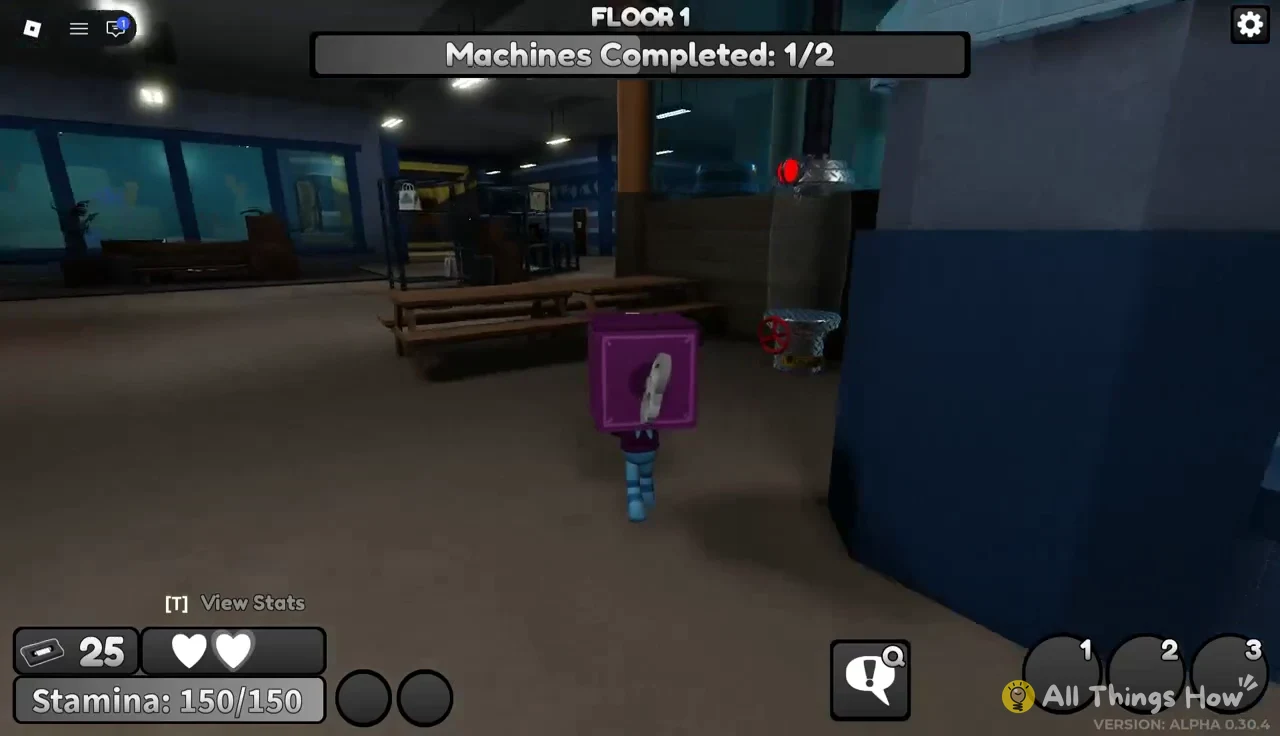
With one machine down, go looking for the second. There’s nothing on the screen that points at the remaining machine on Floor 1. You’ll have to cover the rooms you haven’t checked yet, and the counter stays at 1/2 until you find it and fill it.
How to escape to the elevator before the timer runs out
As soon as the last machine fills, the counter hits 2/2 and a warning reads “Quickly! Elevator leaves in 30 seconds!” The number counts down on screen, one second at a time. Anyone still outside when the doors shut doesn’t make it to the next floor.
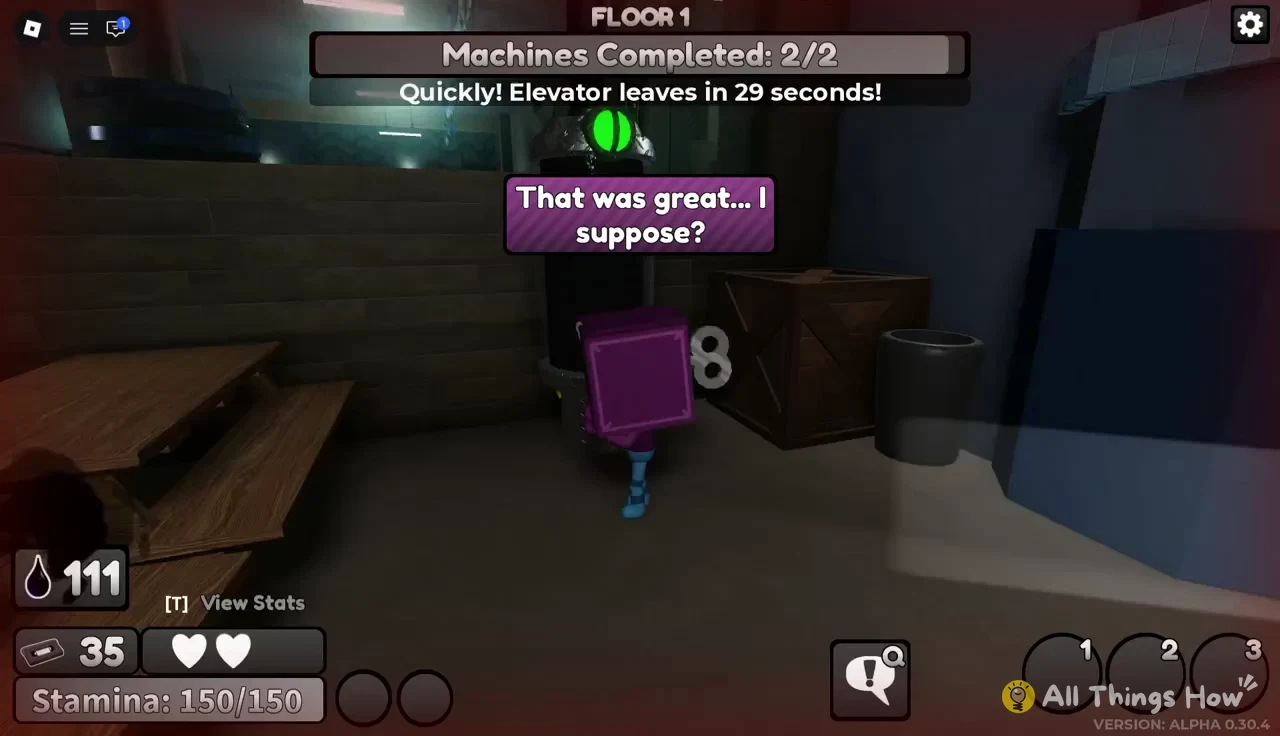
You’ll know it worked when the doors close behind you and the screen switches to “Intermission.”
What happens during the Intermission between floors
Inside the elevator, the screen goes through a fixed sequence while the next floor is built. You don’t need to do anything here unless you want to shop. The messages show up in this order:
- “Waiting for Players…” while the rest of the team arrives
- “Dandy’s Store will close in… 15”, your window to spend tapes
- “Generating new Room in… 3”, then “Generating Room, please wait…”
- “Doors opening in… 3”, then “Doors opening…”
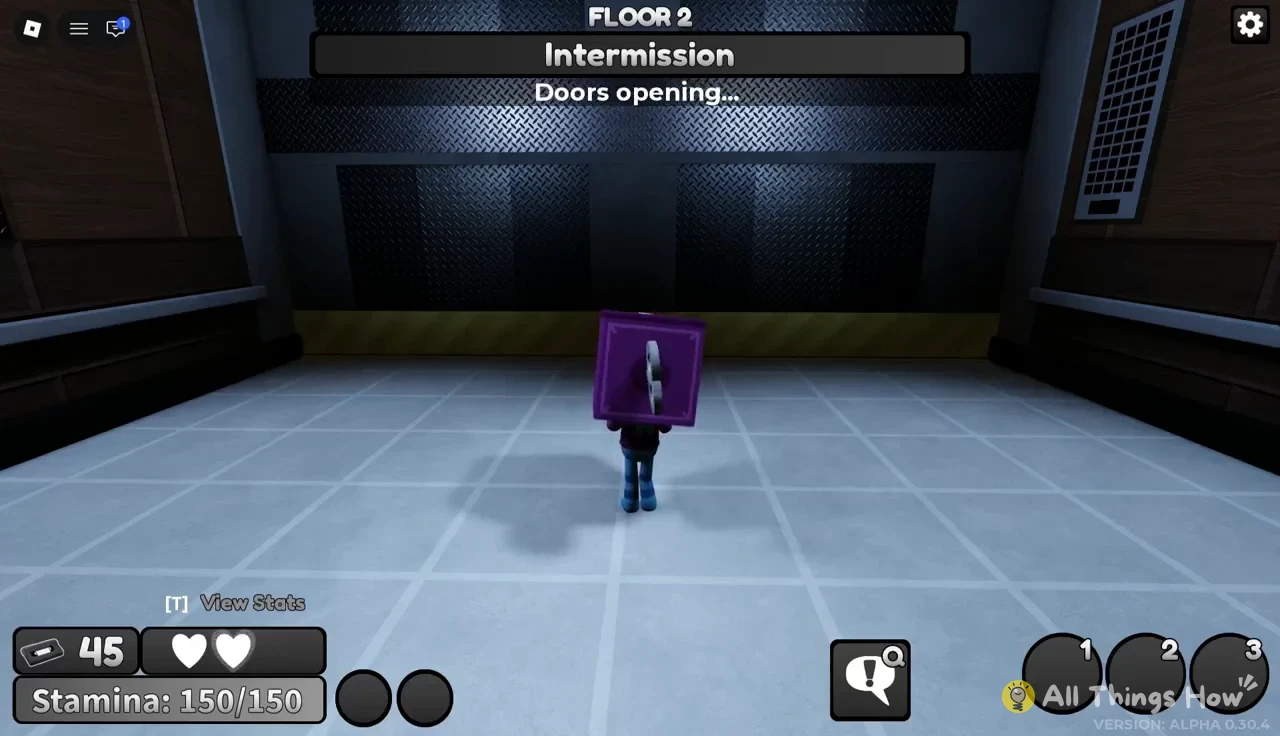
When the doors open, a new countdown starts with “Elevator closes in … 10.” Floor 2’s counter resets to 0/2, and the HUD shows “FLOOR 2” as you head out into the rooms.
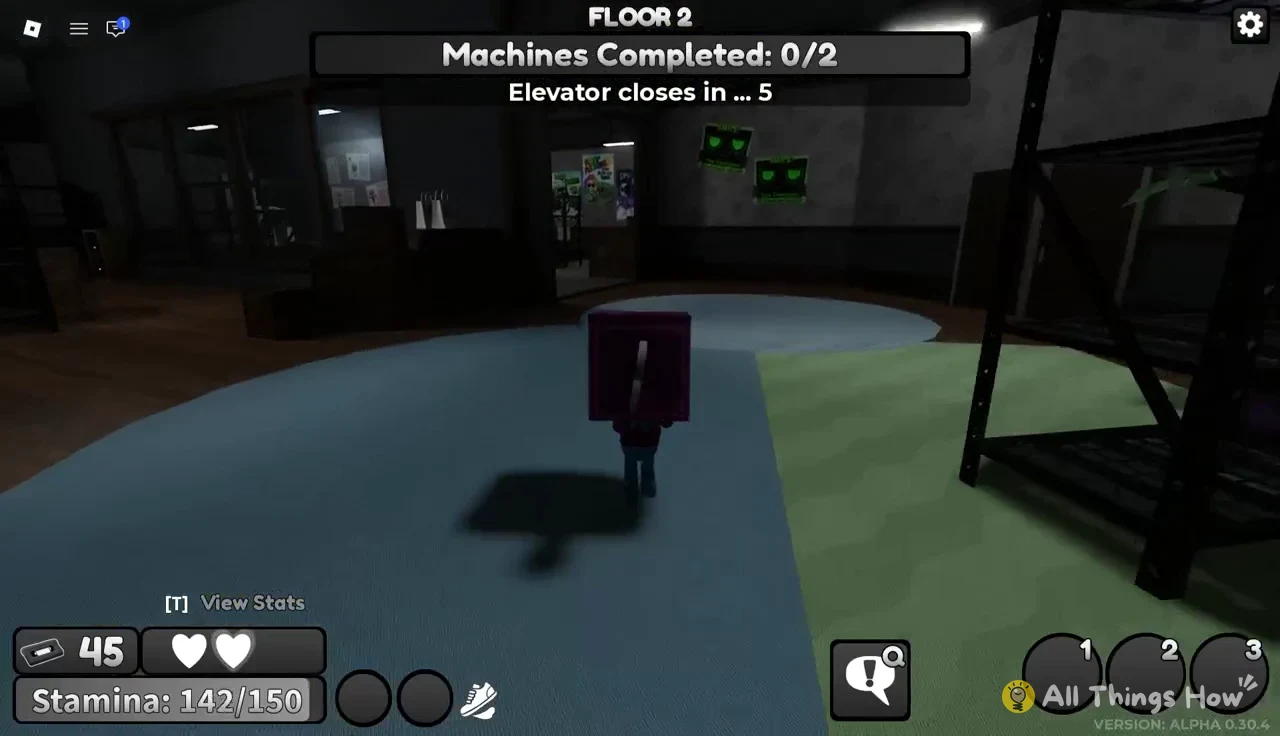
Floor 2 machines and the Skill Check Candy
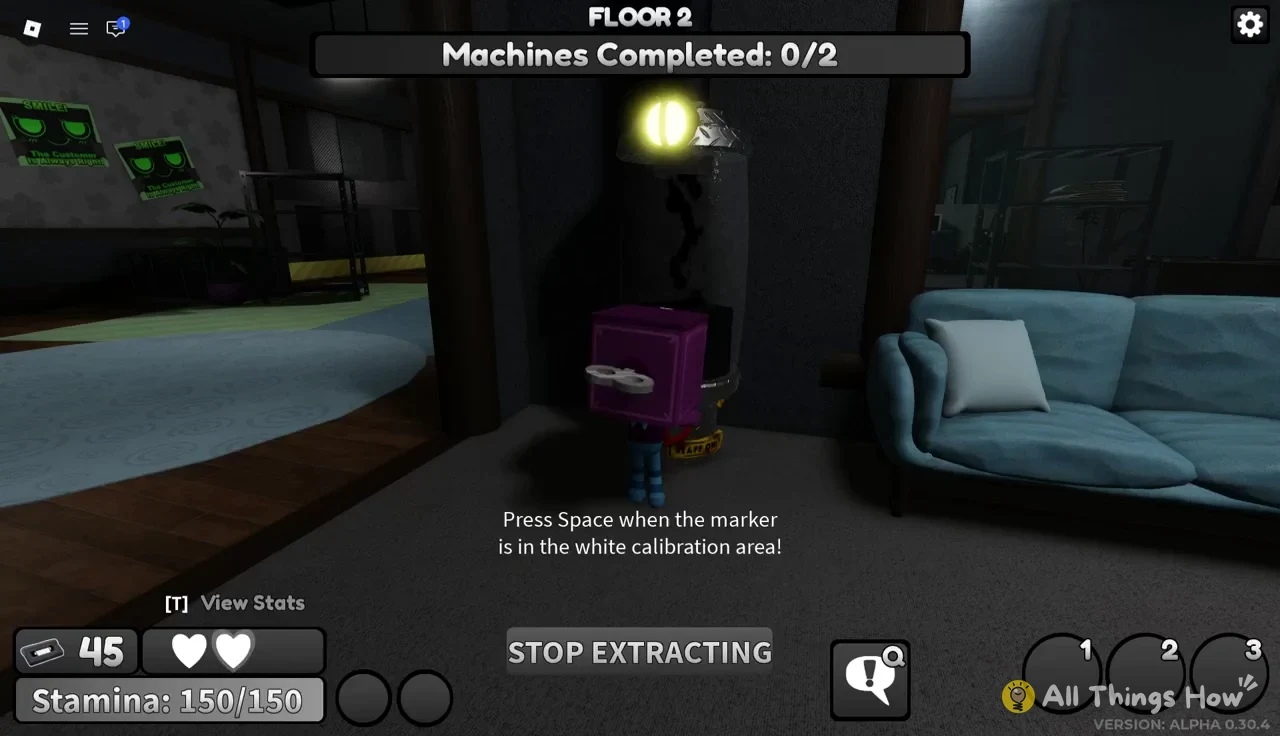
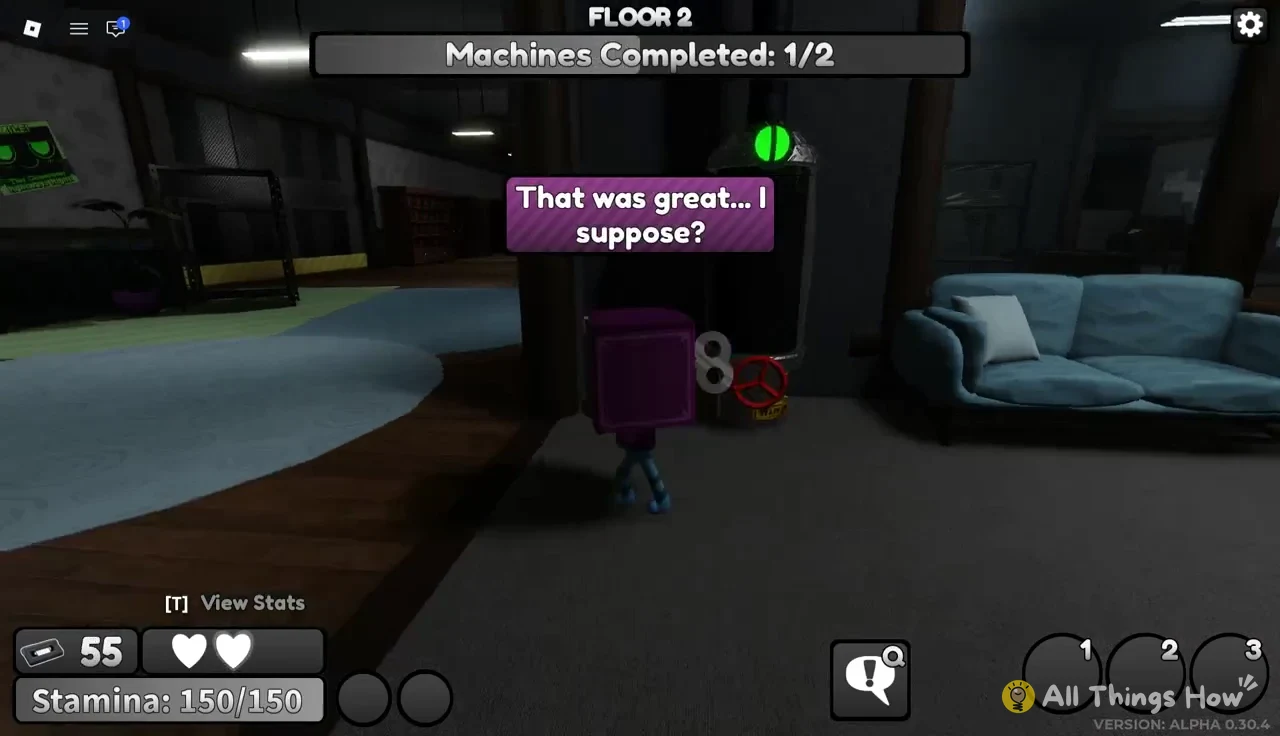
Floor 2 still needs two machines, and the extraction works exactly like it did on Floor 1. The rooms are carpeted halls and lounges this time. One machine sat next to a blue sofa and a shelf, but the spot changes each time the room is generated.
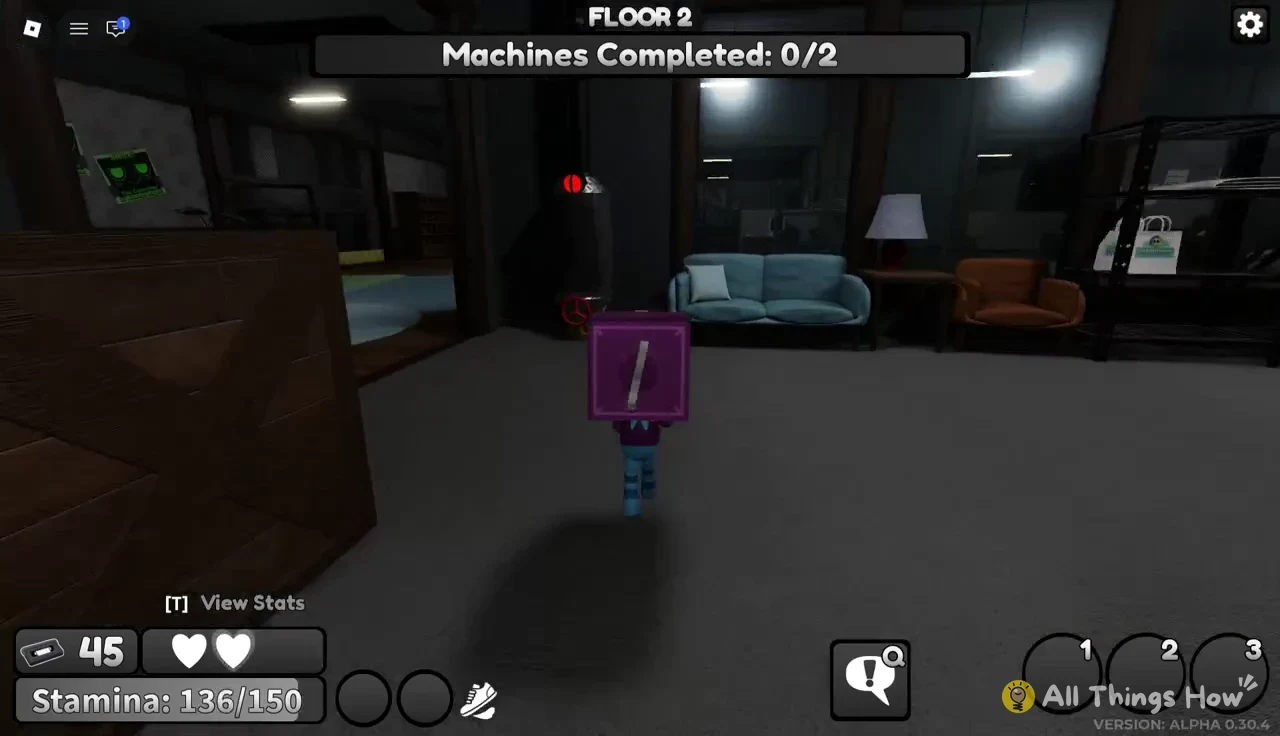
Start extracting, and hit the same white calibration zone with Space each time the gauge comes up. A few clean checks fill the cylinder and move the counter to 1/2.
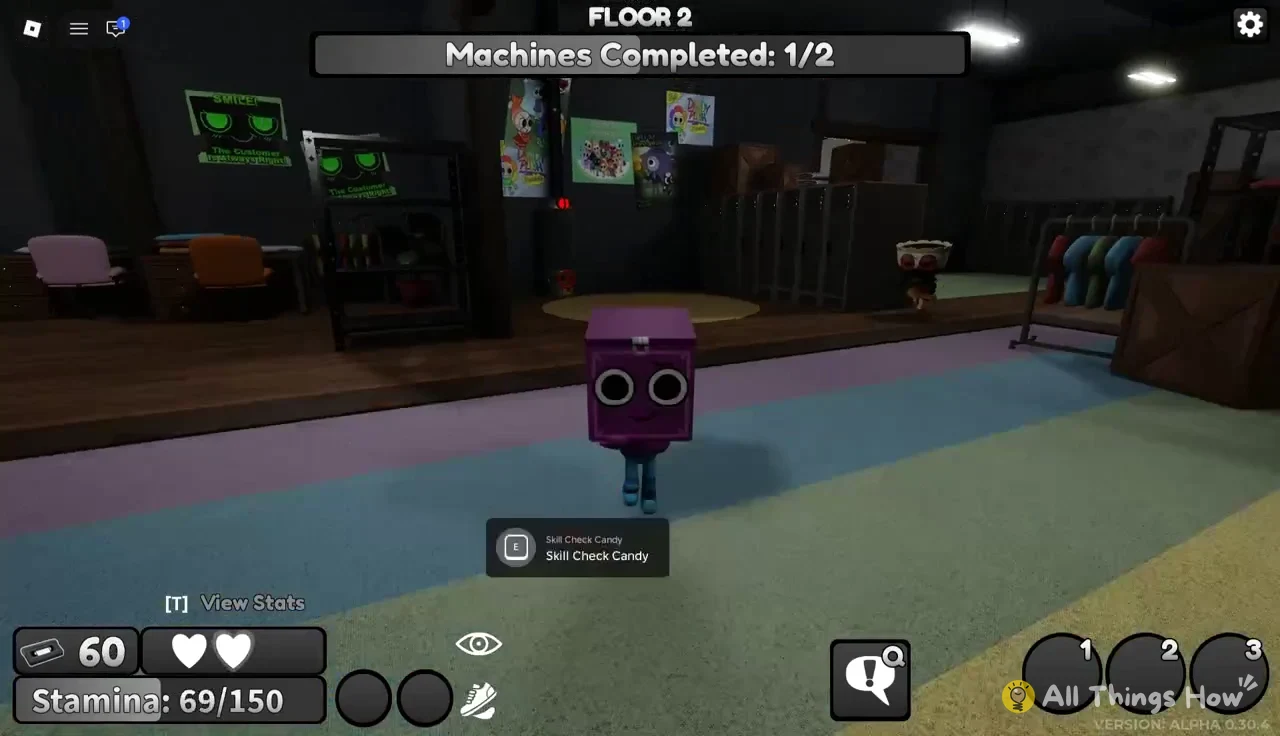
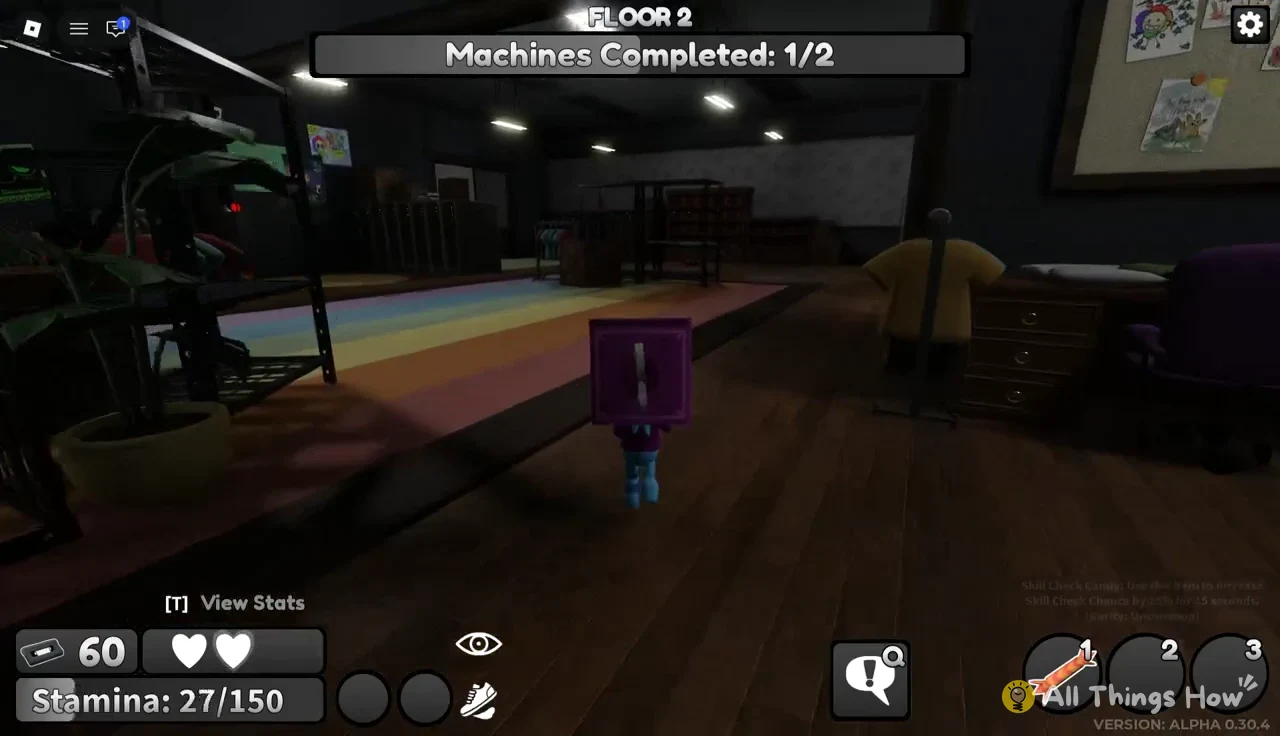
Items also turn up on the floor between machines. Skill Check Candy is an Uncommon item you pick up with E. Using it raises your Skill Check Chance by 25% for 15 seconds, so it’s most useful once you’re already on a machine and want the next few checks to go your way.
Twisteds, stamina and how a run ends
Twisteds patrol each floor and start chasing as soon as they see you. A red eye icon at the bottom of the screen tells you you’ve been spotted, and “I think I heard something…” is the game warning you that one is close. Each hit takes one heart. With Boxten’s two hearts, that means a single hit drops you to your last one.
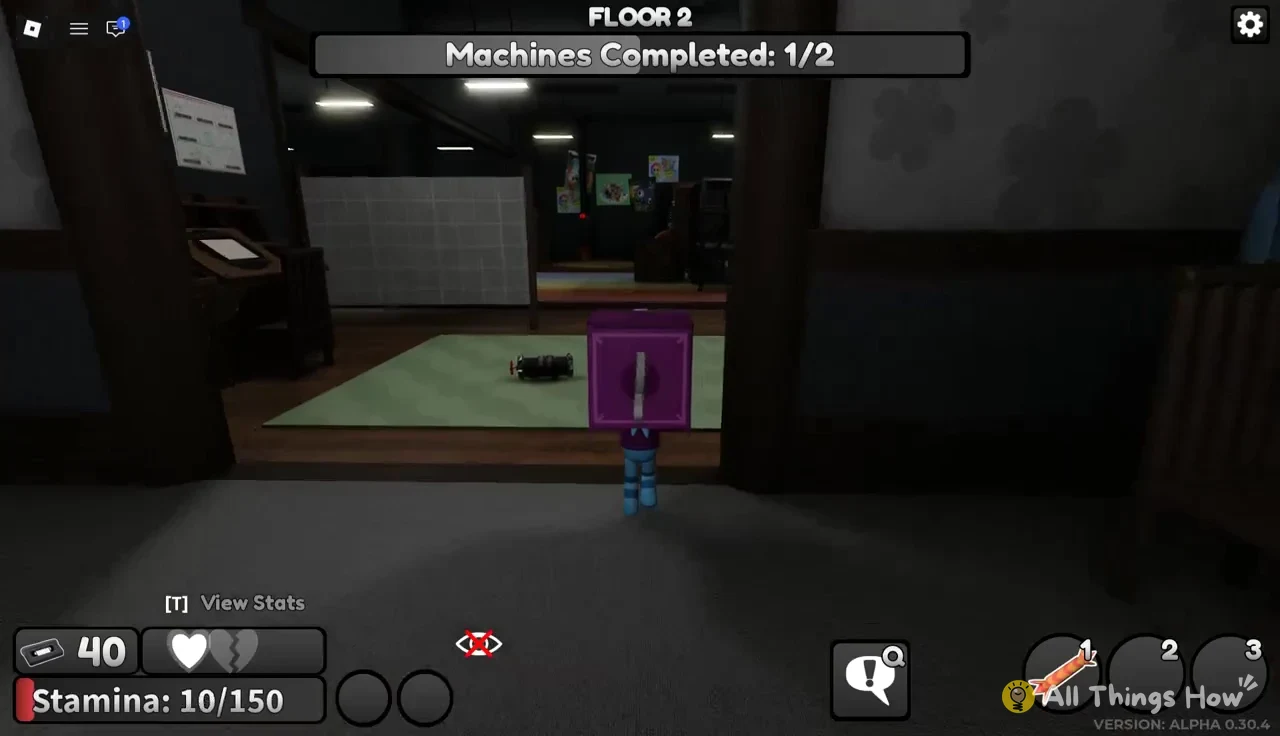
Stamina decides most chases. On Floor 2, a Twisted chased Boxten until the bar was nearly empty (8 out of 150) and then landed a hit, leaving one heart. Without stamina you can’t sprint, so a long chase on a low bar usually ends with you taking damage. Ducking behind furniture to break the Twisted’s line of sight works better than trying to outrun it in a straight line.
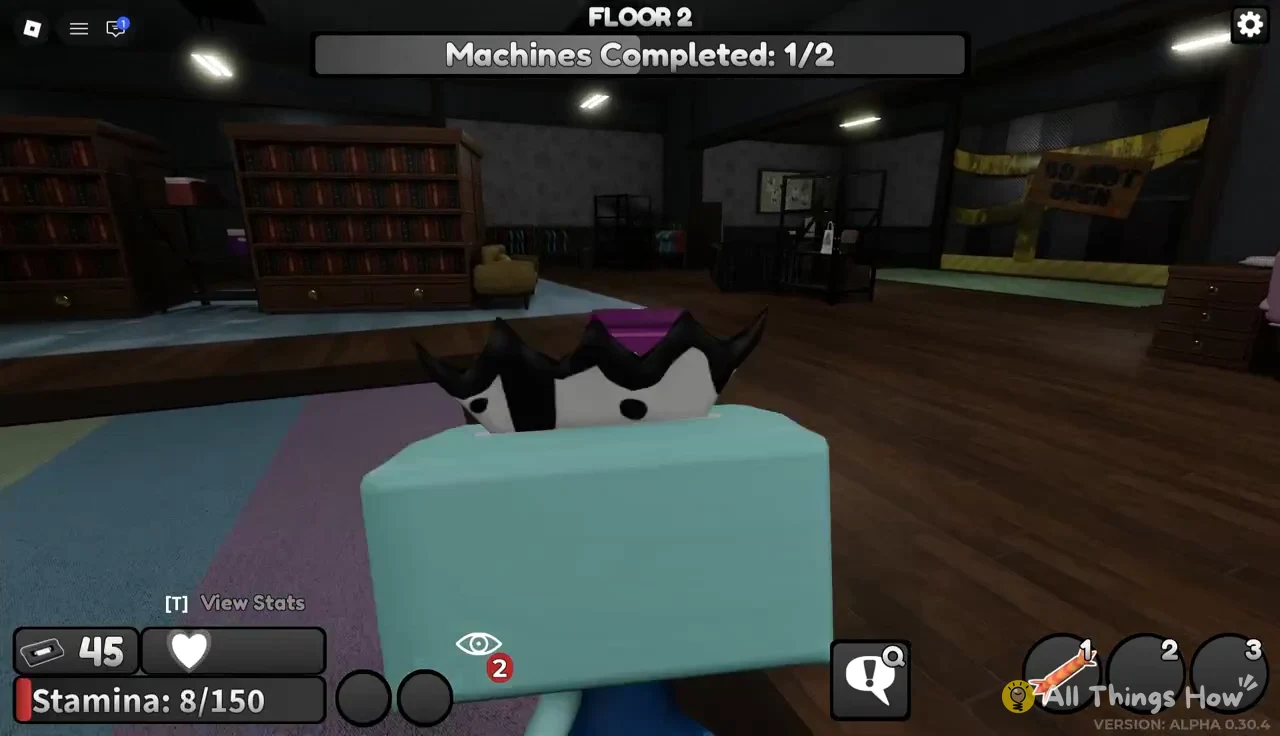
Running into a specific Twisted also gives you Research on it. Meeting Twisted Teagan, for example, shows “1% Teagan Research Collected!” That progress counts even if the encounter goes badly. Here, the next blow from Twisted Teagan took Boxten’s last heart.
When you lose all your hearts, the run ends on the “THAT’S A WRAP!” screen, and a “SKIP RESULTS” button lets you jump past the summary. Anything you haven’t banked by then, including that unfinished second machine on Floor 2, doesn’t carry into the next run. You’ll be starting again from Floor 1.