Police in BloxRNG chase you for speeding, crashing into traffic, and hitting their cruisers, and the chase only gets rougher as your heat level climbs toward 5. The most reliable way out is to lose them in the highway tunnel, then drive up onto the top of the stunt structure called The Drop, where the pursuit units can’t follow you.
Quick answer: Run the highway tunnel at full speed, head into the stunt area, climb The Drop to its top platform, and stop there until the ESCAPING countdown ends and EVADED appears with your cash payout.
How the BloxRNG police heat system works
Heat is the game’s wanted level. It shows up as floating stars on screen, next to a bounty counter that grows the longer you stay in the chase. You raise it through these actions:
- Driving faster than about 90 MPH, which sets off a SPEEDING alert with your speed on it
- Crashing into civilian cars and trucks on the road
- Ramming a police cruiser, which shows YOU HIT A POLICE CAR and pushes heat up faster
Each step up the ladder changes how the police behave, and the game tells you with a banner when it happens:
| Heat level | On-screen message | What the police do |
|---|---|---|
| 1 | Police alert | Patrol cruisers start following you |
| 2 | HEAT LEVEL 2 | Pursuit continues |
| 3 | MORE UNITS JOINING | Extra cruisers join in |
| 4 | THEY’LL RAM YOU NOW | Units ram your car |
| 5 | THEY’LL RAM YOU NOW | Several interceptors ram you |
Ramming starts at level 4, and that’s where most chases fall apart, because a single hard hit can spin you into a wall or leave you stopped. Being stopped near police is how you get arrested, which is covered further down.
What you need before starting a police chase
All you need is a car. The starter sedan, the Volker Jett, can do the whole escape stock. It has 200 HP, goes 0-60 in 5.3 seconds, tops out at 149 MPH, and weighs 1,480 KG, which is plenty to hold the highway speeds the tunnel run needs. Press C while driving to open the Controls panel if you want to check the key bindings.
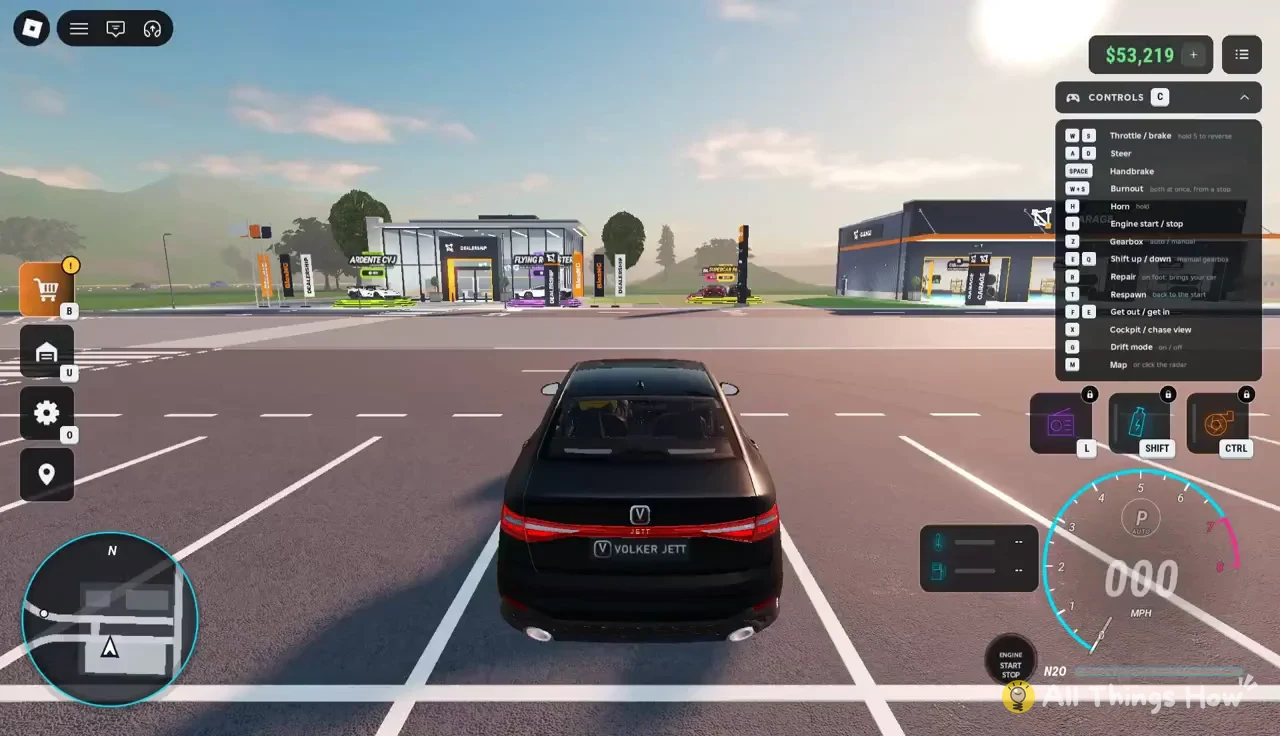
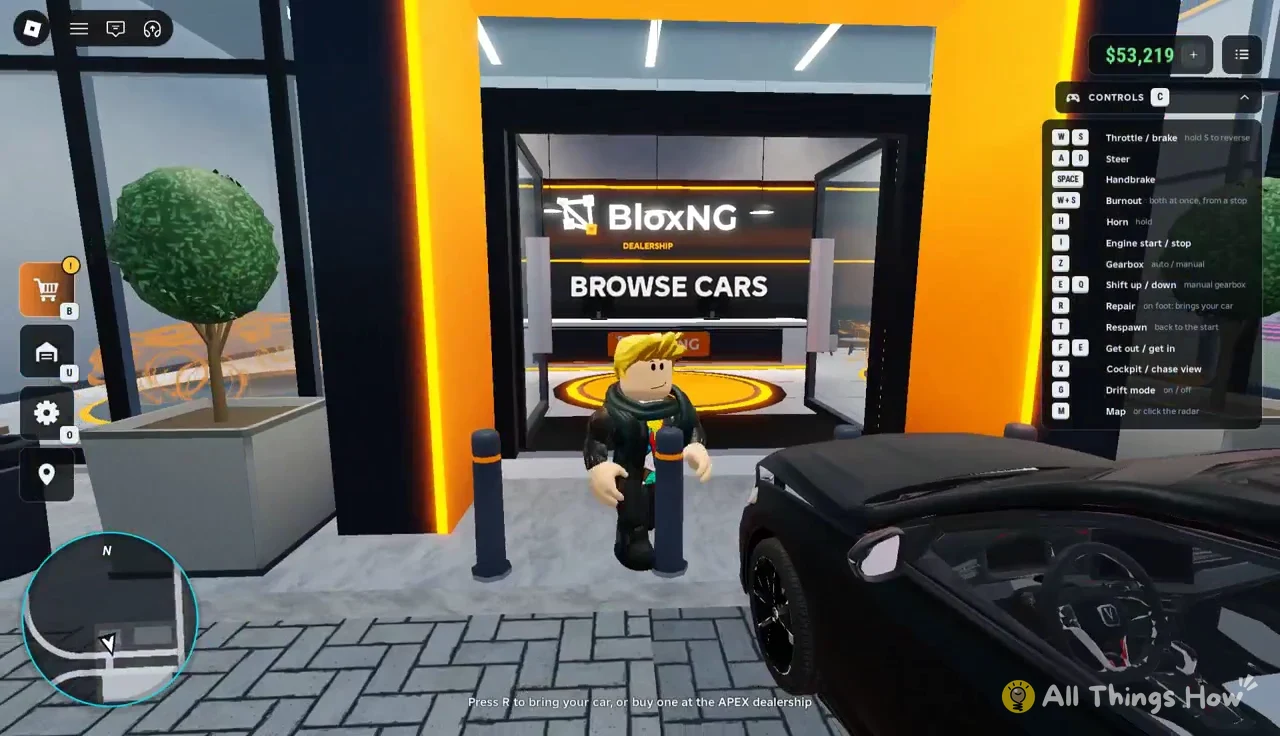
If you’re on foot, press R to bring your car to you. You can also buy another car at the APEX dealership, where the sign reads BloxNG DEALERSHIP and the BROWSE CARS menu lists everything from everyday commuters to hypercars. A faster car isn’t required to escape.
Optional performance upgrades at the garage
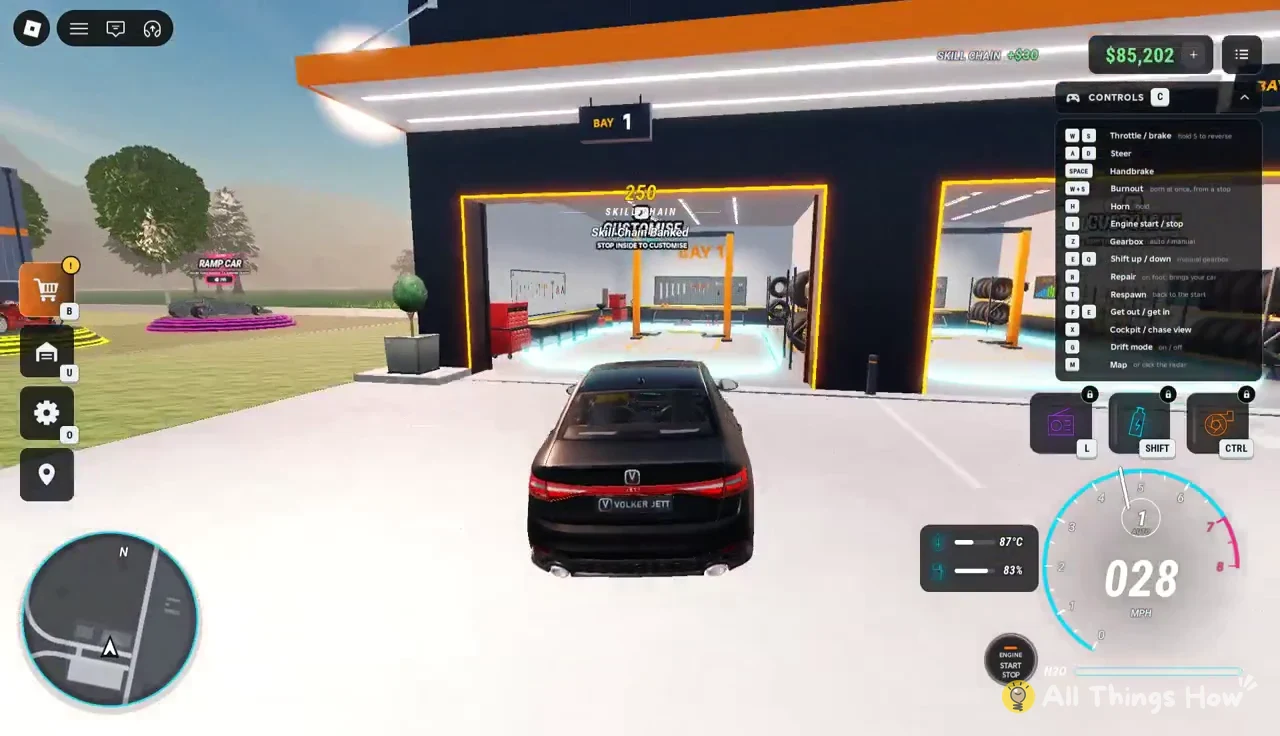
If you have some cash, the garage has drive-in bays marked CUSTOMISE. Drive into a bay and stop on the glowing floor marker to open its menu.
Bay 2 sells the performance parts. Your car goes up on the lift while you pick them.
| Upgrade | Price | Power | Top speed |
|---|---|---|---|
| ENGINE: STAGE 1 | $5,000 | +12% (+24 HP) | +4% (+6 MPH) |
| TURBO: TURBO 1 | $5,000 | +8% (+18 HP) | Same |
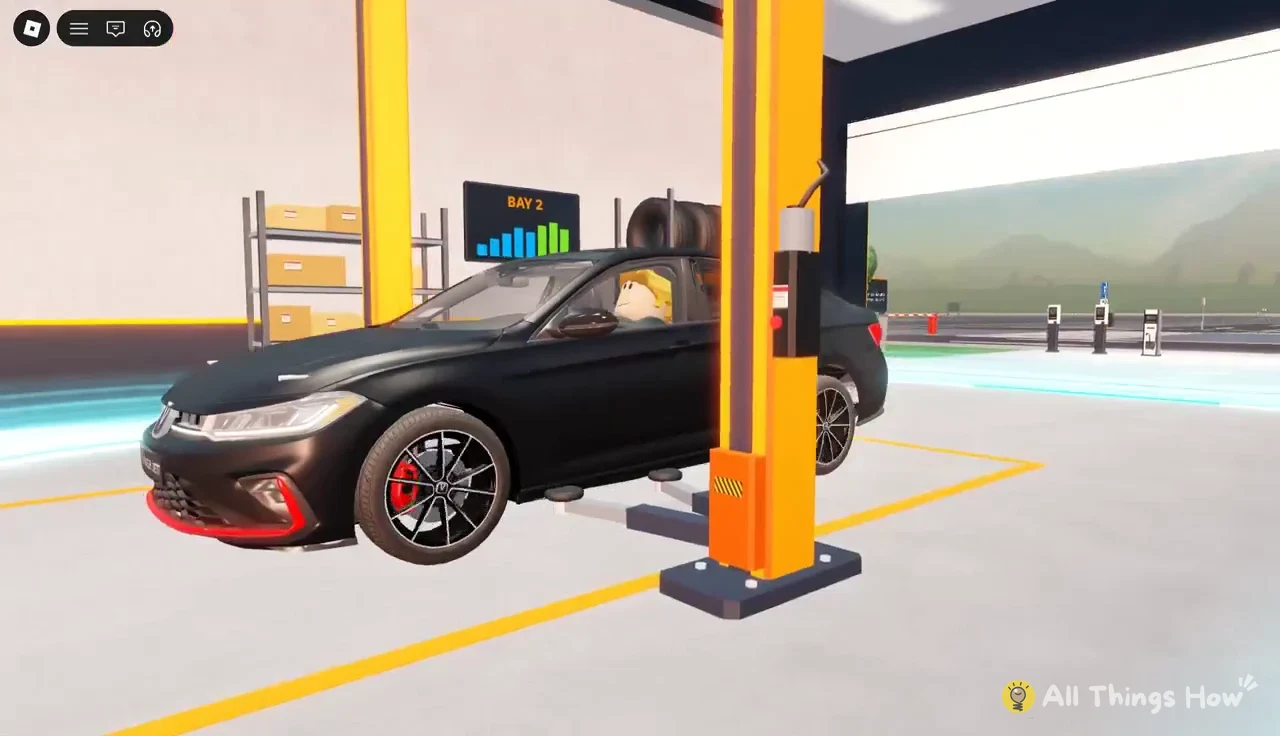
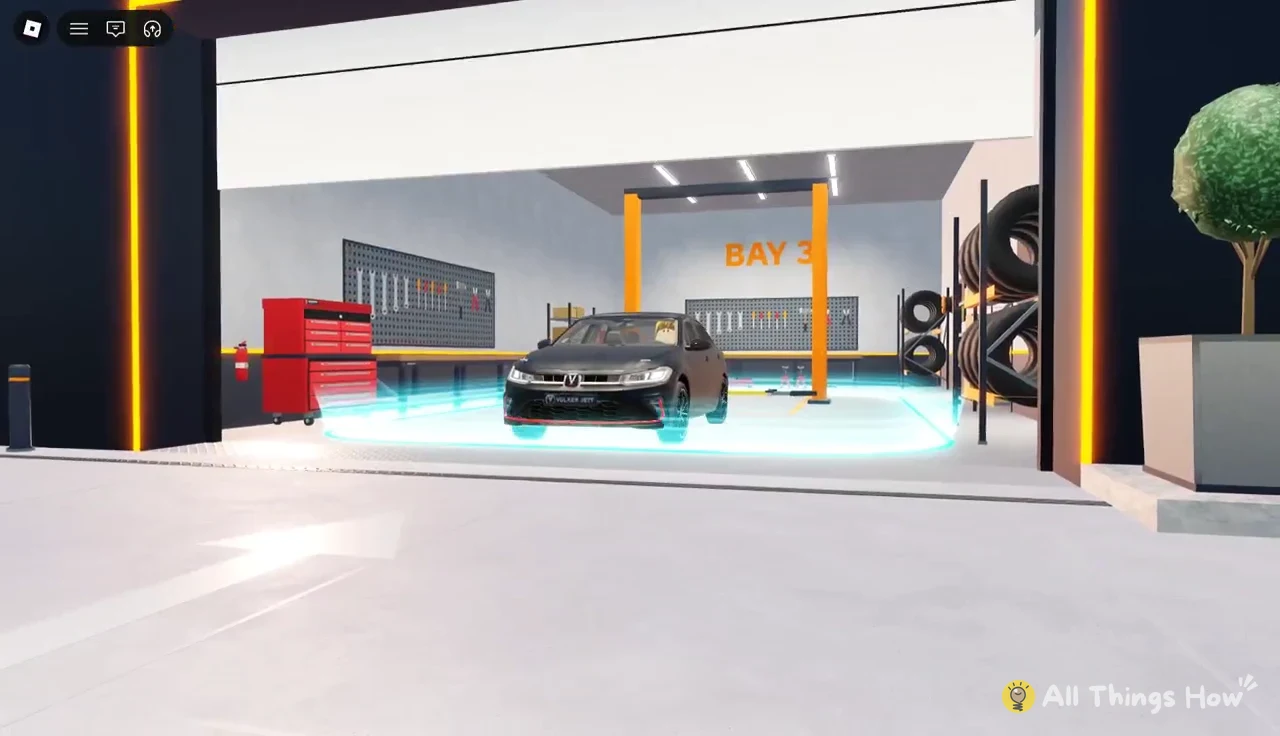
Both parts together cost $10,000. Only the Stage 1 Engine raises top speed, so buy it first if you can only afford one. Bay 3 does Dark Window Tint (60% dark) for $3,000, but that’s purely cosmetic and doesn’t change how the police find you.
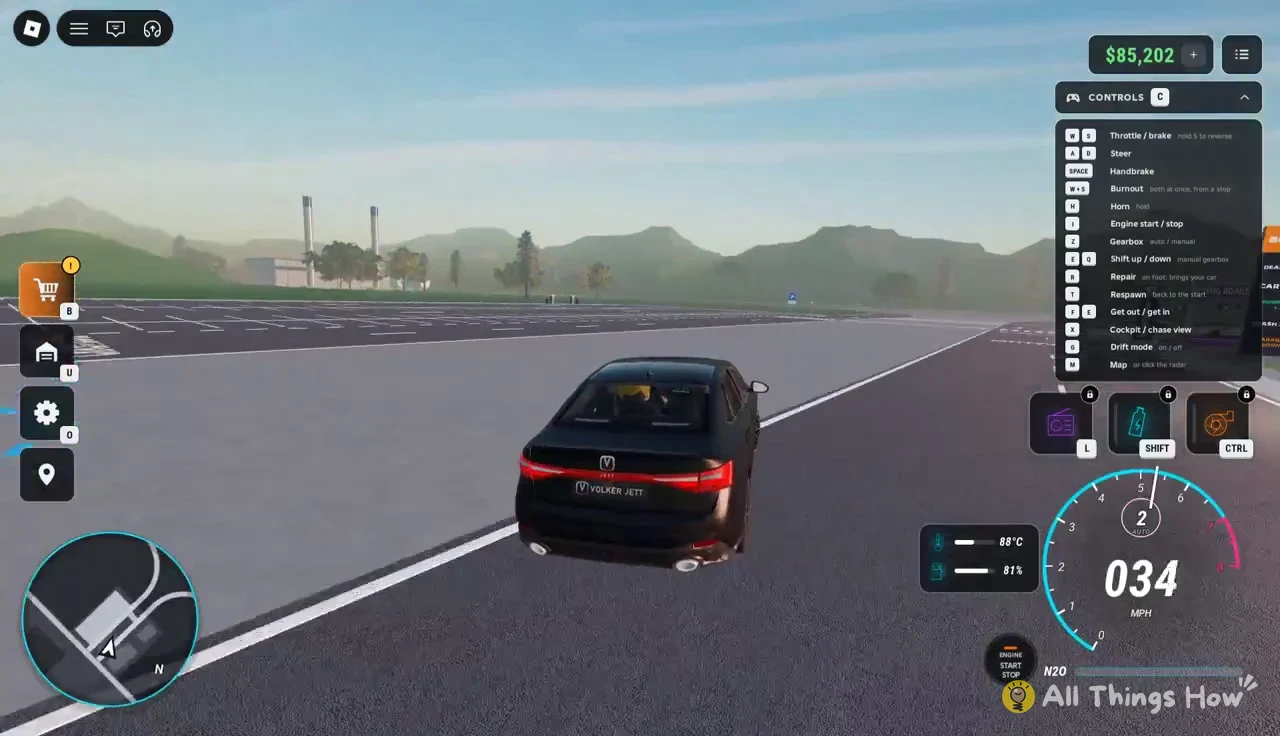
How to evade cops in BloxRNG: Tunnel to The Drop
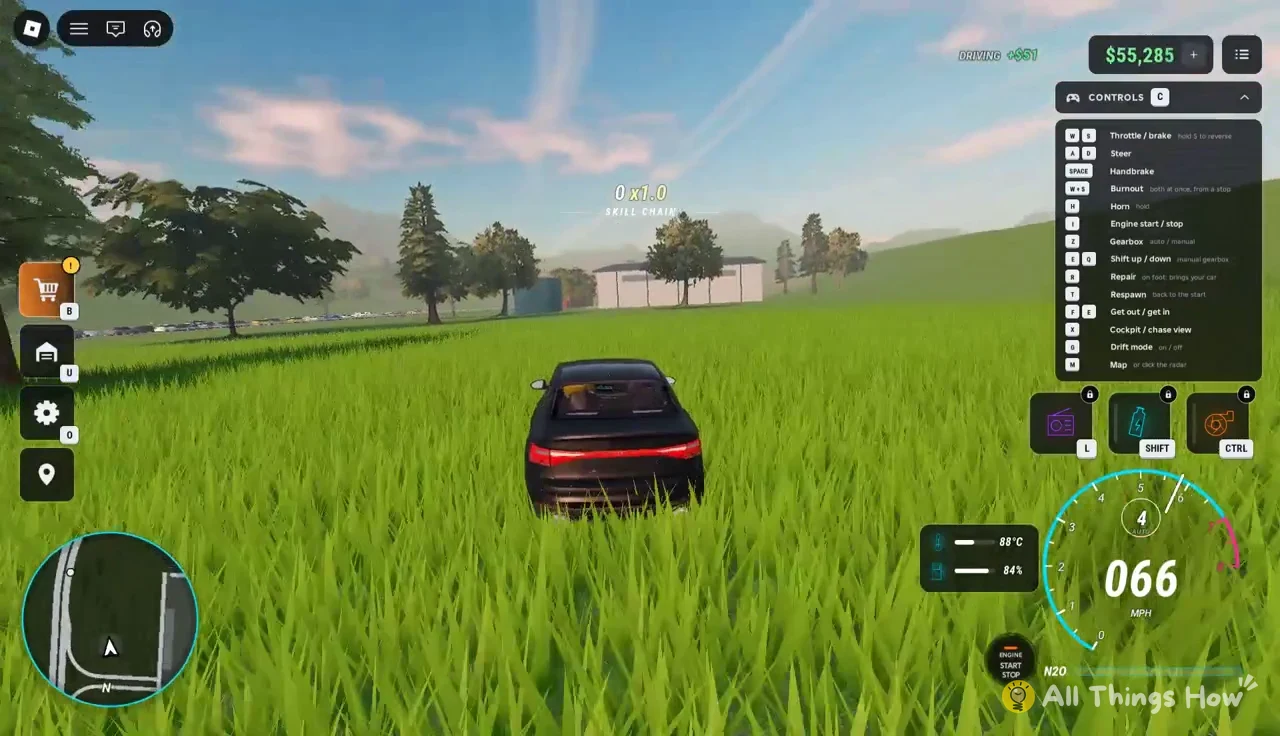
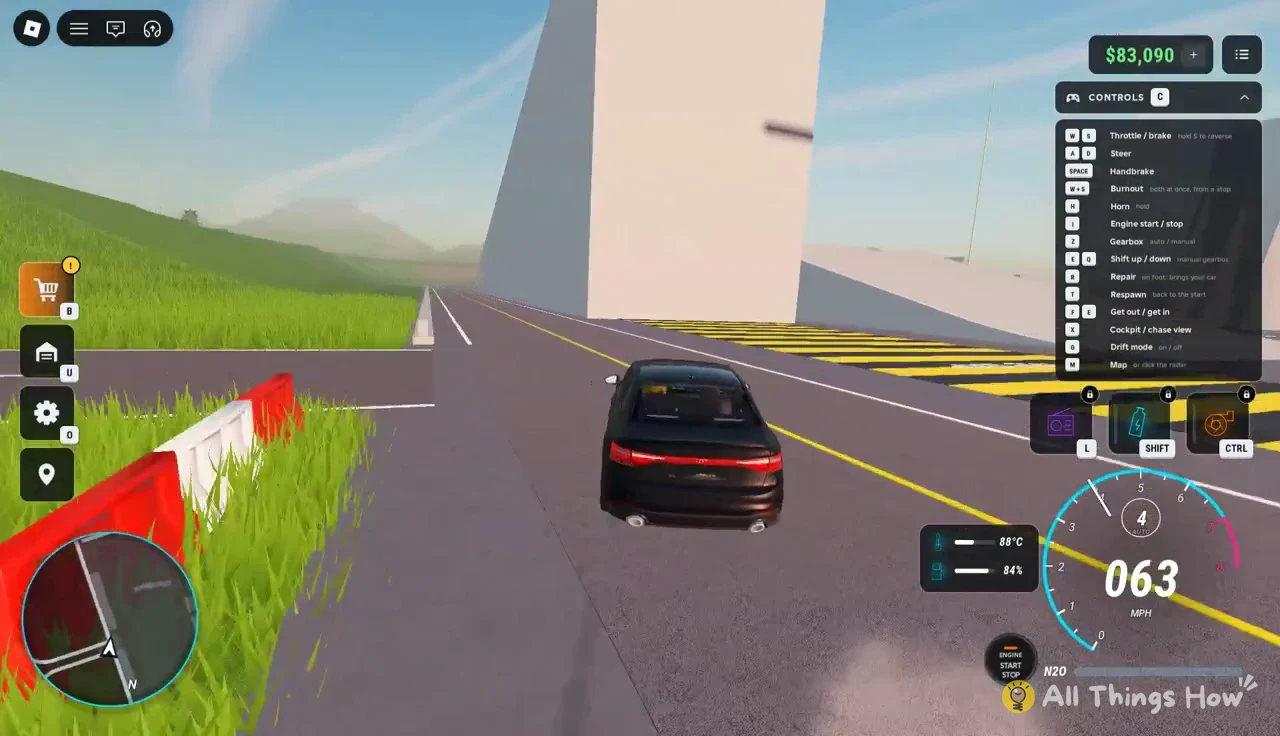
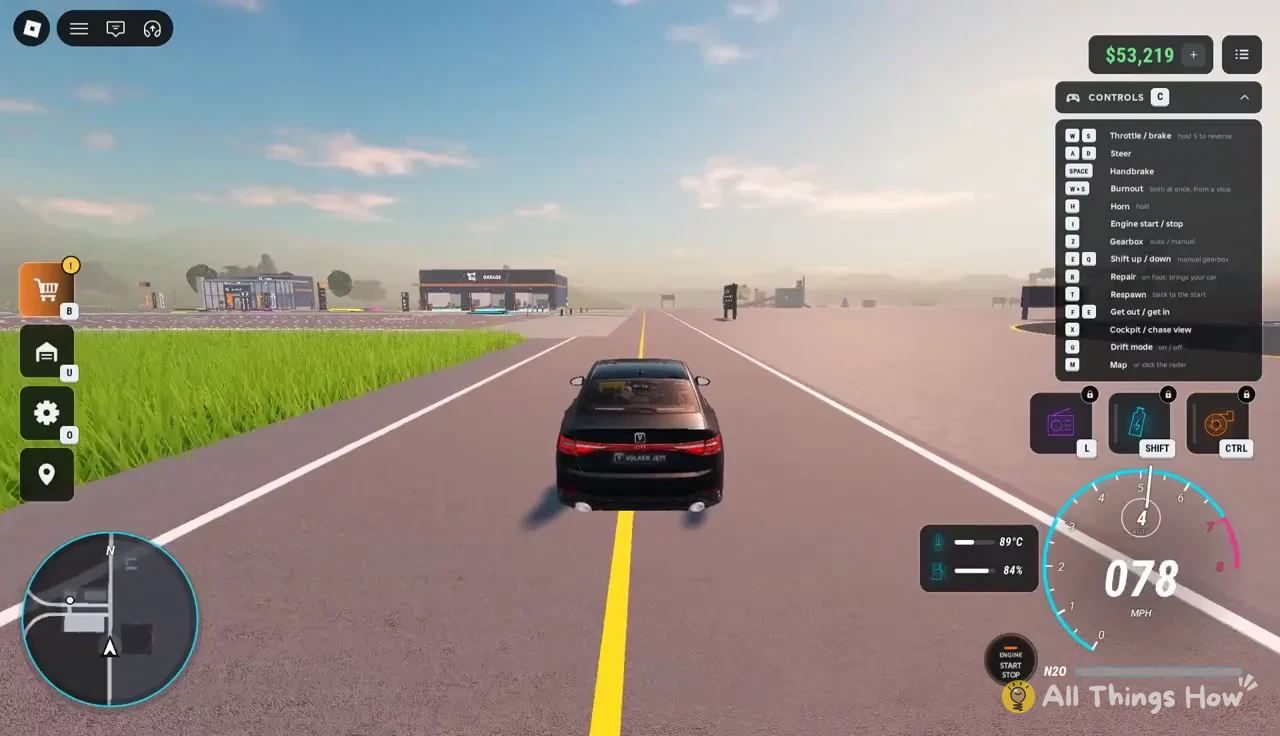
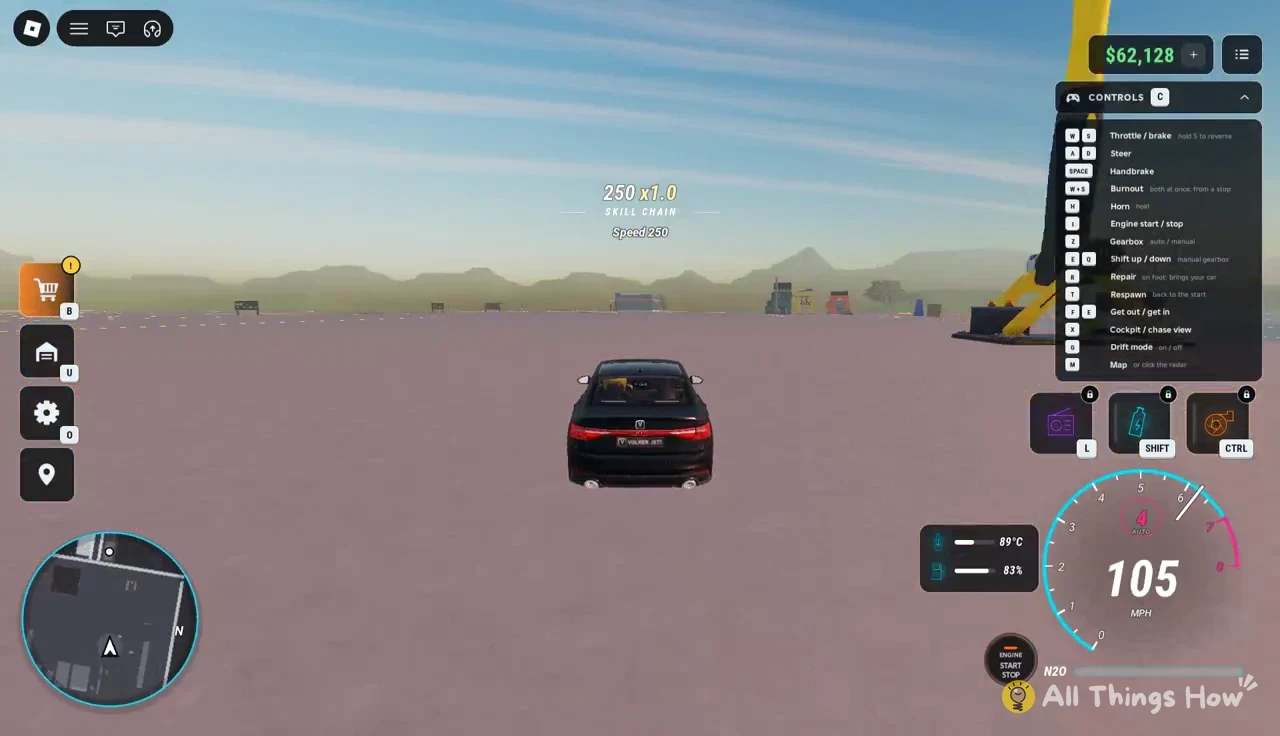
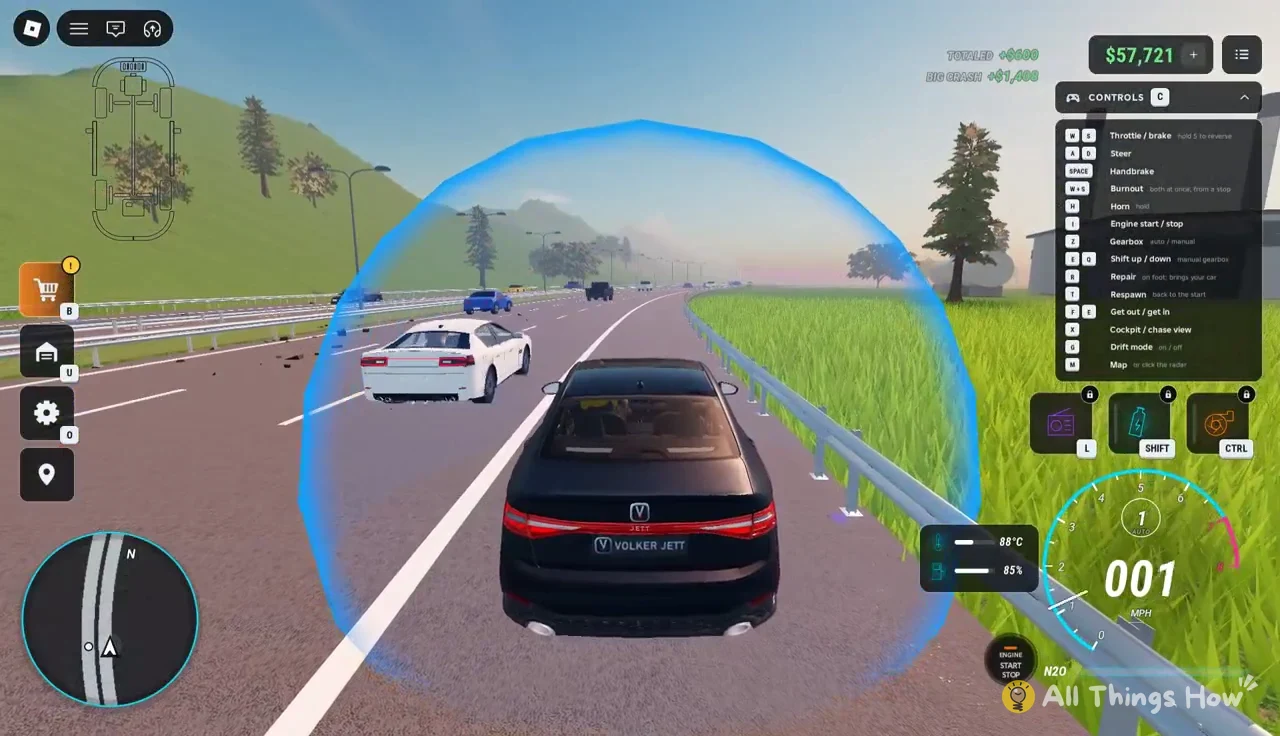
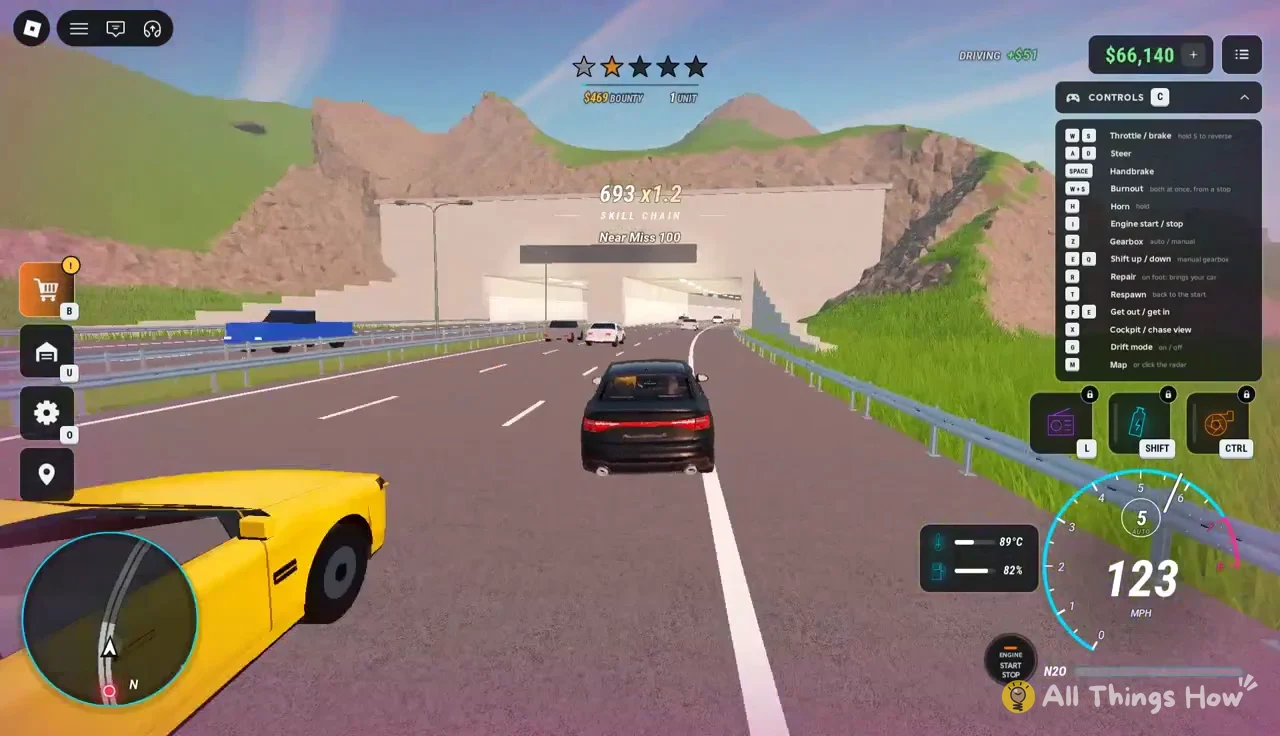
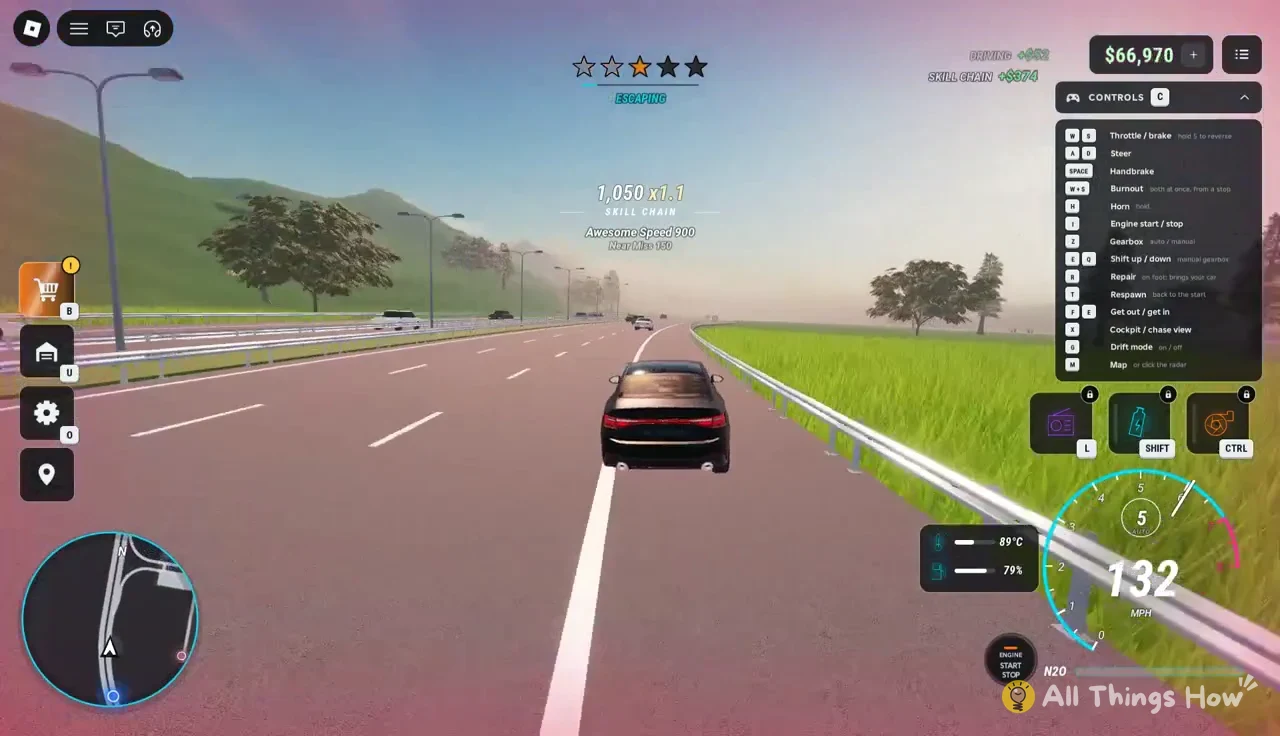
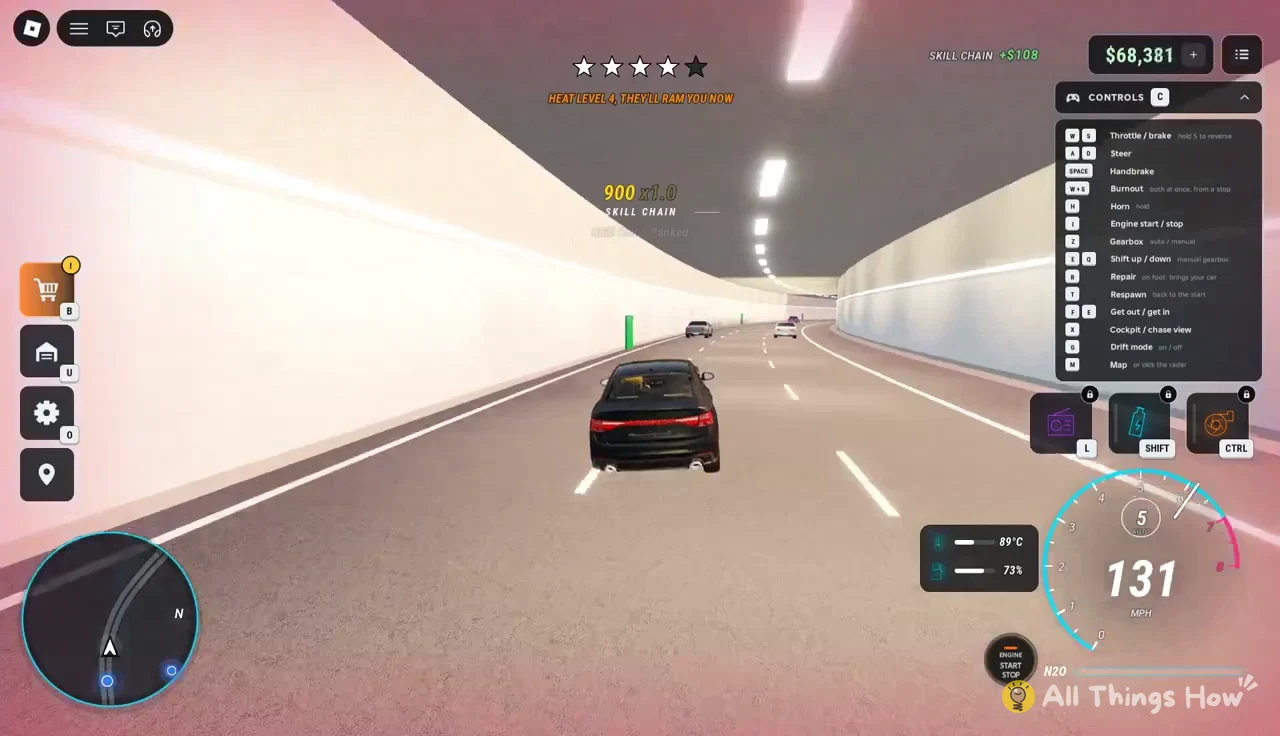
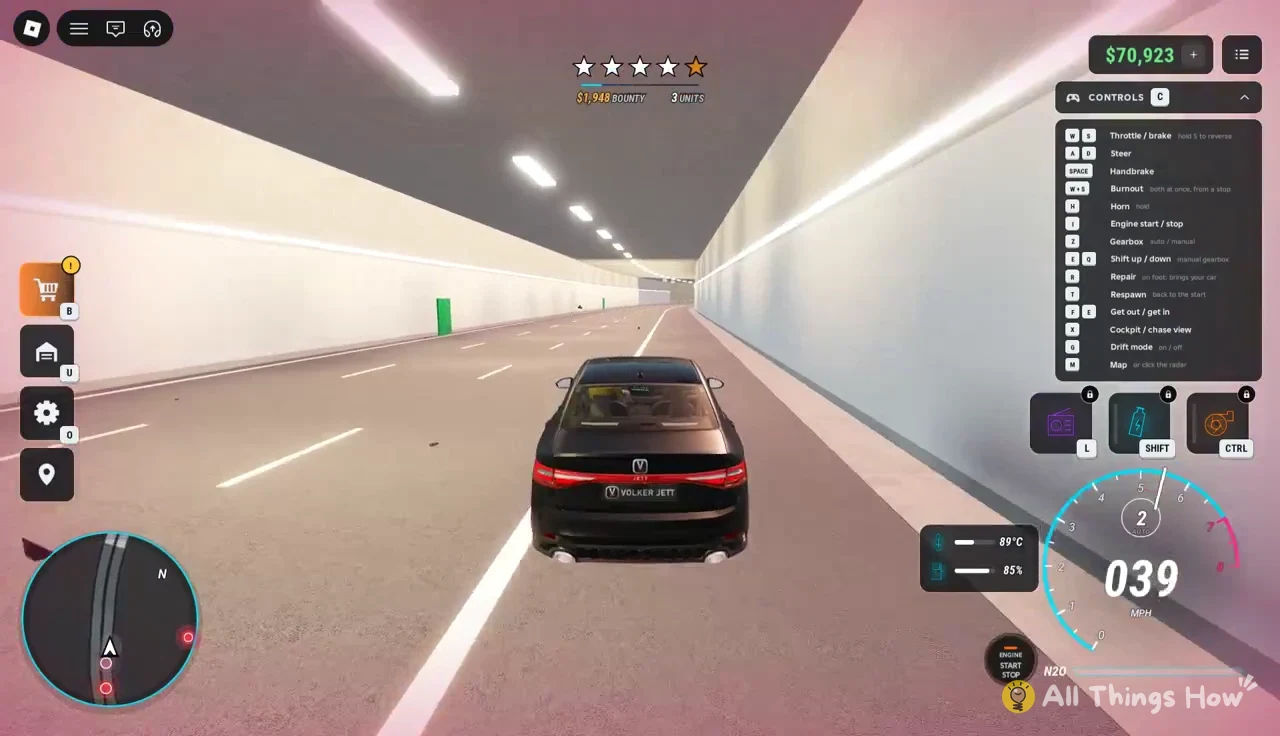
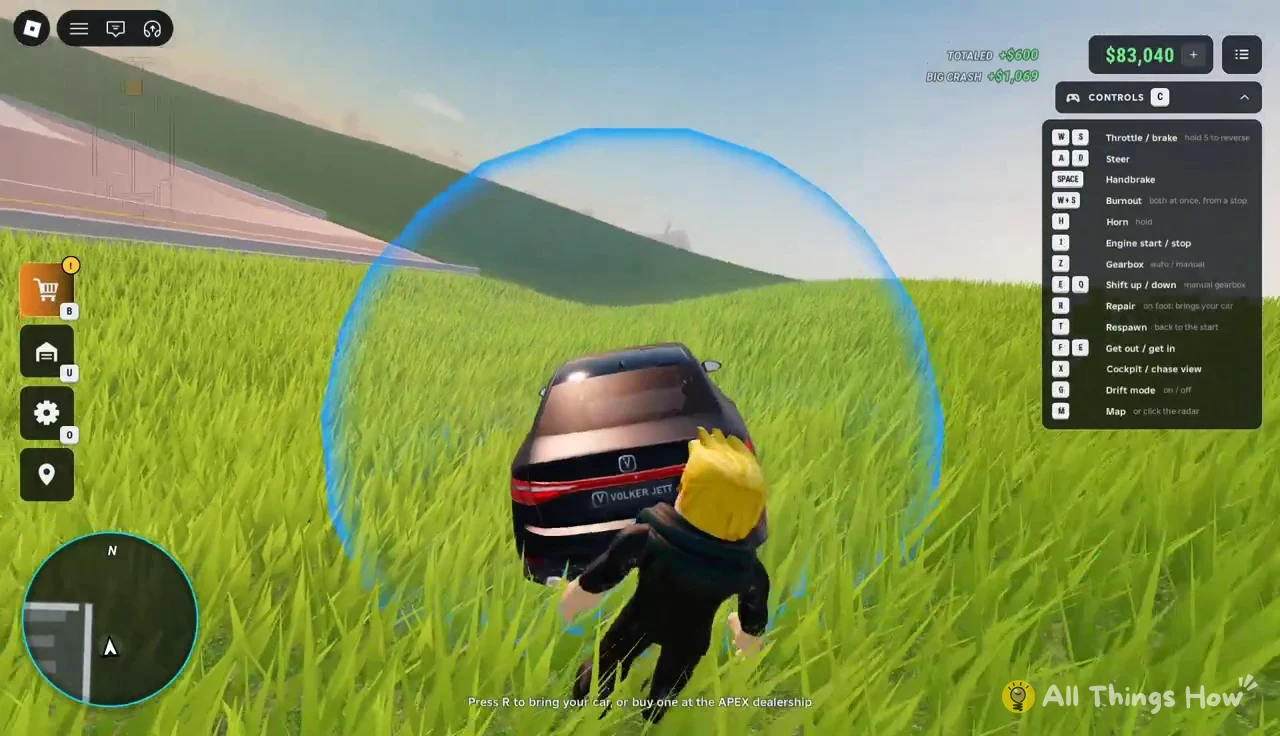
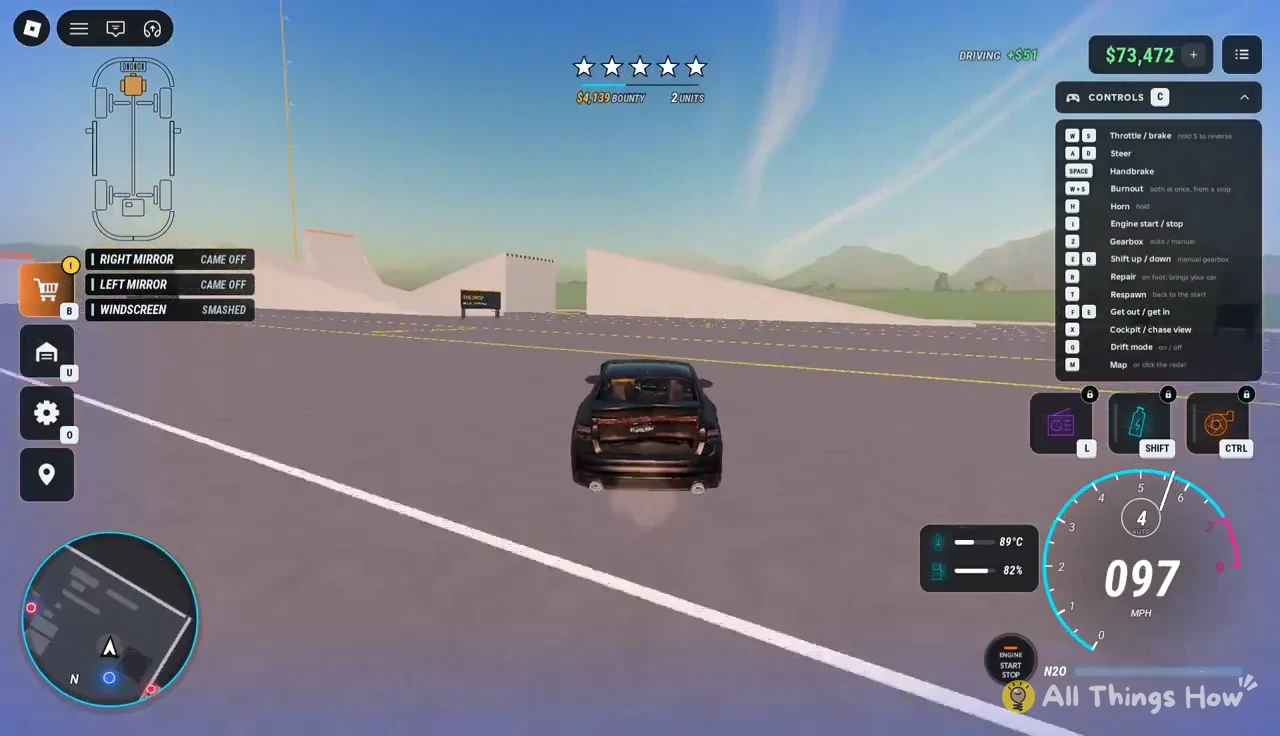
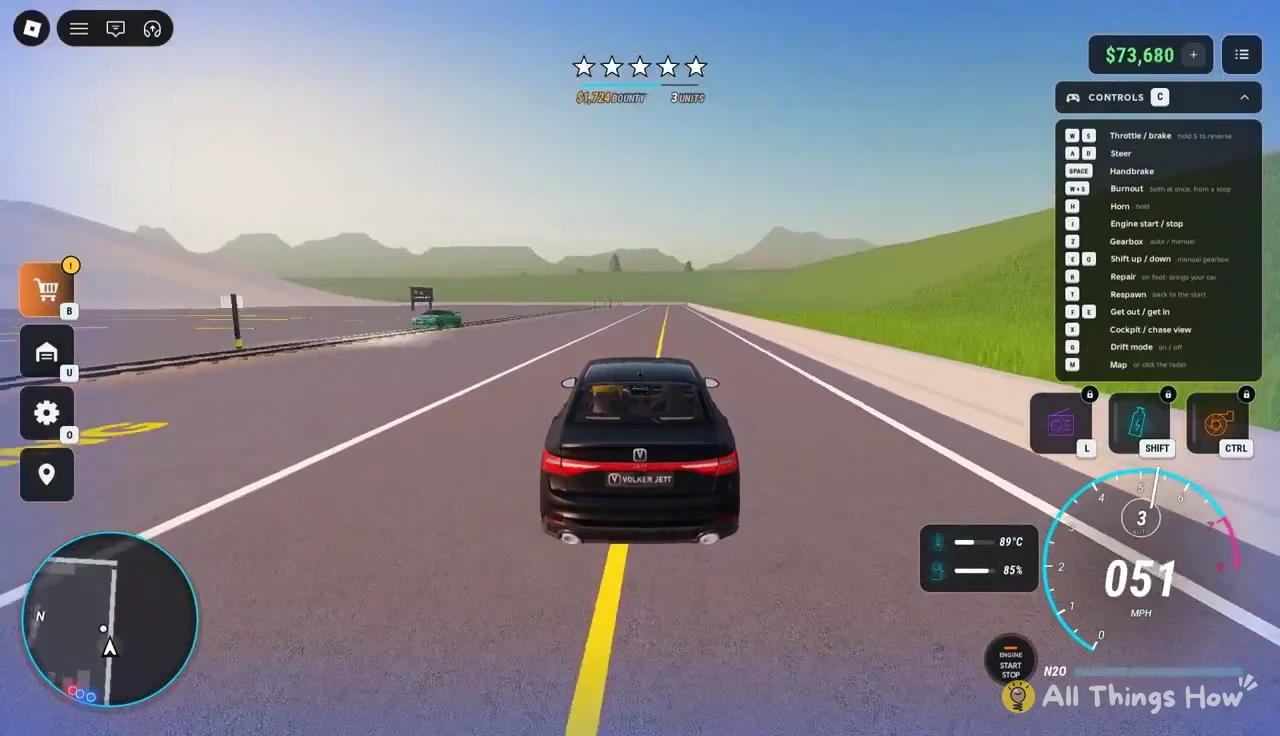
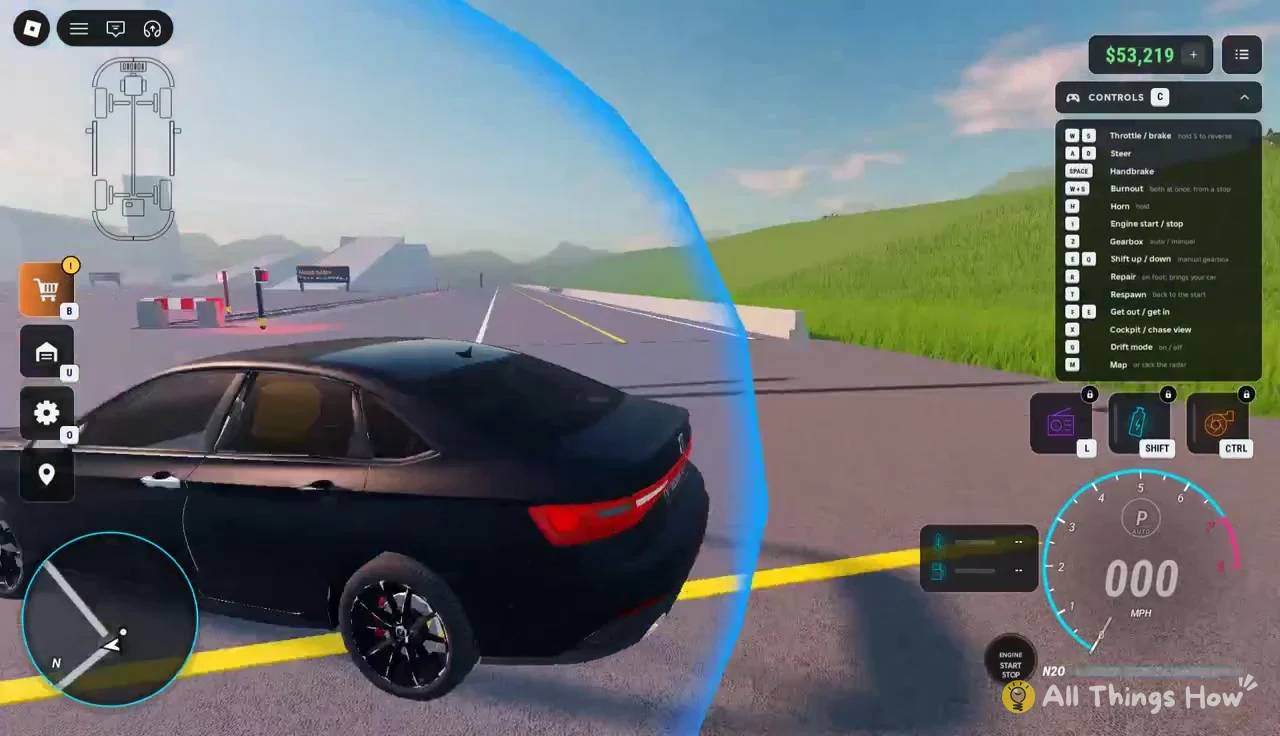
Stopping only works on the platform. Stop anywhere the police can reach you and you’ll set off the arrest sequence instead.
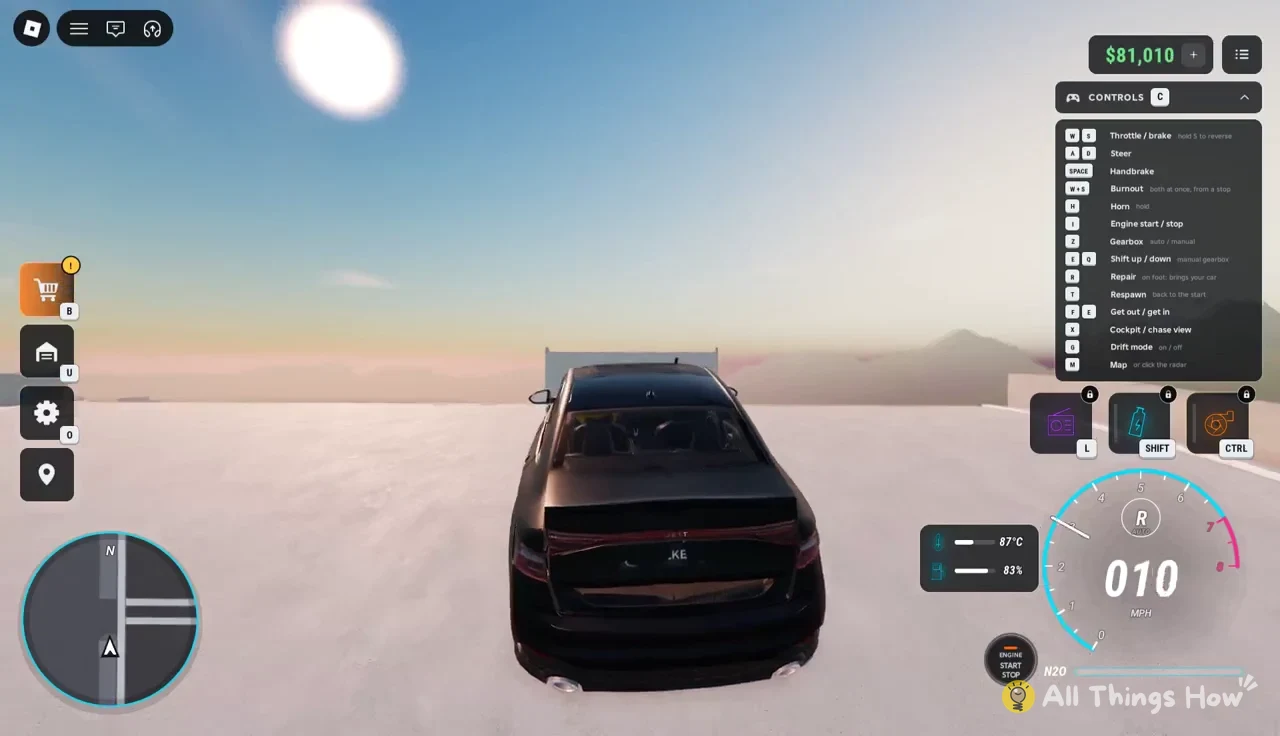
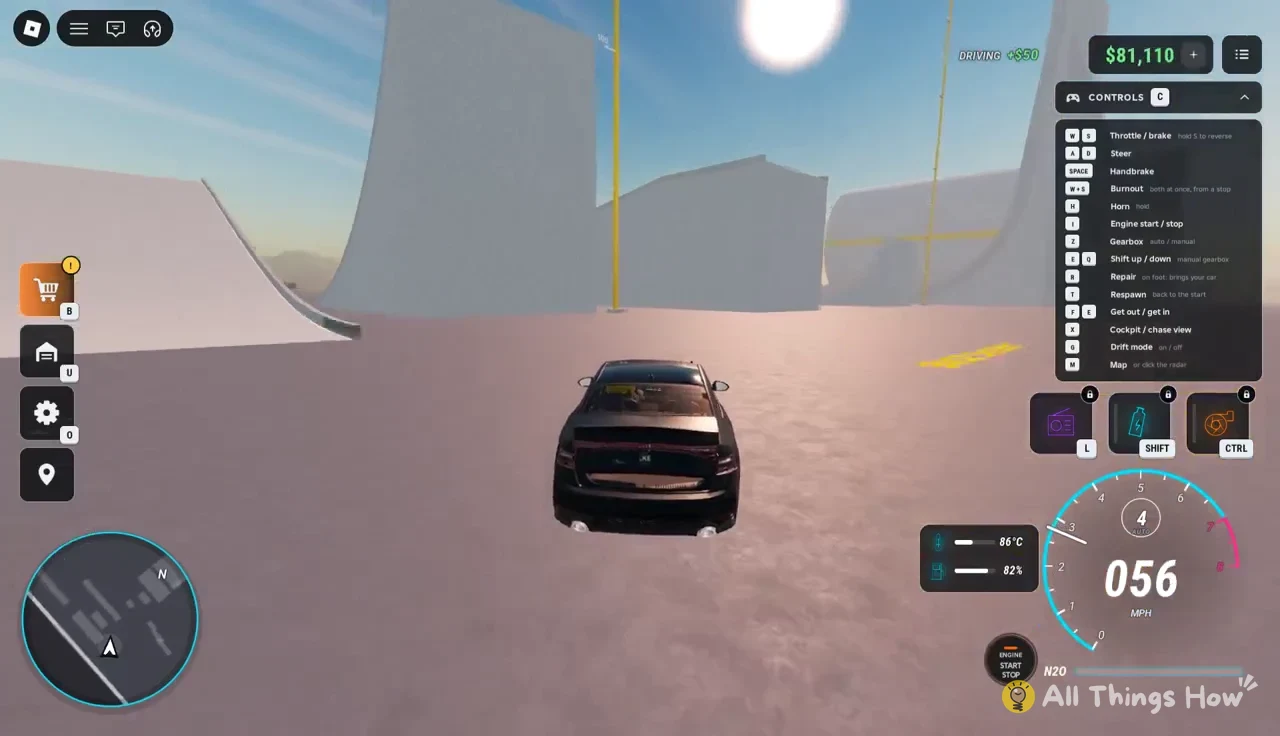
Heading back to the garage from the stunt area takes you over the railroad’s LEVEL CROSSING, where a train comes by every 30 to 45 seconds, so check for one before you cross.
Evasion payout and how you know you escaped
A successful escape ends with an EVADED banner reading “YOU LOST THEM” with a cash amount, and a message like EVADED THE POLICE with your earnings. The amount goes up and down with the chase, so two escapes can pay quite differently.
| Result screen | Example payout |
|---|---|
| EVADED (YOU LOST THEM) | +$4,512 |
| EVADED THE POLICE | +$6,582 |
Getting busted in BloxRNG: Arrest steps and the fine
An arrest begins whenever your car comes to a full stop near police, whether you hit a median pole or got rammed into a wall. Officers get out of their cruisers and the screen shows OFFICERS ON FOOT with the warning “Get moving, or they’ll have you.” If you drive off right then, you’re still in the chase.
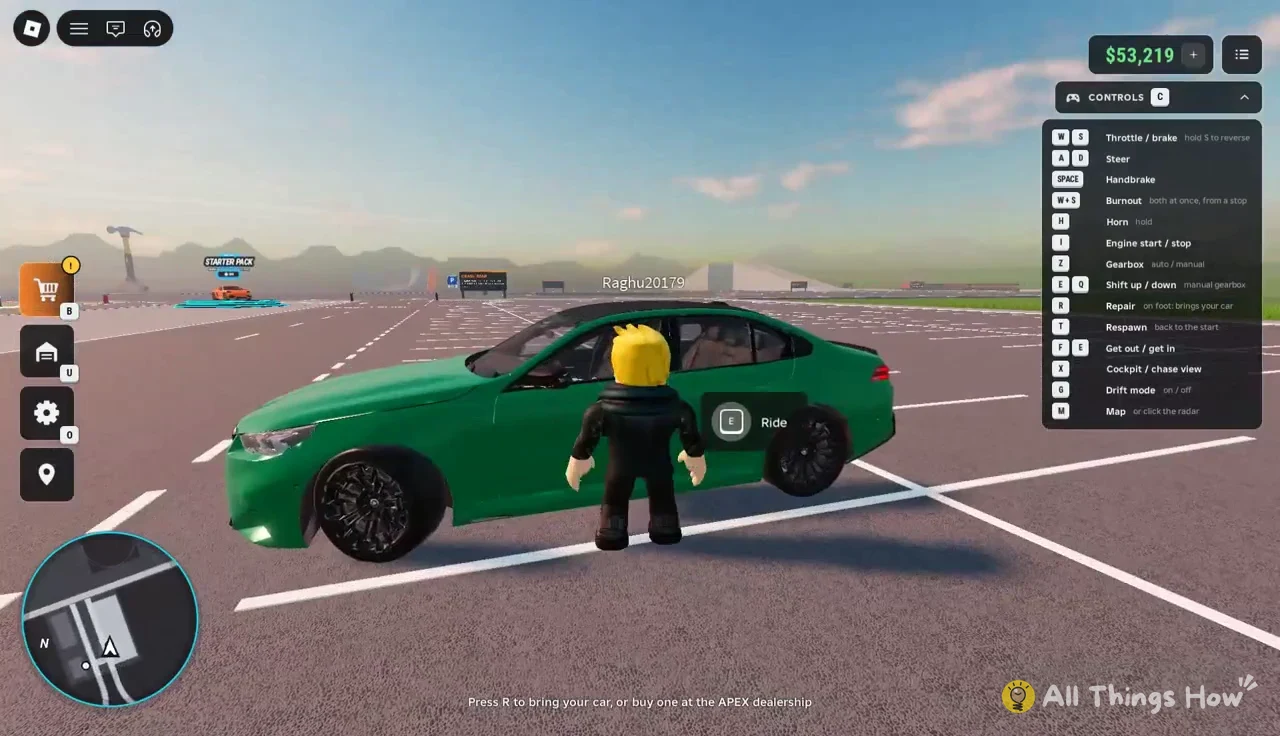
Stay put and it moves on to UNDER ARREST. You can still get out at that point, since the game tells you a ram from a friend could break you free. Riding with another player is just a matter of walking up to their car and pressing E to Ride.
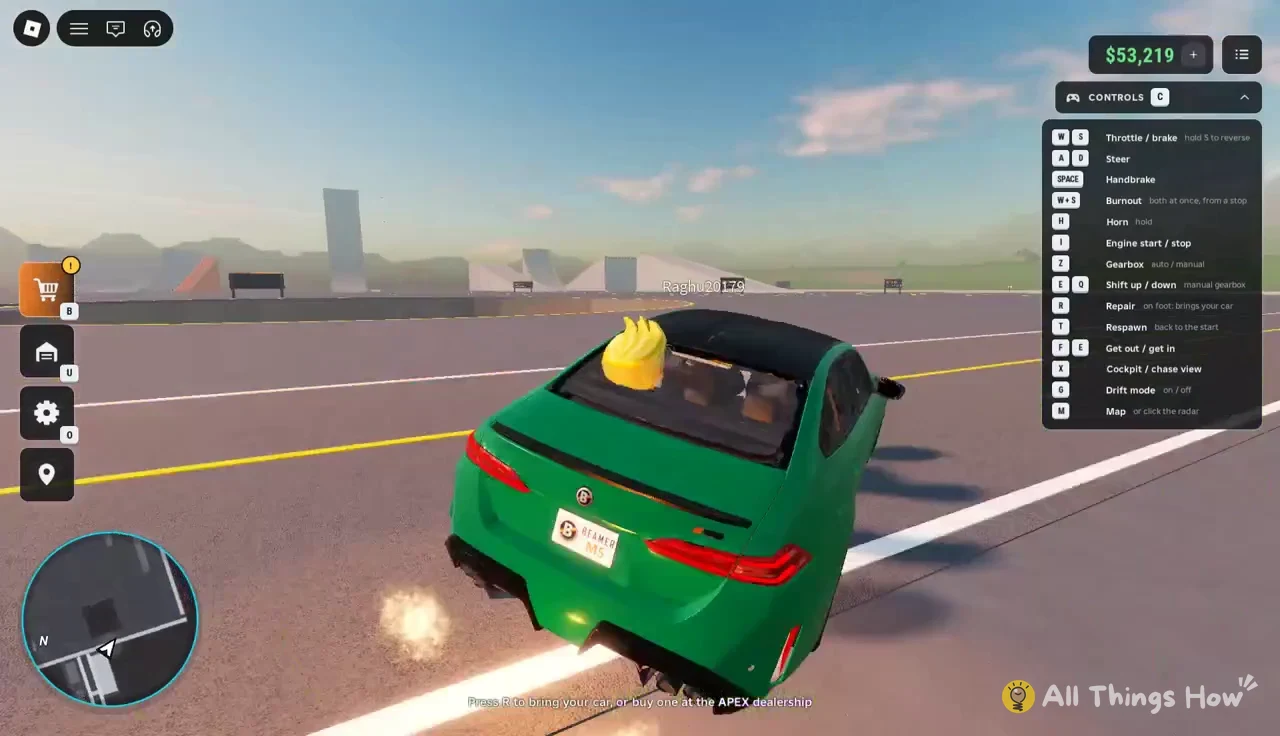
If nobody frees you, the BUSTED screen comes up with “THE POLICE HAVE YOU.” You lose the whole bounty you built up during the chase, and you pay a cash fine on top. In one arrest that came to a $321 bounty lost plus a $400 fine. Afterward, press E to Drive and get back into your car.
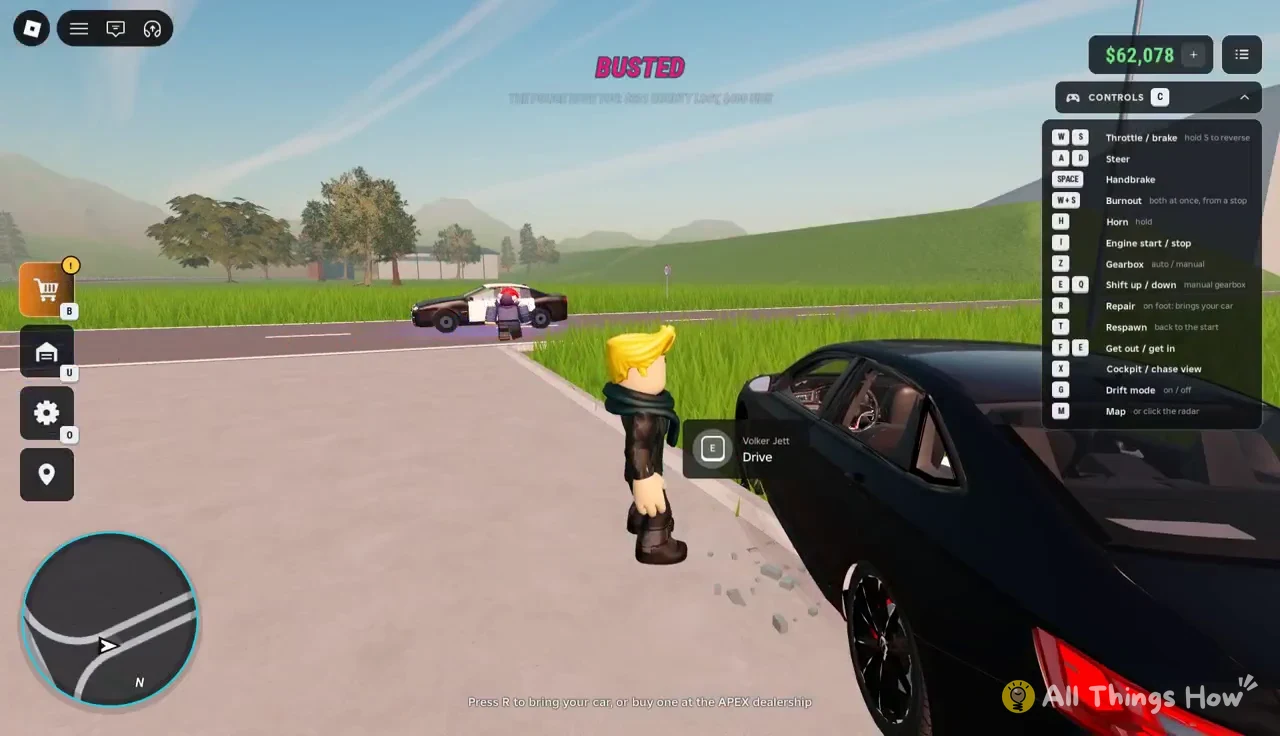
Because the bounty you lose grows the longer a chase runs, getting busted late in a level 5 pursuit costs a lot more than getting caught at level 1. That’s why heading for the tunnel and The Drop early is worth it once the ramming starts.