Sandrone arrived in the first half of Genshin Impact 6.7 (version Luna VIII) as a 5-star Cryo Claymore main DPS built entirely around the new Stellar-Conduct reaction. Her personal damage lives almost entirely in her Charged Attack beams, so her constellations swing wildly in value depending on whether they feed that loop or pad something less important. The ranking below sorts all six from the ones you can safely ignore to the one that reshapes her whole rotation.
Sandrone constellation tiers
| Tier | Constellations |
|---|---|
| S | C6, C2 |
| A | C3, C1 |
| B | C4 |
| C | C5 |
This ranking weighs each constellation by how much it raises Sandrone’s on-field damage, how much it helps her team, and where it sits as a natural stopping point for spending. It reflects her kit as it launched in Version 6.7.
S tier: C6 and C2
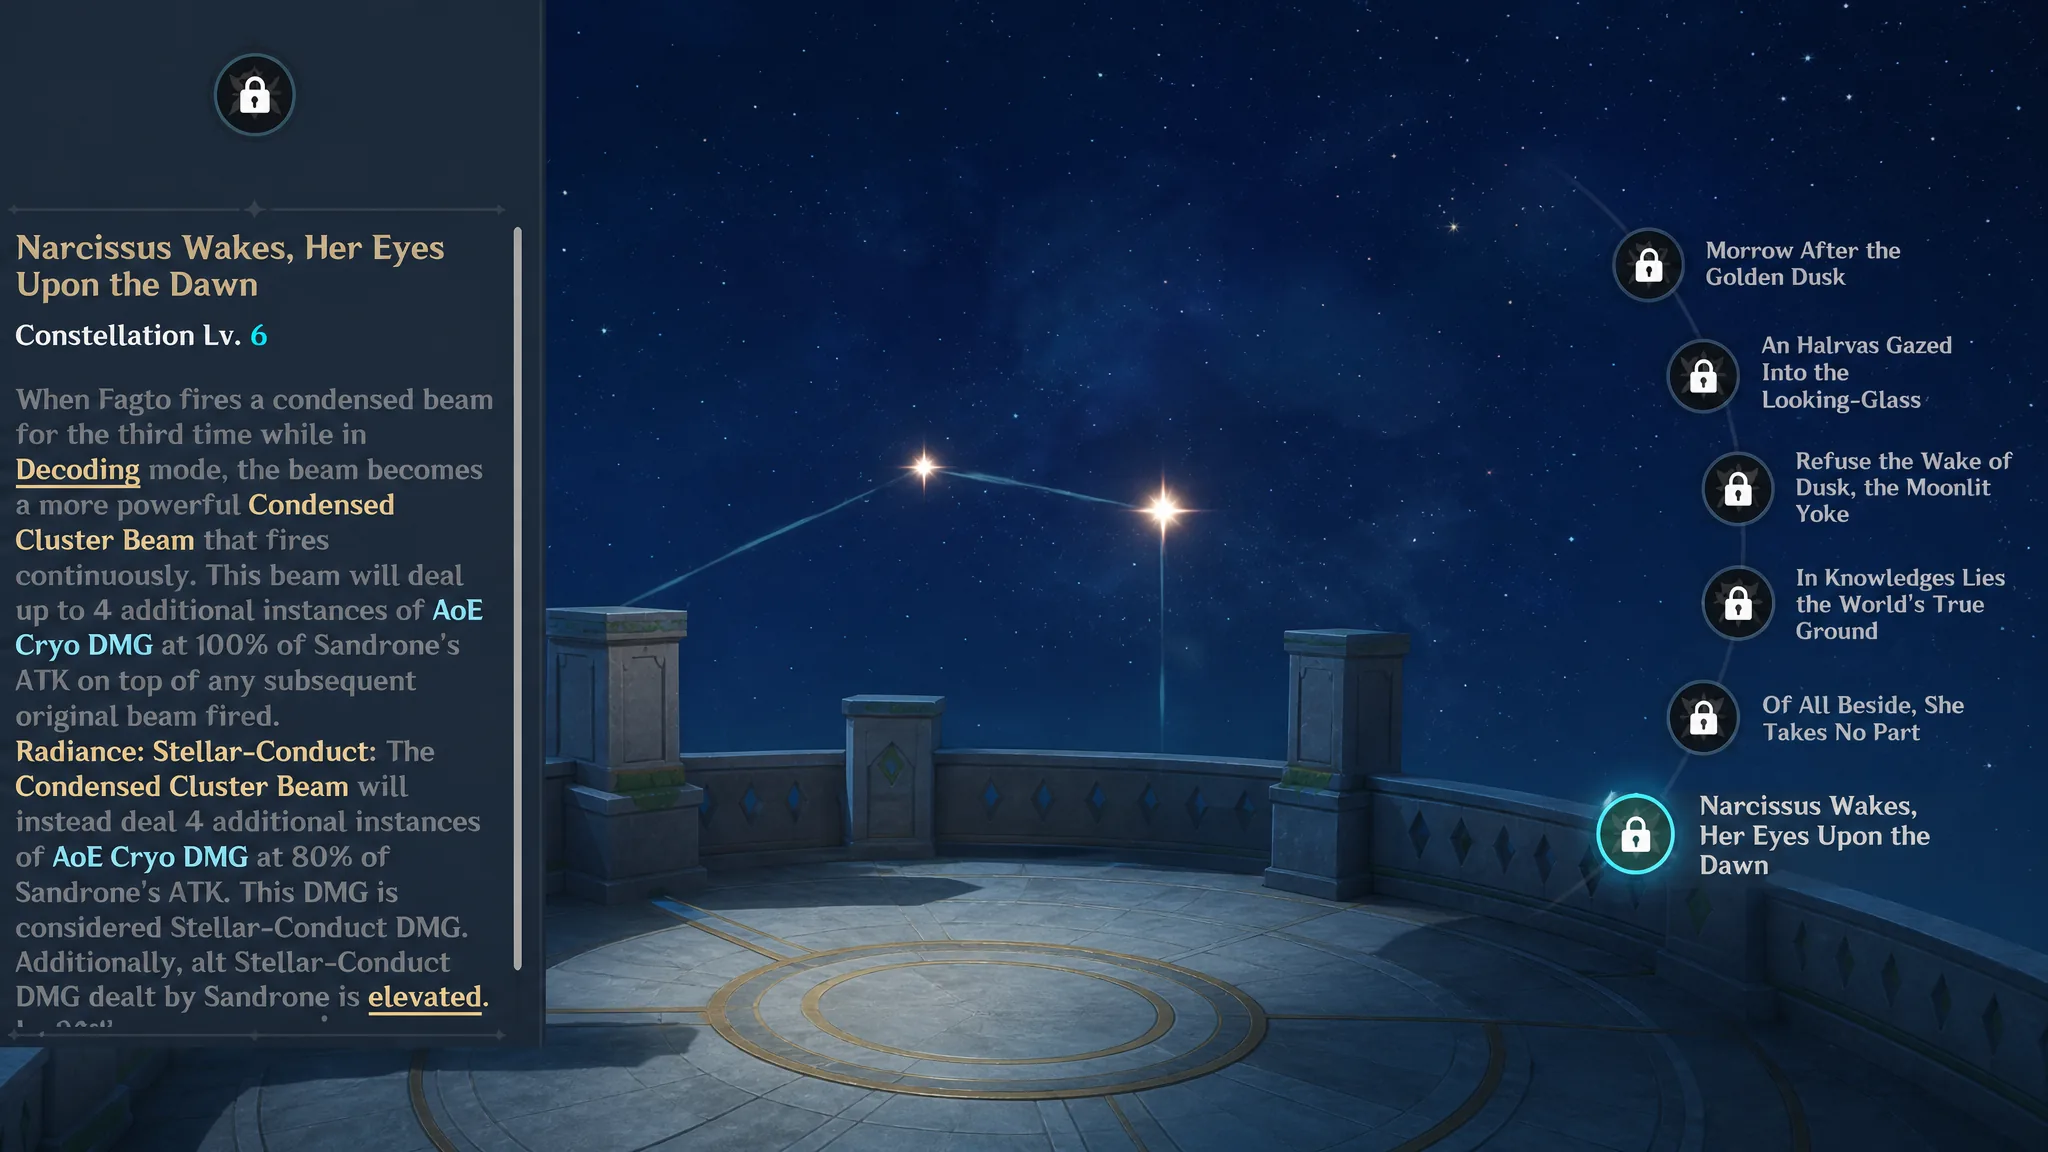
C6, Narcissus Wakes, Her Eyes Upon the Dawn, is the clear top pick. Every third Charged Attack in Decoding mode turns into a Condensed Cluster Beam that keeps firing, adding up to four extra instances of AoE Cryo damage on top of the normal beam. In the Radiance: Stellar-Conduct state those extra hits count as Stellar-Conduct damage. On top of that, all Stellar-Conduct damage Sandrone deals is raised by 20%, and because that is a separate elevation multiplier, it stacks independently of her other damage bonuses. The combined effect works out to roughly a 40% damage boost.
C2, An Heiress Gazed Into the Looking-Glass, is the best stopping point if you don’t want to chase C6. It raises the CRIT DMG of her Charged Attack condensed beams by 40%, then adds another 20% CRIT DMG to all beams for each shot fired during a Decoding mode window, up to three stacks. Fully stacked, that reaches as much as a 100% CRIT DMG buff on the exact hits that carry her damage. For low spenders, this is the smart place to stop.
A tier: C3 and C1
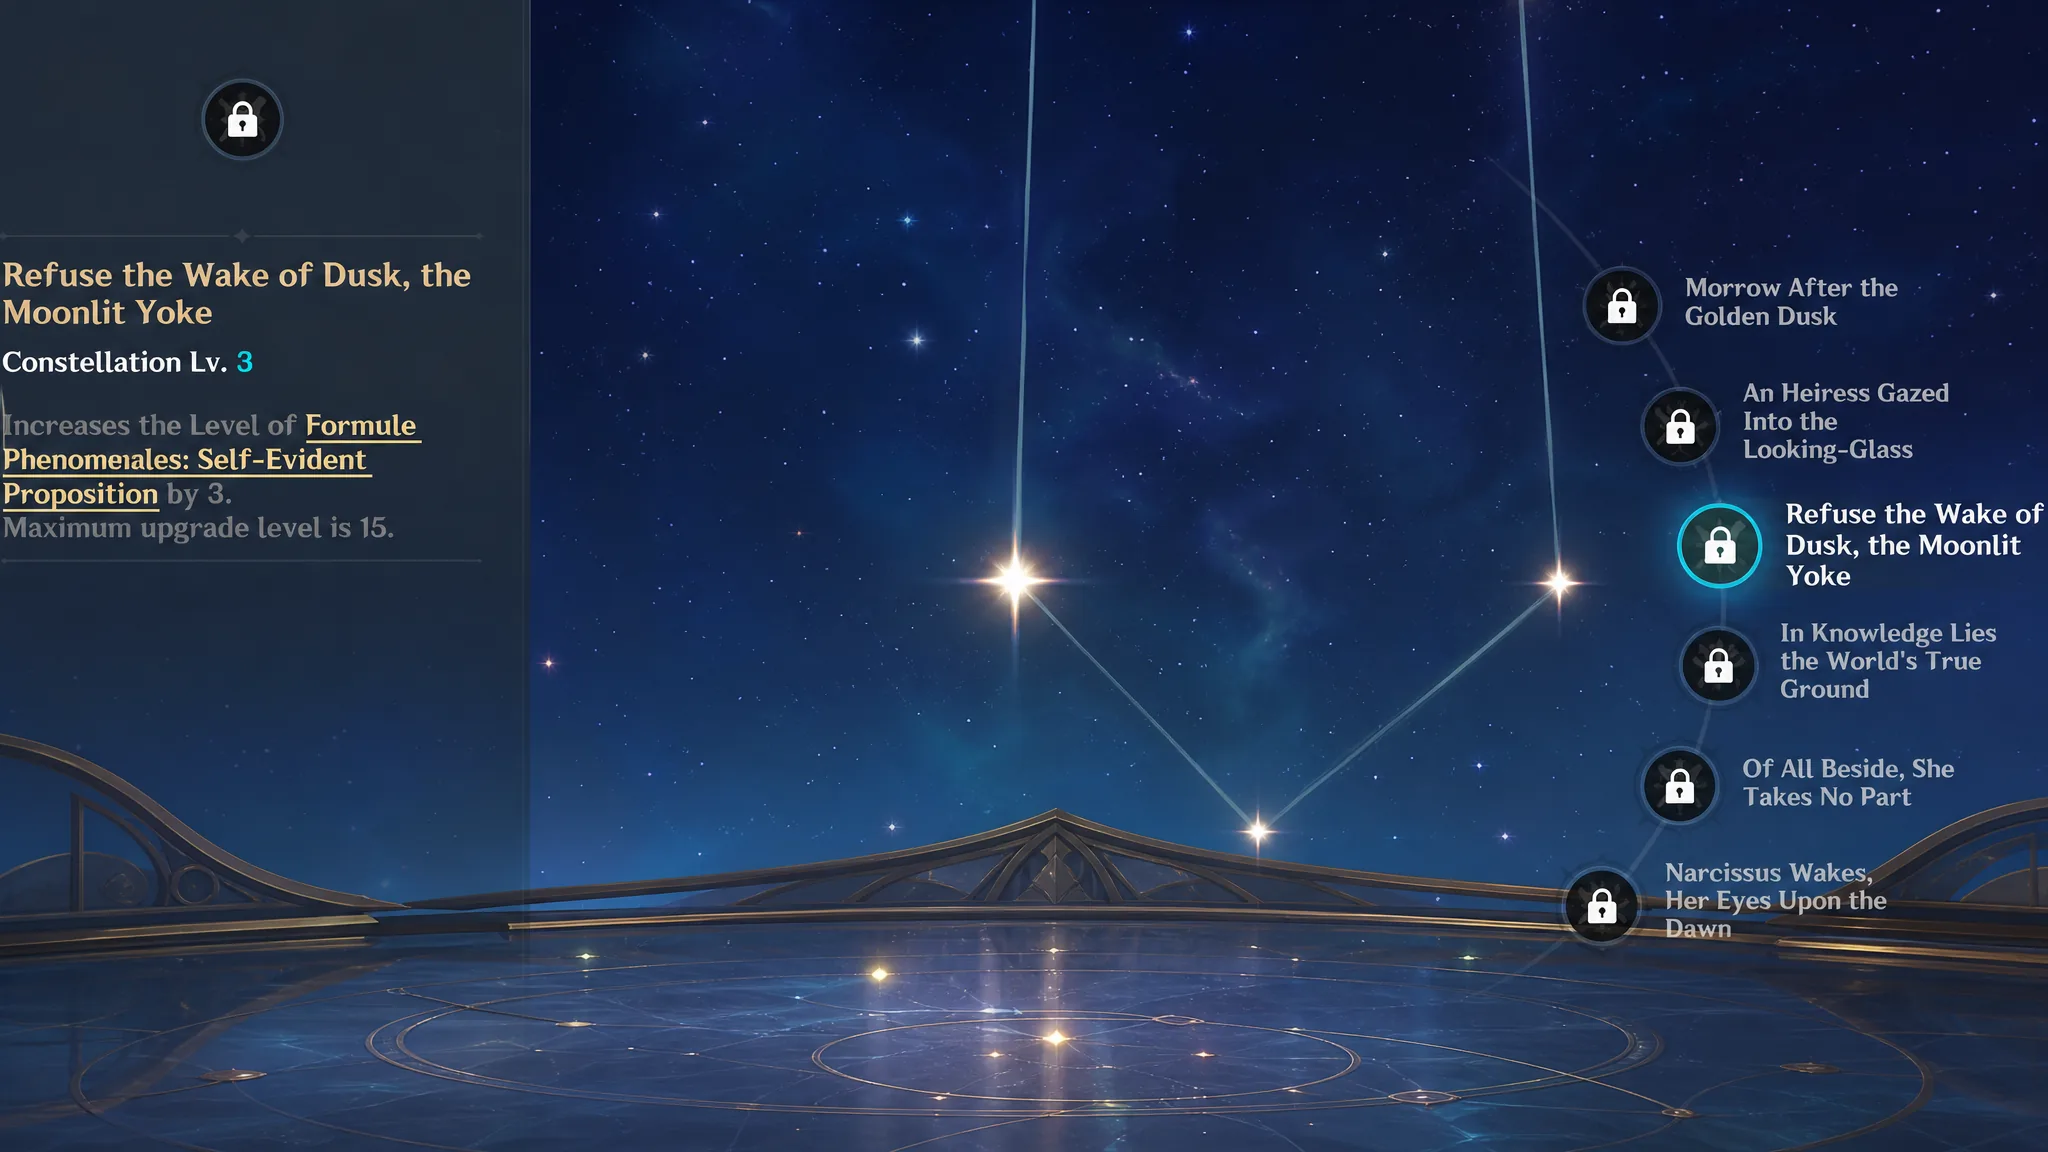
C3, Refuse the Wake of Dusk, the Moonlit Yoke, adds three levels to Formule Phenomenale: Self-Evident Proposition, her Normal Attack talent, and lifts its cap to 15. Since her Charged Attack is the heart of her rotation, that talent boost translates into roughly a 10 to 12% damage increase. It is a plain stat bump with no new mechanics, but it hits the right talent.
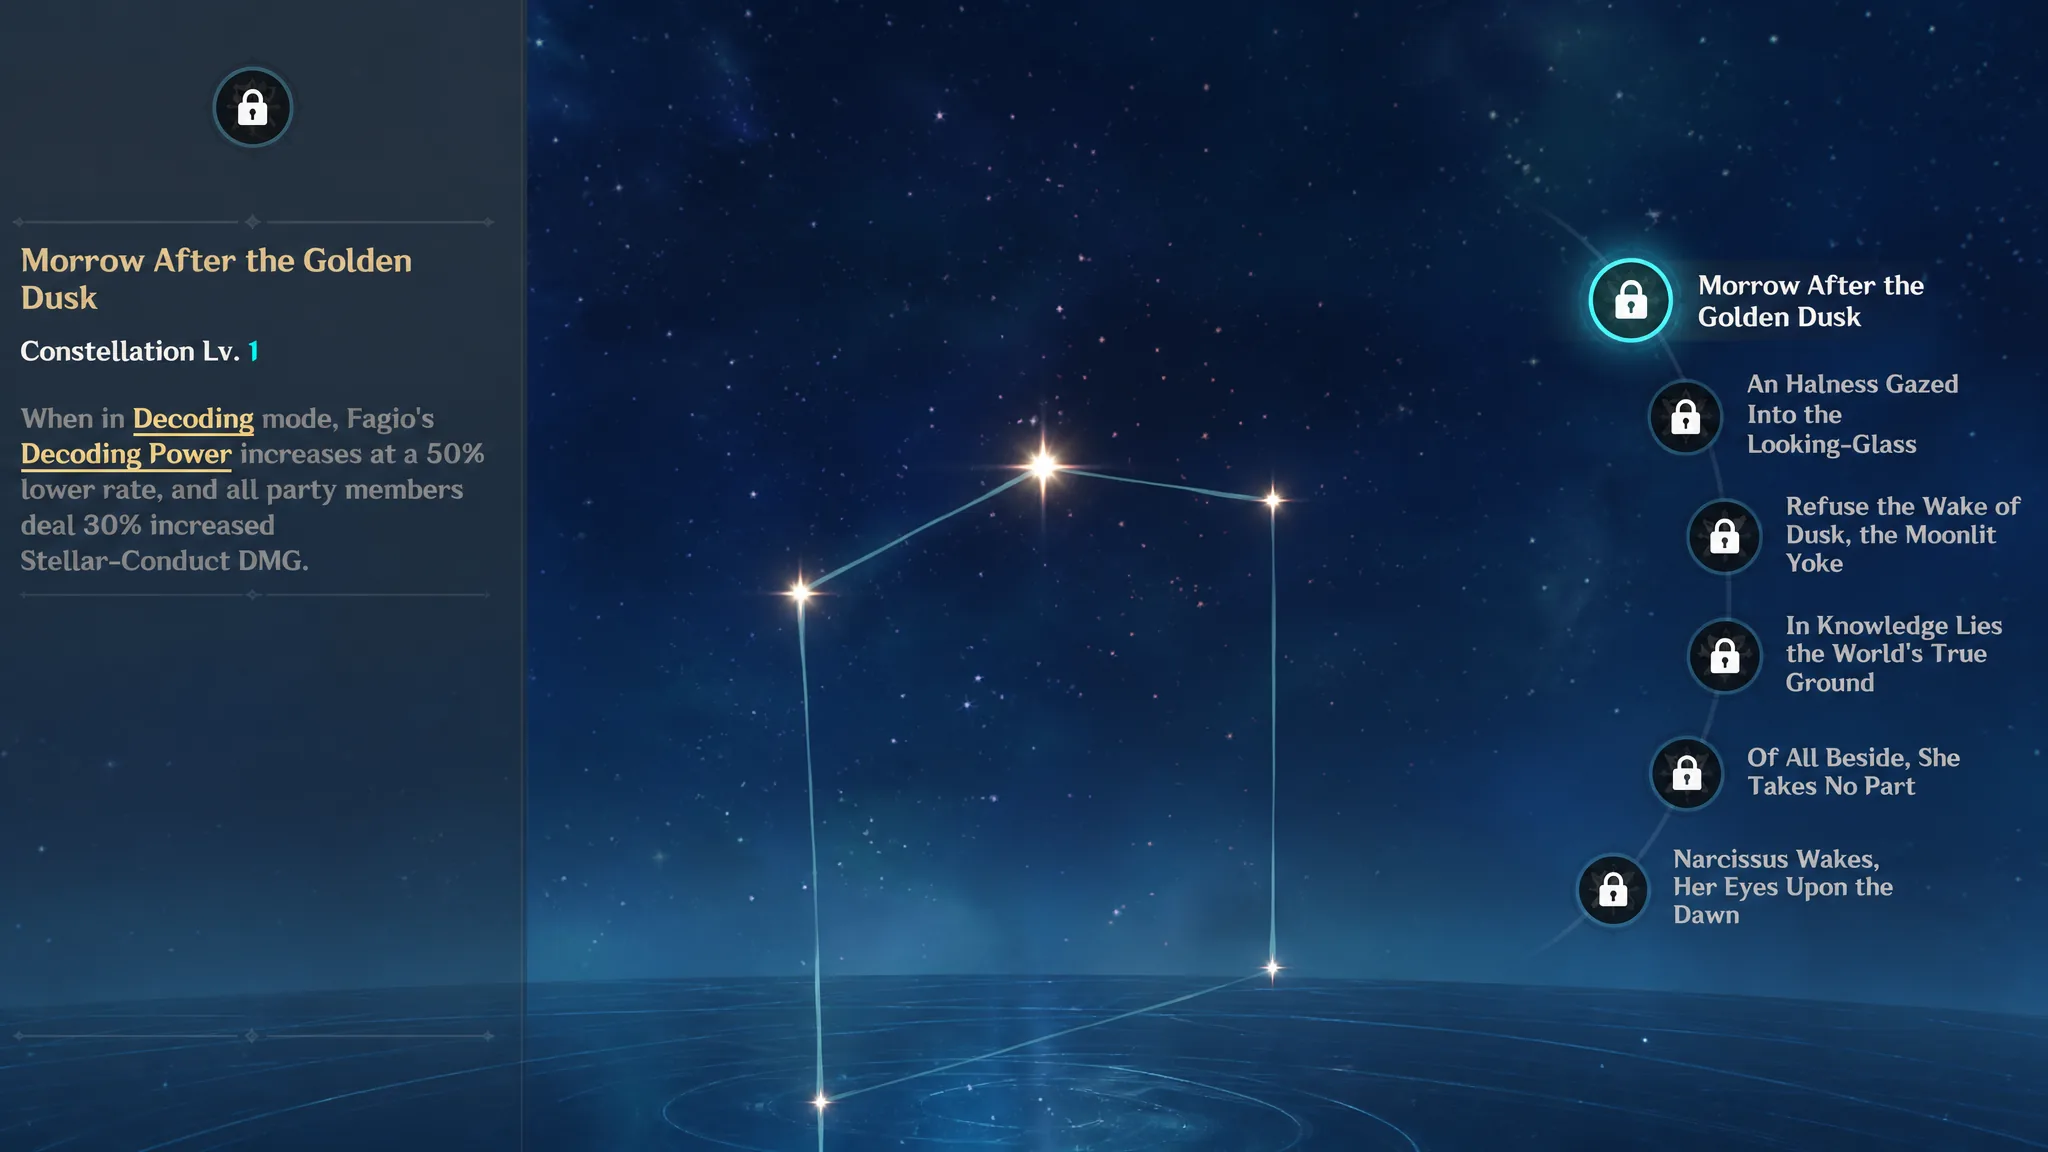
C1, Morrow After the Golden Dusk, lowers how fast Fagio builds Decoding Power in Decoding mode by 50%, letting Sandrone fire her Charged Attack six times before needing her Elemental Skill instead of the usual three. It also gives the whole party a 30% Stellar-Conduct DMG buff, which is a meaningful team-wide gain. The catch is that it does less for Sandrone’s own numbers than C2 or C3, which is why it sits just below them.
B tier: C4
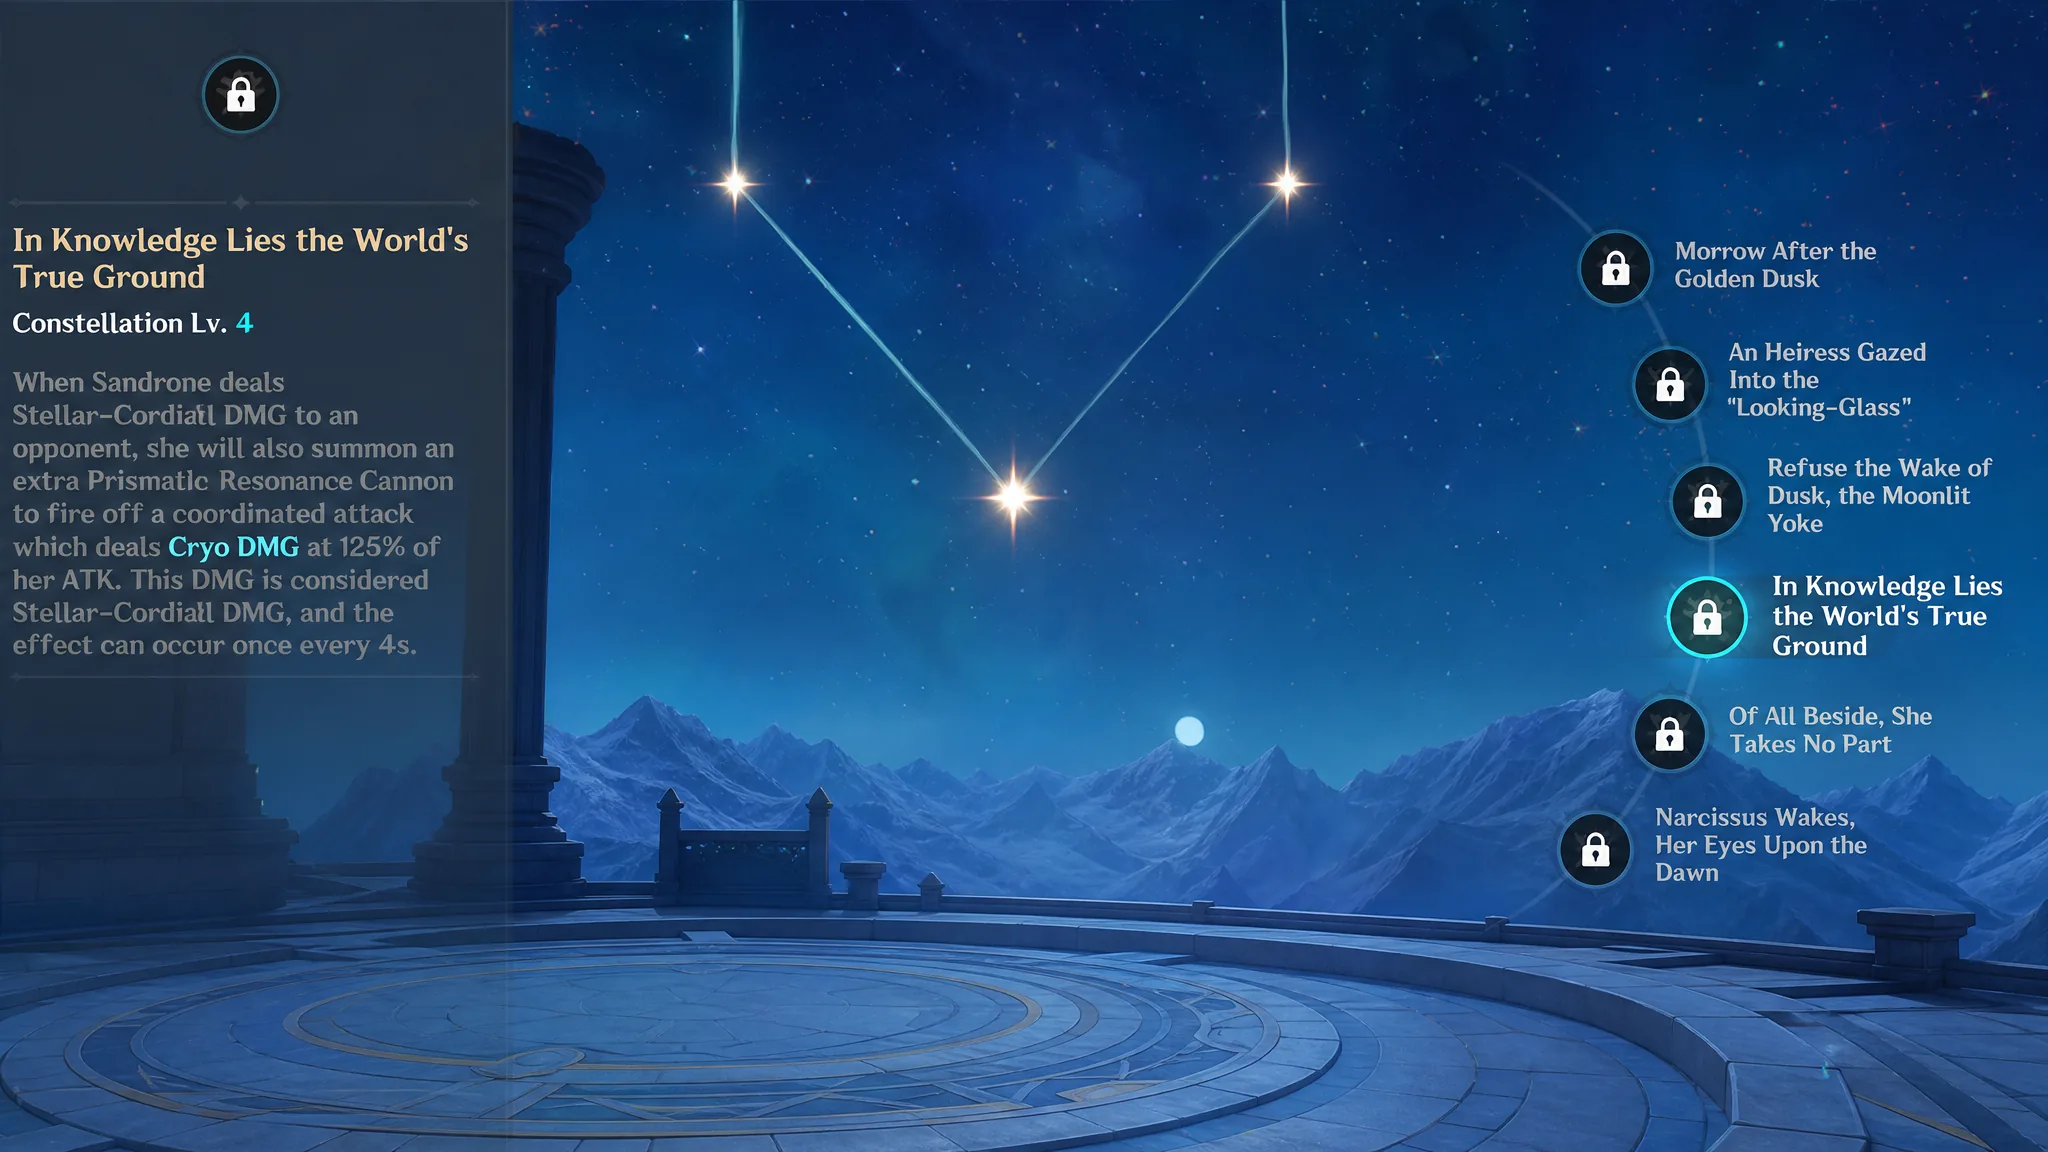
C4, In Knowledge Lies the World’s True Ground, summons an extra Prismatic Resonance Cannon for a coordinated attack whenever Sandrone deals Stellar-Conduct damage. That hit deals Cryo damage at 125% of her ATK, counts as Stellar-Conduct damage, and can only trigger once every four seconds. The four-second gate keeps its contribution small, so it barely moves her total damage. It is fine to pick up along the way but not worth targeting on its own.
C tier: C5
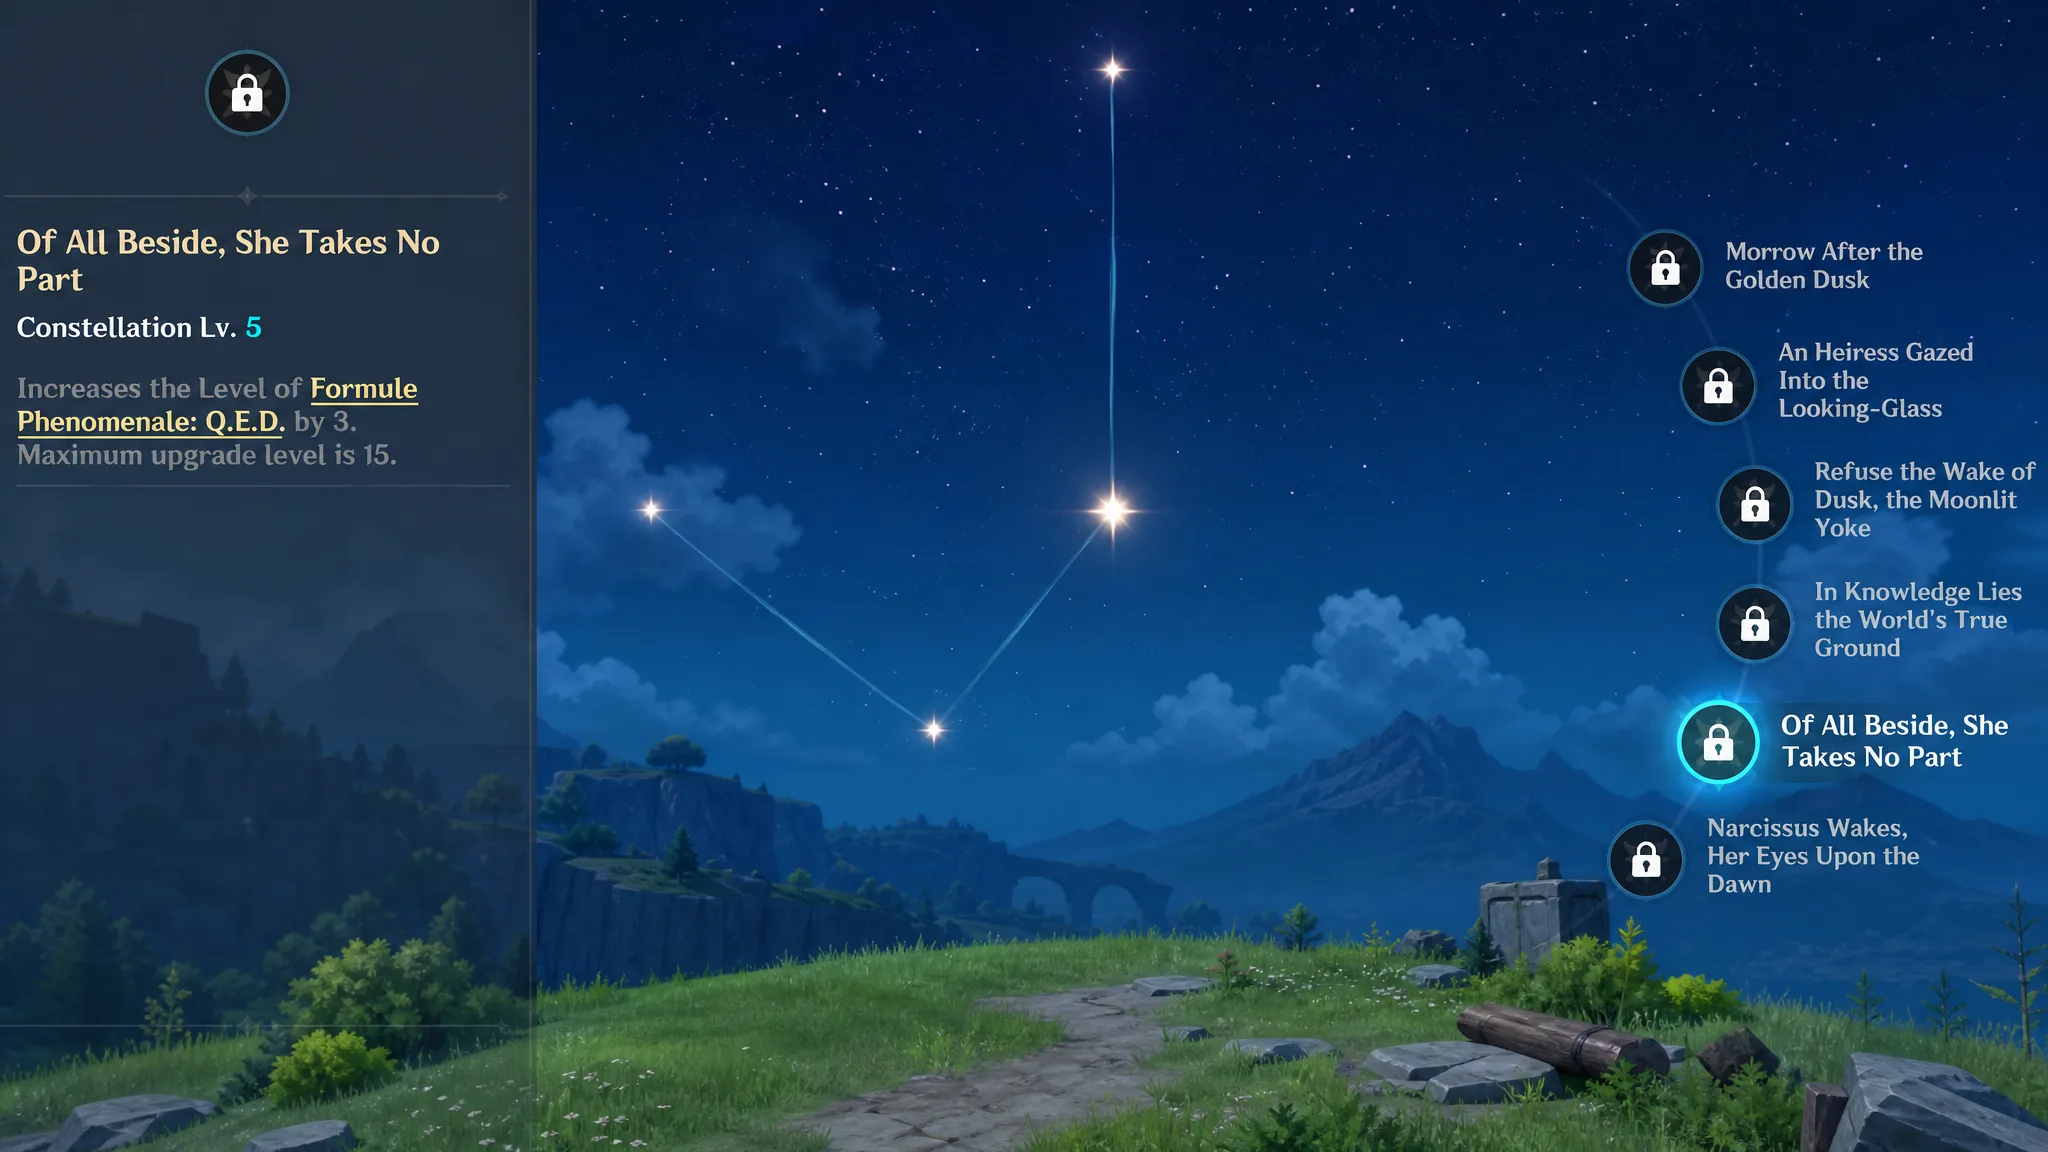
C5, Of All Beside, She Takes No Part, adds three levels to Formule Phenomenale: Q.E.D., her Elemental Burst, and raises its cap to 15. Her Burst is a nuke used only once every couple of rotations and is not her main damage source, so leveling it returns very little. This is her weakest constellation and only worth having as a step toward C6.
For most players, C2 is the natural place to stop, since it doubles down on the Charged Attack beams that carry her damage. If you are willing to go all in, C6 is the only constellation that fundamentally changes her rotation, and its independent 20% Stellar-Conduct multiplier makes it the strongest breakpoint by a wide margin.