Printers that remain in the Windows 11 device list after being replaced or disconnected can cause confusion and printing errors—especially when entries show as “Driver is unavailable” or cannot be removed through standard menus. Removing these printers and their drivers optimizes device lists, eliminates failed print jobs, and prevents Windows from defaulting to outdated hardware.
Remove a Printer Using Windows 11 Settings
Windows + I on your keyboard. In the left pane, select Bluetooth & devices, then click Printers & scanners.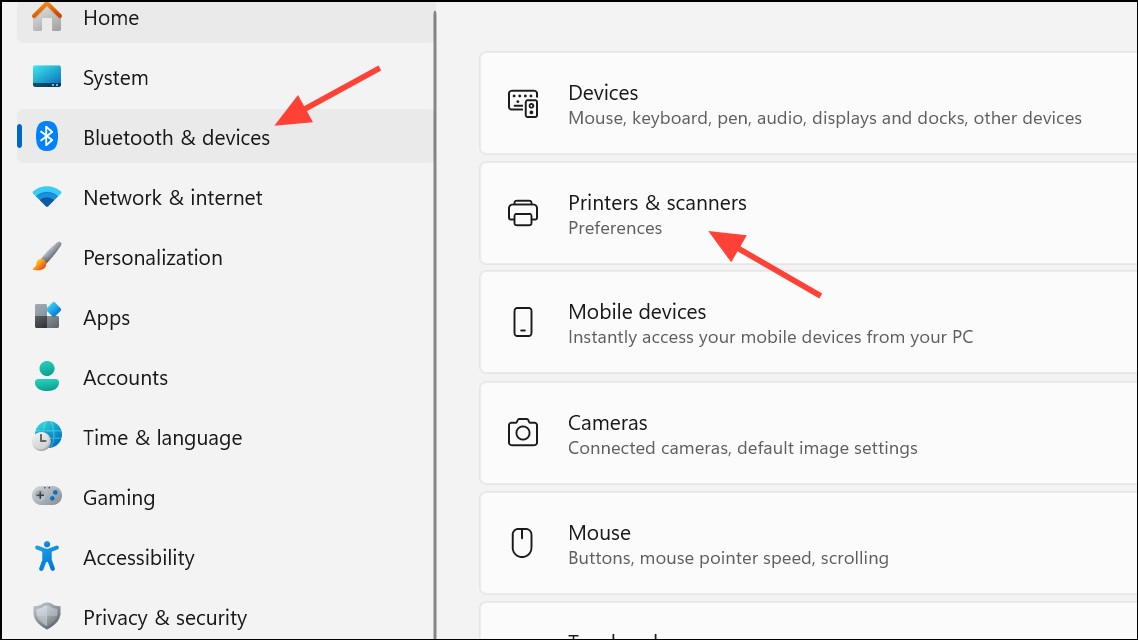
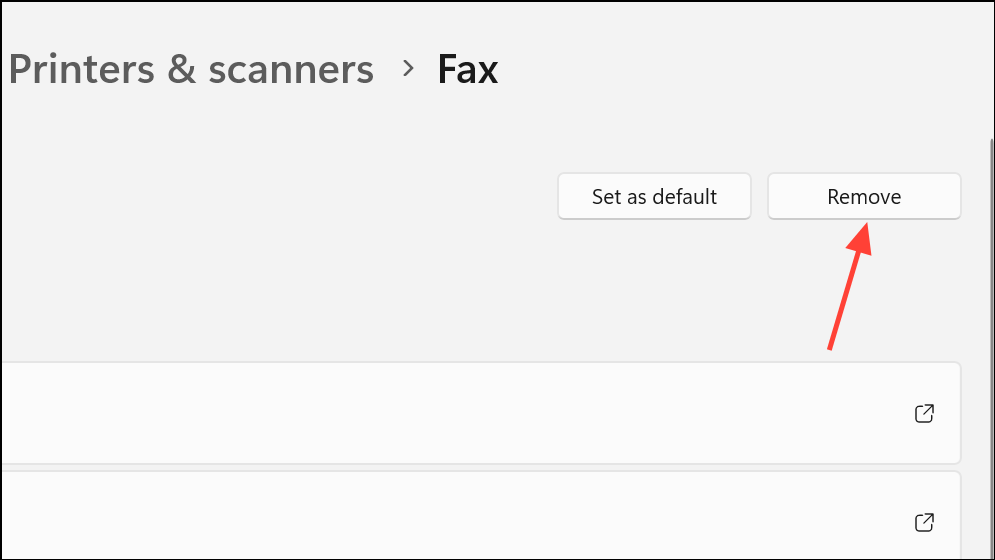
Sometimes, the printer may not show the Remove button, or clicking it has no effect. In such cases, proceed with the alternative methods below.
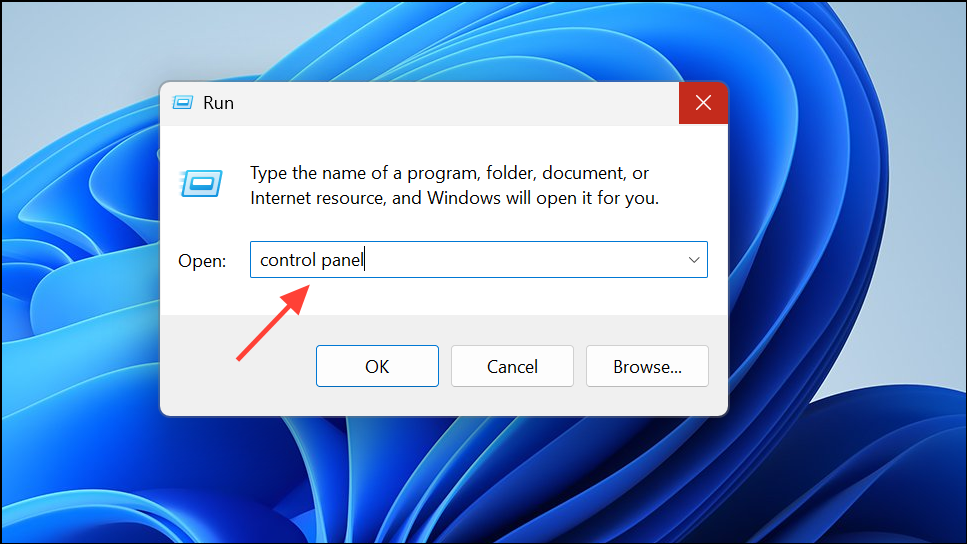
Remove a Printer Using the Classic Control Panel
Remove a Printer Using Print Management (For Pro and Enterprise Editions)
Windows + R, type printmanagement.msc, and press Enter. This opens the Print Management console, available in Pro and Enterprise editions.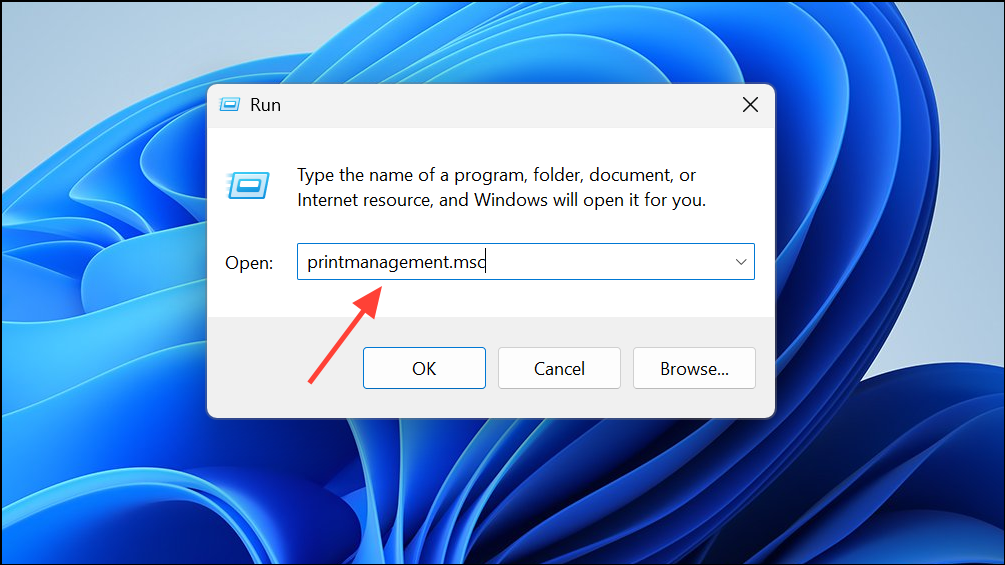
Remove a Printer Using Command Prompt or PowerShell
For printers that refuse to be deleted through graphical interfaces, command-line tools offer a direct solution.
wmic printer get name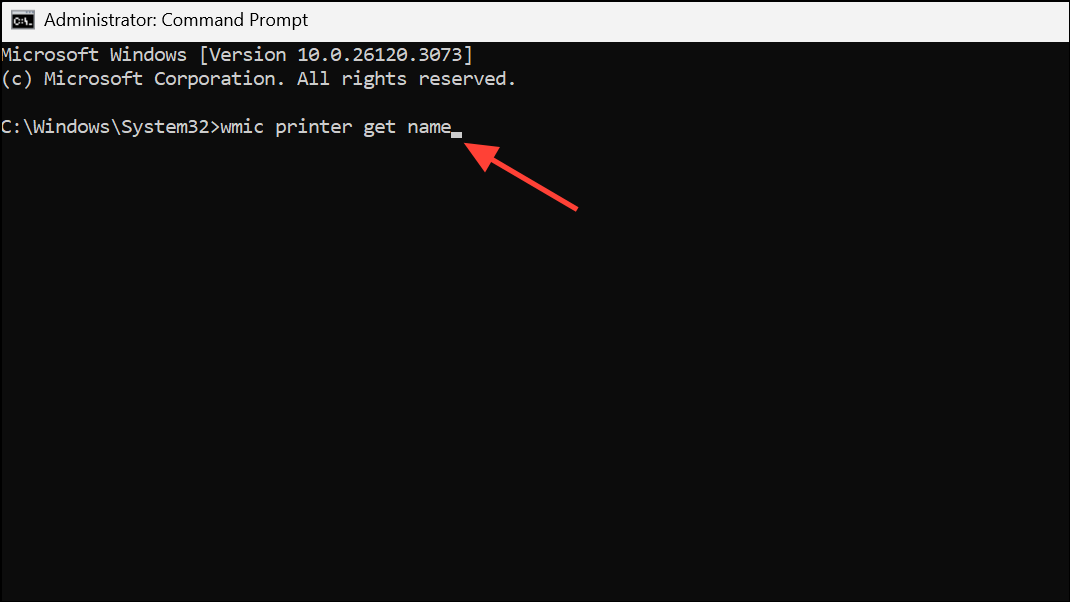
printui.exe /dl /n "Printer_Name"Alternatively, in PowerShell, run:
Get-Printer | Where-Object {$_.Name -eq "Printer_Name"} | Remove-Printer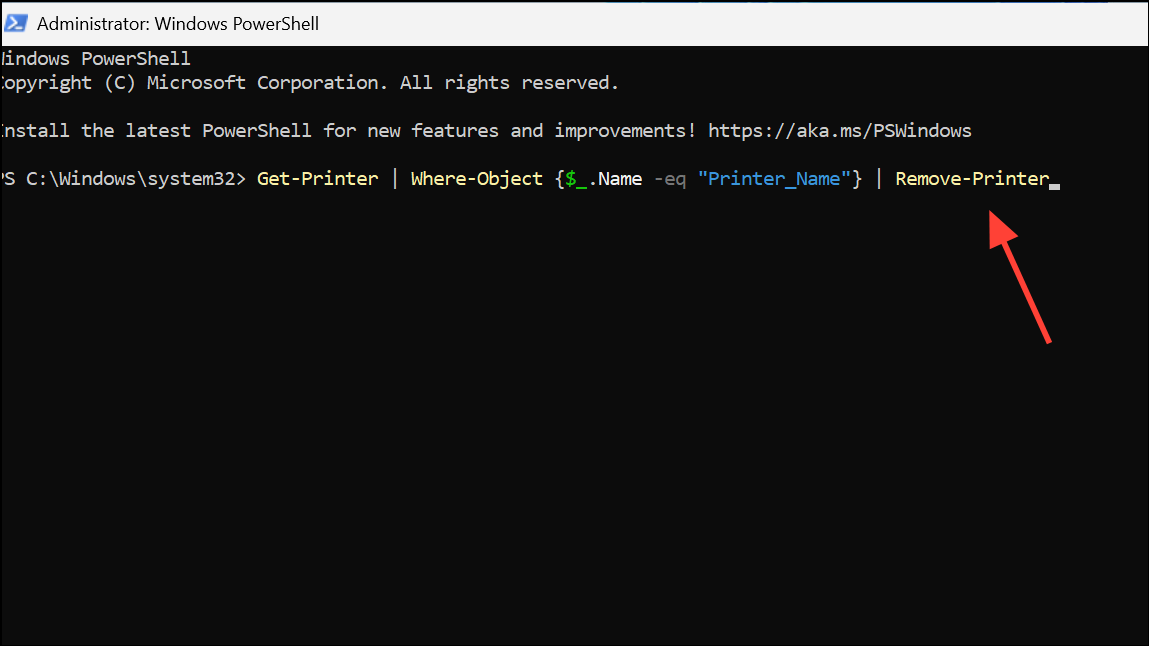
These commands force Windows to remove the specified printer, bypassing some interface restrictions.
Remove Stubborn or Unselectable Printers
Printers that appear as “Driver is unavailable,” greyed out, or unresponsive to removal attempts often require extra steps:
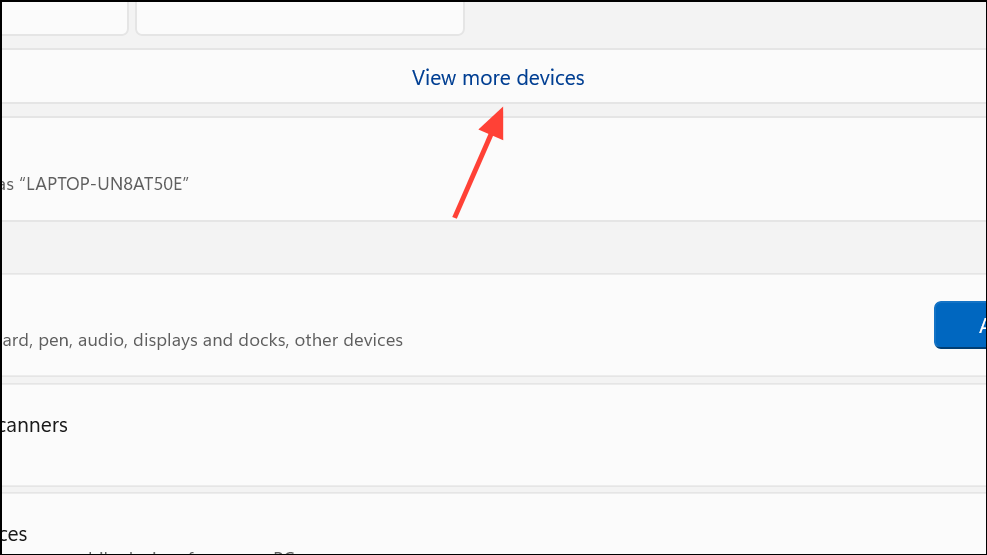
- In Settings > Bluetooth & devices, click View more devices at the top, then scroll to find the problematic printer. Use the … menu to select Remove device.
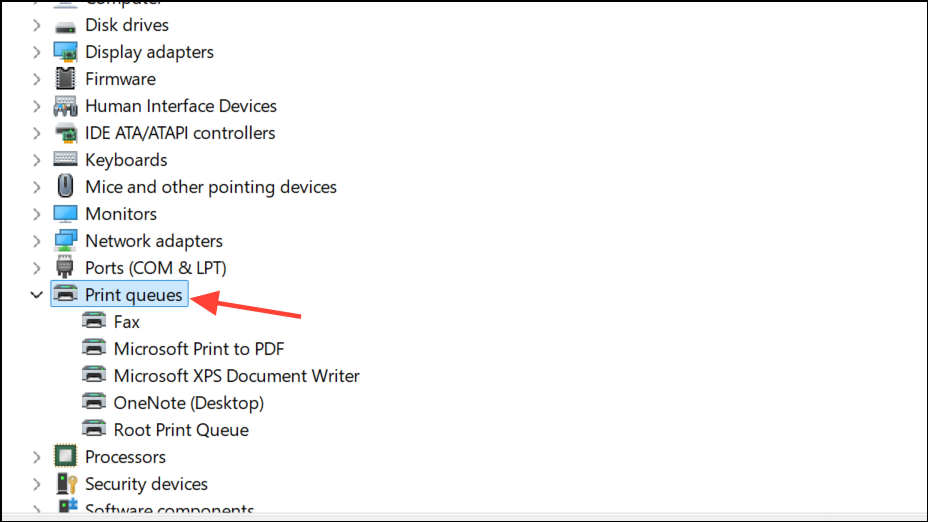
- If the printer does not appear in any list, check Device Manager (
devmgmt.msc). Enable View > Show hidden devices, expand Print queues and Printers, and attempt to uninstall any entries related to the device.
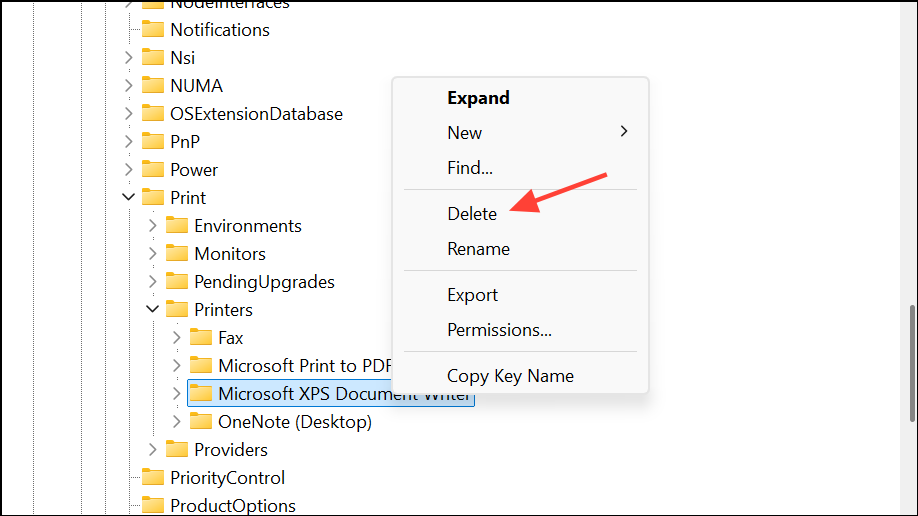
- For network printers or those with lingering driver issues, open the Registry Editor (
regedit) and navigate toHKEY_LOCAL_MACHINE\SYSTEM\CurrentControlSet\Control\Print\Printers. Delete the subkey matching the printer name, then restart your computer. Be cautious—editing the registry can cause system problems if done incorrectly, so back up your registry first.
To remove inactive network devices, use PowerShell to list and identify unused printer-related devices:
Get-PnpDevice -class SoftwareComponent | where {($_.Status -eq 'Unknown') -and ($_.FriendlyName -eq "Printer_Name")}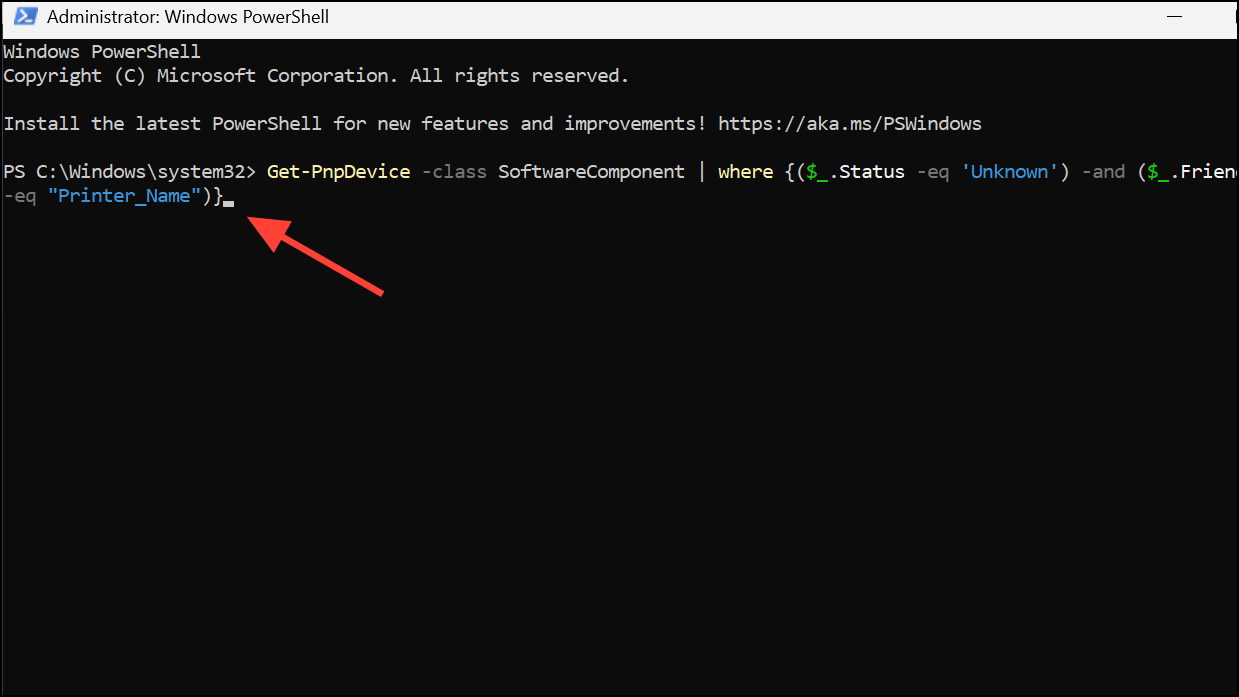
Once identified, use the InstanceId to delete the corresponding registry entry. Restart your computer to complete the process.
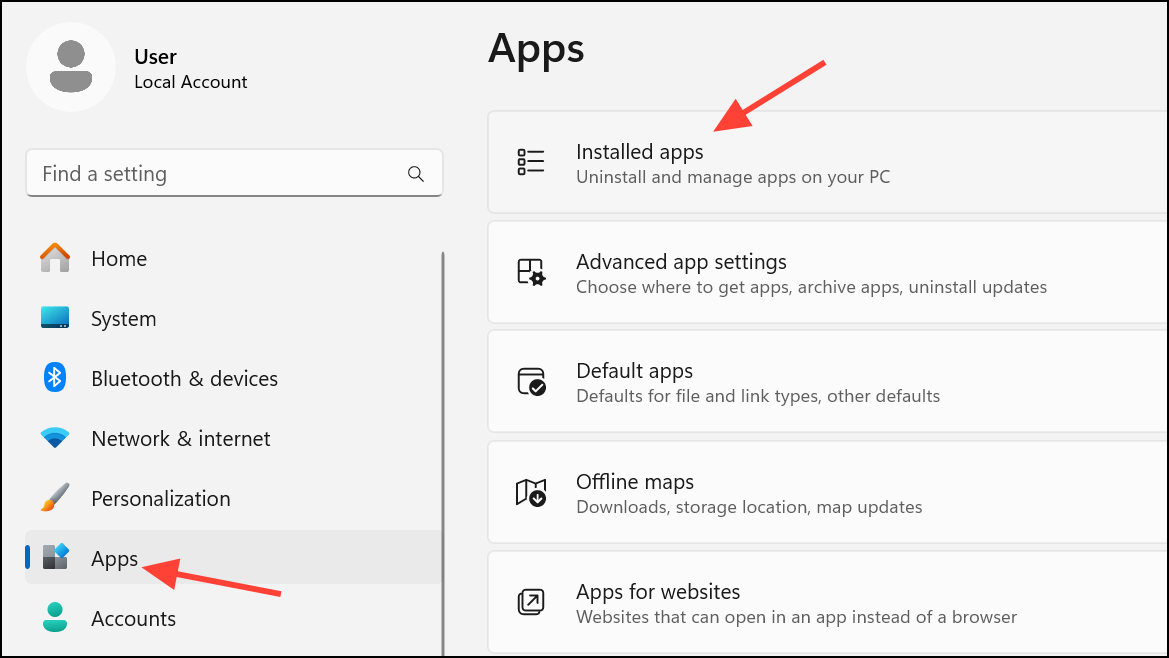
Remove Printer Software and Drivers
After deleting the printer device, residual software or drivers may remain. To fully clear these:
Completely removing a printer from Windows 11—especially when standard removal fails—improves system reliability and prevents print errors. These methods let you clear out old or problematic printers for a cleaner, more efficient device list.