

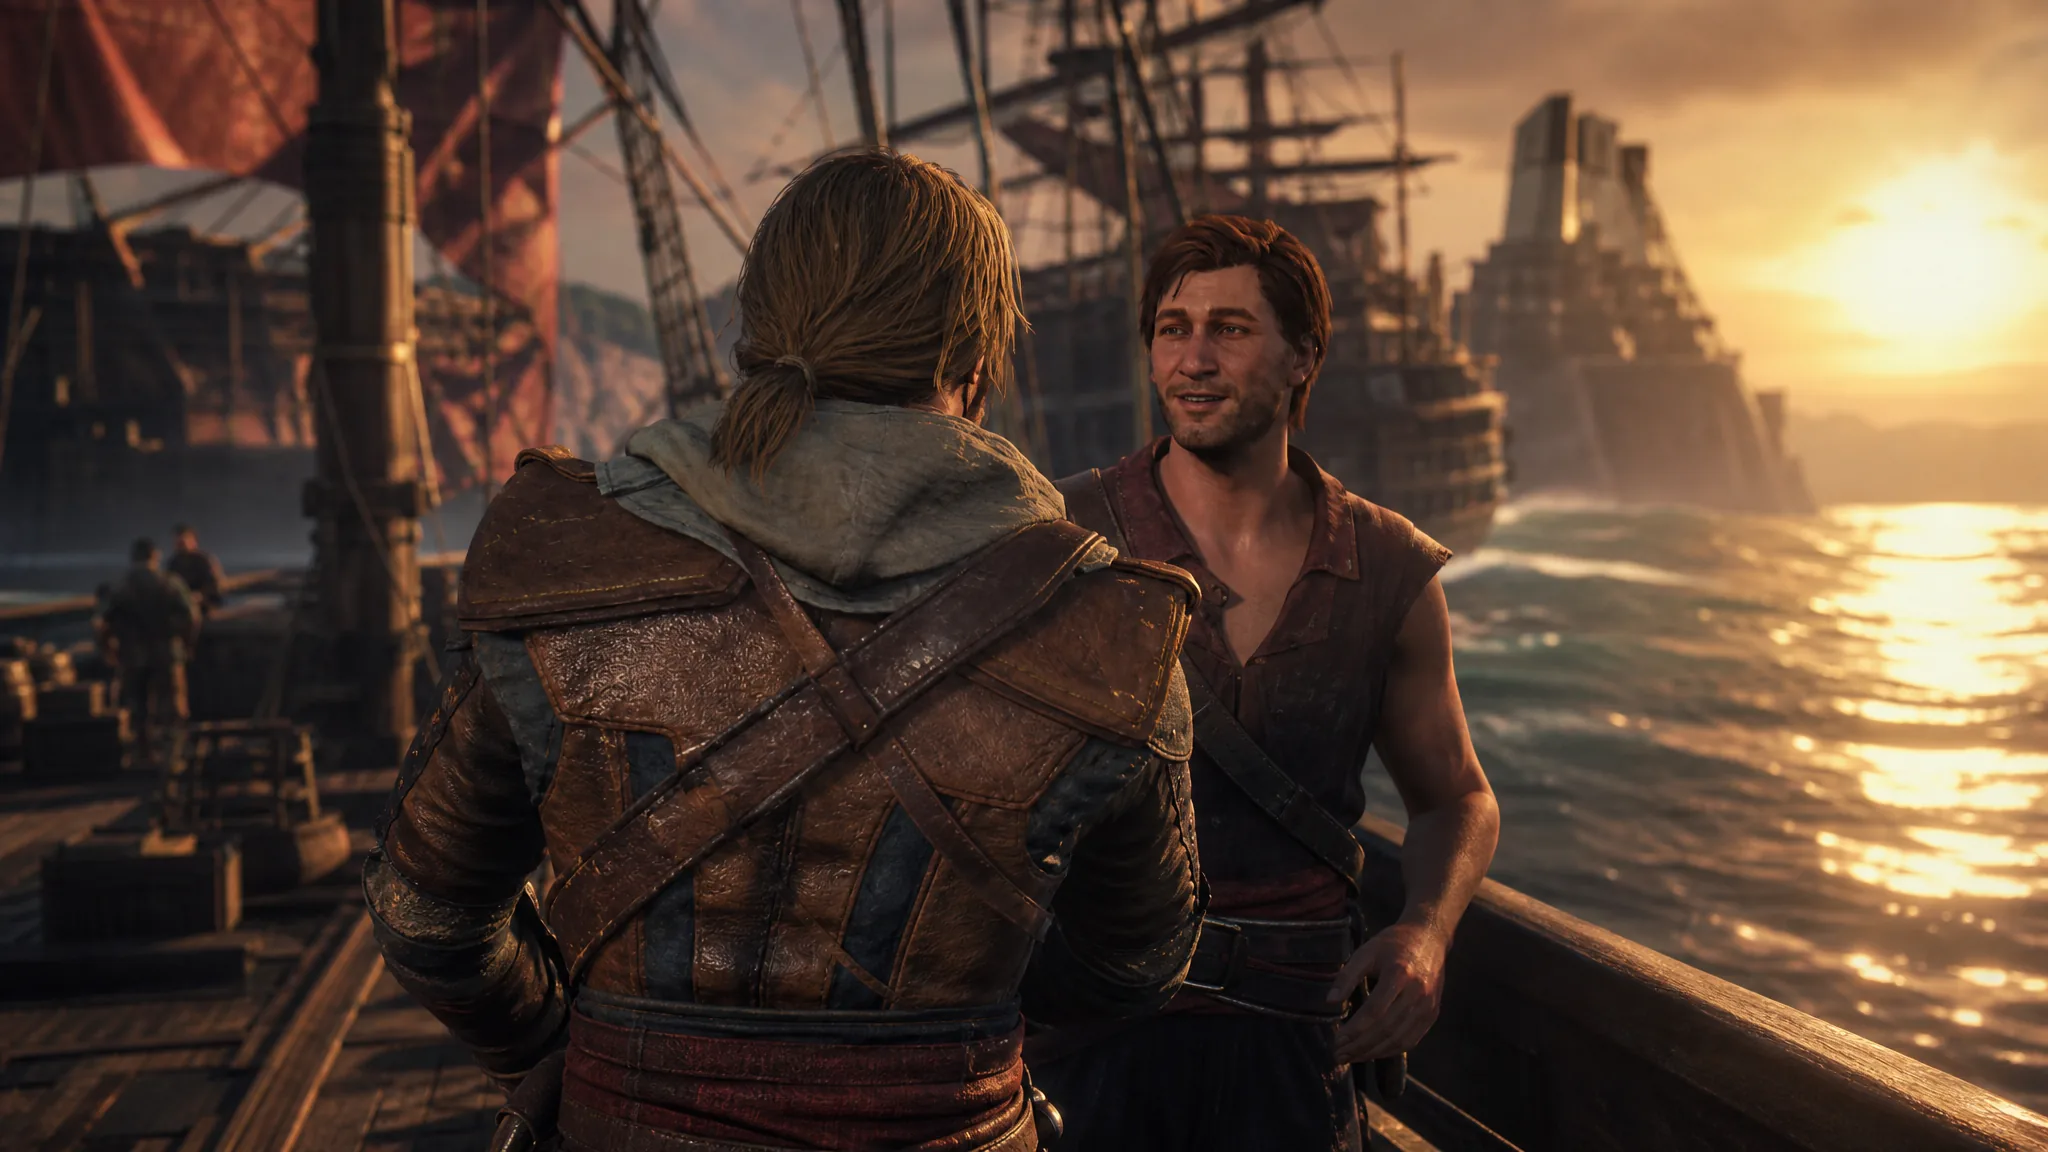
The Treasure Fleet drops Edward Kenway onto the deck of the Jackdaw right after the Templars unmask him in Havana, and it does so with almost no warm-up. You take command of the ship for the first time and immediately have to break away from a hostile fleet while a storm tears at the sea around you. It reads as brutal, but the escape follows a fixed pattern once you know what the ships and the weather will throw at you.
Quick answer: Sink the enemy ships chasing you with Broadside Cannons and frontal Chain Shot, then steer toward the marker. Ram the rogue wave head-on, stay clear of the circles that mark incoming thunder, and veer left away from waterspouts until they vanish. Reaching the marker ends the quest.
Sink the pursuing ships before you run
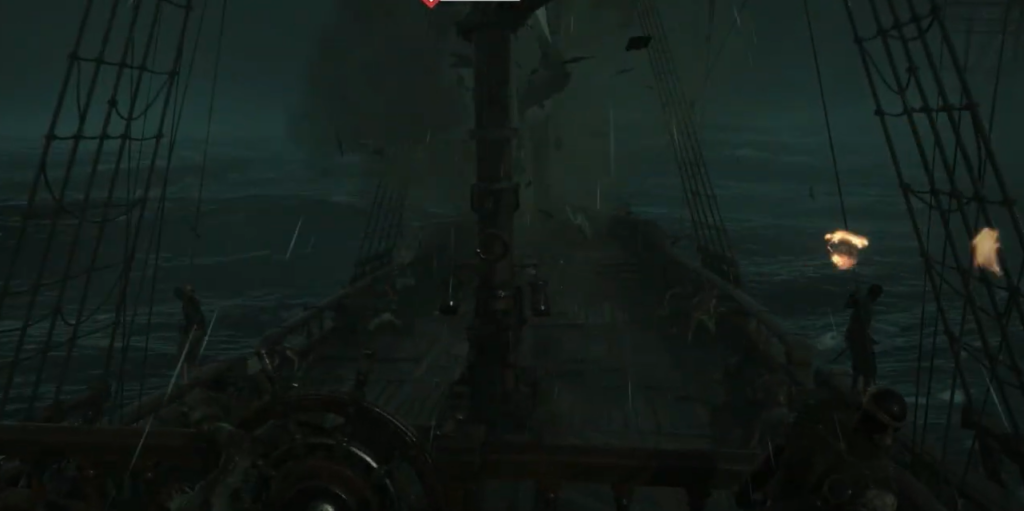
Escaping is your goal, but trying to outrun the fleet while ships are still on your tail is the slow way to fail. Enemy vessels keep firing as long as they can follow you, so clearing them first makes the rest of the mission far more controllable. Treat sinking them as the same priority as reaching the exit.
The Broadside Cannons handle ships alongside you, while the frontal Chain Shot works on targets ahead. Alternate between them as you turn the Jackdaw to keep guns on a target. This is enough to put down the pursuers without any special setup.
If you would rather not chase them down, use the Explosive Barrels instead. Aim from the rear of the ship to drop a barrel, then switch away from any aimed weapon and fire the Swivel Gun with R1 / RB to detonate it as an enemy ship passes close. A clean detonation next to a hull can sink a ship in a single hit.
Survive the storm on the way to the marker
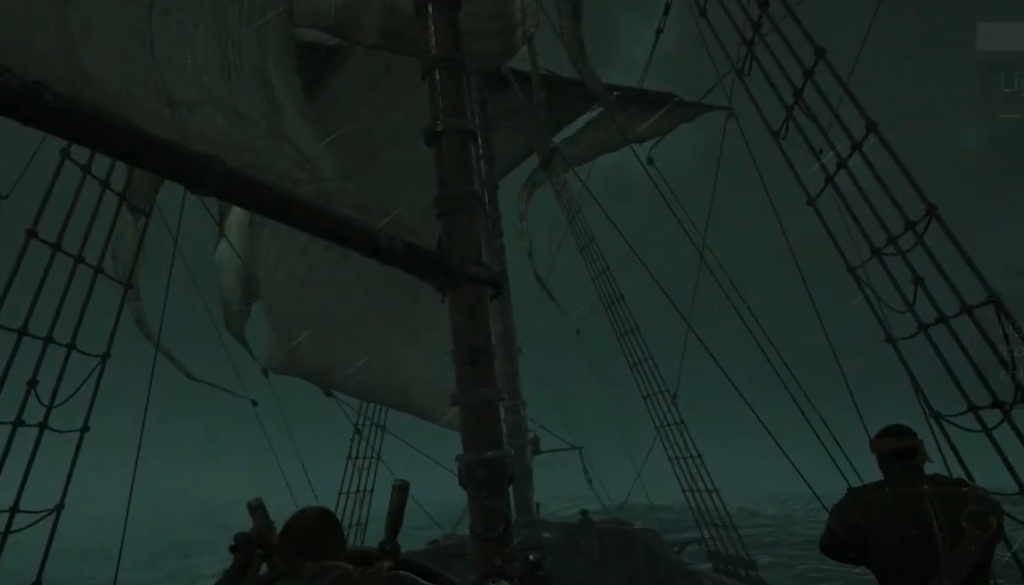
With the fleet gone, follow the marker toward safety. The sea itself becomes the real threat here. A rogue wave, roaming thunderstorms, and waterspouts can each sink the Jackdaw quickly if you react the wrong way. Each hazard has one correct response.
| Hazard | What to do |
|---|---|
| Rogue wave | Steer straight into it. Hitting the wave head-on cancels the damage instead of capsizing you. |
| Thunder | Watch the water surface. A circle briefly appears where a strike is about to land, so steer out of that spot. |
| Waterspouts | Bank hard to your left the moment they appear and hold your distance. They fade after a few seconds, opening a clear path forward. |
The rogue wave is the one hazard where the instinct to turn away is the wrong call. Keep your bow pointed into it and push through.
How to know the escape is complete
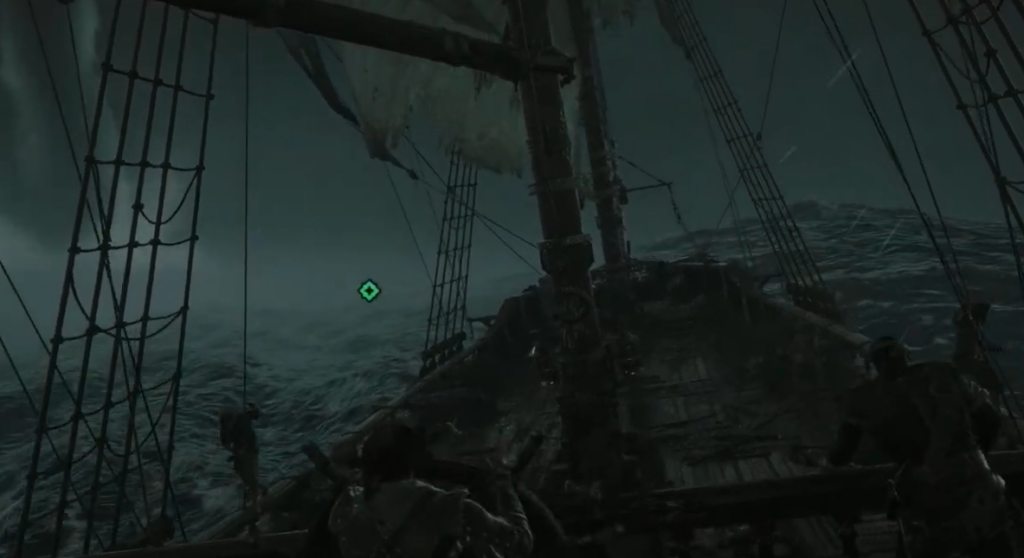
The Escape the Fleet objective clears once you reach the marker after the storm, which ends The Treasure Fleet quest and moves Edward’s story forward. If the mission keeps restarting, it usually comes down to one of two things: pursuing ships you never sank, or a hazard handled the wrong way, most often turning away from the rogue wave instead of ramming it. Fix that single mistake and the run holds together.
This is your first real time at the wheel of the Jackdaw, so the naval controls will feel loose. That is normal for such an early mission. Once you are through the fleet and the weather, you have room to practice sailing at your own pace across the Caribbean.





