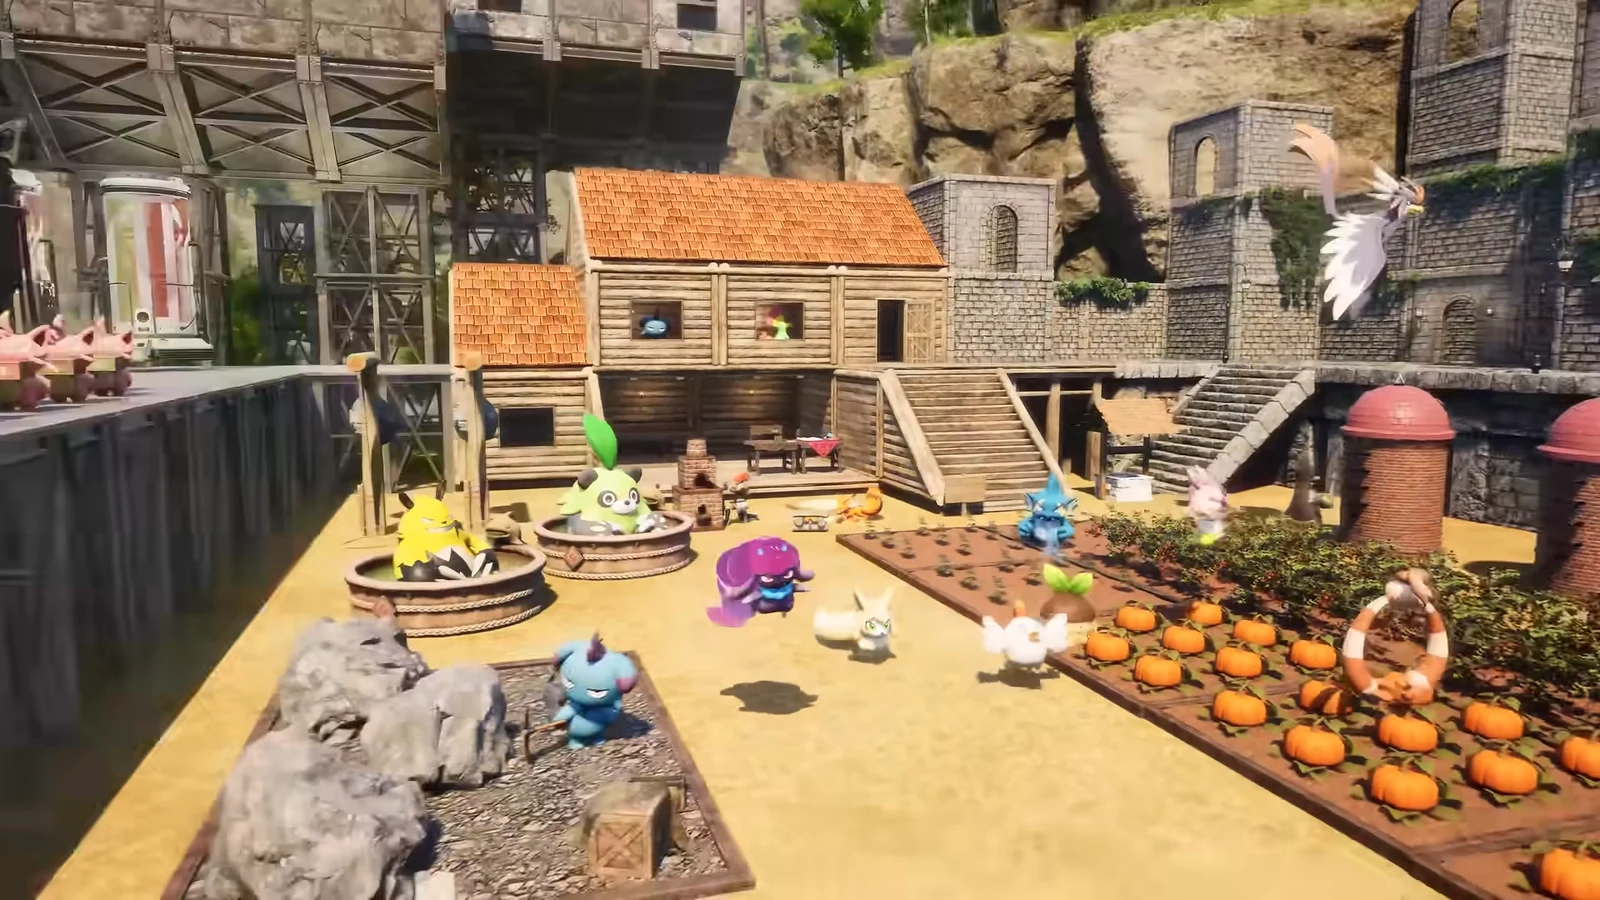
Breeding is the fastest way to stack a base with top-tier worker Pals long before you could catch them in the wild. With six early Pals and a single Ancient Hatchery, a 13-pair chain in Palworld 1.0 produces a specialist for every work suitability, starting around player Level 20.
Quick answer: Catch Munchill, Felbat, and Eikthyrdeer Terra, hatch Blazamut, Moldron, and Blazehowl from Mount Obsidian, then run the 13 breeding pairs below to cover every base job.
What you need before breeding
The breeding loop is gated behind a short setup. Build these before you start pairing parents, or the farm will sit idle.
- Breeding Farm — unlocked at Level 19 in the Technology tree for 2 points, built from Wood ×100, Stone ×20, Fiber ×50.
- Egg Incubator — Stone ×30, Paldium Fragment ×10, Cloth ×5, Ancient Civilization Parts ×2.
- One male and one female parent in the pen; flip a Pal’s gender at the Pal Operating Table if a pair won’t match.
- Cake in the farm’s feed box — one Cake is consumed per egg.
New breeders often get held up by Cake. Prepare one using the ingredients listed below in a Cooking Pot, with a Kindling Pal handling the cooking. To keep the chain supplied, put Chikipi, Mozzarina, and Beegarde in a Ranch for eggs, milk, and honey, respectively.
| Ingredient | Quantity |
|---|---|
| Flour | ×5 |
| Red Berries | ×8 |
| Milk | ×7 |
| Egg | ×8 |
| Honey | ×2 |
Six Pals to gather first
Three wild catches and three volcano hatches seed the whole chain. Everything after this comes from breeding, not catching.
| Pal | How to get it |
|---|---|
| Munchill | Level 10, around the Frostbitten Isle icebergs |
| Felbat | Level 20 dungeon boss in a Mountain Stream Grotto |
| Eikthyrdeer Terra | Level 20 at Wildlife Sanctuary 1 |
| Blazamut | Hatch a Huge Scorching Egg from Mount Obsidian |
| Moldron | Hatch a Scorching Egg from Mount Obsidian |
| Blazehowl | Hatch a Scorching Egg from Mount Obsidian |
Wild Huge Dragon Eggs can’t hatch Jormuntide Ignis anymore; breeding it requires following the chain below.
The 13-step breeding chain
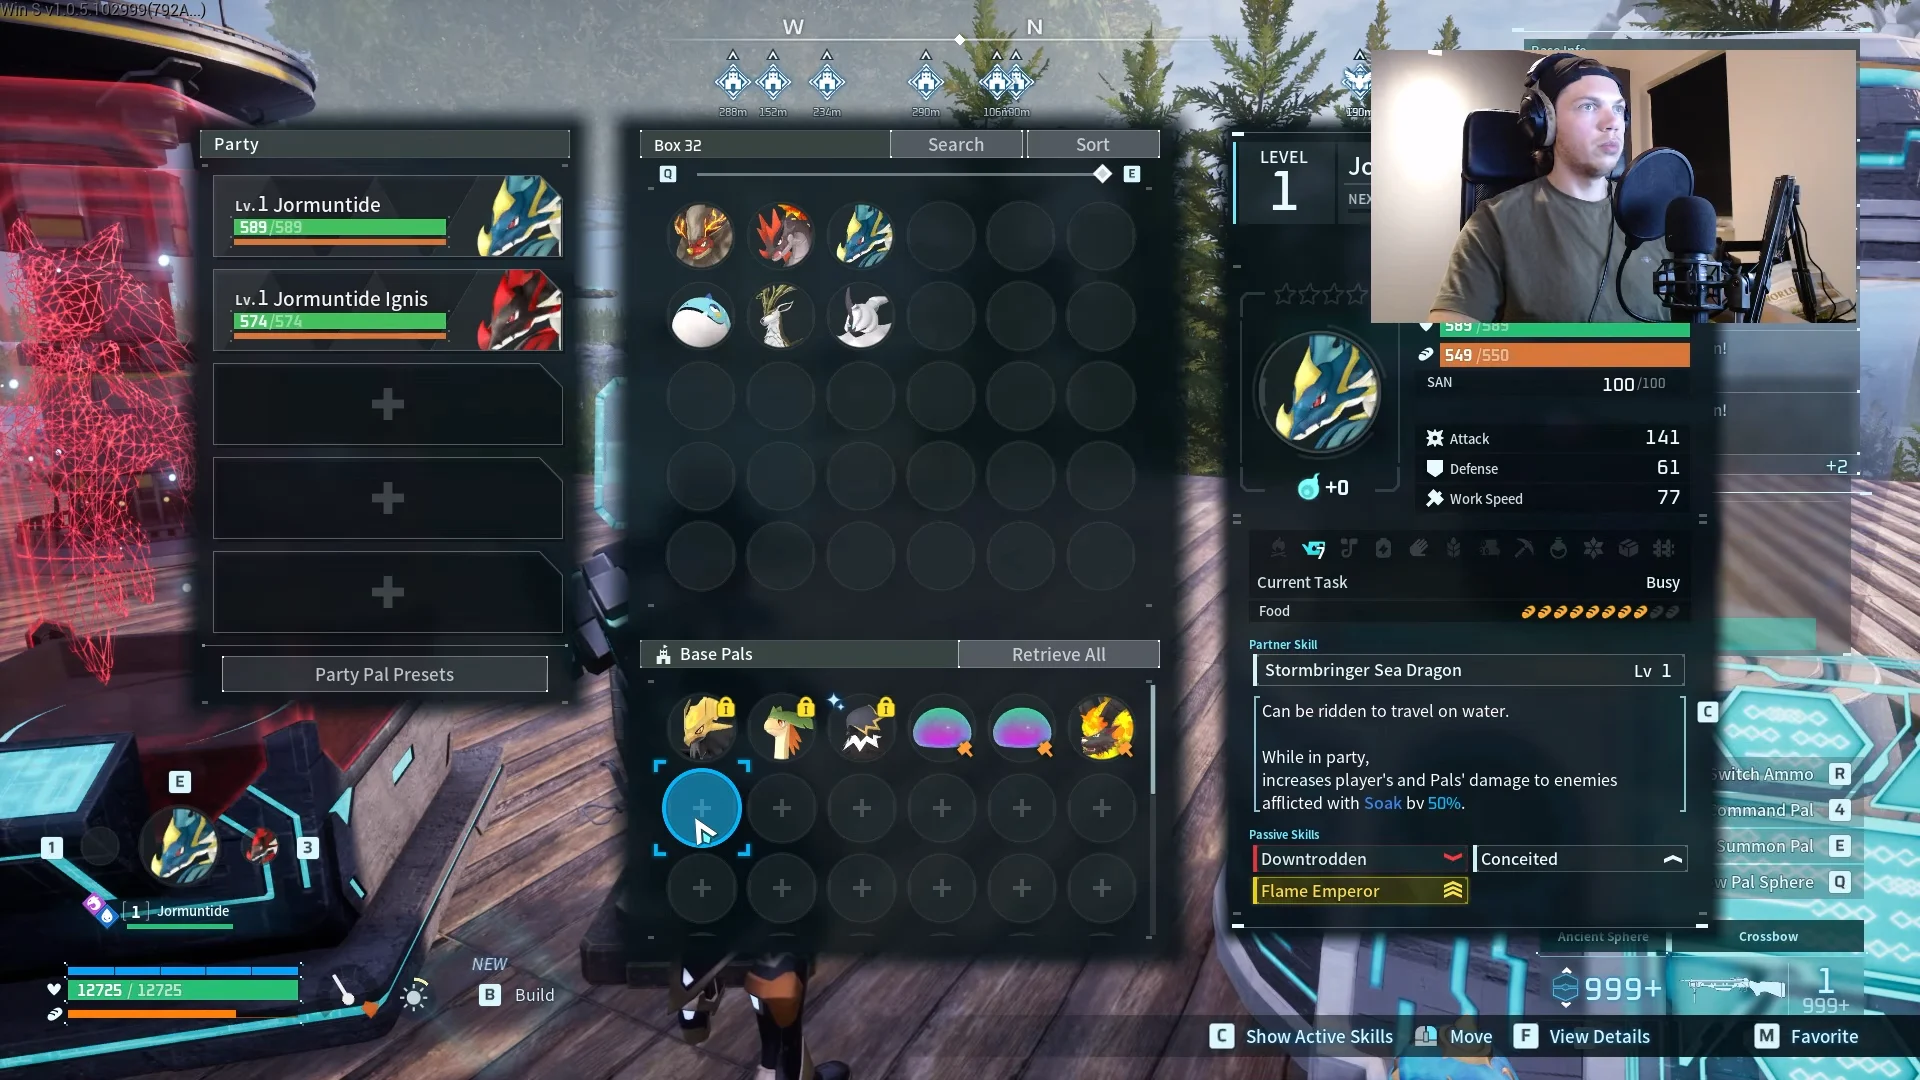
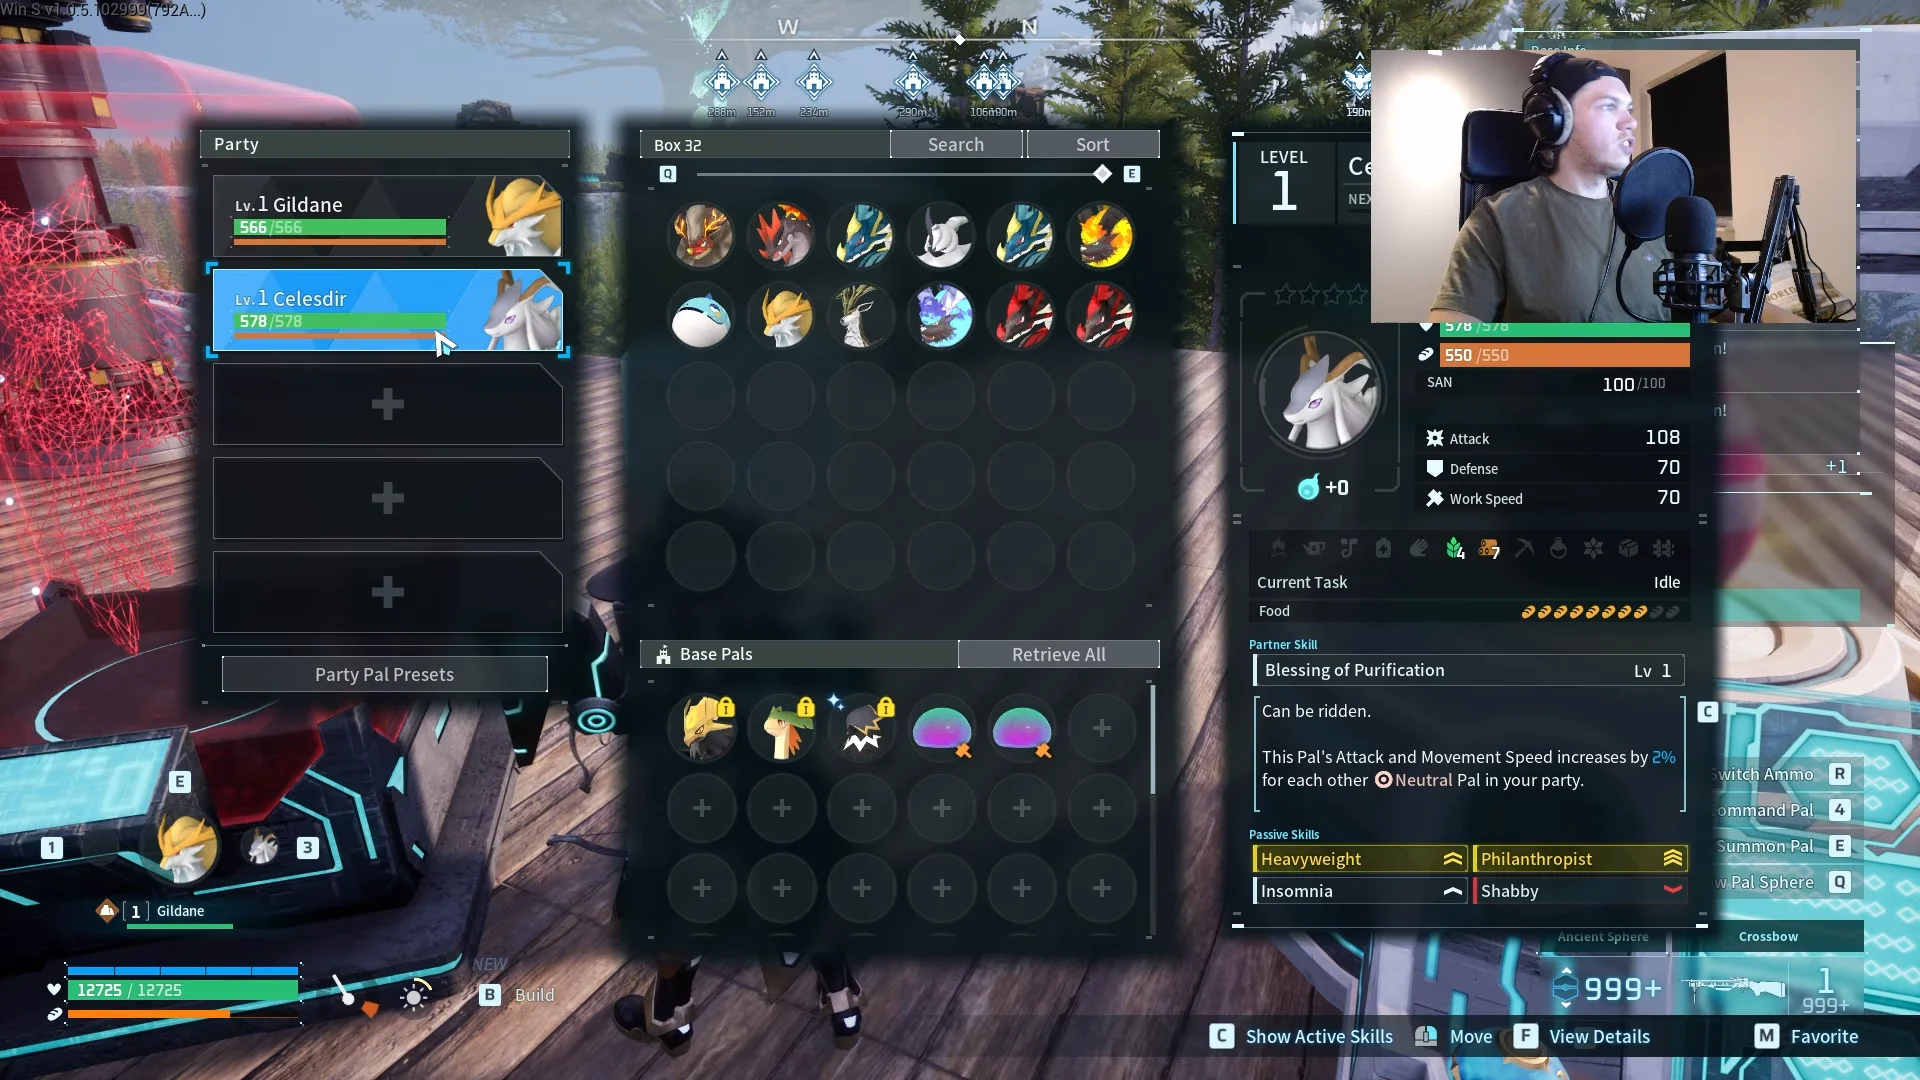
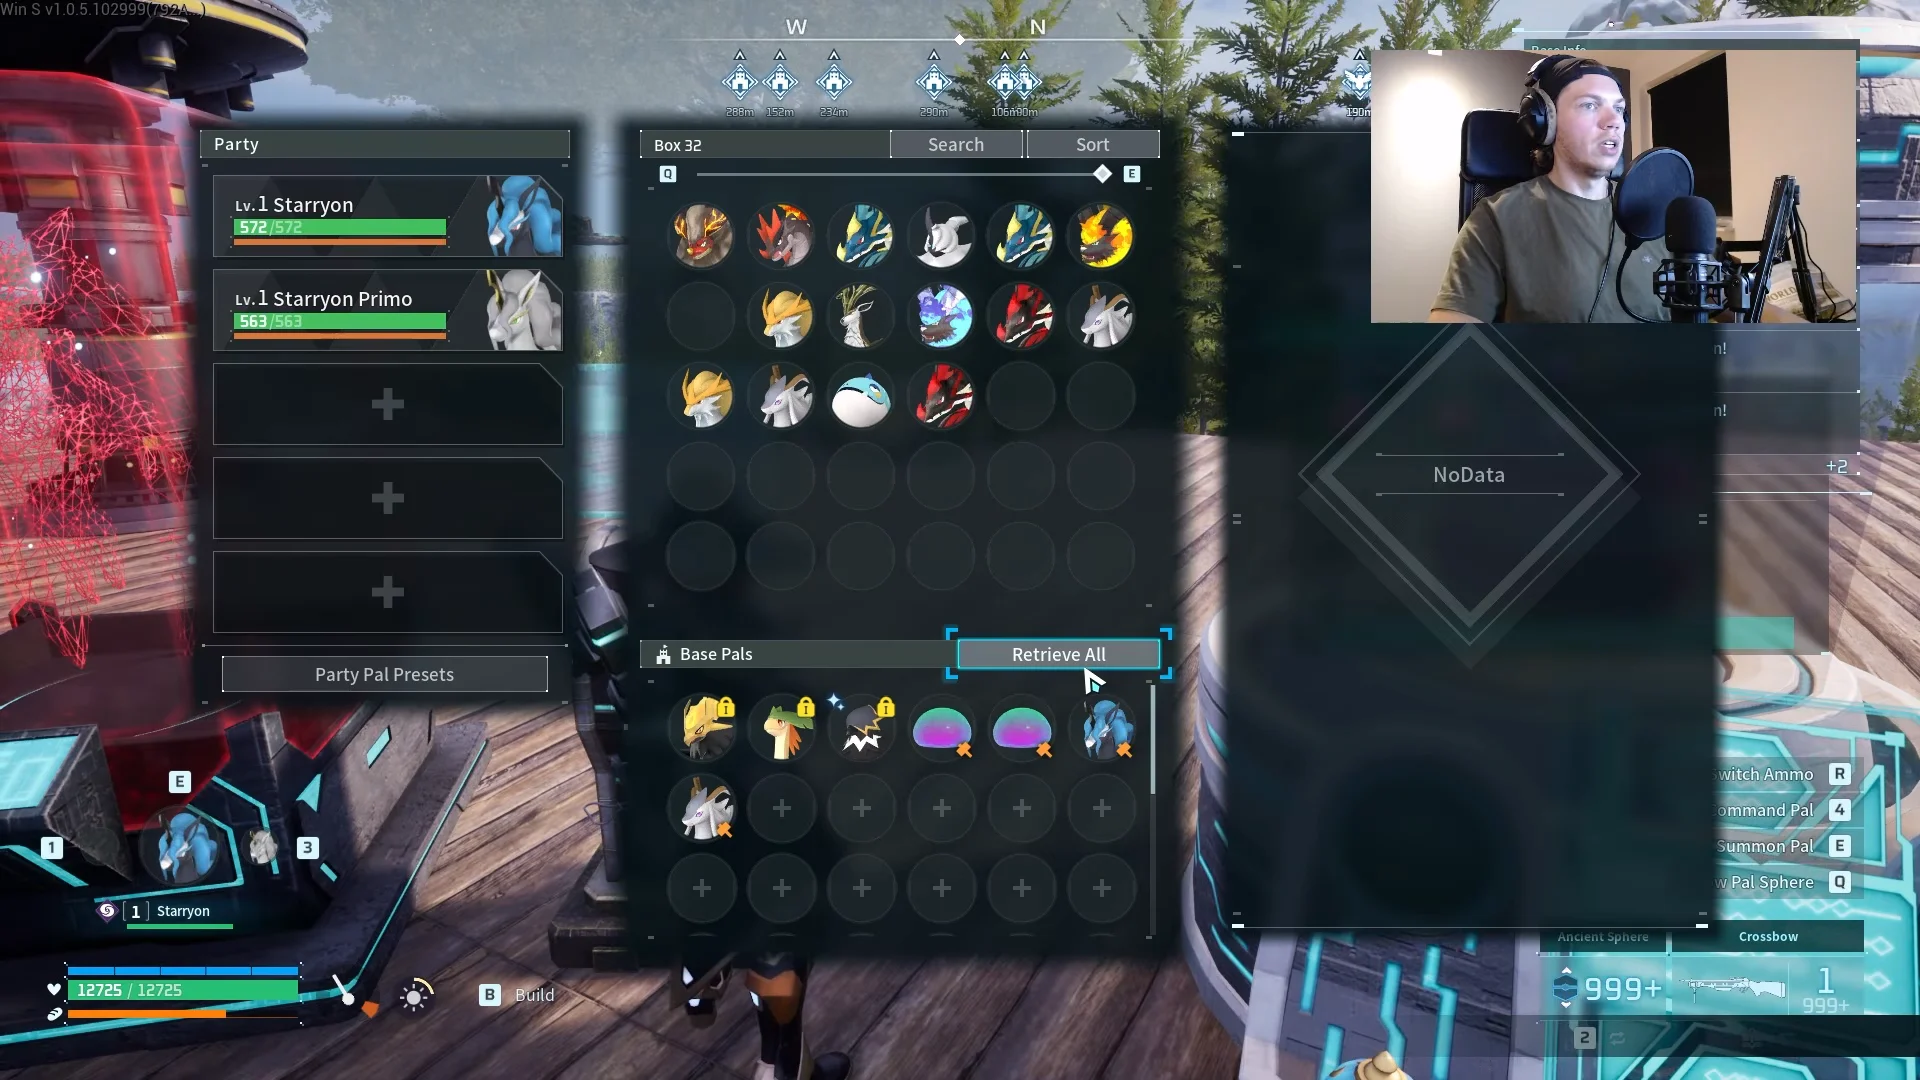
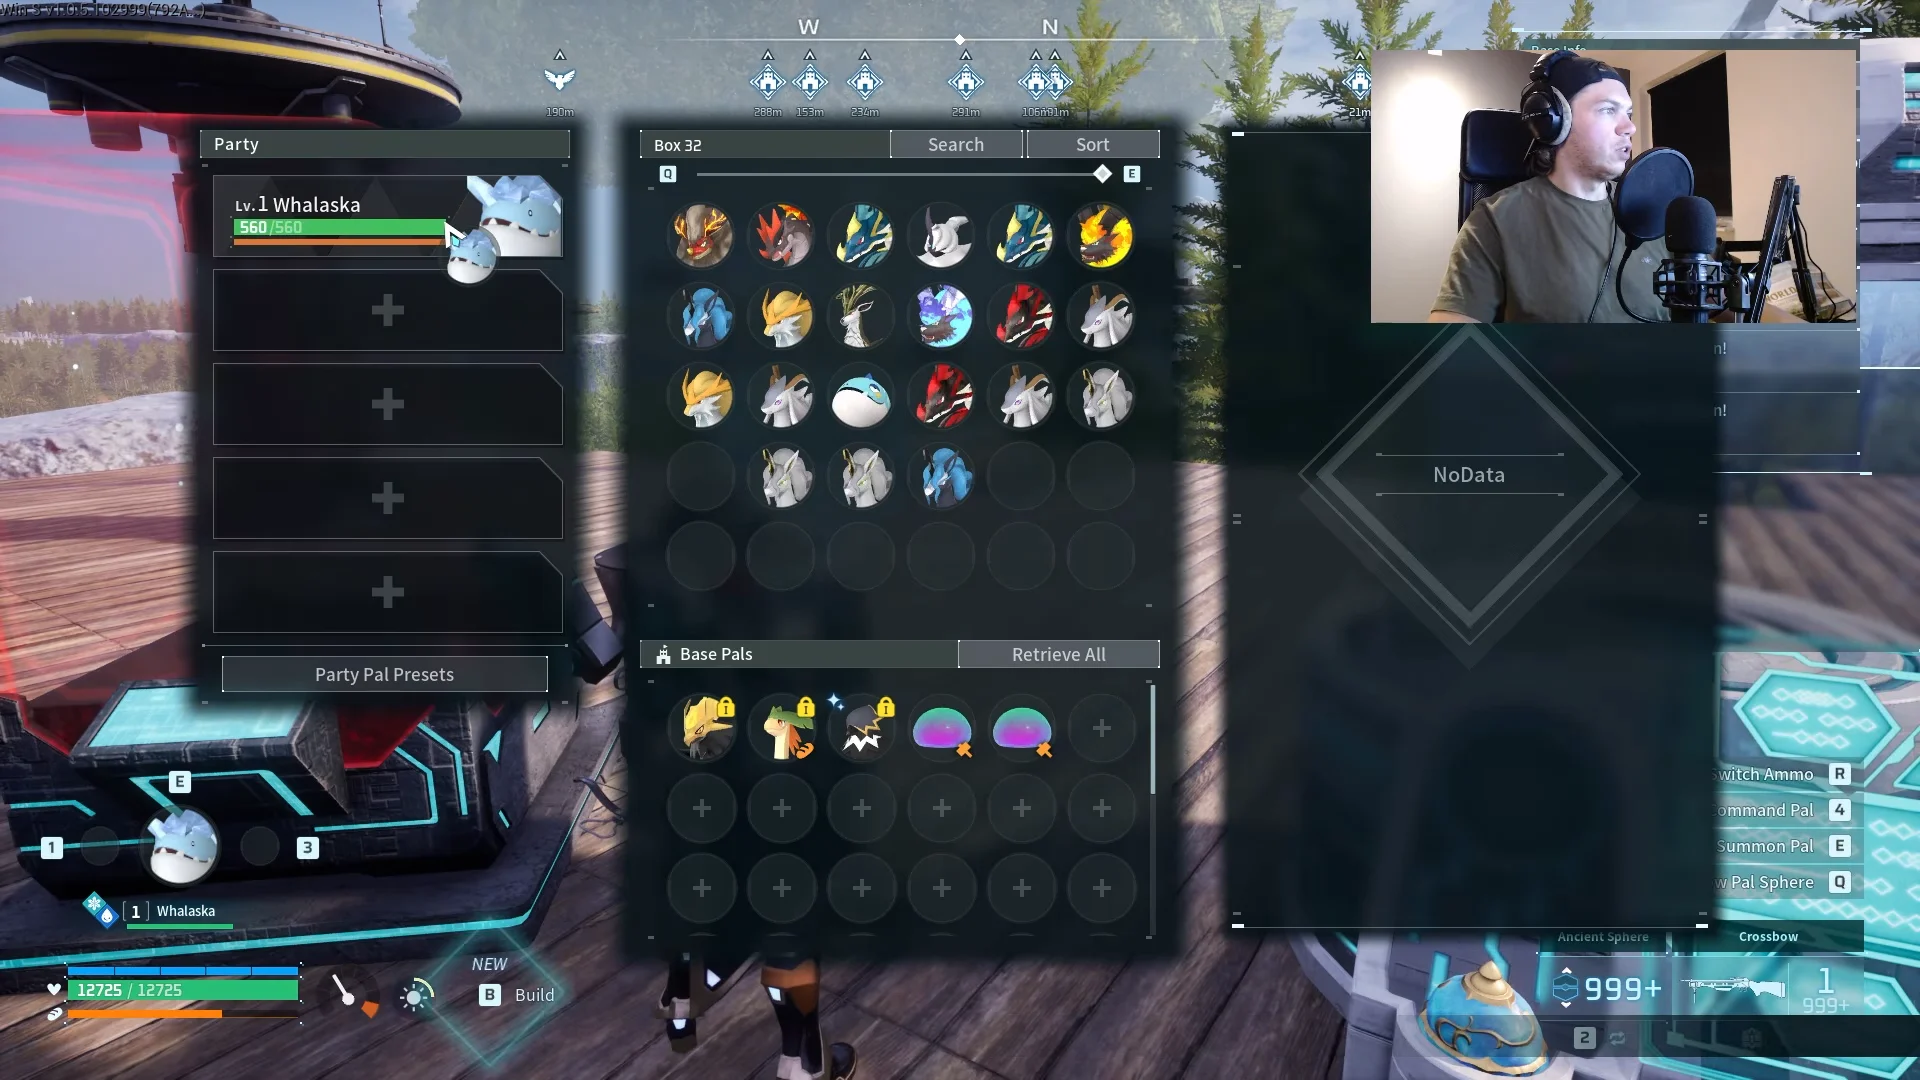
Work through the pairs in order. Jormuntide Ignis is the one Pal you reuse the most, feeding seven of the steps, so breed two or three spares once you reach it. Breeding is deterministic, so the same two parent species always produce the same child.
Press Tab as the incubator opens to skip the hatching animation and move through the chain faster.
Sekhmet’s work-speed bonus
Sekhmet brings value beyond its two work jobs. With Desert Empress, it boosts the work speed of Pals using the same workbench; an Alpha Sekhmet can reach +400% efficiency. Any bred egg has a small, fixed chance of producing an Alpha, whatever the parents’ status, so repeat the Step 13 pairing to try for one.
Optional late-game branches
Several steps have higher-tier endgame extensions. These add more breeding rounds but produce stronger combat and utility Pals off parents you already made.
| Target | Breeding path |
|---|---|
| Solmora Lux | To make Solmora Lux, first pair Jormuntide with Daedream for Slowatt, then pair Jormuntide with Sweepa for Solmora. Breed those results—Solmora and Slowatt—to get Solmora Lux. |
| Selyne | Breed Azurmane with Foxcicle to hatch Suzaku; pair Suzaku with Eidrolon for Eidrolon Ignis, then combine Eidrolon Ignis and Blazamut to produce Selyne. |
| Astegon | Eidrolon + Blazamut → Astegon |
Other early breeds worth the Cake
For powerful workers using parents available on or around the starting islands, try these pairings: each produces a Pal that exceeds expectations for its level. Since they don’t rely on the main chain’s parents, you can breed them at the same time.
| Pal | Parents | Payoff |
|---|---|---|
| Yakumo | Lamball × Leafan (or Vixy × Leafan) | Finds wild Pals carrying its own passives |
| Azurobe | Grizzbolt × Flambelle | Level 4 Watering for early base farms |
| Katress | Celaray × Mammorest (or Fuack × Relaxaurus) | Level 3 Handiwork and Medicine Production |
| Chillet Ignis | Chillet × Arsox | Skips the trip to Sakurajima Island |
| Palumba | Vanwyrm × Wumpo | Fast mount plus Level 5 Mining |
For passive hunting, start by breeding your desired traits onto Yakumo; Pals caught later are then much more likely to inherit those traits. Try for Palumba at about Level 25 to 30, because reaching Wumpo means traveling to the Astral Mountains.
Both parents contribute inherited passives to an offspring before it gets any random traits, making parents with fewer unwanted passives a better choice. Worker builds should target Artisan, Serious, and Work Slave. Keep multiple Pals of the species, breed the ones with the cleanest passives, then swap out weaker parents for stronger offspring and continue.
Confirming each breed worked
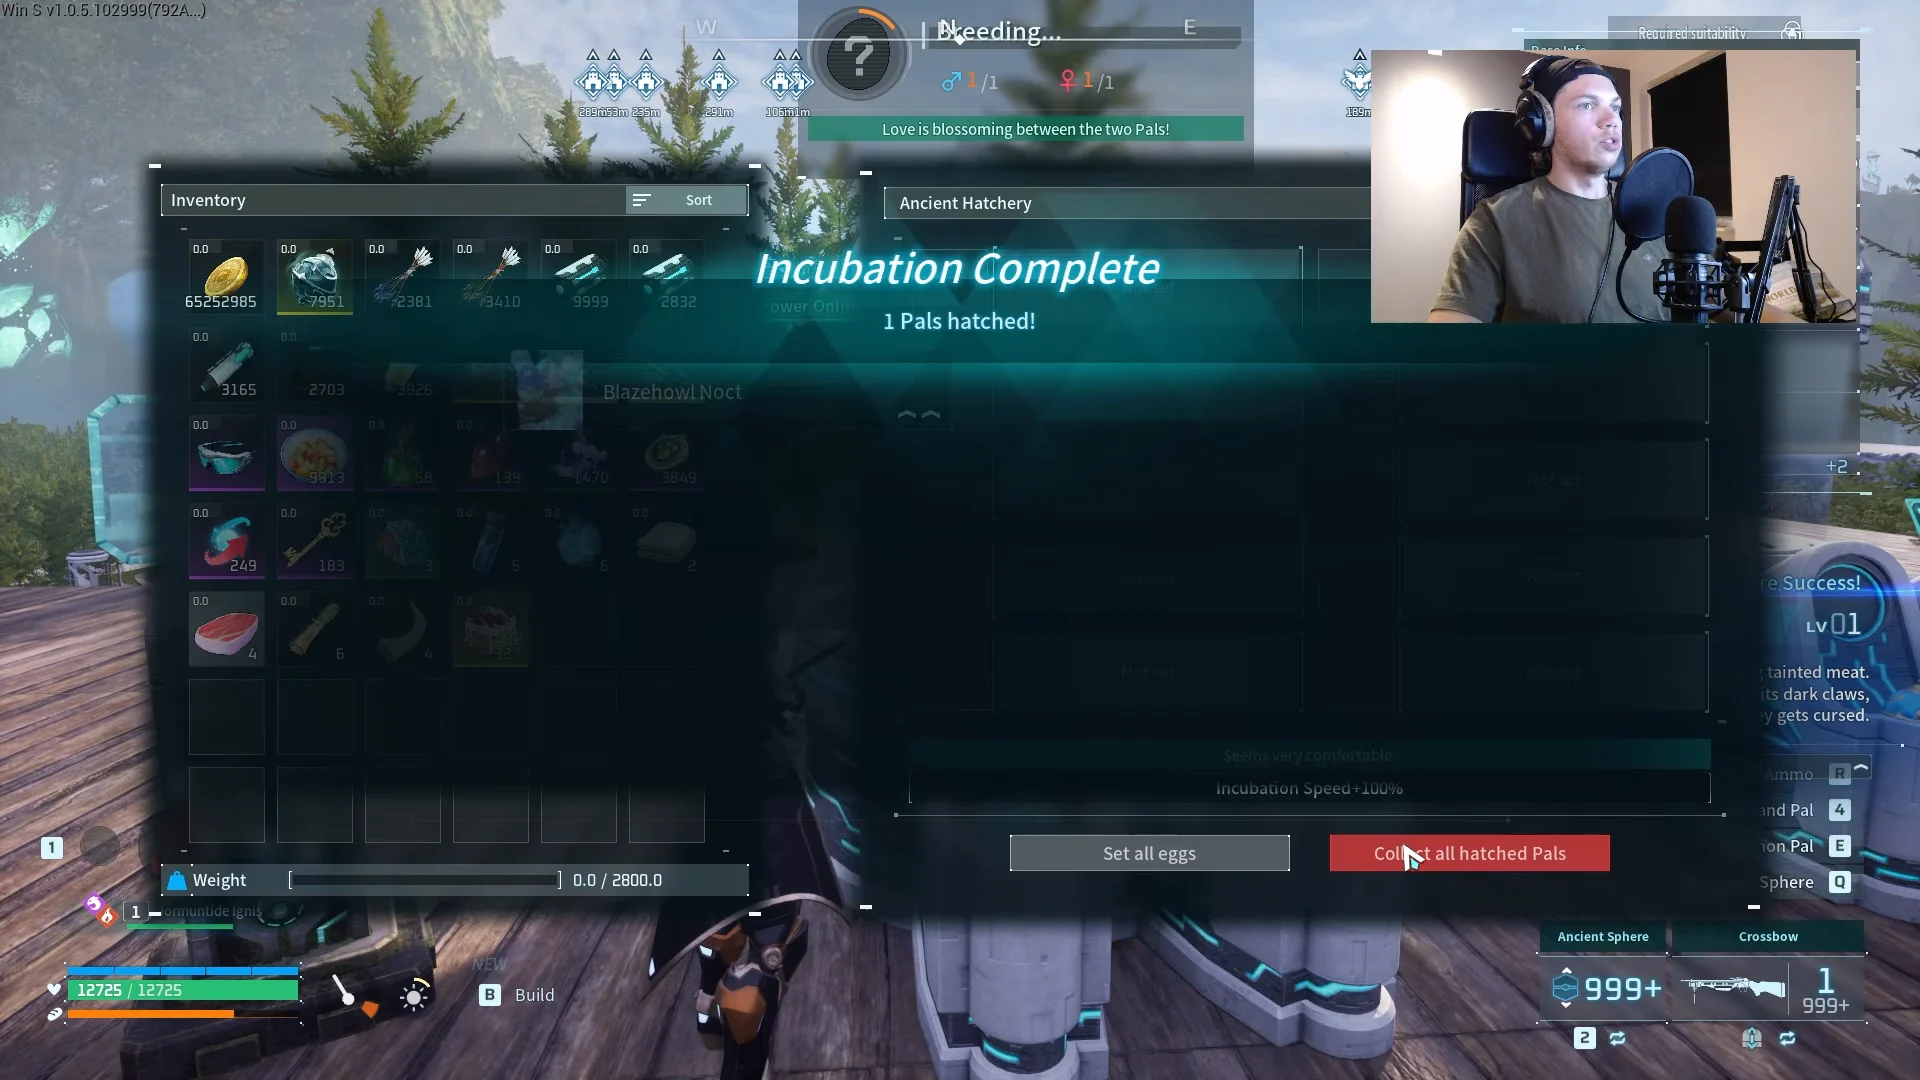
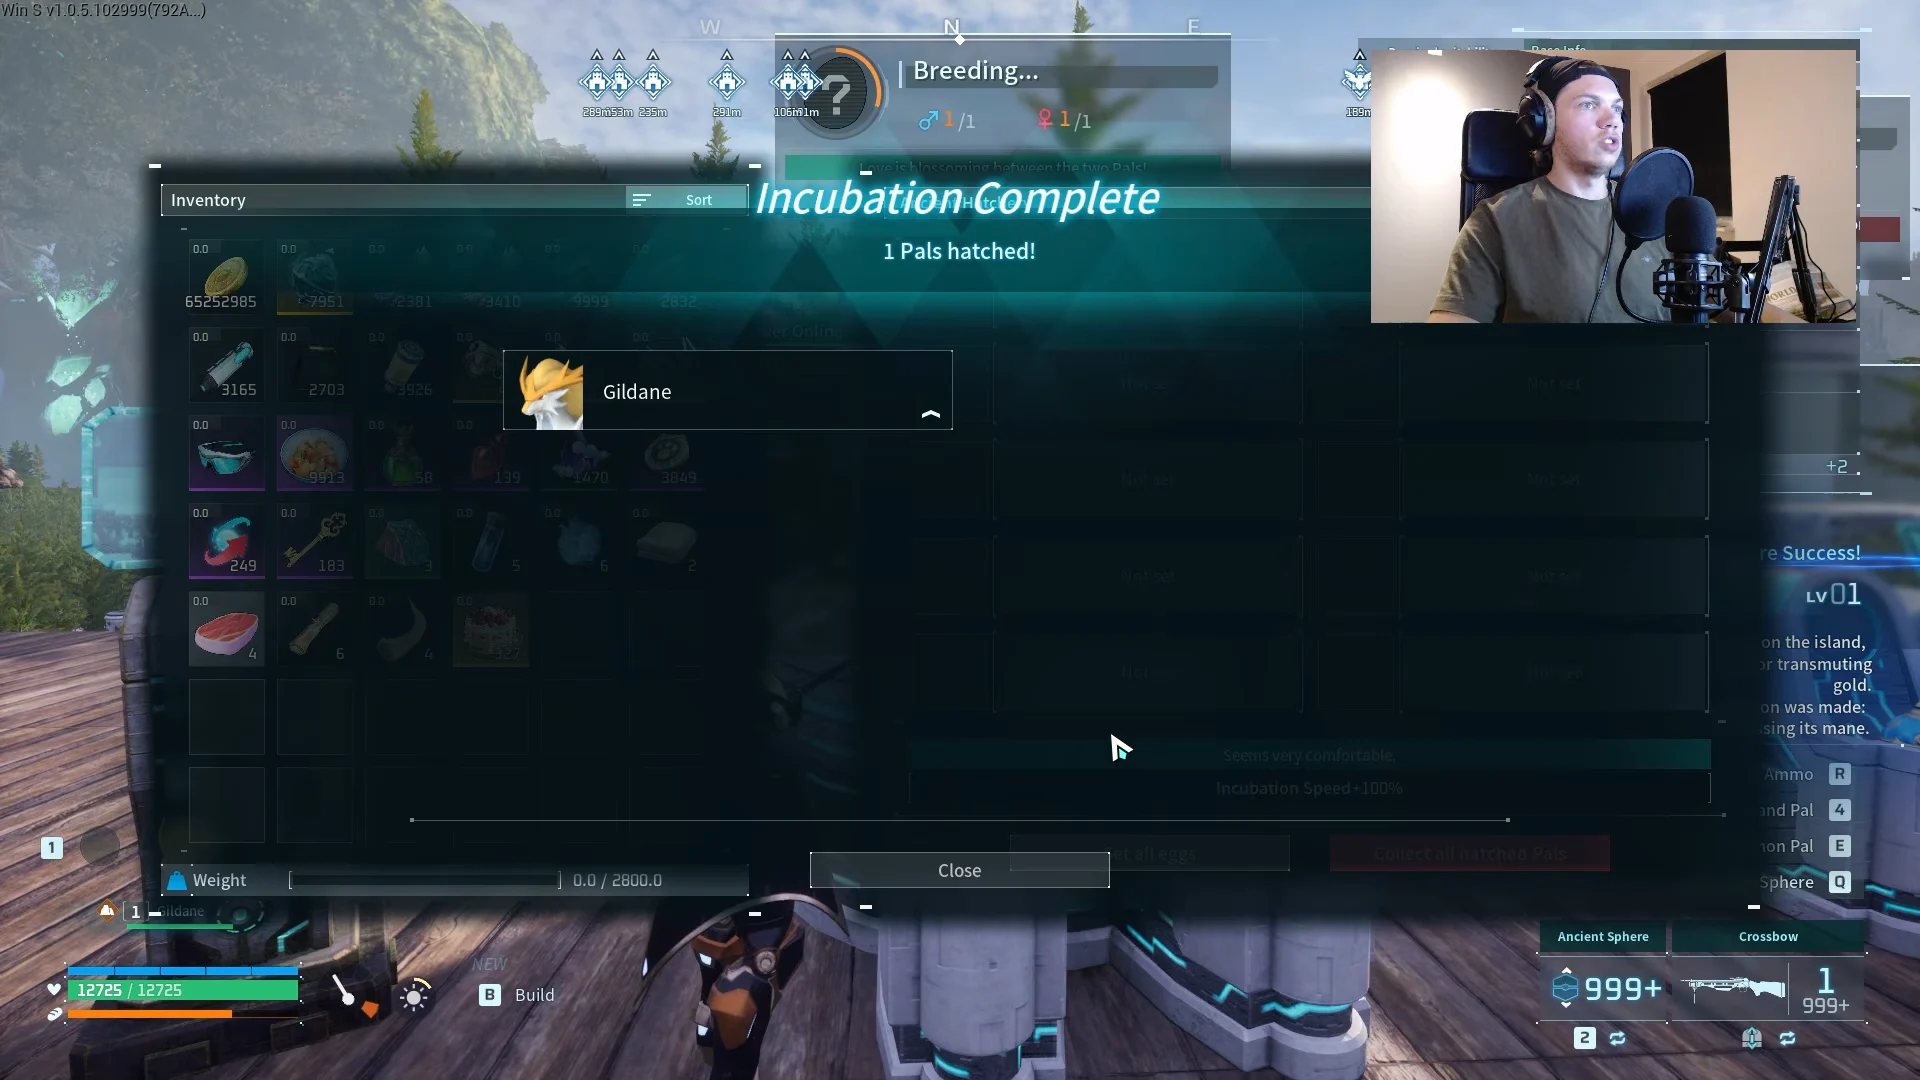
Once two valid parents and Cake are in the farm, the message “Love is blossoming between the two Pals” appears and a progress bar begins filling. When it fills, an egg drops near the pen. Incubate it, and the incubator reports incubation complete with the hatched species named on screen, which confirms the pair produced the Pal you wanted.
No progress meter? Make sure the pair consists of one male and one female, and verify Cake is in the feed box. Once Cake production runs automatically, you can let the farm operate and rotate parents until your base has every work suitability covered.