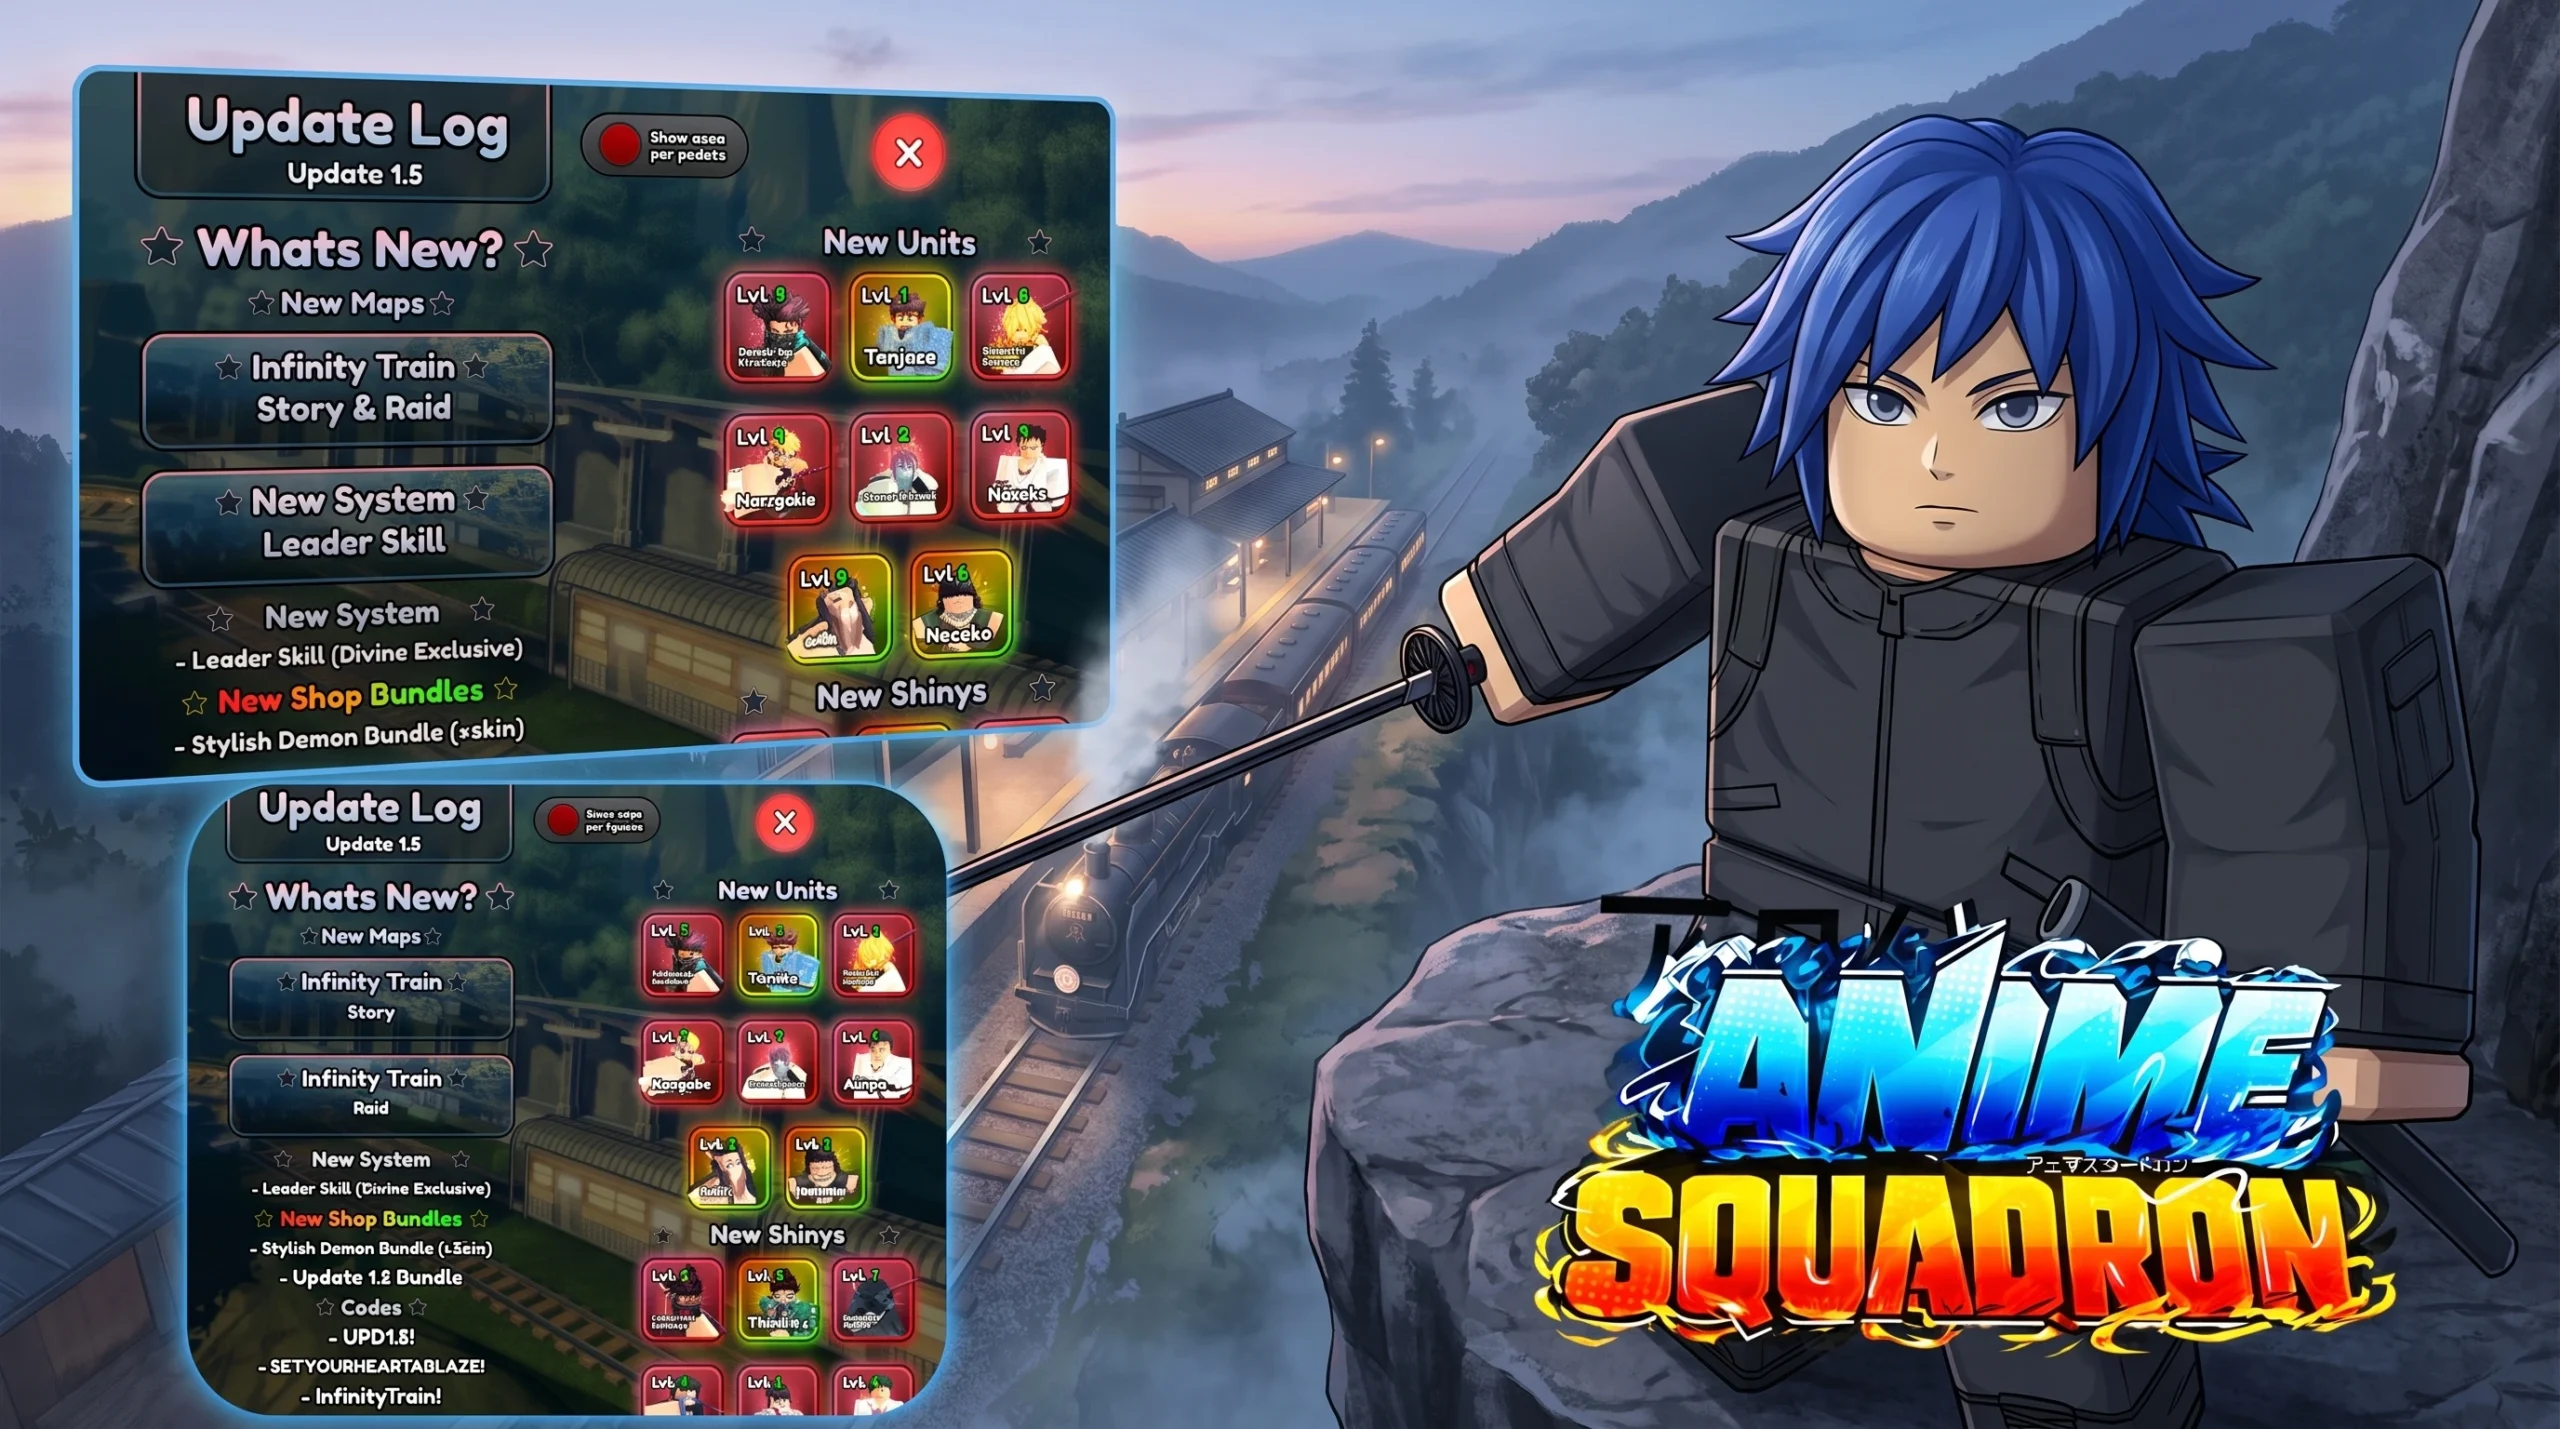
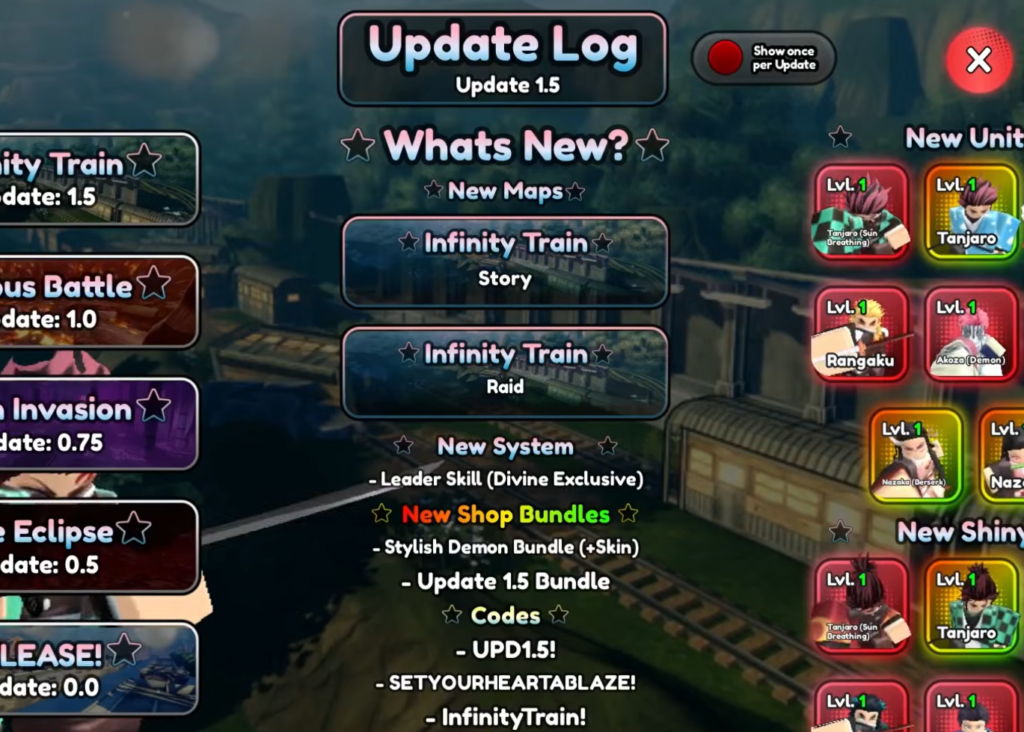
Anime Squadron’s Update 1.5 reshuffles the endgame in Komplex Studio’s lane battler, and the difference between wiping on the hardest maps and steamrolling them comes down to a handful of buff-stacking units. The strongest lineups now lean hard on element and tag boosts, so building around the right anchors matters more than raw damage.
Quick answer: Run Gometa (SSJ4), Gometa (Blue), Bralu (Legendary), and Beby (Super) as your buff core, add Berserker (Enraged) or Baras (Meteoric Burst) as your main damage, and always slot in Fastwagon for Yen. Swap the last seats based on the stage’s element.
Update 1.5 meta units and their team buffs
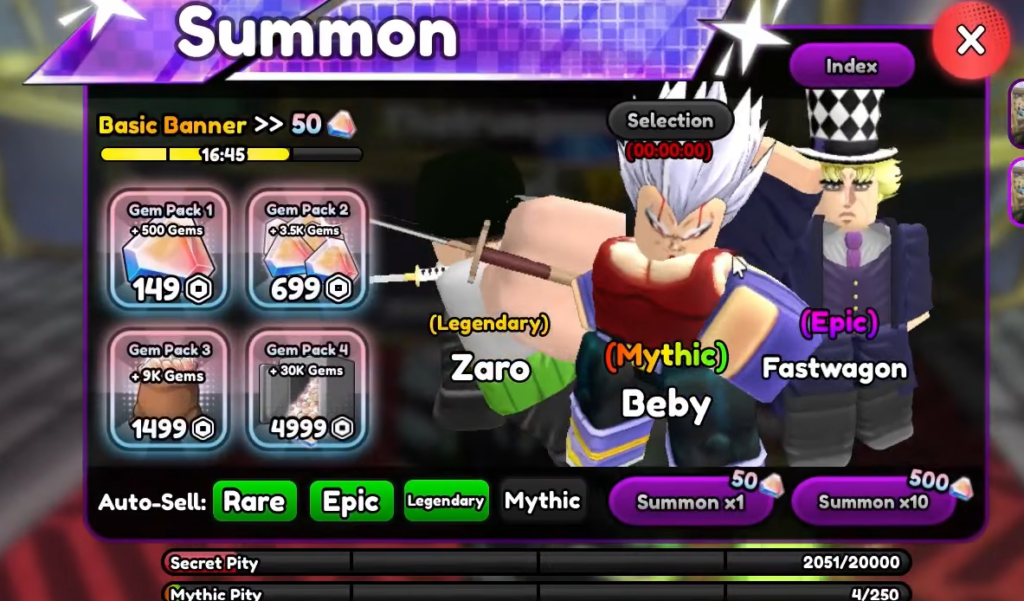
The 1.5 meta hinges on units that boost your whole squad through Element and Protagonist/Antagonist tags. Beby feeds Dragon Ball characters defense and 2% damage per unit in range, while the two Gometas and Bralu stack percentage boosts that turn a full team into a wall of damage. Here is what each core unit brings.
| Unit | Role | What it gives the team |
|---|---|---|
| Gometa (SSJ4) | Main DPS / Buffer | 30% Protagonist and 10% Divine damage; very farmable |
| Gometa (Blue) | Speed / Buffer | 30% Dragon and 10% Water damage; 0.005% drop |
| Bralu (Legendary) | Sub DPS / Buffer | 30% Antagonist and 10% Nature damage; also tanky |
| Beby (Super) | Support | Defense buff for Dragon Ball units, 10% damage with 5 allies near |
| Berserker (Enraged) | Main DPS | Damage scales as HP drops and allies fall, with an emergency heal |
| Baras (Meteoric Burst) | Main DPS | Stacking crit damage for water teams and bosses |
| Freezer (Golden) | DPS / Crowd control | Fits heavy Dragon Ball squads |
| Fastwagon | Money | Passive Yen income without kills |
Support and tank slots round out the roster. Shinks gives an AoE damage increase and can stall waves, Skeleton Knight (Resonance) links to a damage dealer and shares its HP pool, and Puppeteer (Transcendent) brings heavy HP regen plus a self-buffing debuff. For boss-heavy fights, Garu (Half-Monster) does 15% more damage per status effect on an enemy (20% if marked) and ignores stuns.
How to build your raid team
Raids reward a stacked buff core over a single hard-hitting carry. Because Gometa (SSJ4), Gometa (Blue), and Bralu each hand out a 30% tag boost plus a 10% element boost, running them together multiplies your damage across the whole board. Beby then layers defense and a flat damage buff on top when your squad is Dragon Ball heavy.


You know the composition is working when your buff core clears waves before enemies reach the base and your Yen keeps rising enough to level units mid-run. Clears break down most often for two reasons. The first is an element mismatch that triggers the stage’s damage malus, and the second is running out of Yen because you skipped Fastwagon and could not upgrade your damage in time.
Farming the key units
Most of the buff core is obtainable through steady farming rather than luck. Gometa (SSJ4) is the standout because it is both a strong Divine main DPS and very farmable, making it the first anchor most players should target.
| Unit | Where and how to farm |
|---|---|
| Puppeteer (Transcendent) | Everything you need drops on the Katakara Bridge Challenge |
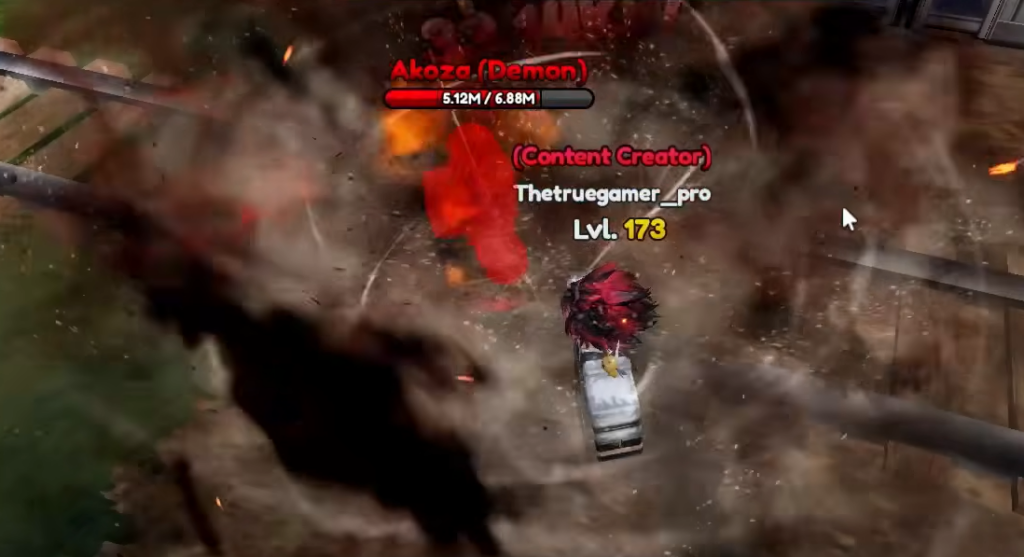
| Bralu (Legendary) | Farm with Akoza (Demon), whose Poison and bonus shield damage melt Bralu’s shielded bosses |
| Gometa (SSJ4) | Highly farmable through repeat runs; prioritize it early |
| Gometa (Blue) | A 0.005% drop, so treat it as a long-term aspirational unit |
Because Gometa (Blue) is so rare, do not stall your progress waiting on it. Build your Divine and Antagonist buffs around the units you can farm reliably, then fold in Blue whenever it finally drops.
Yen and speed farming with Fastwagon and Woo
Economy is the quiet backbone of every 1.5 clear. Fastwagon is the only dedicated money generator, and pairing him with the Money Maker item set maximizes his output. Falcon (Dark) is a secondary Yen source that also deals damage, so he earns a slot in many squads once the rest of your roster is built.
For grinding lower stages and Gems, Woo (Shadow) is the fastest clearer in the game, hitting roughly 10-second runs on GT stages. That speed makes him the go-to for Infinite mode and farming summon currency, though he is unlikely to appear before you have finished chasing Gometa (Blue).
Prioritize your farmable anchors, match your damage dealer to each map’s element, and never leave home without Fastwagon, and the Update 1.5 raids fall in line. The next content drop, Update 1.75, is scheduled for July 18, so lock in your buff core now to carry it straight into whatever the update adds.