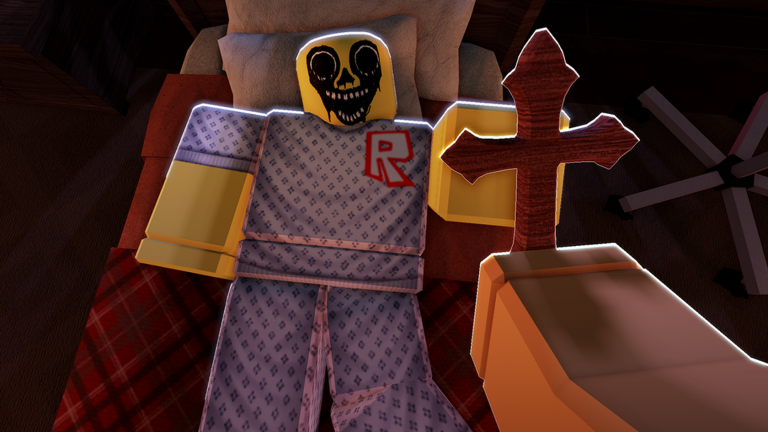
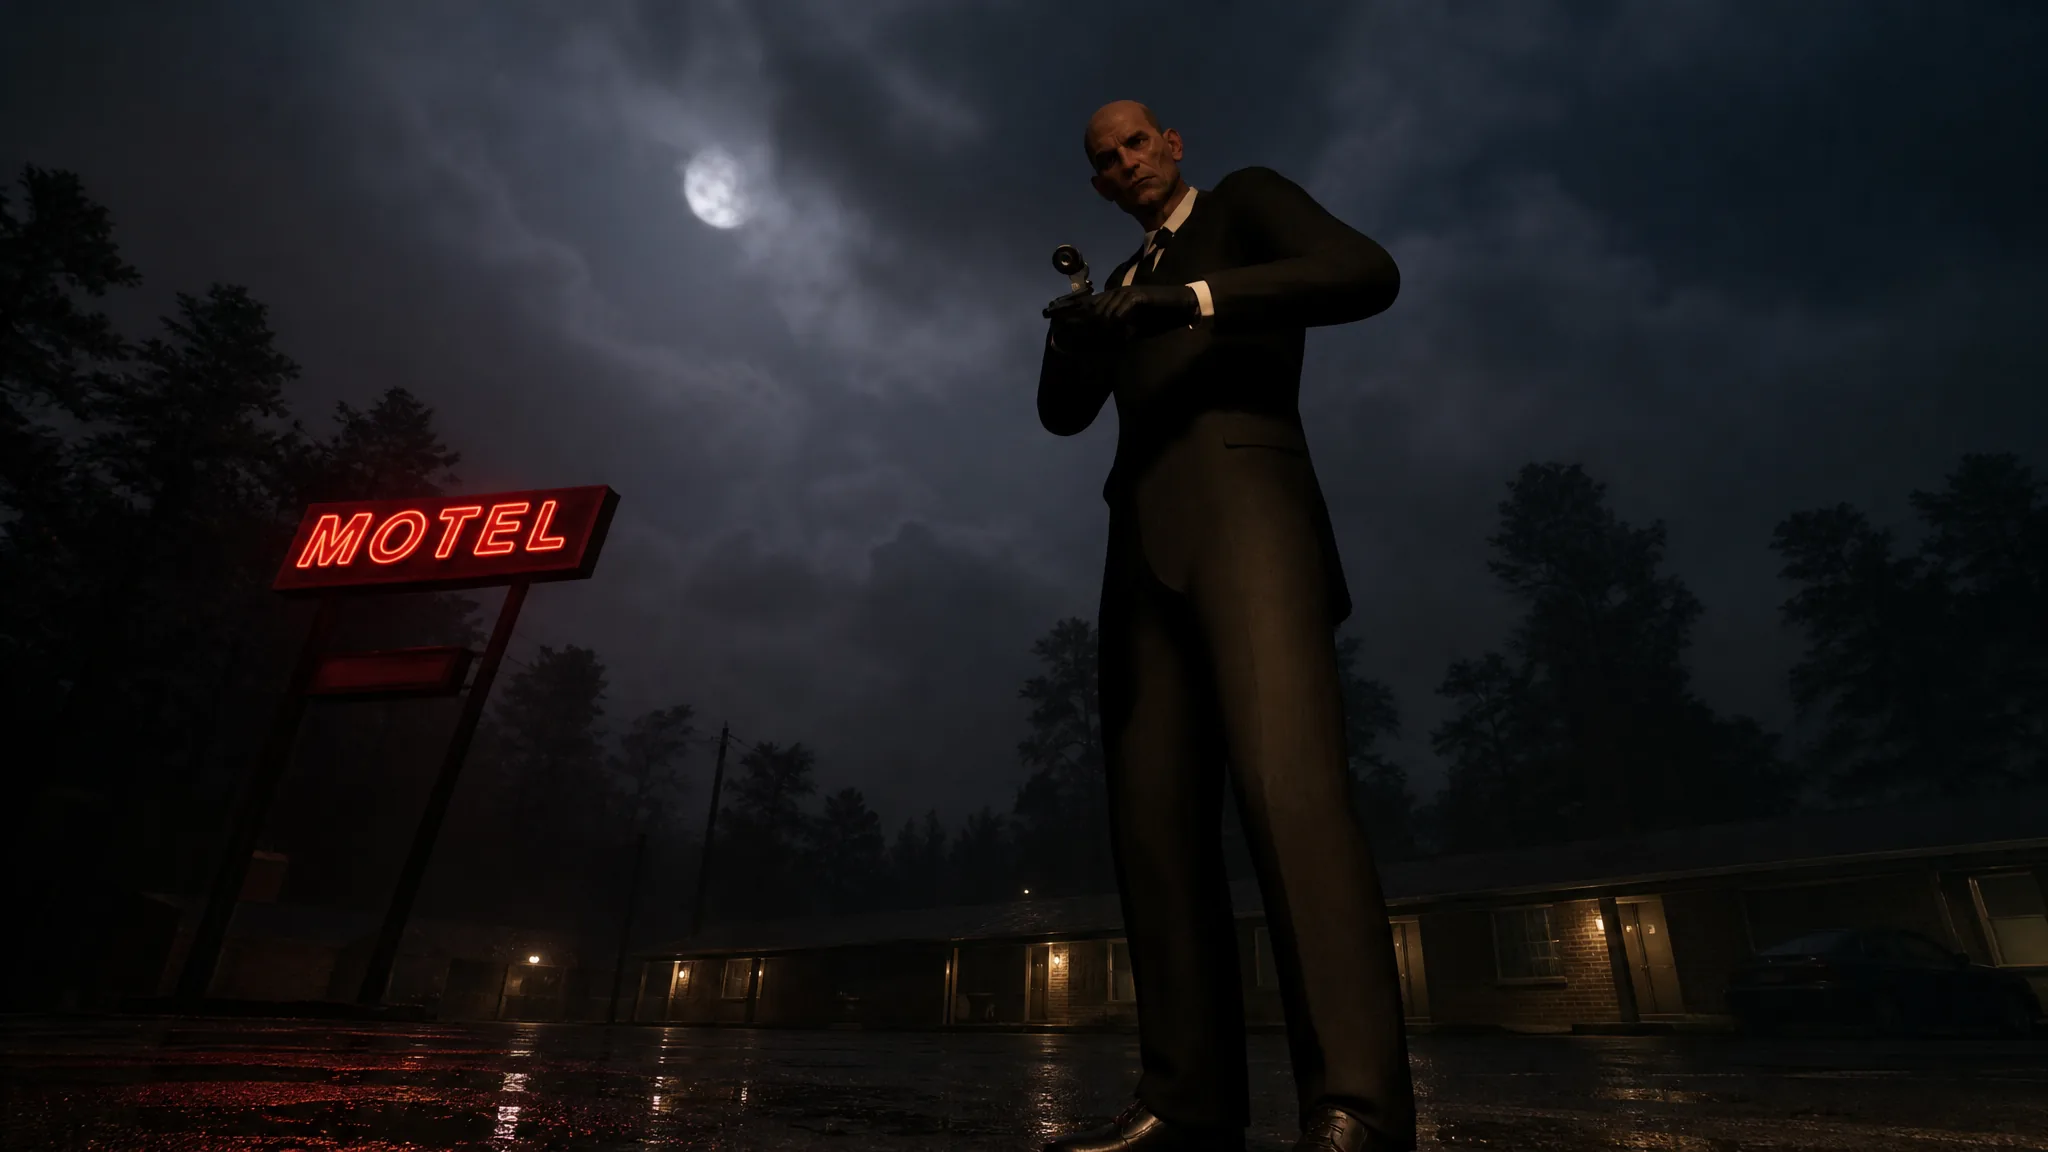
Killers in Welcome to the Game III start hunting Simon from 9:30pm on normal mode, and each one has a fixed trigger you can plan around. Reflect Studios built the motel with no safe-zone, so surviving comes down to locking the right doors, managing lights, and knowing which threat each sound or event belongs to.
Quick answer: Lock every back door at the start of a run, keep two to three lights off, place motion sensors on the alley and front lot, and turn the computer off whenever you step outside or hear a killer approach.
Prep the first hour before killers spawn
Use the opening hour to build up money and surveillance before the threats go live at 9:30pm. Mine on VirtMesh so you can afford items on DarkDrop, then set up cameras and motion sensors around the motel.
Complete requests on A.C.R.S to earn Rep and cash by gathering and selling dark web videos and by blocking hack attempts. ShadowFetch converts URLs into MP4s for those requests. Ping users on the channel before it resets every half hour to save their request, so you can return to it once you find the video they need.
Note: Turn off the computer any time you plan to go outside or know a killer is queued, such as right after resetting to a checkpoint.
All threats and their threat levels
| Killer | Threat level | Trigger |
|---|---|---|
| Lucas | High | Enters through back doors |
| Tanner | High | Attacks at the counter or in rooms |
| Tucker | Medium | Attacks while you fix the router |
| Cletus | Low-medium | Kills if you have no meth on hand |
| Noir | Low-medium | Spawns more when lights are off |
| Bomb Maker | Low | Only if you visit his website |
| Breather | Low | Only at the dead drop pickup |
| Kidnapper | Low | White van in the parking lot |
Lethal threats at the doors: Lucas and Tanner
These two are the deadliest killers and demand the most attention. Both reach you through the main building, so door discipline and hiding are what keep Simon alive.
Lucas
Lucas is the most consistent threat in the series and has appeared in every game since Welcome to the Game 2. He assassinates Simon by coming through the back doors of the main building, including the Electrical Room door you can unlock. Keep all back doors locked from the start of the run and only unlock them when you must fix the internet or restore power.
There is a subtle sound of him unlocking the back door. When you hear it, you have a small window to reach one of two hiding spots beside the computer terminal, the lockers on the far right or the laundry basket on the far left. A minigame then plays where you hold and release the spacebar to keep the ring between the two moving dotted rings. The gauge only depletes once Lucas leaves, and the minigame ending confirms you are safe.
Turn off two to three lights at the start of every run and switch off the computer when you hear him coming, or he will steal your DOS coins. Motion sensors are essential here. Buy two and place them on the alley side of the main building, away from the outer doors, so you have enough time to kill the lights and hide when they beep and flash red on the taskbar.
Tanner
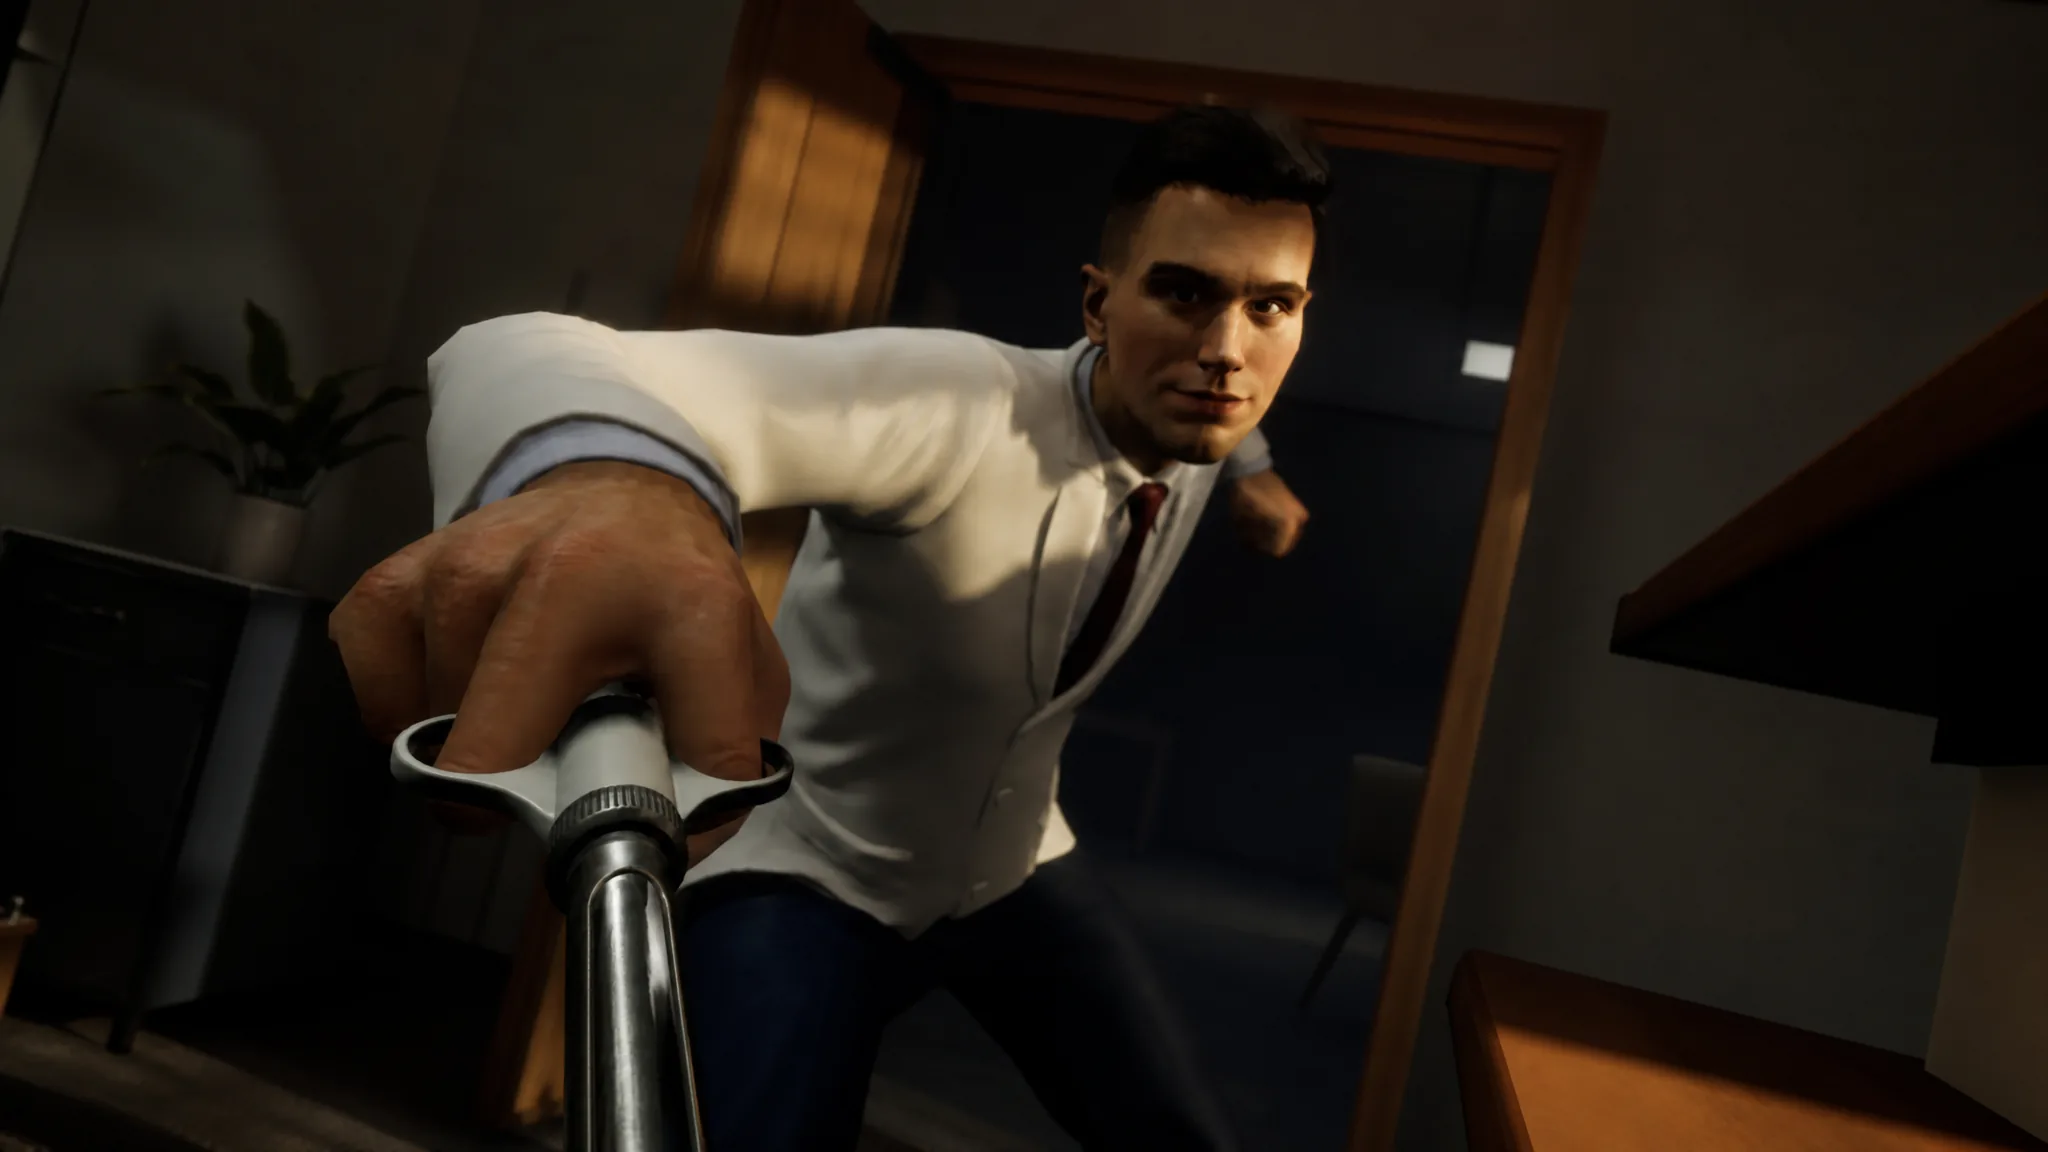
Tanner carries over from Scrutinized and is more desperate than ever. He can attack inside a motel room or leap across the counter in the main building to inject Simon with a lethal dose.
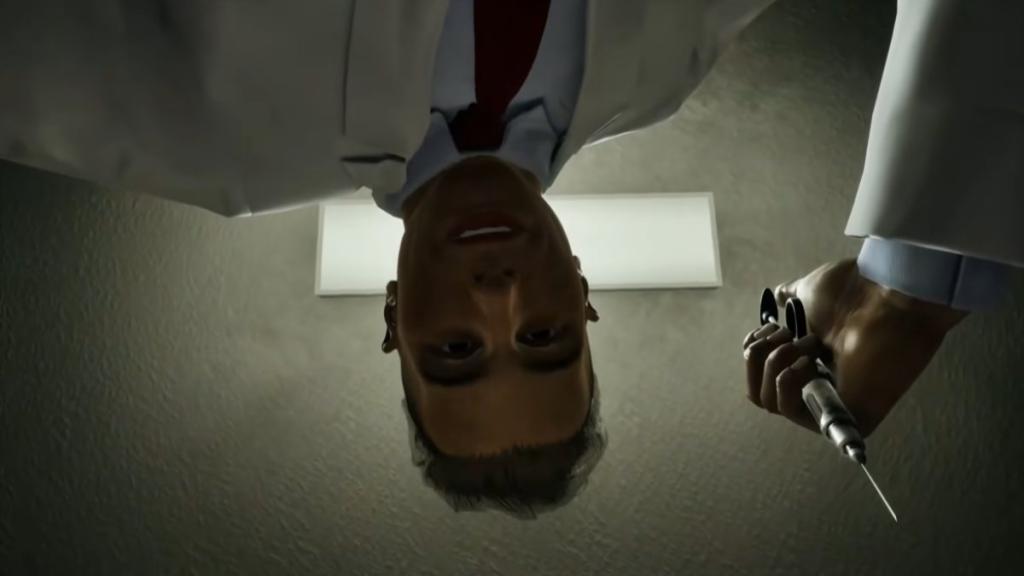
A panic button sits to the right of the computer and briefly disables the automatic doors ahead of you. Timed right, Tanner crashes into the glass and misses his chance. Do not lean on it, though, since overusing it causes network issues that force you out back to fix them.
Install cameras to spot him, or place motion sensors on the thin pillars at the edge of the parking lot near the road. Watch the sensor icon on the taskbar and hit the panic button when movement shows on the FRONT_OUTER_LOT. Lock motel doors behind you when you enter rooms and use the peephole first. Spotting him through the peephole confirms he is on cooldown, buying a short break to handle other killers.
Outside threats you can wait out: Kidnapper, Breather, Tucker, and Noir
This group only becomes a problem when you leave the building or fix outdoor systems. Patience and good timing neutralize all four.
Kidnapper
The Kidnapper has the simplest mechanic in the game but becomes a nuisance during power or internet outages. He waits in a white van in the parking lot. Never step out the front or back door while the van is there, or you are abducted instantly. Wait inside until it disappears.
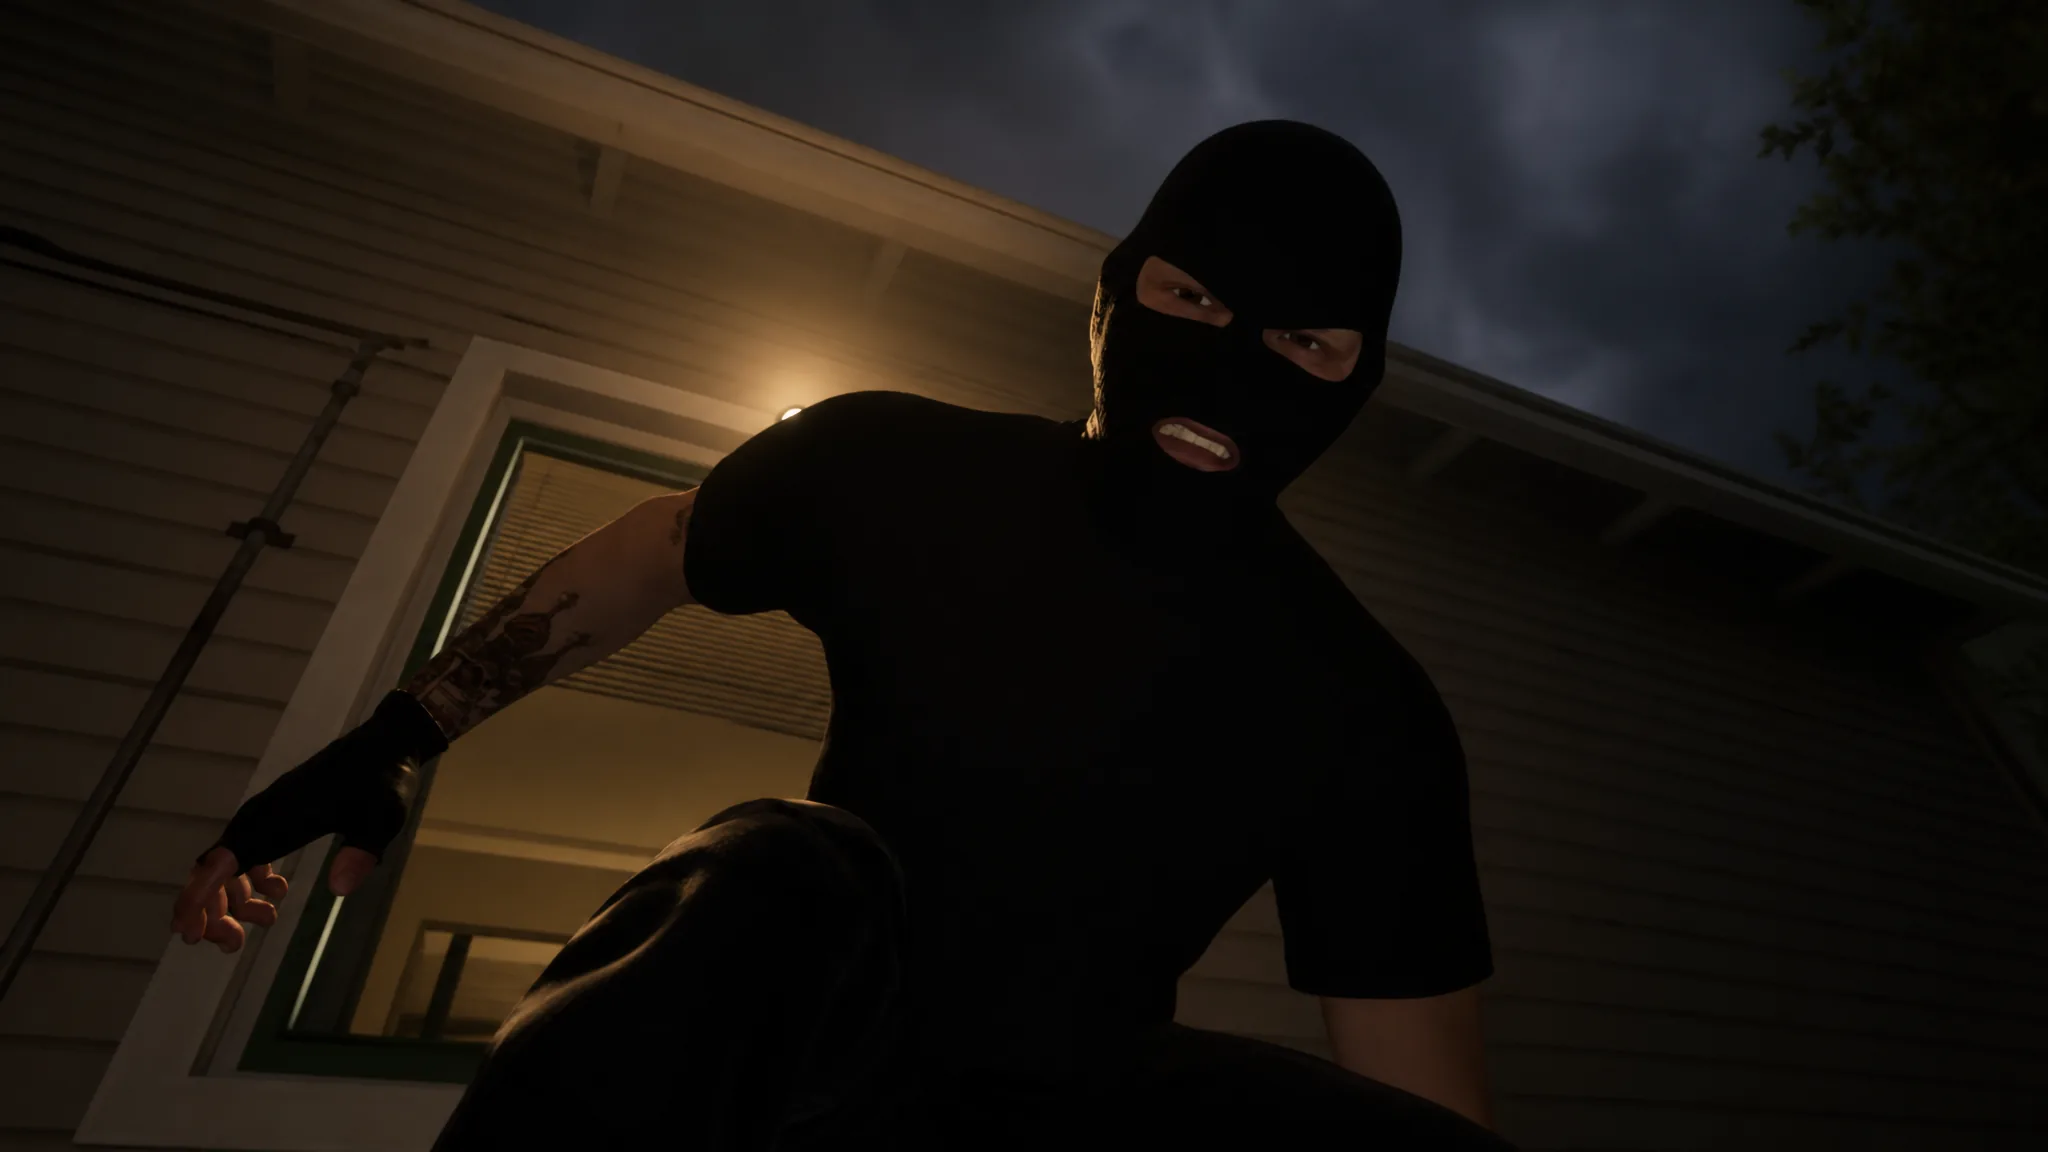
The longer you wait for the van to leave, the higher the chance Noir appears if you have switched off several lights to counter Lucas.
Breather
Seen in every previous Welcome to the Game and in Dead Signal, the Breather only activates during pickups at the dead drop, under the lit bridge on the far left outside the motel. Stray too far off the path and he kills you immediately.
Picking up the DarkDrop packages triggers a scripted chase. Make sure your stamina is full before you grab any items, then run straight back to the motel. Stepping into the parking lot makes the Breather give up.
Tucker
Tucker attacks while you are out back fixing the internet router, usually while you are locked in the unplugging animation. Listen for rustling leaves to know he is close. Stand still and wait for a second rustle that tells you he has walked away.
It plays out differently if you hear music from a speaker outside. Run into the parking lot and look for an Ace of Spades playing card on one of the motel doors. Enter that room, lock the door behind you, and wait for a triumphant tune to confirm Tucker has left.
Noir
The Noir duo returns from Dead Signal, and keeping the lights off raises the odds of them spawning, which makes fixing a power cut risky. When they appear out back, check who stands where. If the man is on the left, shine a light and look away for five seconds. If the woman is on the left, look away for 10 seconds. Confirm they are gone before walking off.
Sometimes one of them stands directly in front of you at the computer. Simply look away for a few seconds and wait for the whisper that signals they are leaving.
Conditional threats: Bomb Maker and Cletus
These two only become dangerous based on your own actions and inventory. Handle them correctly and they are the least threatening killers in the motel.
Bomb Maker
Like the Dollmaker in Welcome to the Game 2, the Bomb Maker only activates if you visit his website, and it does not appear in every save. Click it and a large timer appears. Check CryptChat right away, where the Bomb Maker has personally messaged you the disarm code. You then have 90 seconds to find and defuse the bomb, and failure is game over.
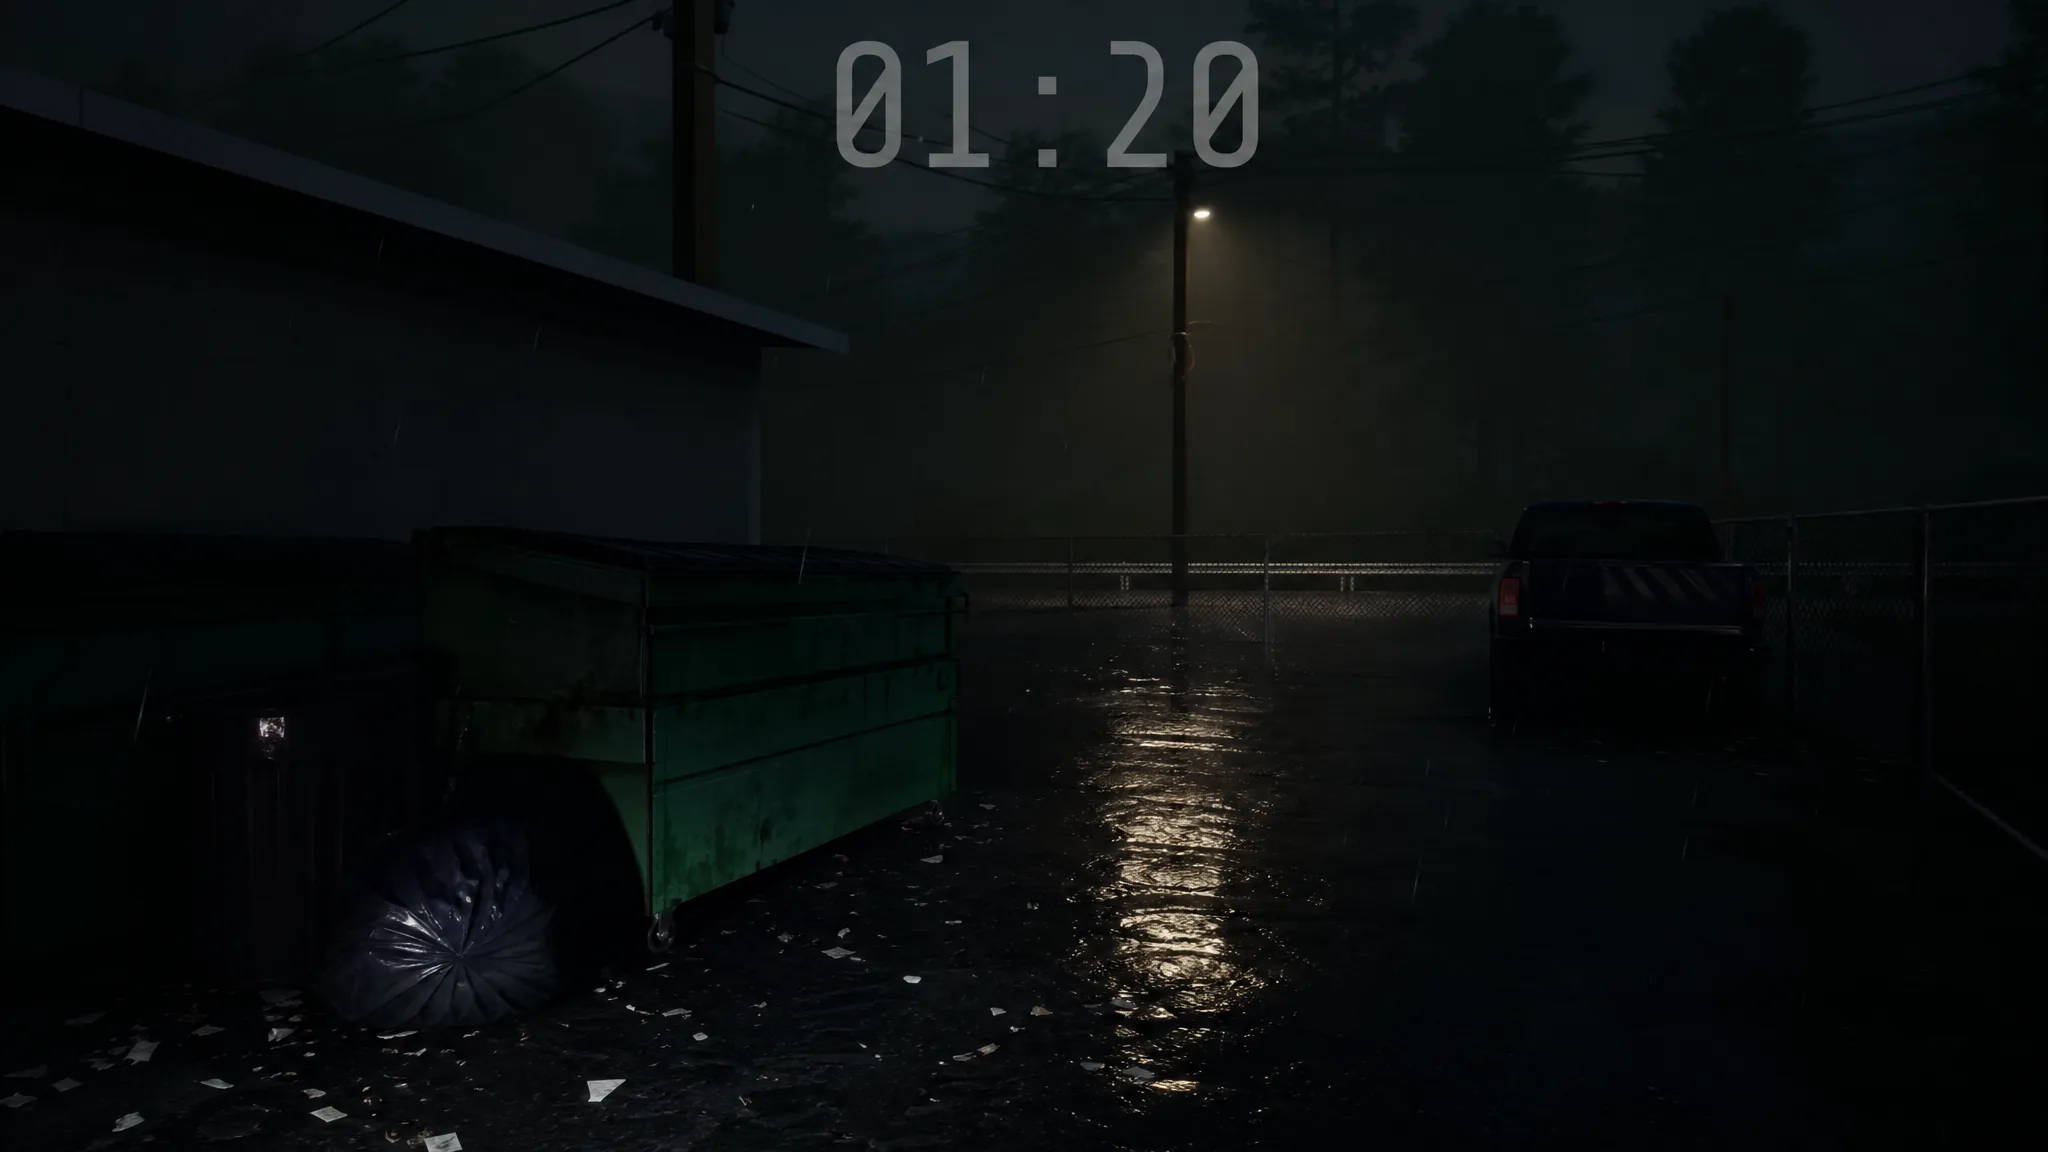
You can avoid the whole encounter by never clicking the Bomb Maker website.
Cletus
Cletus only kills you if you do not have his supply on hand. He needs meth to leave you alone. Pick up product in motel rooms and around the parking lot at the start of every run. When your supply runs out, find dealers on A.C.R.S, click their username to check Rep, and PING them to get a Dealer ID. Insert that ID into DAREdash, and buying their crystal works like any DarkDrop purchase. The number does not carry over between saves.
Always keep one baggie in your inventory and avoid carrying more than one, since Cletus takes everything in your supply and does not care about the replacement cost. With his fix on hand, he will not kill you, but he will move you into a motel room if he catches you outside.
The steady rhythm to survive a full run is straightforward once the triggers click into place. Lock the back doors for Lucas, watch the front lot and counter for Tanner, keep a baggie for Cletus, and wait out the outdoor threats instead of forcing your way past them. Every killer here punishes a specific mistake, so remove the mistake and the debt starts to look payable.