


Moon Lord in Master difficulty is one of the toughest summoned bosses in Palworld 1.0, sitting at Level 80 with a massive 2,352,000 HP. A squad built around Sekhmet, paired with a drone-heavy shooter loadout, can wear it down inside a few minutes if you hit the right weak points and keep your Pals out of its beams.
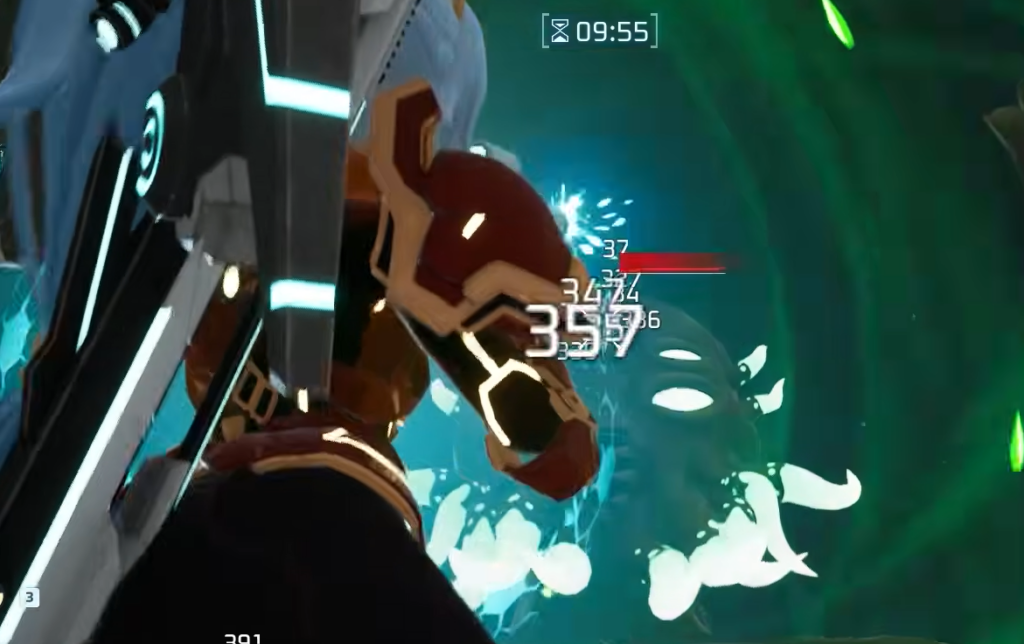
Quick answer: Summon Moon Lord [Master] at the altar, deploy a Drone Launcher and your Sekhmet team, stay close so the drones keep firing, and empty the Plasma Rifle into the central eye, then the hands, then the chest until the “BOSS ELIMINATED” banner appears.
Moon Lord (Master) boss stats
The Master version is a Level 80 raid encounter you trigger at a summoning altar after crafting its summon item. Before you commit, confirm the prompt reads “Moon Lord [Master] Preparing,” then accept the “Ready to summon a powerful boss?” confirmation.
| Detail | Value |
|---|---|
| Level | 80 |
| HP | 2,352,000 |
| Difficulty | Master |
| Signature attacks | Green beams, red vortex (Vortex Beater) |
| Weak points | Central eye, hands, chest |
Player loadout: weapons, armor, and accessories
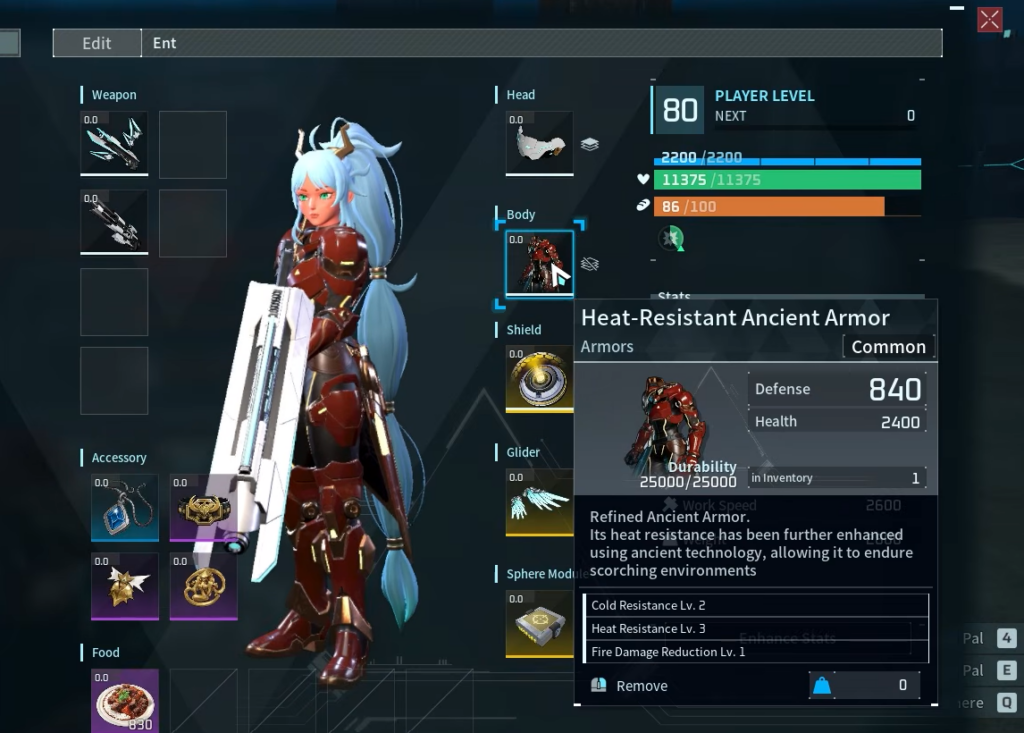
The bulk of the damage in this fight comes from you, not the Pals. A Plasma Rifle handles sustained fire on the boss, while the Drone Launcher adds constant chip damage as long as you stay near the target. Ancient armor keeps you alive through stray beam hits, and the accessory slots are stacked for extra defense and offense.
| Slot | Item | Rarity |
|---|---|---|
| Body | Heat-Resistant Ancient Armor | Common |
| Head | Ancient Helm | Common |
| Weapon | Plasma Rifle | Common |
| Weapon | Drone Launcher | — |
| Accessory | Defense Pendant | Rare |
| Accessory | Warsect Terra’s Belt | Epic |
| Accessory | Dogen Emblem | Epic |
| Accessory | Silvegis Emblem | Epic |
Apply a defensive food buff to your Pals right before you approach the altar. Feeding a defense item to your front-line Pals raises their survivability during the boss’s beam sweeps.
The Sekhmet team build
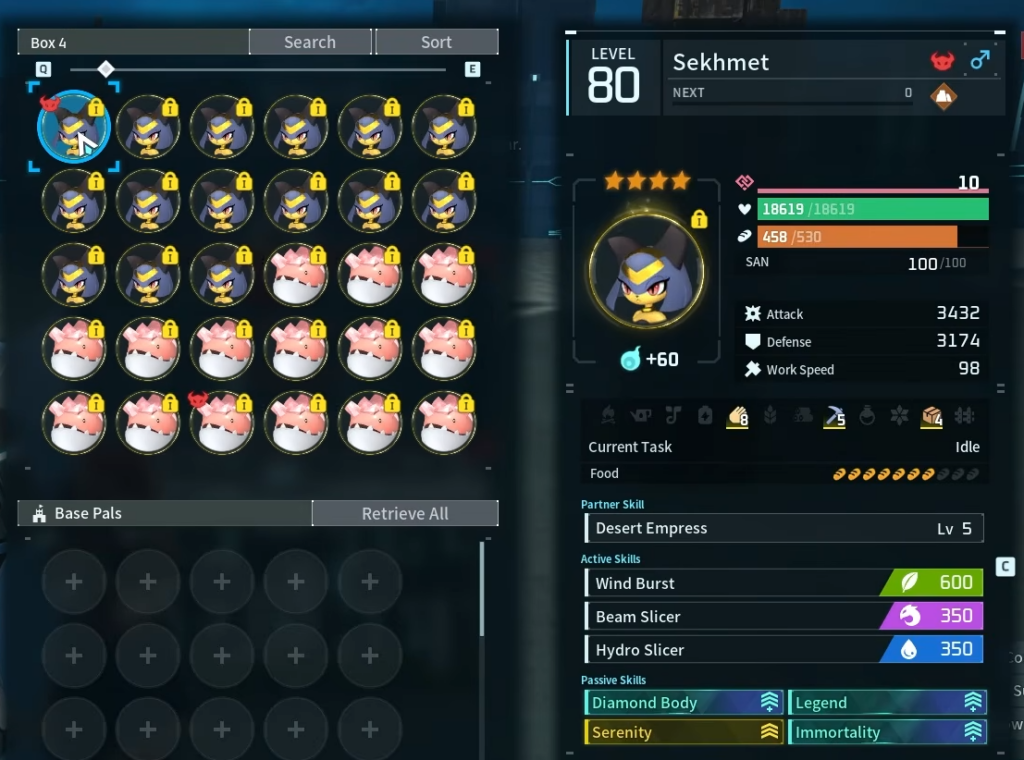
Sekhmet is a Ground element Pal, No. 140 in the Paldeck, and it makes a durable damage dealer for a long boss fight when built with survival passives. The Level 80 Sekhmet used here runs a mix of active and passive skills tuned to stay alive under fire.
| Type | Skills |
|---|---|
| Active | Wind Burst, Beam Slicer, Hydro Slicer |
| Passive | Diamond Body, Legend, Serenity, Immortality |
The defensive passives matter more than the active skills here. Diamond Body, Serenity, and Immortality keep each Sekhmet standing through repeated beam damage, while Legend boosts its overall combat stats. Bringing several copies means you can keep pressure on the boss even if one goes down mid-fight.
Support party for buffs and healing
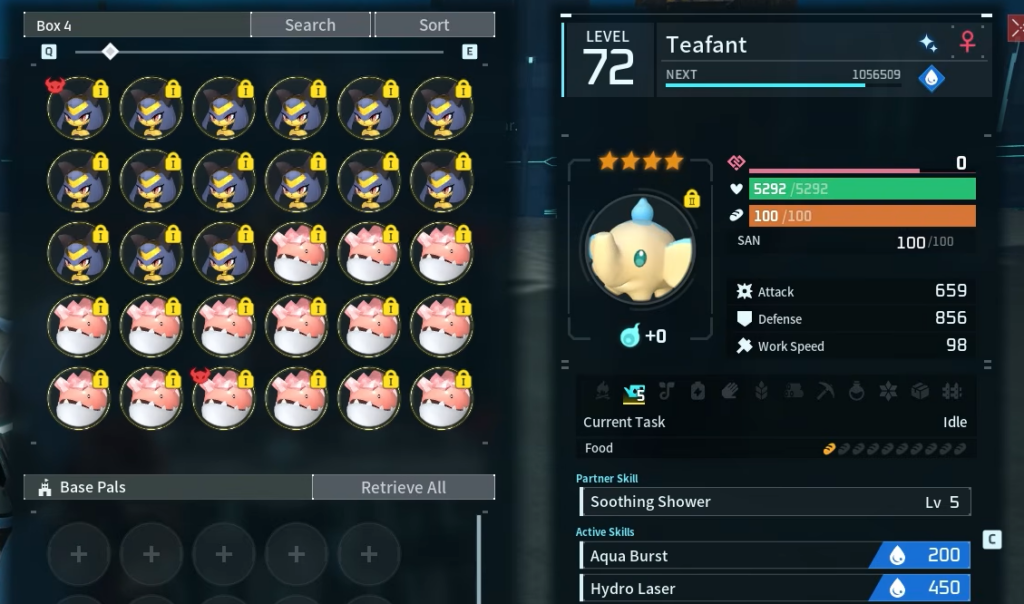
Alongside the Sekhmet box, the active party carries Pals built almost entirely for team support rather than raw damage. The shared passives push attack and defense buffs onto your other Pals, and Teafant provides healing during the fight.
| Pal | Key passives / role |
|---|---|
| Alpha Male (Lovander) | Stronghold Strategist, Idiosyncratic, Legend, Vanguard |
| Teafant | Vanguard, Stronghold Strategist, Idiosyncratic, Reload Master; Soothing Shower heal |
| Menasting | Stronghold Strategist, Vanguard, Idiosyncratic, Reload Master |
| Menasting Terra | Vanguard, Stronghold Strategist, Idiosyncratic, Reload Master |
| Solenne | Idiosyncratic, Stronghold Strategist, Vanguard, Reload Master |
Teafant’s Soothing Shower partner skill is the healing anchor, so keep it deployed and near your other Pals. Reload Master on the shooter-support Pals speeds up your own weapon reloads, which keeps the Plasma Rifle firing with fewer gaps.
Fight sequence and weak-point order
How to confirm the kill and what you get
You know the fight is won when the boss’s HP hits zero, the defeat animation plays, and the screen shows “BOSS ELIMINATED.” Loot notifications stack up on the left side of the screen at the same time.
| Reward | Amount |
|---|---|
| Diamond | 5 |
| Ancient Civilization Parts | 16 |
| Carrying Lotus (L) | 1 |
| Vortex Beater Schematic 4 | 1 |
| Moon Lord Statue Schematic | 1 |
Expect to lose a Pal or two even on a clean run. After the fight, one Sekhmet can end up Incapacitated in the box while the rest of the party survives at varying health, which is normal for a boss with this much HP. Keeping your Pals spread out of the beam lanes is the single biggest factor in bringing more of them home alive.





