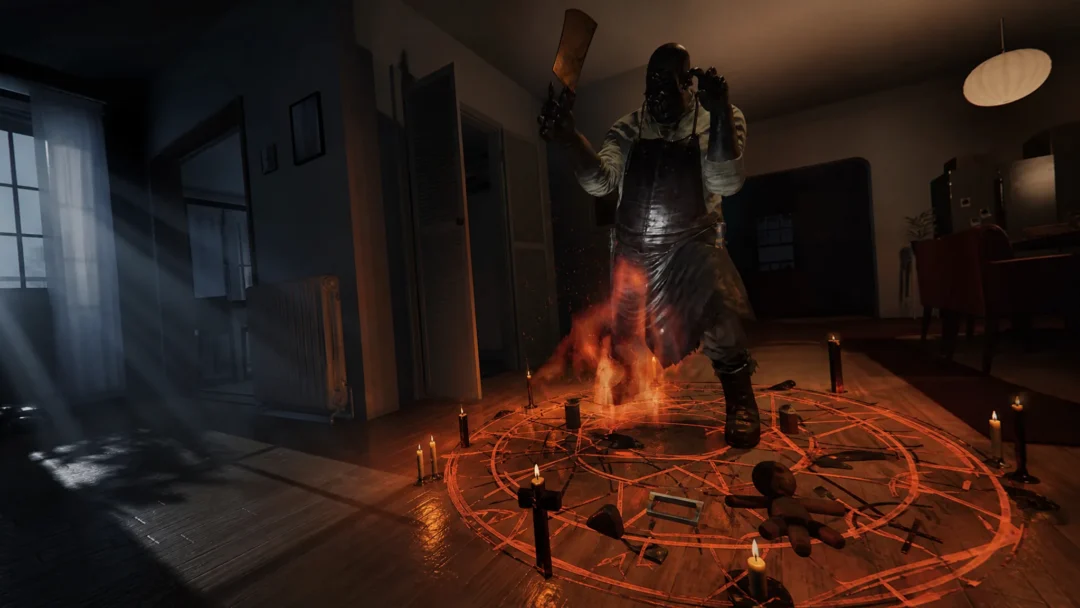
The Summoner in SpiritVale wins fights by putting something else in front of the enemy. Your companions soak damage and deal it while you stay at range, and once you hit level 50 and advance into Necromancer, you add undead minions and life-stealing spells on top of that. The strongest and most forgiving way to play the class leans into that idea completely, keeping your summons alive and letting them do the heavy lifting.
Quick answer: Pump Intelligence first, then Vitality, never equip a shield (it breaks your two-handed stance and costs a 25% bonus to physical and magic attack), and spec into Summon Mastery, Soul Strike, Dissonance Well, and Guardian Bond so your pets stay standing while they tank and damage everything.
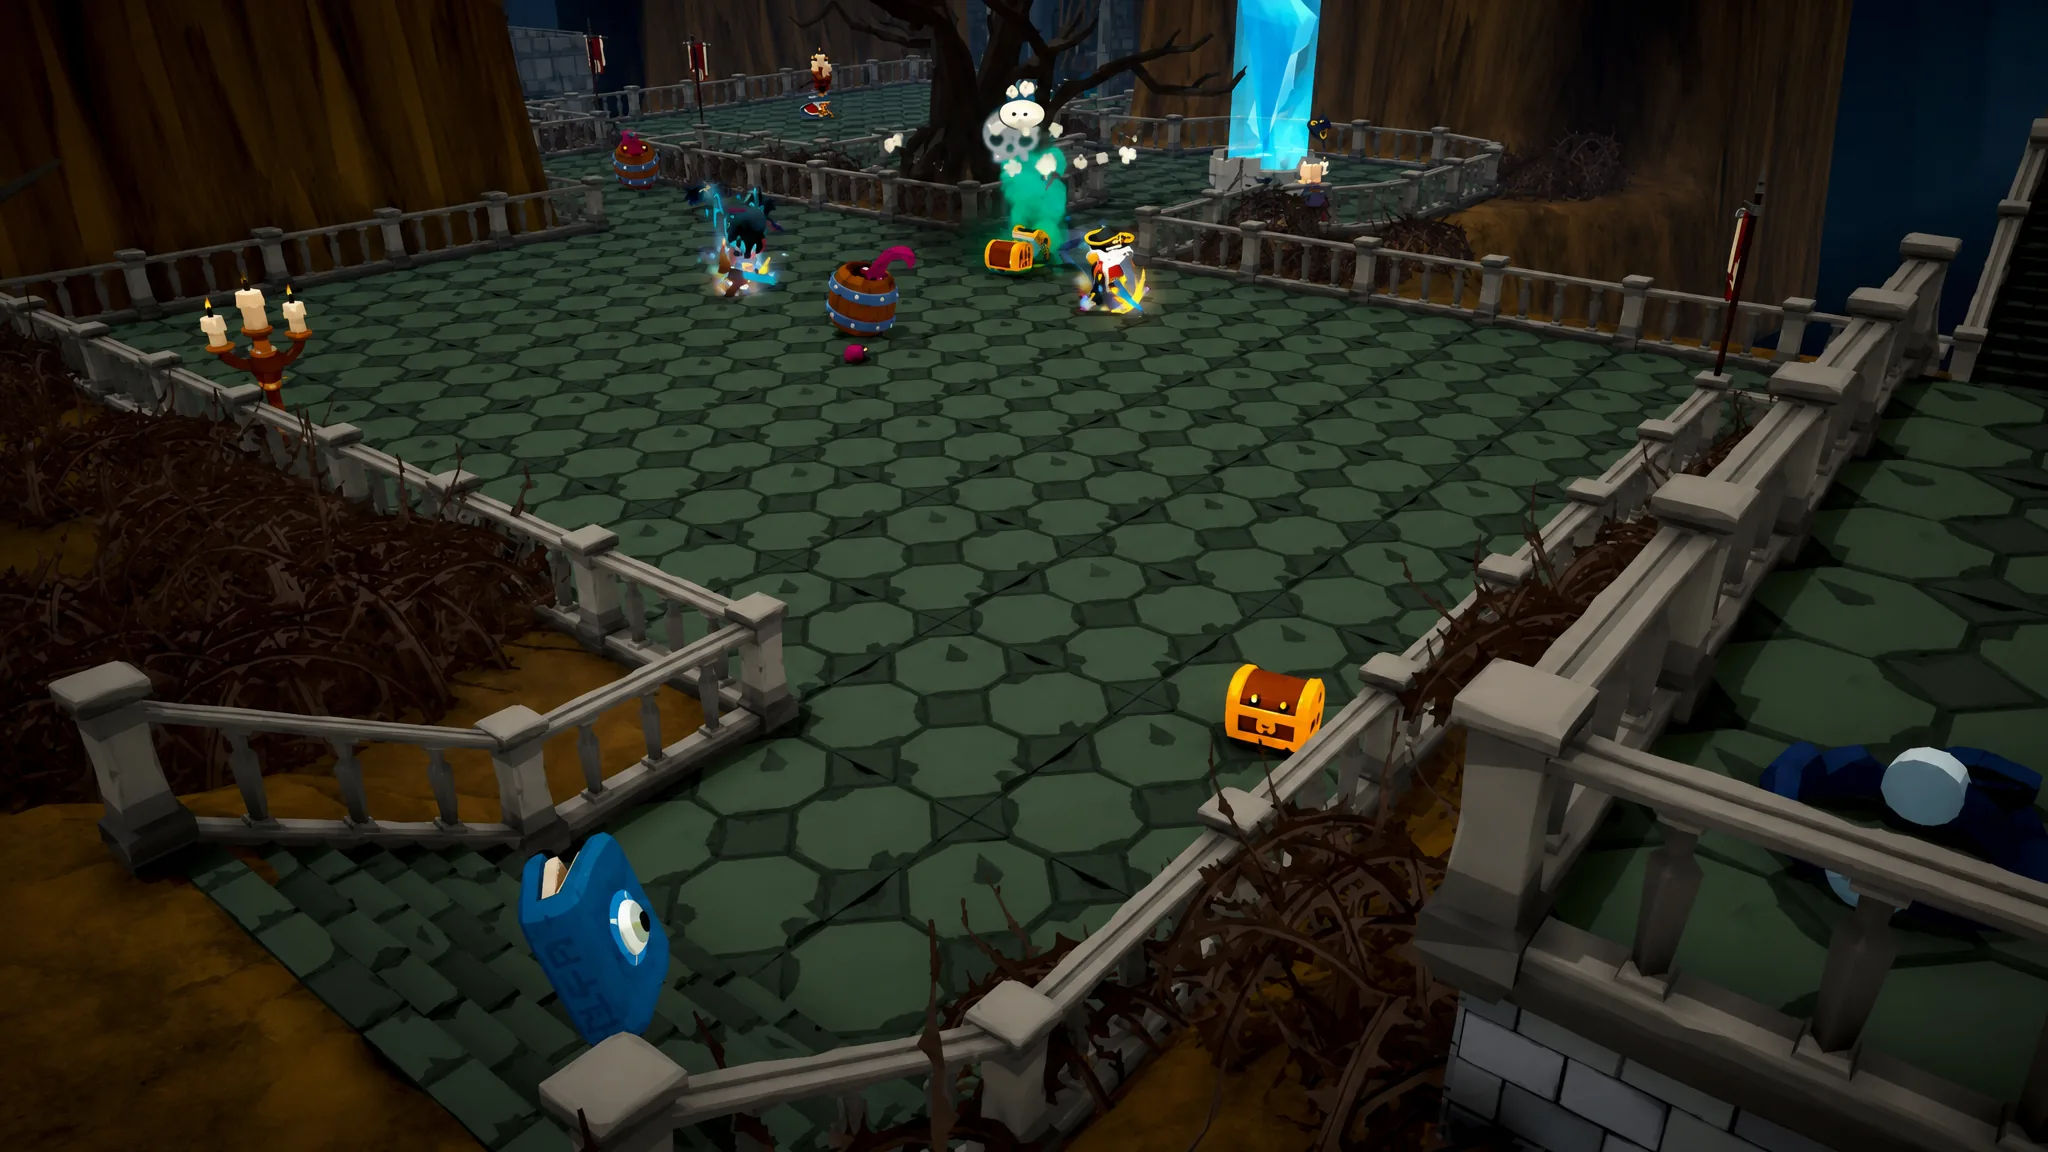
Stat allocation and the no-shield rule
Almost all of your damage comes from magic, so Intelligence is the stat that matters most. Push it hard and only start feeding points into Vitality once your INT is at a comfortable level. That extra Vitality is what keeps you upright during dangerous mob packs, which becomes important later when you are drawing enemies toward your summons.
The one hard rule is simple. Do not equip a shield. Putting a shield on cancels your two-handed stance, and that stance grants a 25% bonus to both physical and magic attack. Losing it is a huge damage cut for a class that already spends its resources on summons.
Leveling skill order as a Summoner
Hold off on Summon Mastery early. Without the gear to make your pets scale, the passive does little, so most players wait until their equipment can actually feed it.
Advancing into Necromancer at level 50
Once your job level reaches 50, head to the Necromancer NPC in the top right corner of Festering Woods 2 to unlock the advanced class. From there you keep every Summoner skill and gain undead minions, decay effects, and persistent area damage on top.
Skeleton Mastery becomes a must the moment you convert, since it raises the ceiling on all of your undead summons the same way Summon Mastery does for your regular pets. For raw output, Bone Spear throws a hard-hitting projectile and can apply Decay, while Bone Spikes covers an area with damage from spikes that erupt from the ground.
When it comes to actual minions, the Abomination, Skeleton, Mage, and Wraith are the core roster. Summon the Wraith last in any fight because it carries the longest cooldown, so you want it out and staying out rather than wasted on a quick pull.
Core skills to keep in the summon build
These carry over from Summoner and stay relevant through Necromancer. Every point here goes toward making your companions stronger or keeping the pack under control.
| Skill | What it does |
|---|---|
| Summon Mastery | Passive that lets summons inherit more of your attributes; the backbone of the build once geared. |
| Soul Strike | Single-target soul magic attack for reliable direct damage. |
| Dissonance Well | Damages and slows enemies in a radius and weakens their attacks. |
| Guardian Bond | Binds a summon with Vitality and Regeneration and helps recover your own health. |
| Fury Bond | Binds an ally with Fury and Might to raise offensive summon output. |
| Suppression Field | Pulls enemies inward and can seal their casting. |
| Skeleton Mastery | Necromancer passive that raises the power of all undead summons. |
| Bone Spear | High-damage projectile that can apply Decay. |
| Bone Spikes | Area attack from ground spikes covering a radius. |
Best gear for a summon-focused build
The whole point of this setup is to make your summons as durable and dangerous as possible, so gear priorities lean toward summon stats, defense, and casting speed rather than your personal attack. The pieces below fit that plan cleanly.
| Slot | Recommended piece and why |
|---|---|
| Headgear | Jack-o’Lantern for all-round defense refinement and a chance to autocast Death Coil. |
| Chest, shoes, legs | Soulbinder Set to raise Physical and Magic Defense while boosting HP, Summon HP, and MP. |
| Face | Any item that adds magic defense, base defense, and casting speed. |
| Accessories | Bronze Crescent and Iron Ankh, paired with the Grim Reaper card. |
| Utility | Fruit Bowl for extra weight limit and healing, or any similar utility piece. |
| Artifact | Corporeal set, which strengthens your summons directly. |
Death Coil is worth calling out here because it damages enemies while restoring your summons’ health, so the autocast from Jack-o’Lantern quietly patches up your pets during long fights.
Alternative: auto-attack healing farm build
If your problem is staying alive in higher dungeons rather than dealing damage, there is a simpler variant built around constant healing procs. You let your summon hold aggro, stand behind it, and auto-attack while healing effects keep both of you topped off. It comfortably handles monsters roughly 8 to 10 levels above you.
| Slot / skill | Effect |
|---|---|
| Elixir Gourd (utility) | Chance to cast Level 2 Mass Heal on attack; +1% activation per refine, so a +6 sits around 6%. |
| Soul Binder Armor Set | Raises your summon’s stats by +5 for stronger offense and defense. |
| Grouping Cat (headgear) | Chance to trigger Thunderbolt Level 3 for free extra damage while attacking. |
| Kunai of Chance Fire Release | Adds another offensive proc that fits an auto-attack rotation. |
| Sacred Vow (passive) | Around 30% bonus healing effectiveness, boosting summon and received healing. |
| Increase Flee (passive) | Higher dodge chance means fewer hits and less pressure on your healing. |
The play loop is short. Summon your pet, let it engage first, stay behind it, and auto-attack continuously so your Mass Heal and other procs fire on their own. Re-summon the moment your companion falls. The most common mistake is rushing in and tanking enemies yourself, which throws away the entire point of the build.
How to reset if the build is not working
Nothing here is permanent. Visit the Waybinder NPC in Nevaris, near the Waypoint, to reset your stats and skills and try a different direction without abandoning the character. Take a screenshot of your current stats, skills, and gear first so you can compare clear speed and survivability afterward and confirm the change actually helped rather than just looking better on the character screen.
SpiritVale is in Steam Early Access, so summon values, skill scaling, and gear stats can shift as Baikun Interactive keeps tuning the game. If a number changes under you, the priorities still hold. Keep Intelligence high, skip the shield, and put your points and gear behind whichever summons you plan to send in first. You can grab it and test the build yourself on the SpiritVale Steam page.